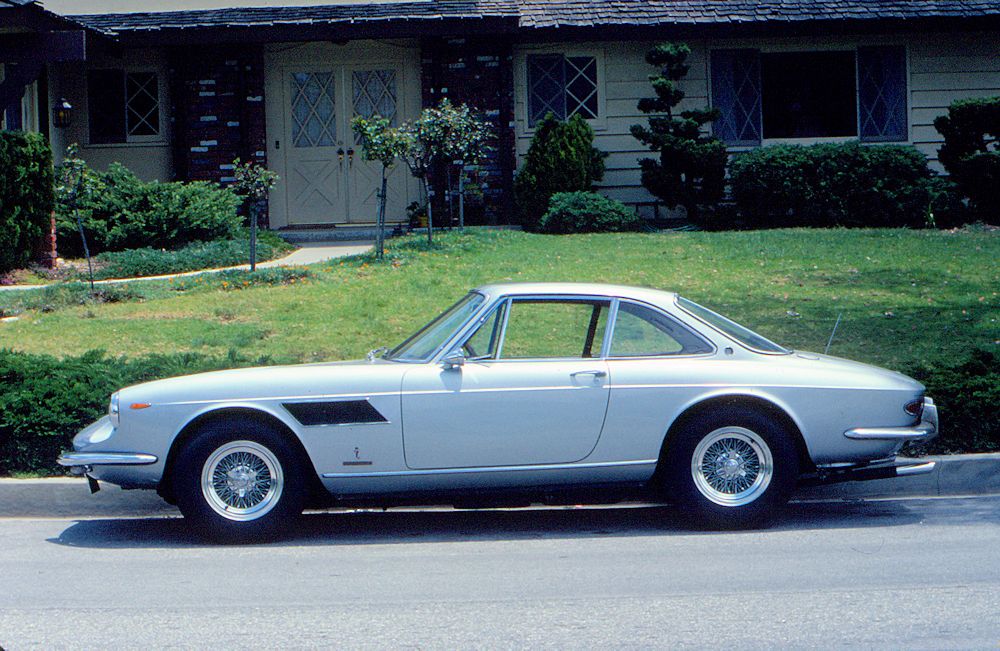
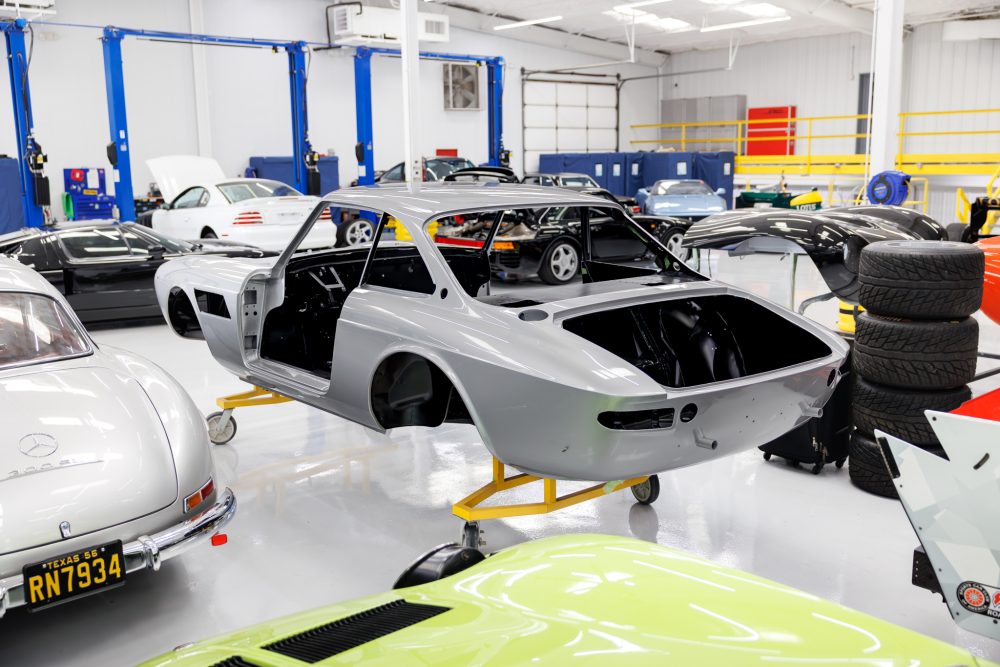
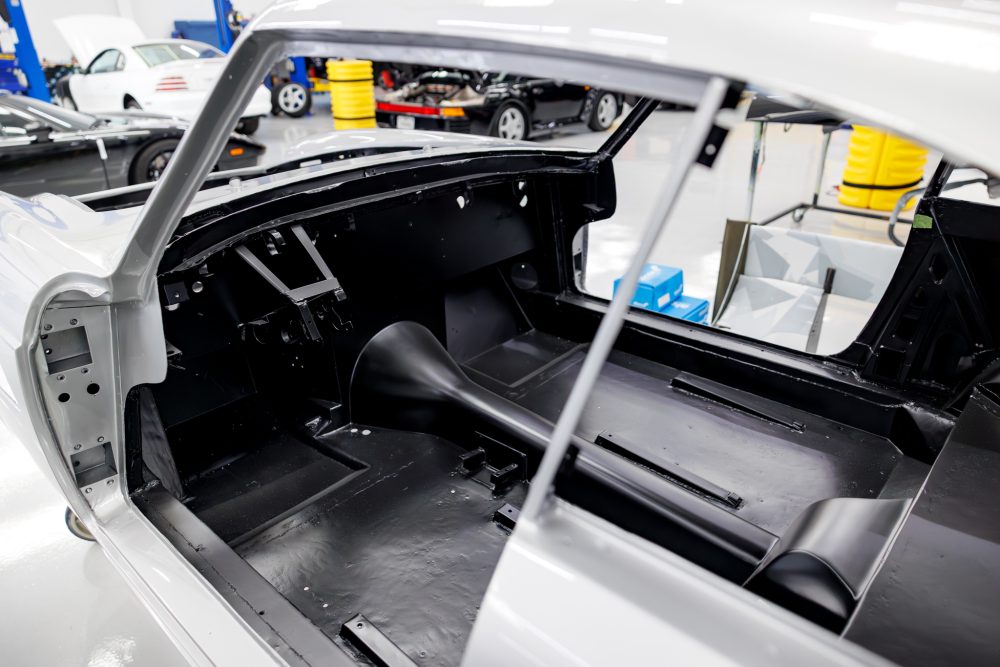
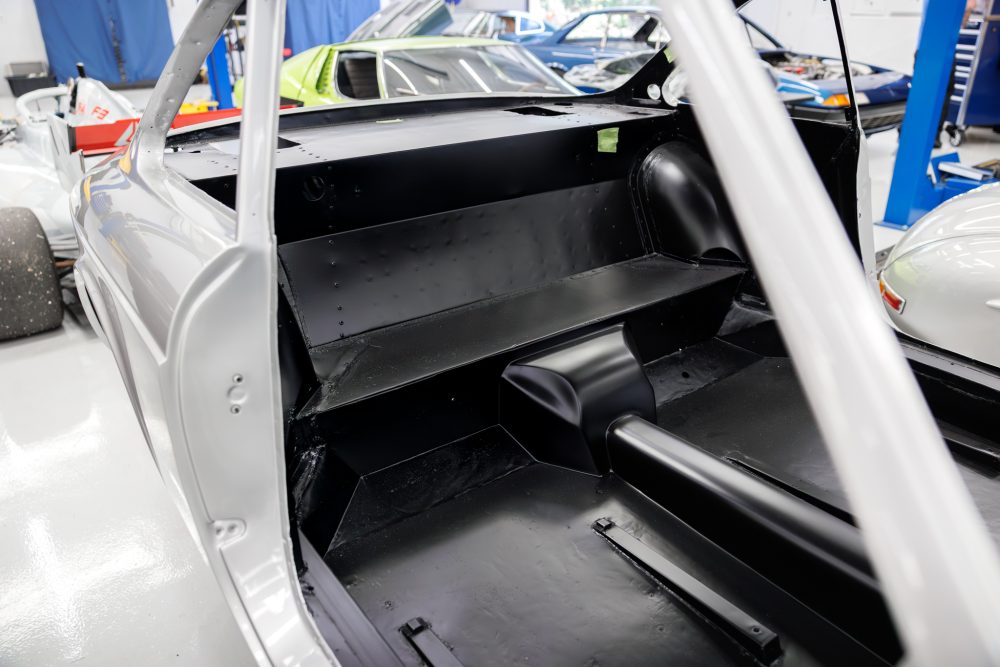
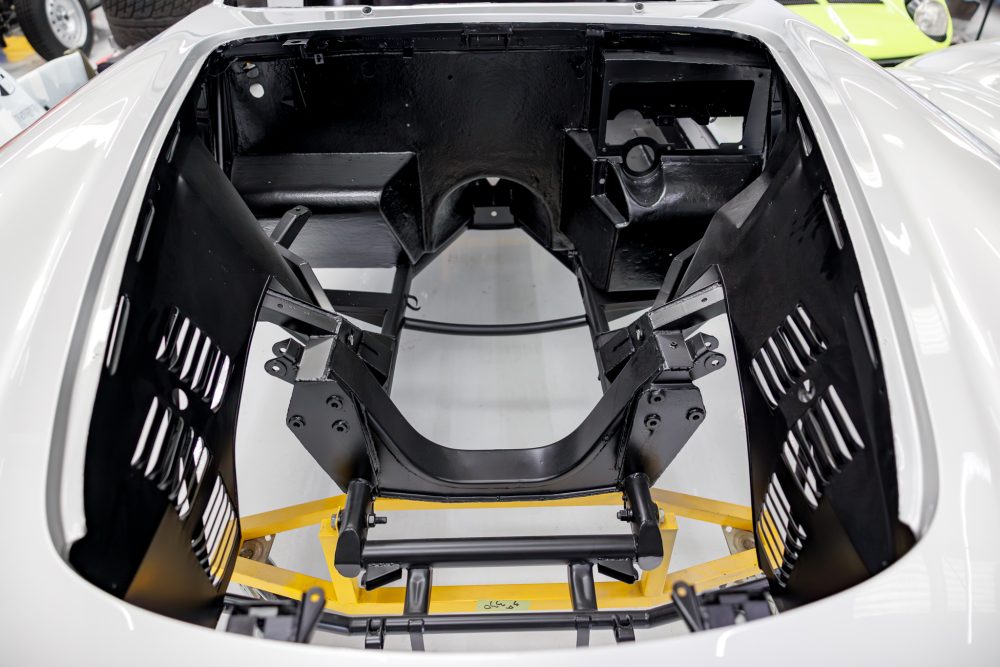
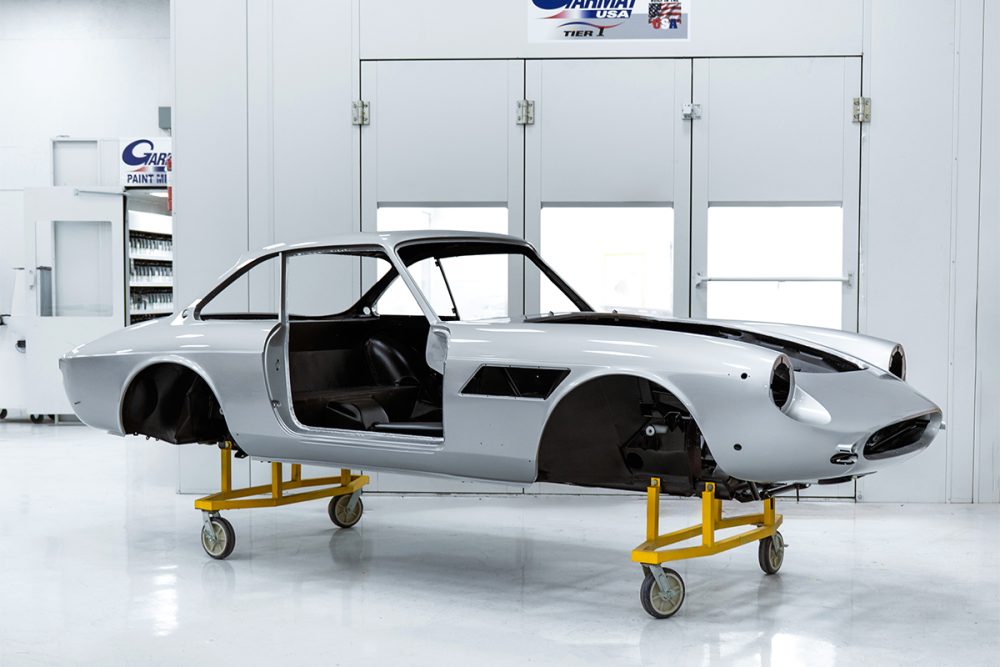
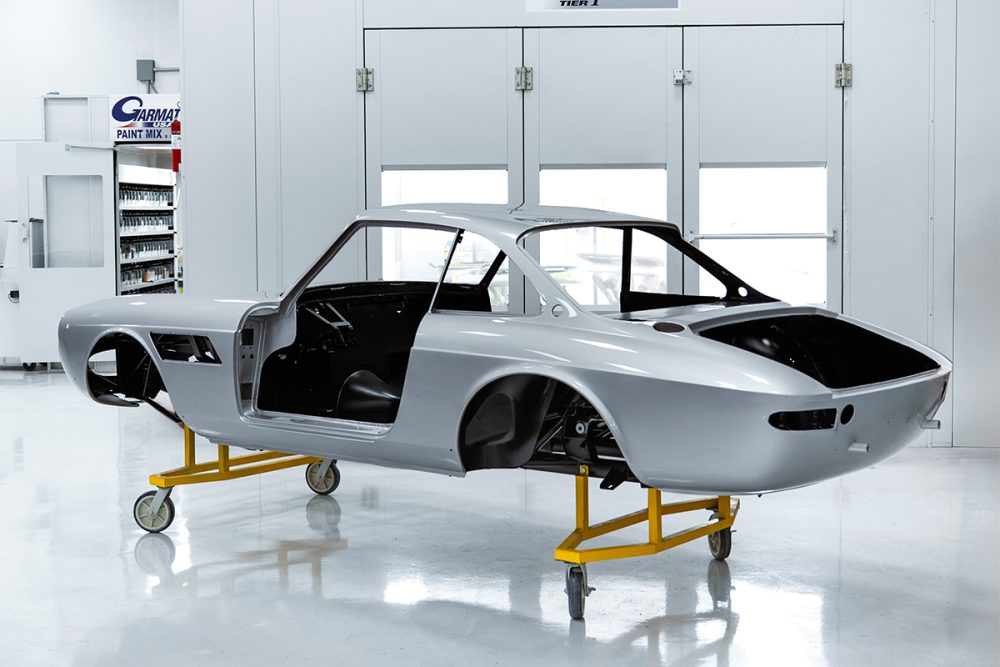
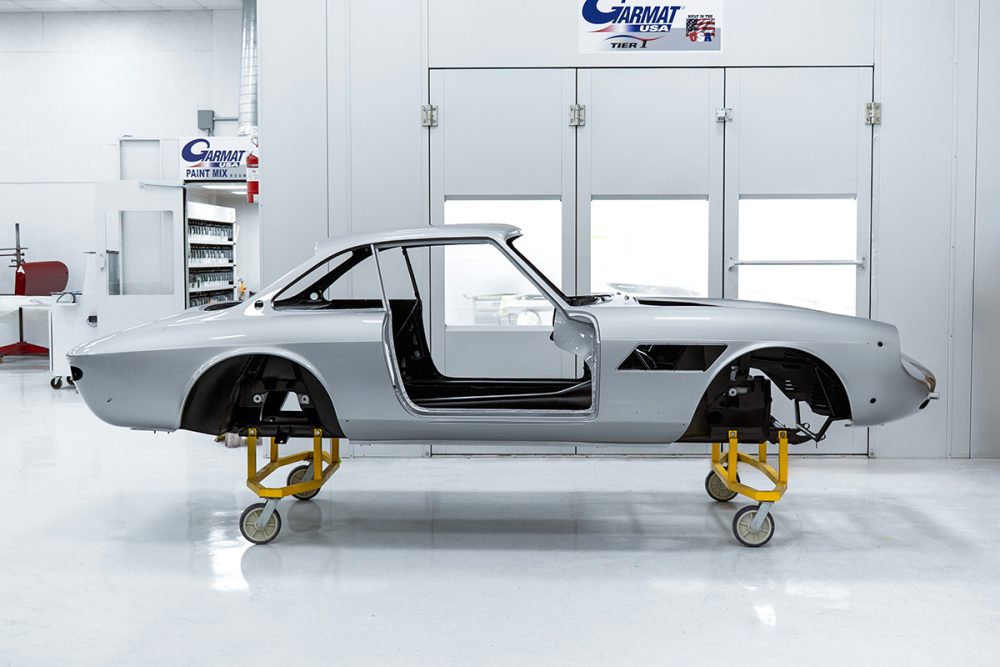
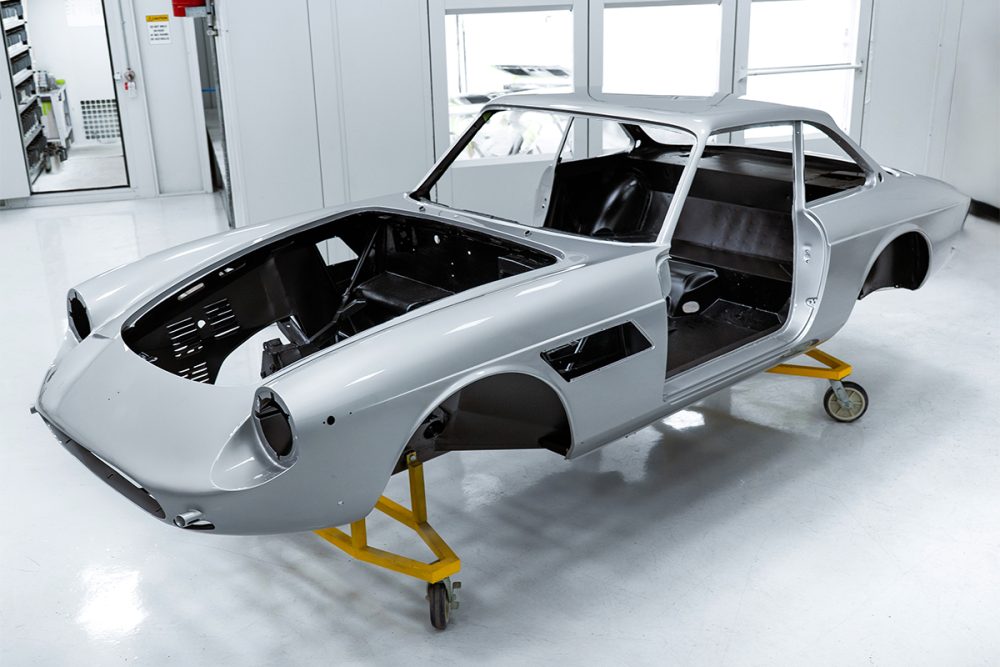
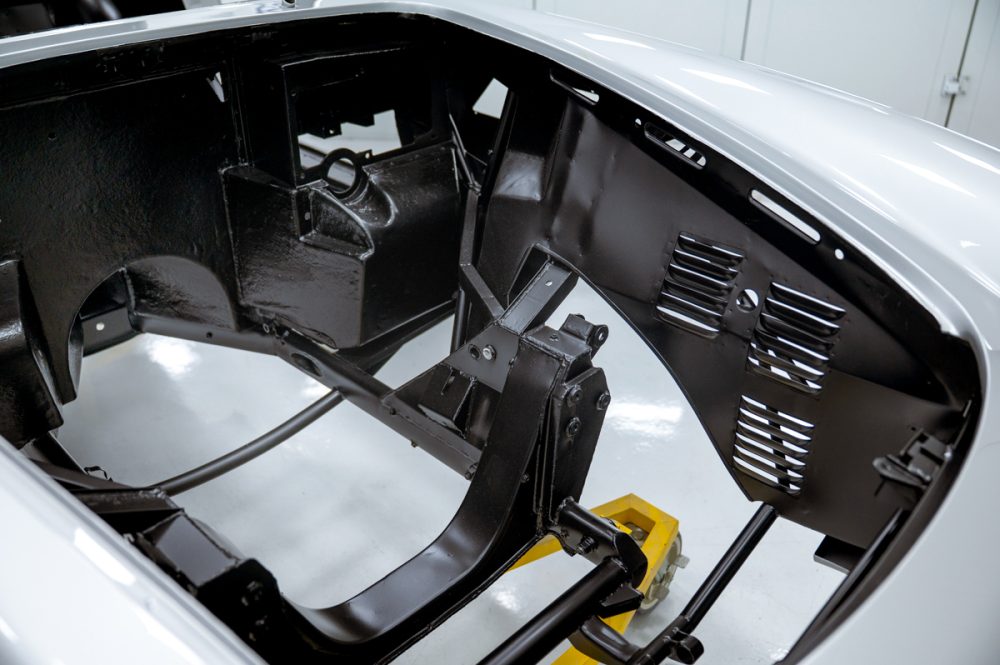
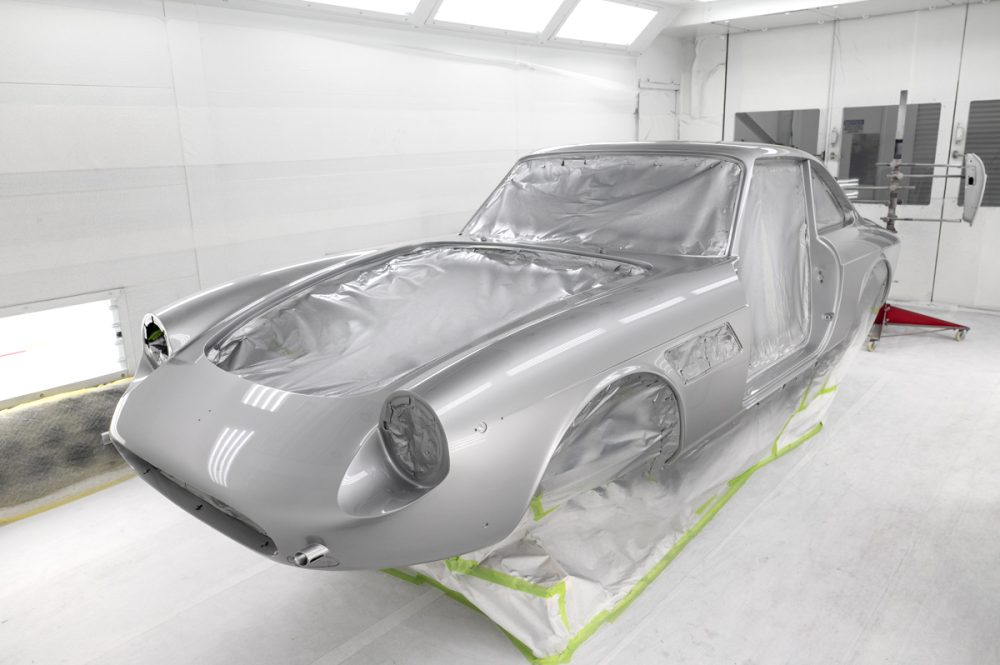
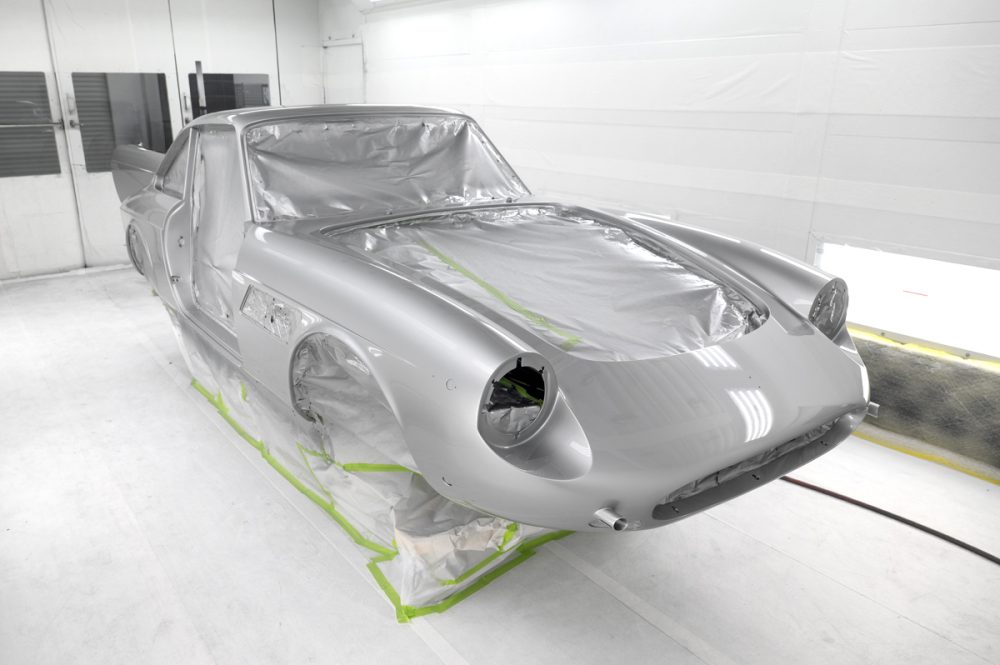
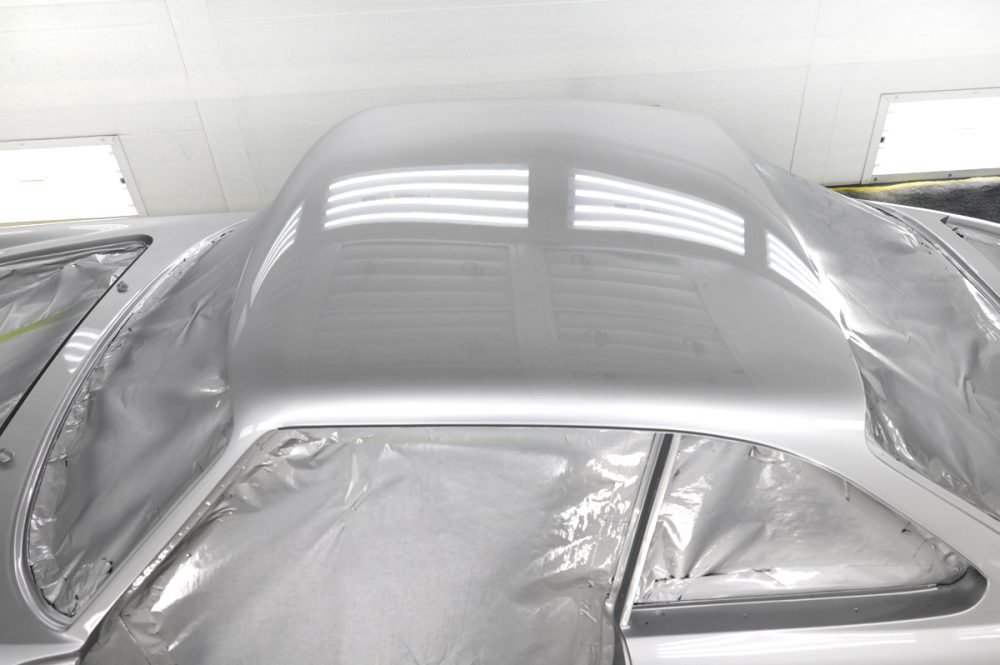
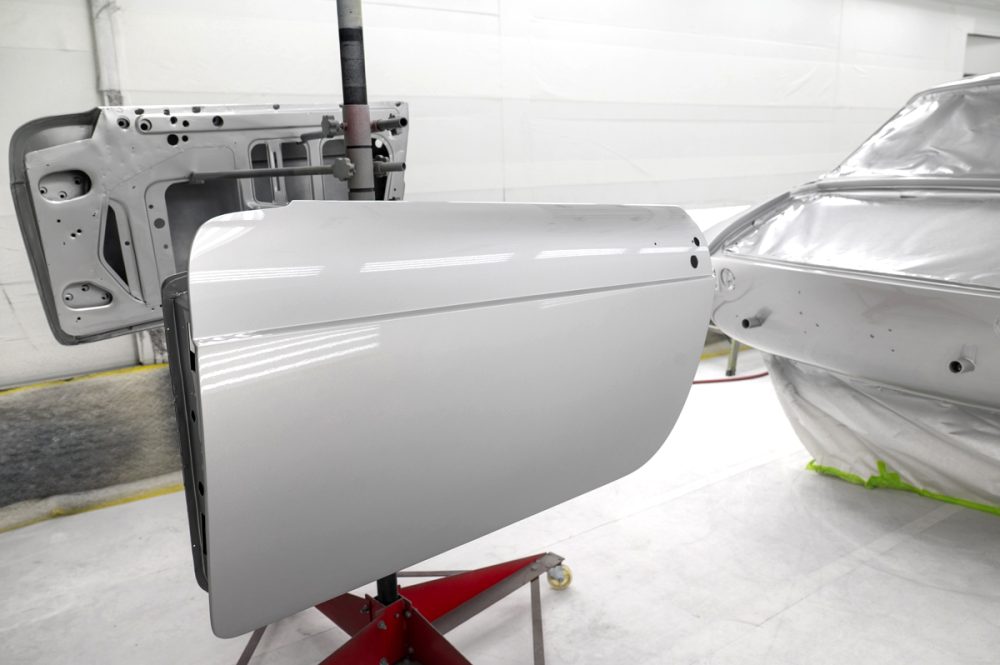
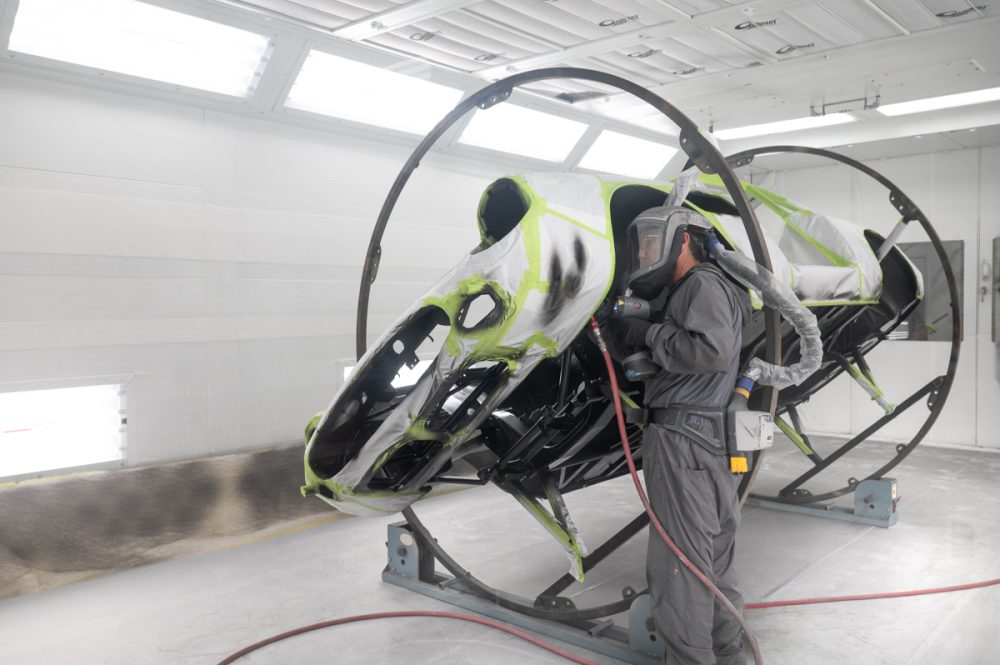
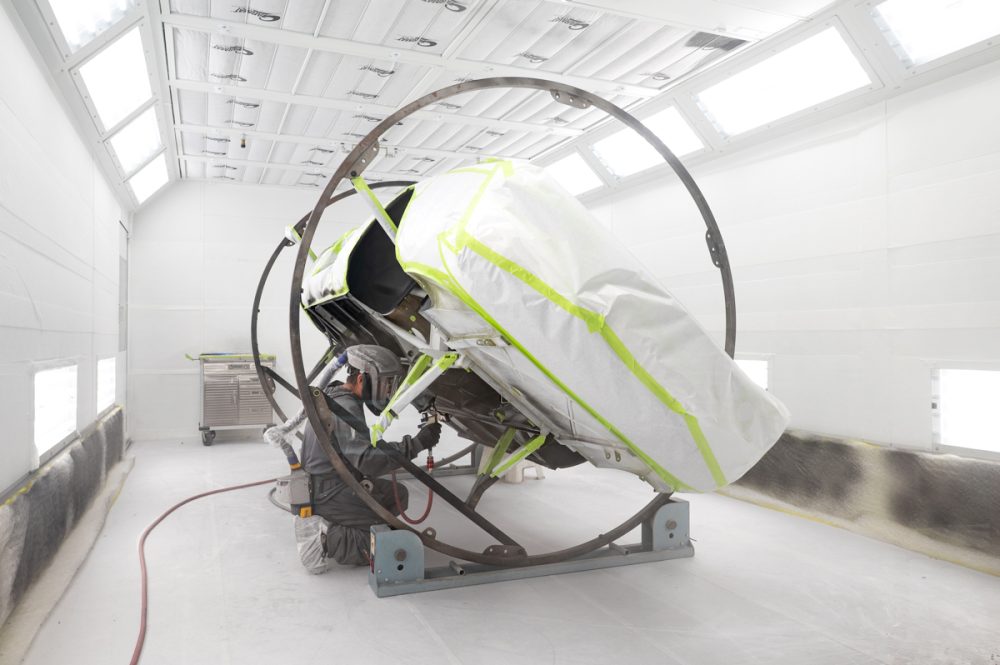
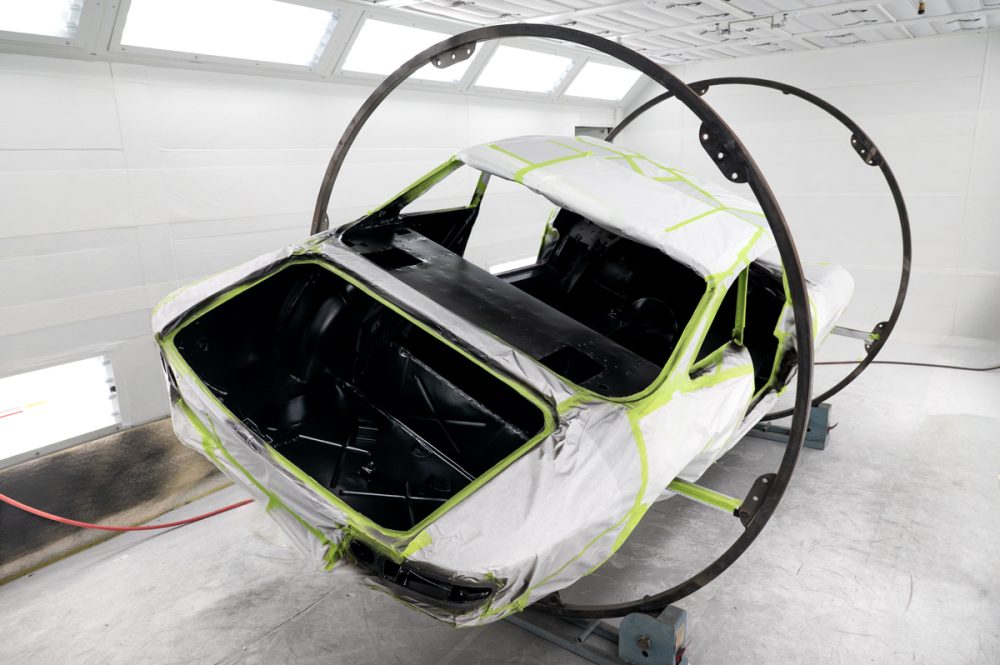
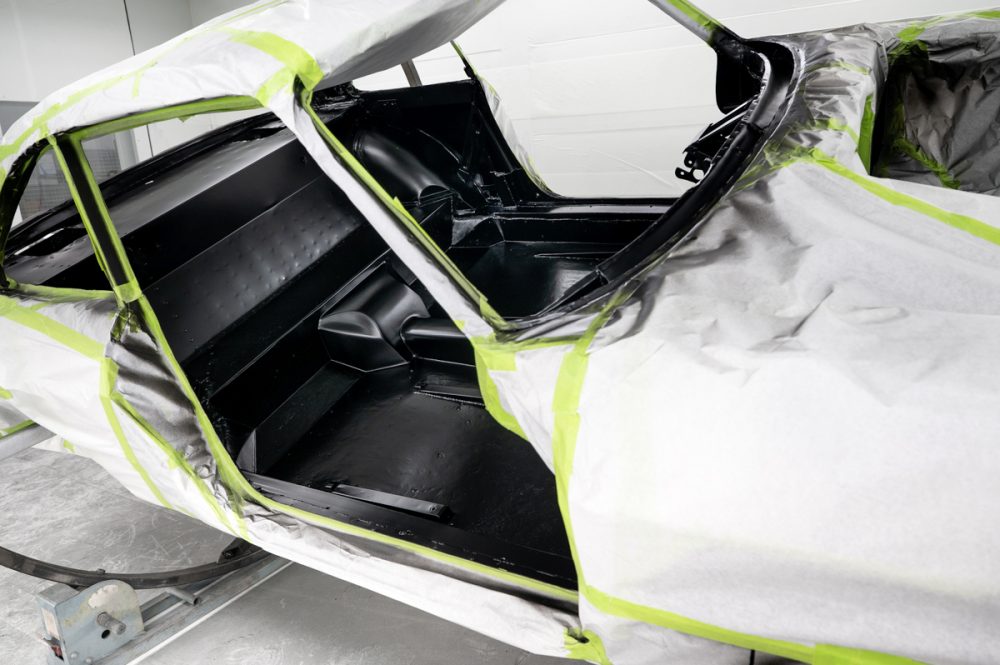
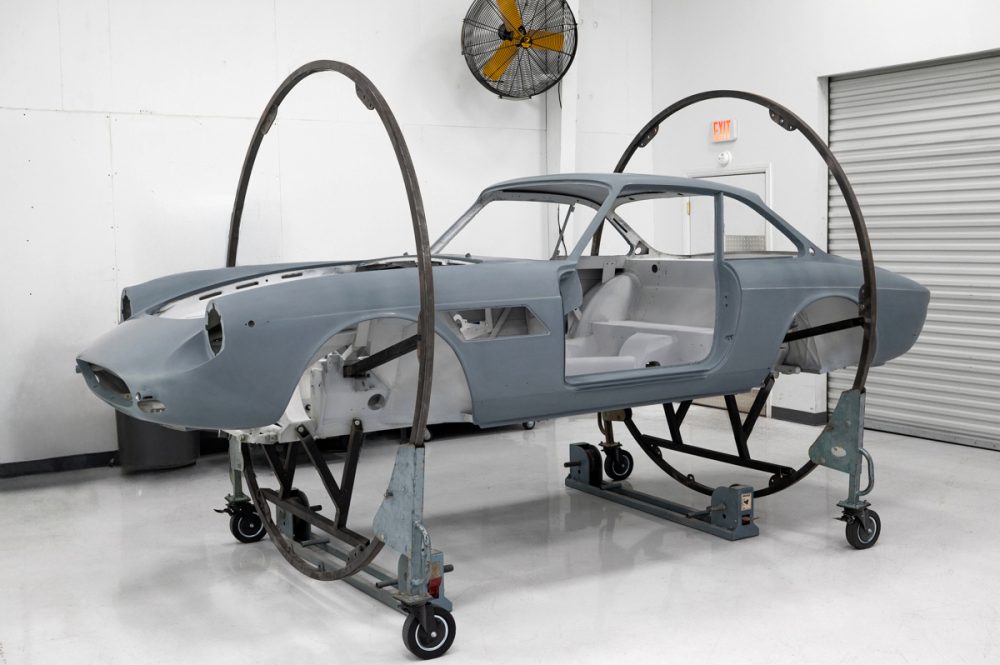
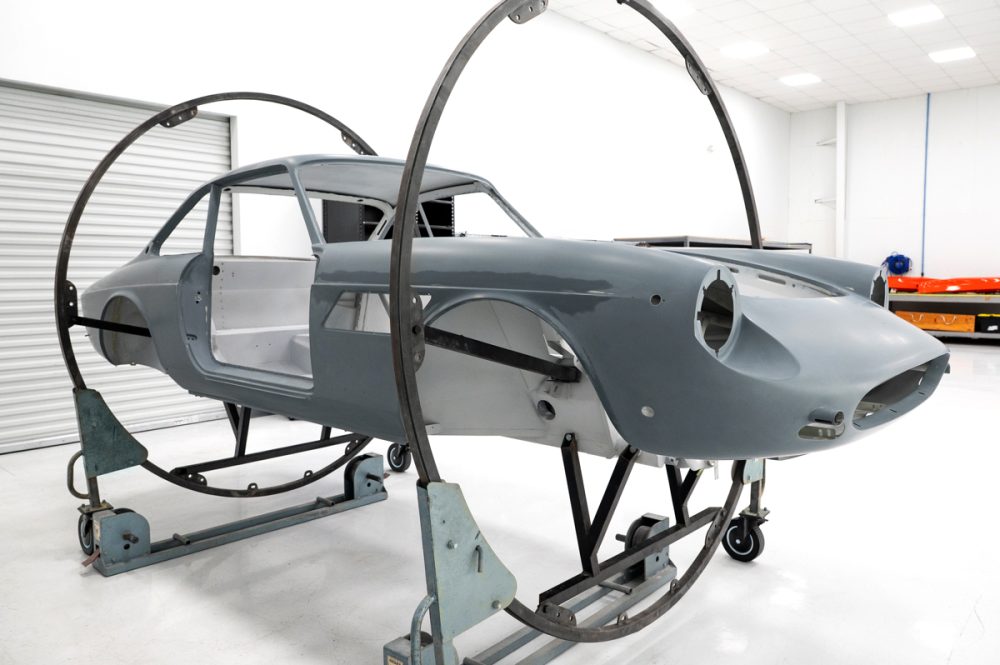
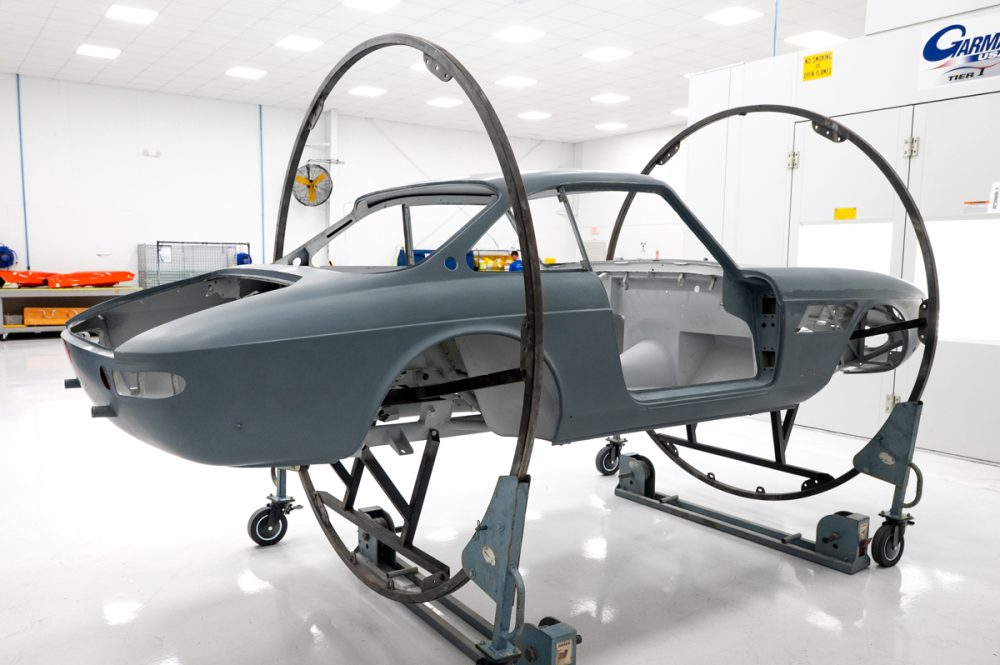
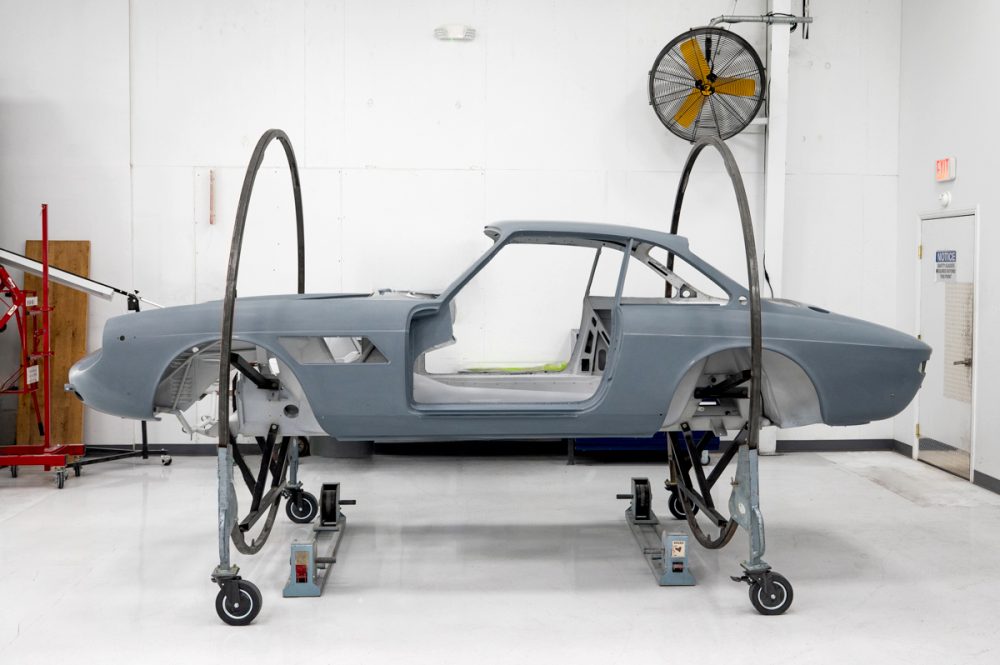
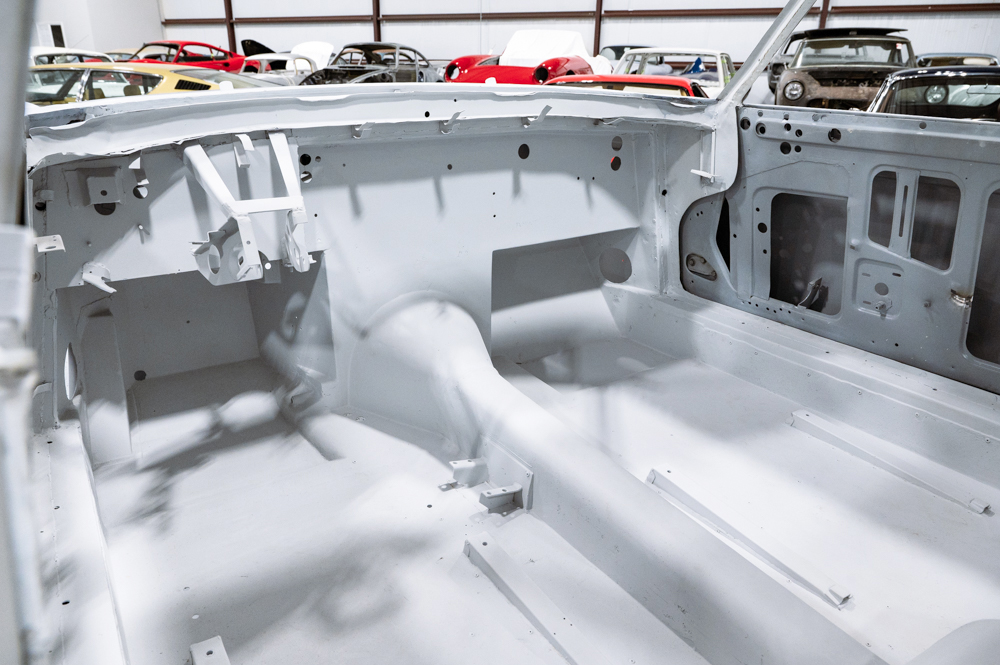
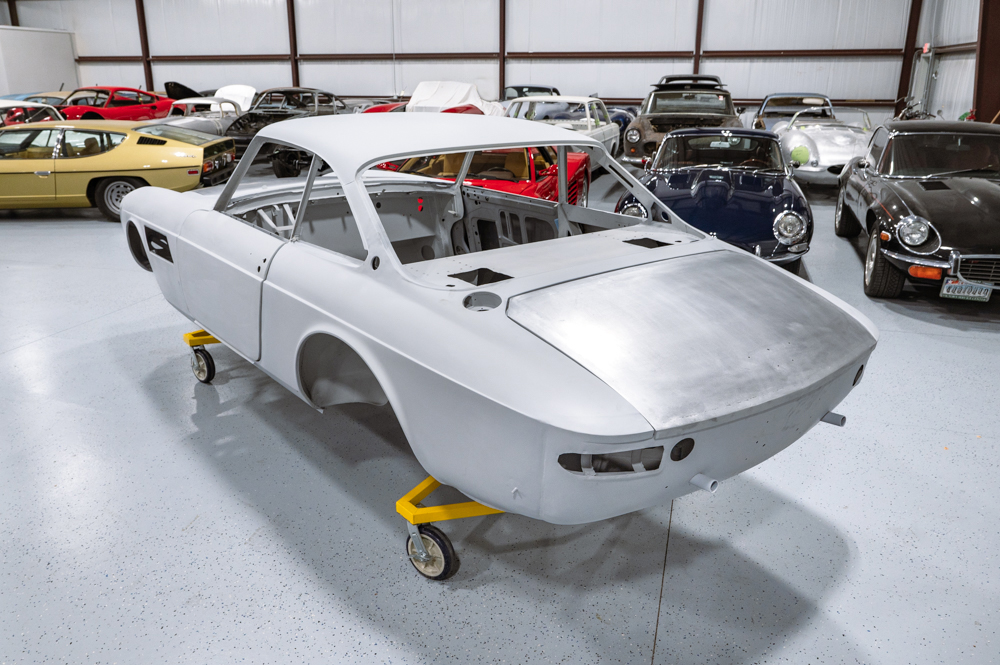
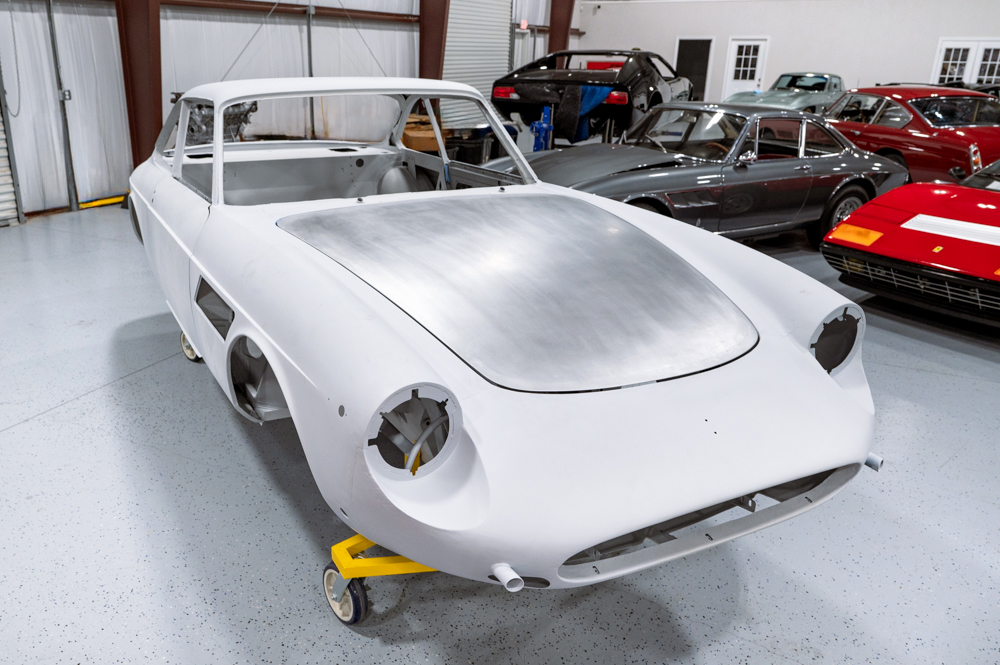
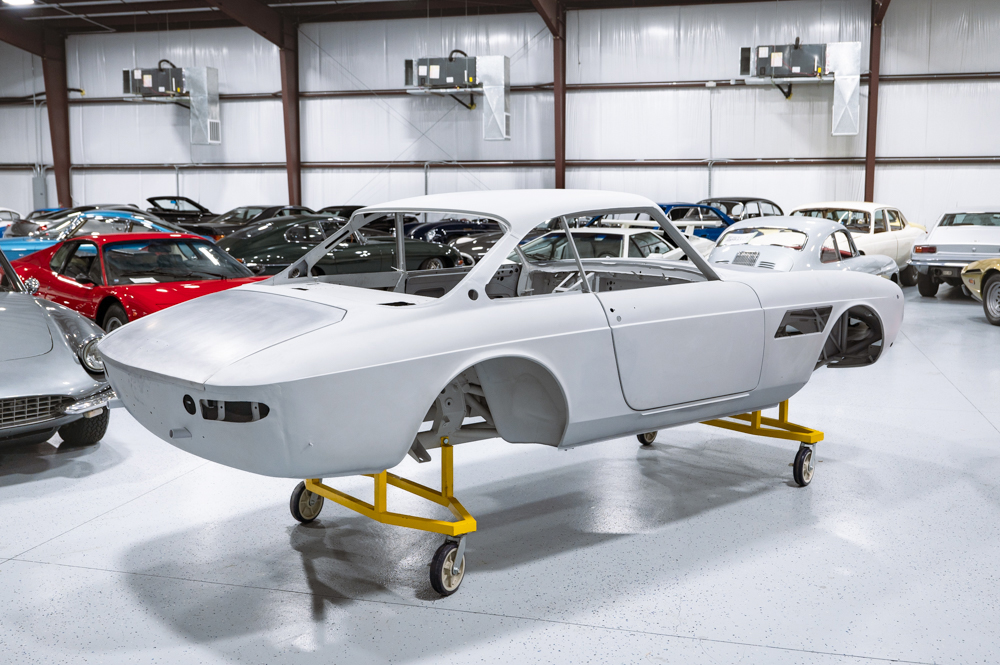
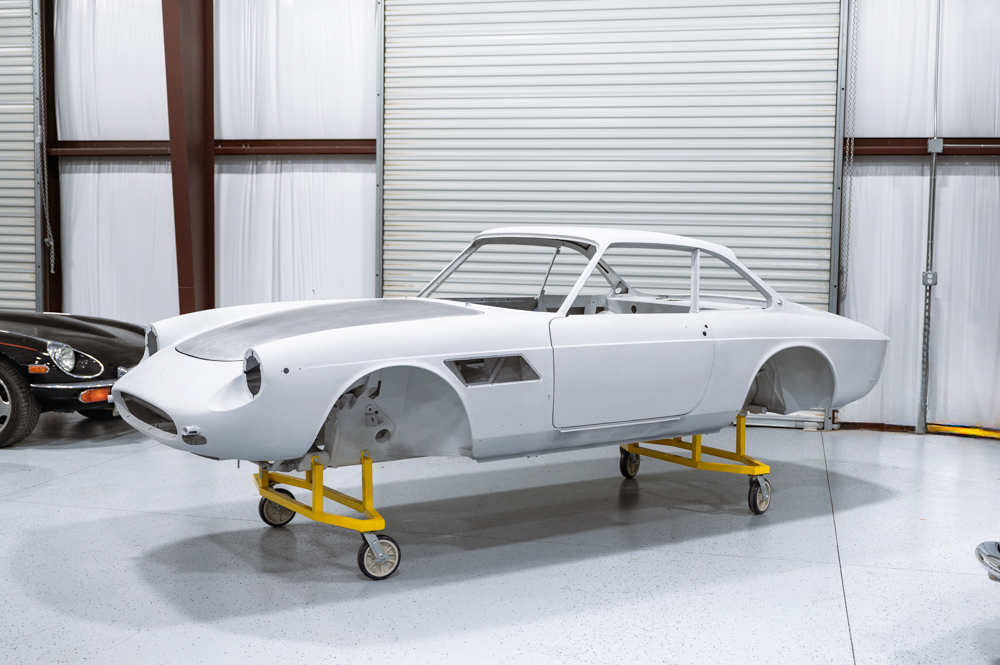
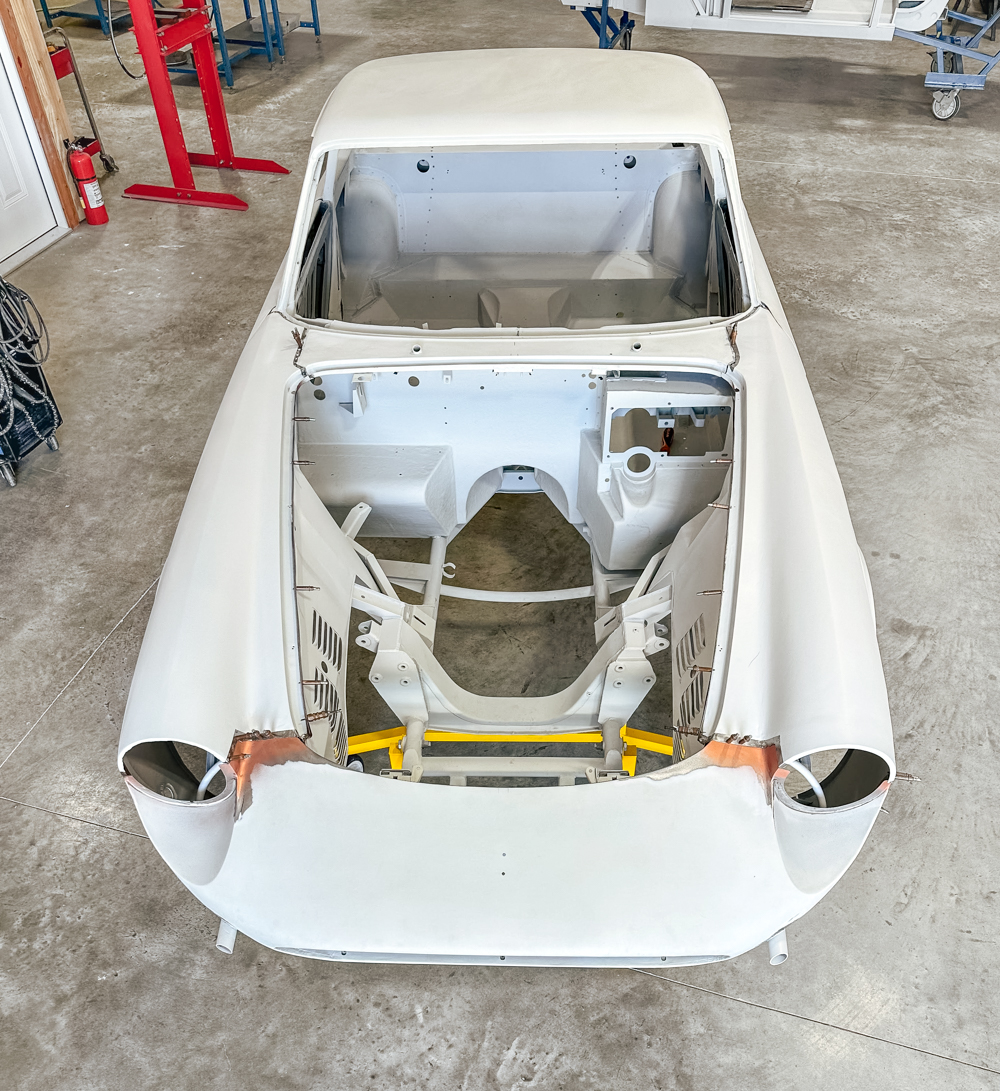
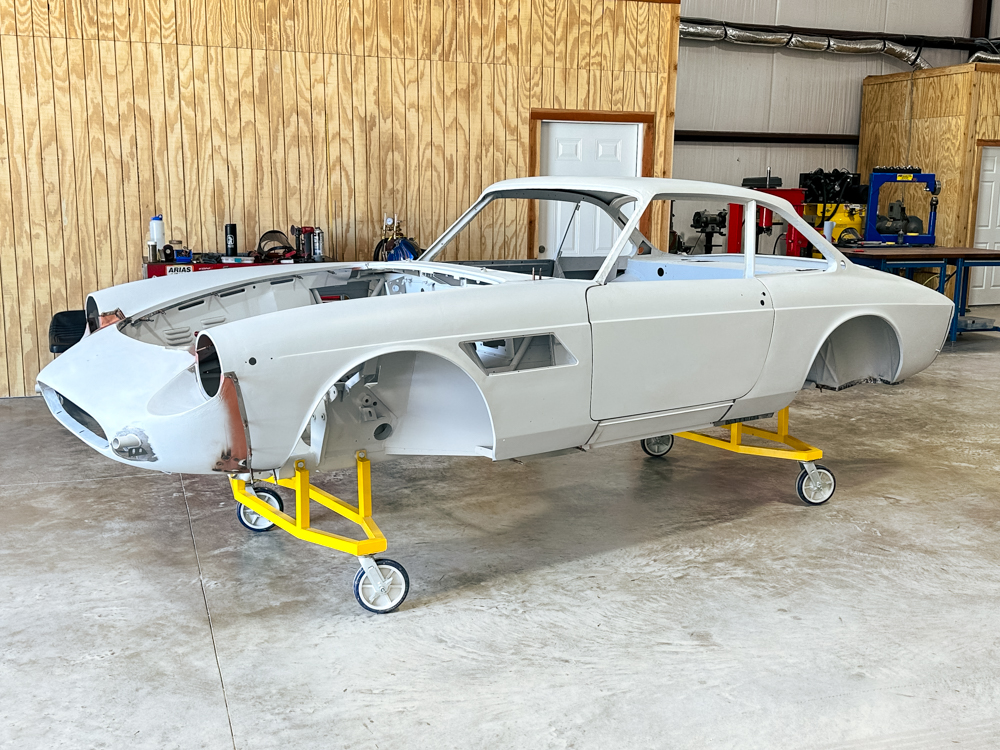
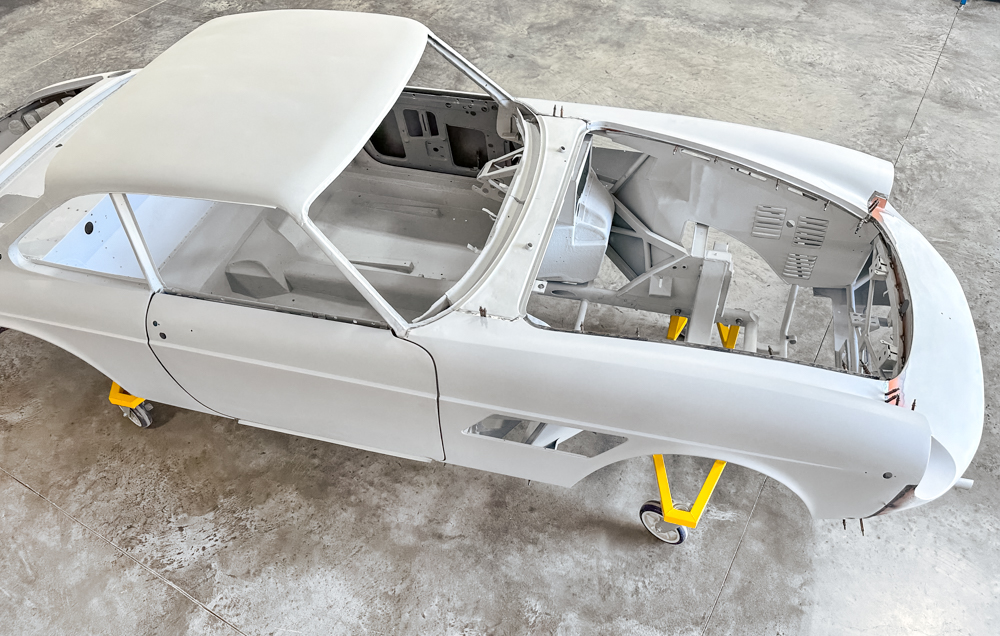
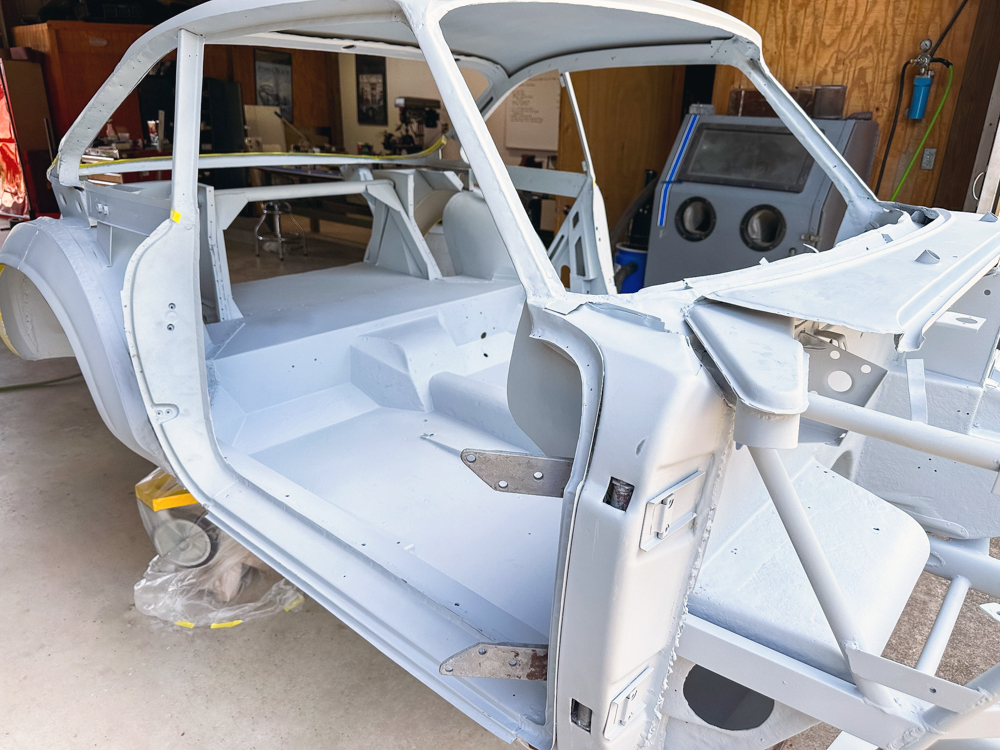
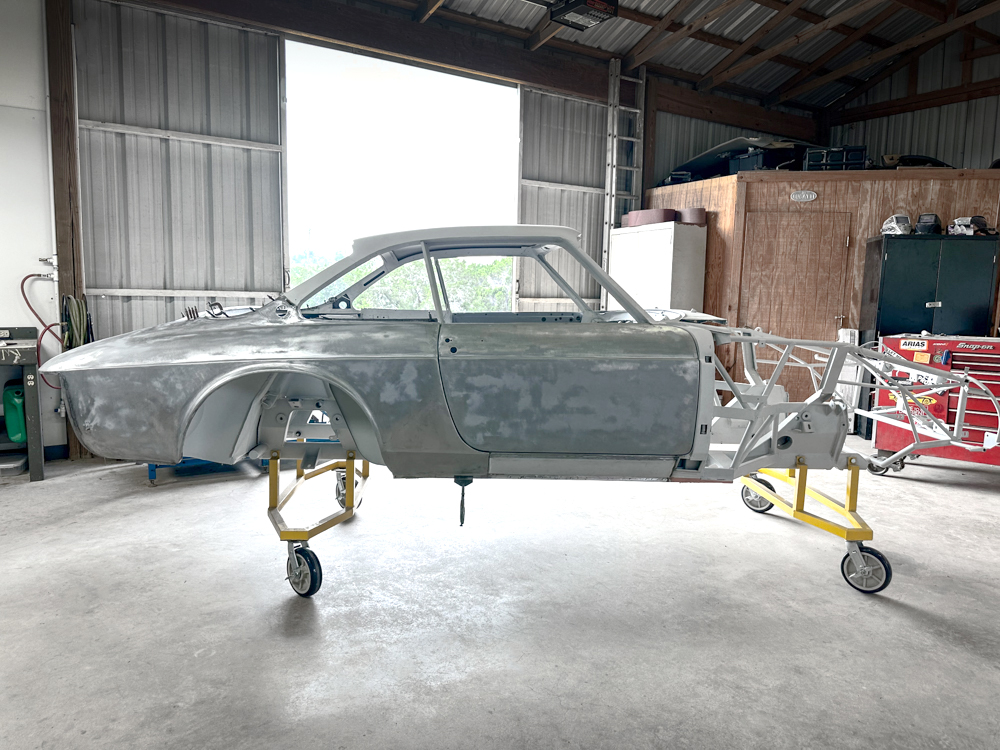
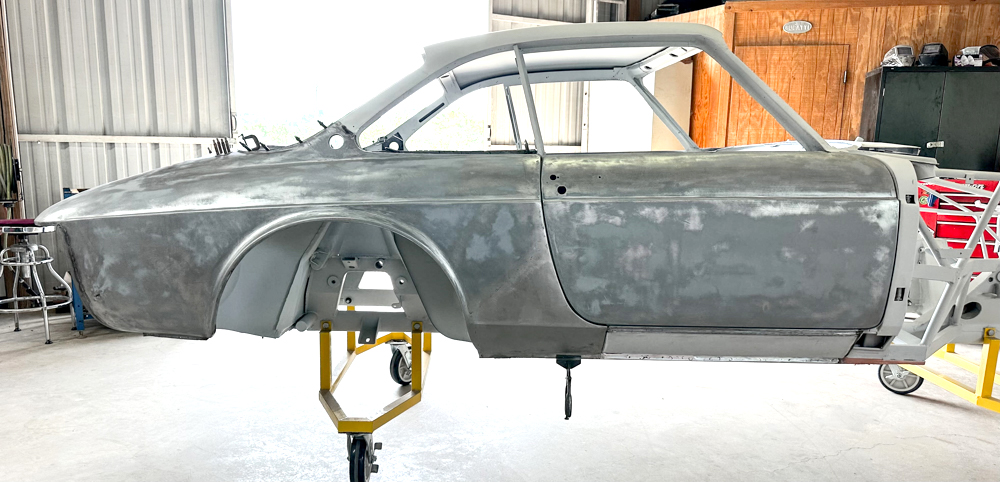
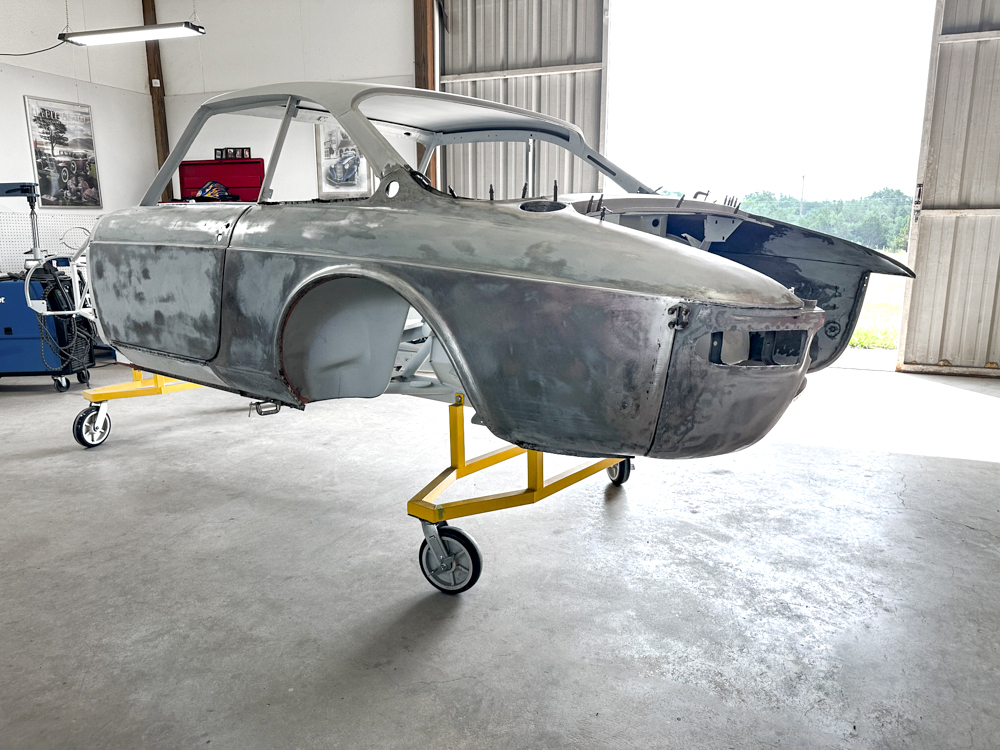
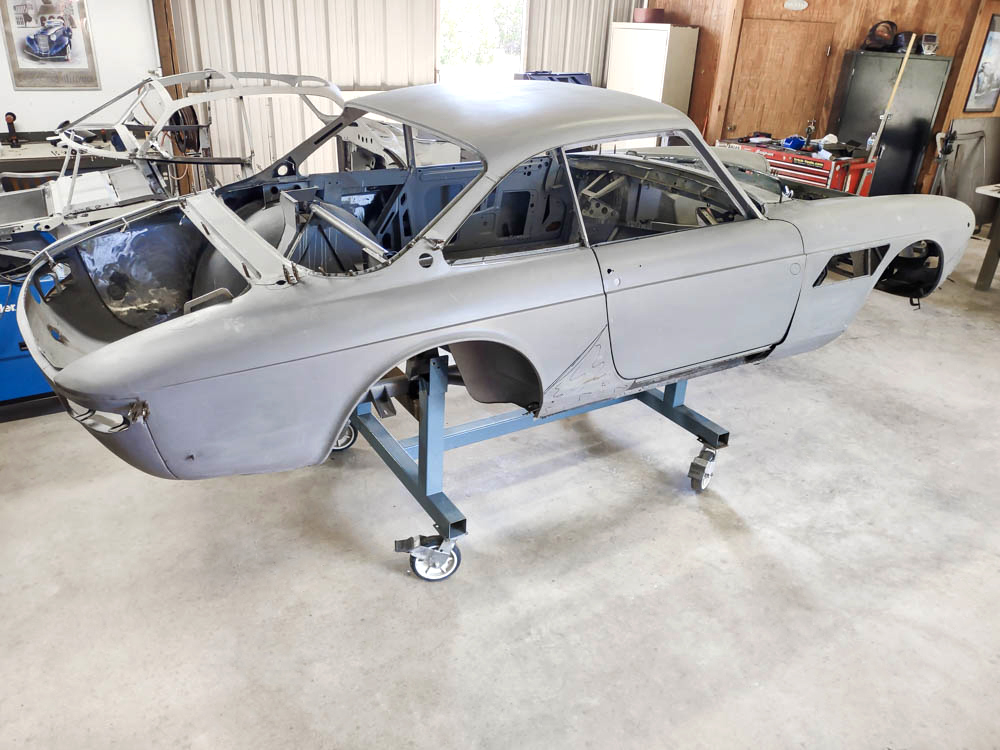
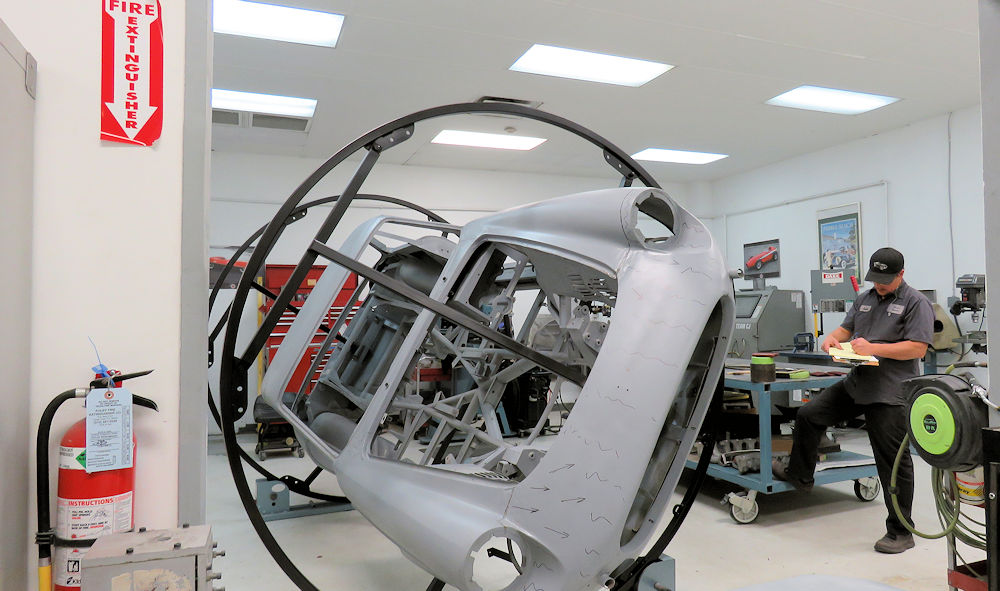
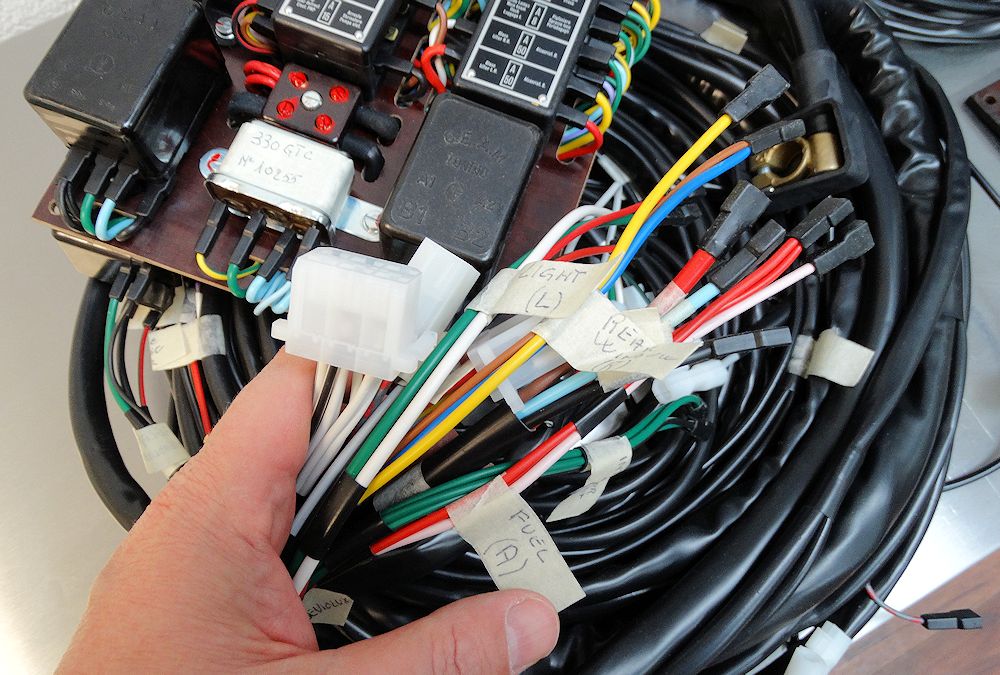
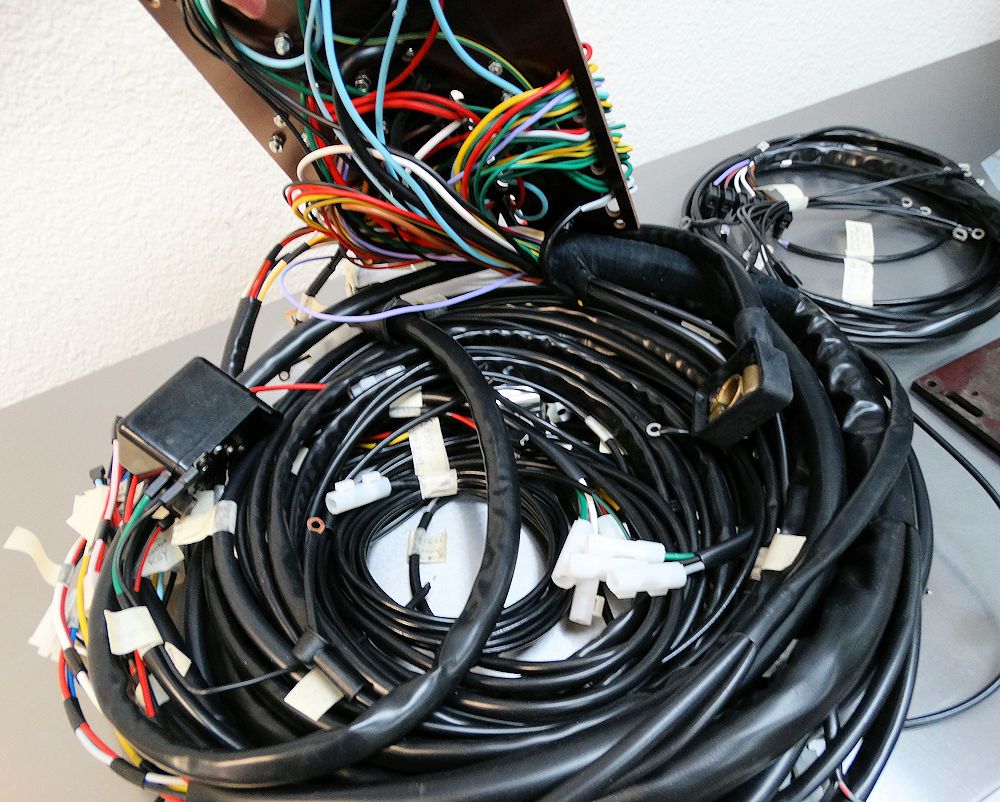
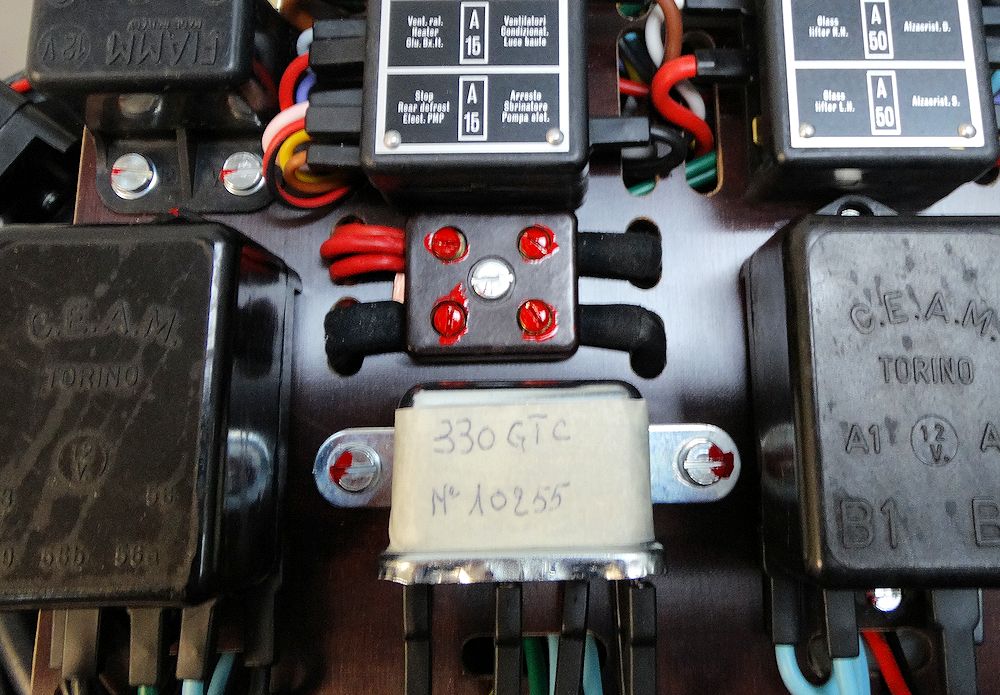
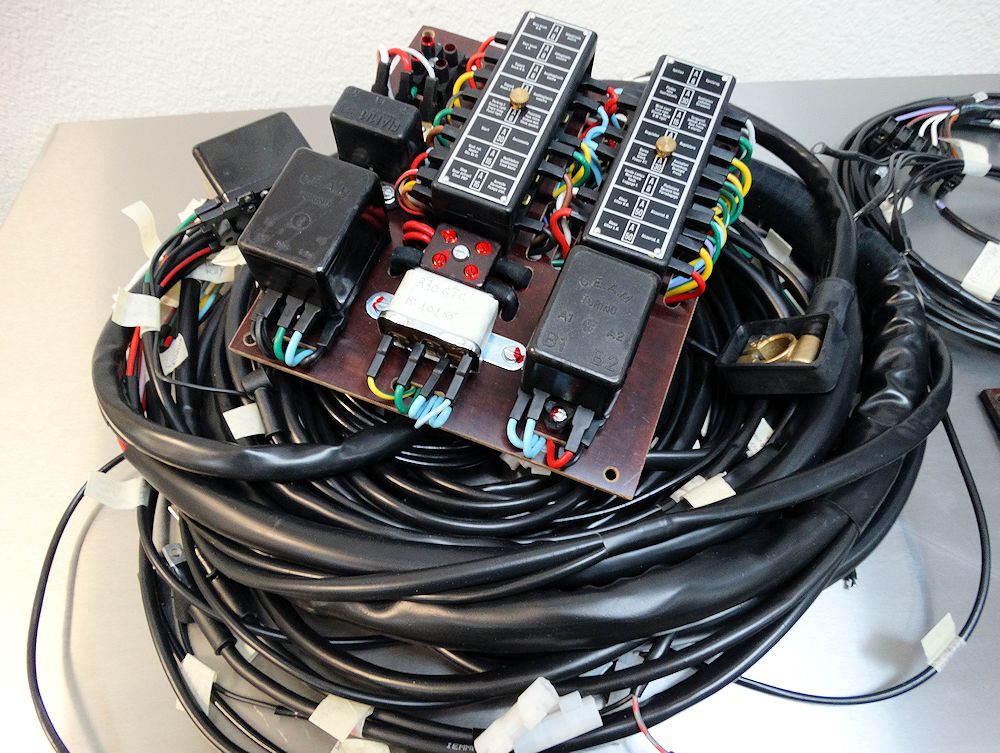
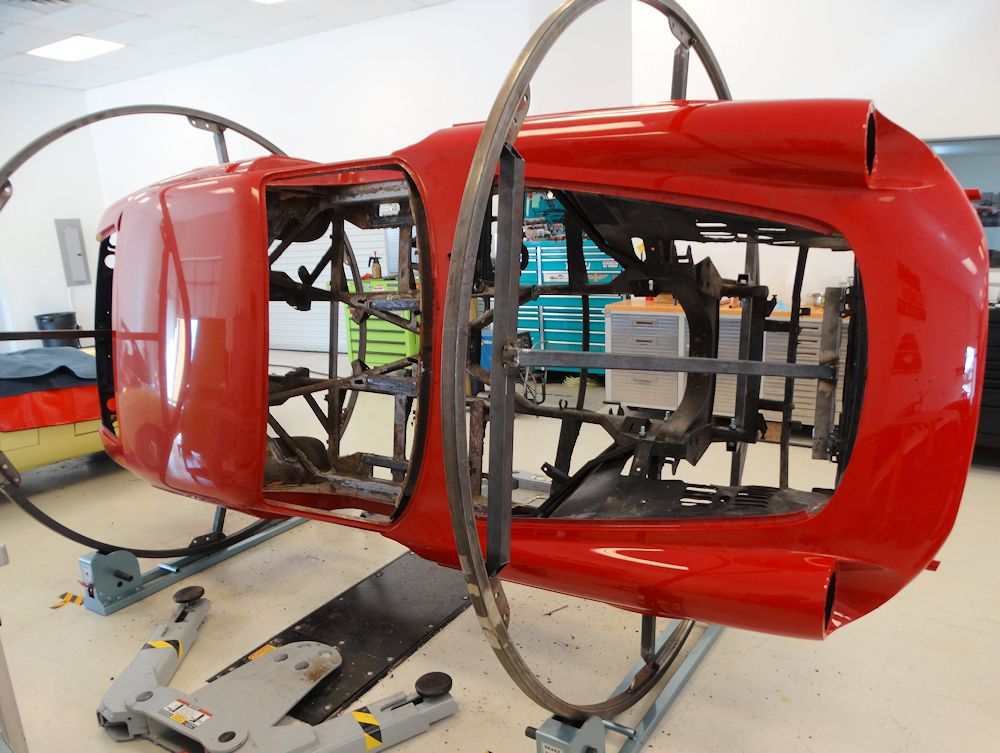
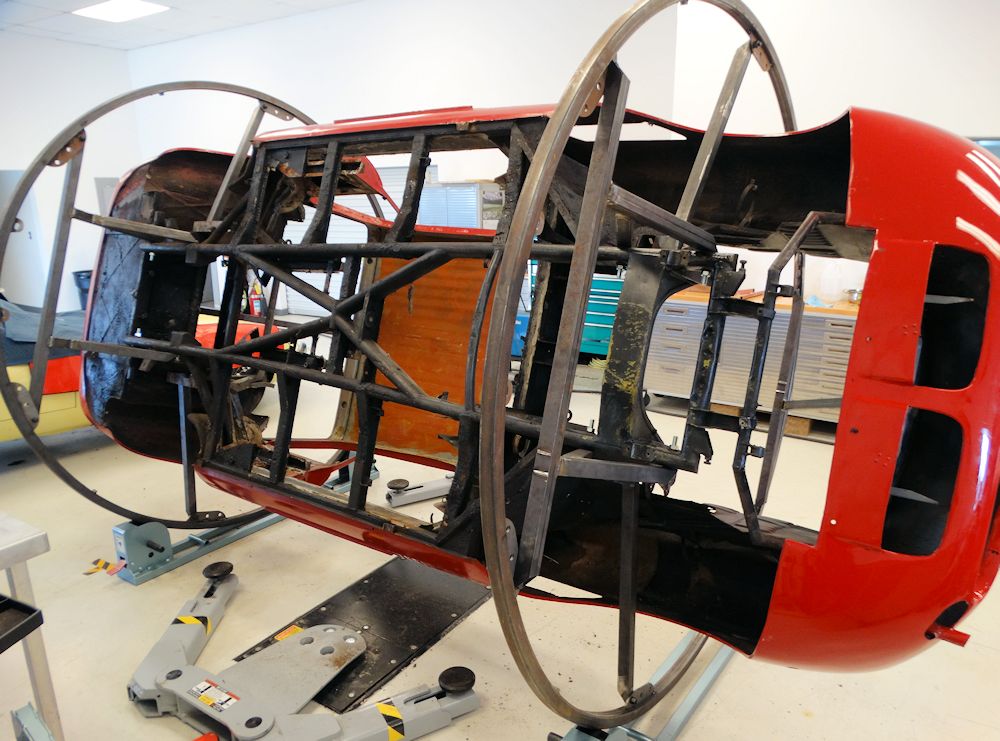
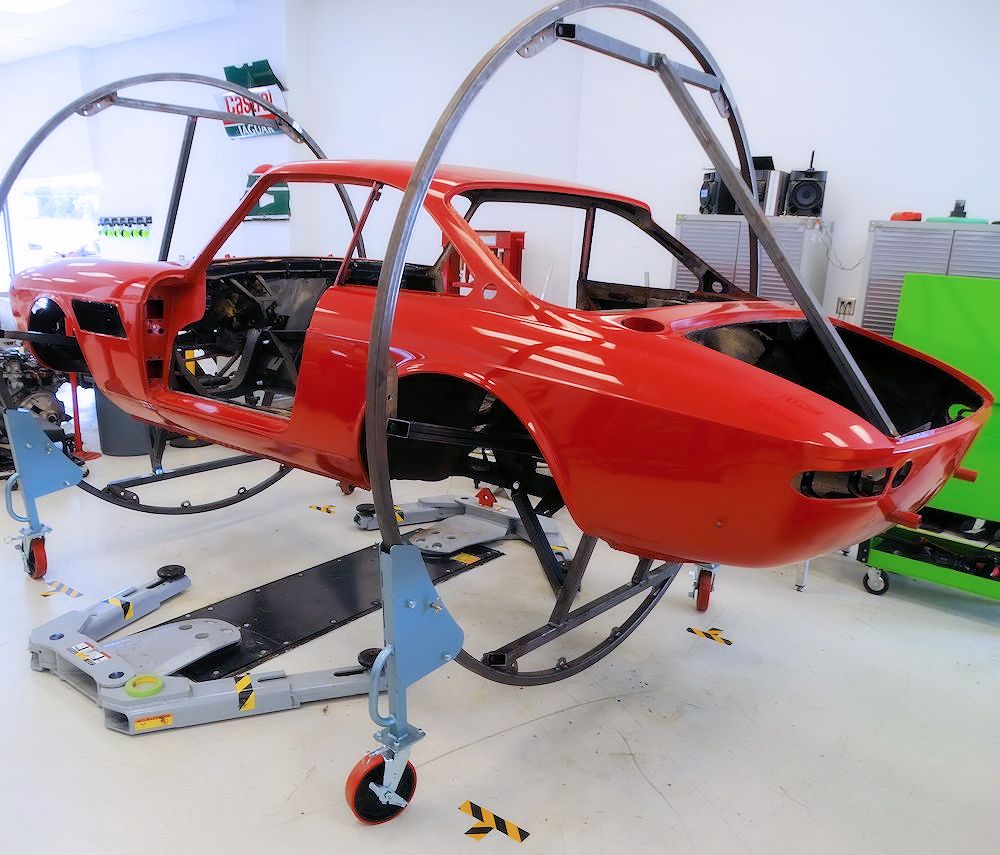
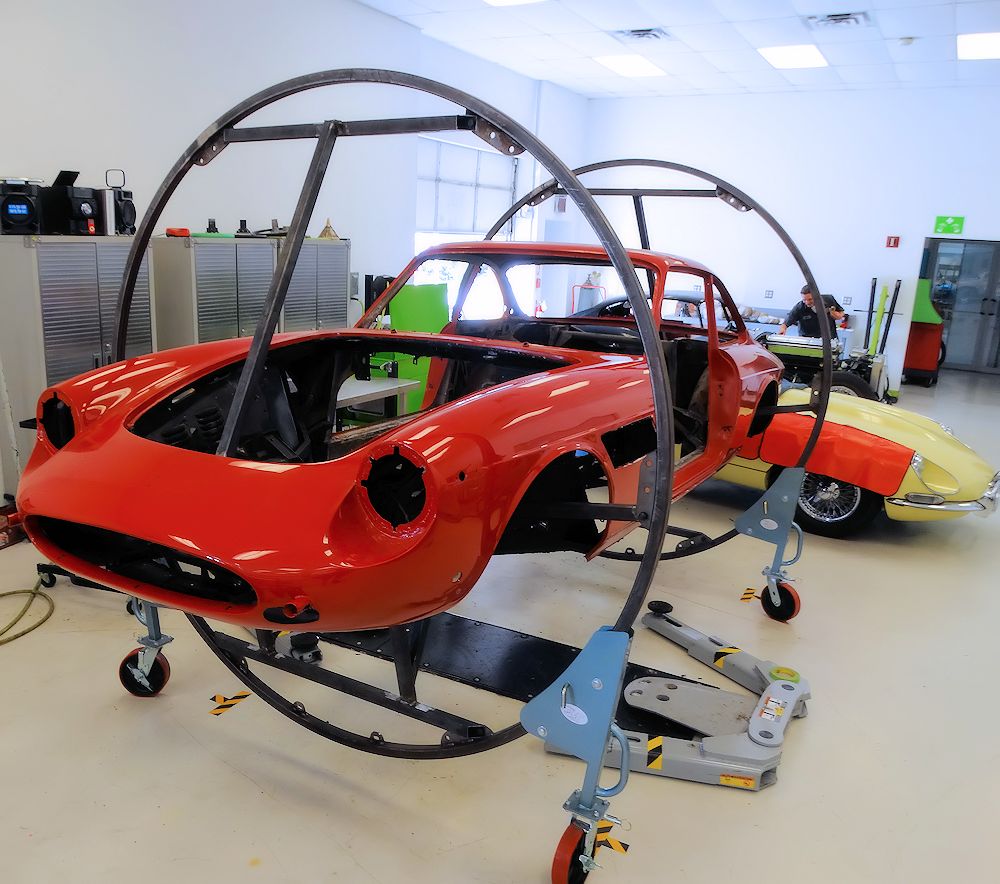
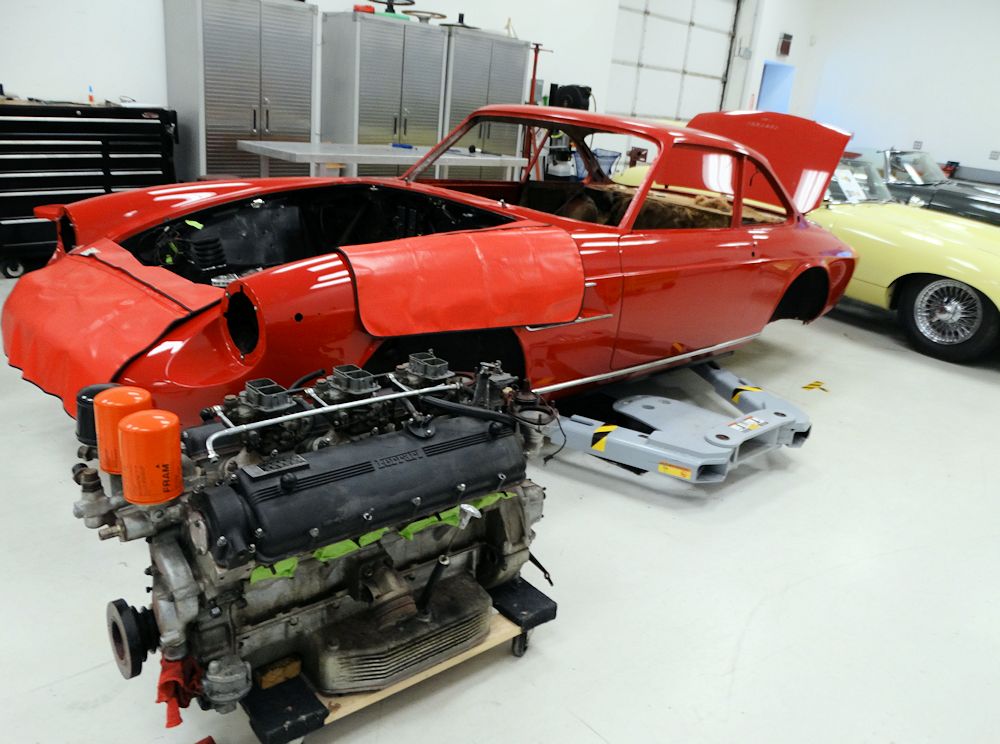
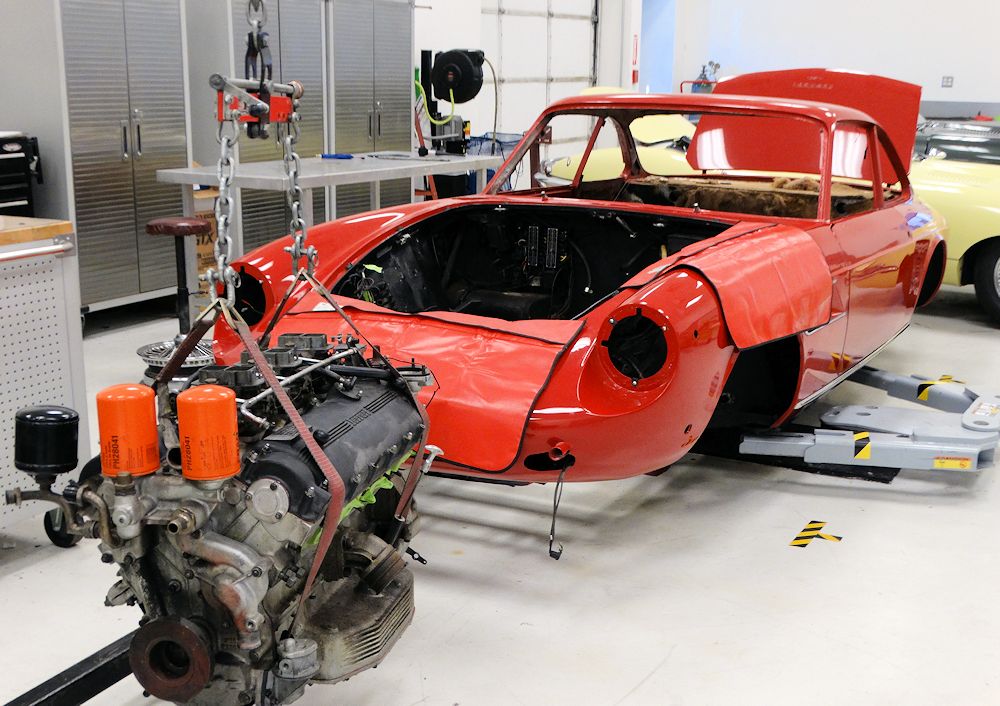
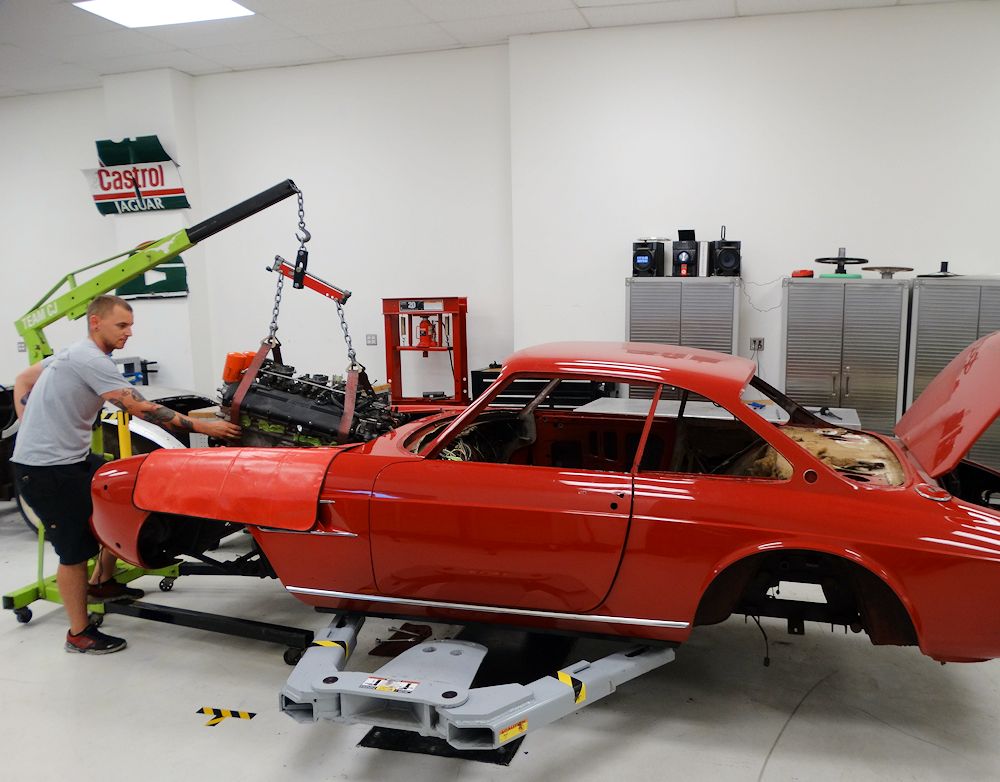
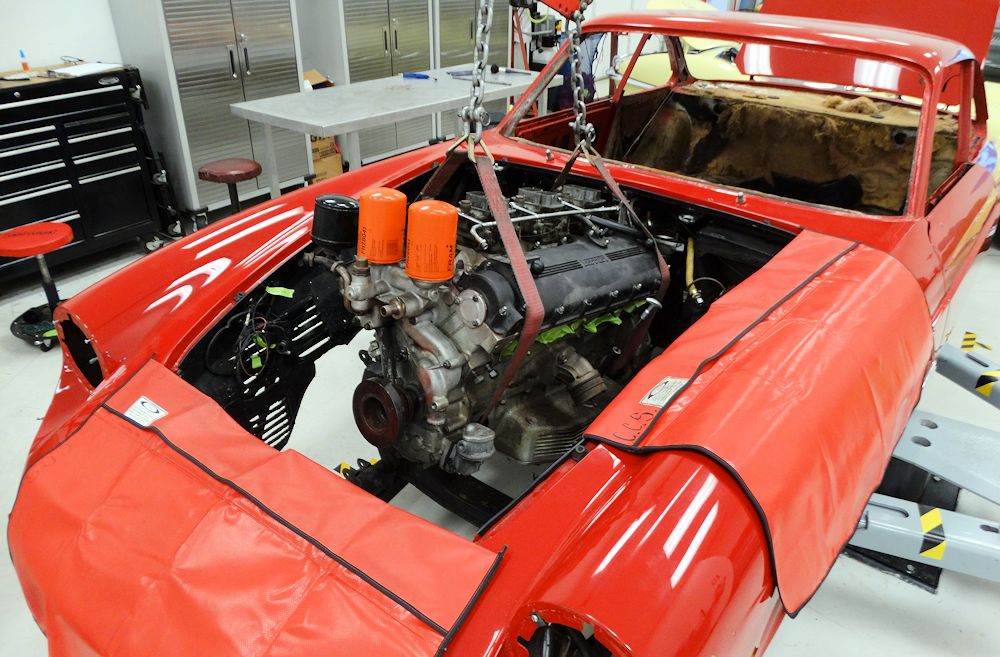
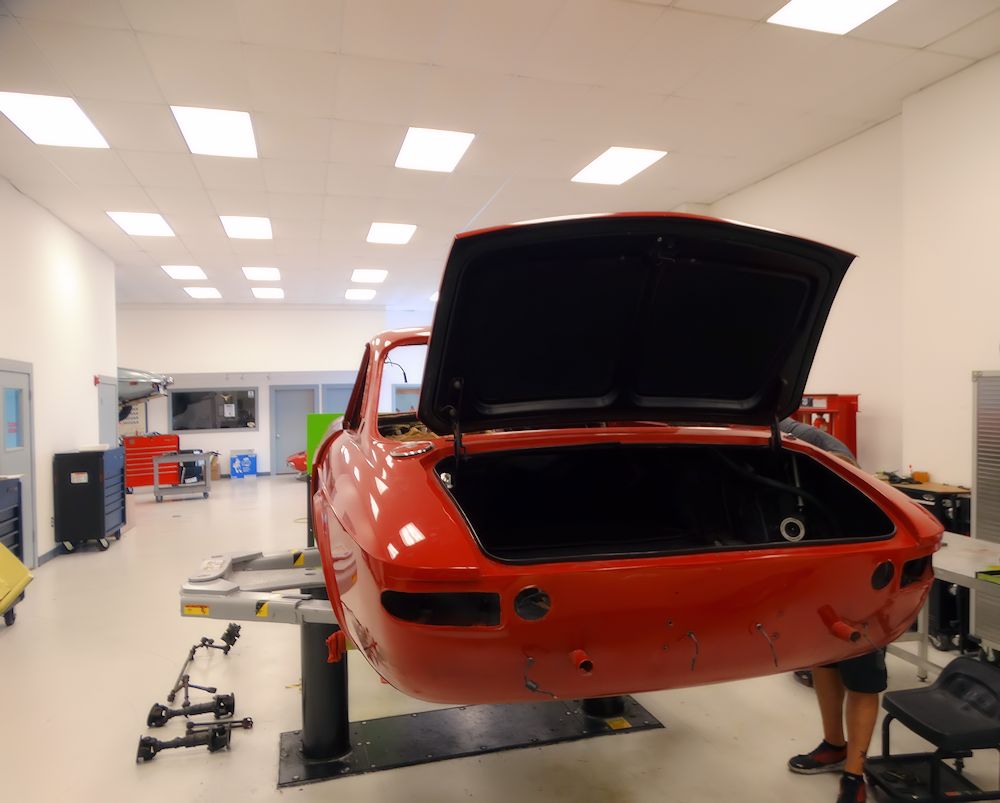
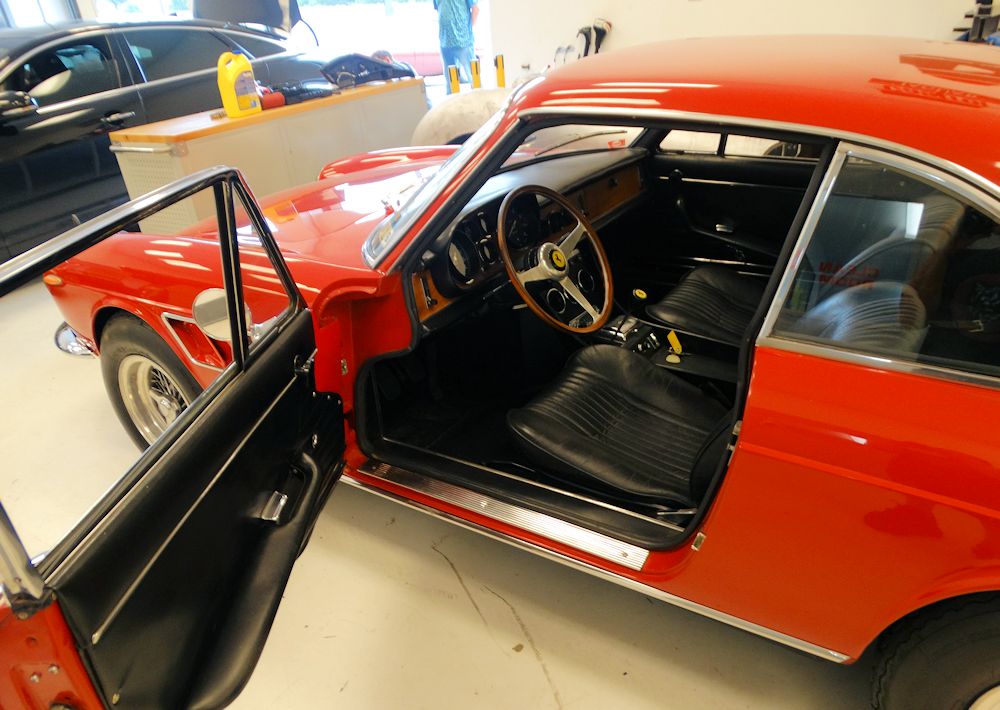
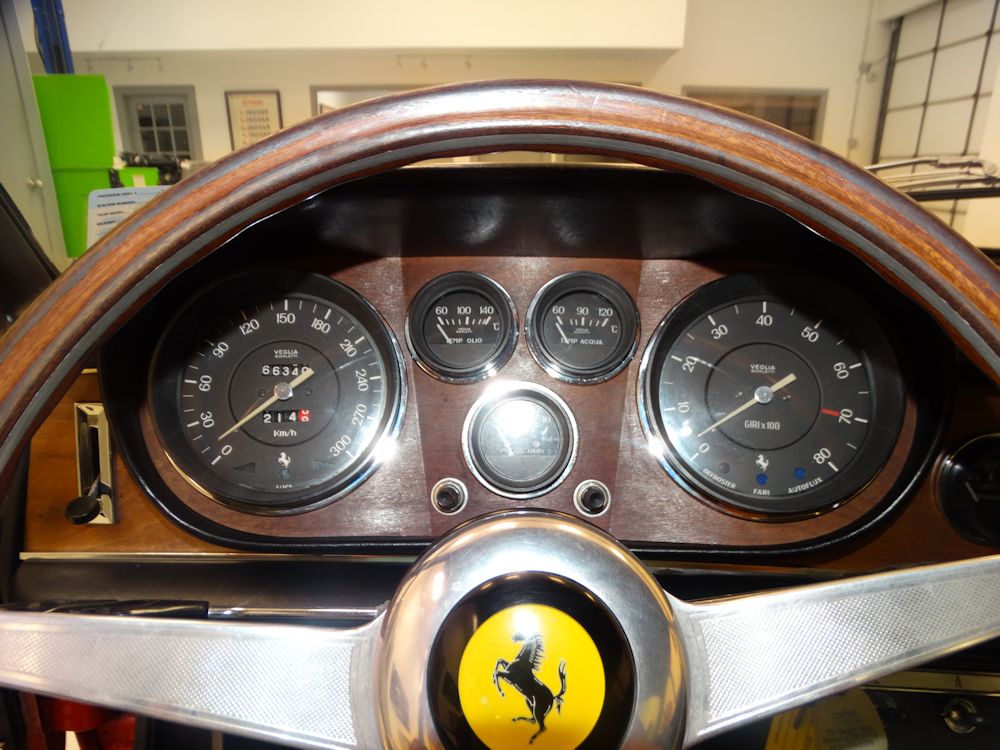
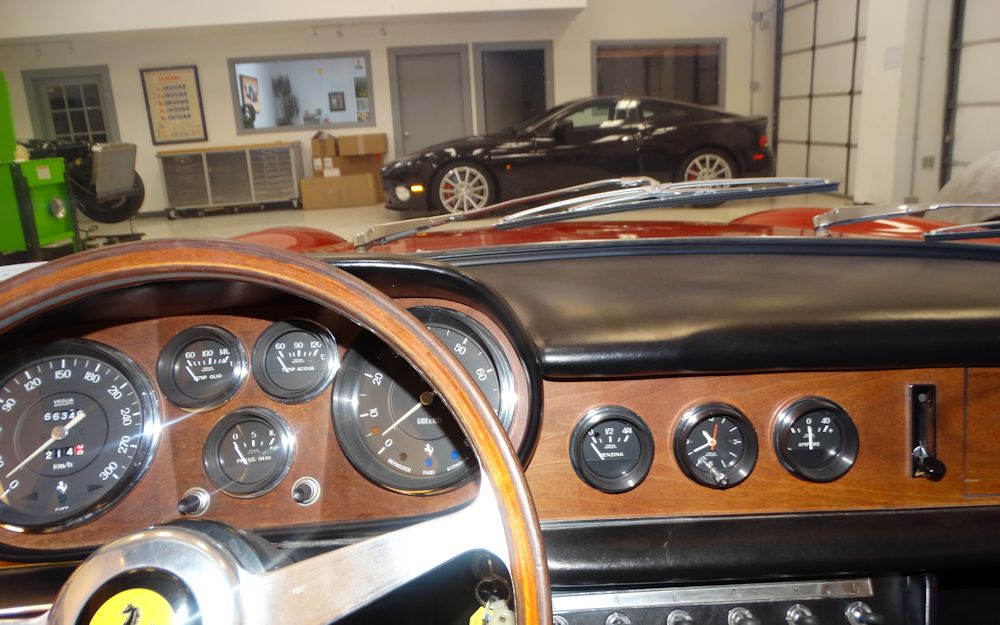
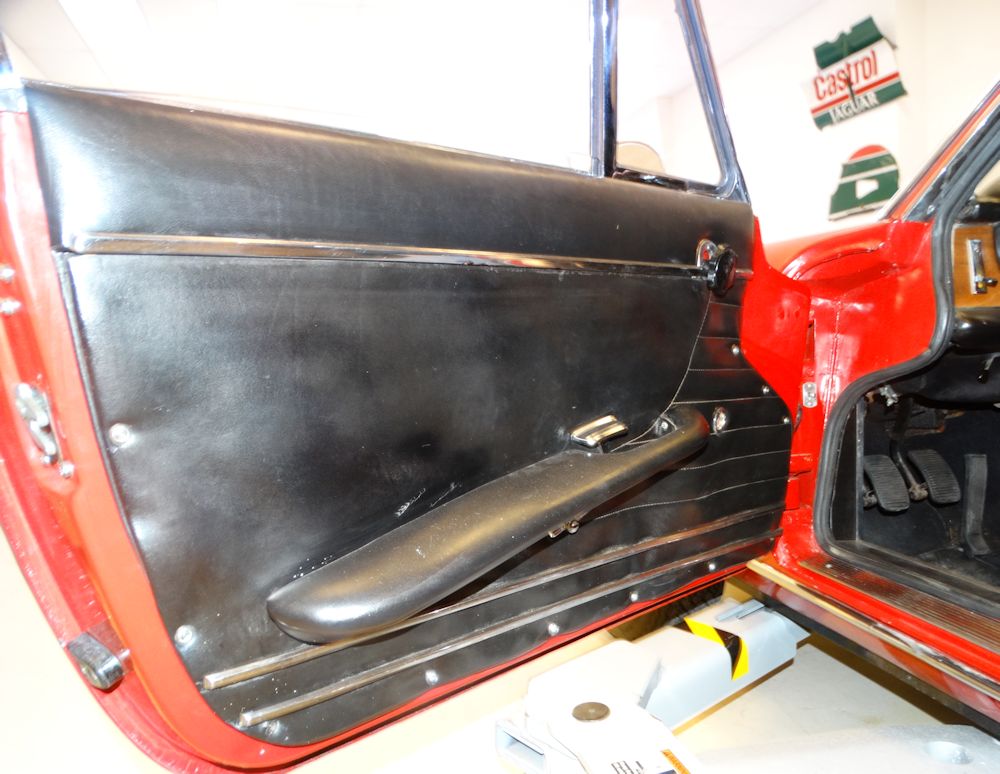
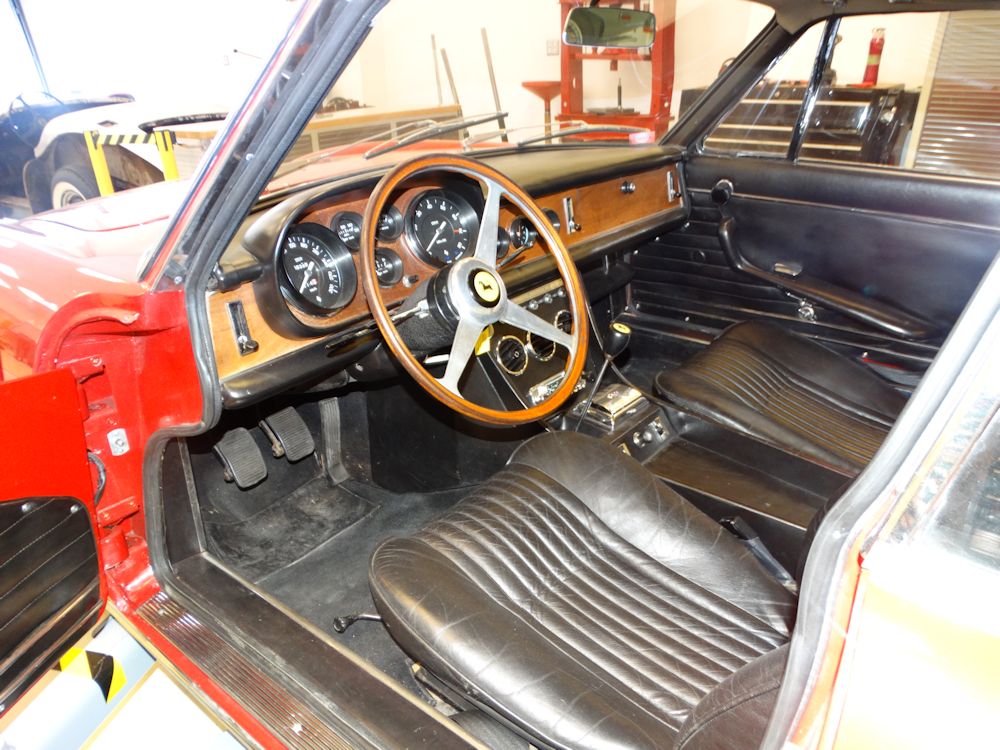
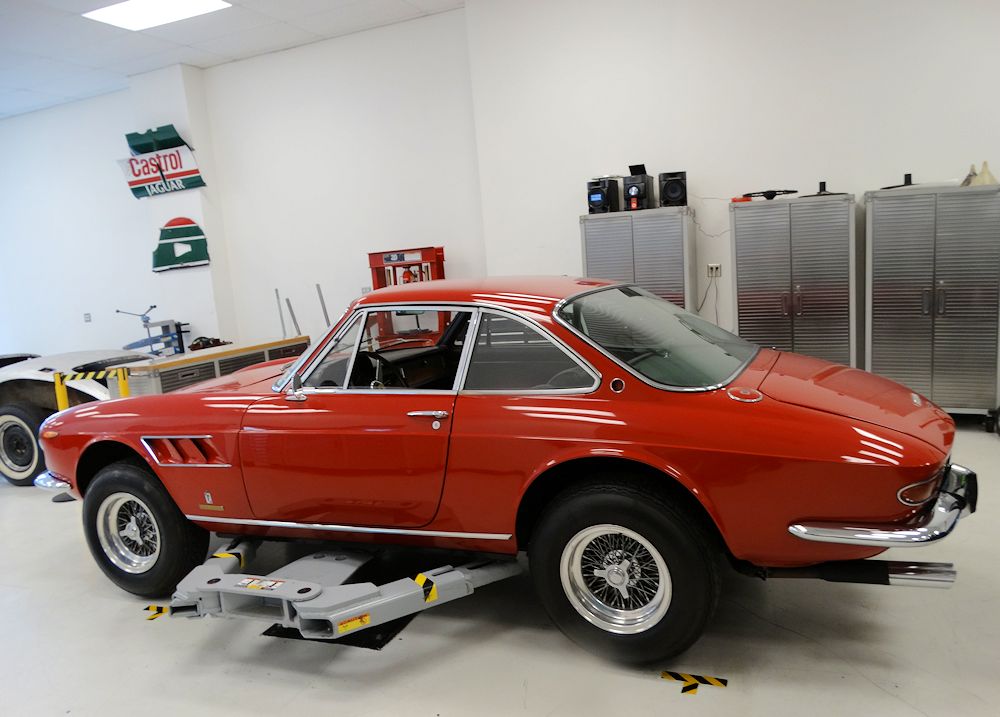
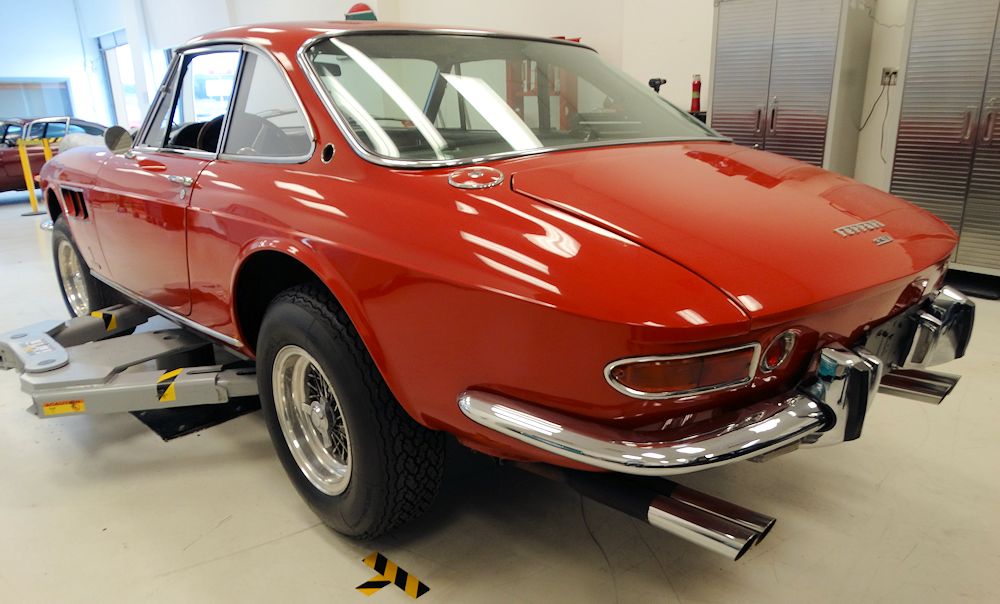
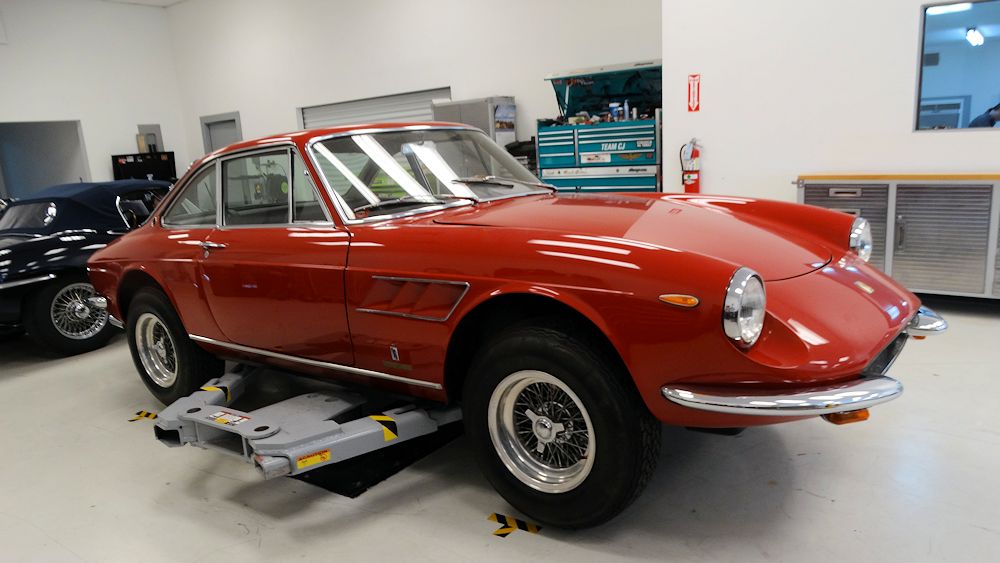
Concours Restoration
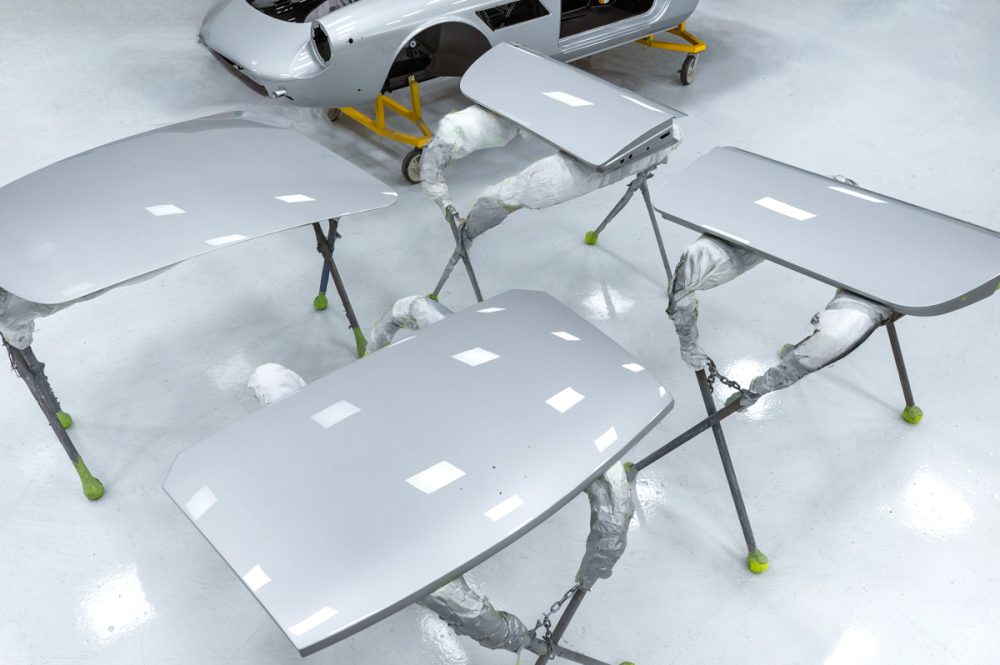
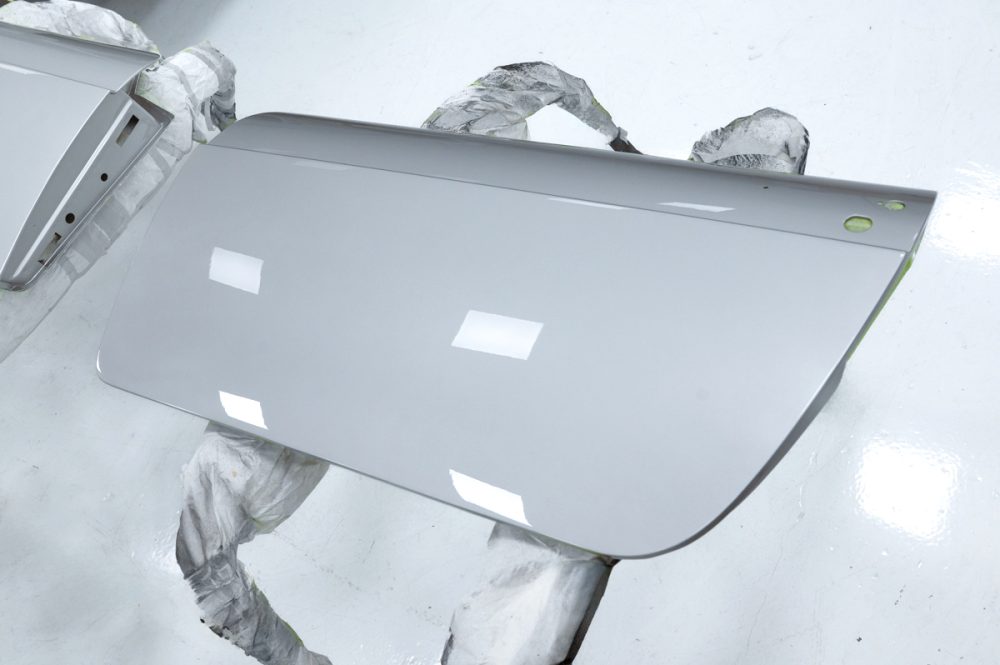
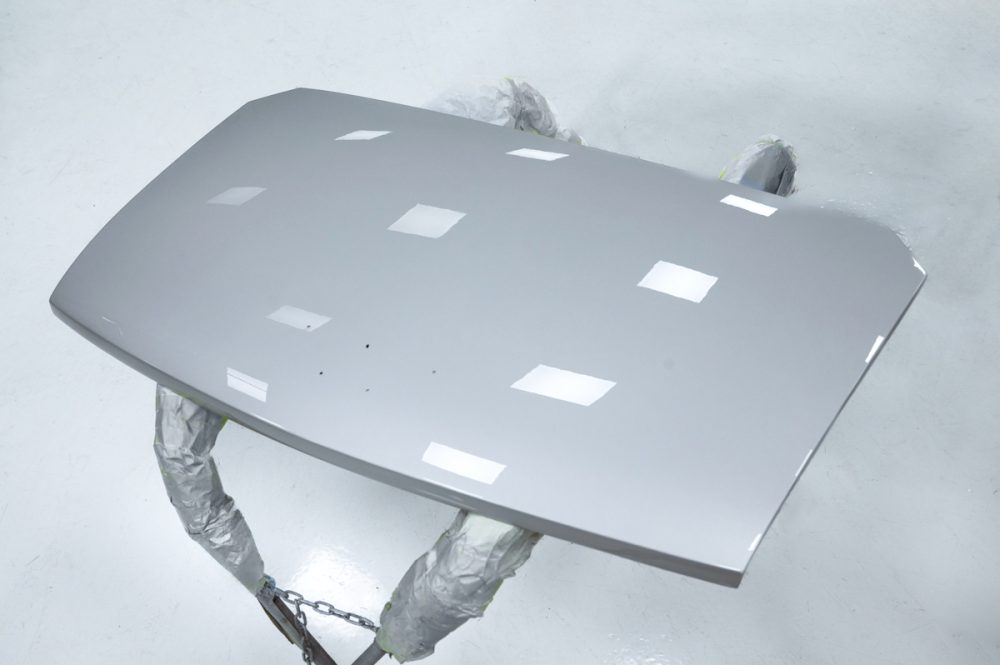
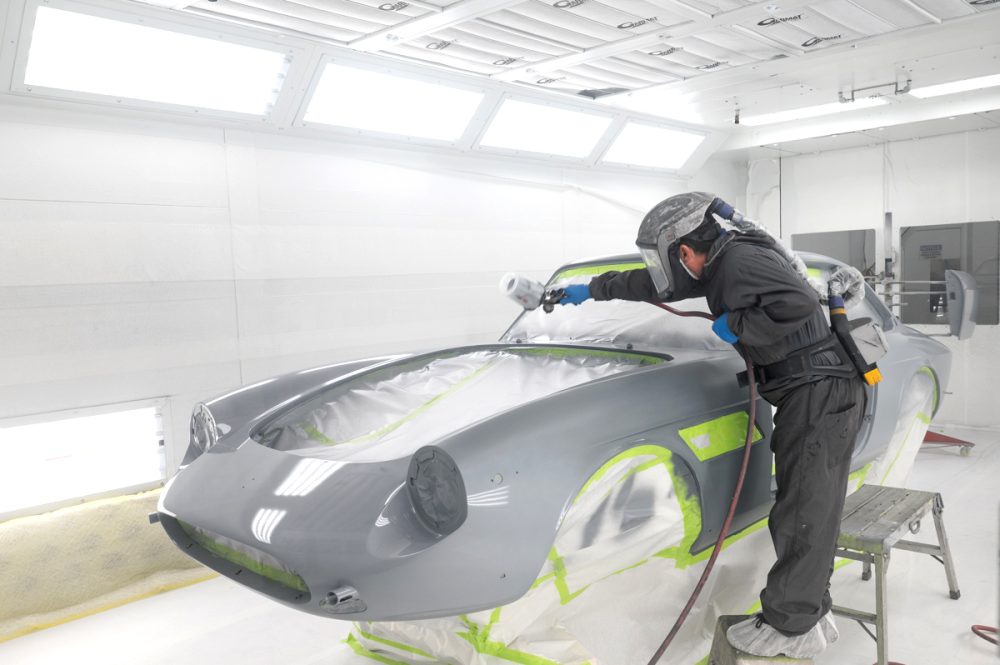
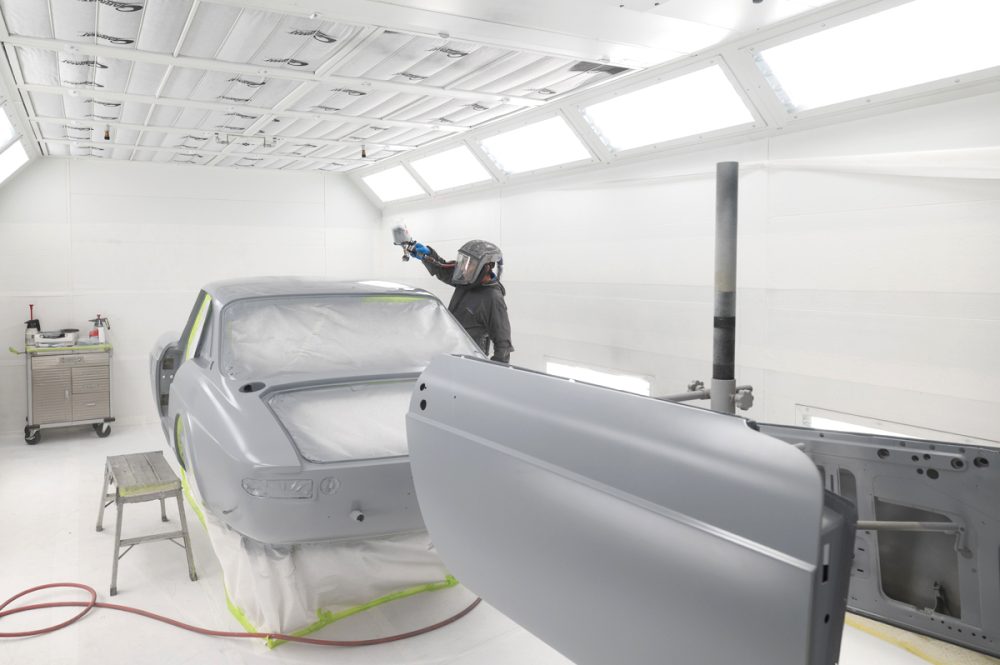
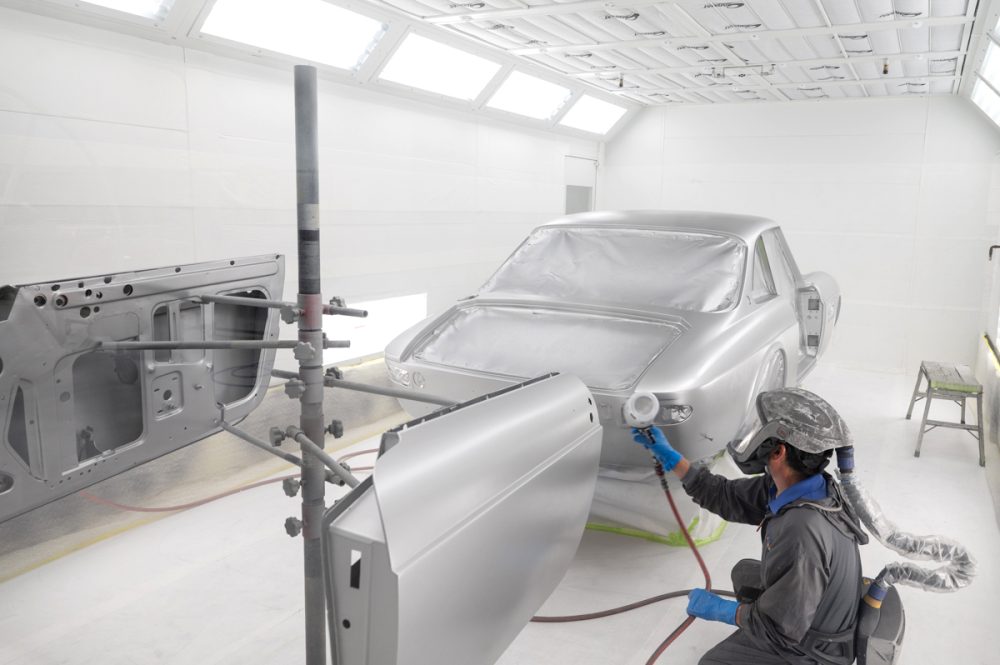
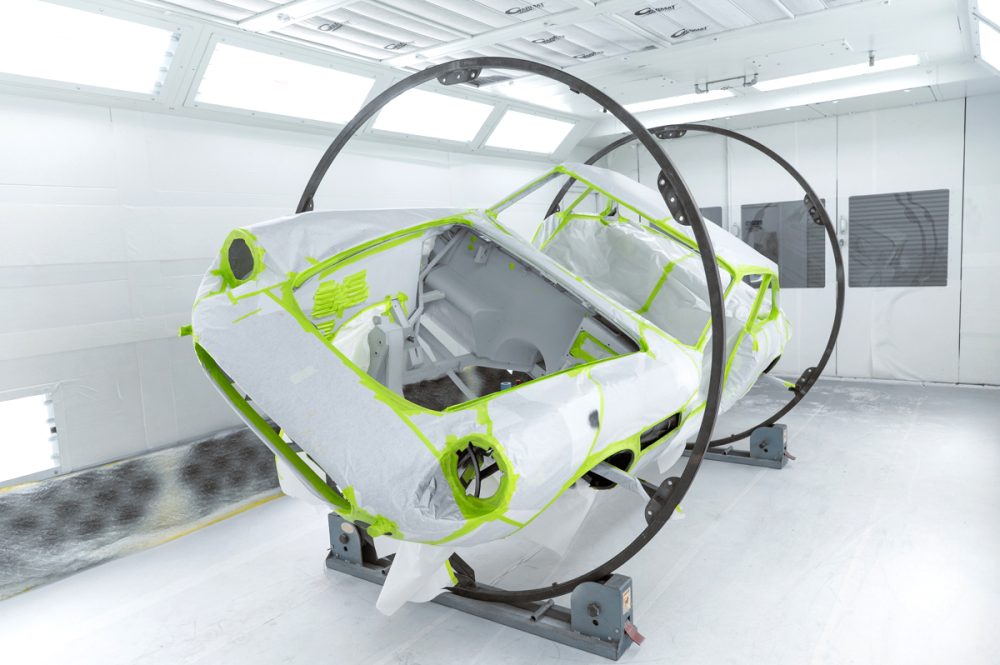
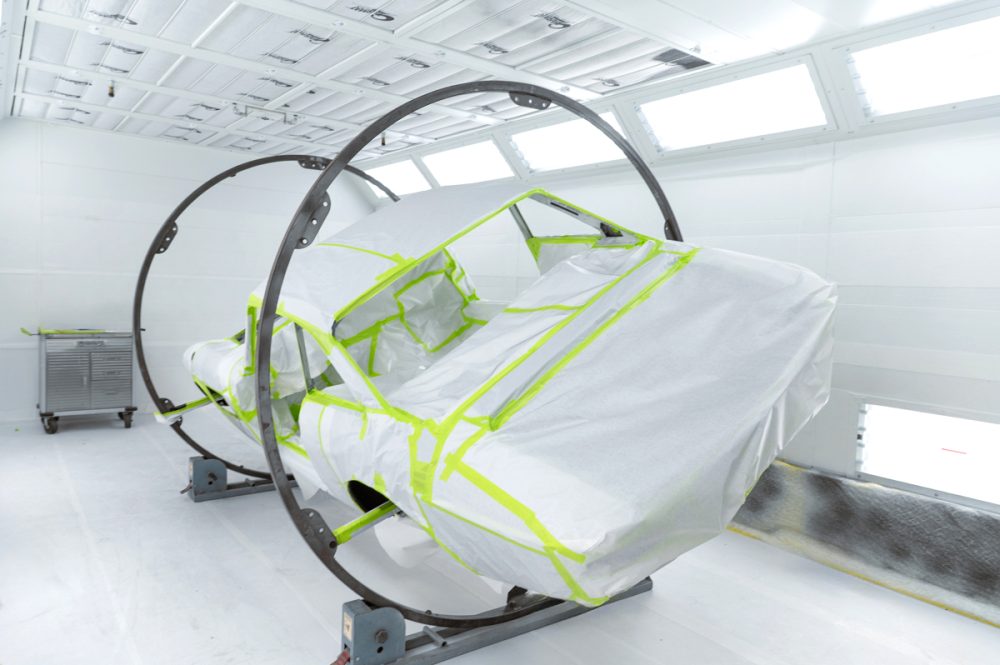
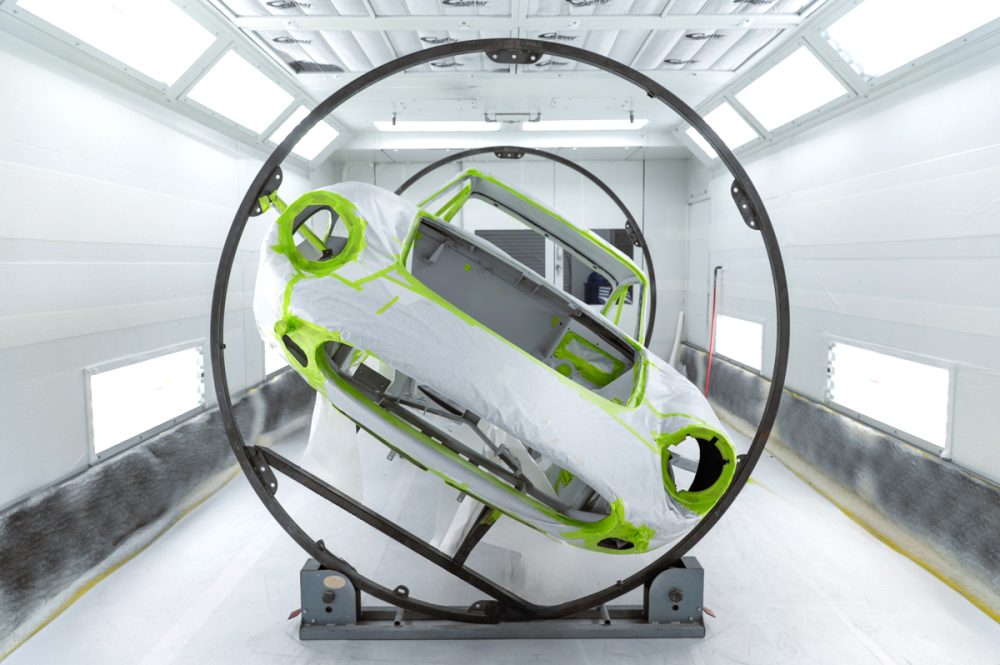
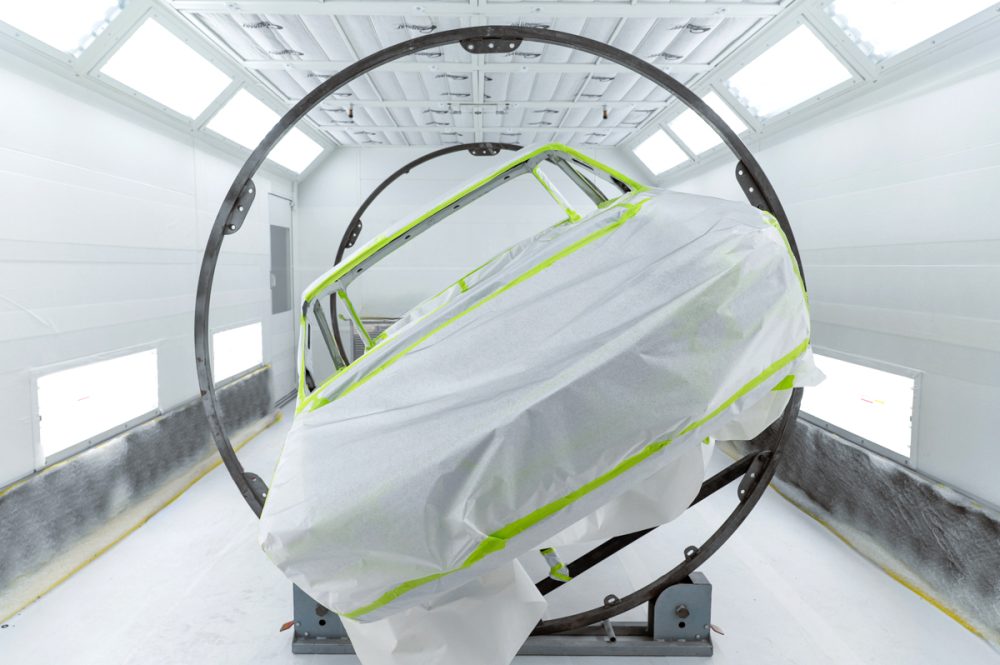
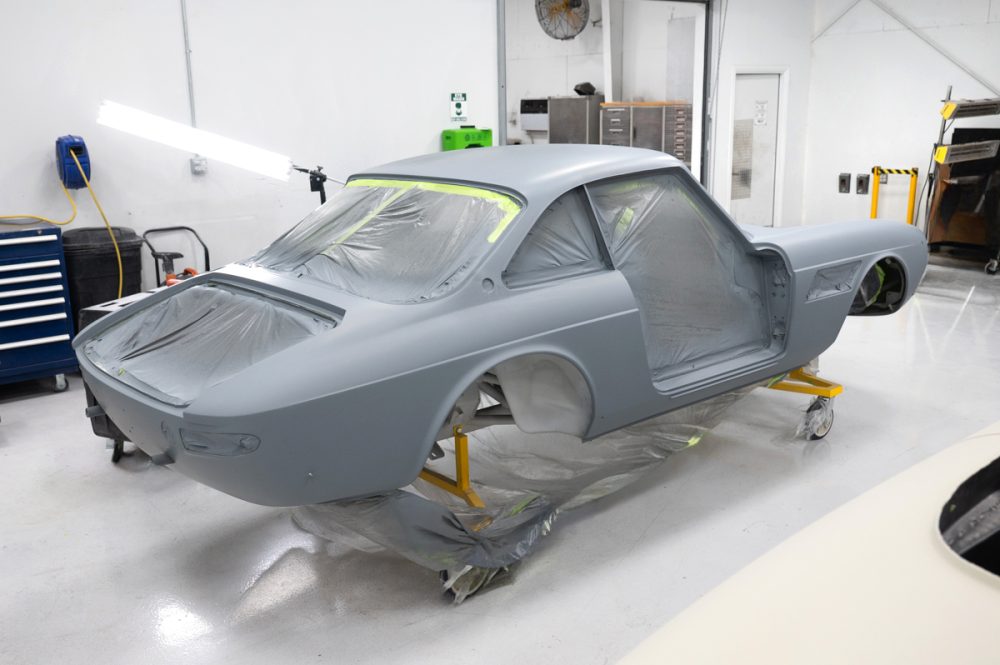
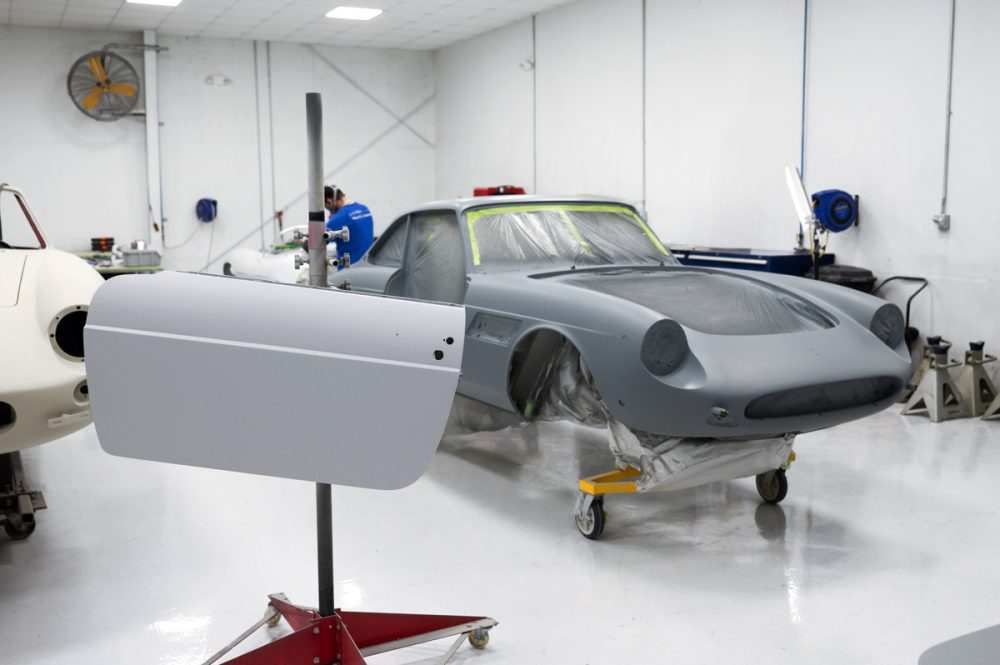
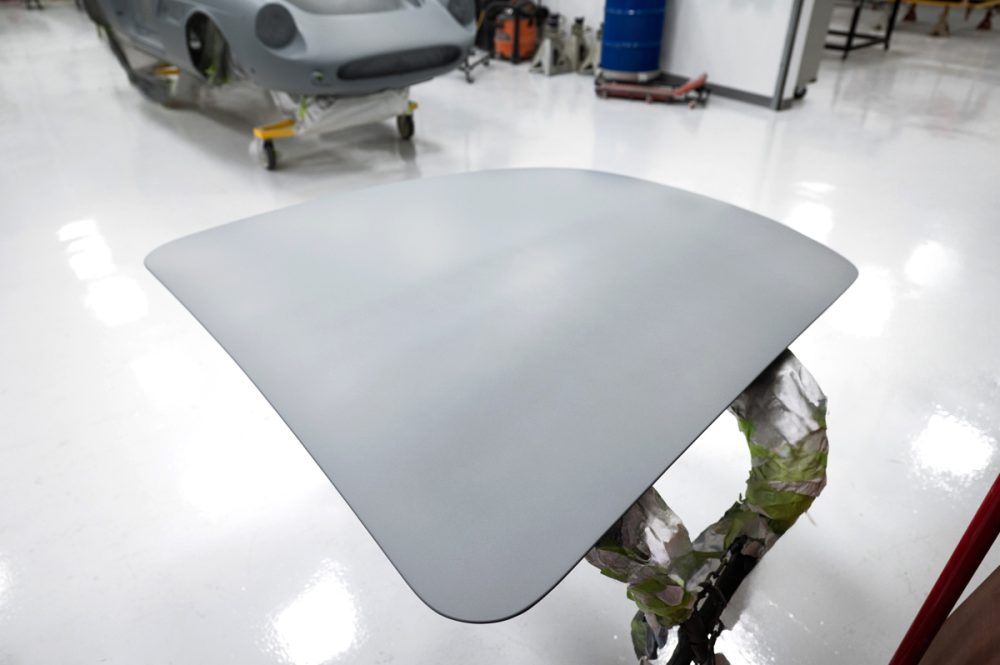
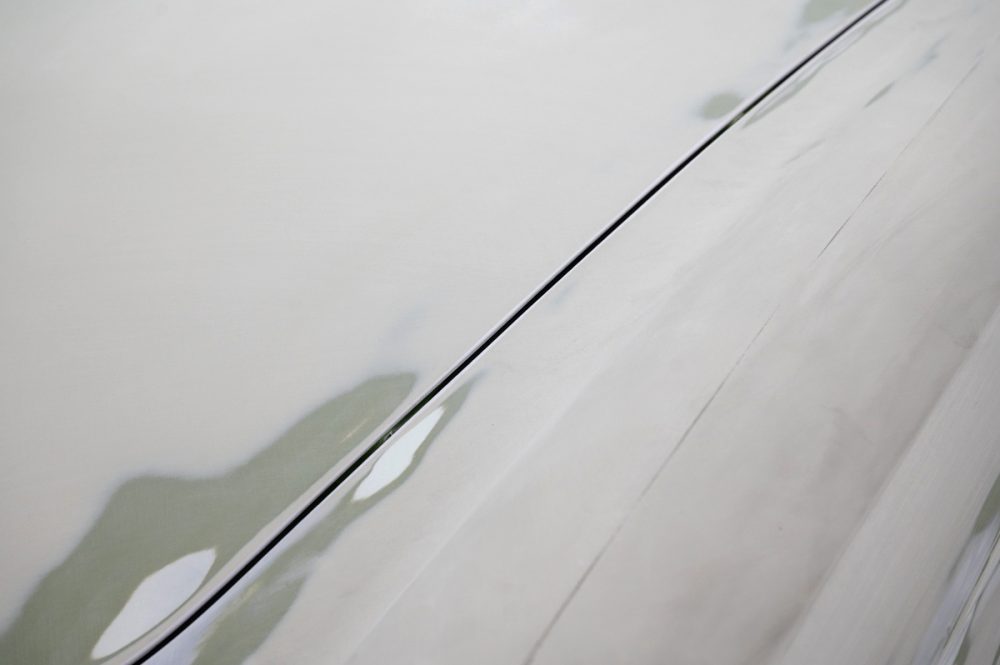
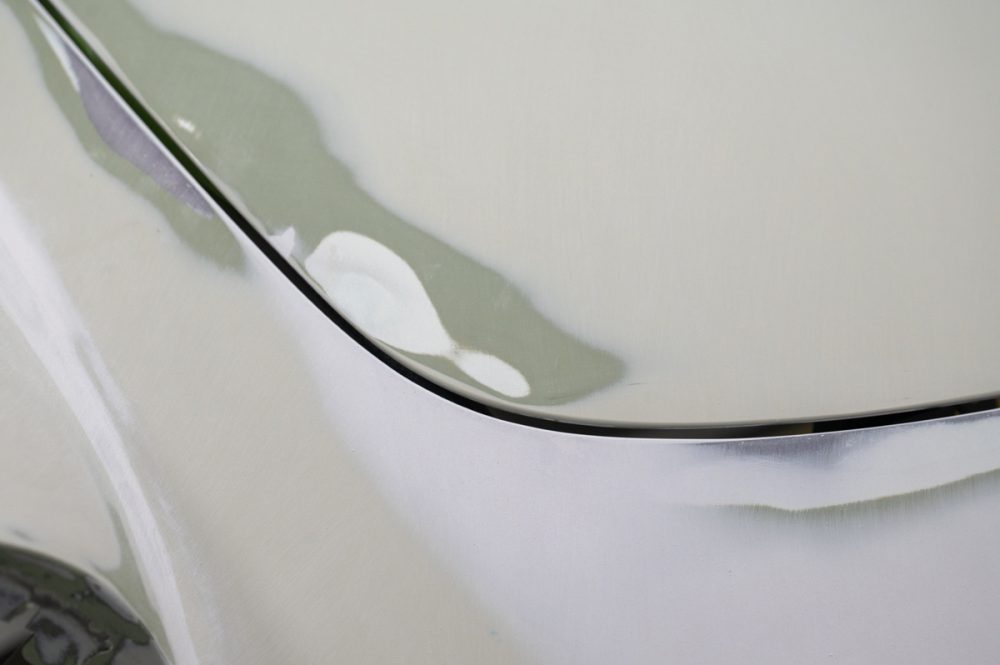
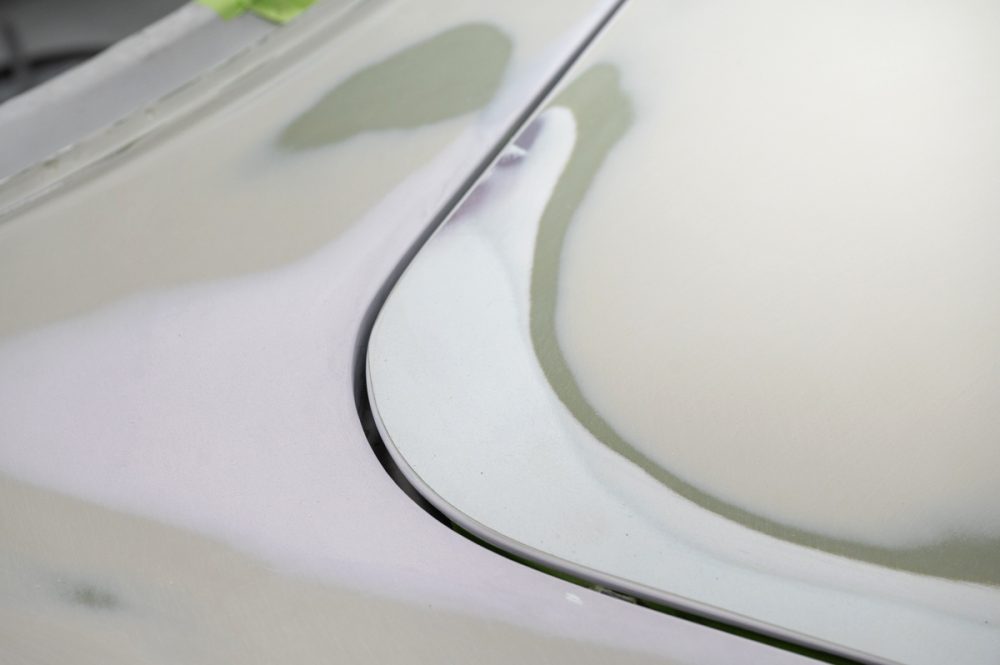
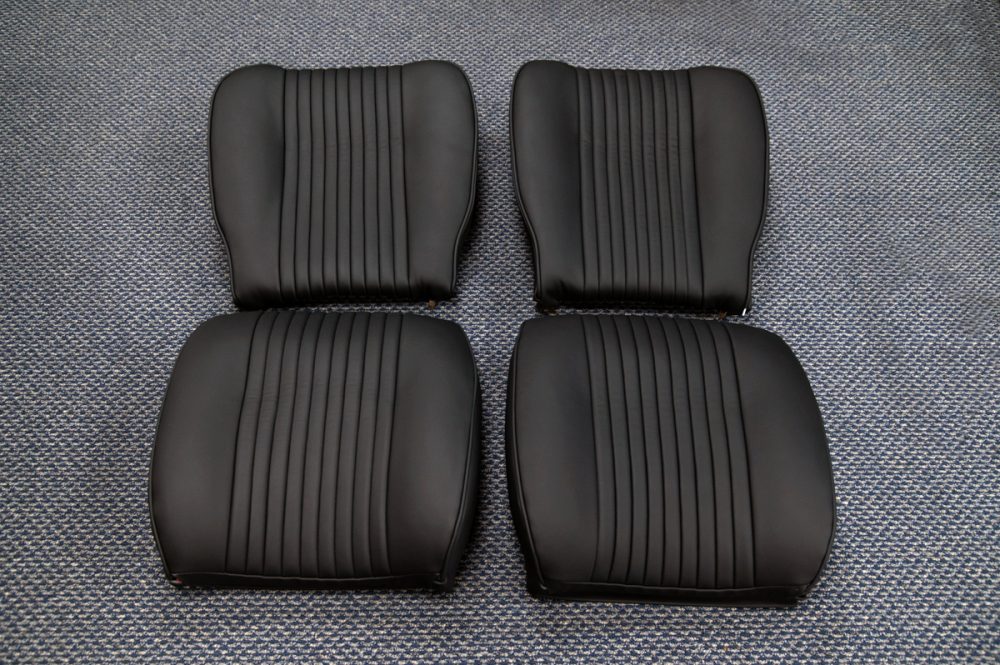
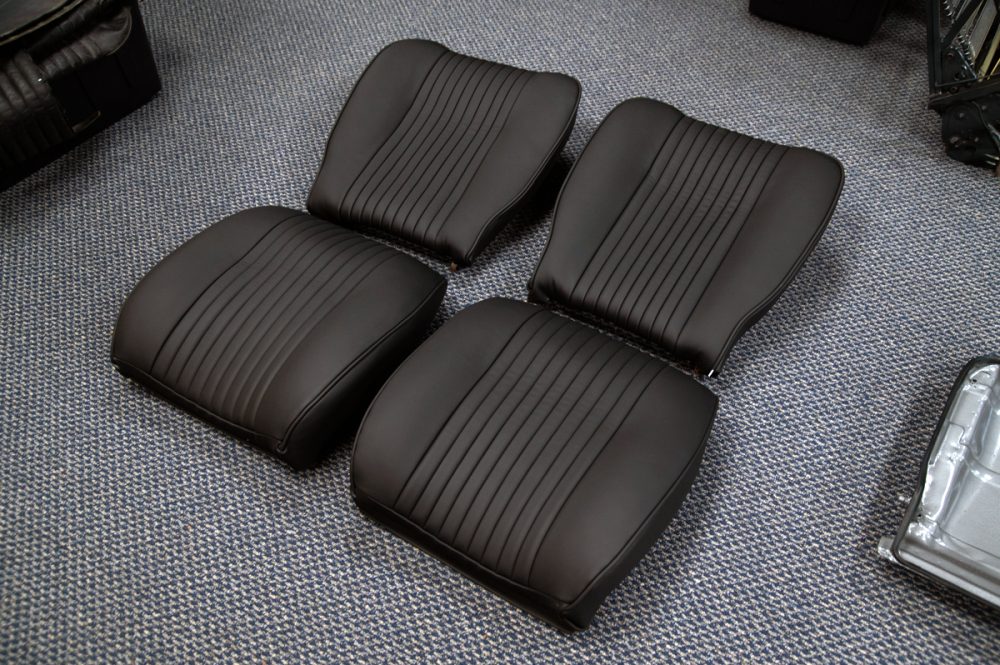
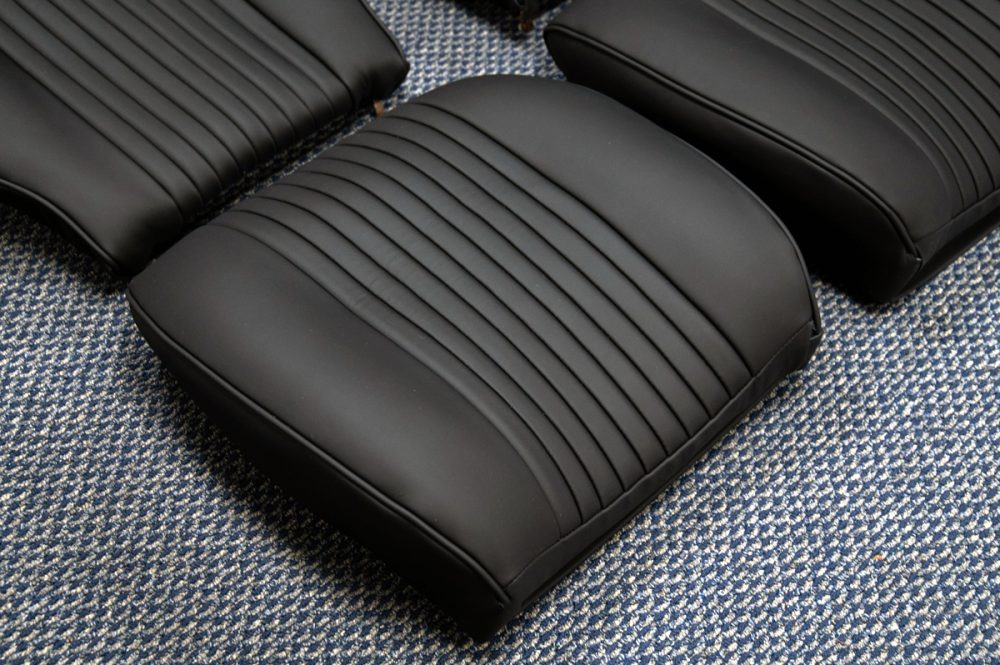
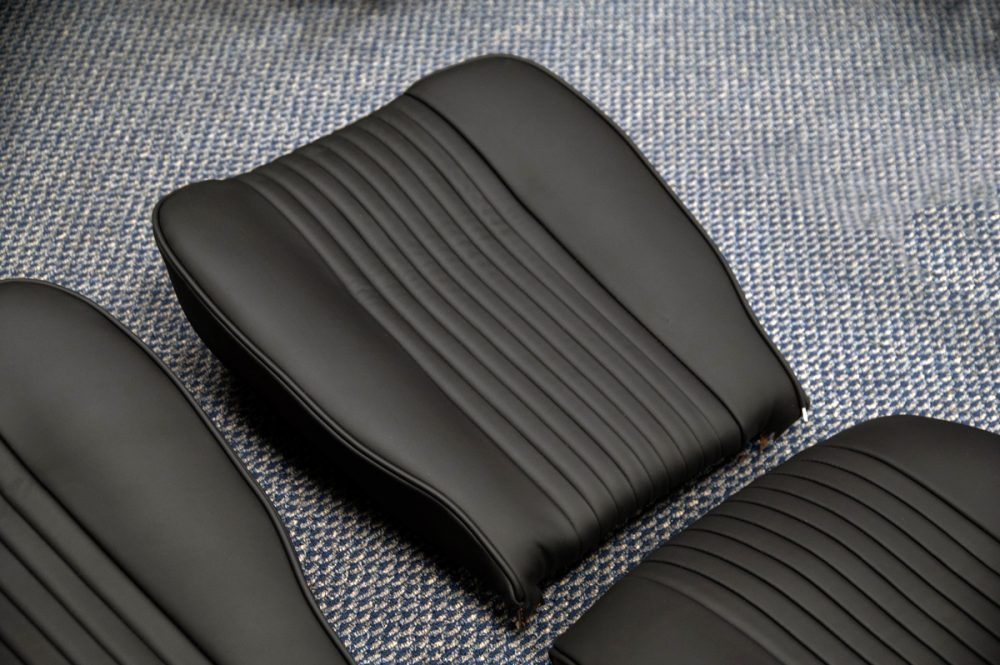
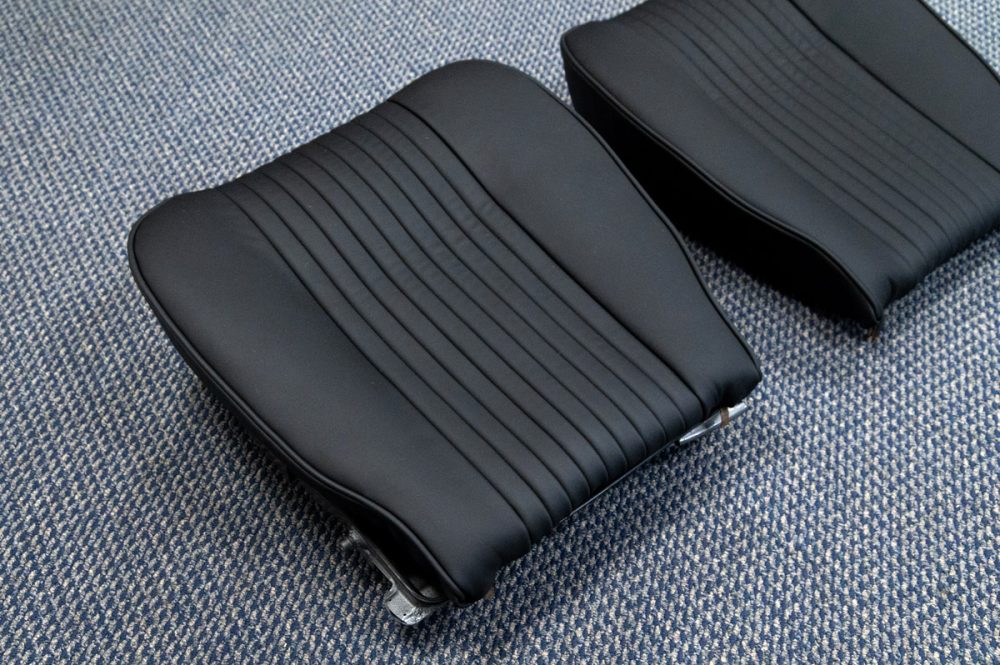
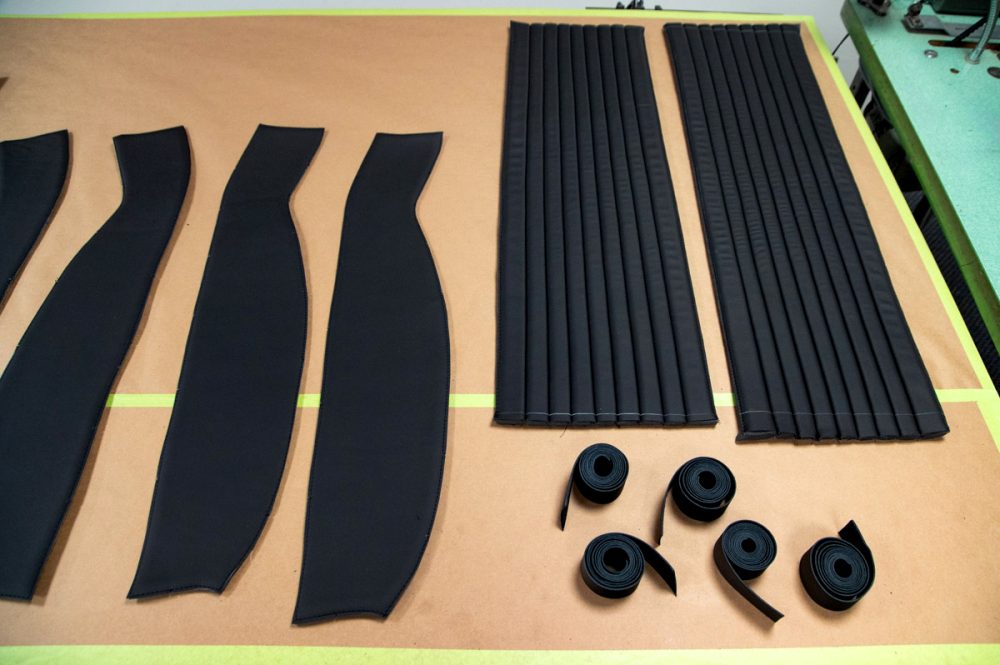
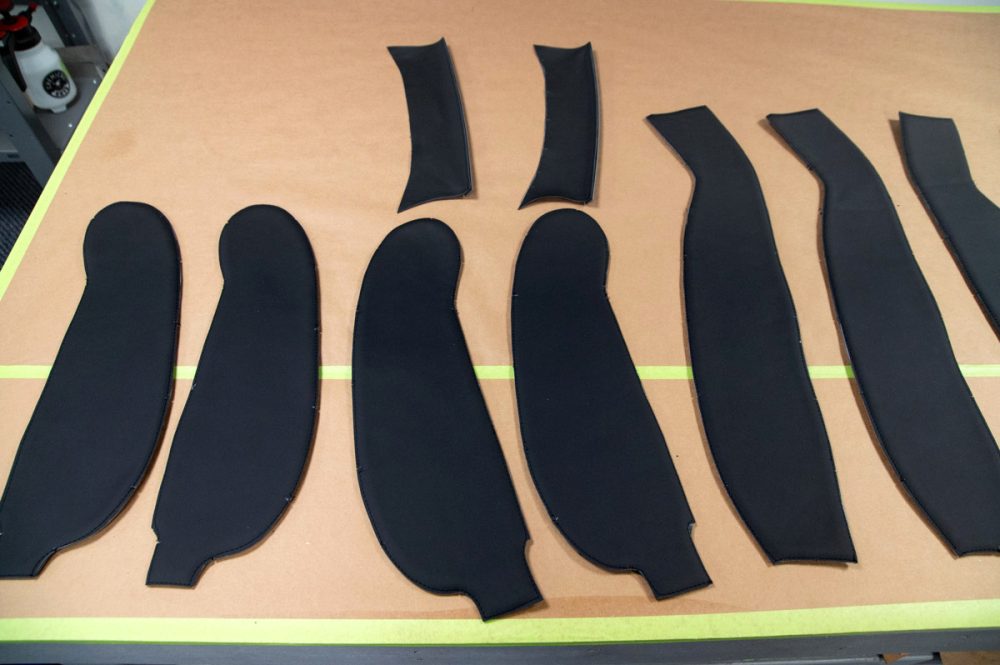
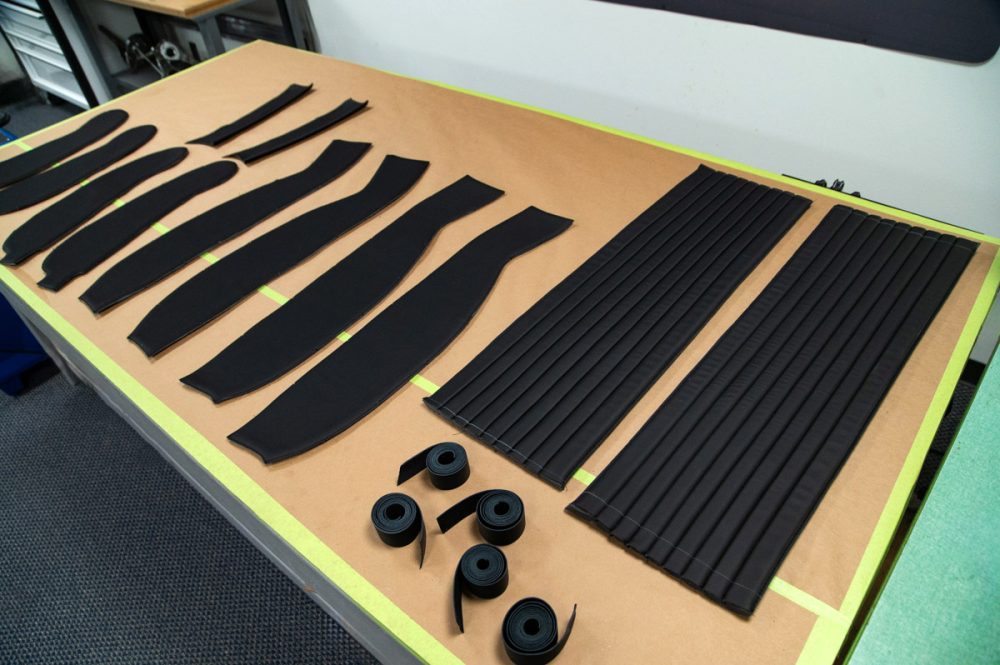
Concours restoration back to original factory livery of Argento 25090A (silver) with Negro Franzi (black) interior.
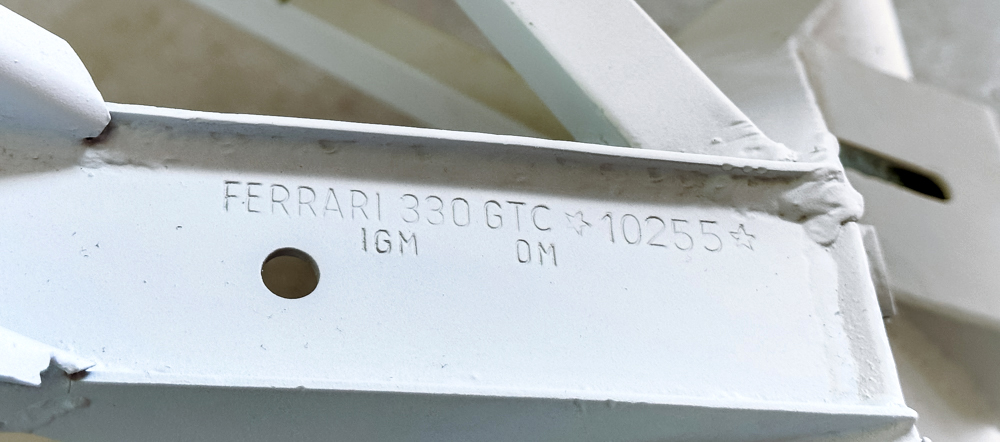
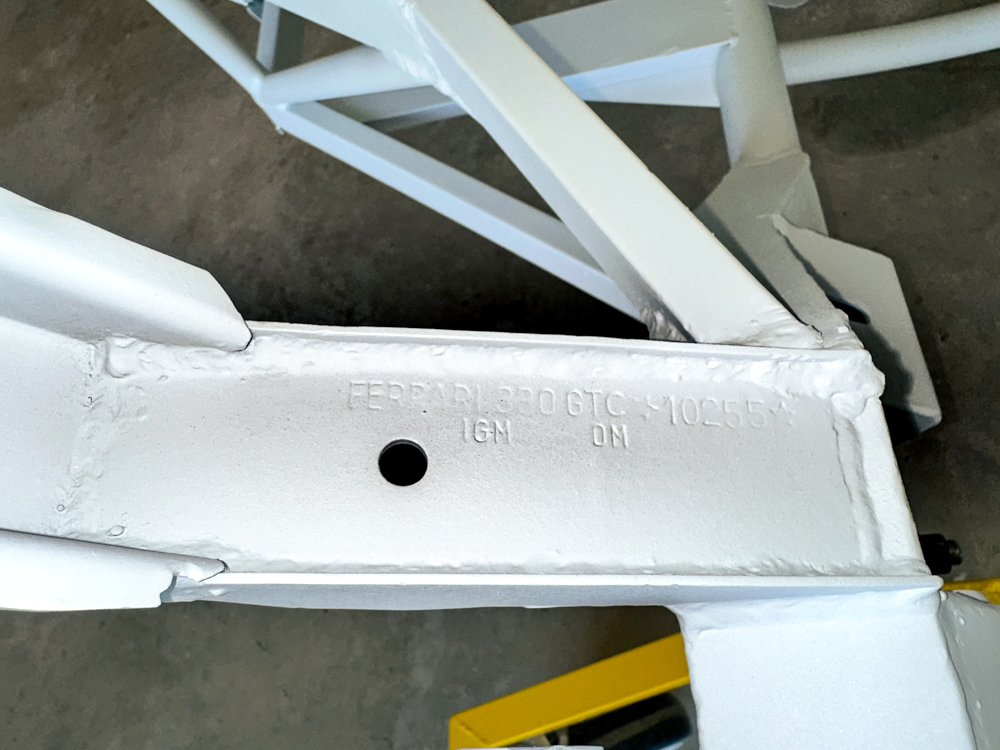
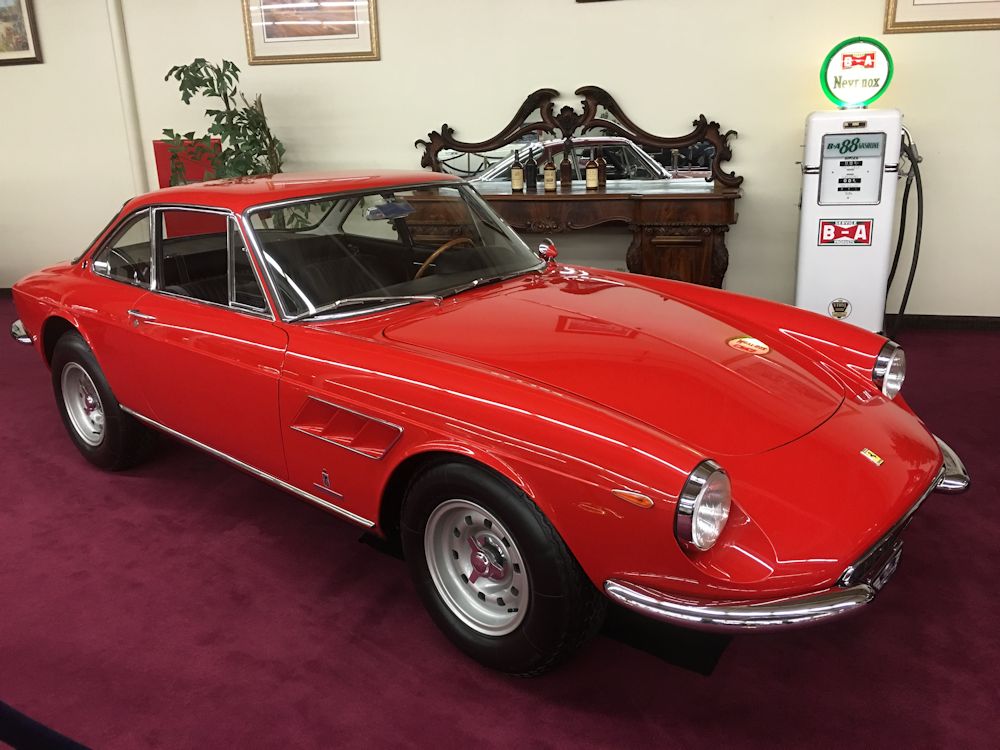
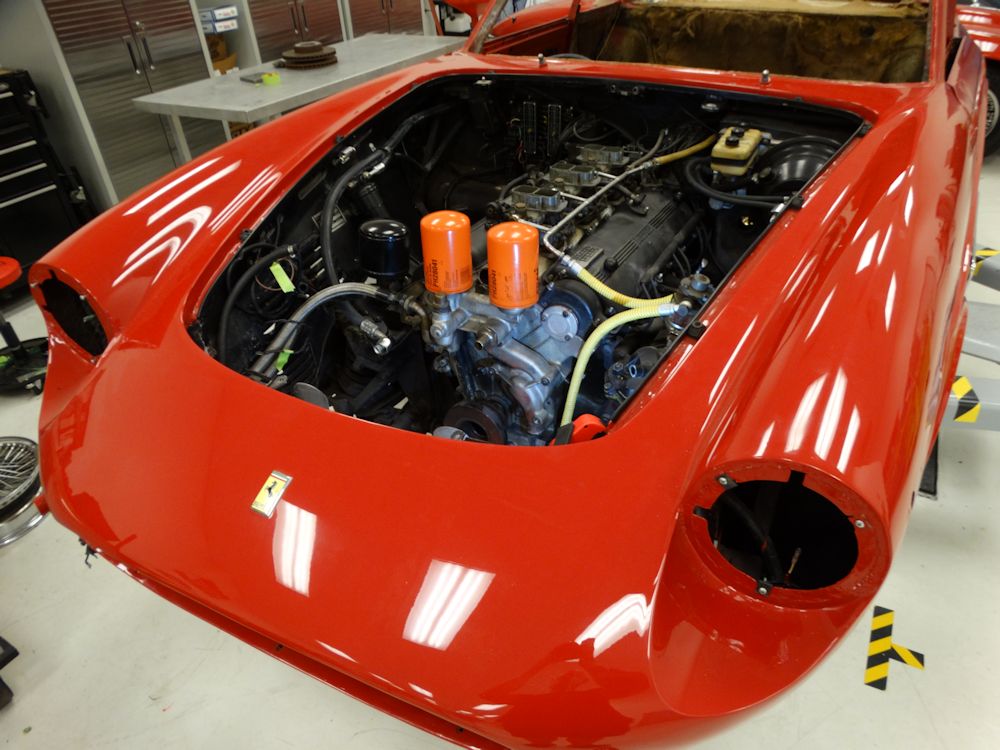
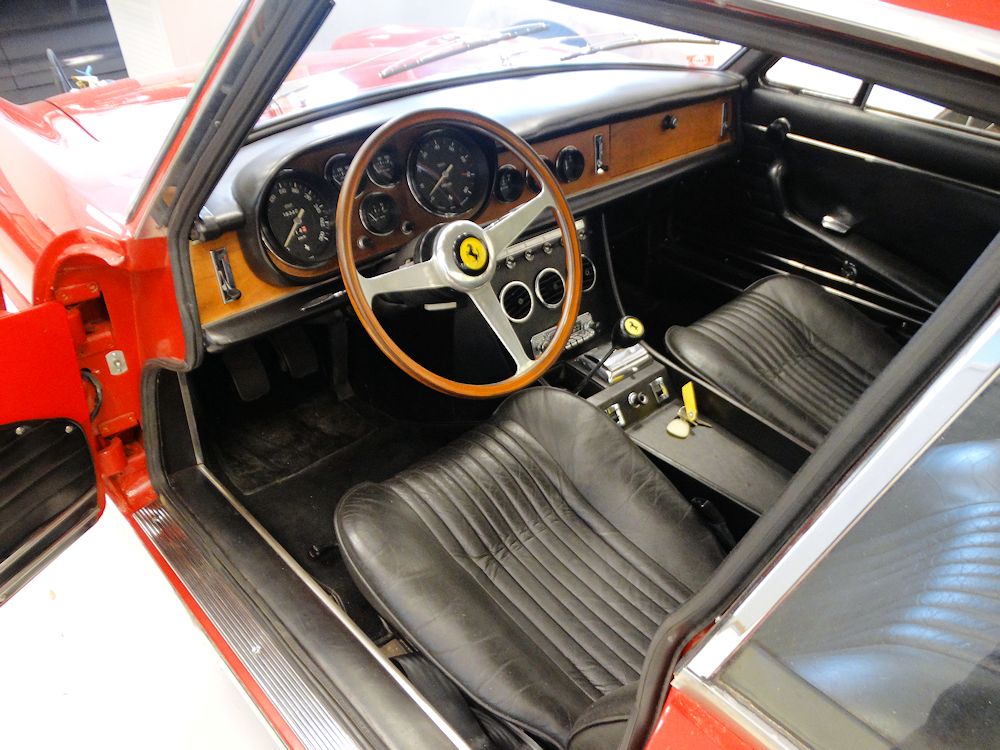
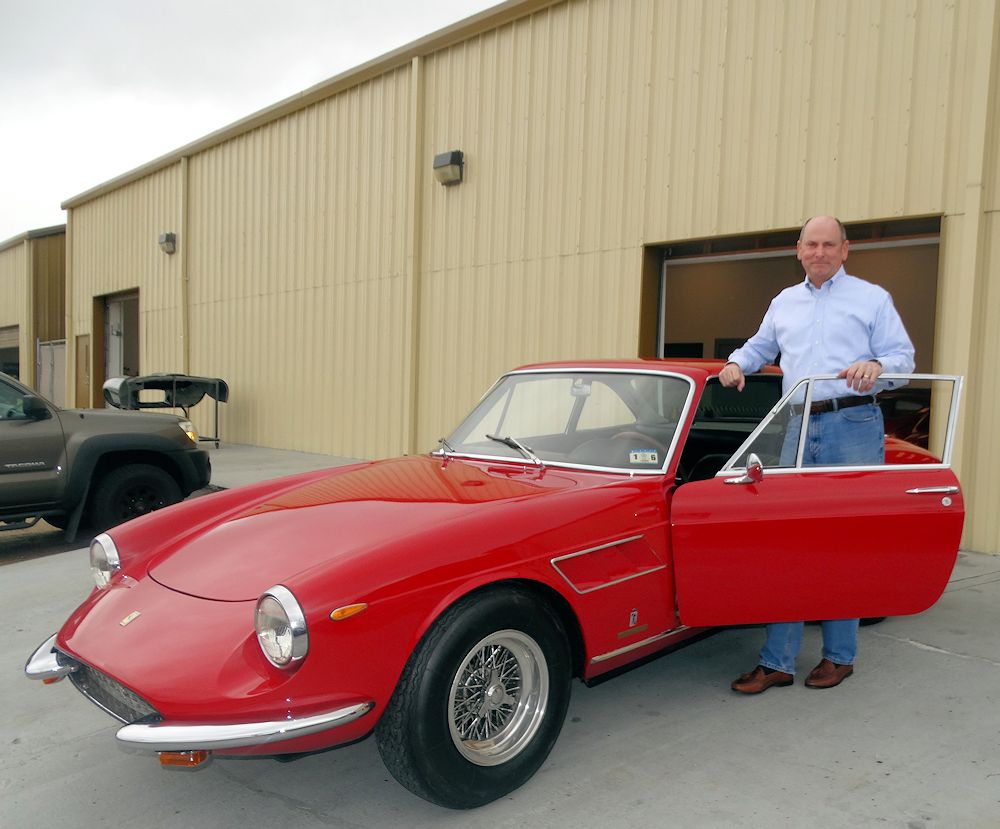
I was very pleased to come across the very first Ferrari 330 GTC prototype on display in Las Vegas. Chassis number 6431 was originally built on a 275 GTS chassis and was apparently regularly used by Enzo Ferrari himself. The car has dozens of detail features not seen on any other 330 GTC.
May, 2026
April, 2026
December, 2025
October, 2025
September, 2025
August, 2025
July, 2025
May, 2025
April, 2025
August, 2024
May, 2024
December, 2023
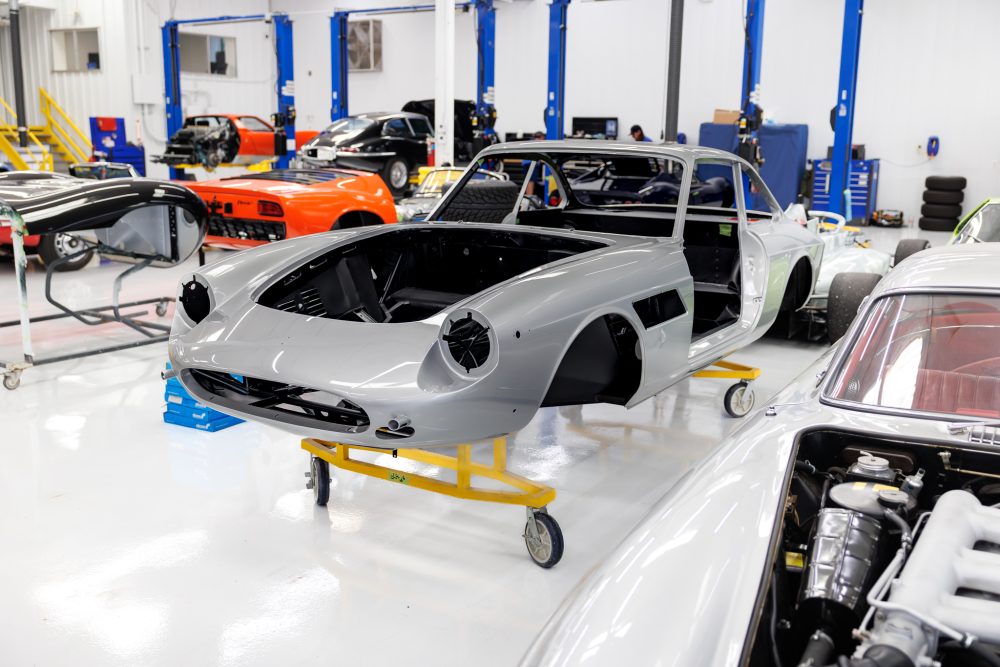
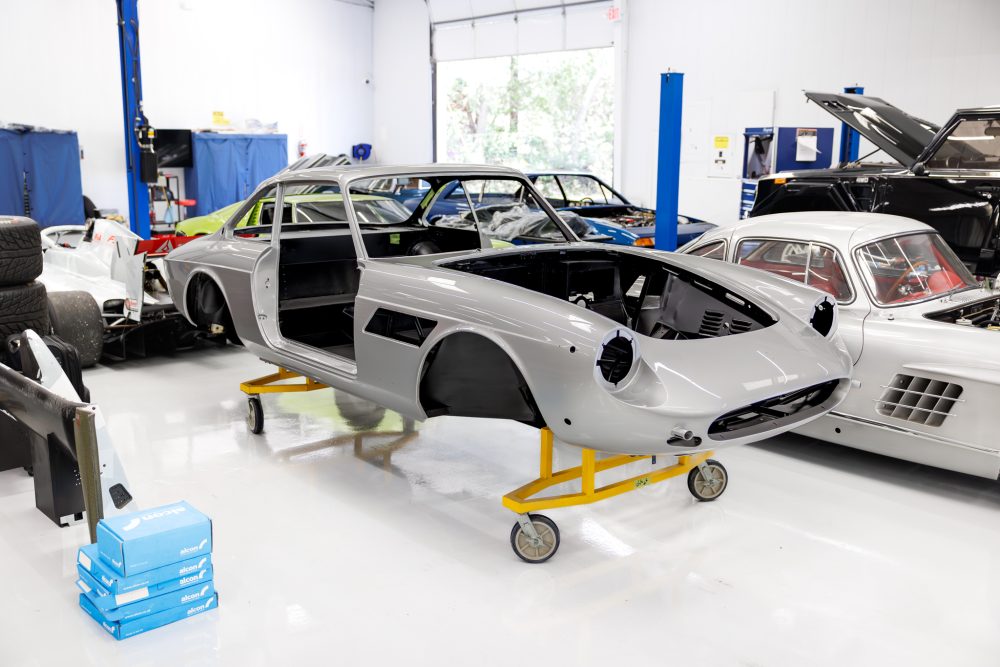
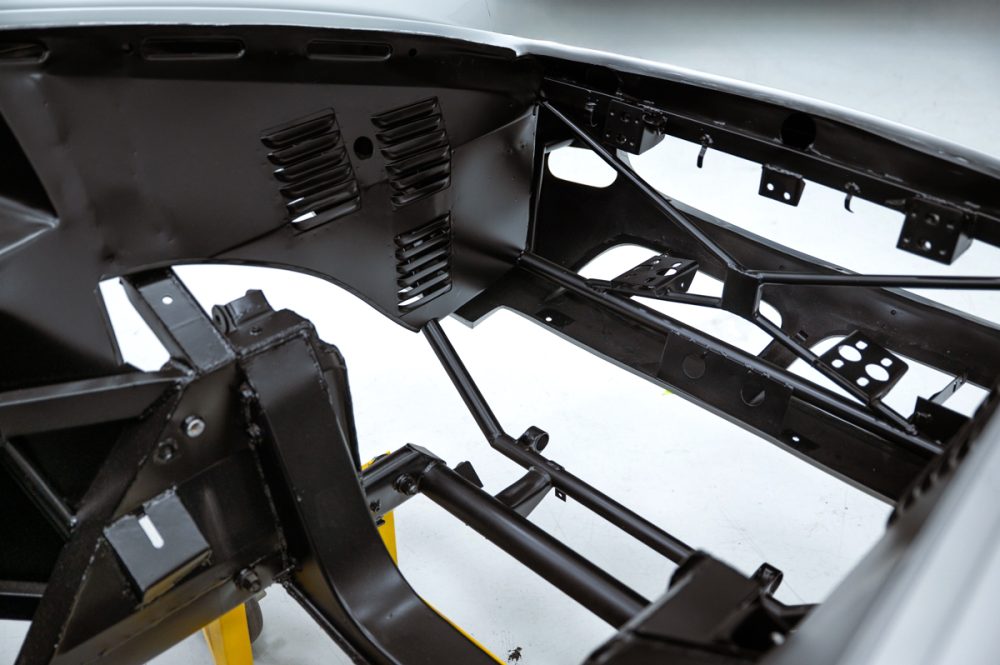
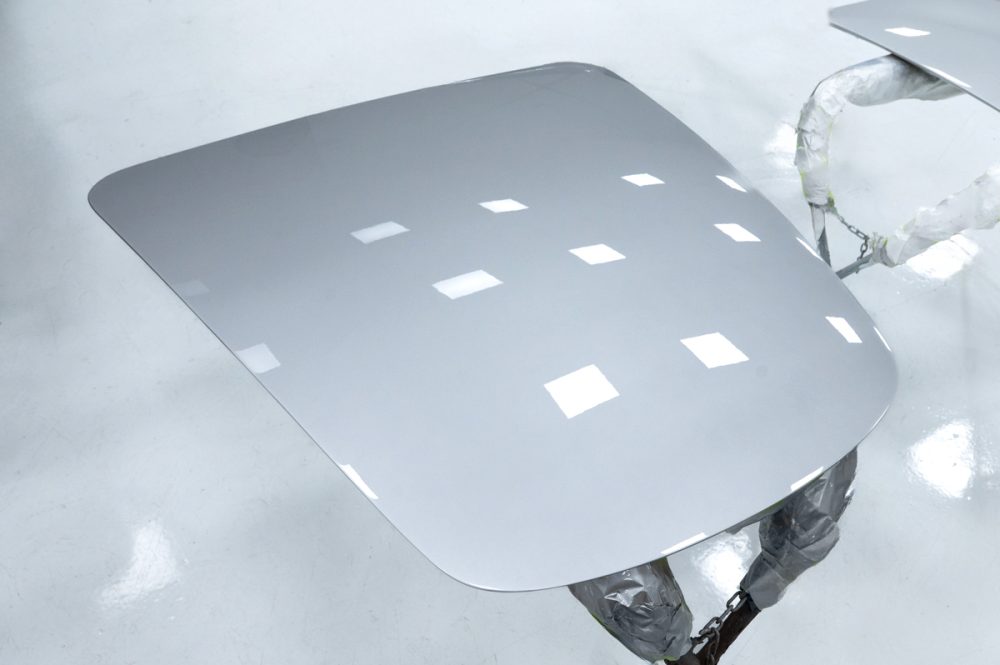
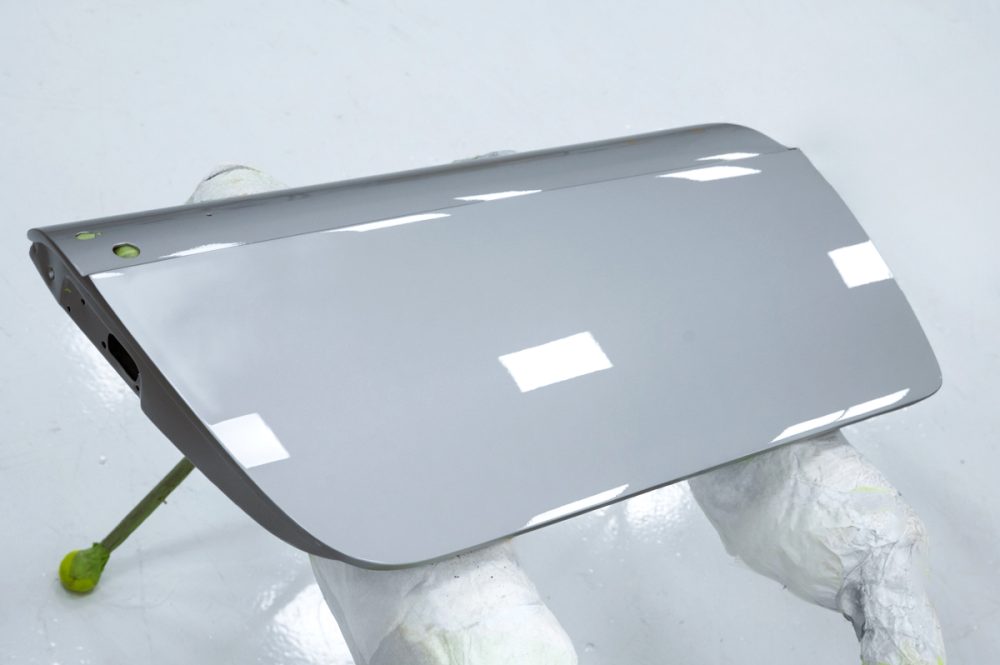
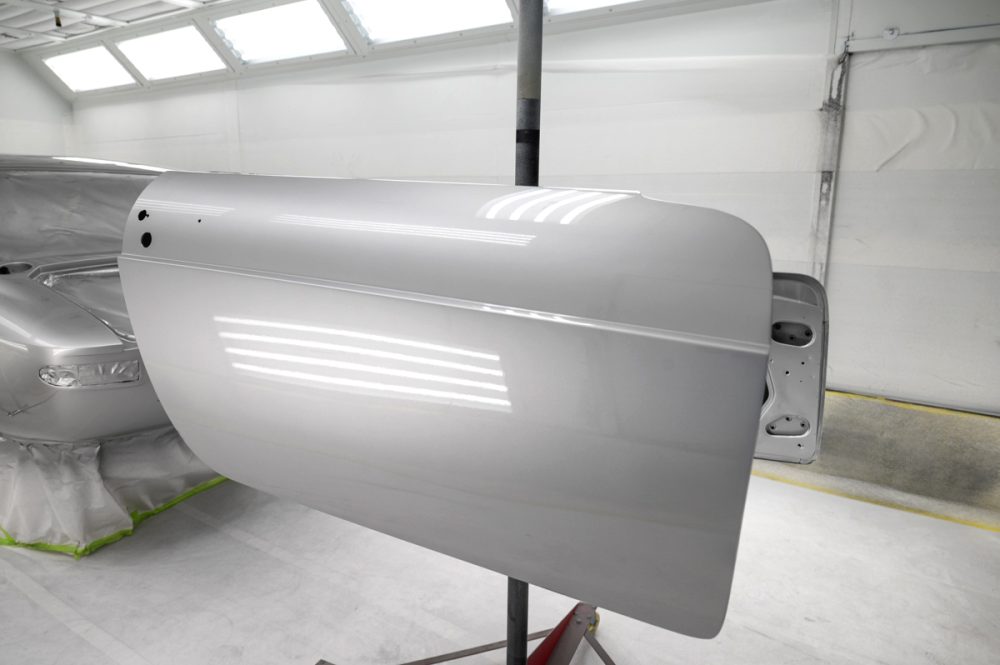
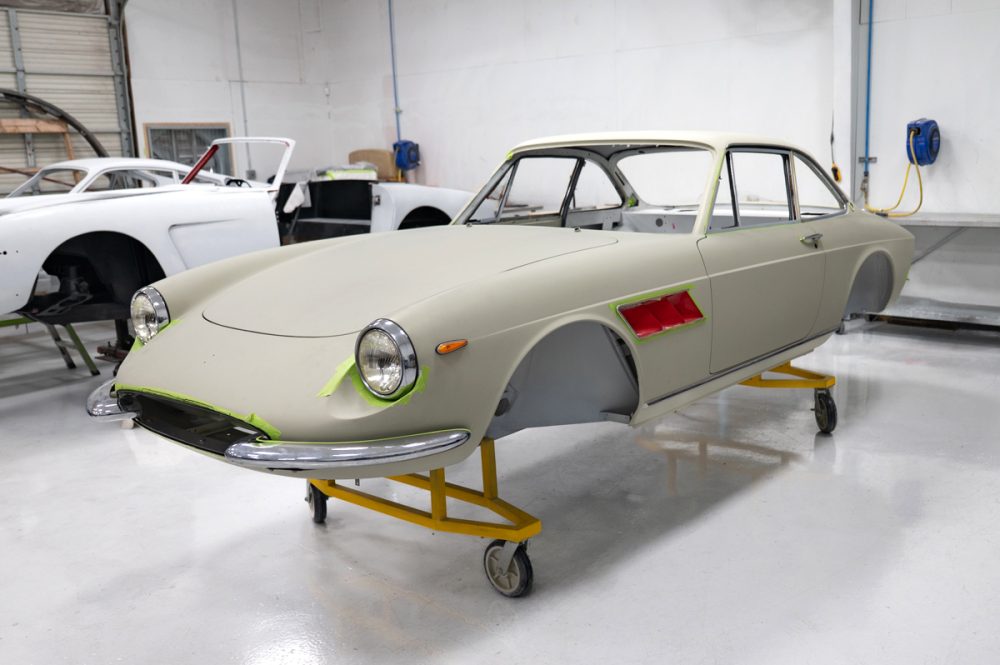
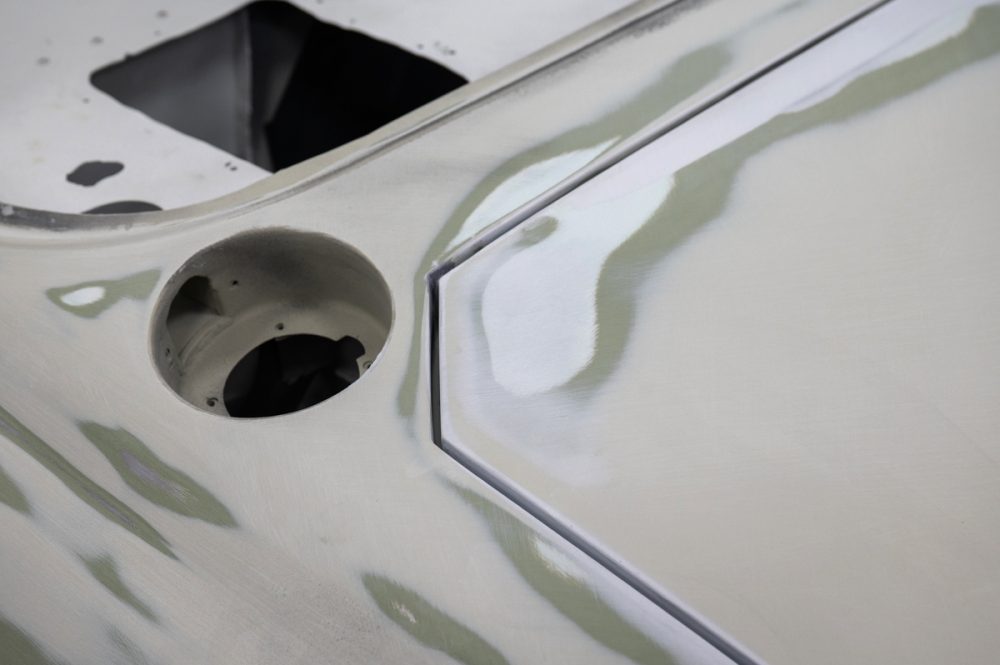
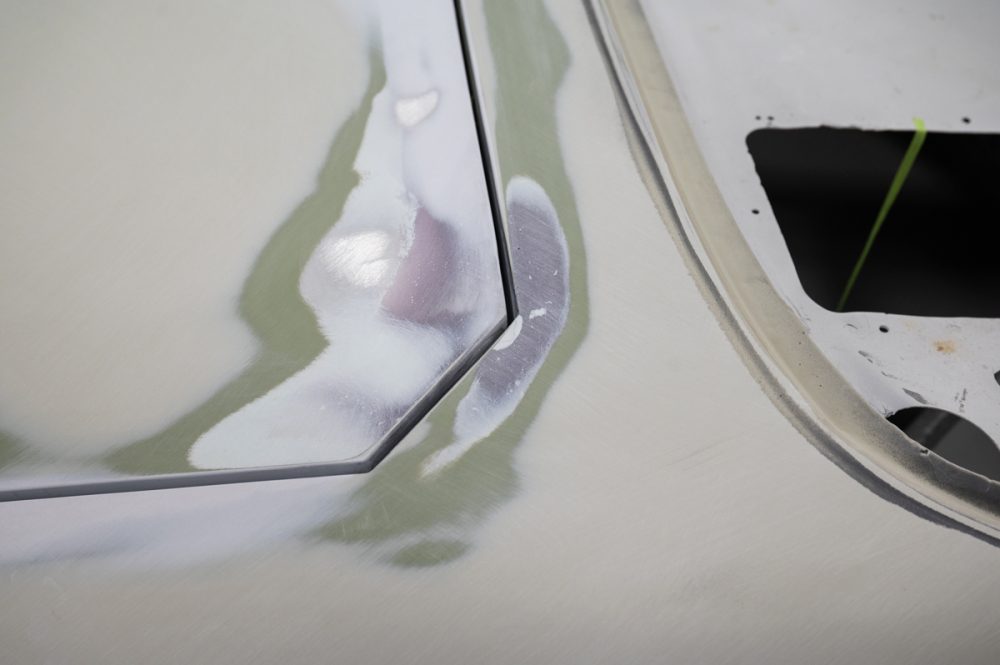
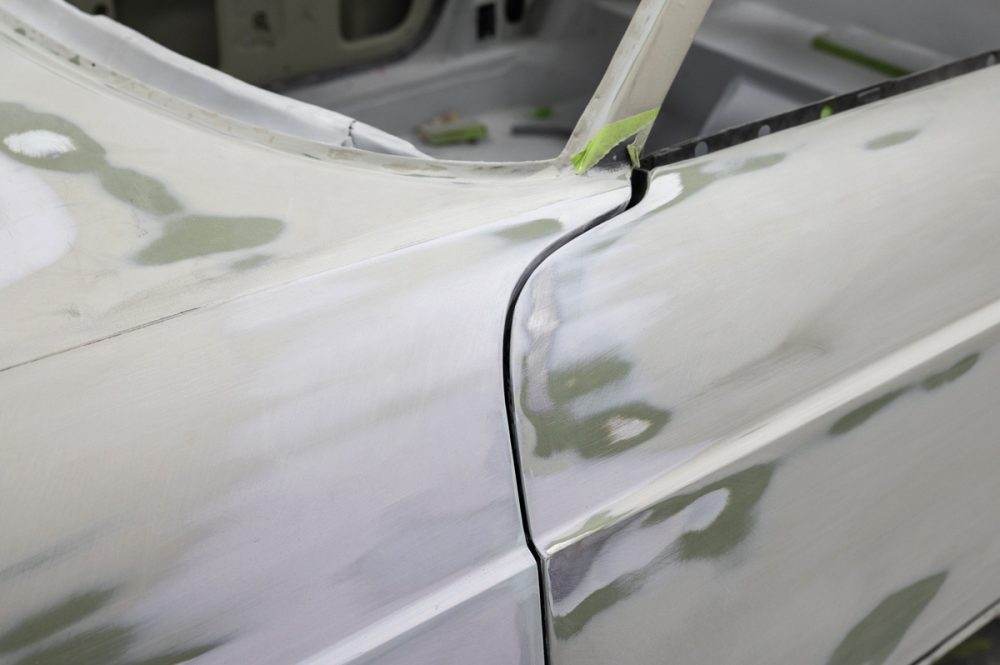
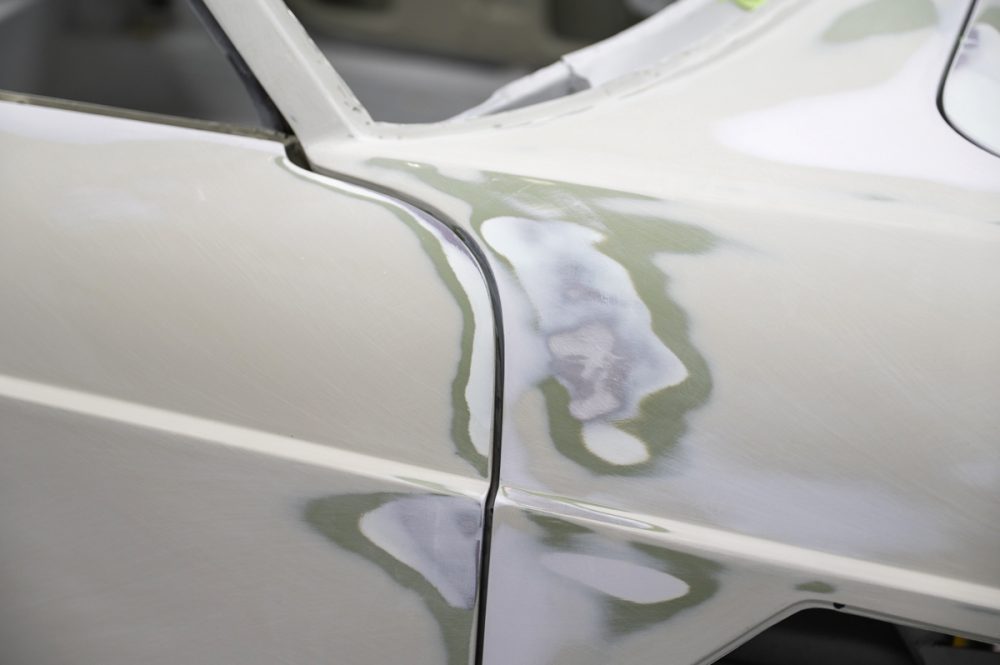
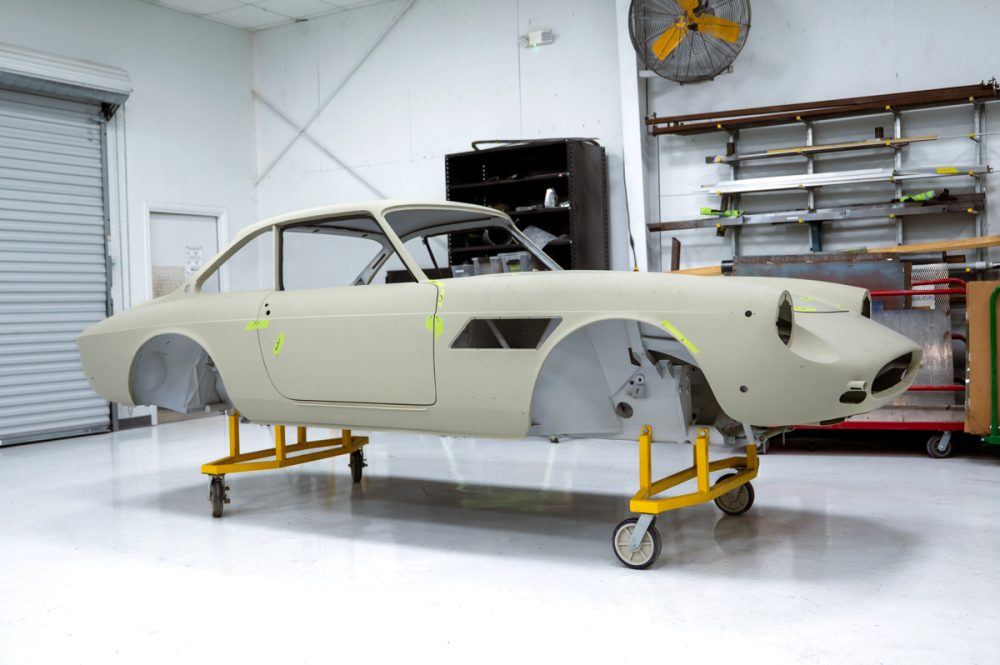
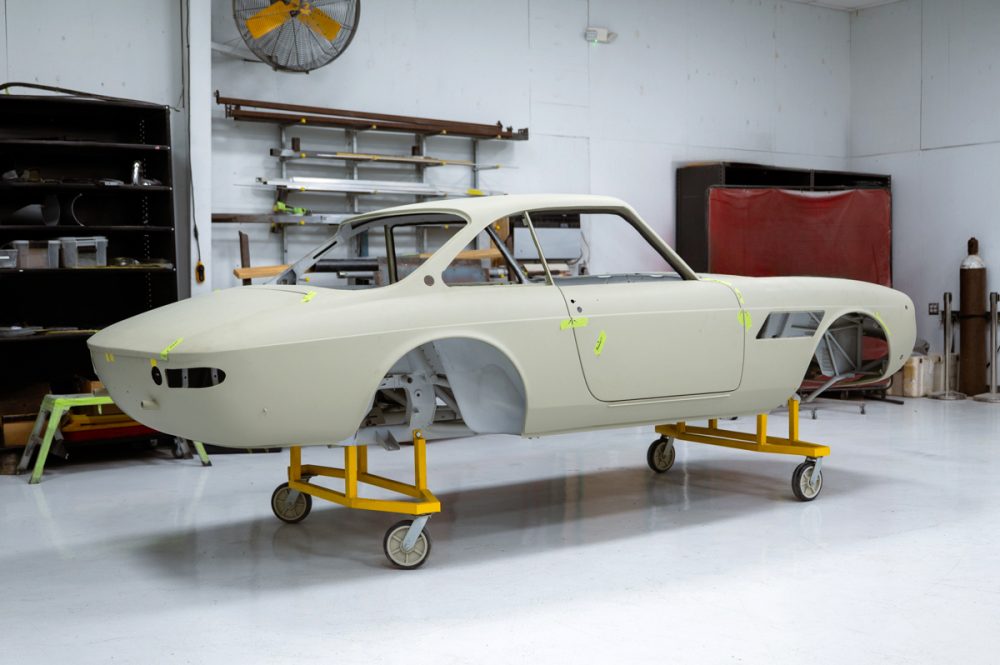
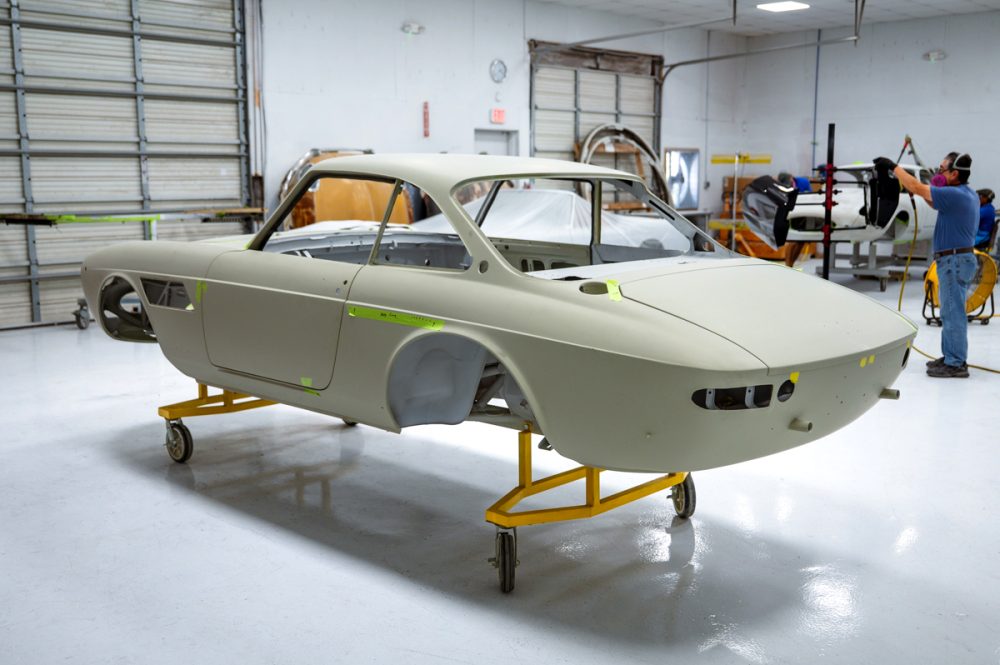
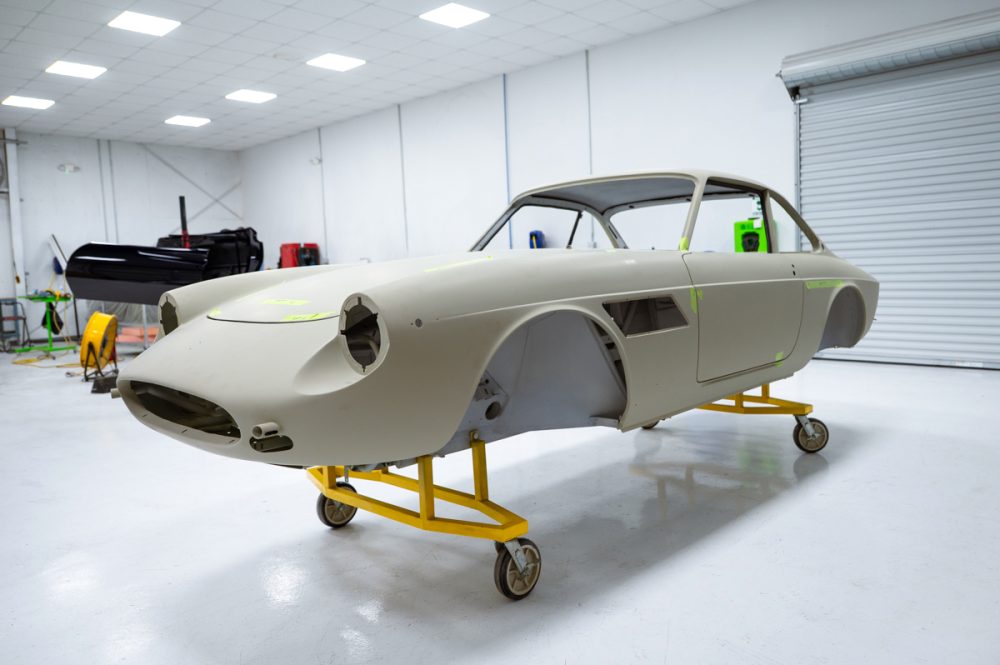
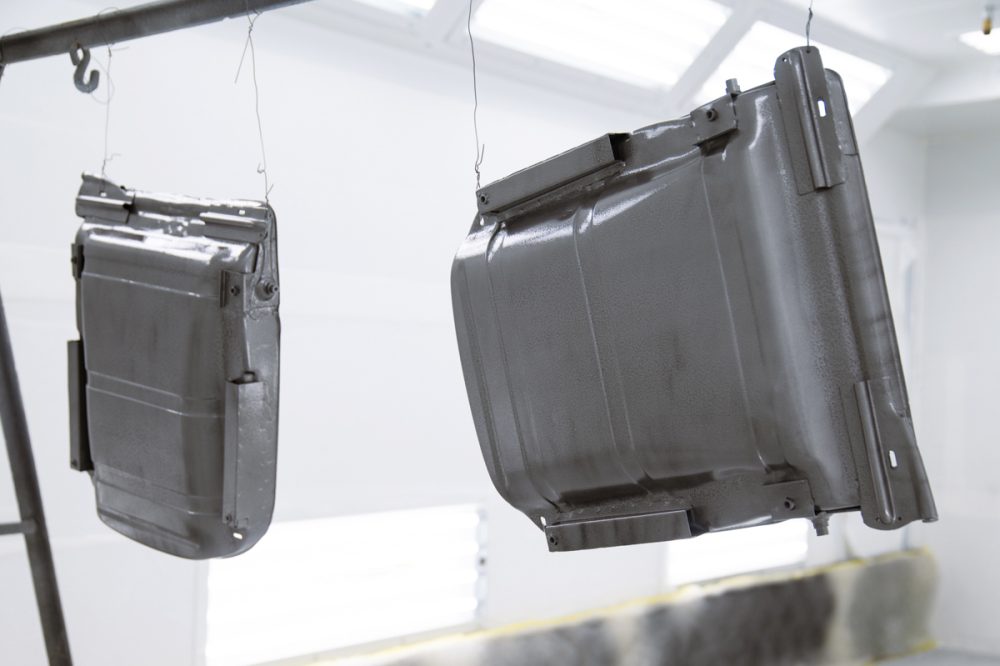
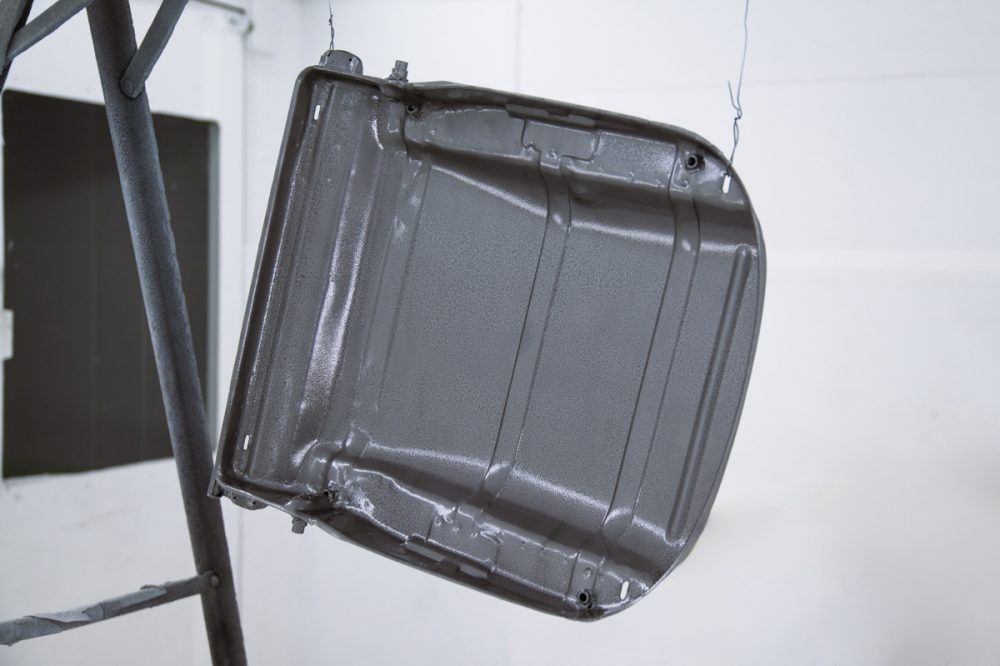
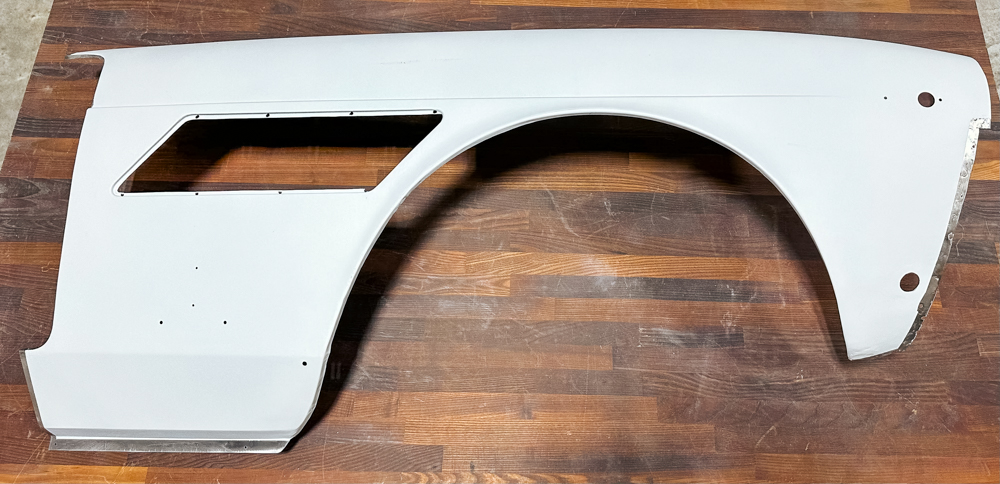
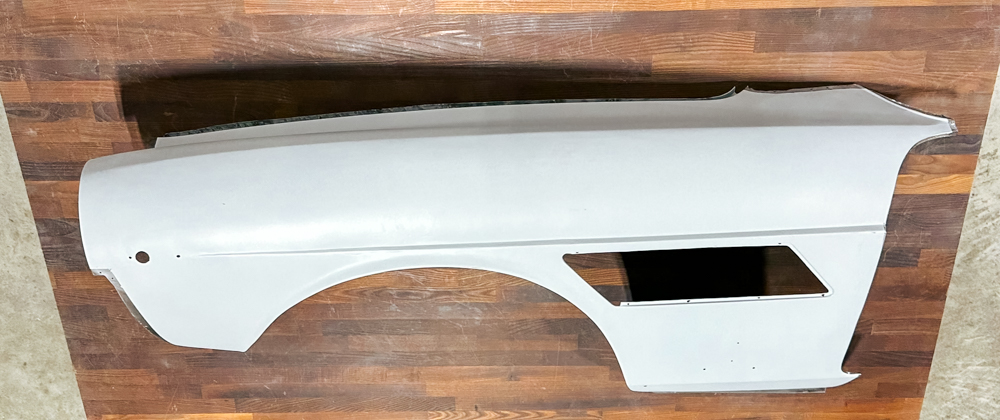
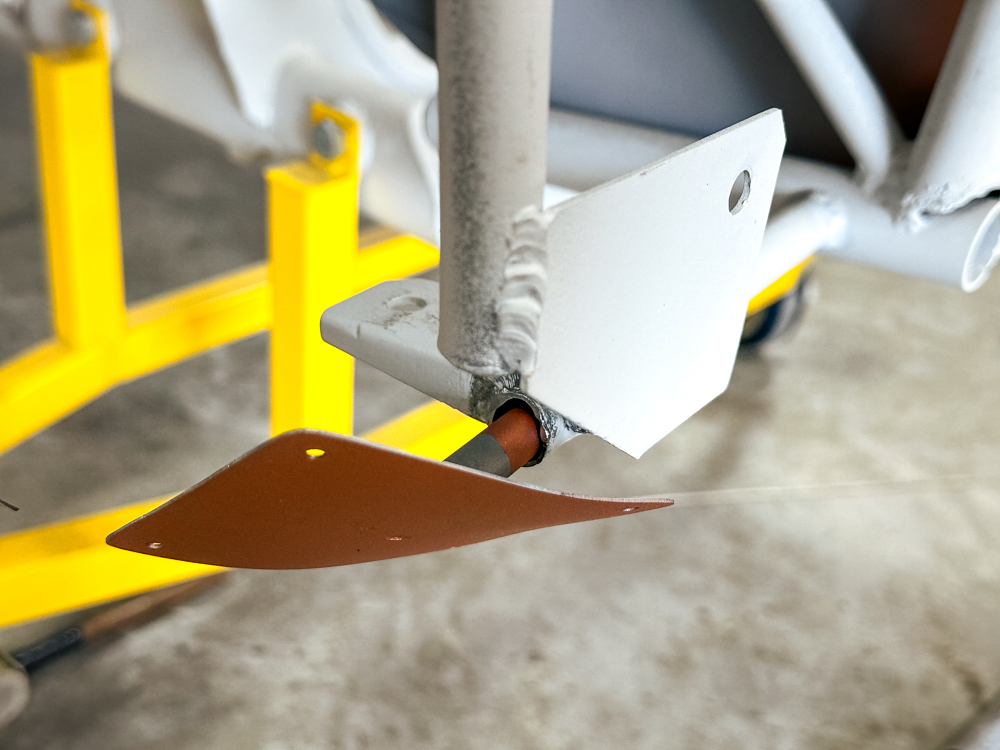
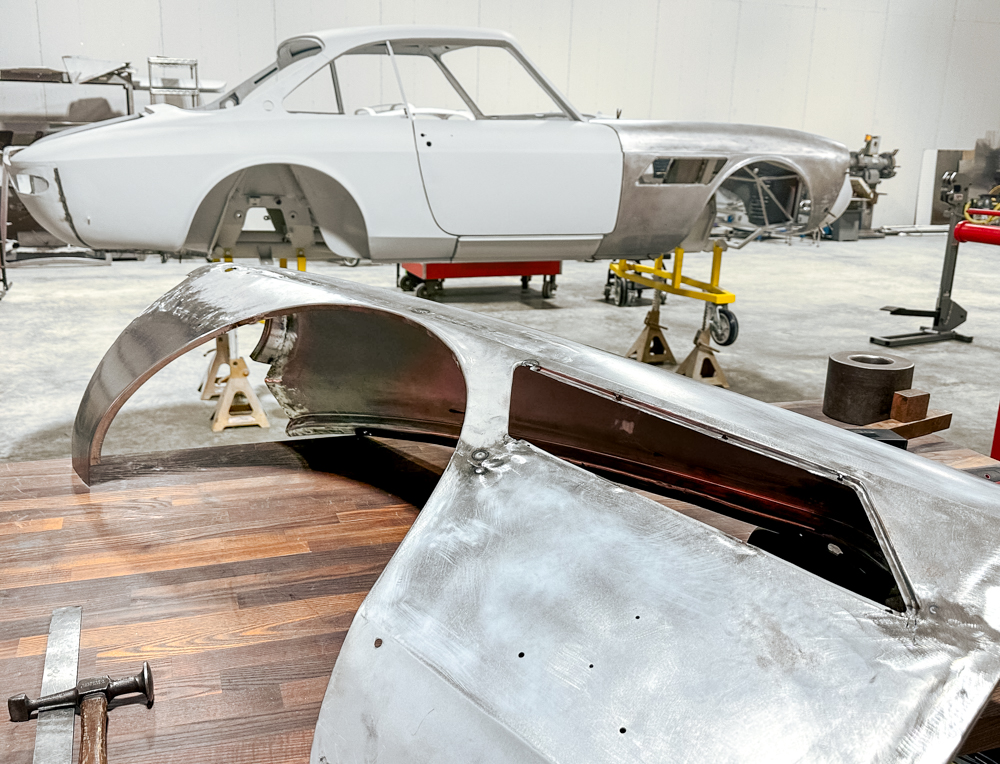
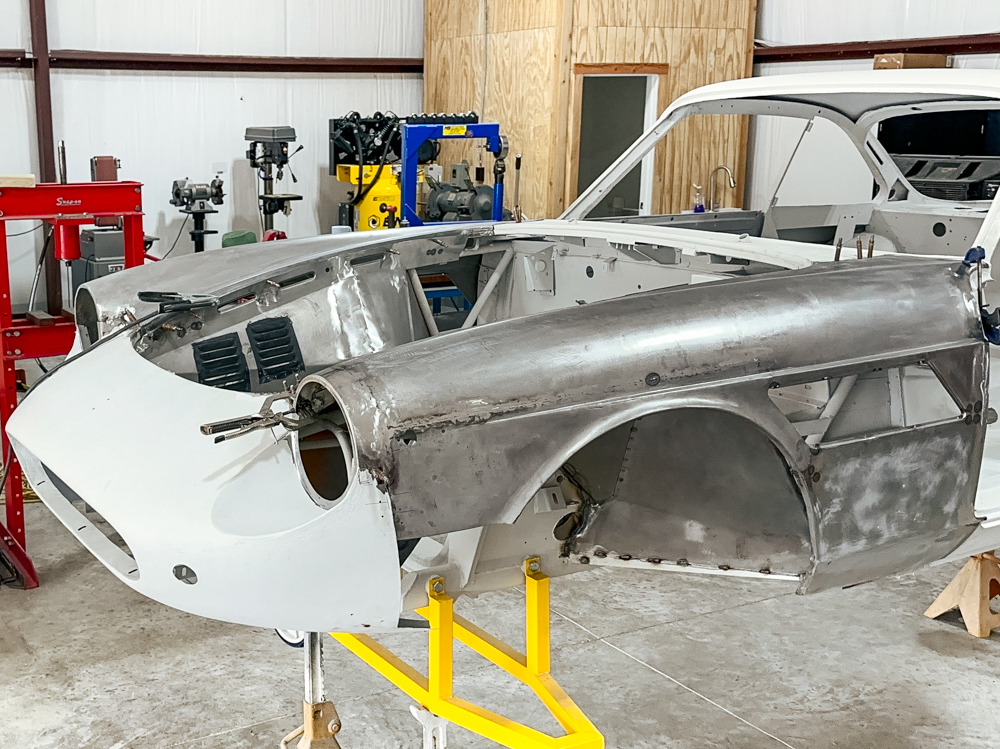
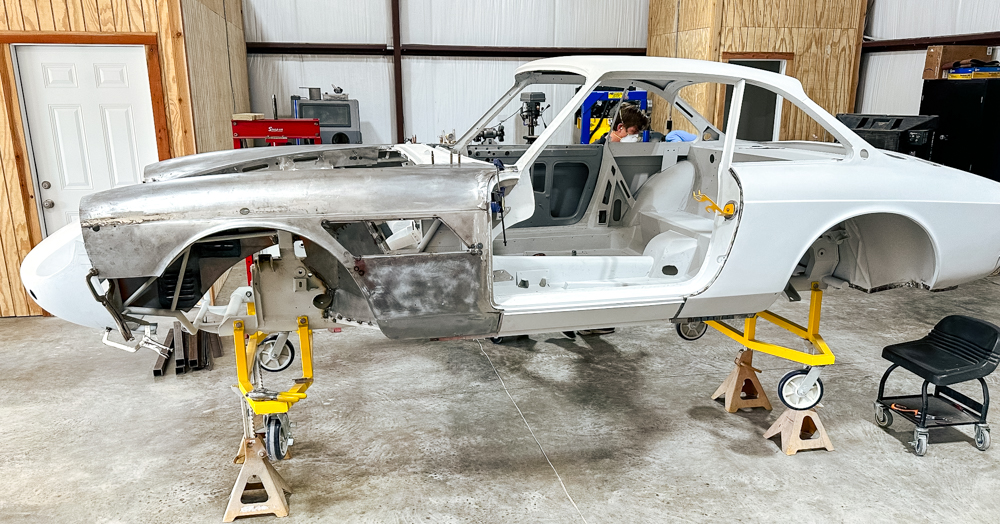
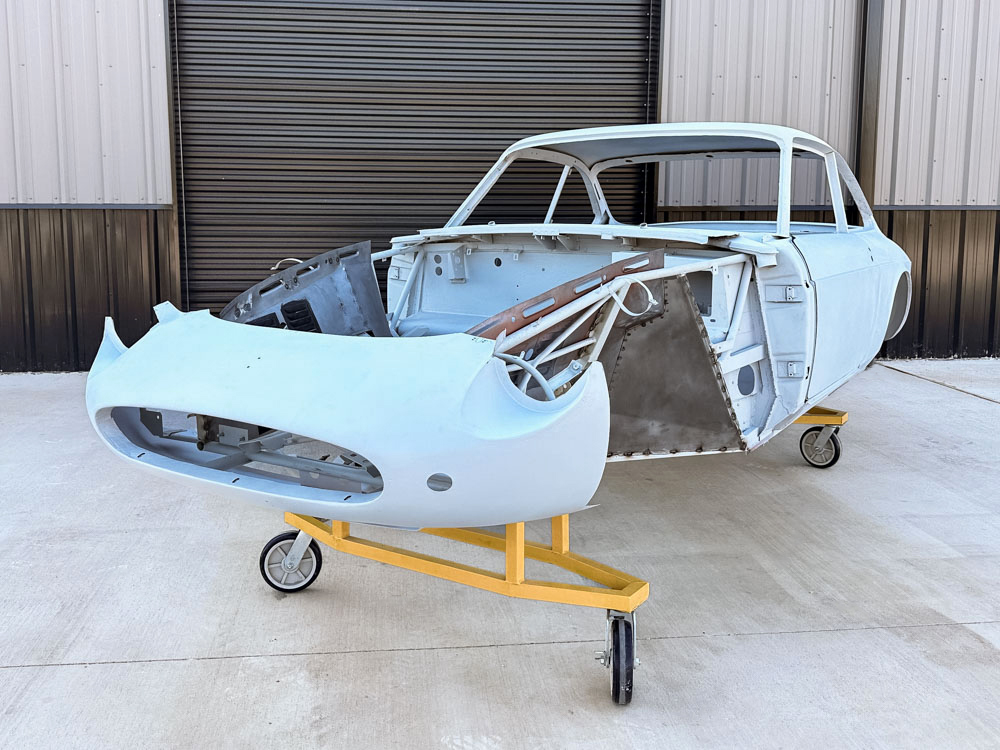
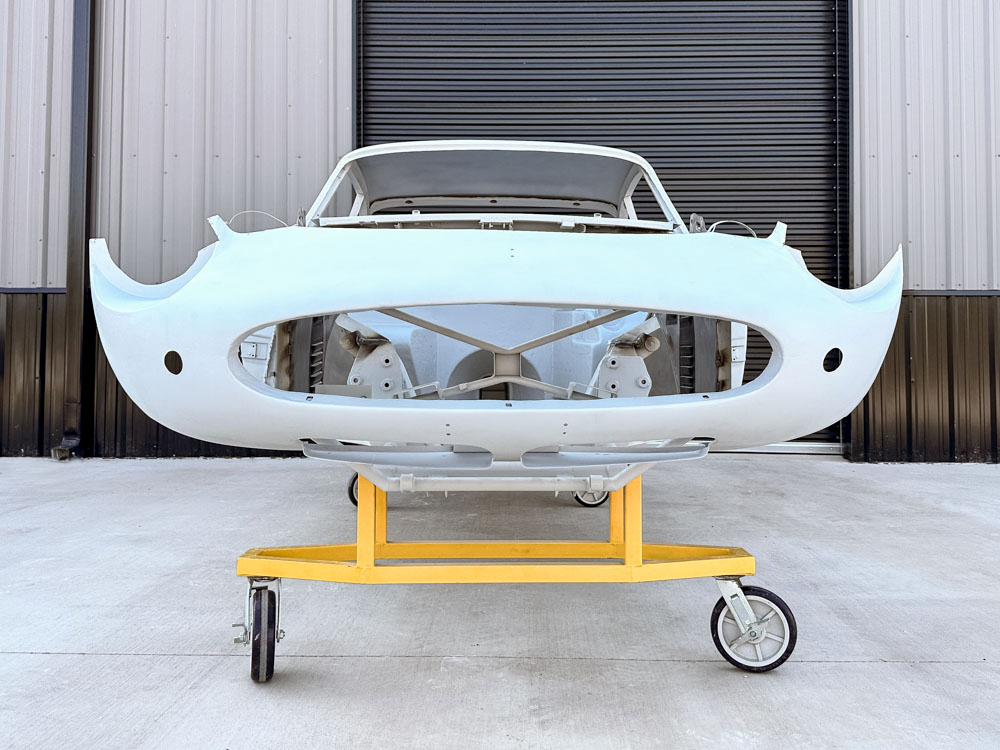
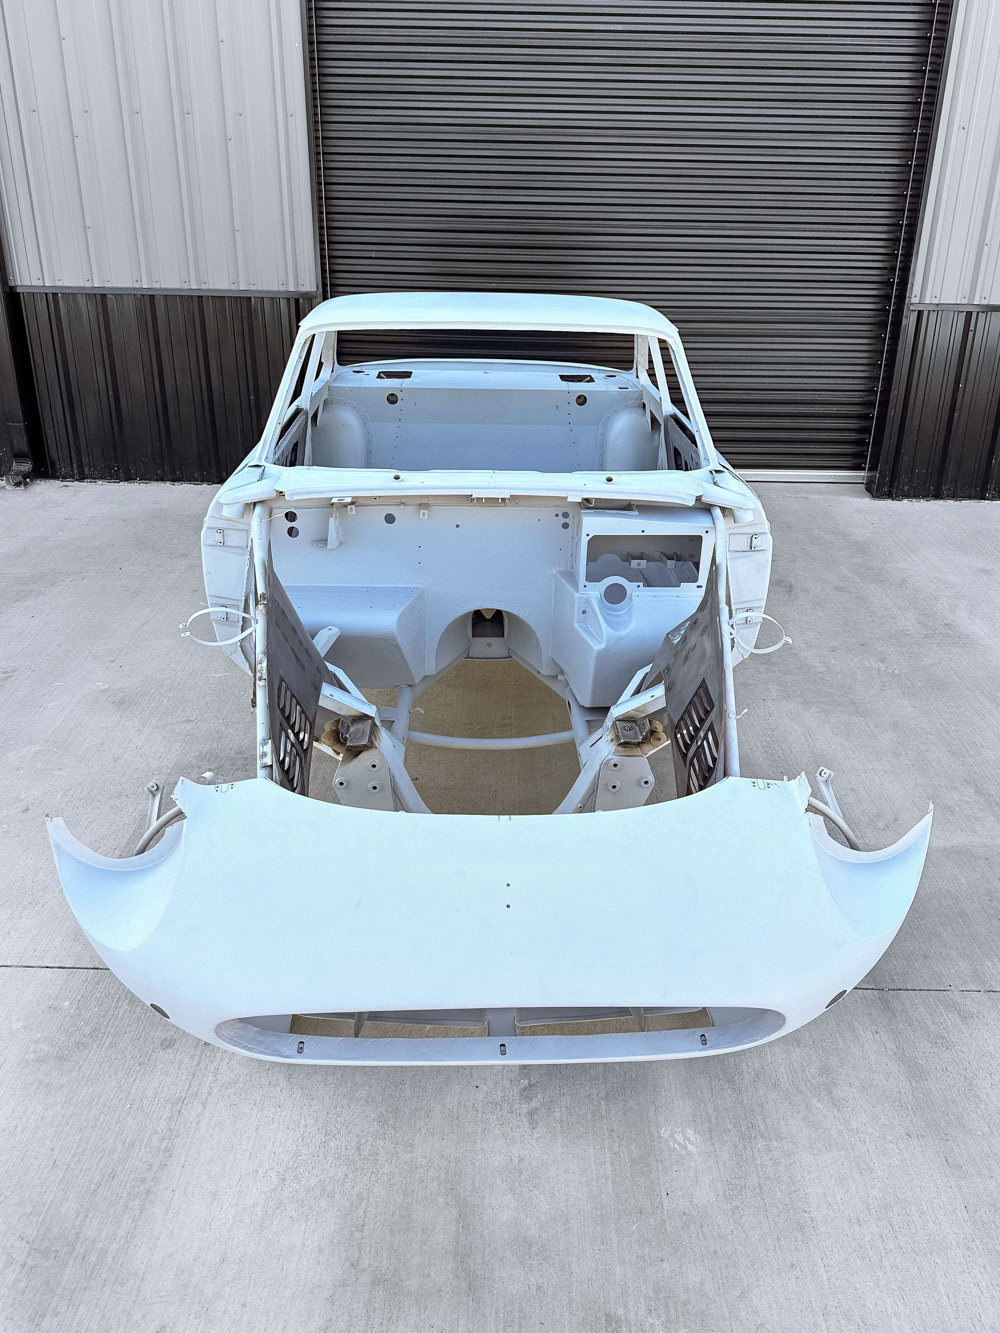
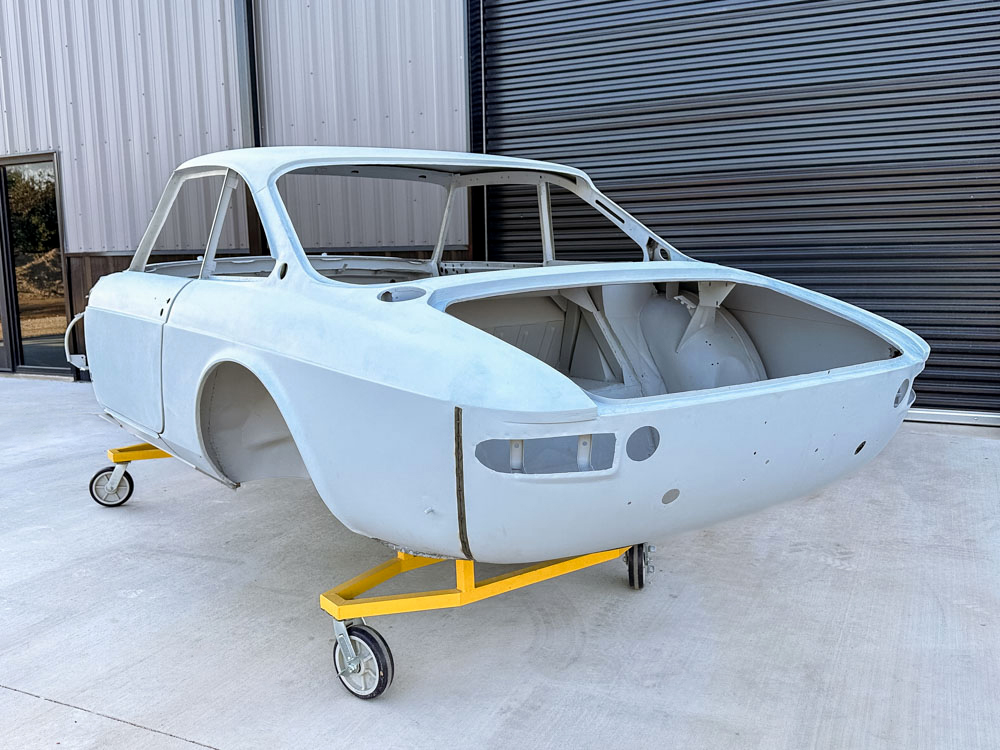
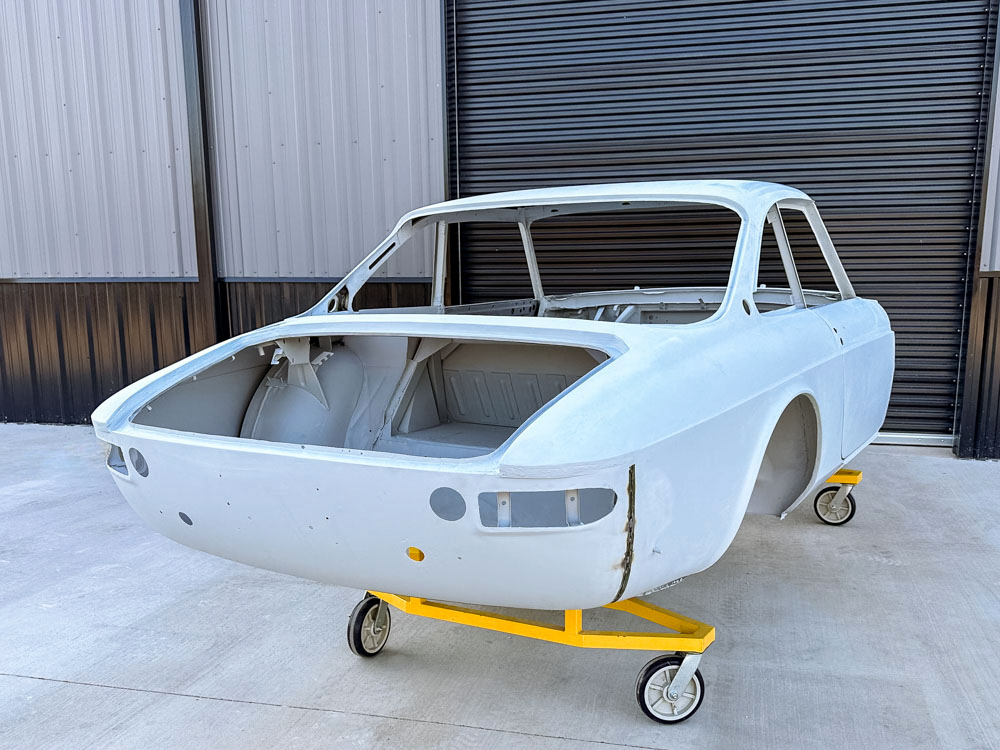
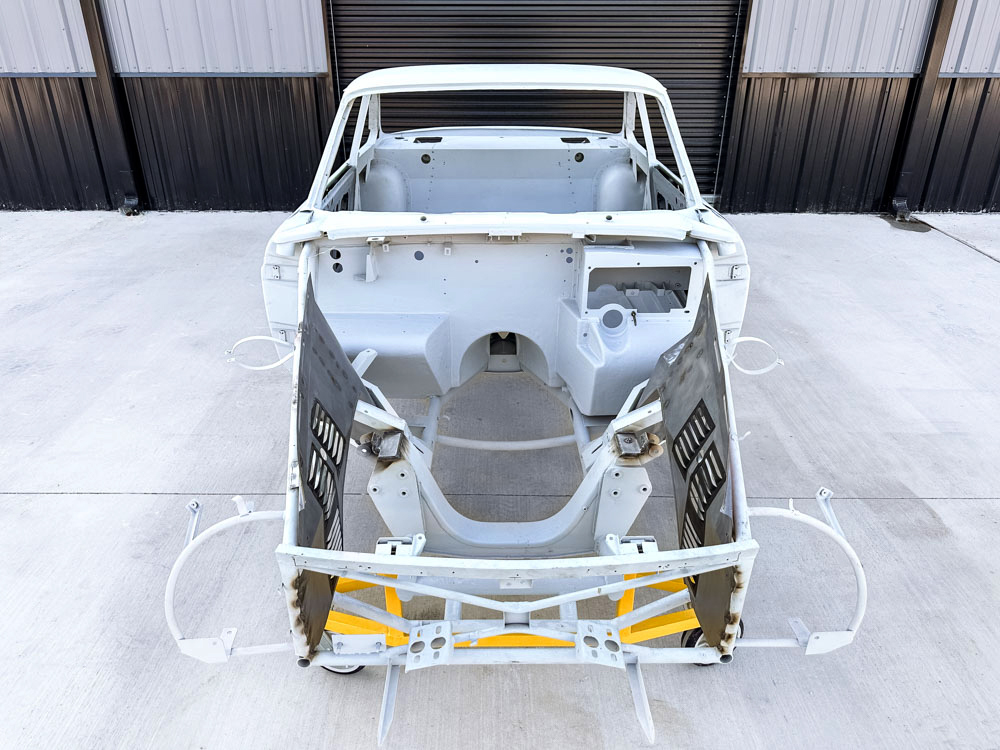
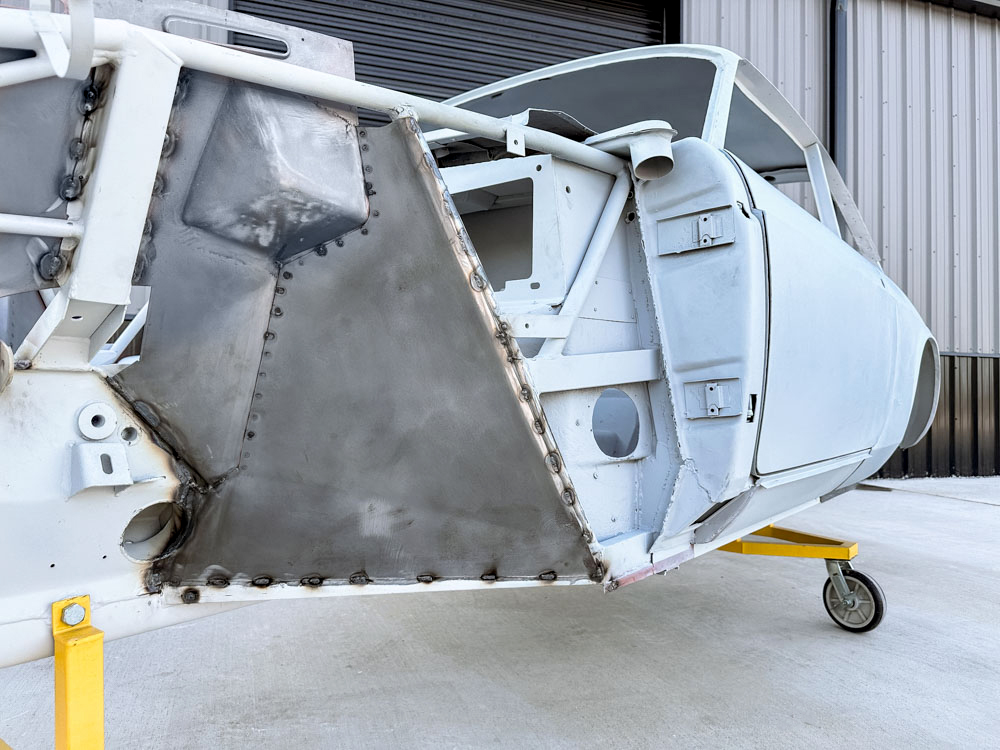
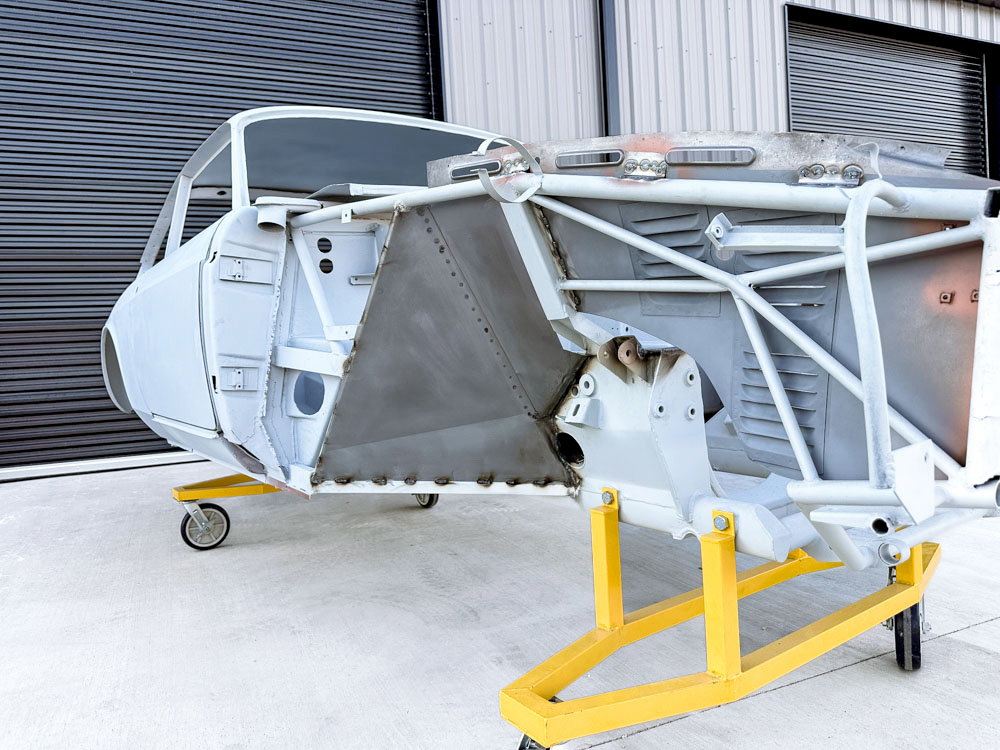
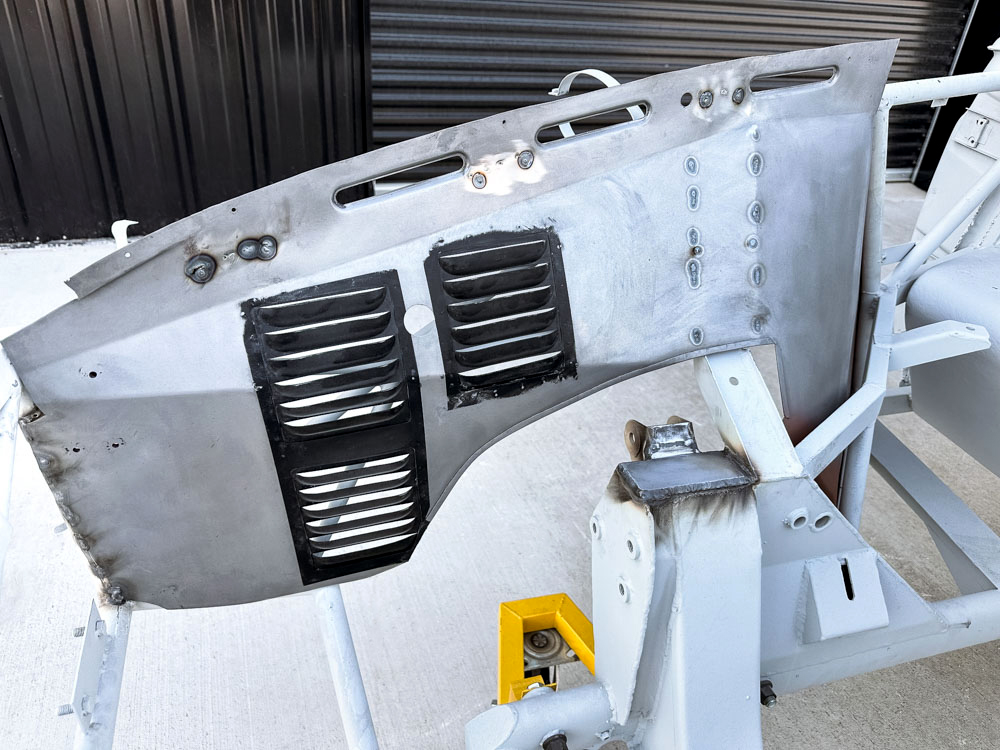
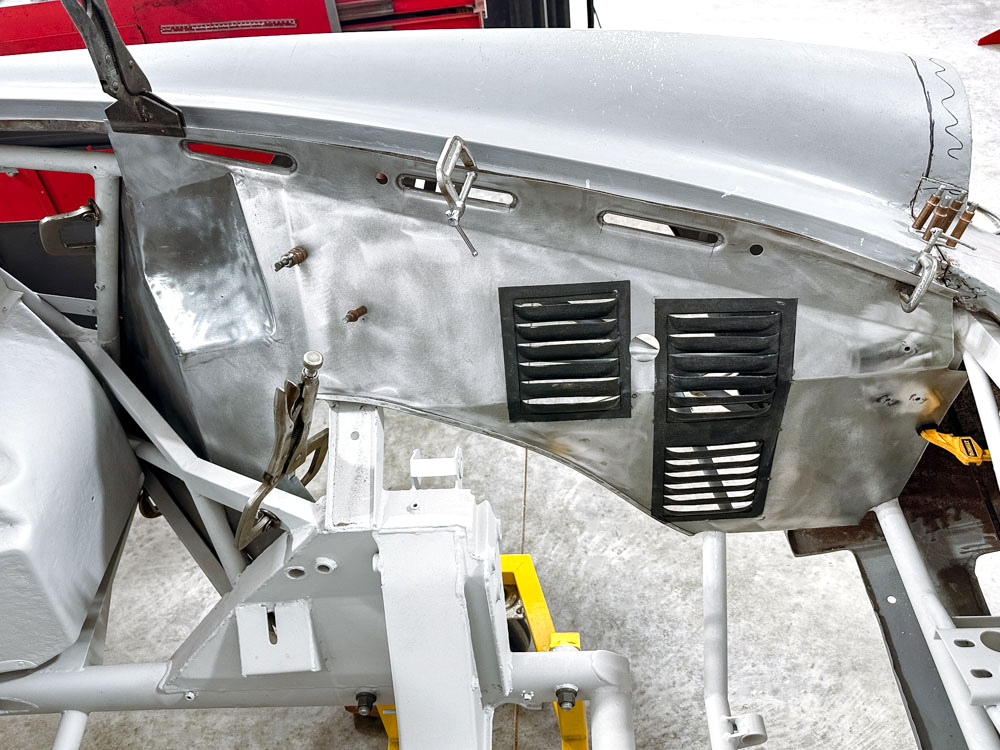
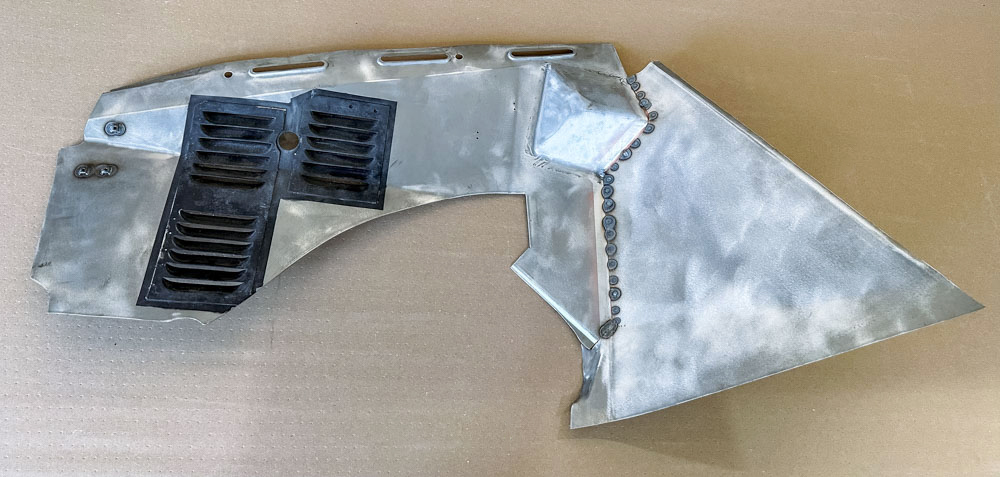
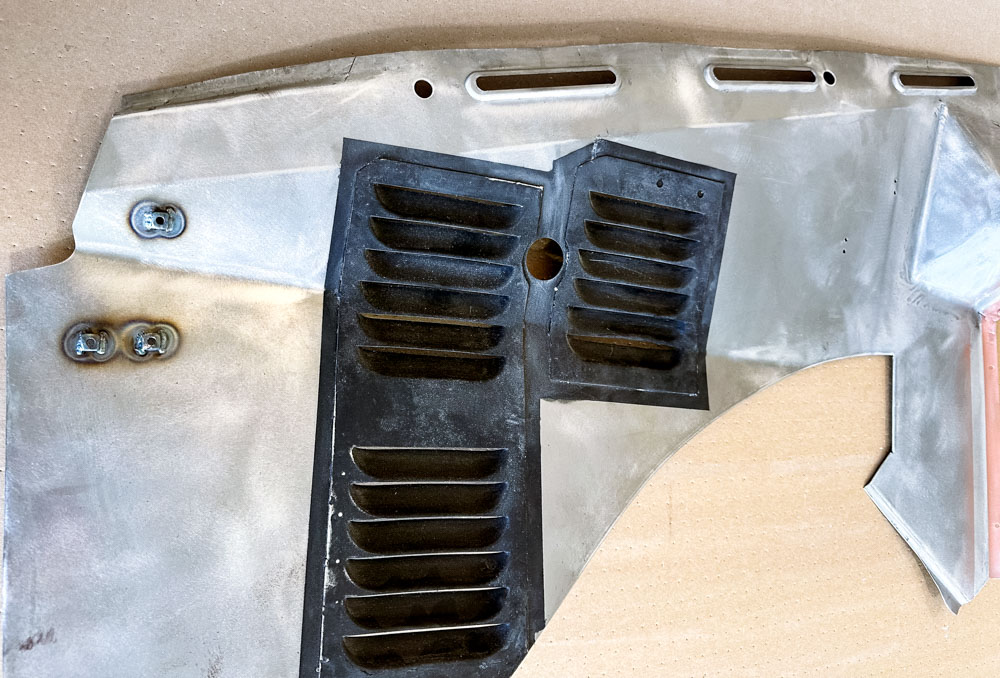
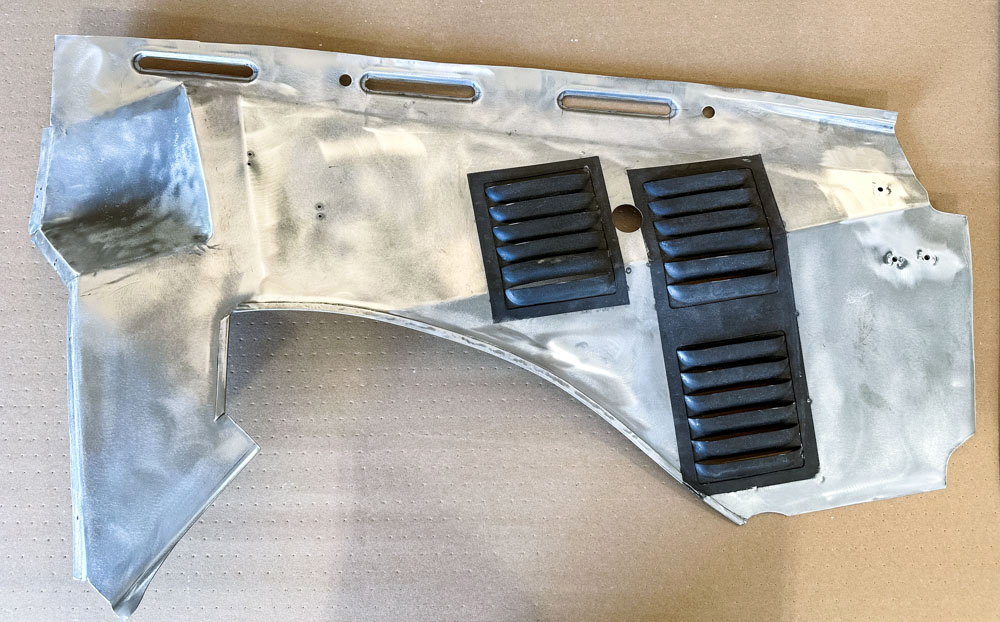
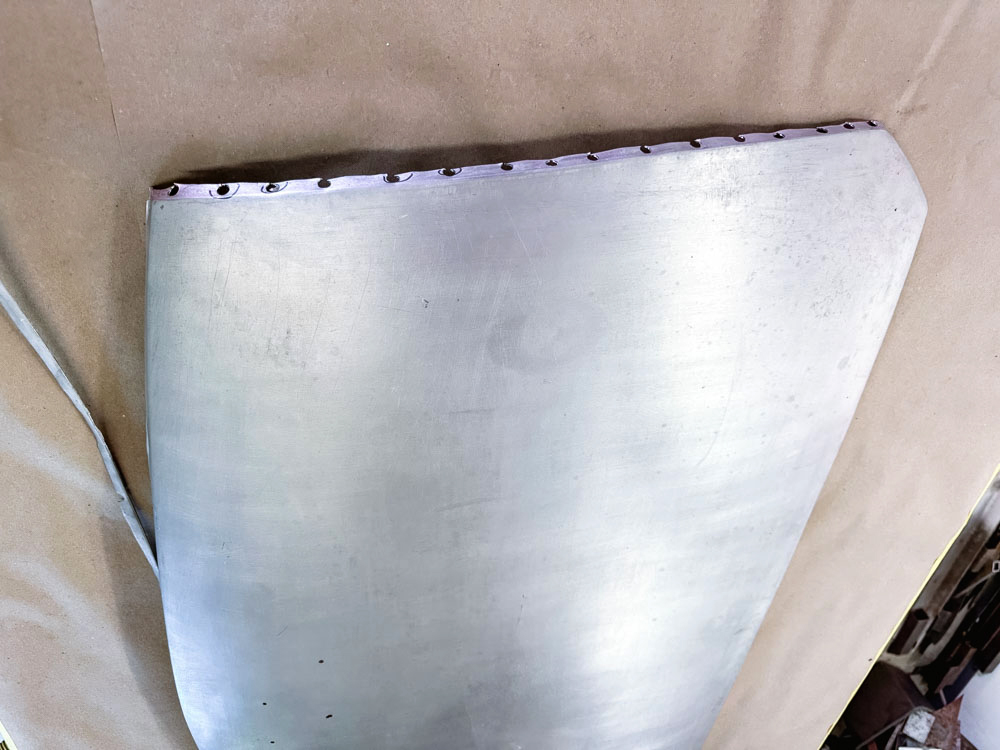
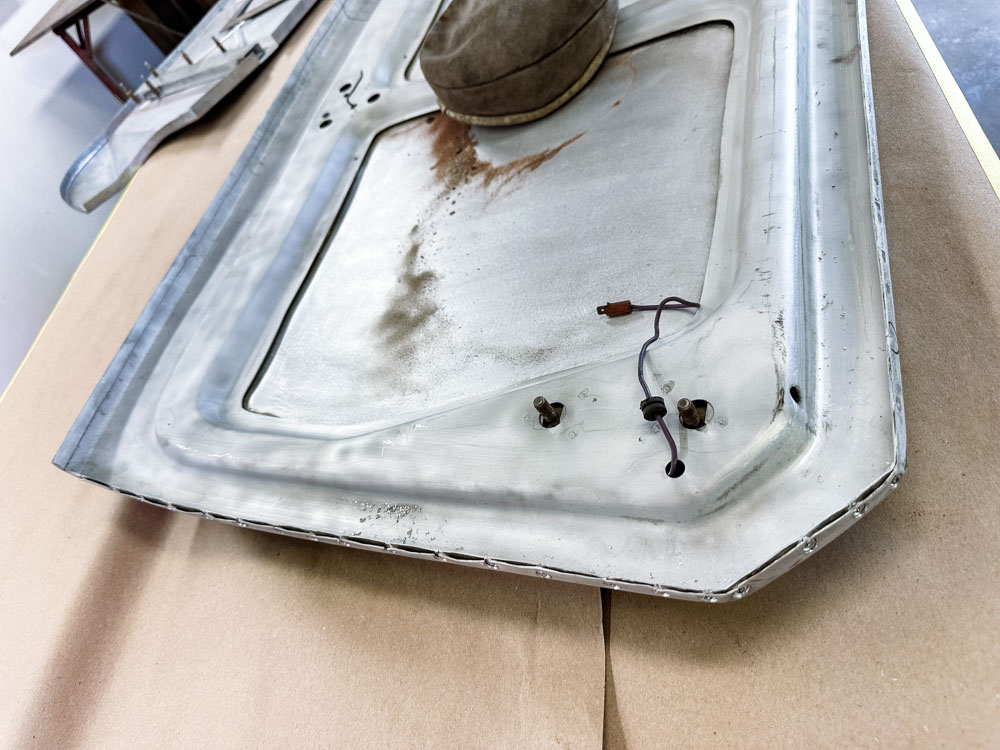
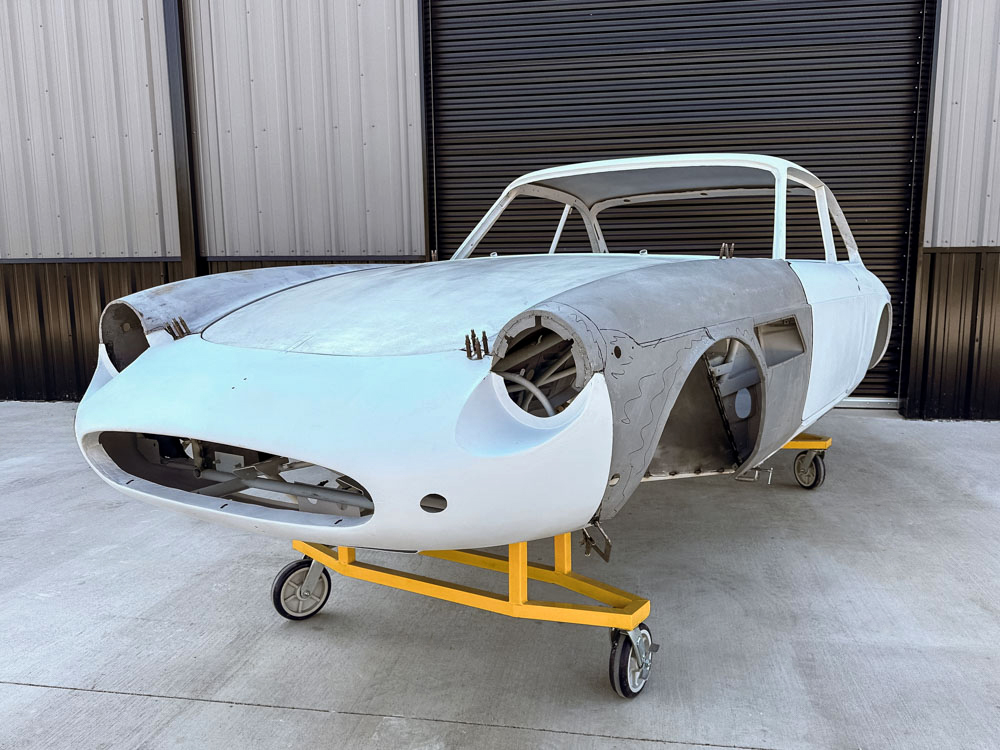
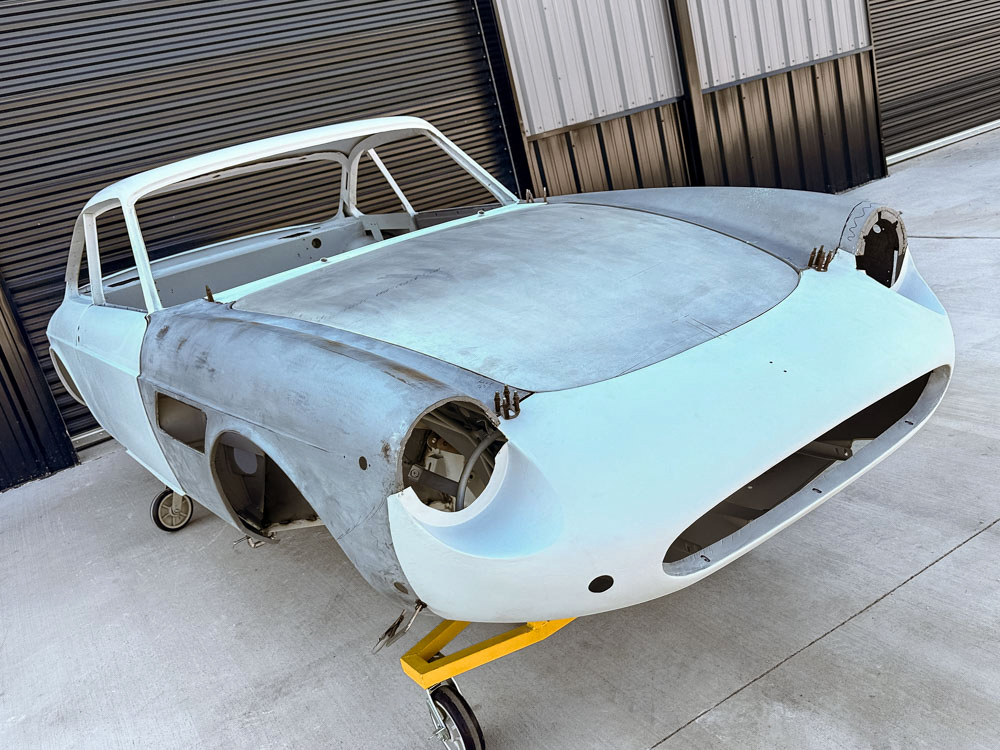
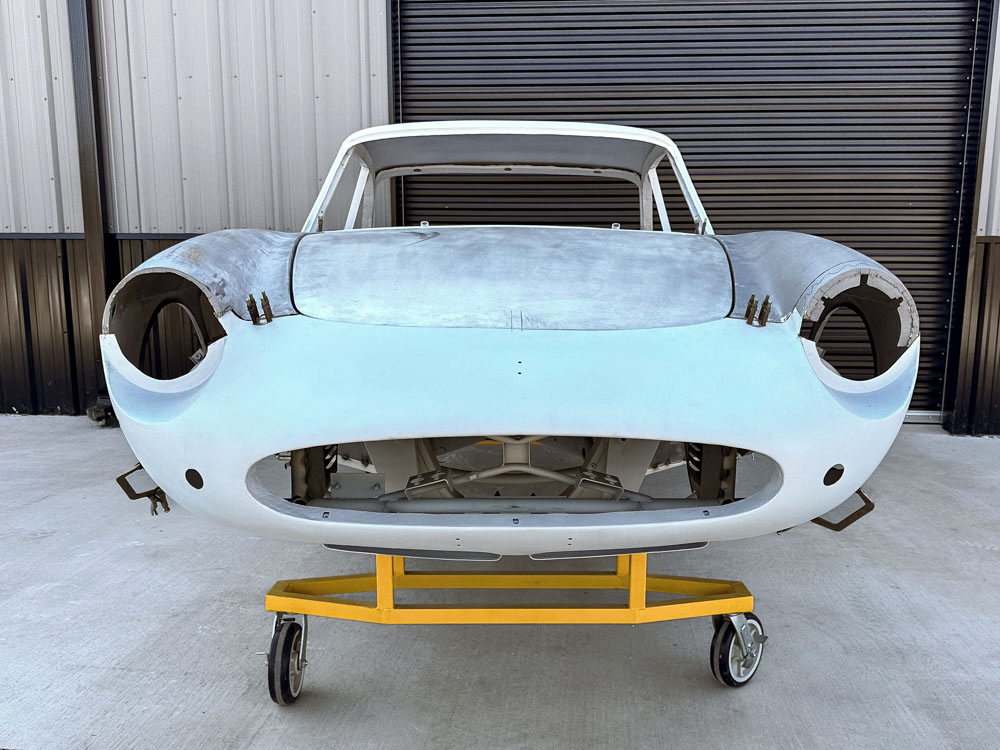
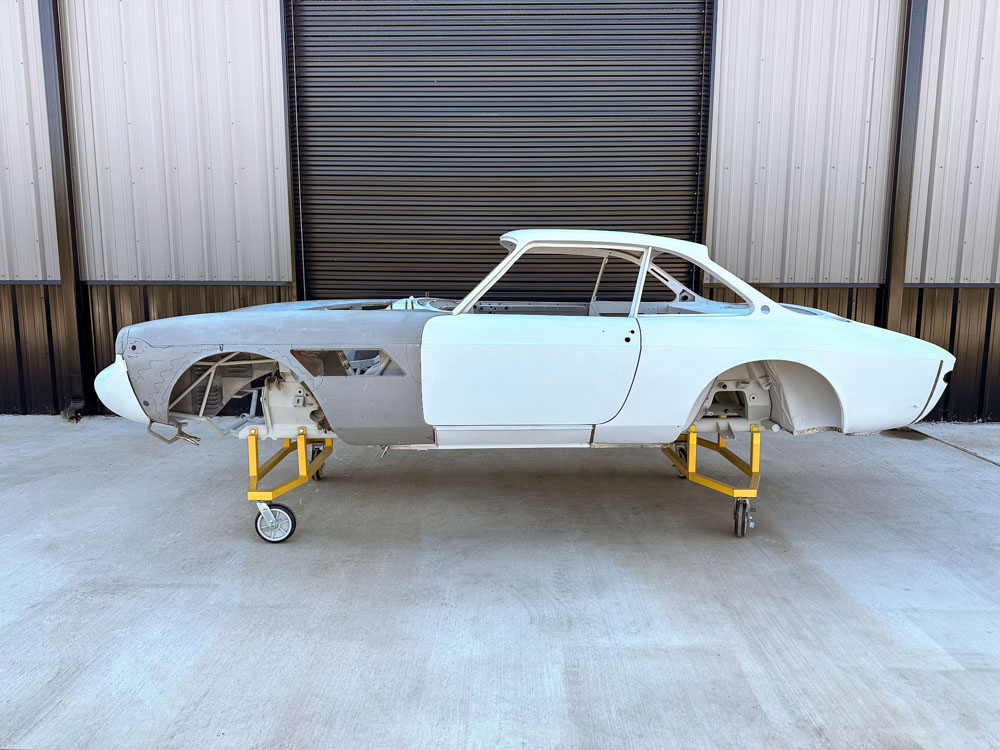
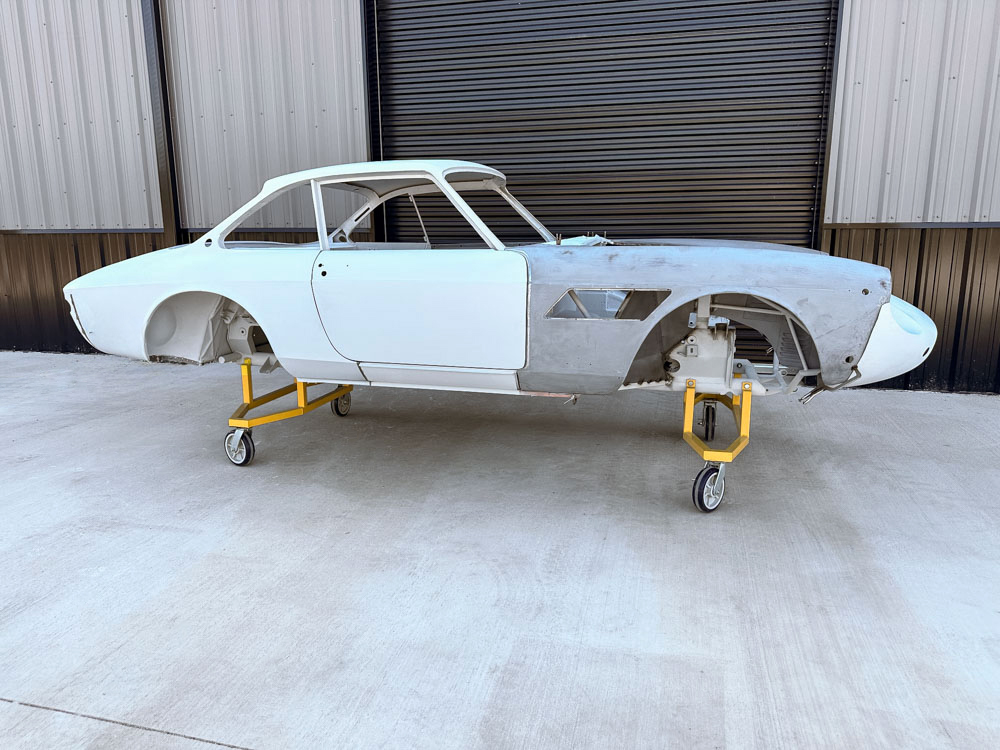
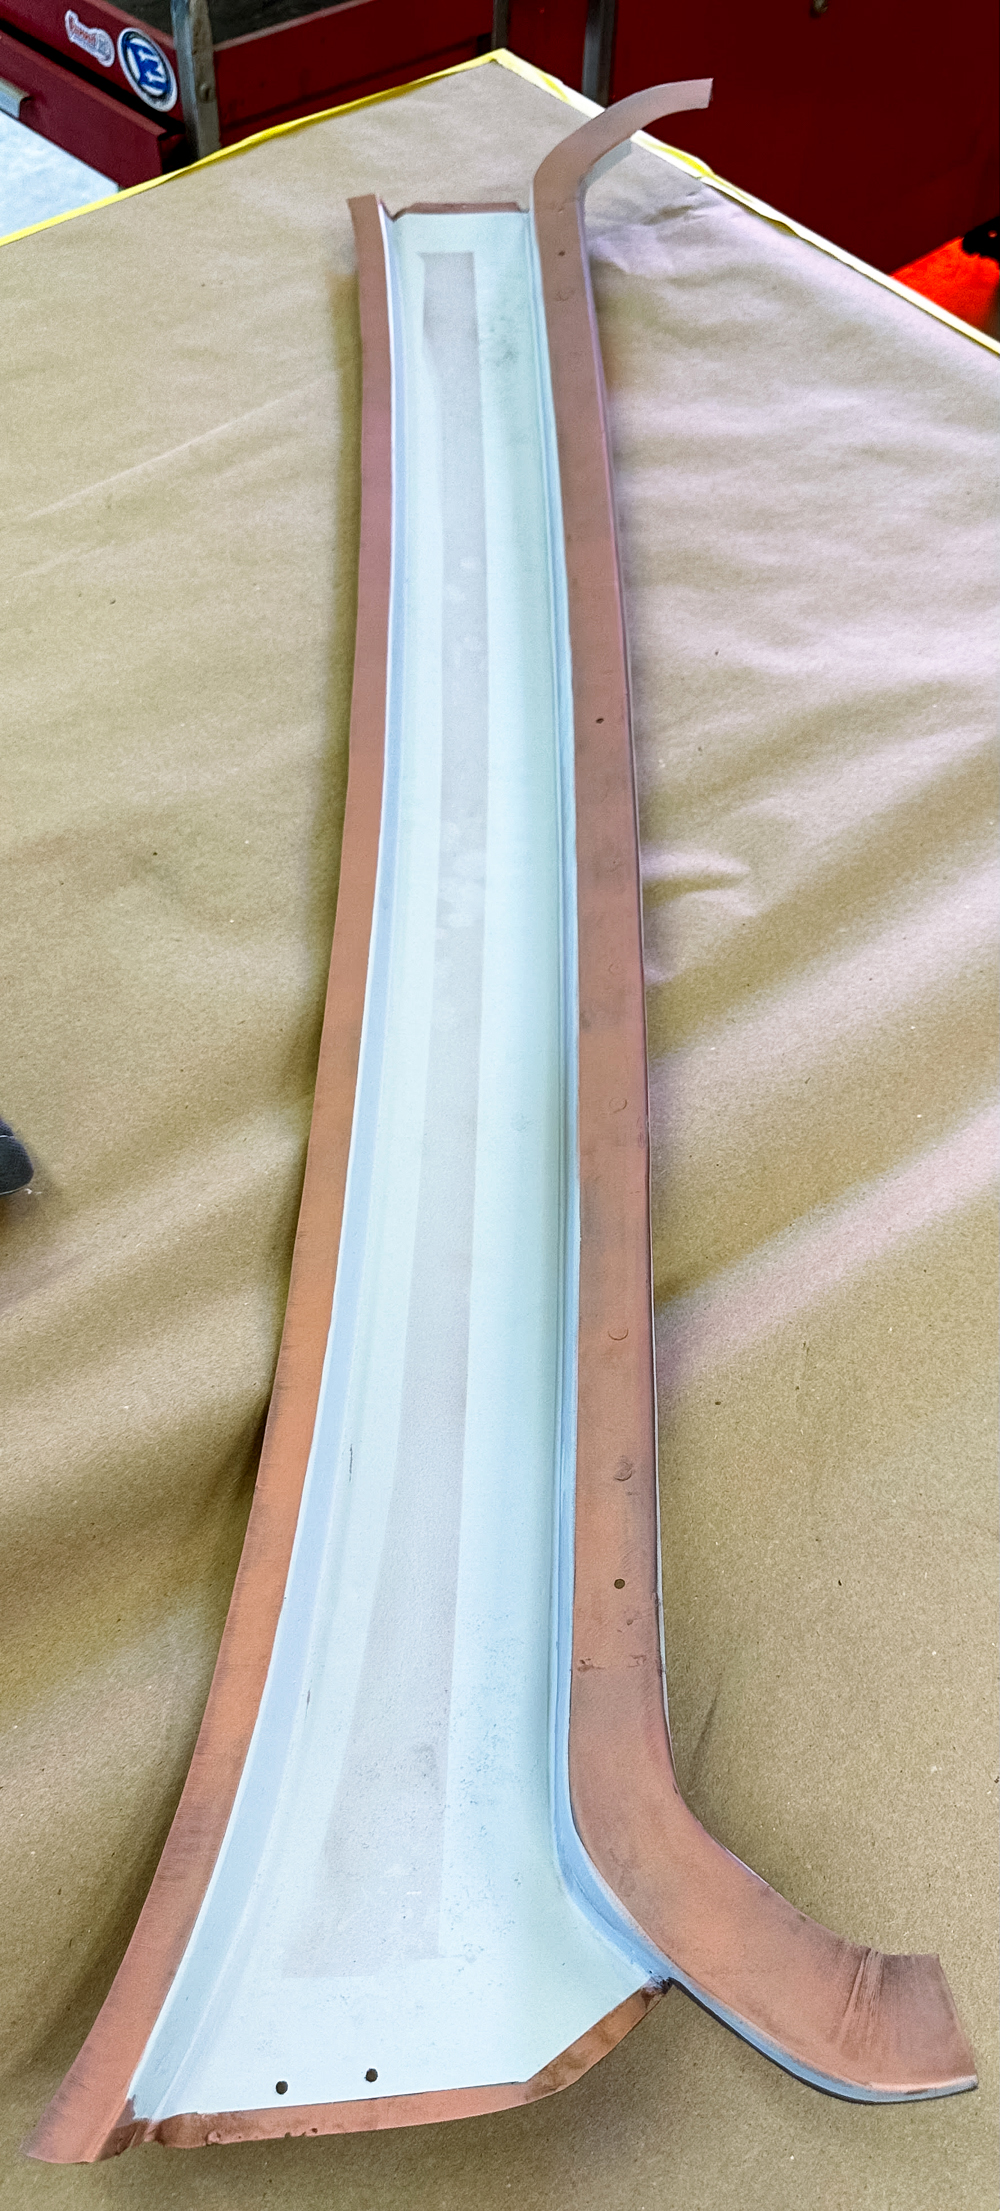
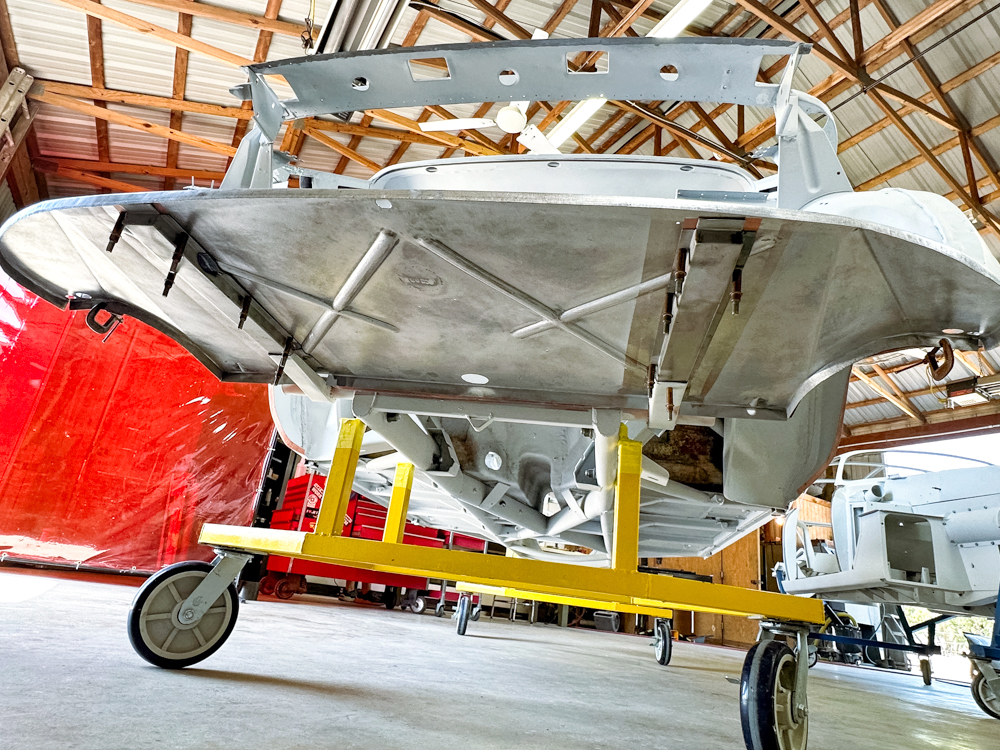
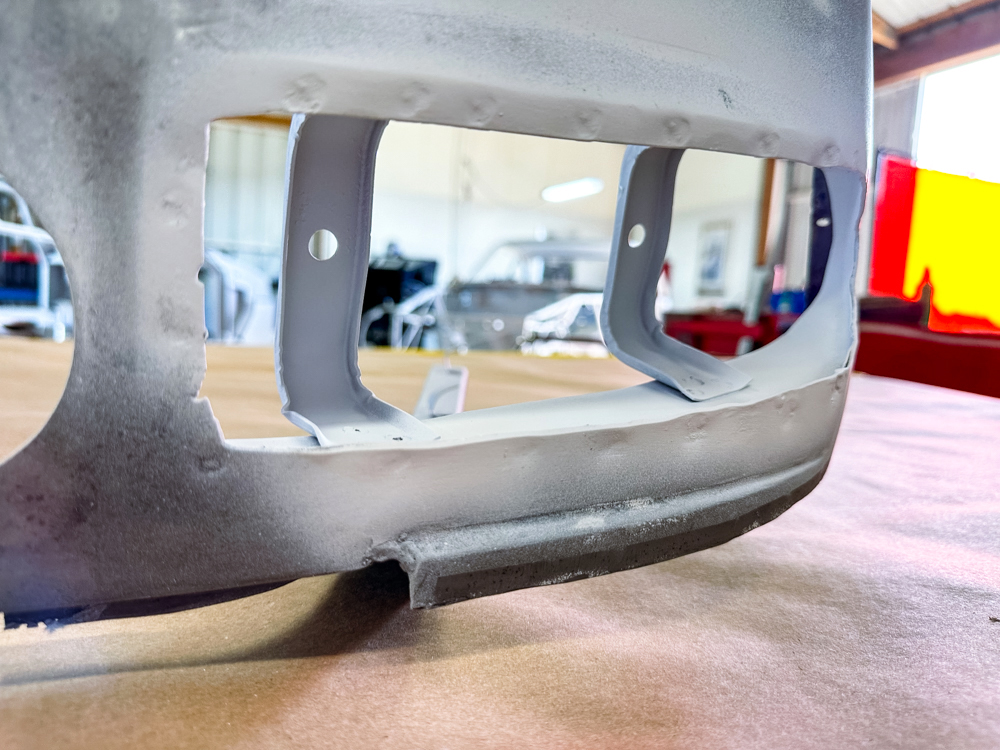
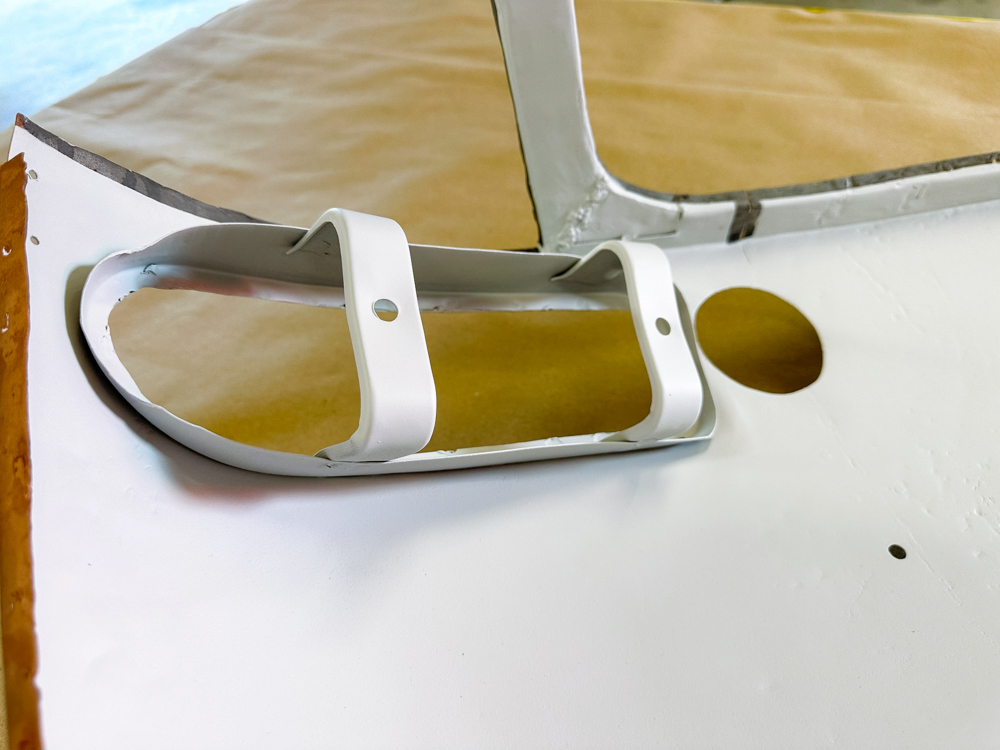
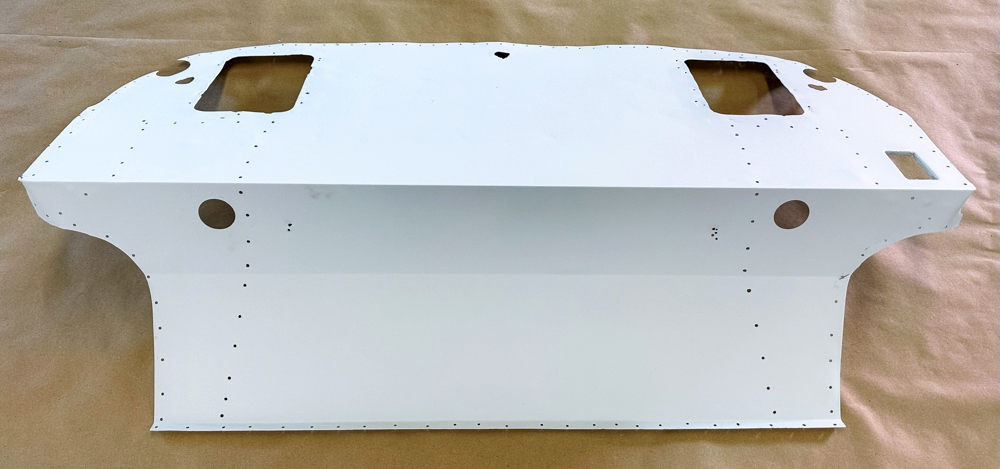
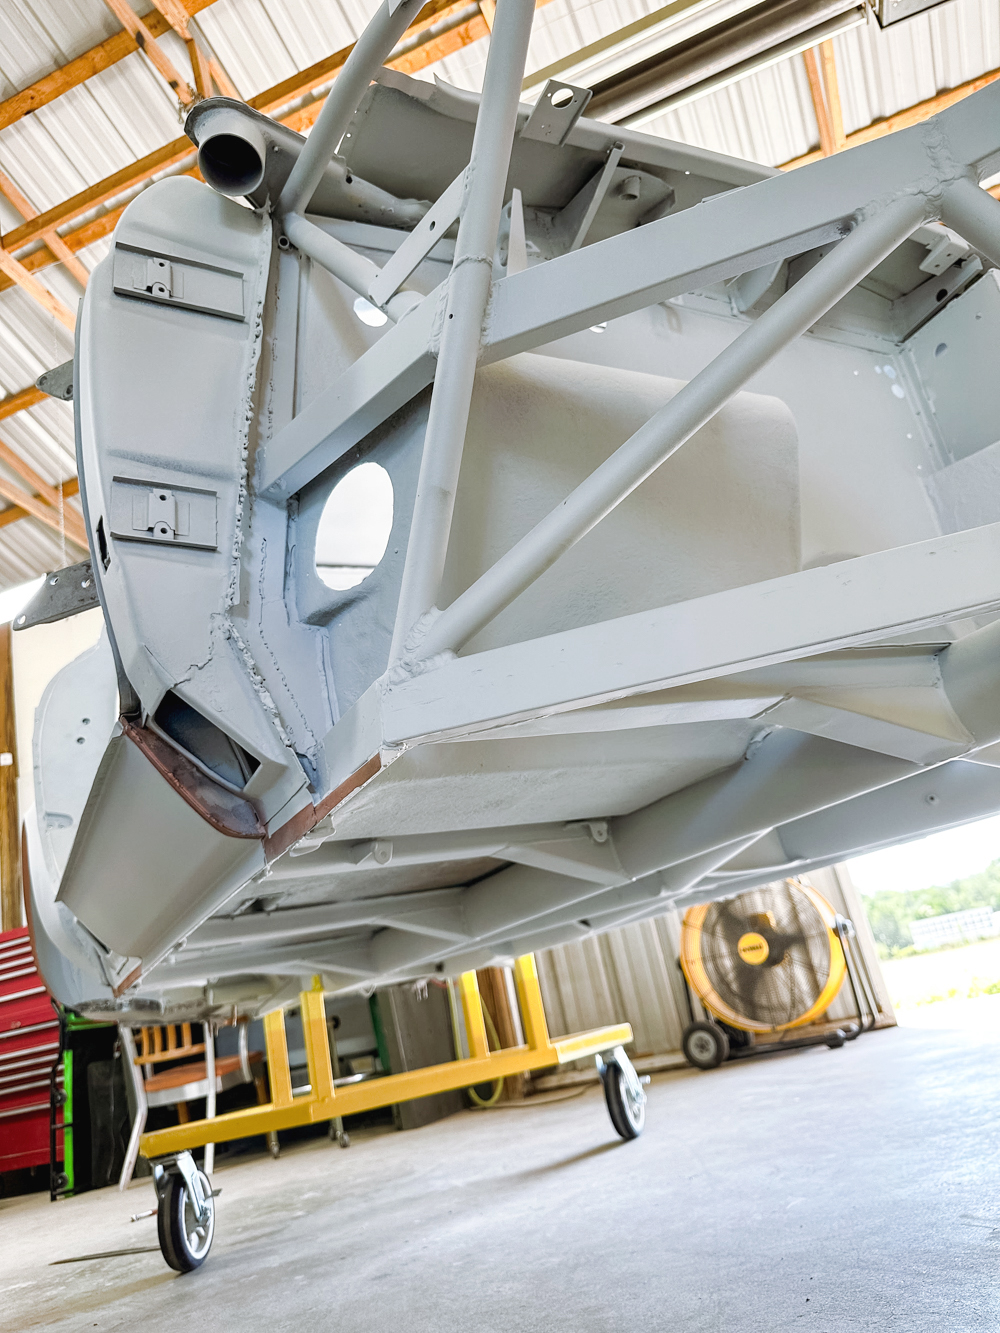
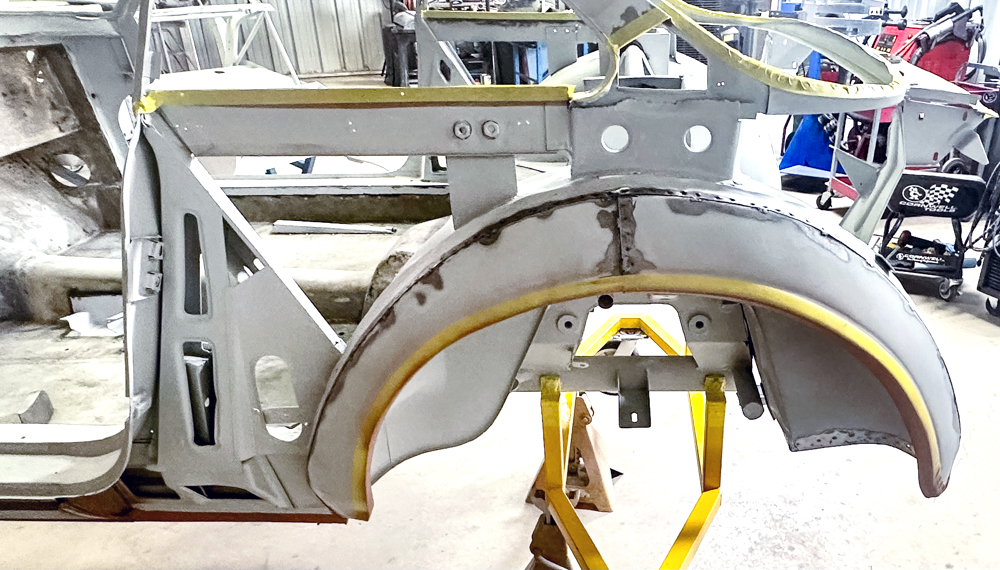
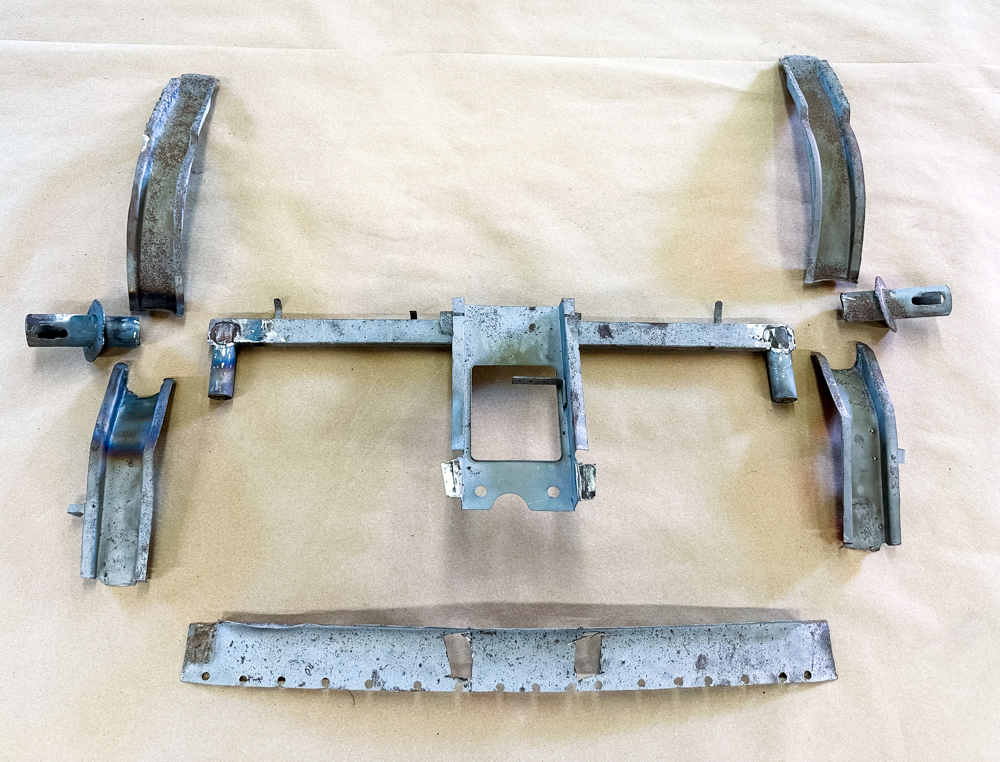
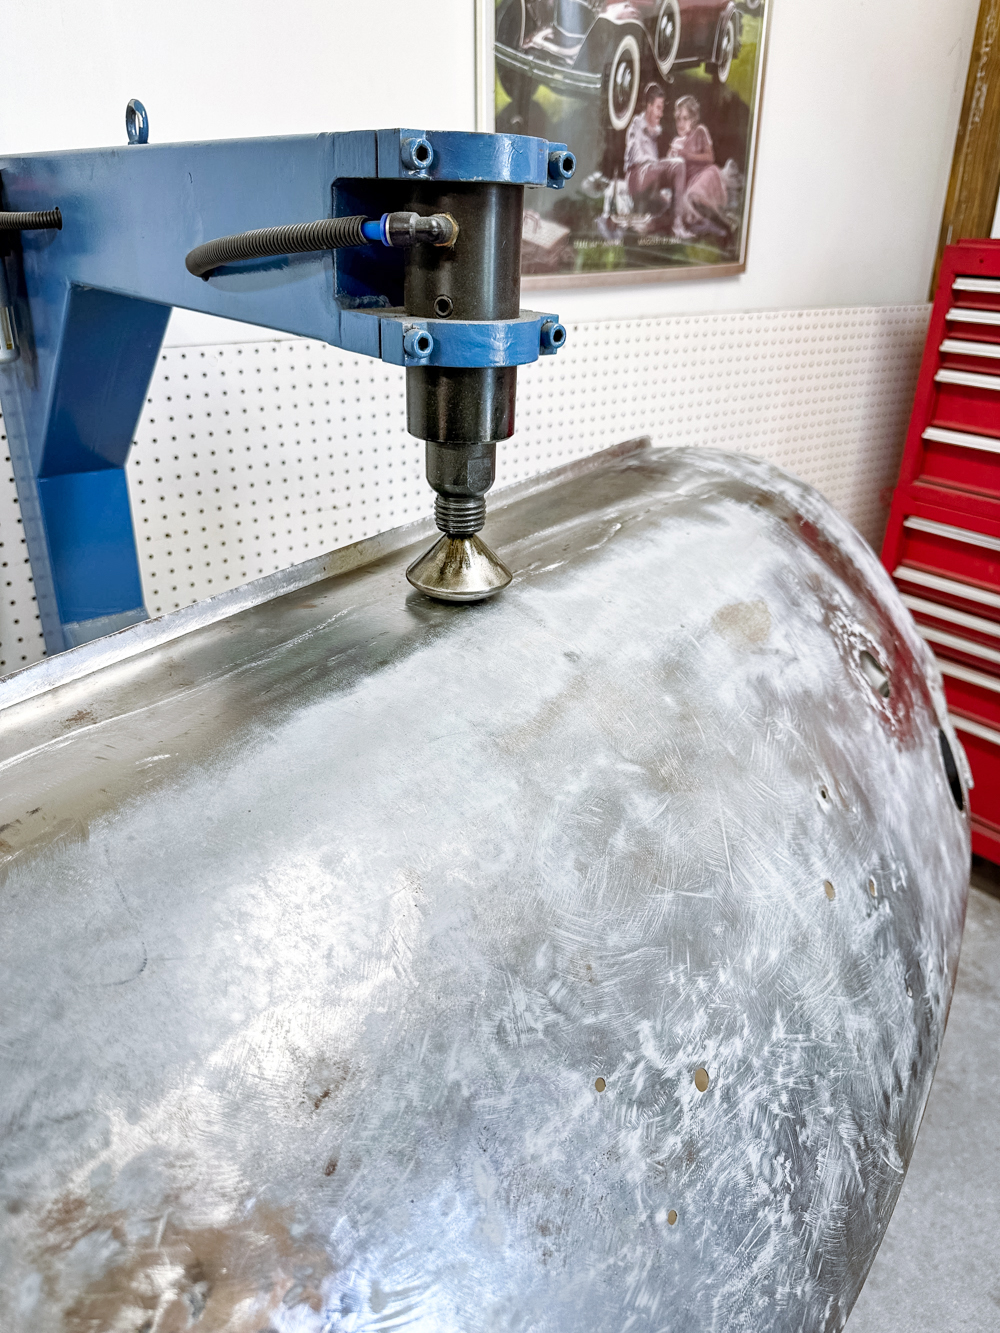
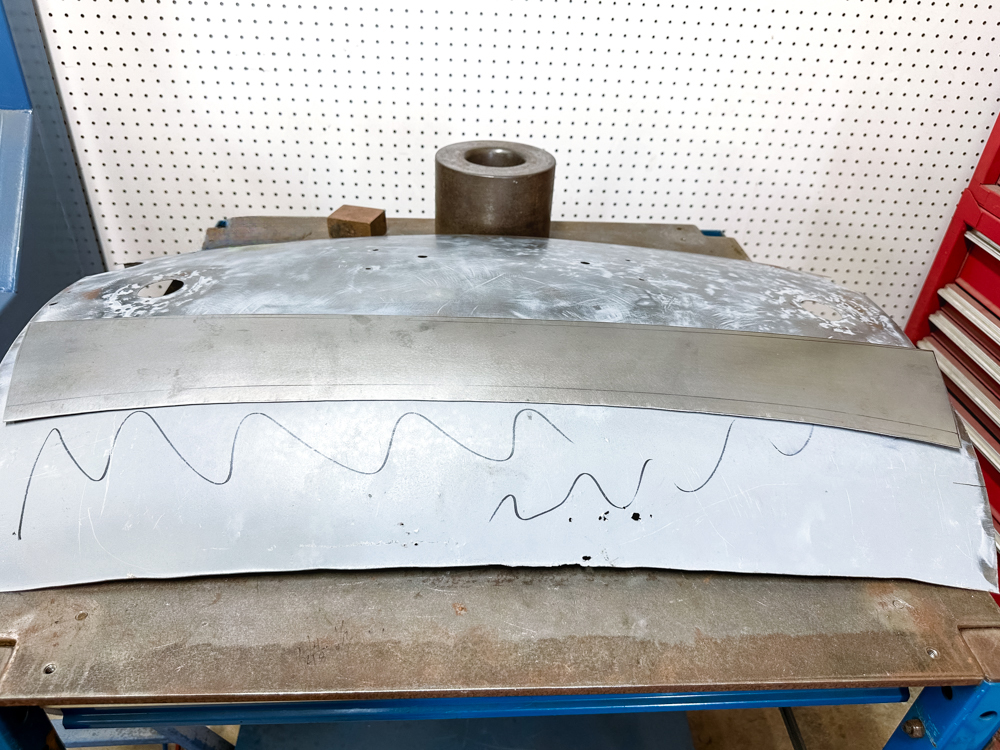
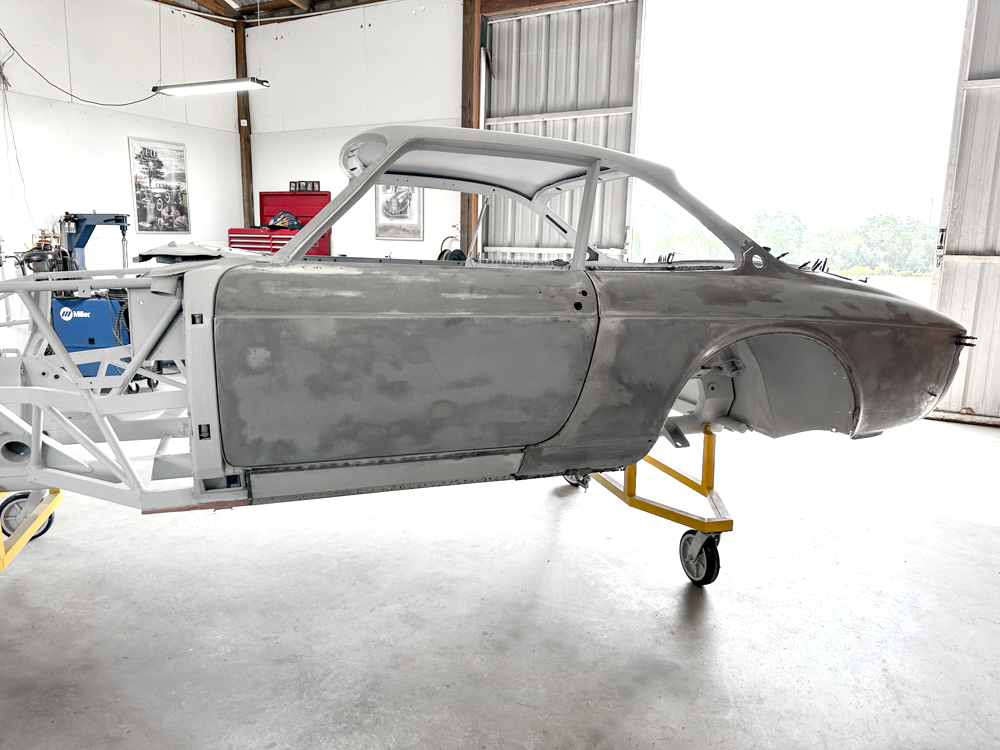
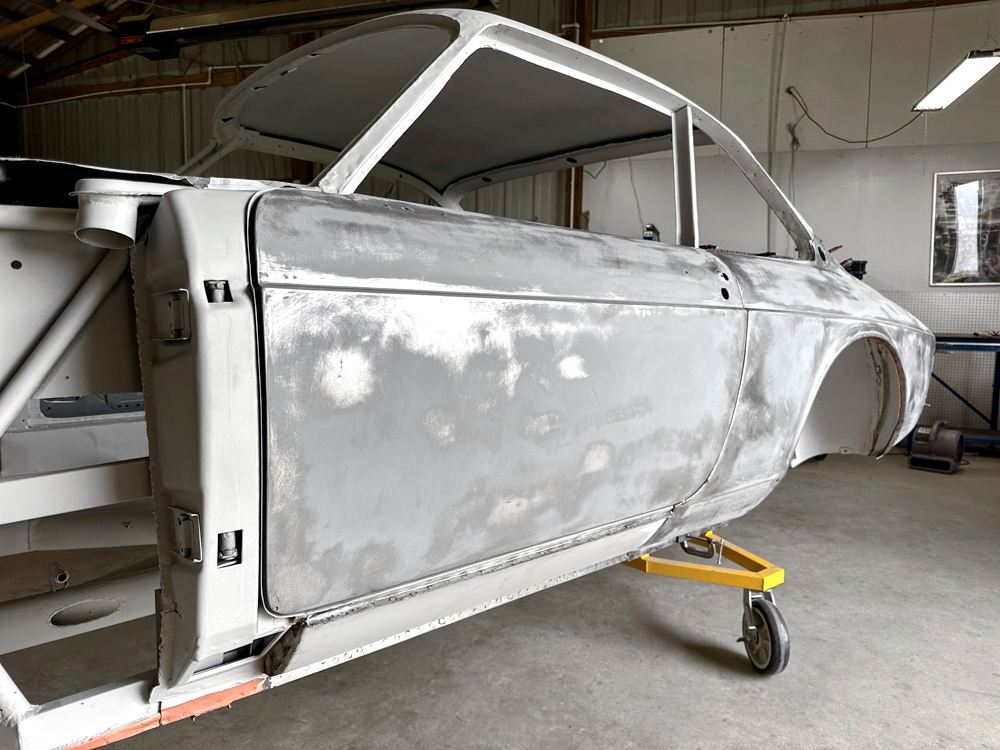
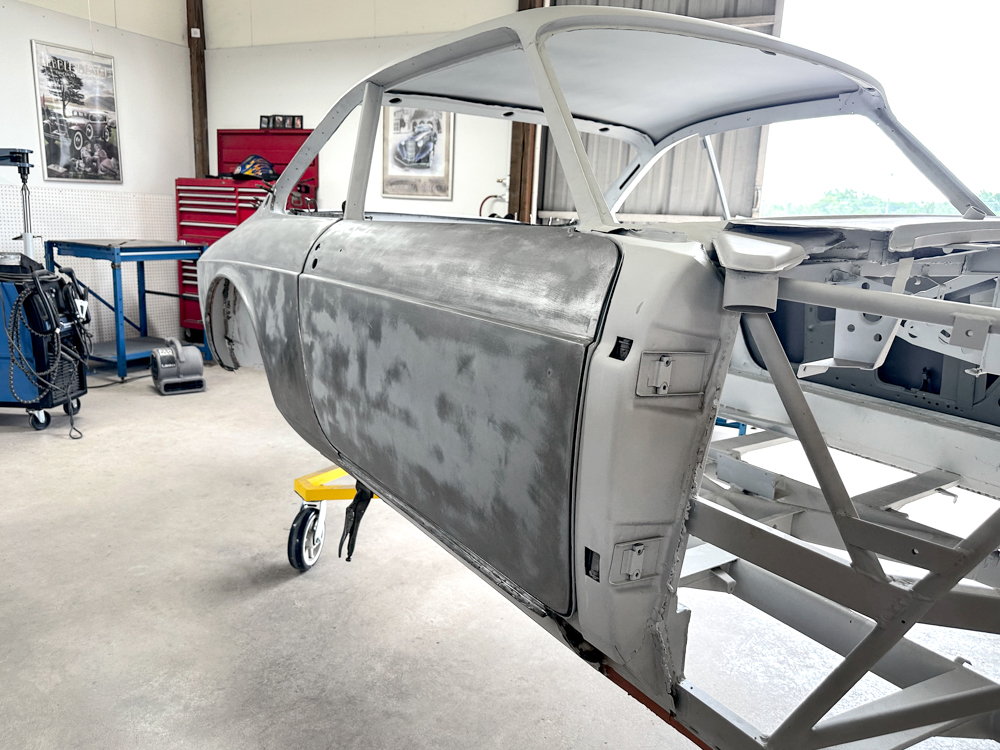
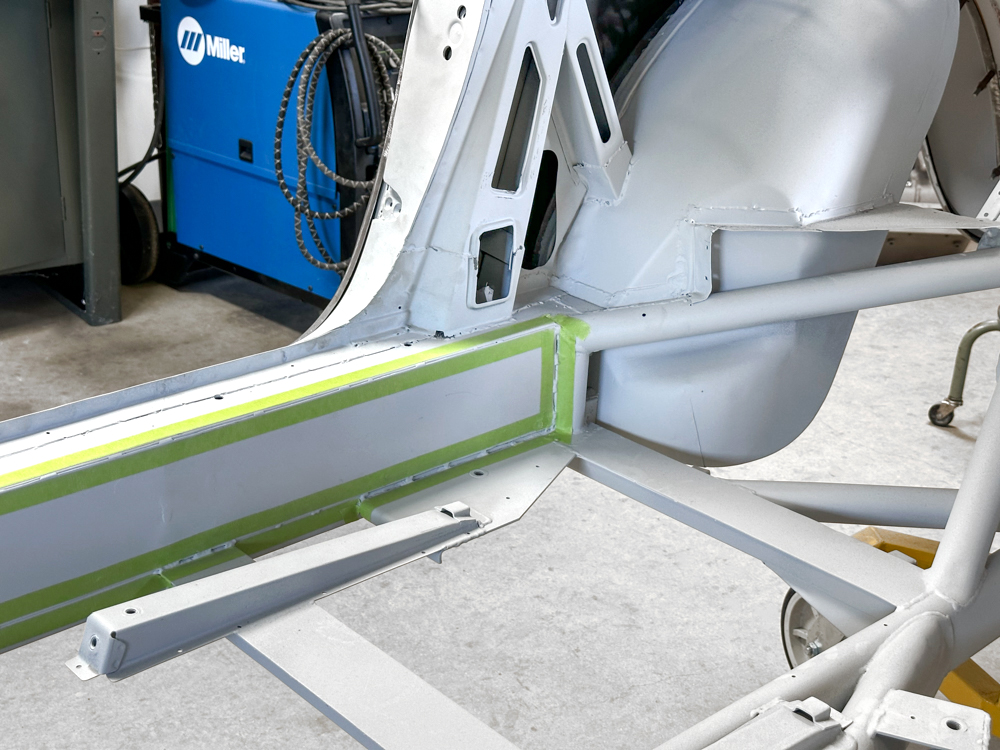
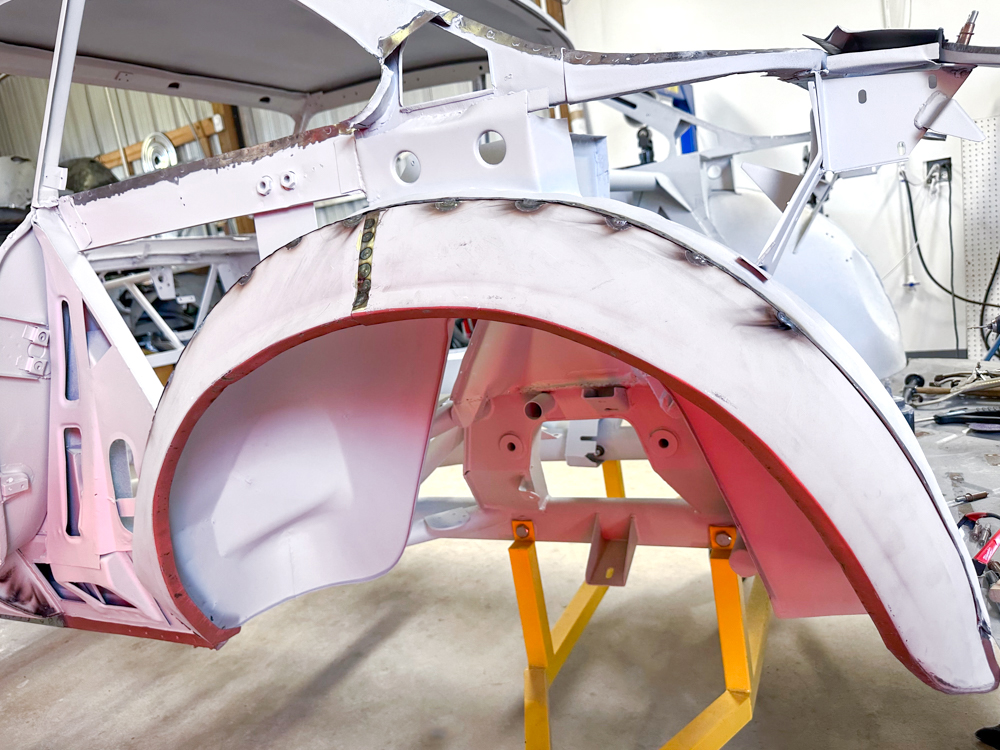
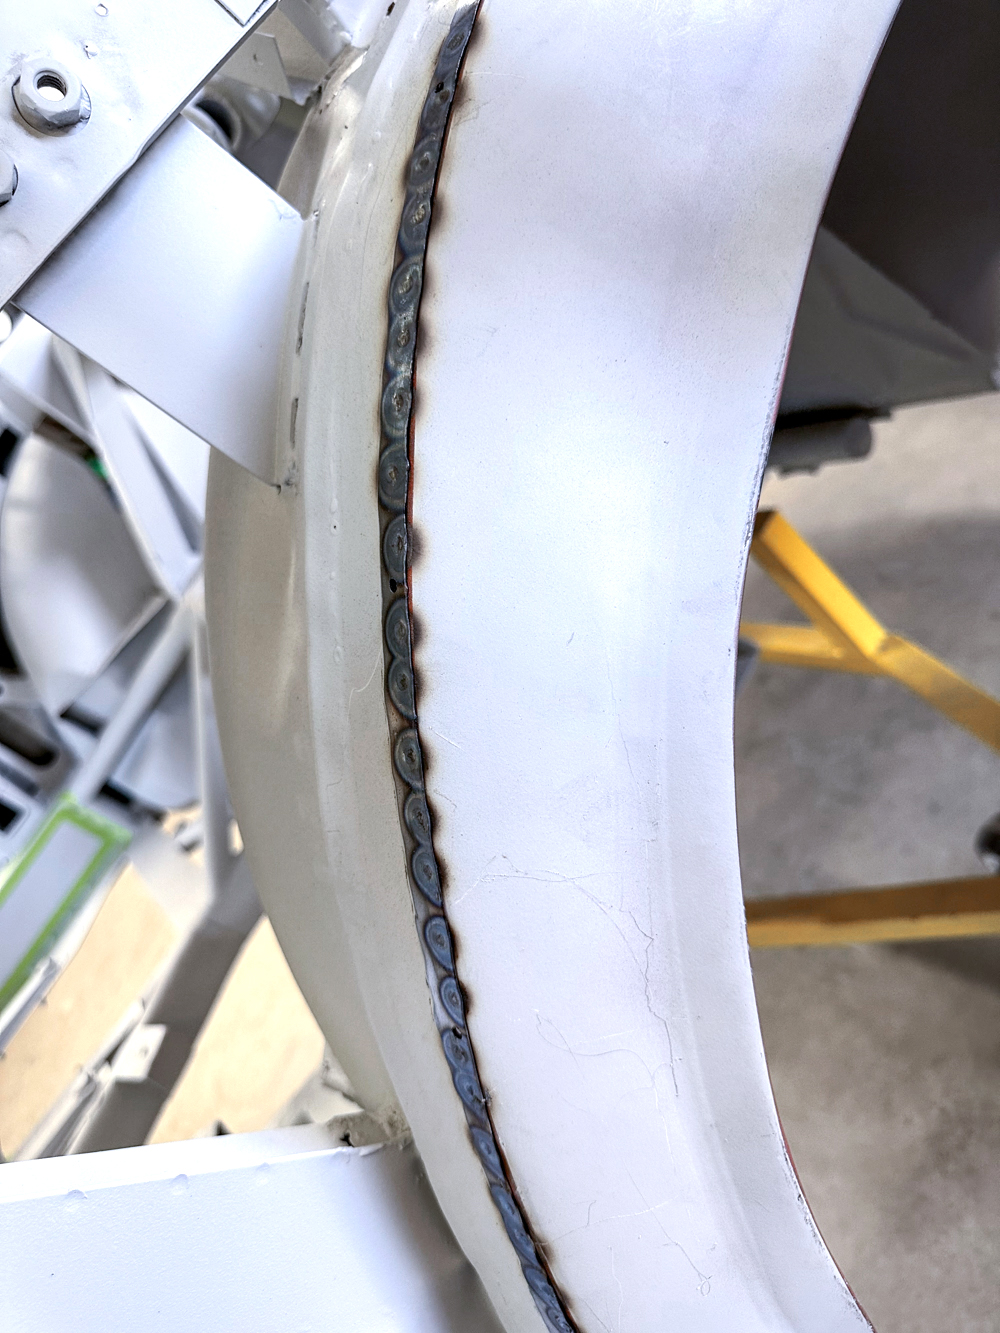
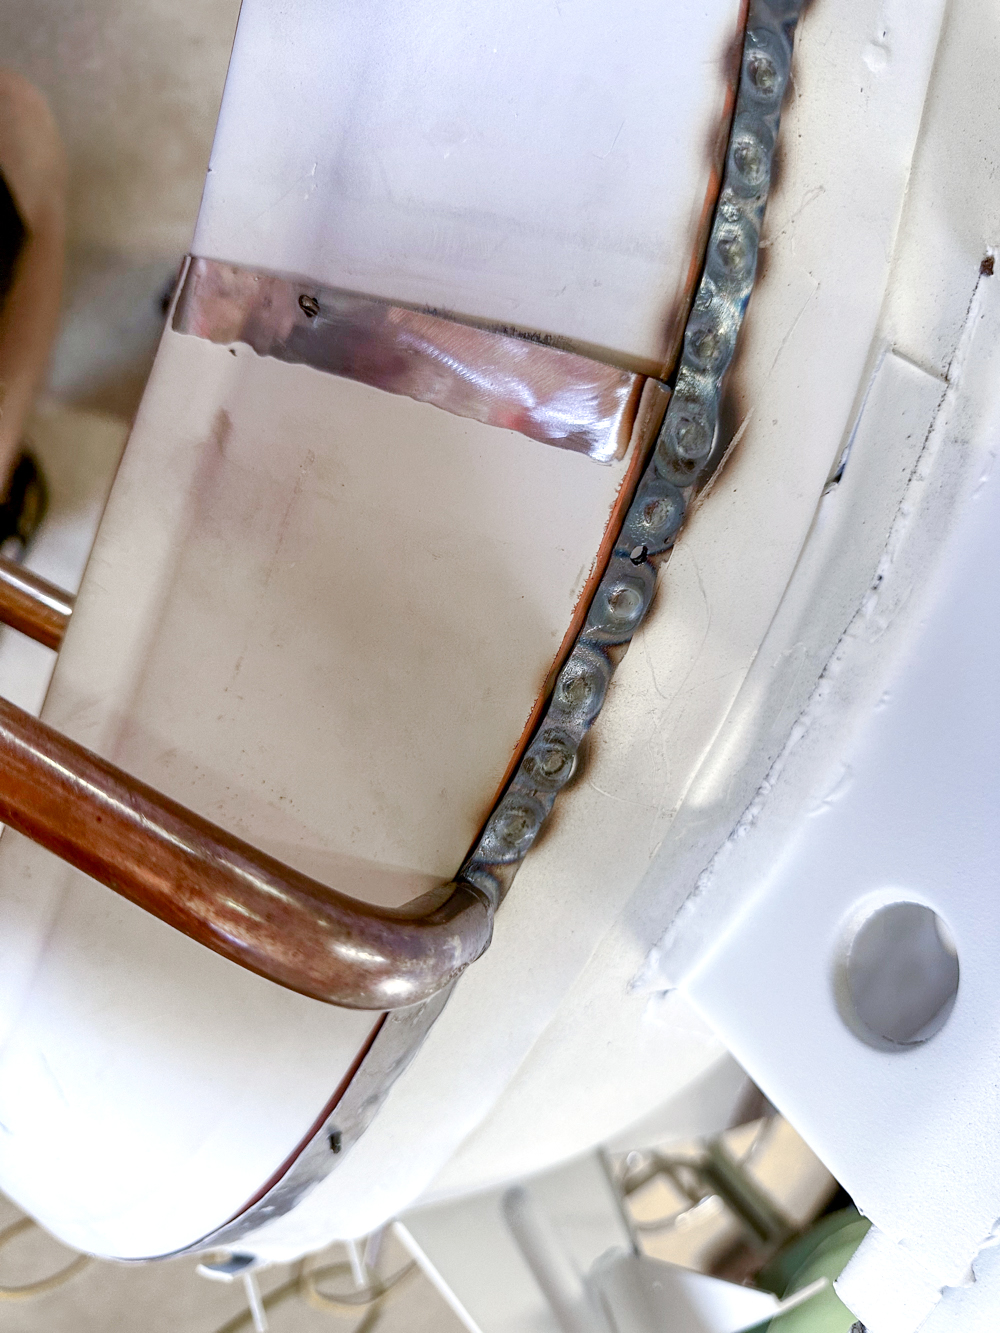
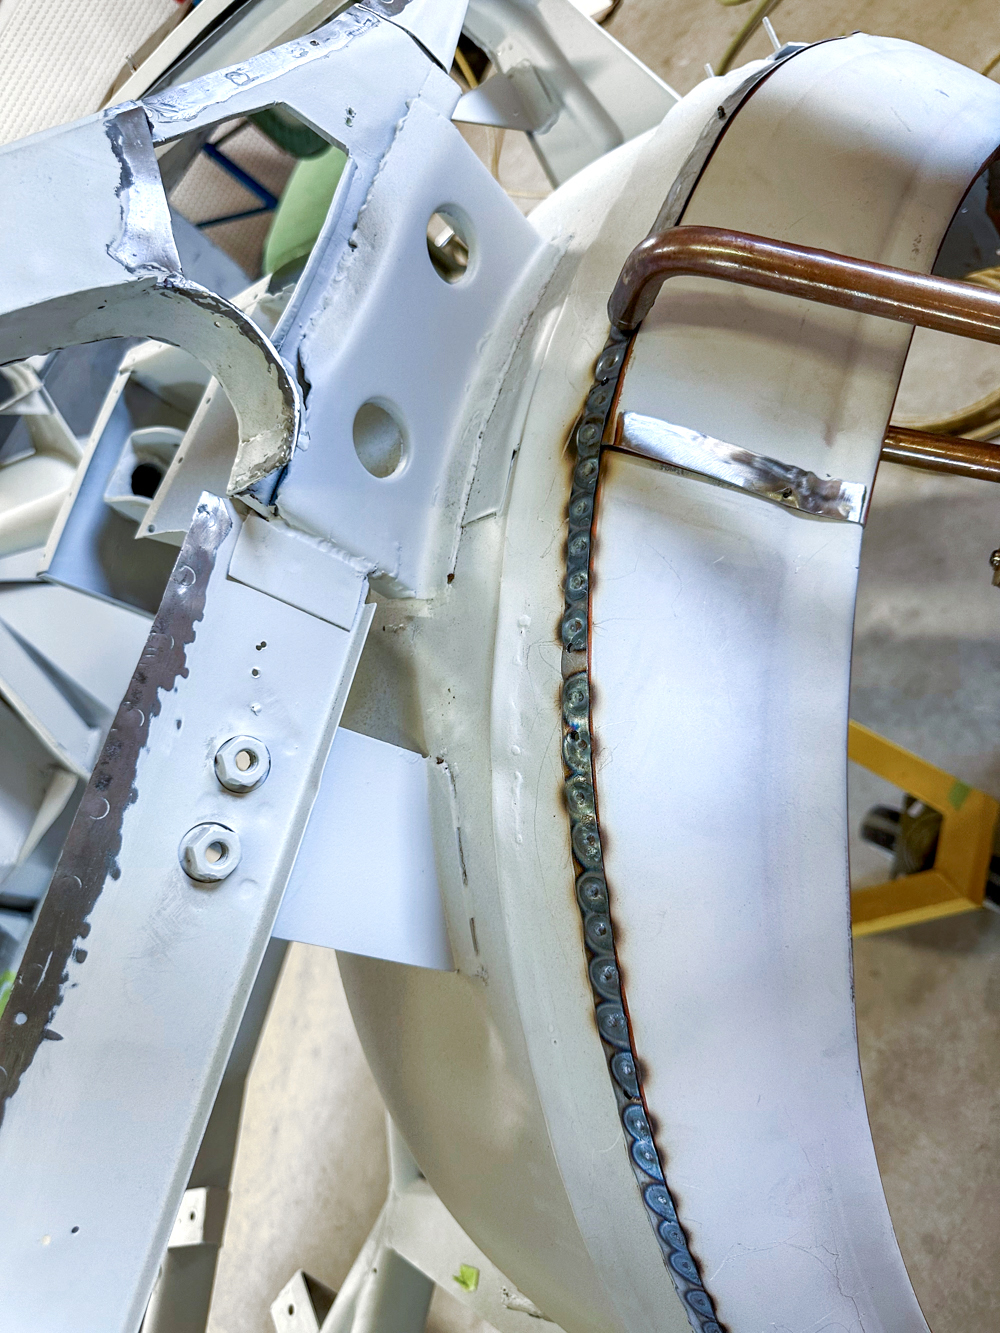
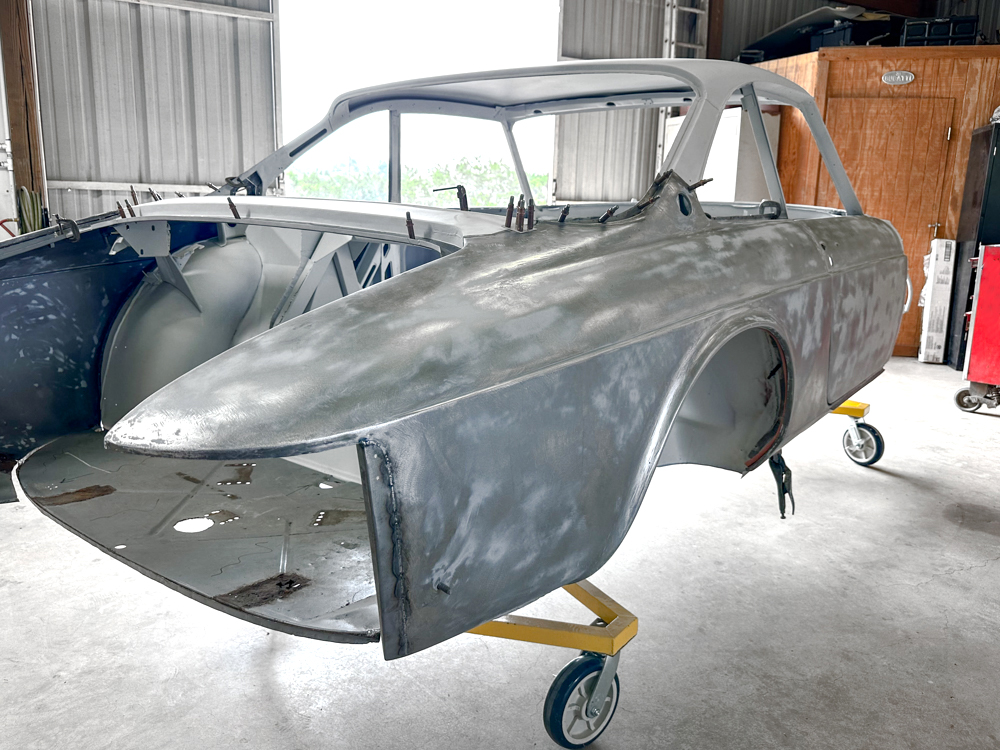
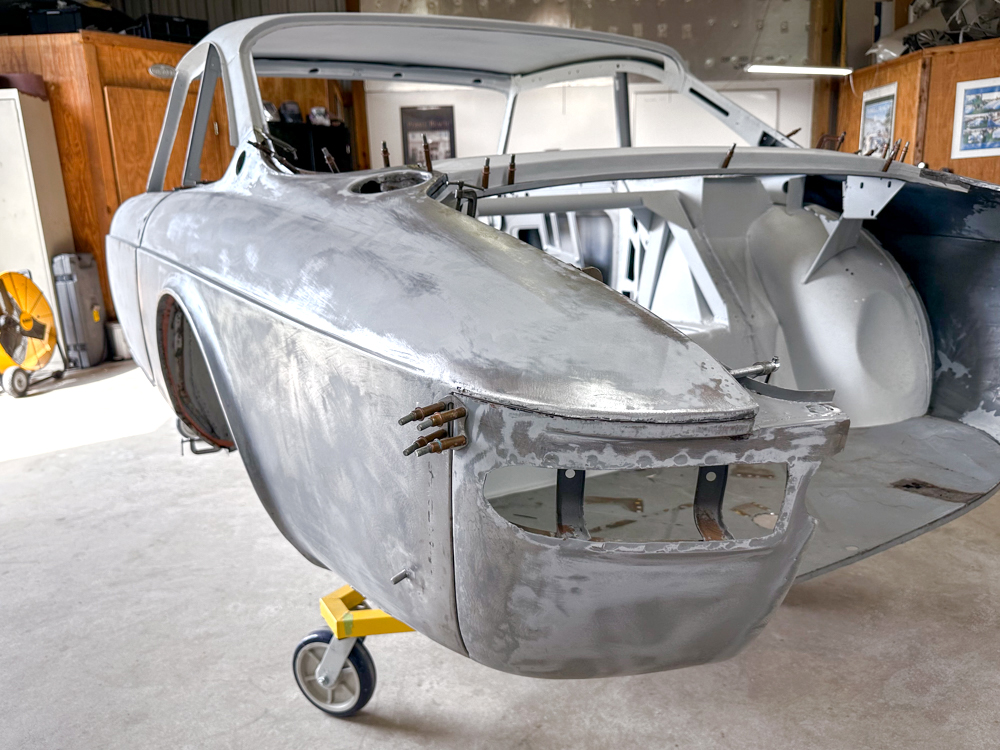
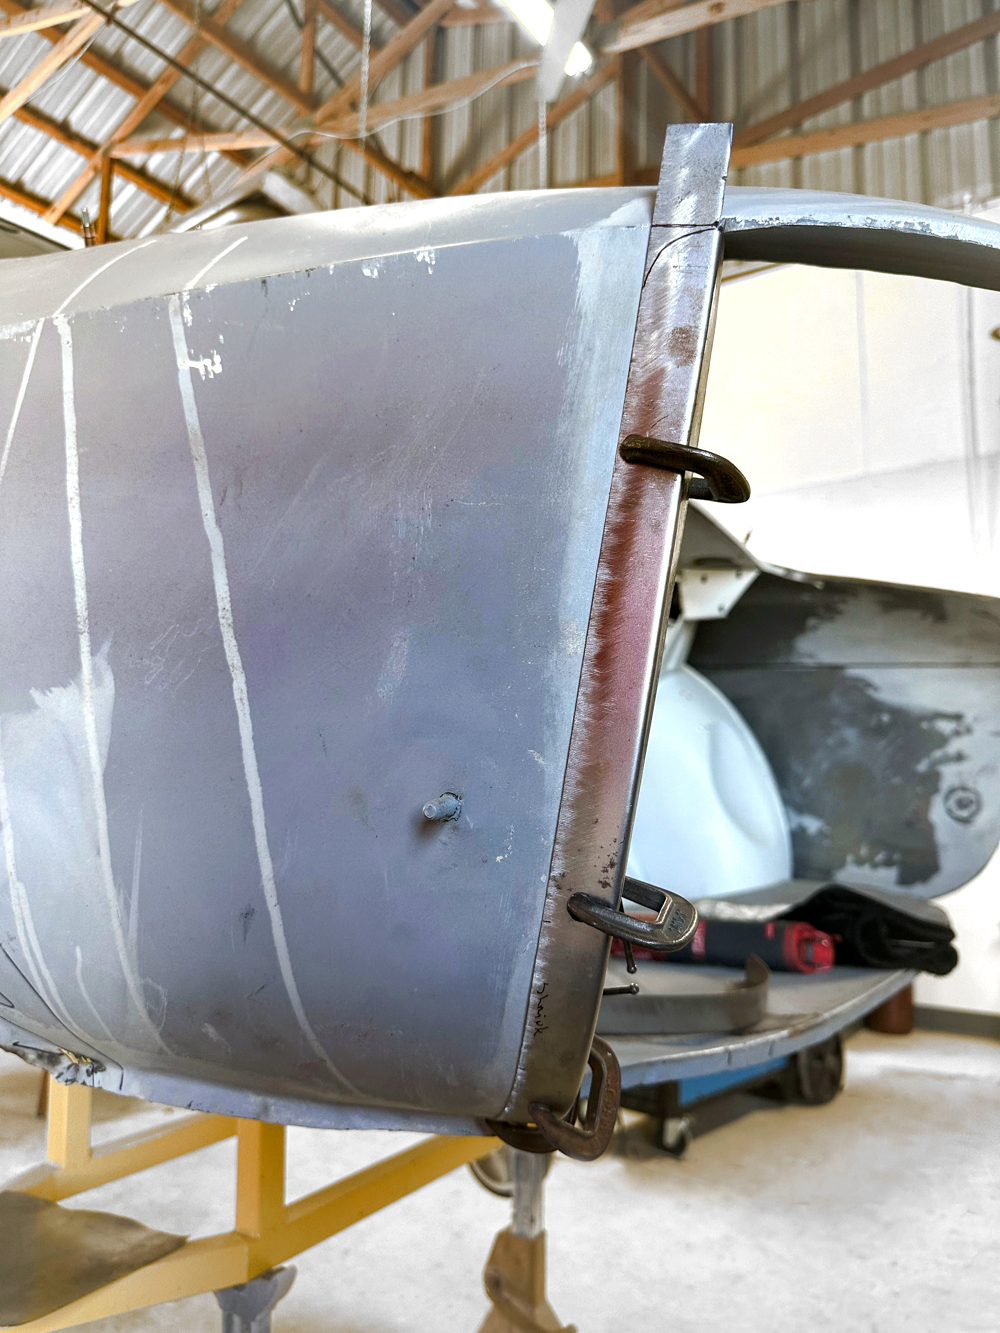
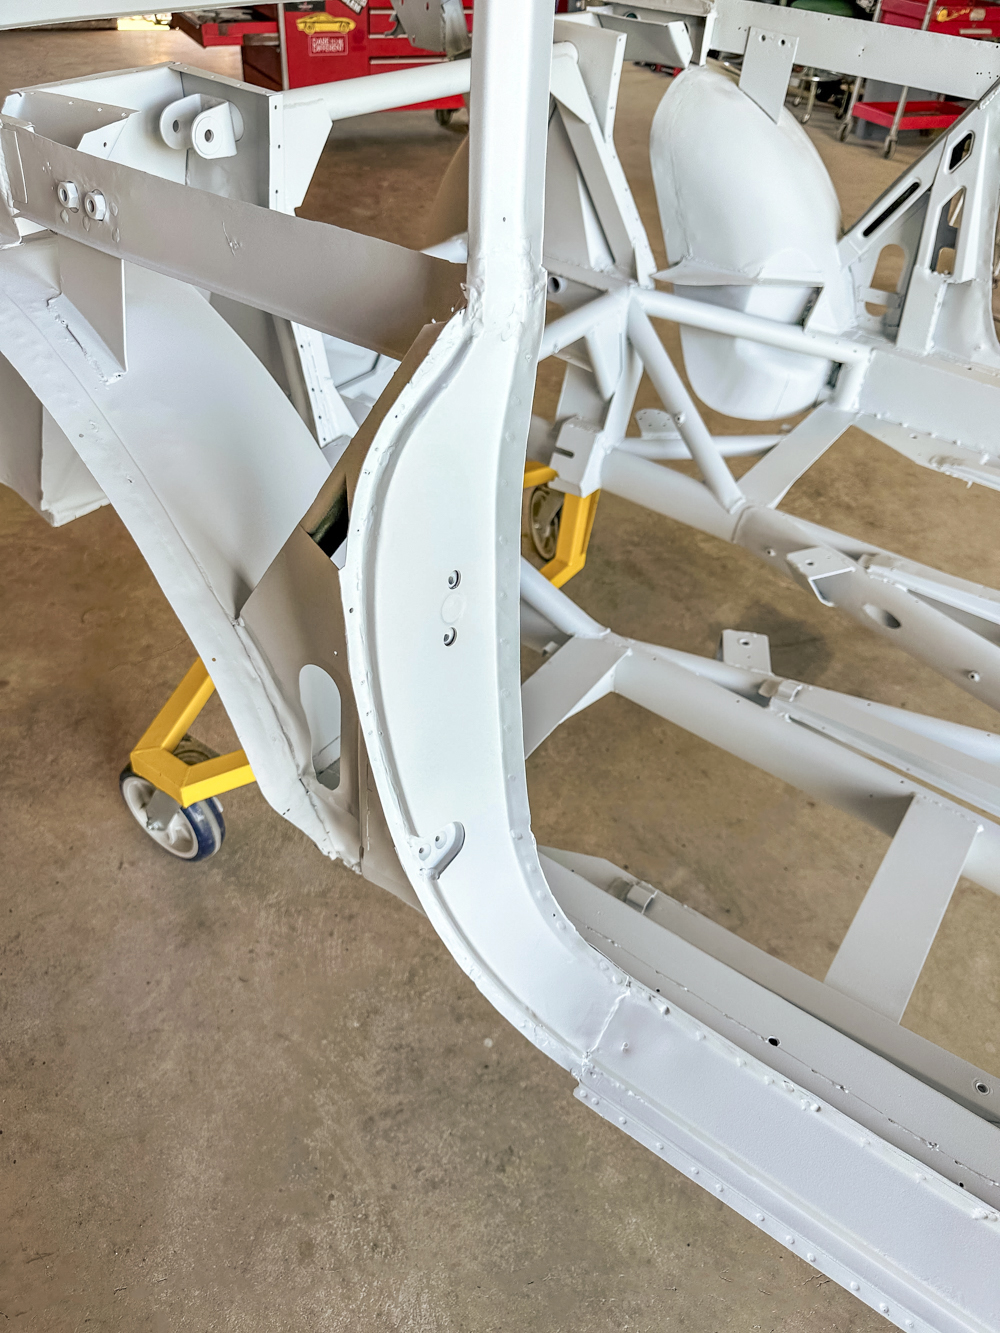
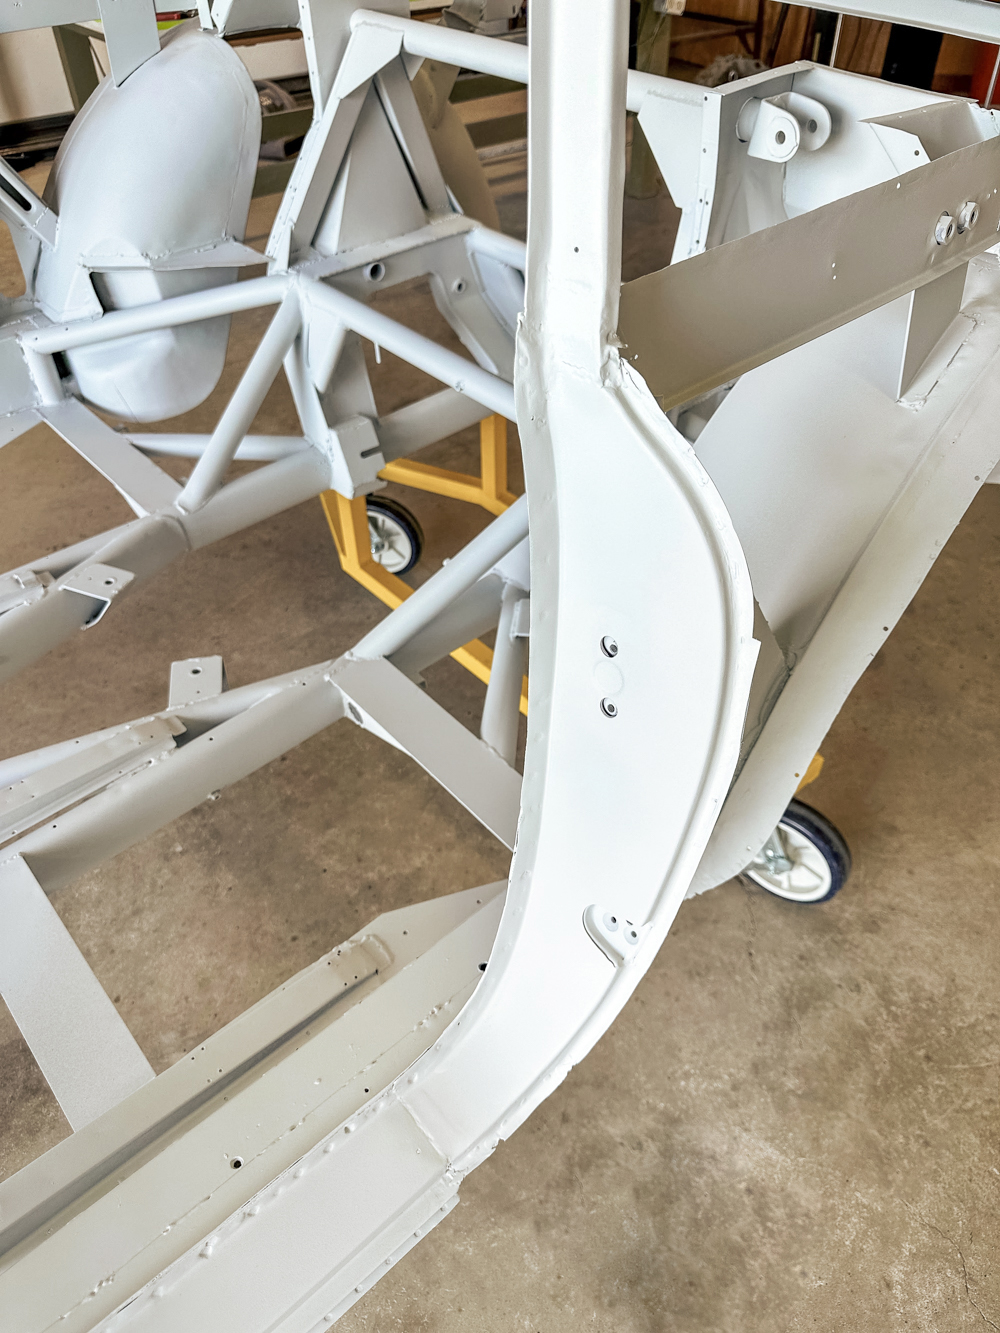
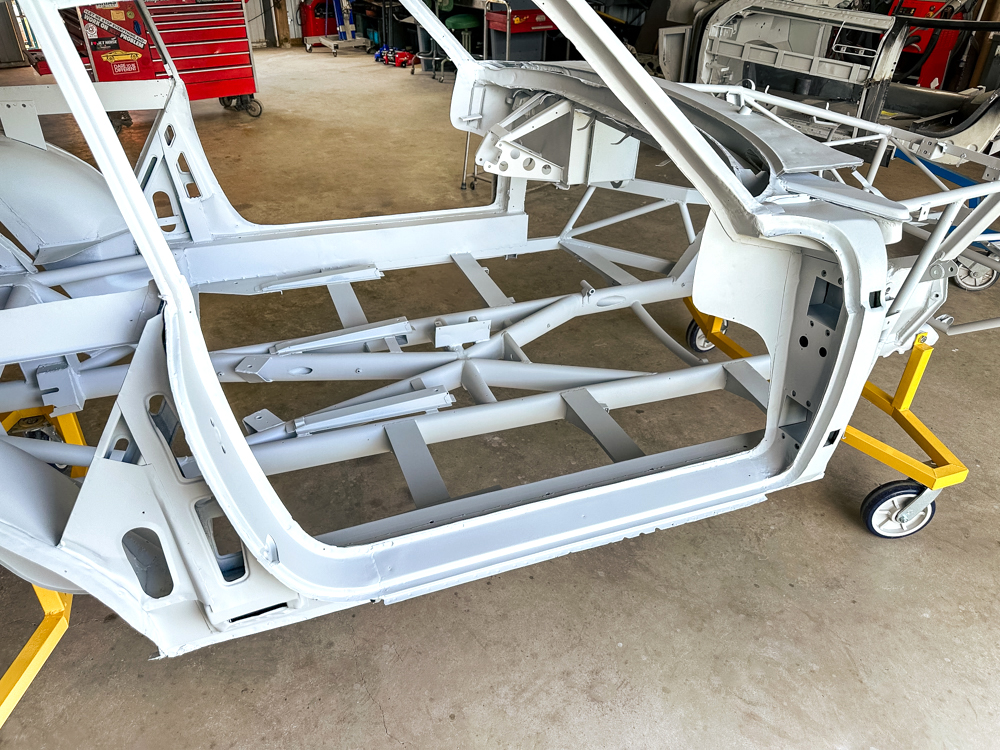
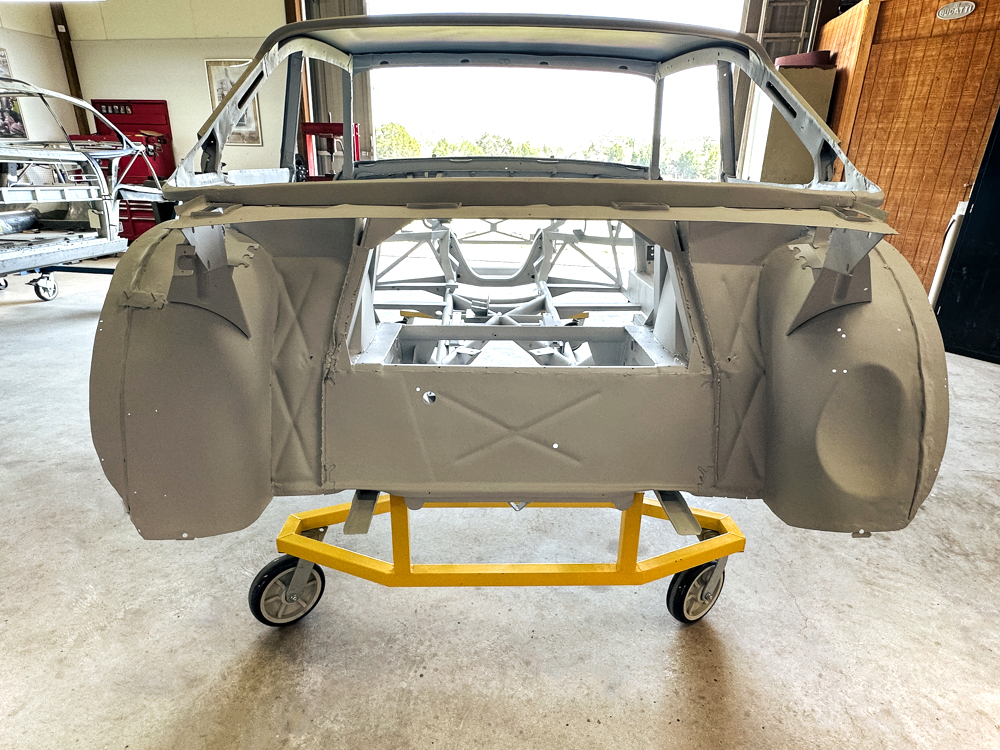
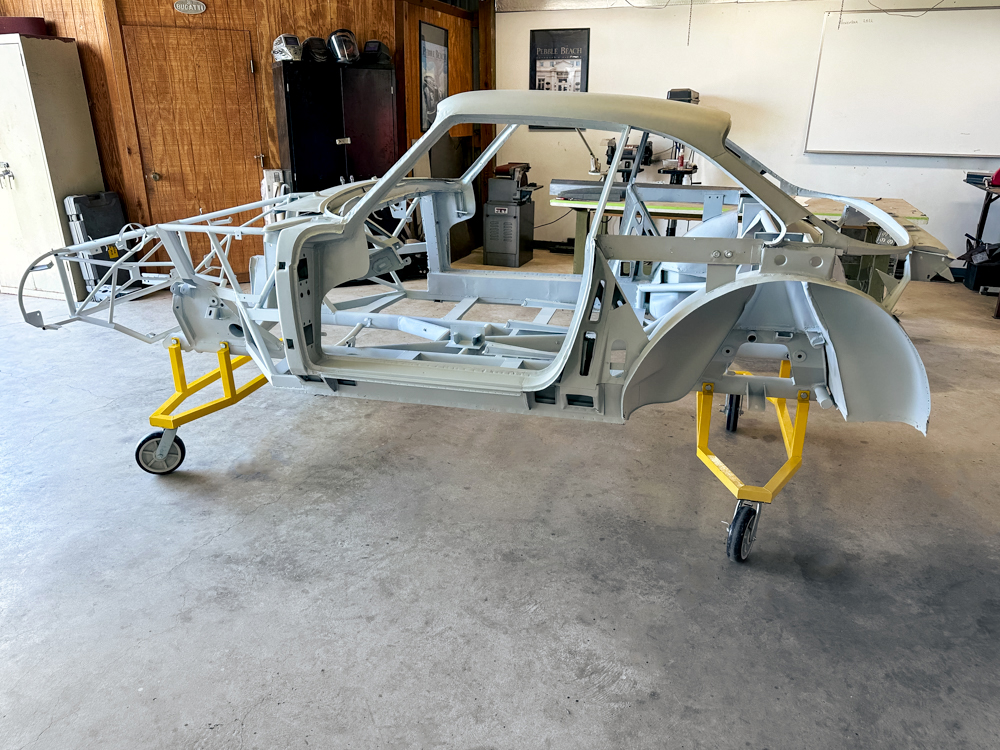
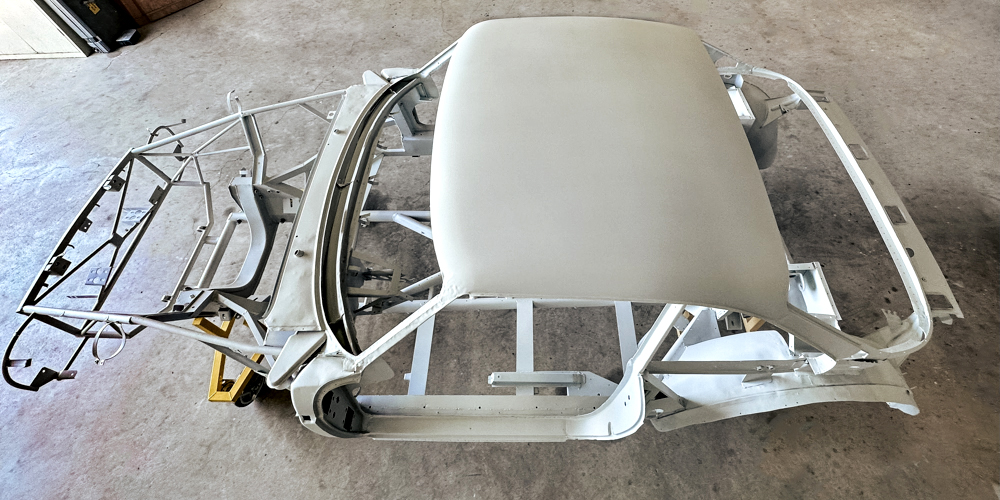
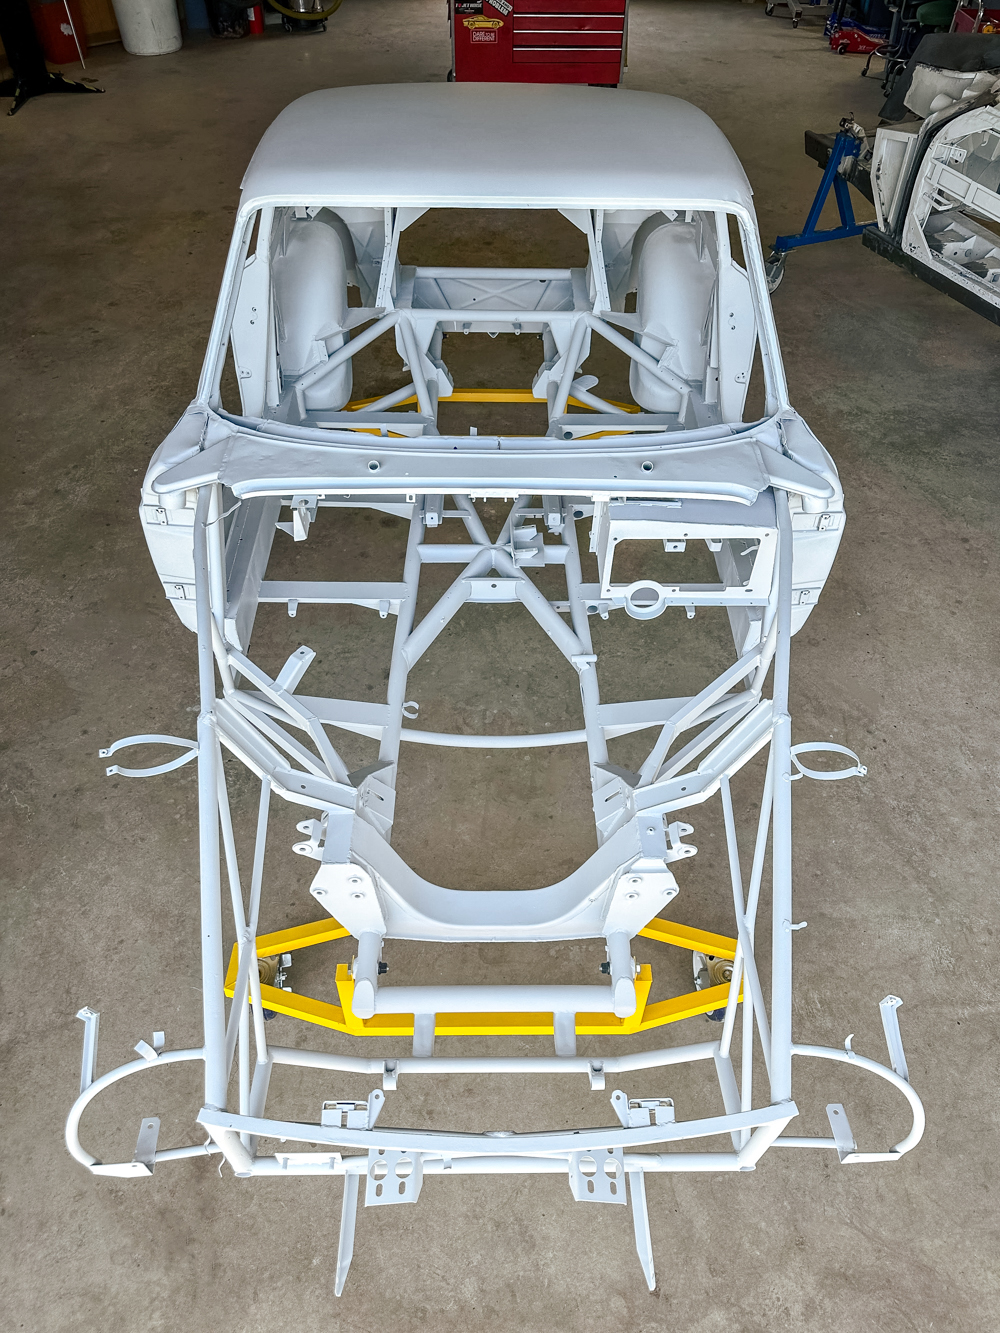
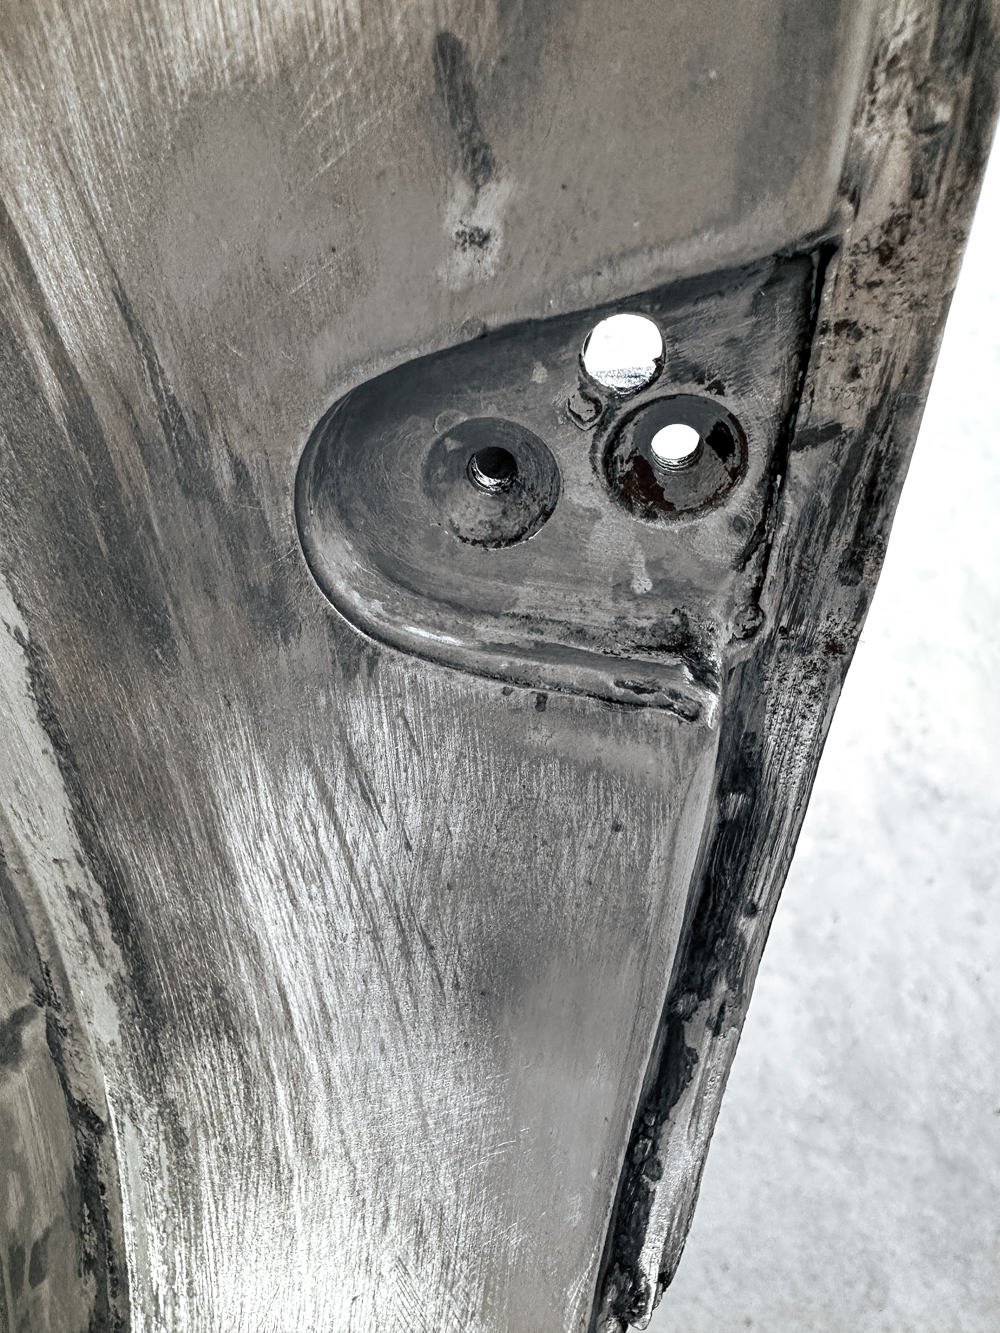
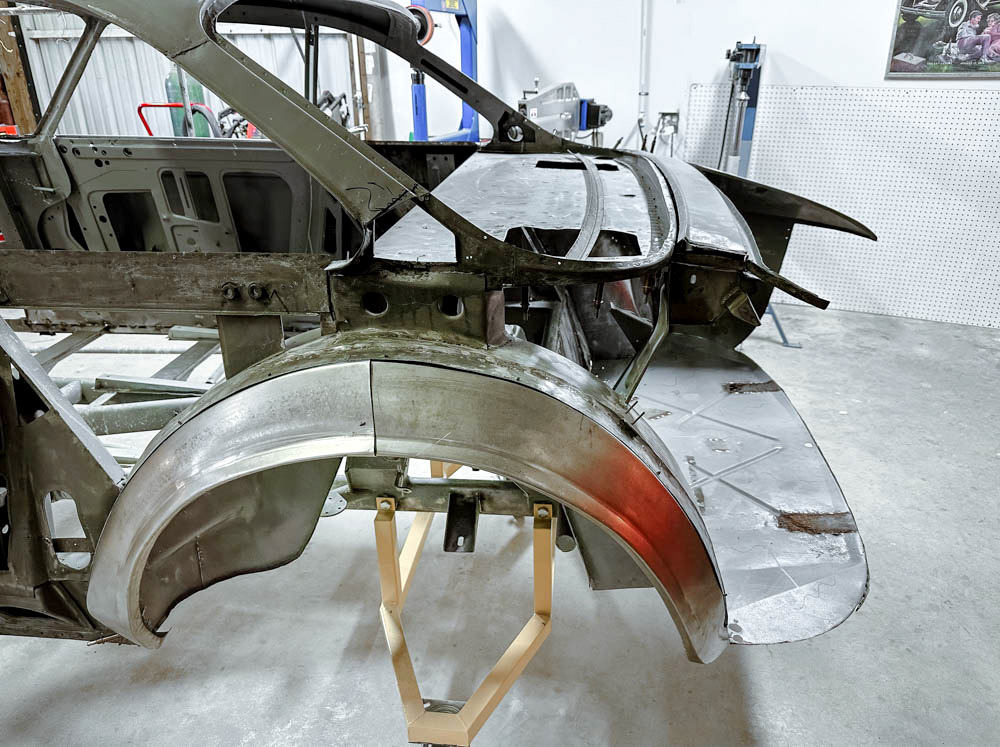
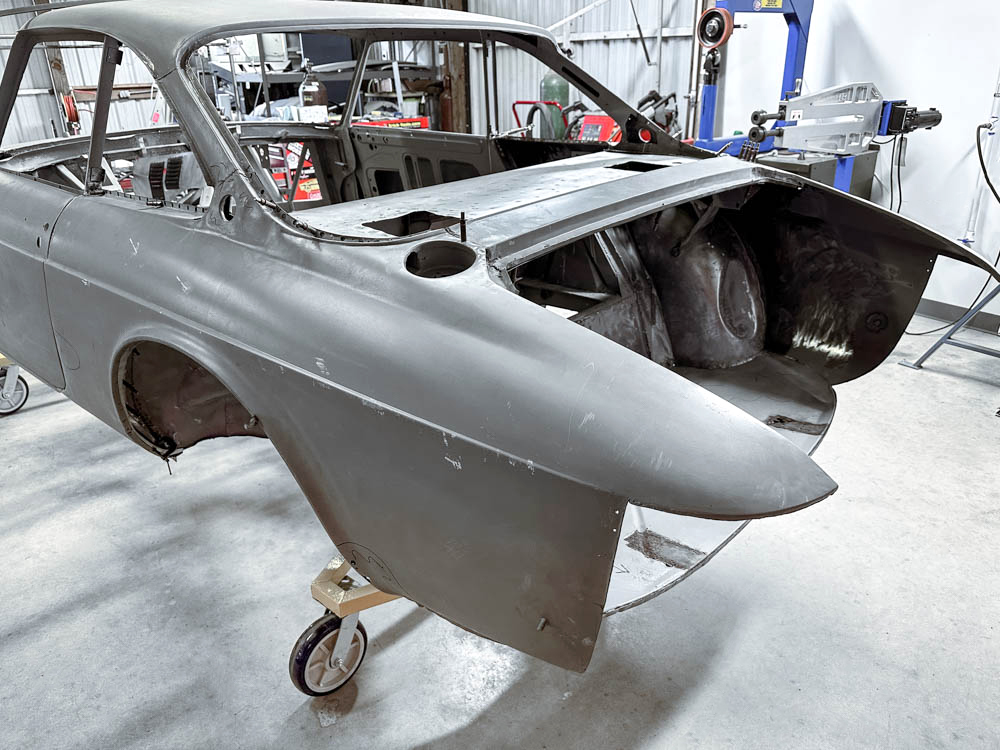
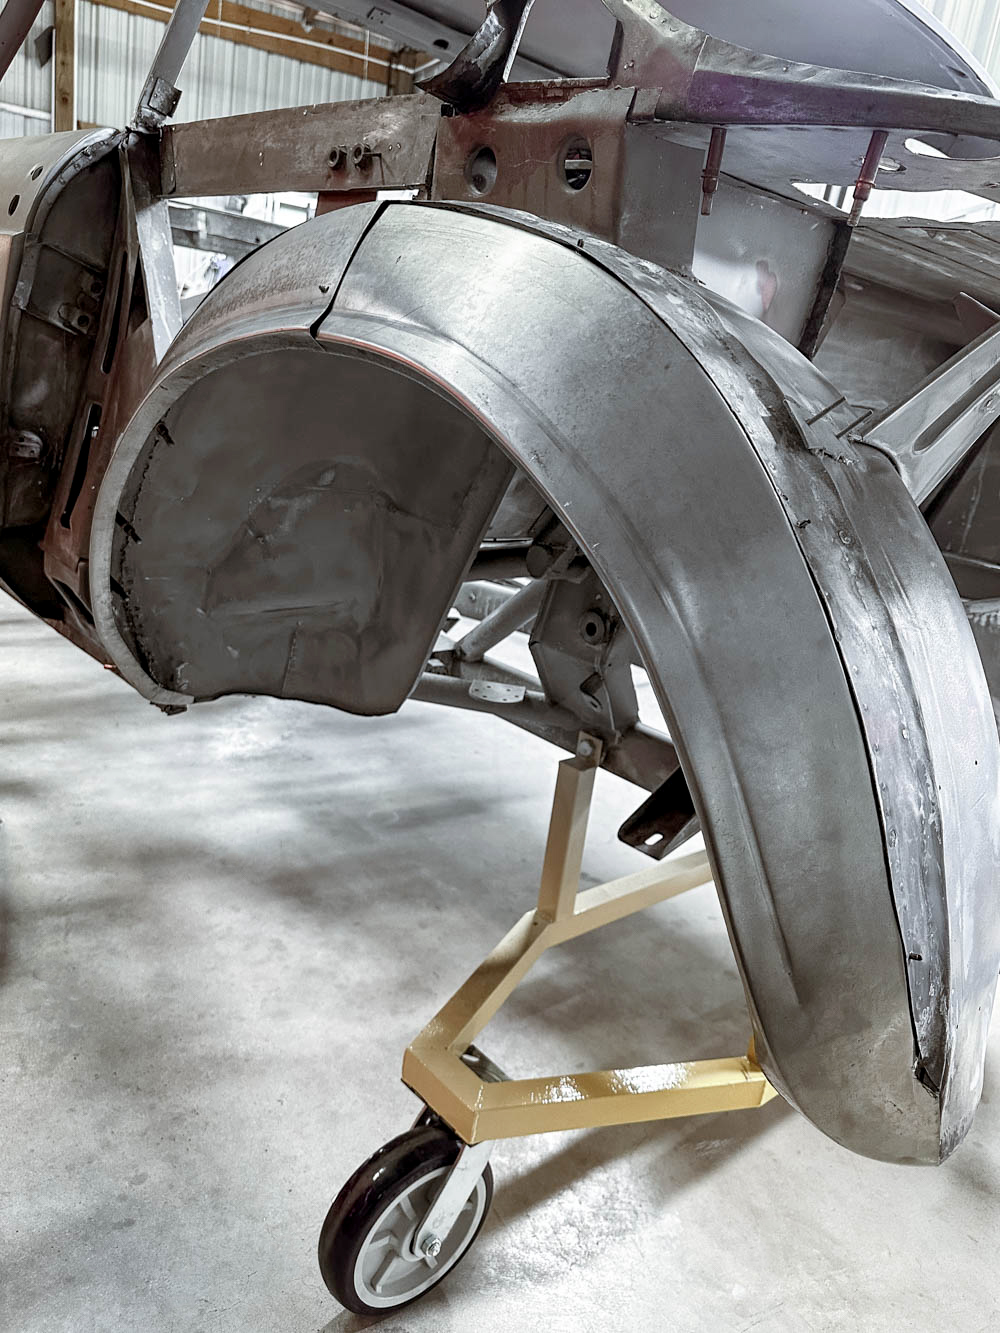
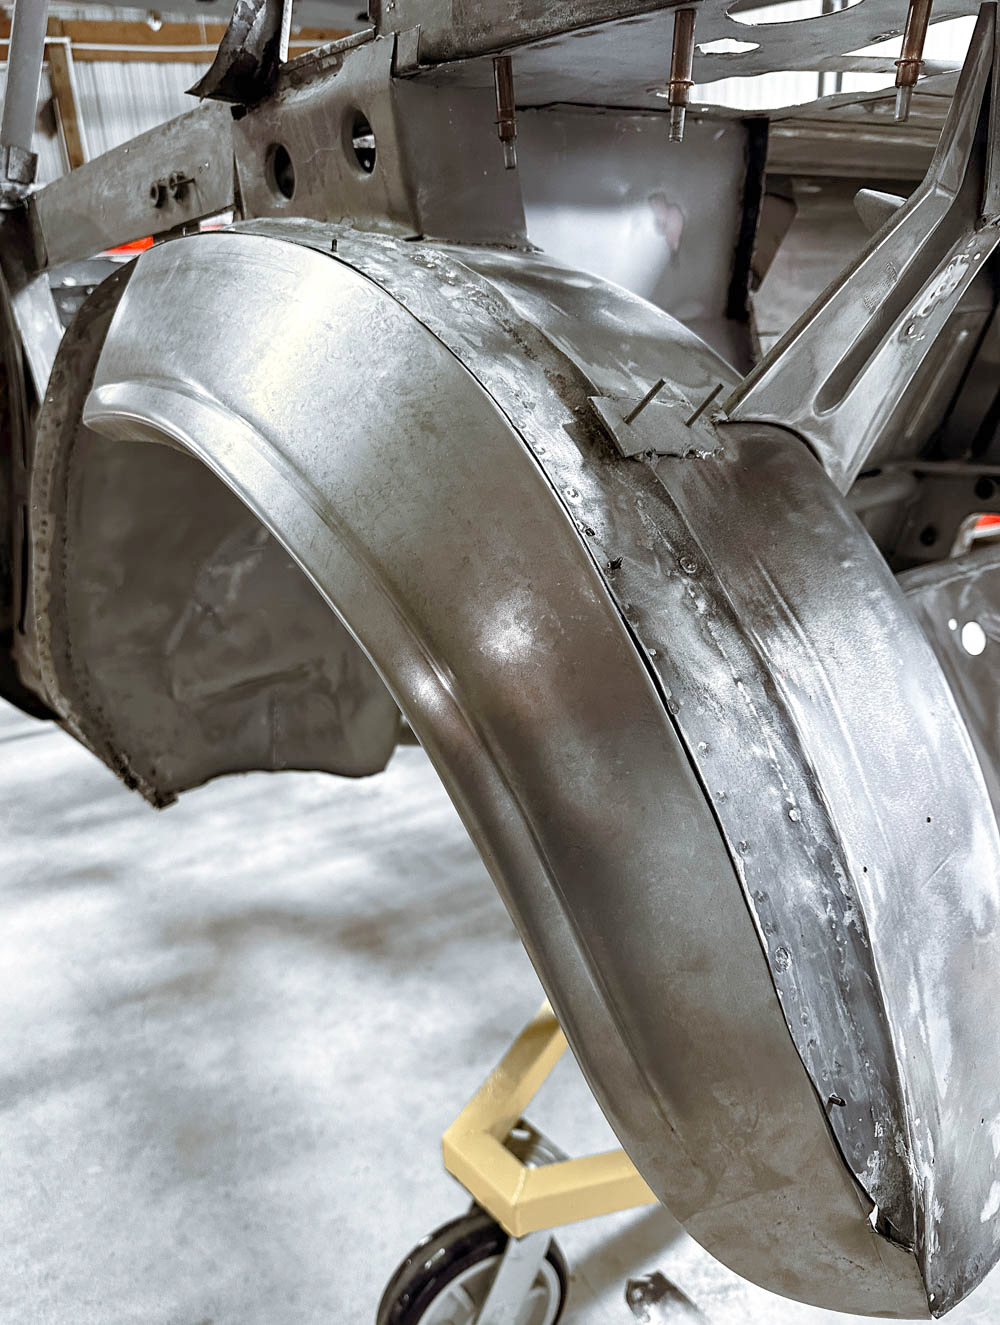
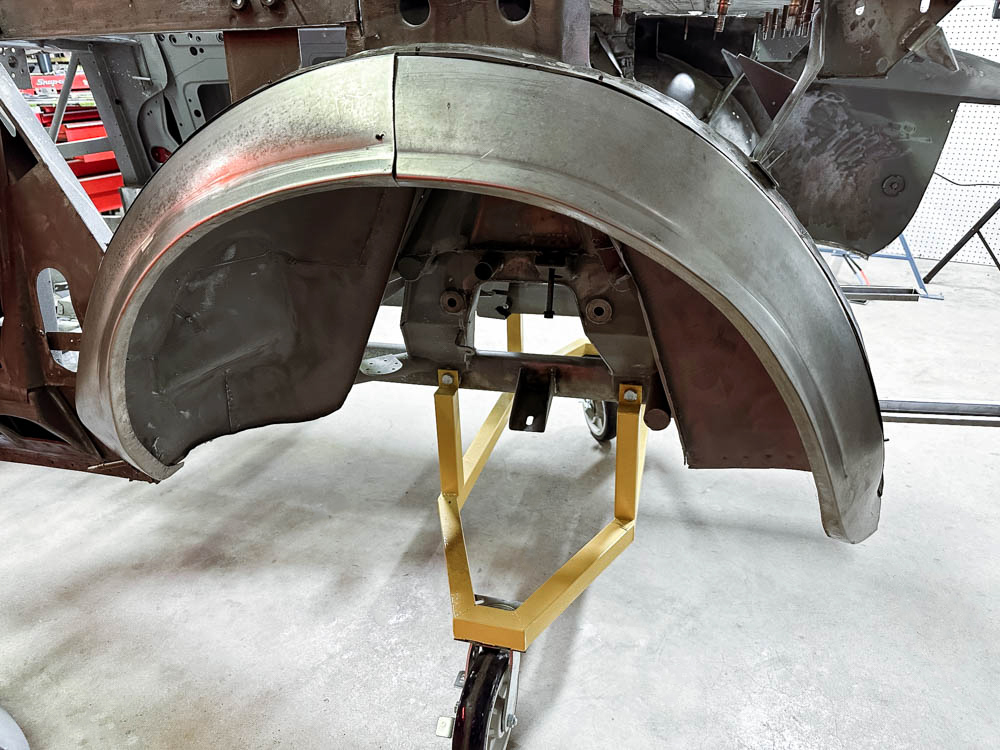
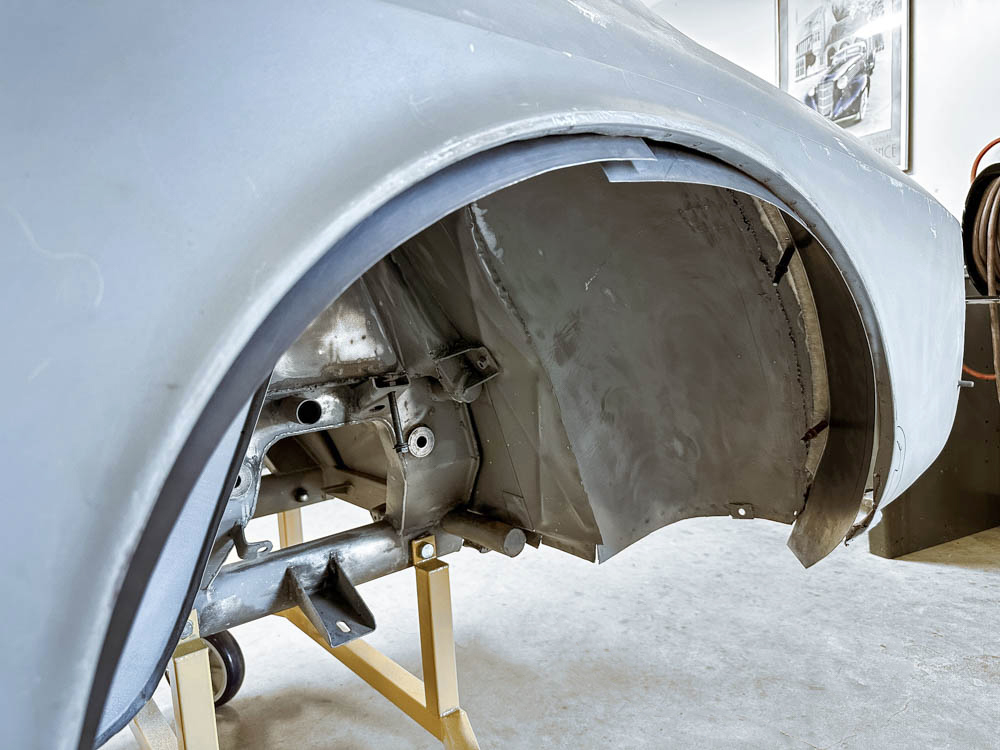
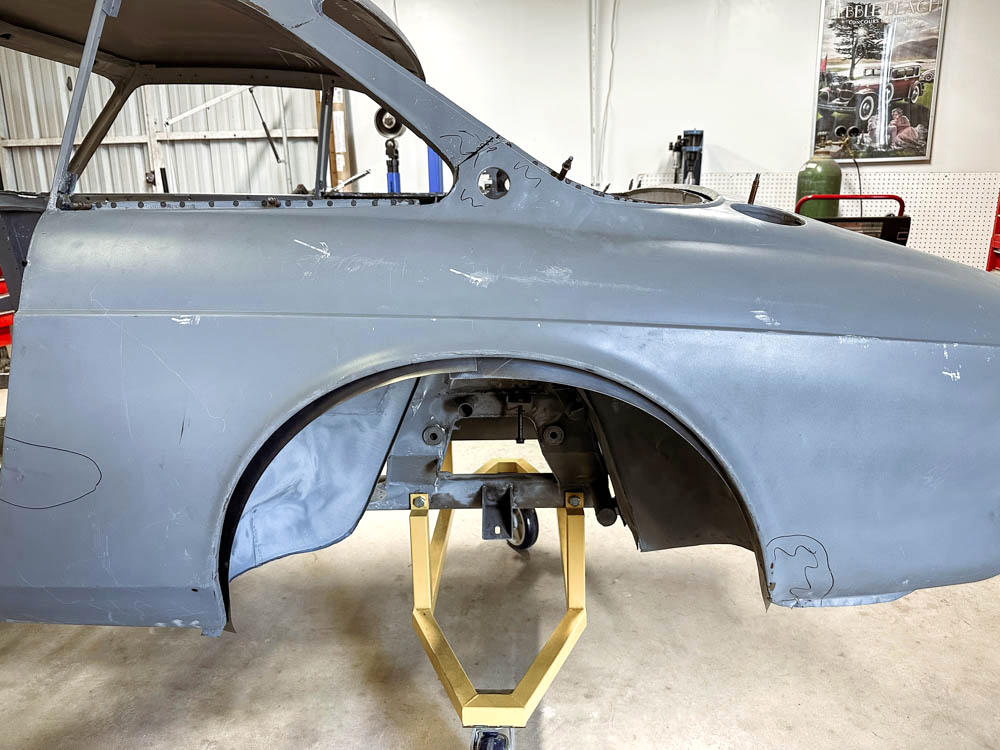
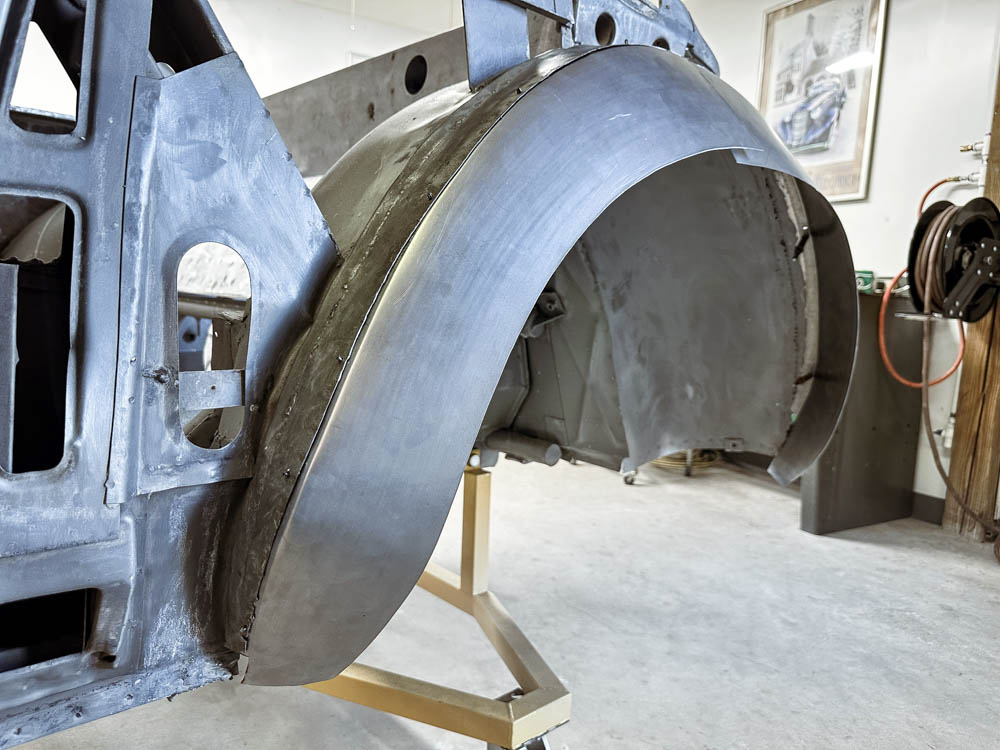
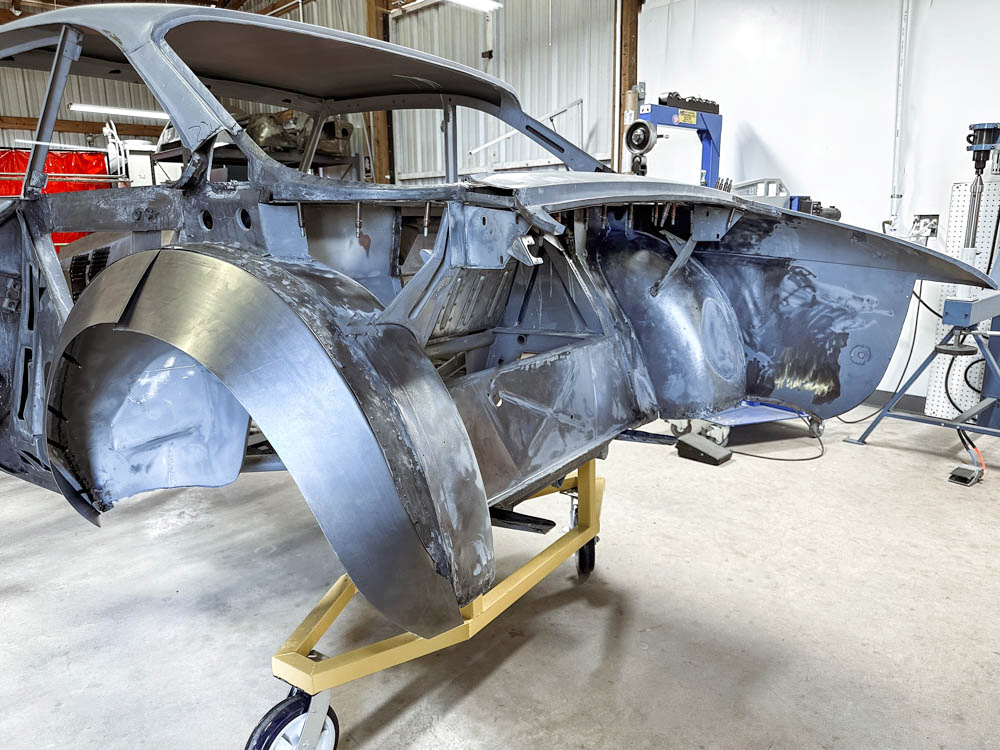
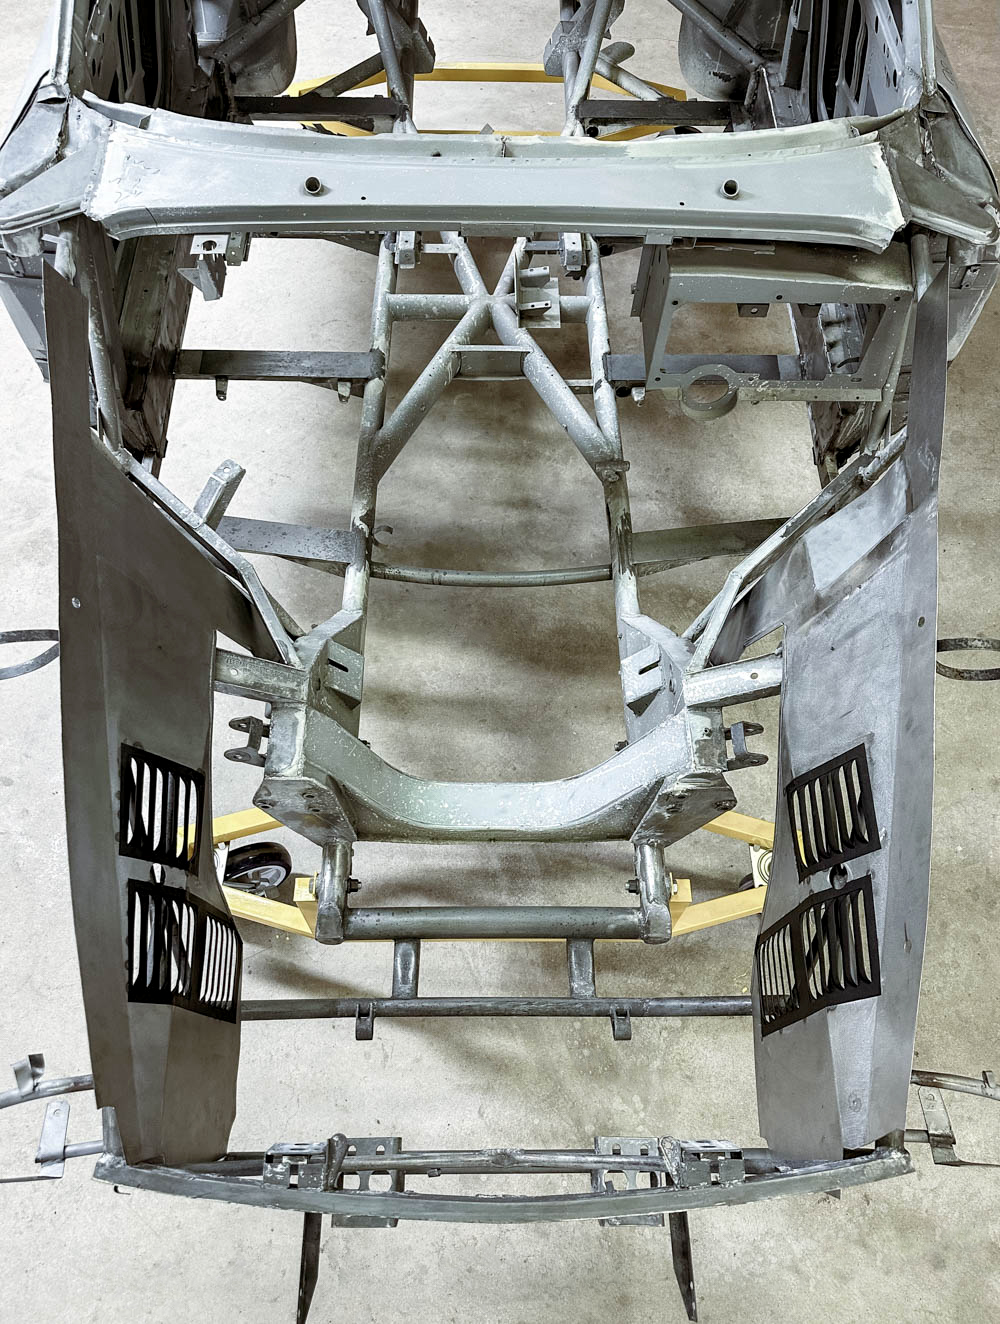
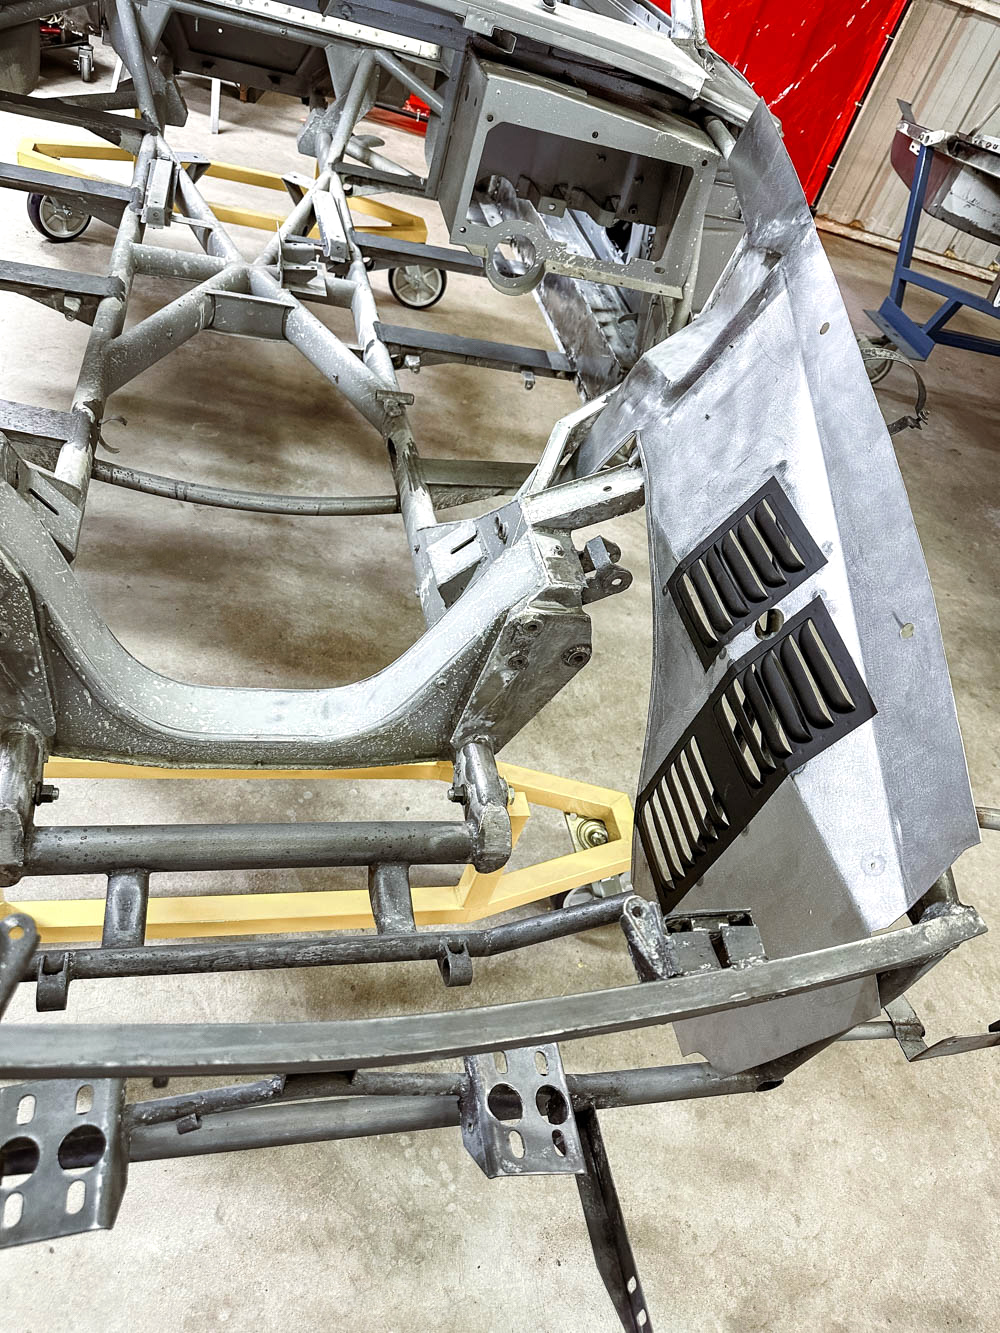
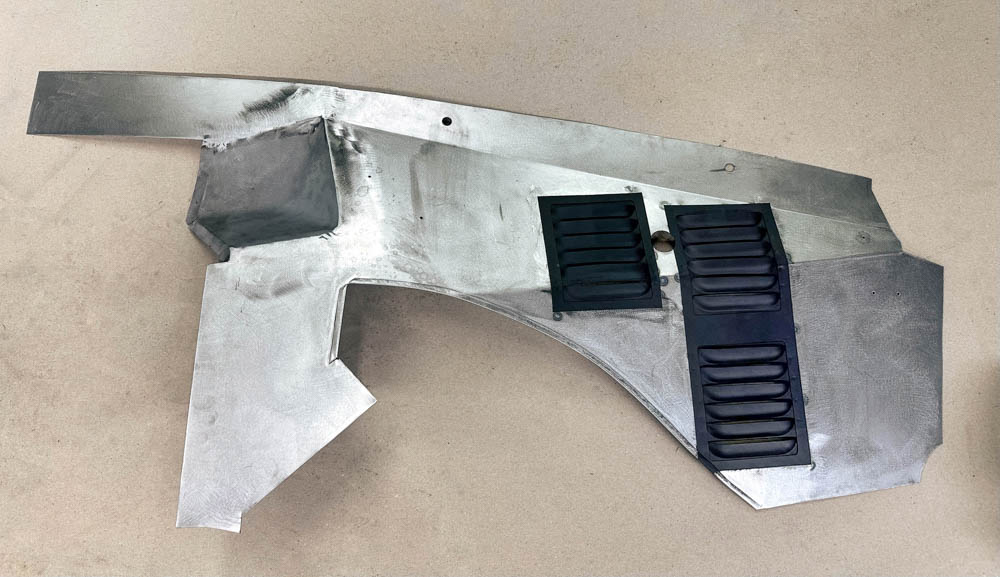
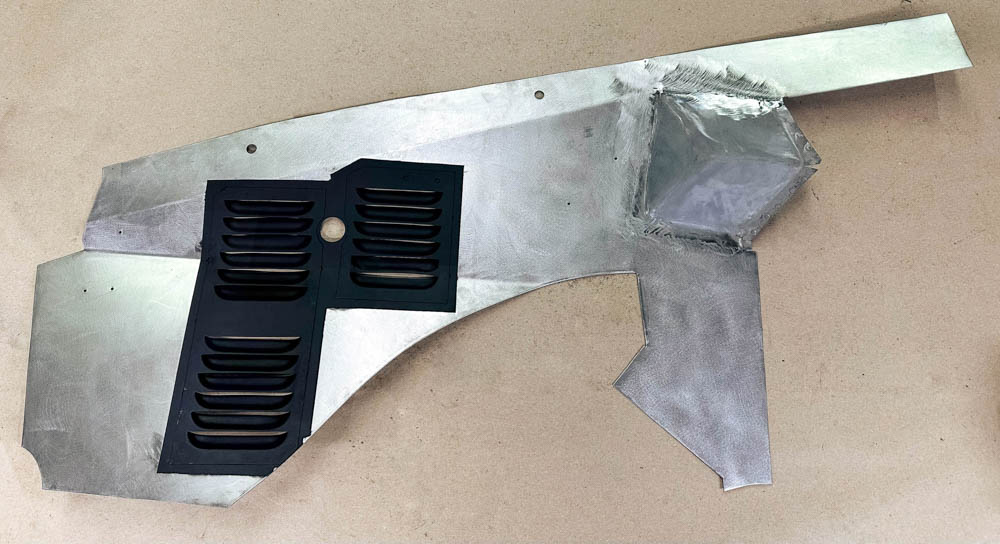
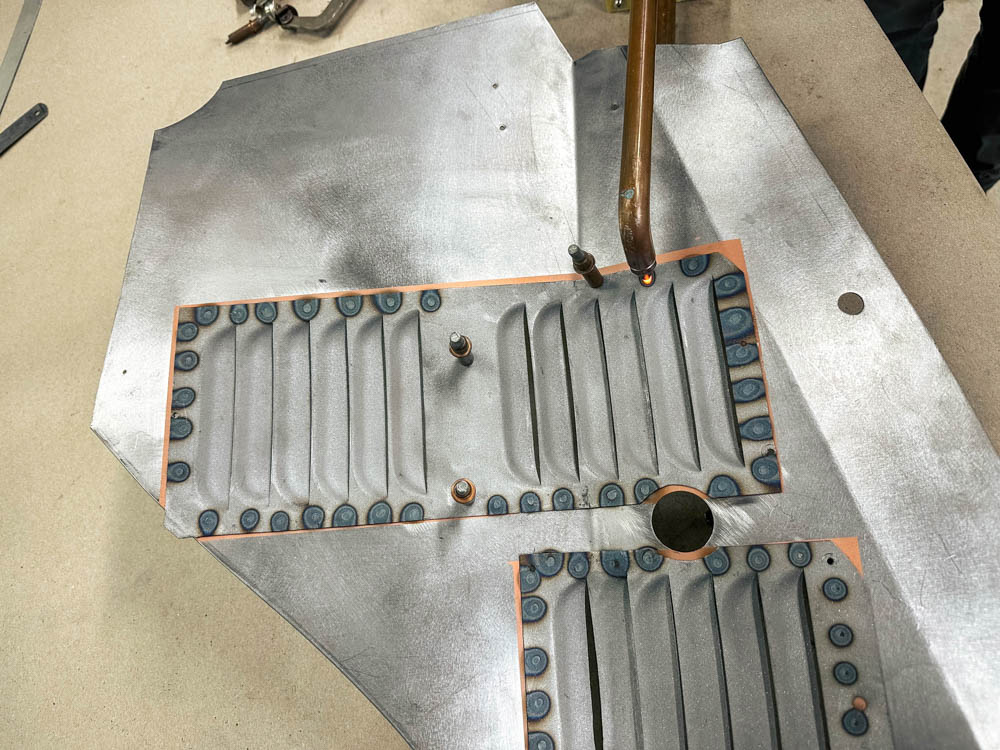
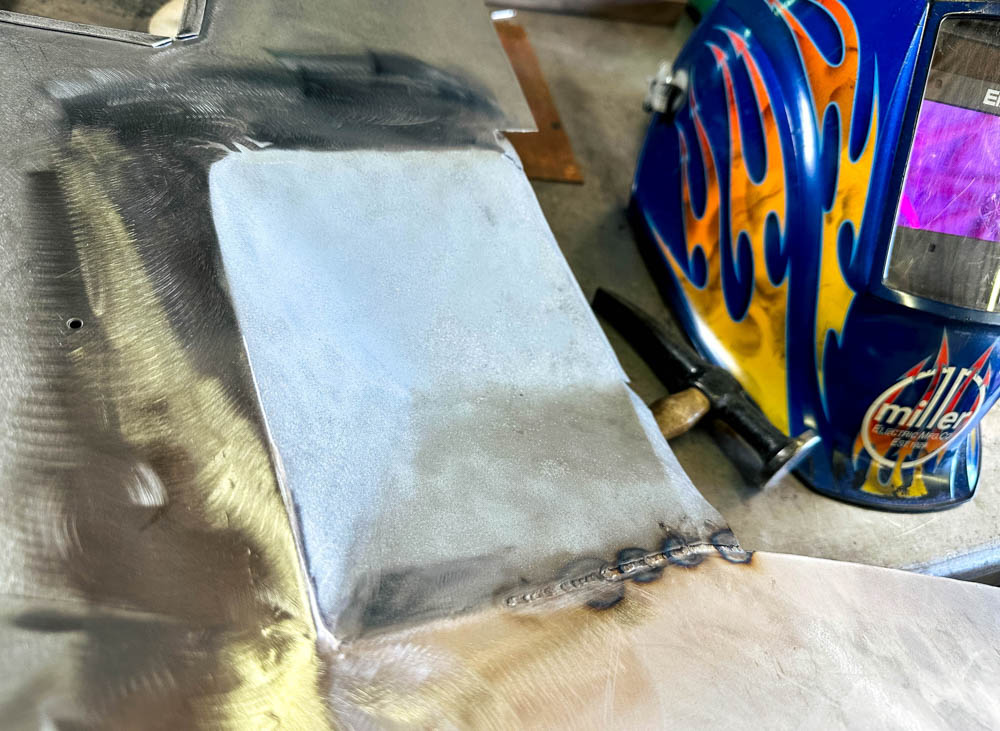
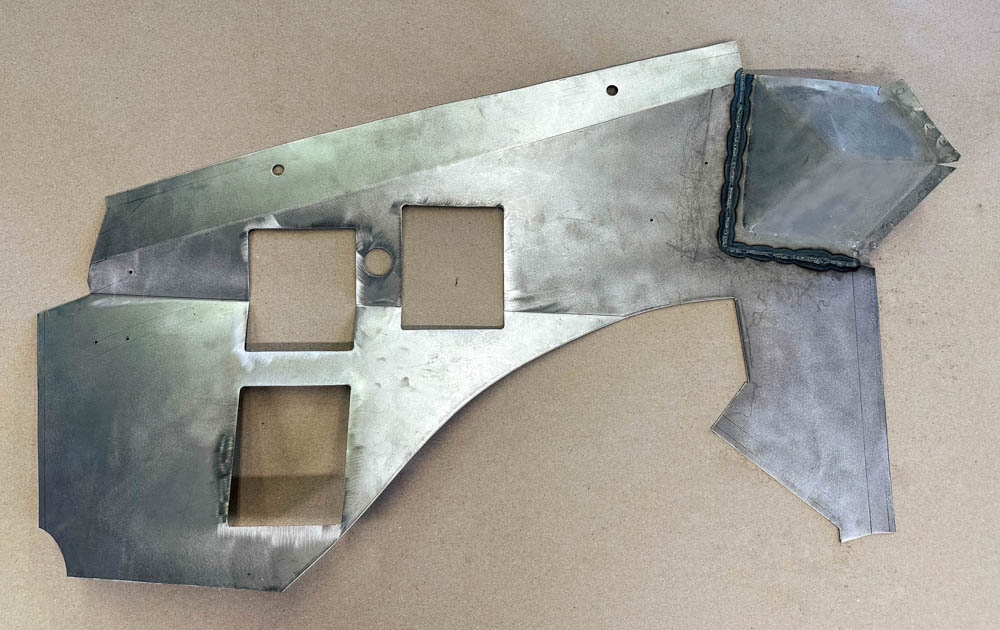
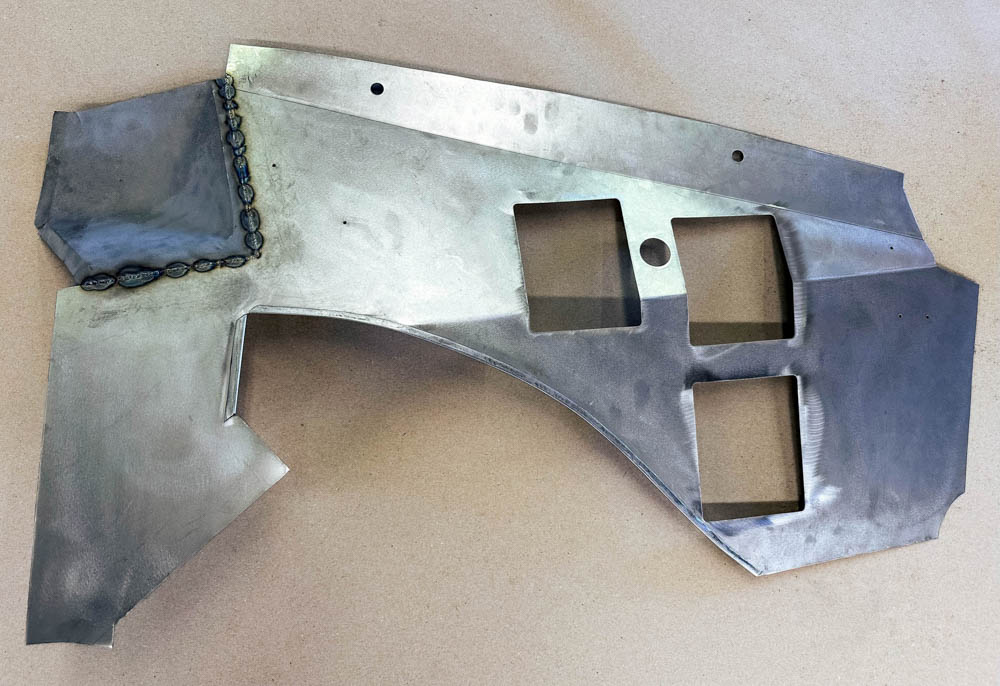
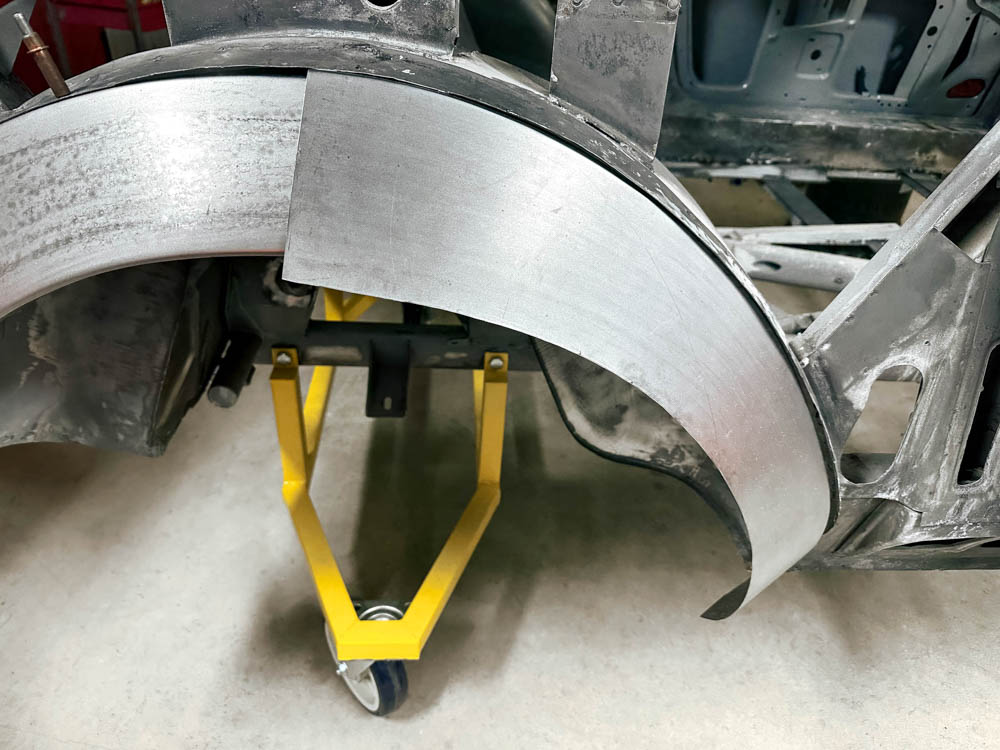
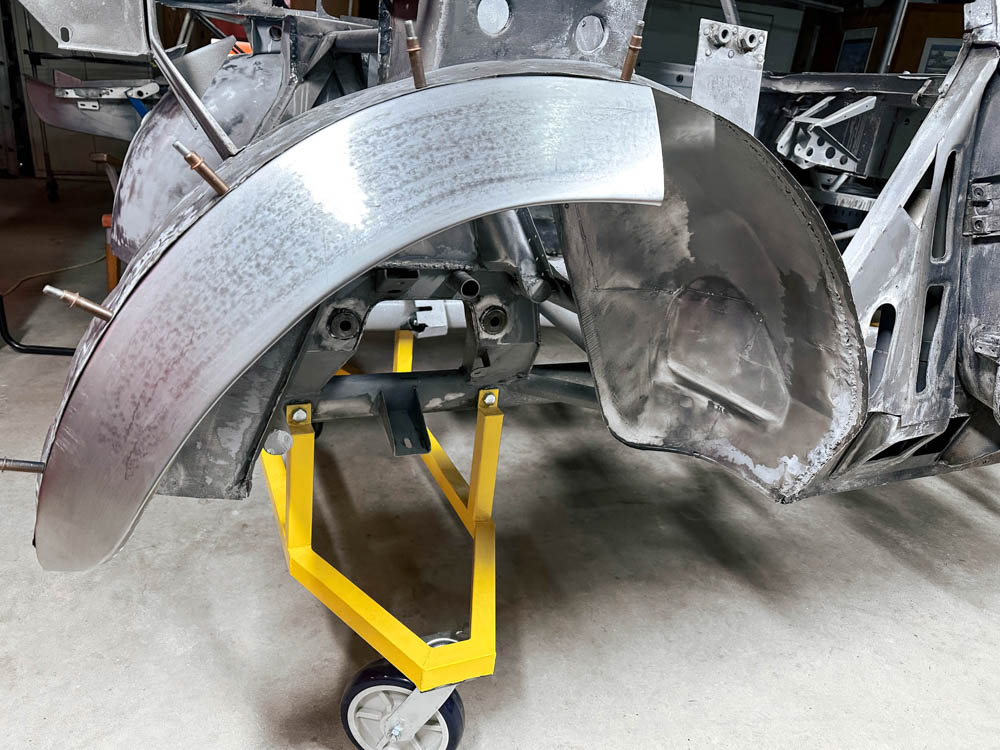
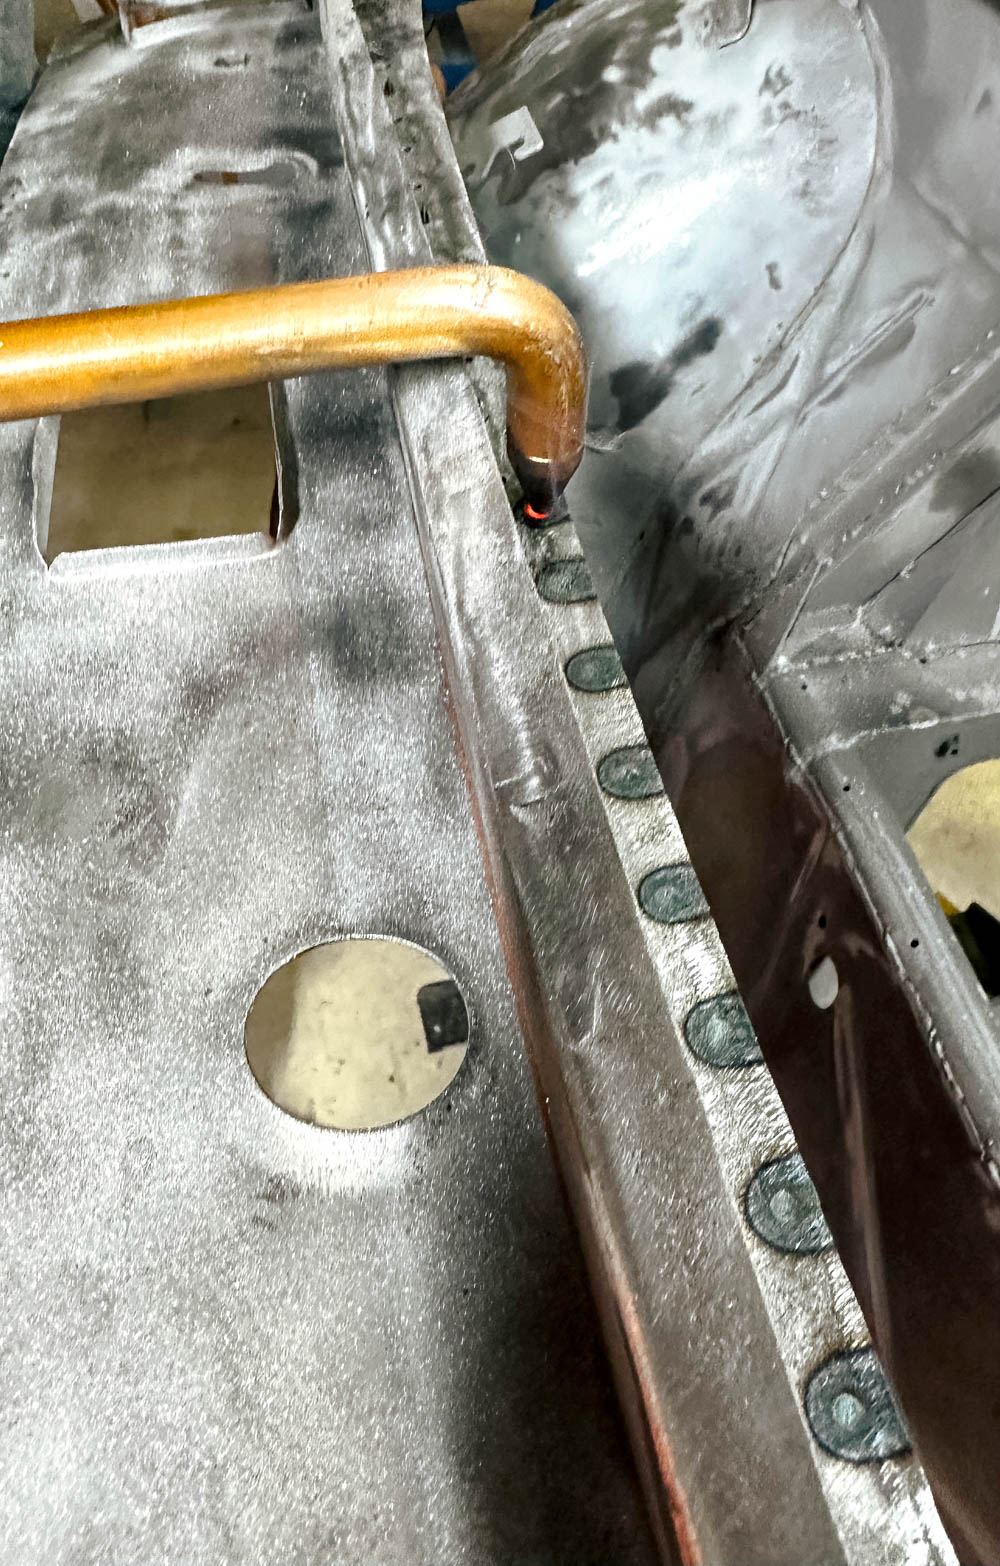
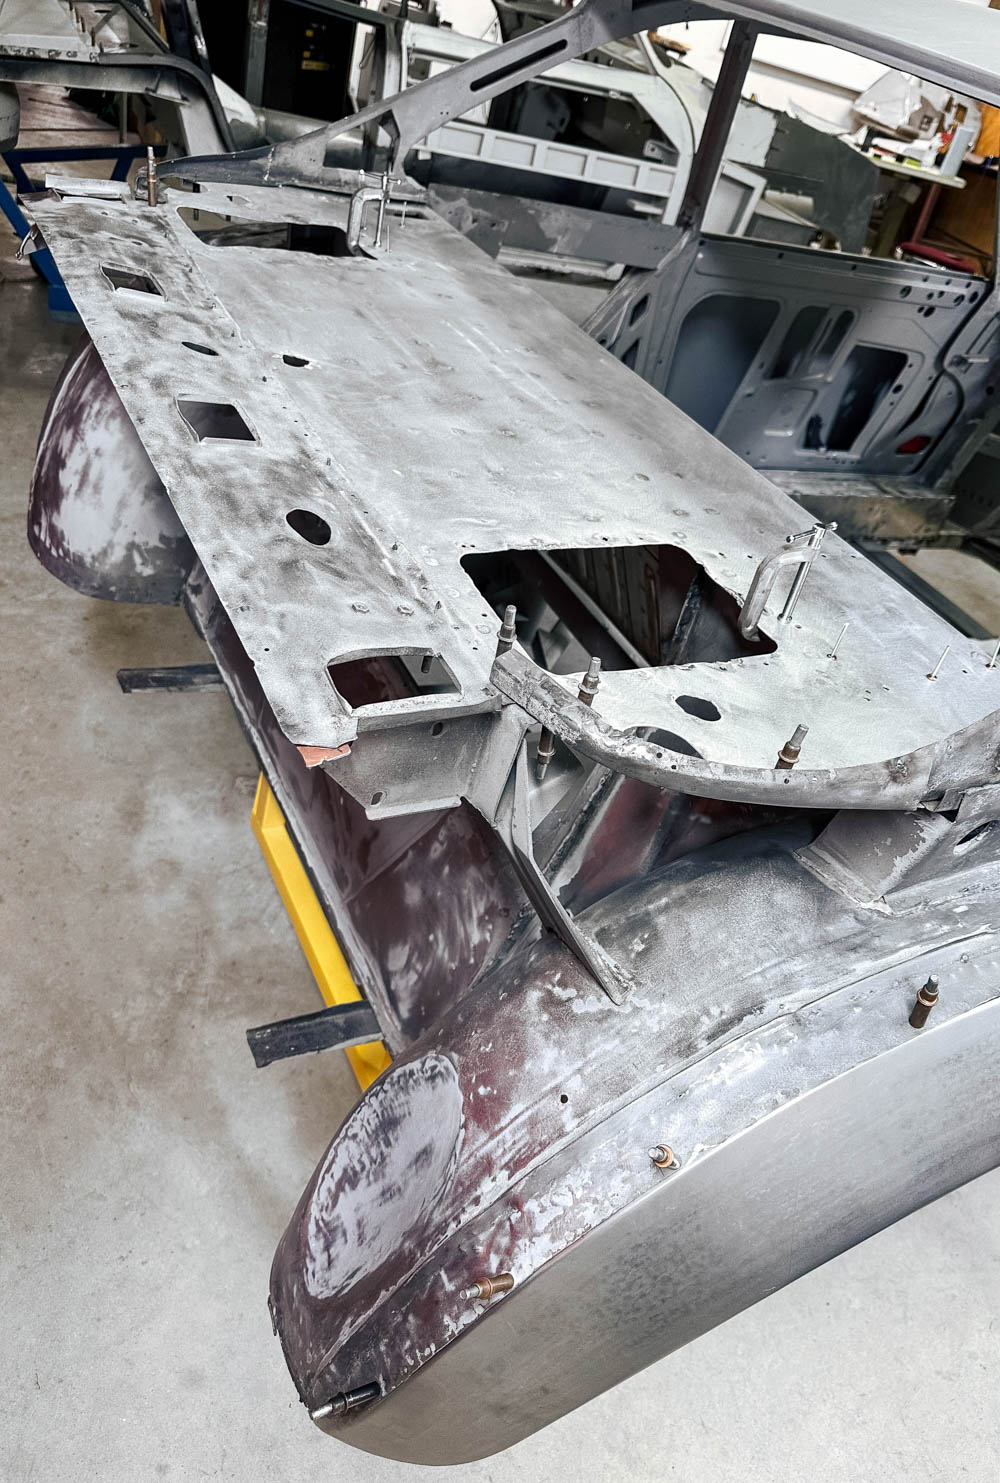
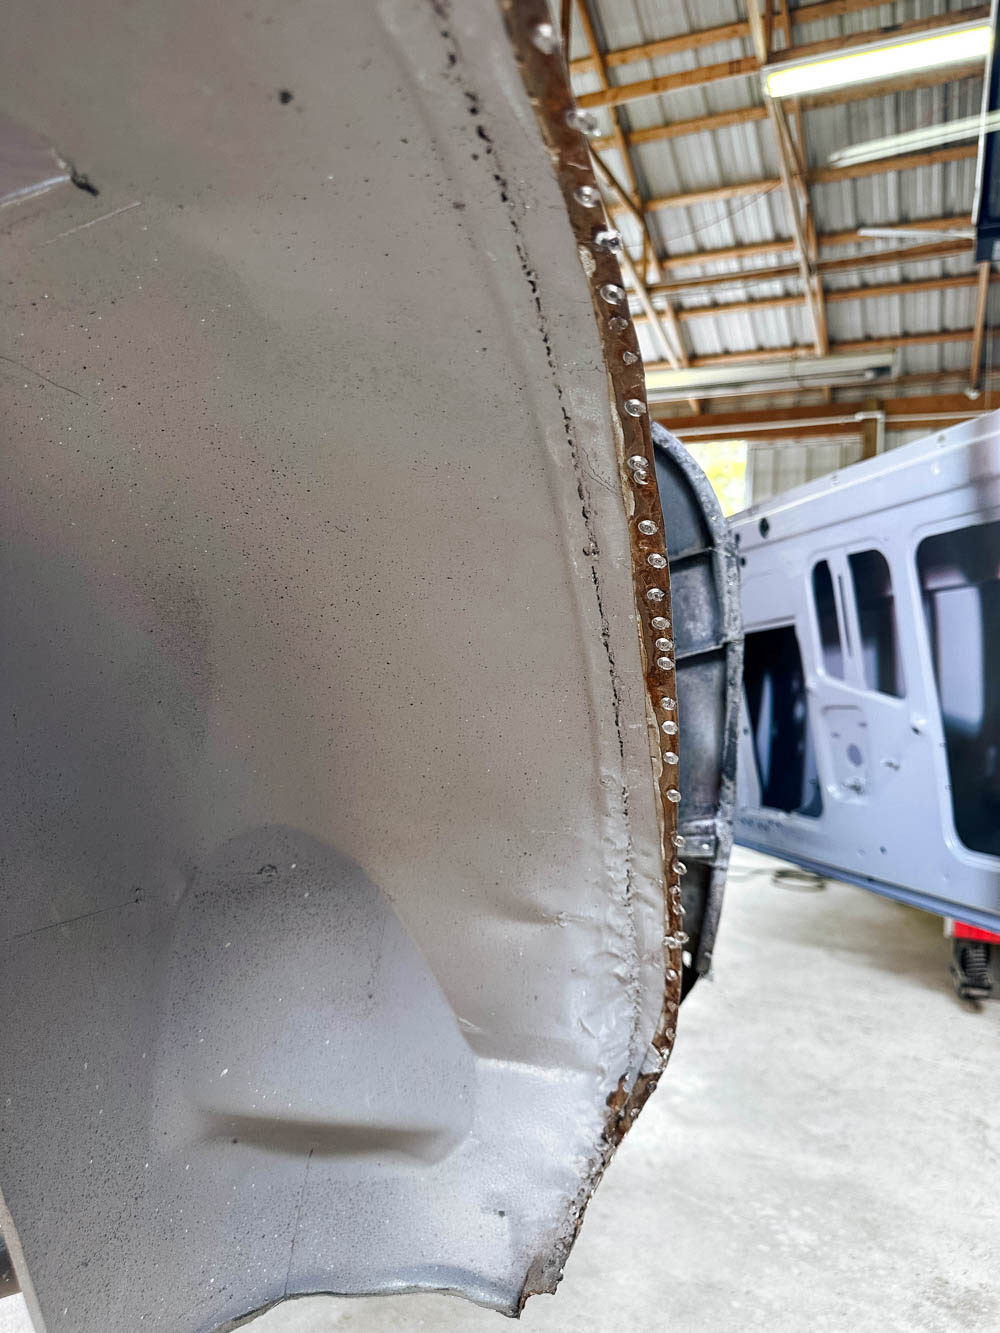
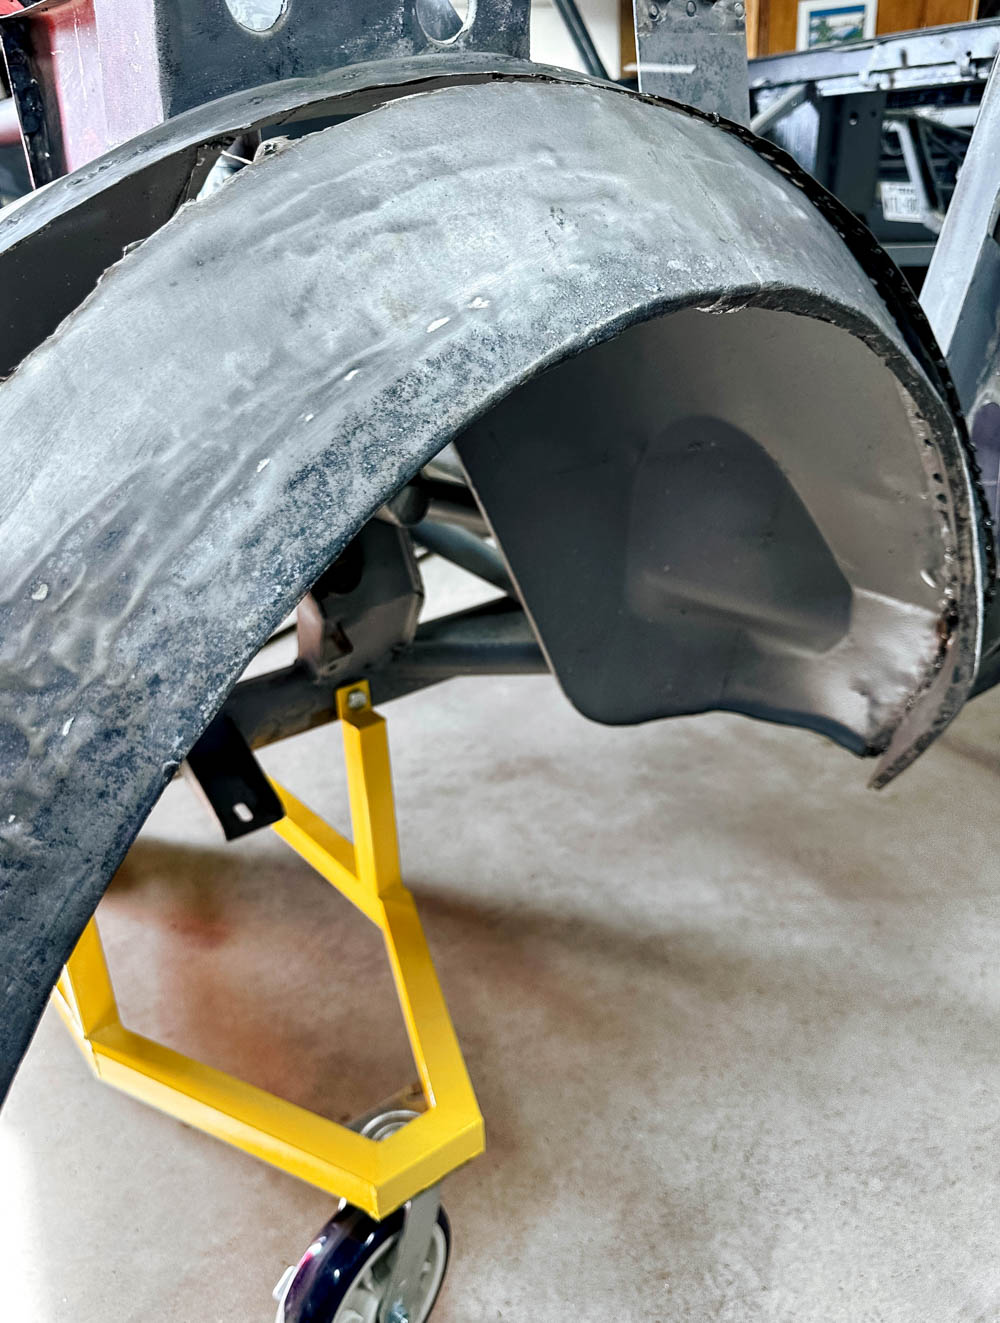
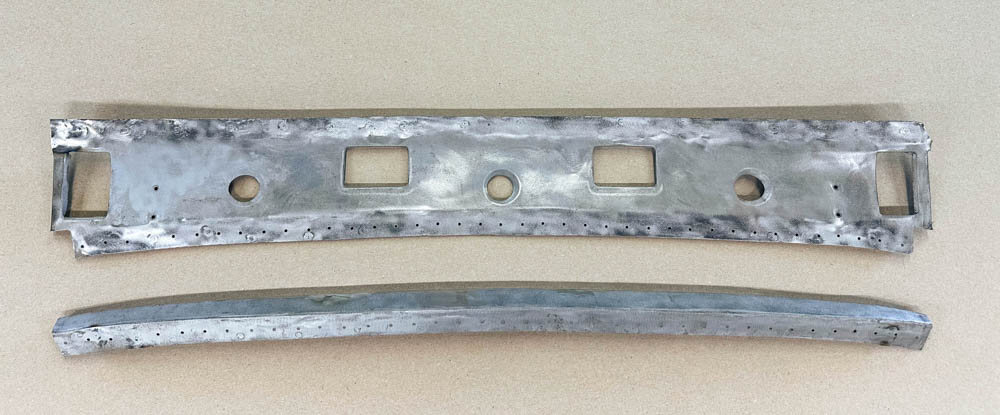
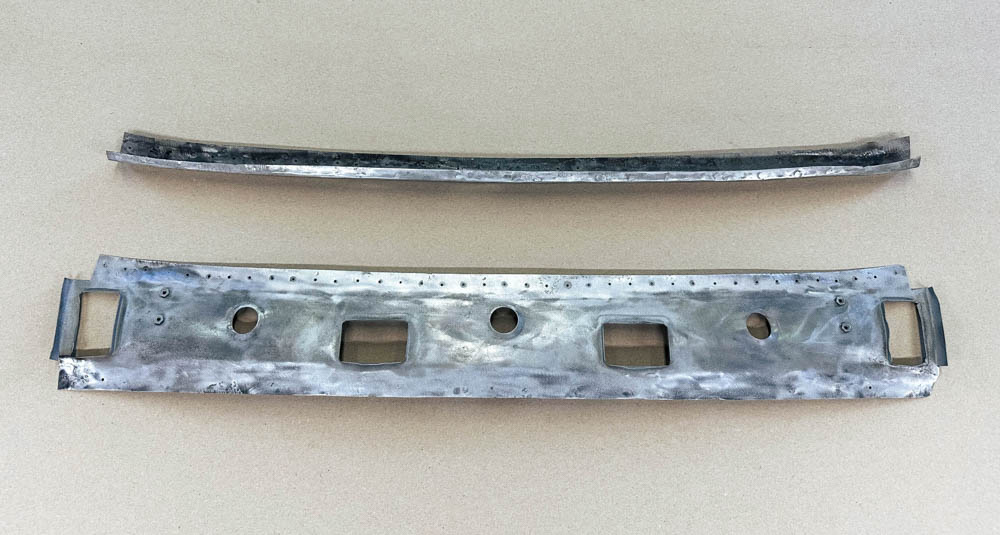
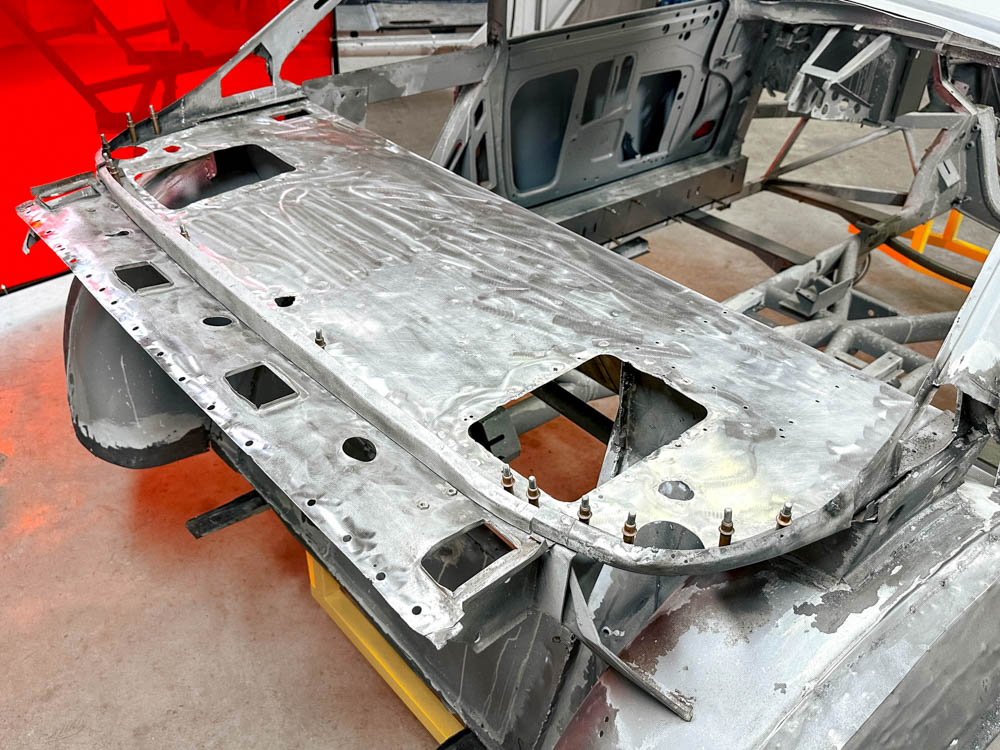
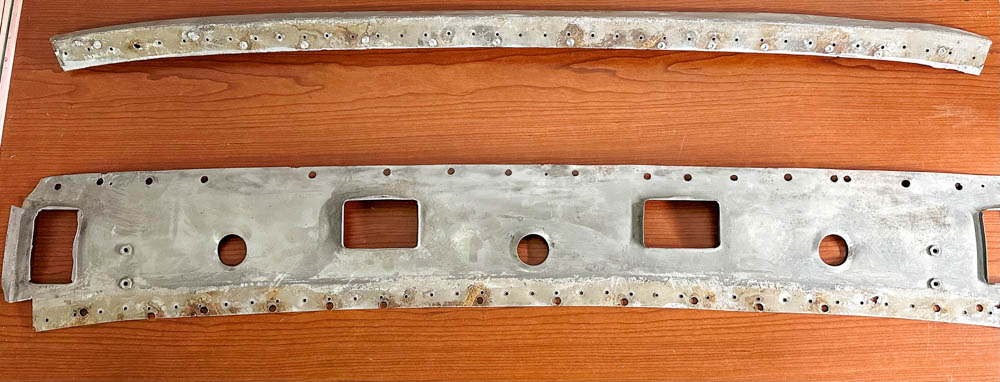
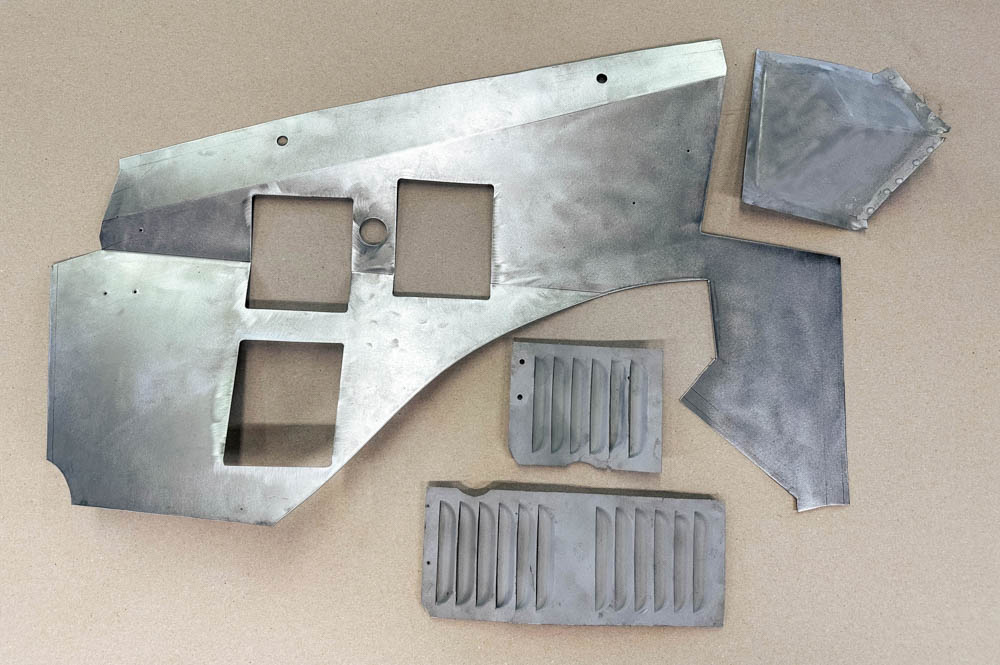
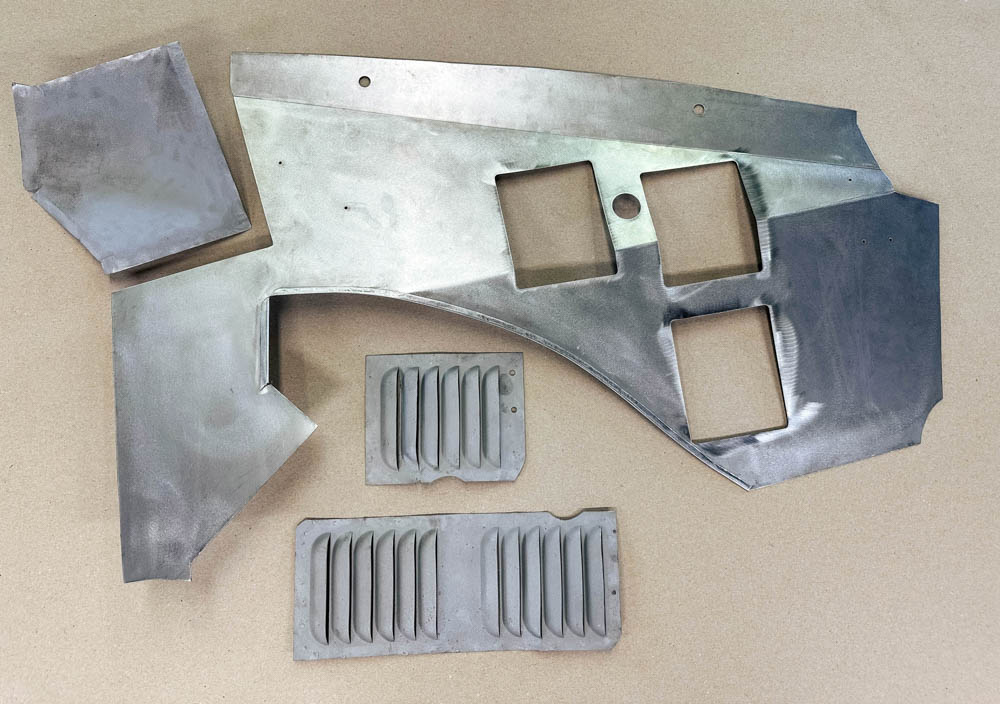
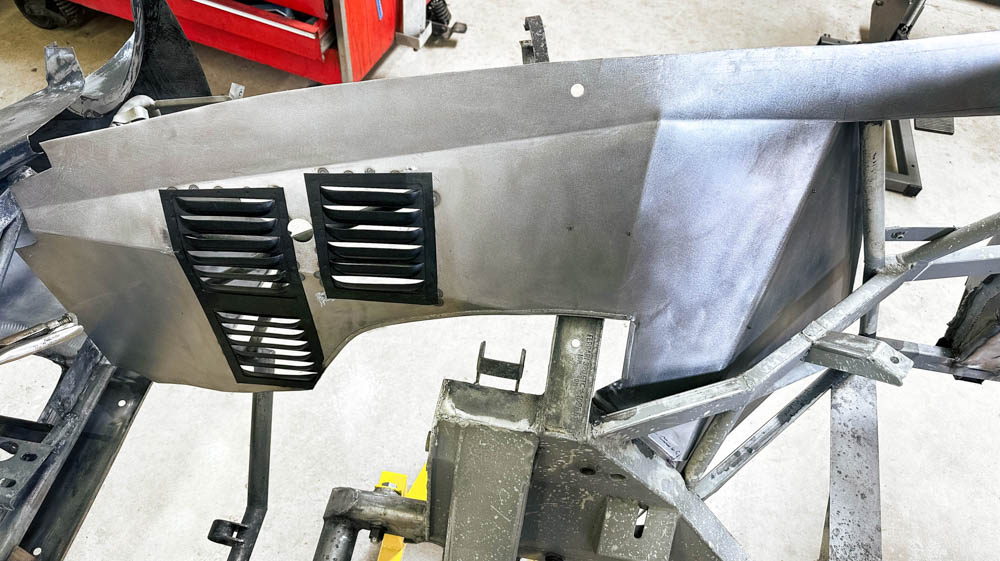
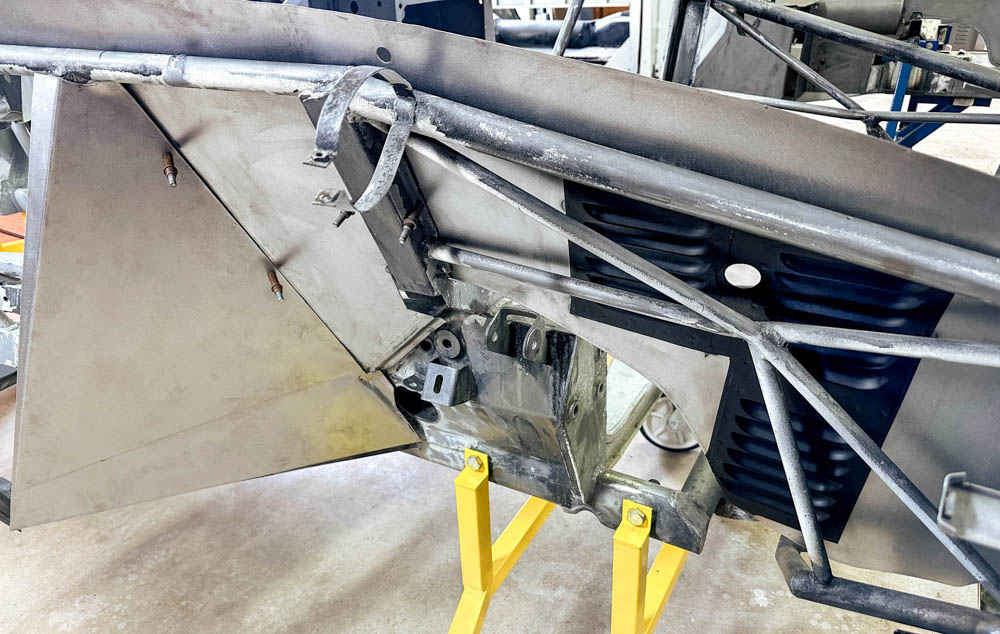
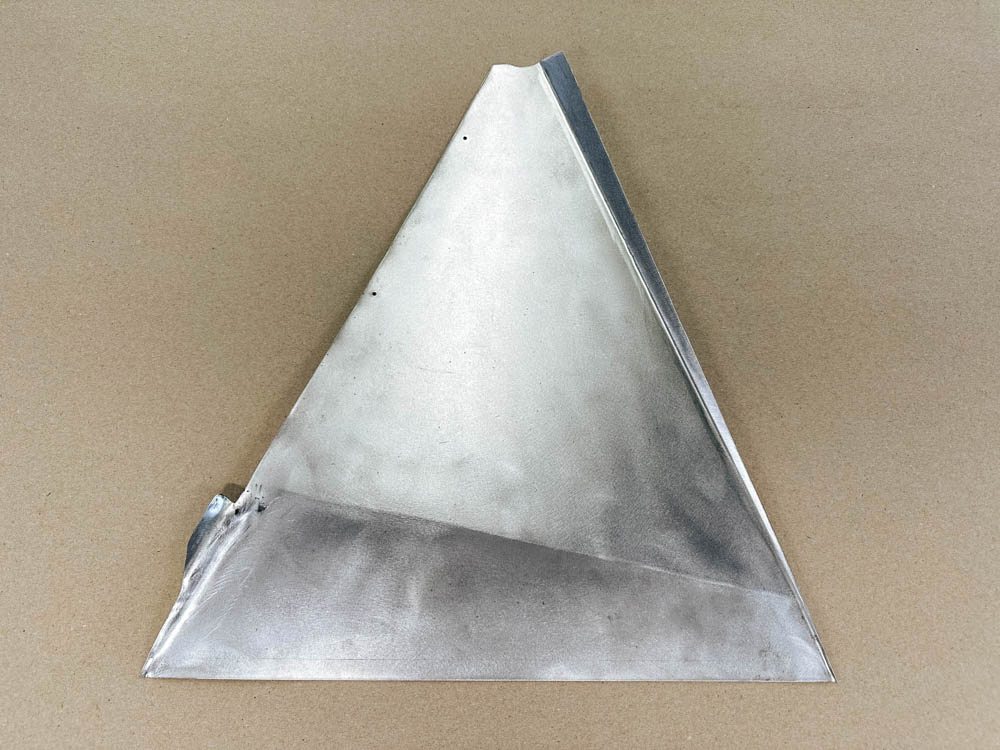
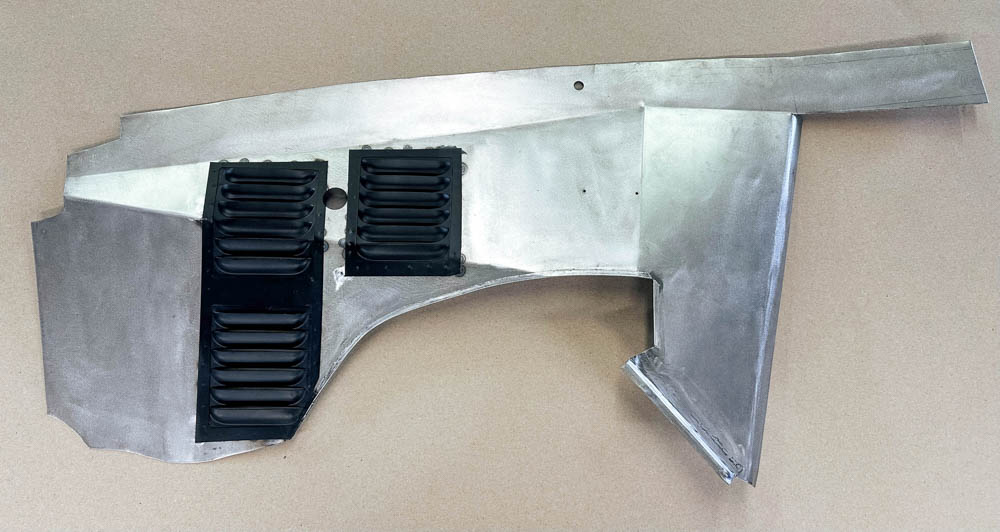
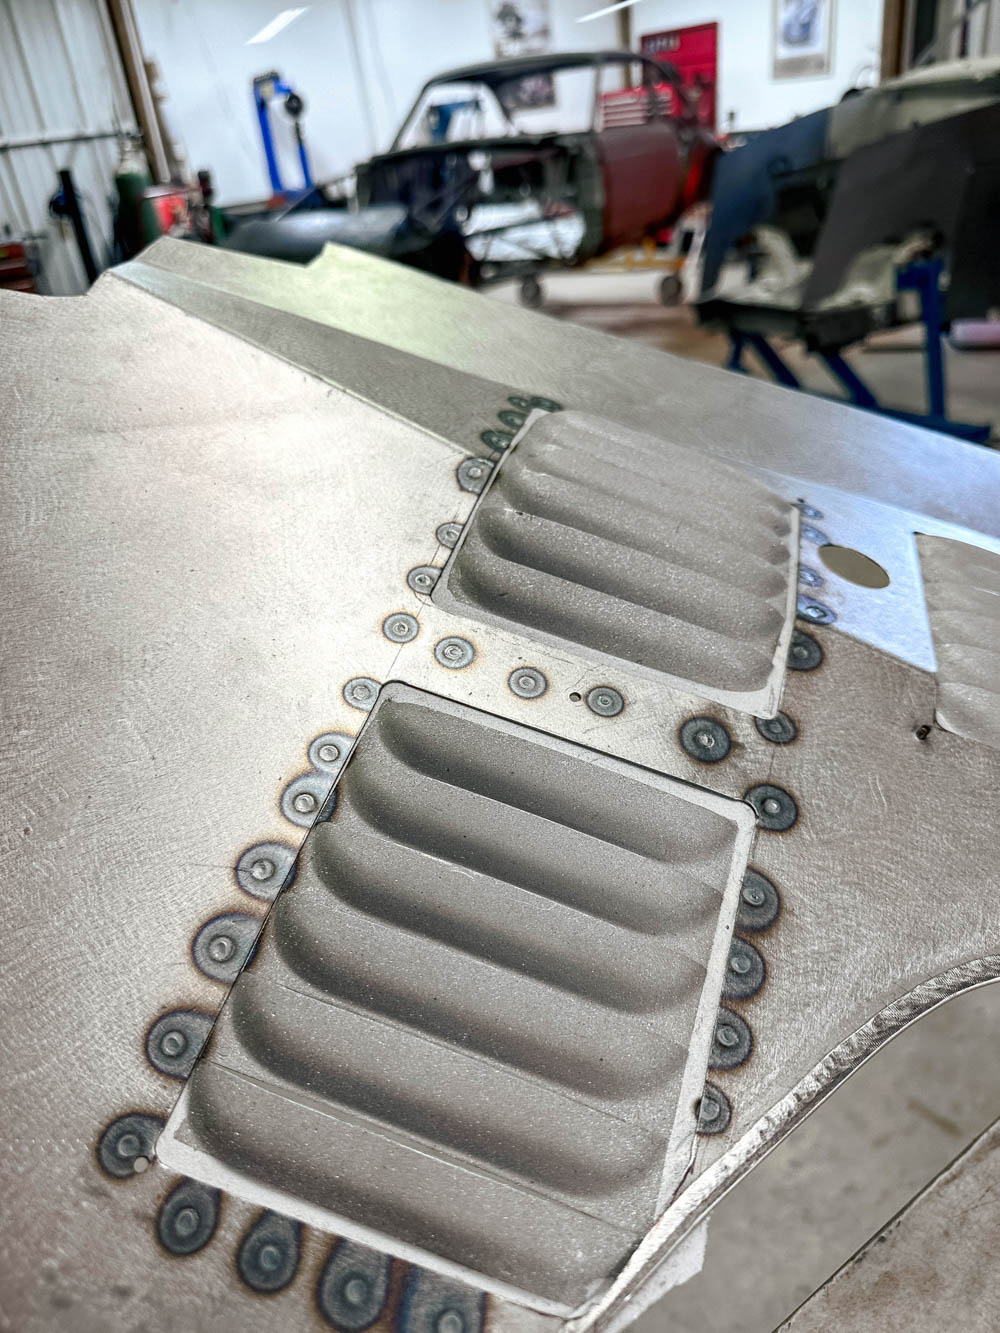
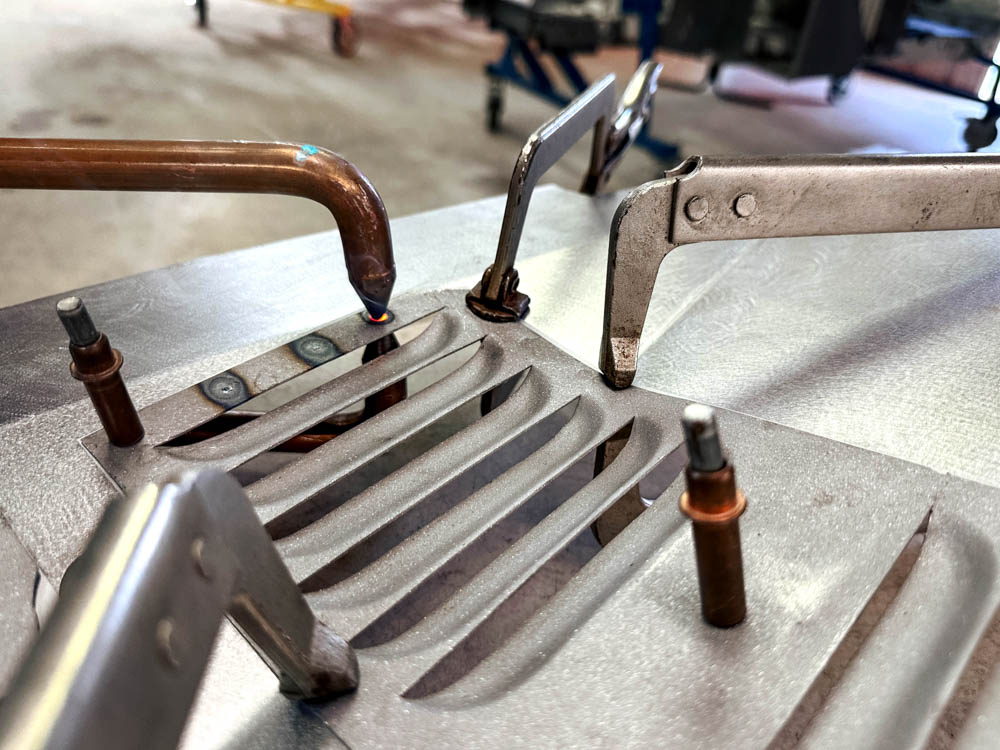
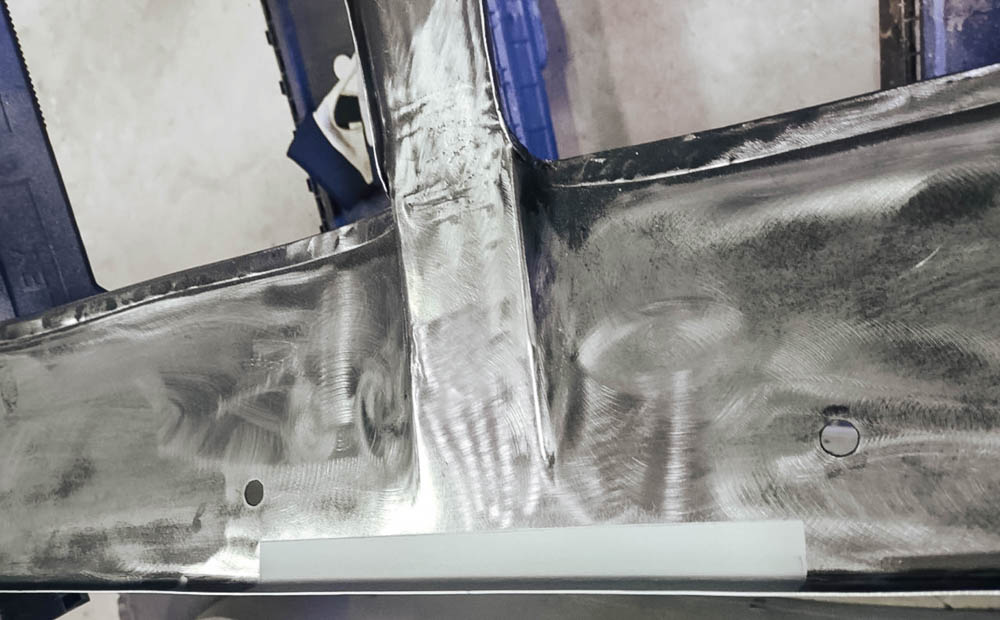
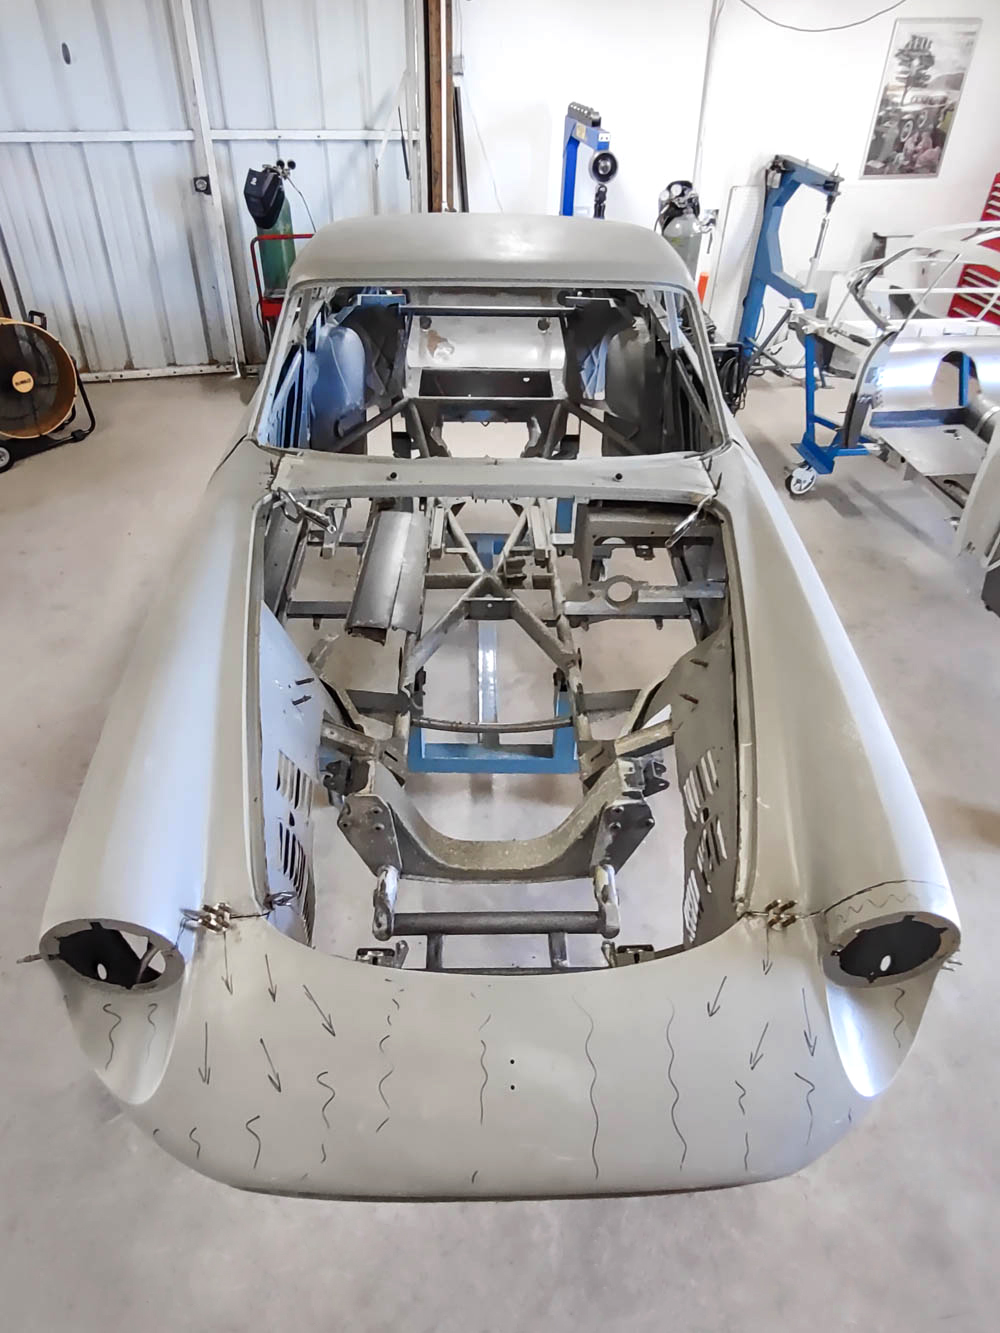
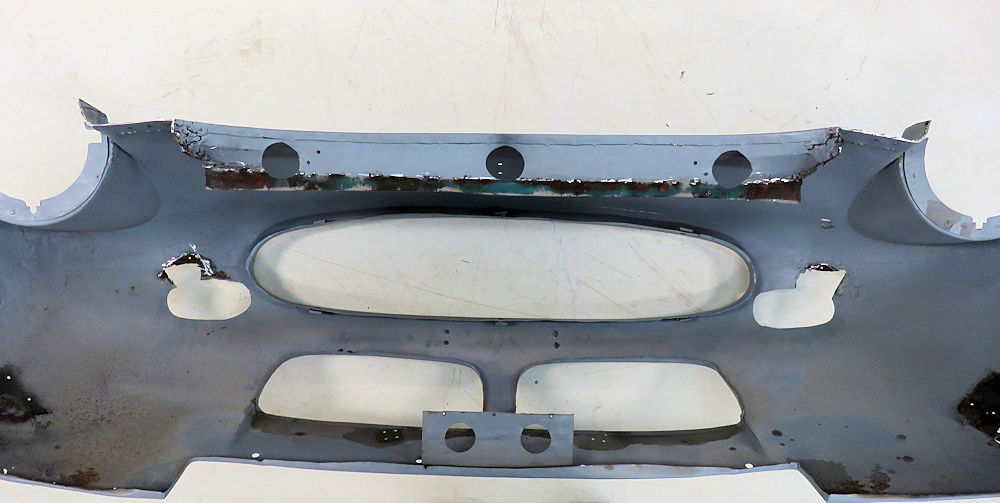
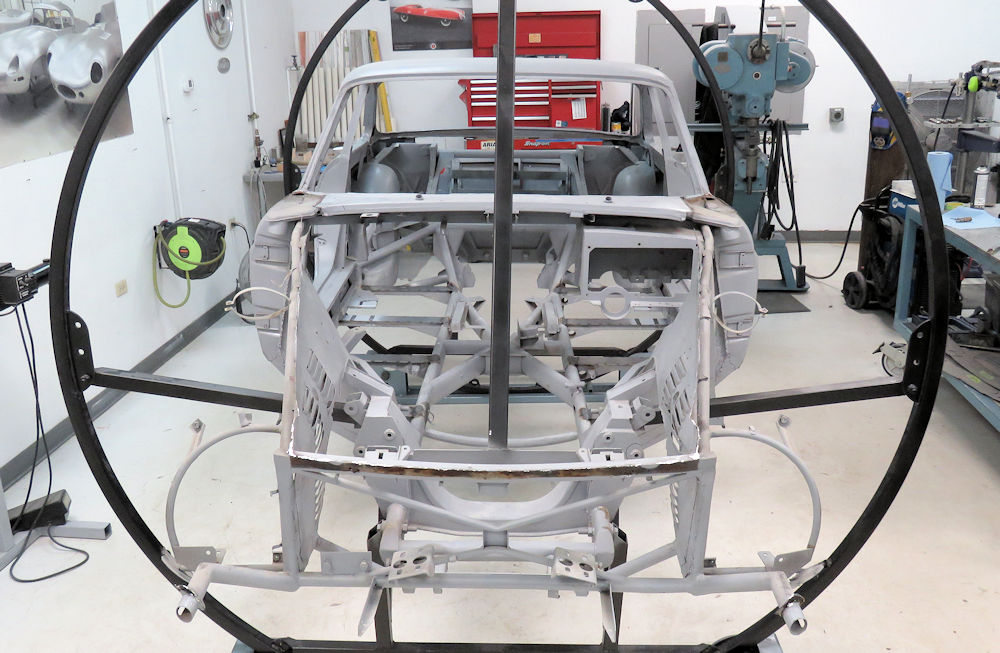
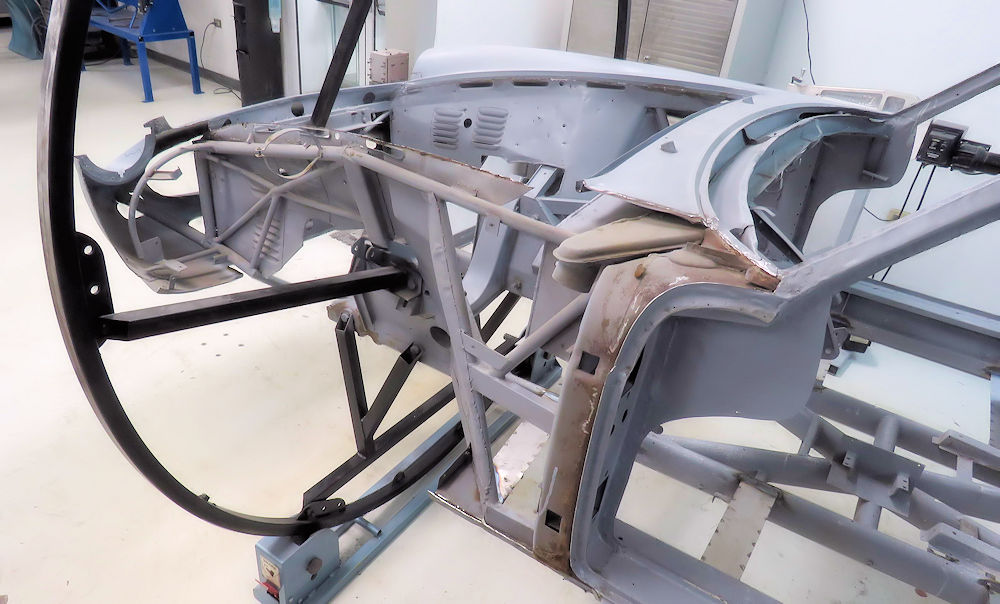
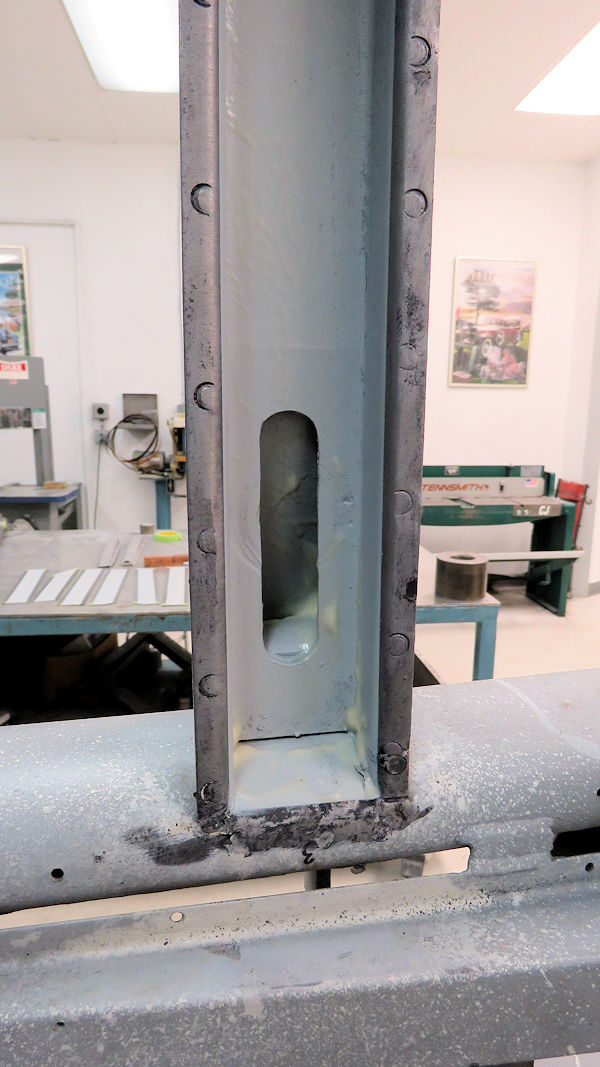
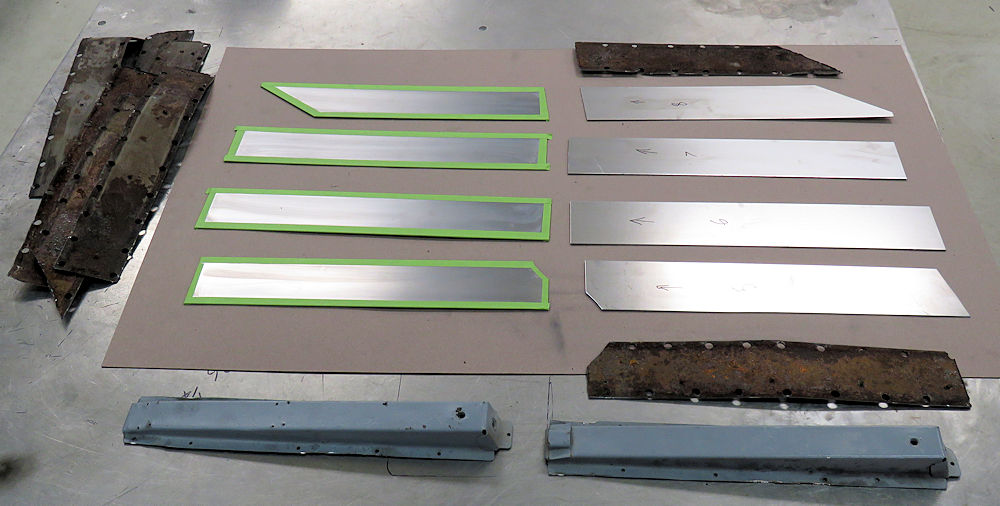
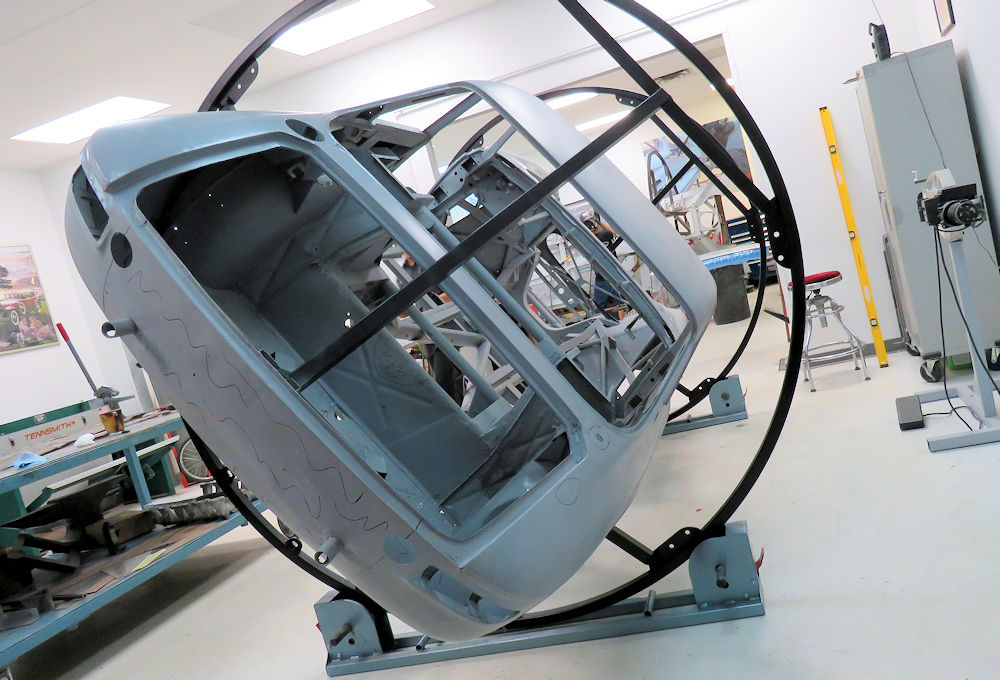
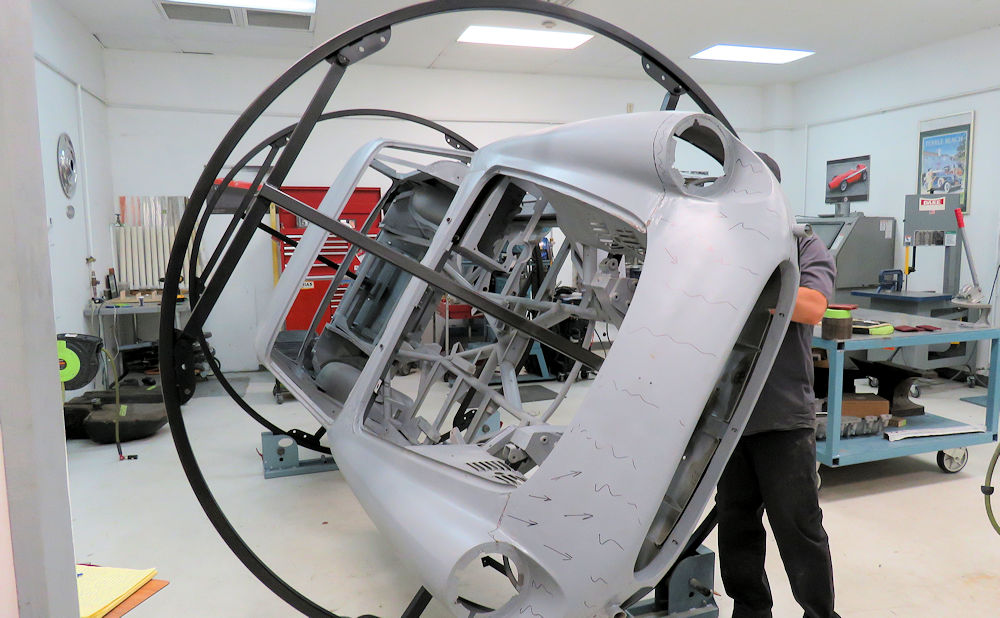
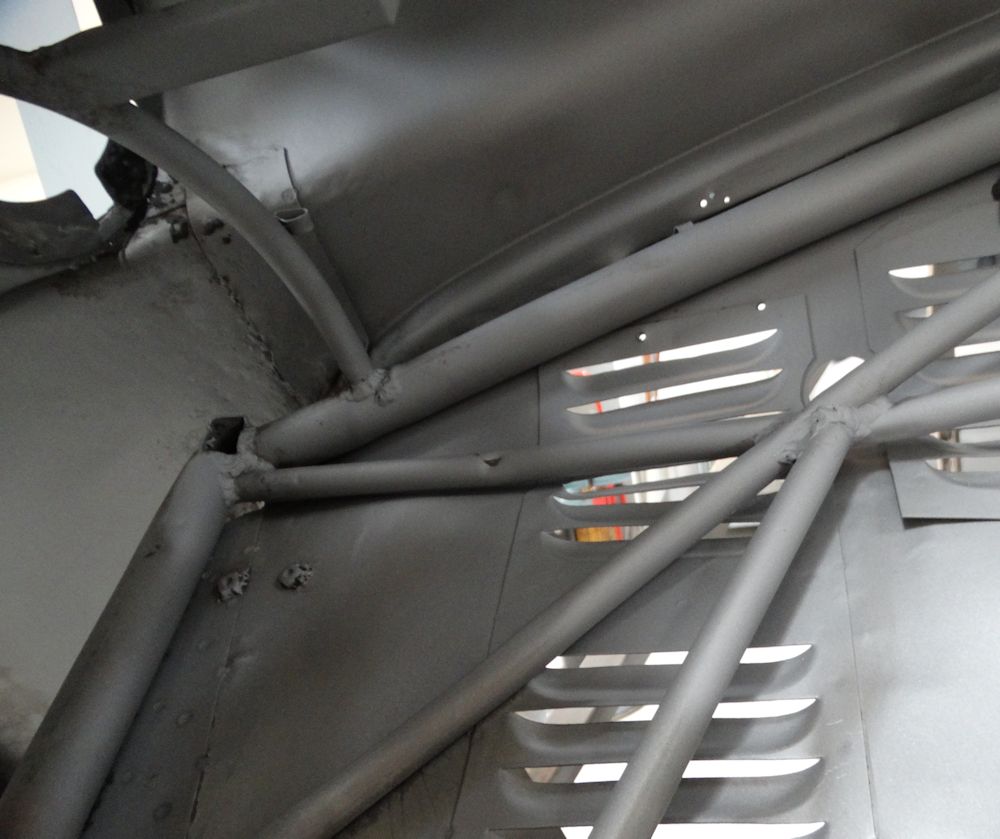
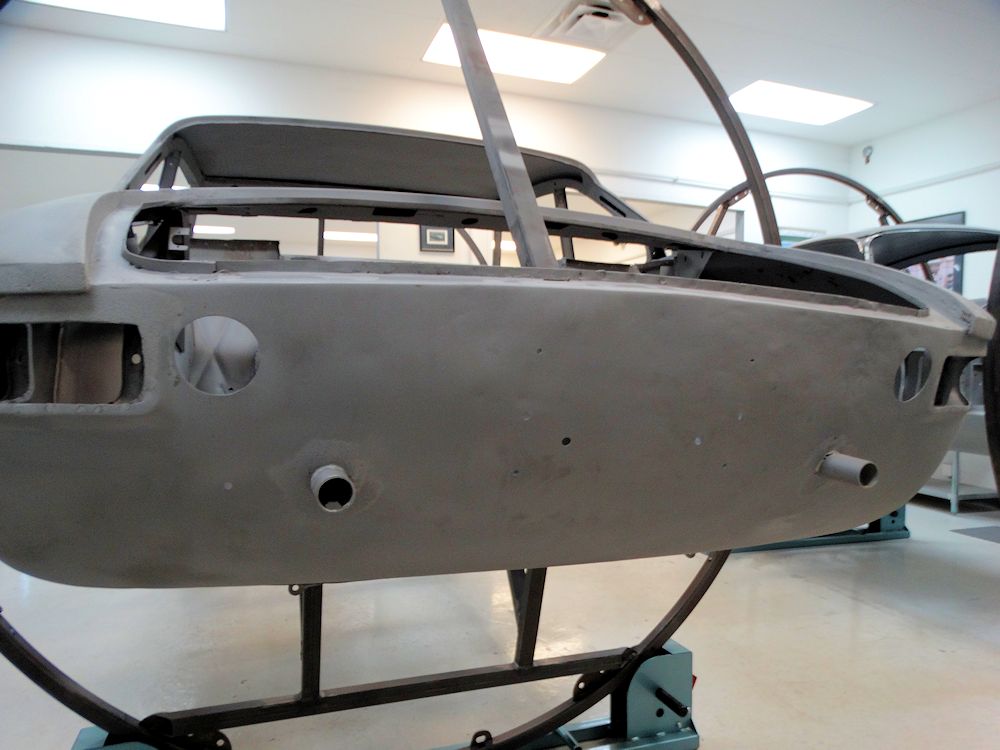
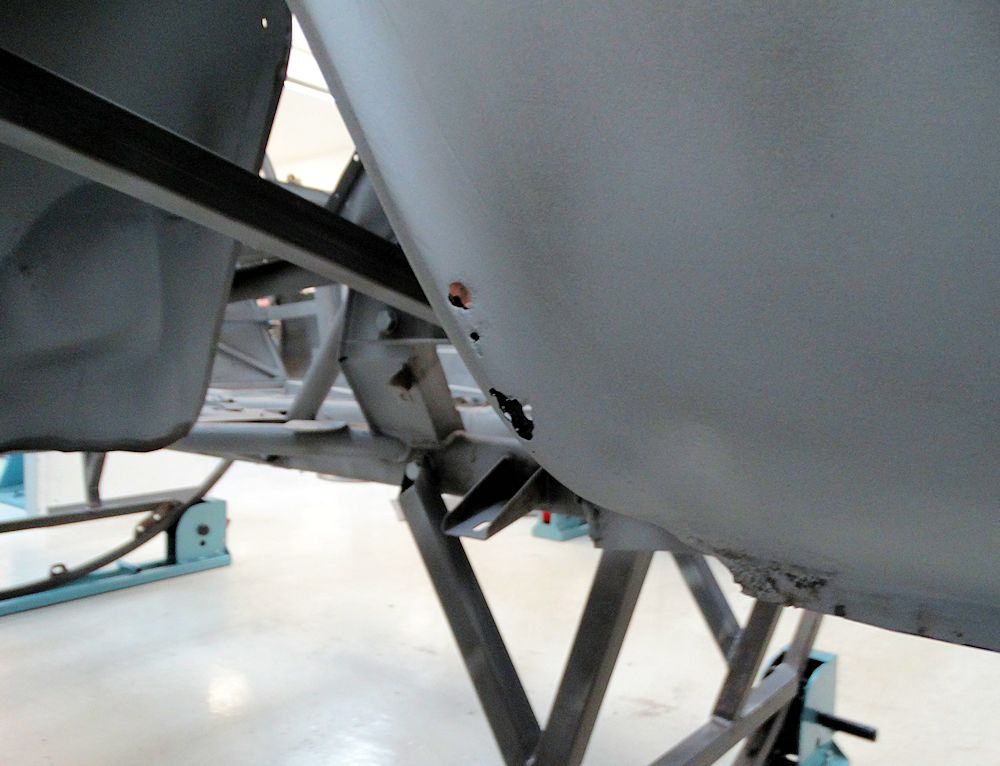
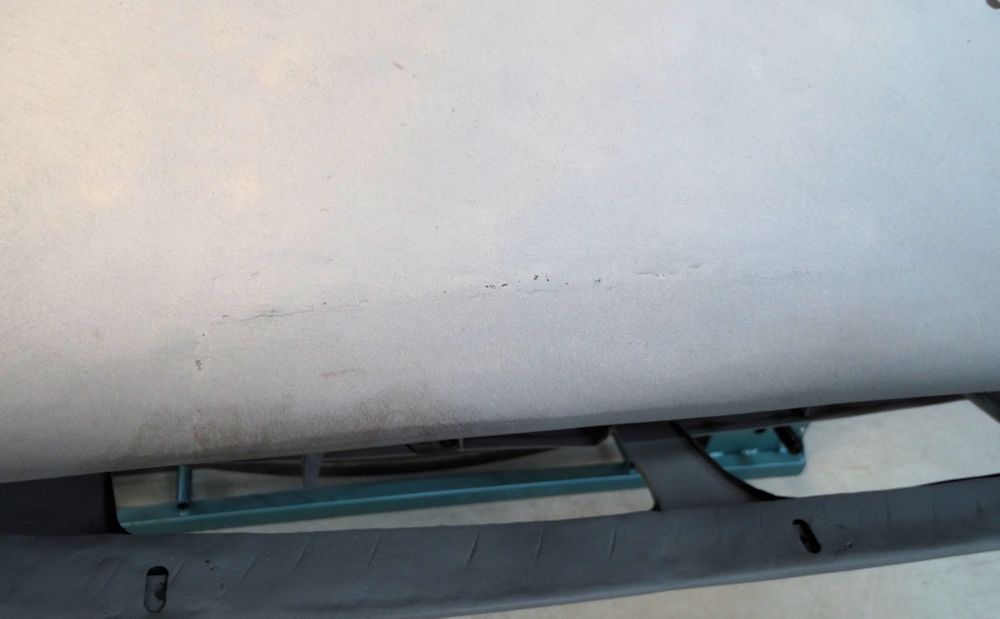
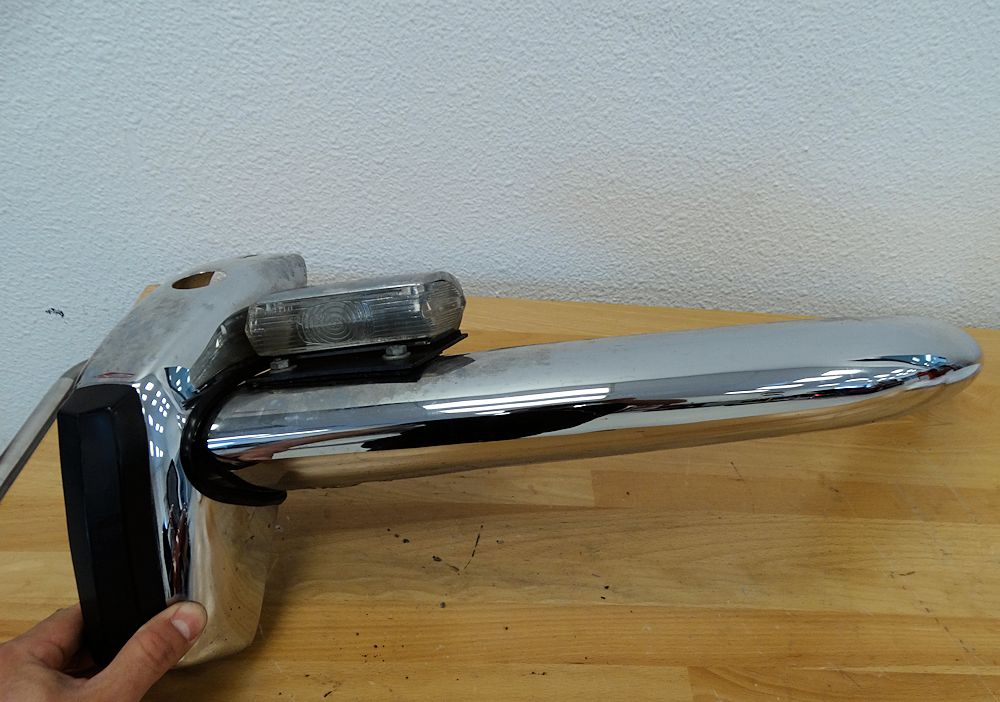
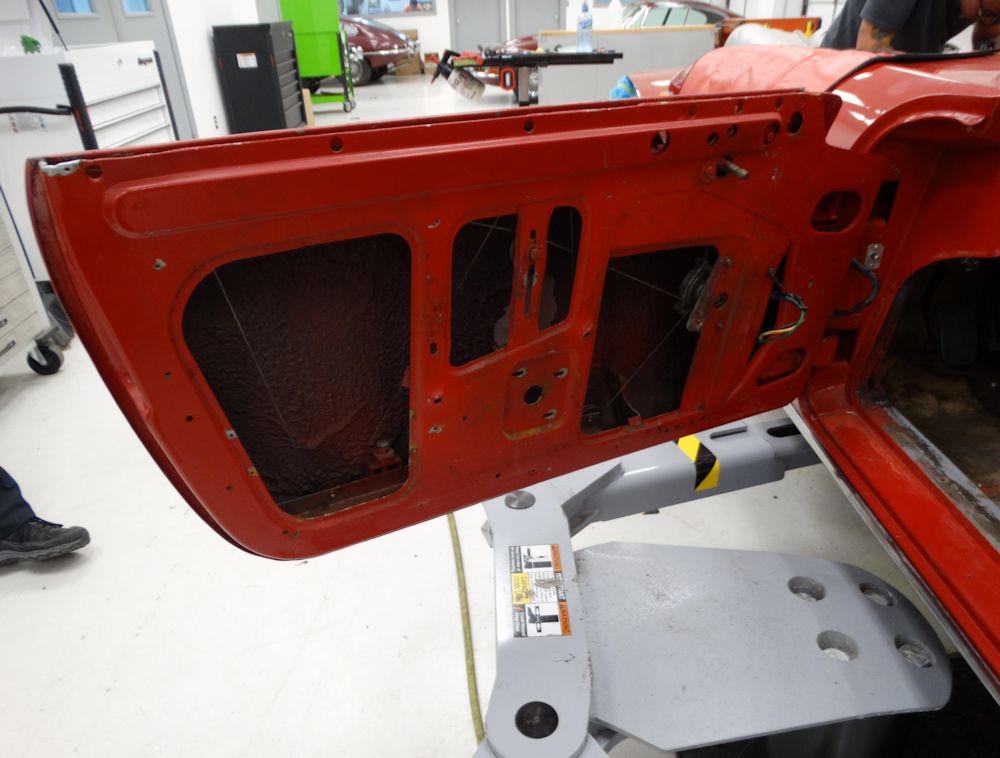
Installation of front fenders
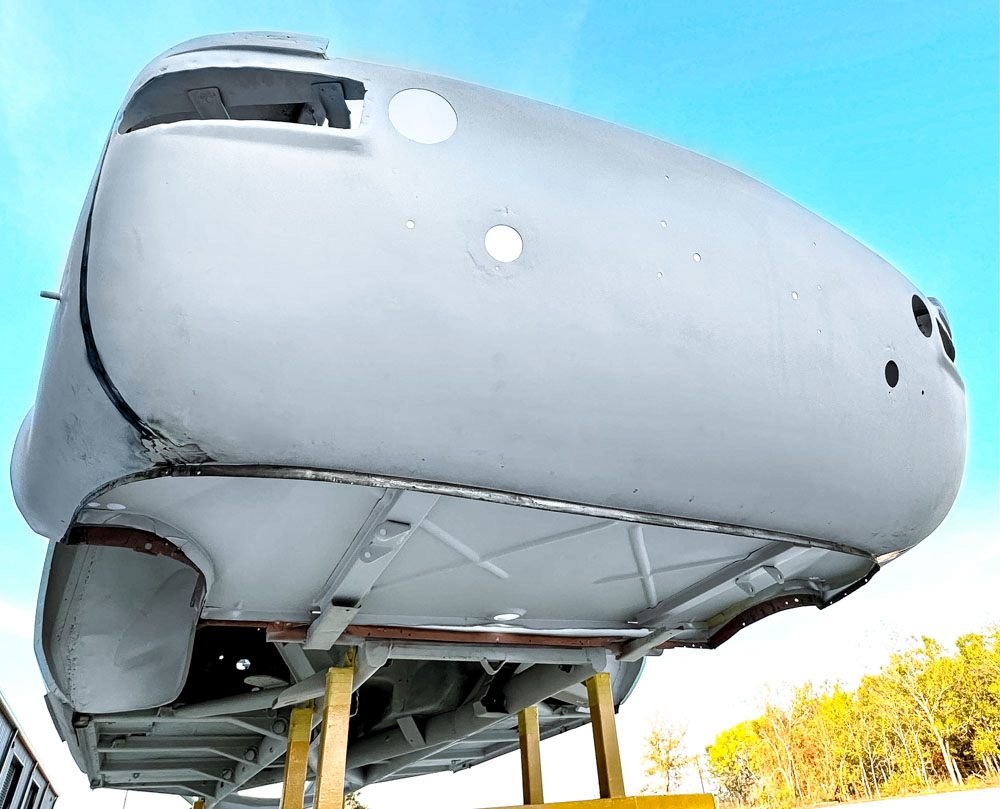
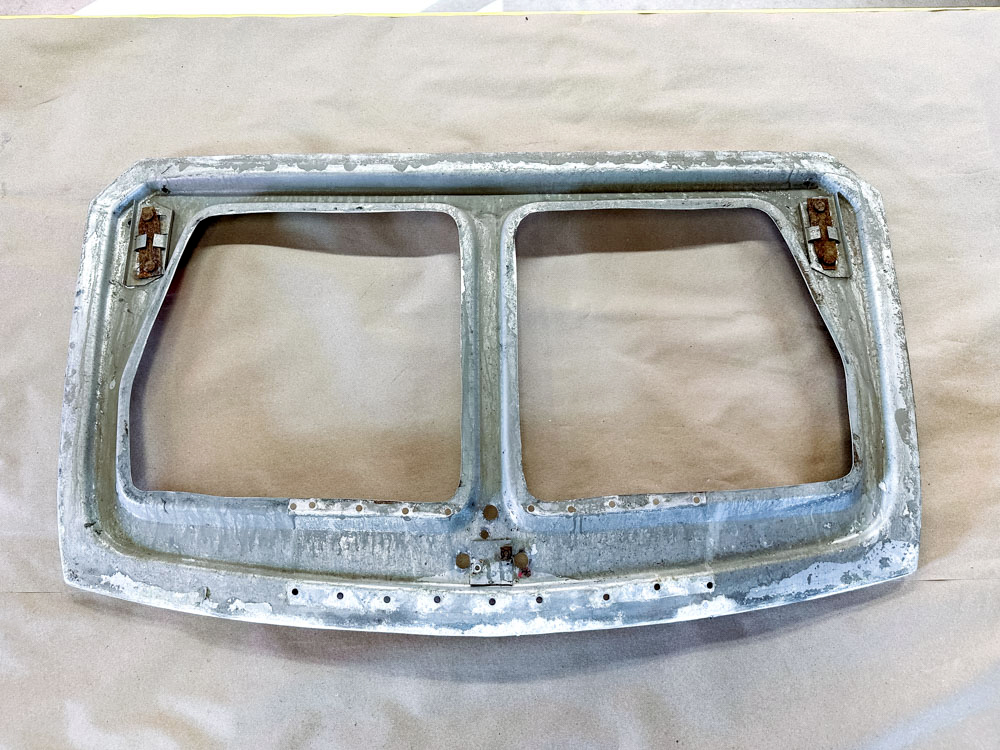
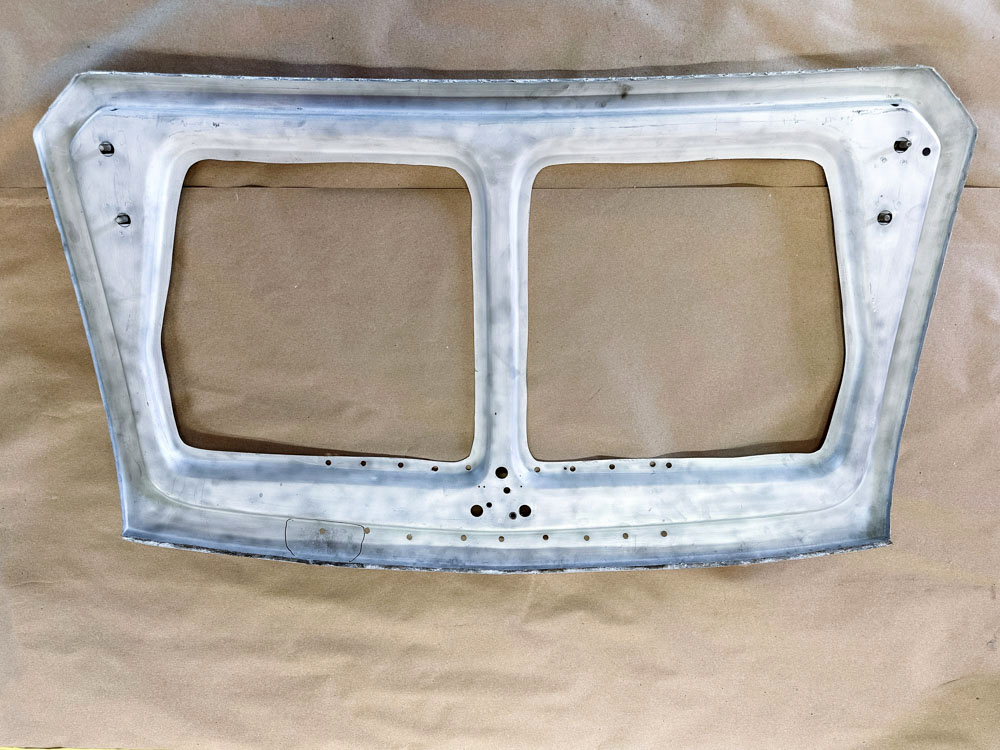
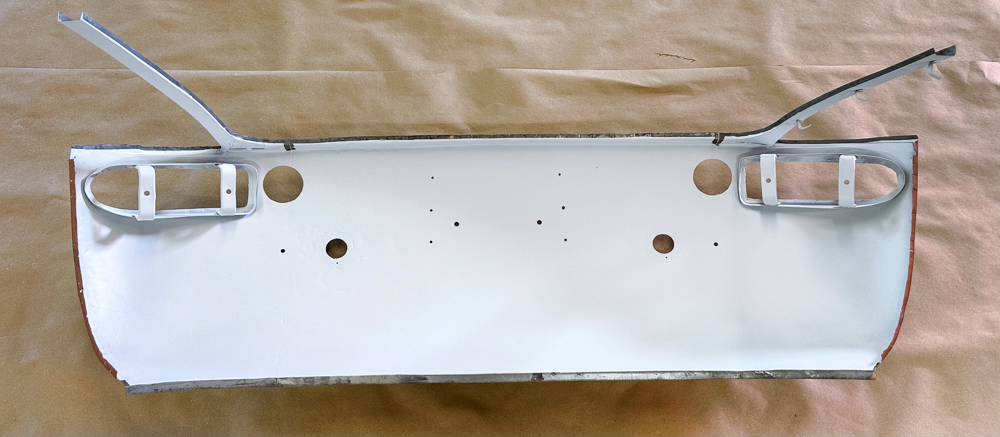
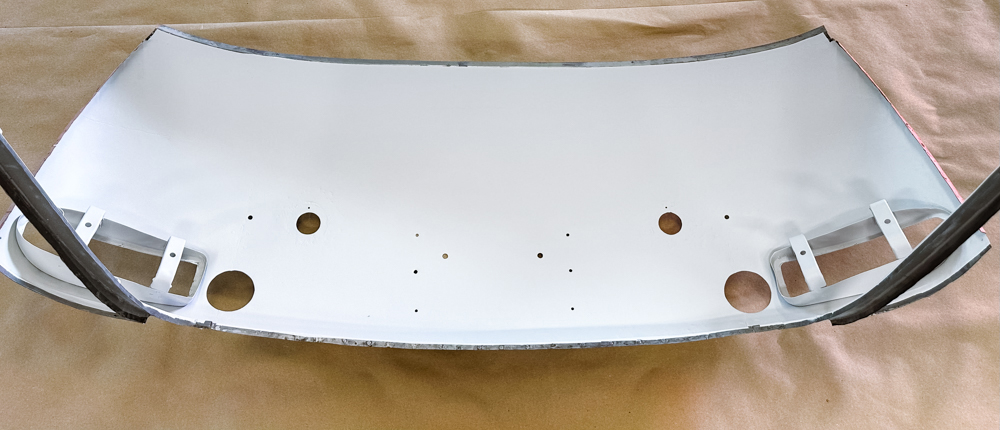
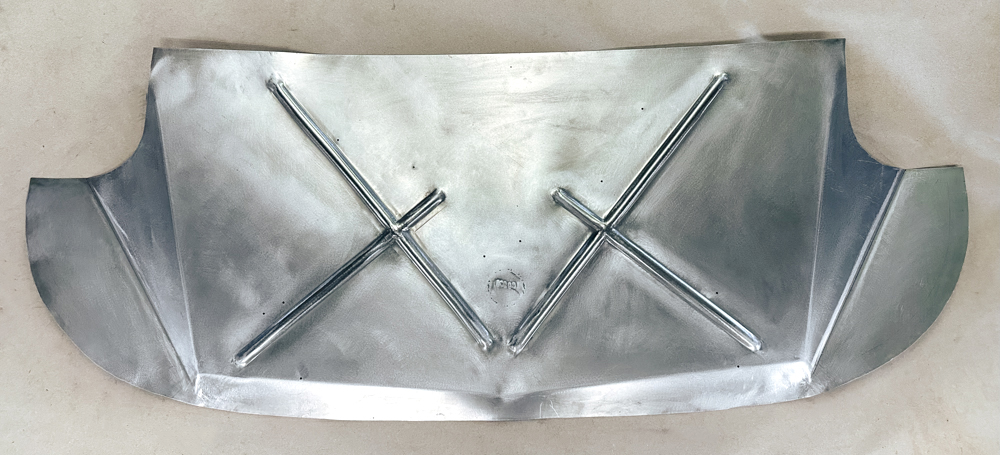
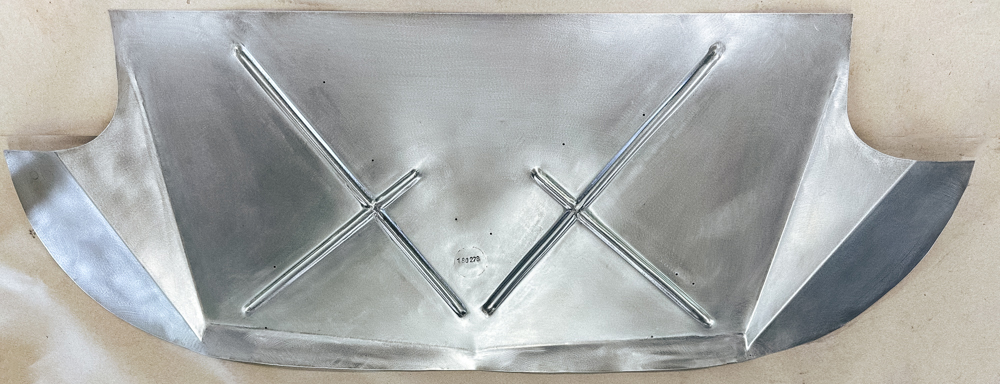
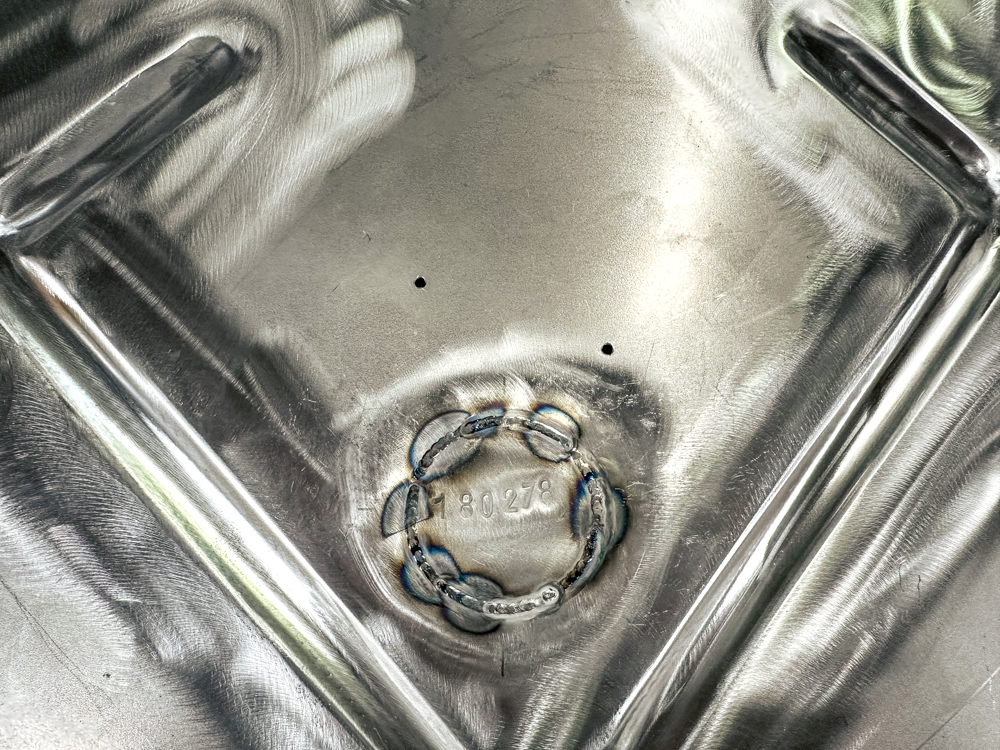
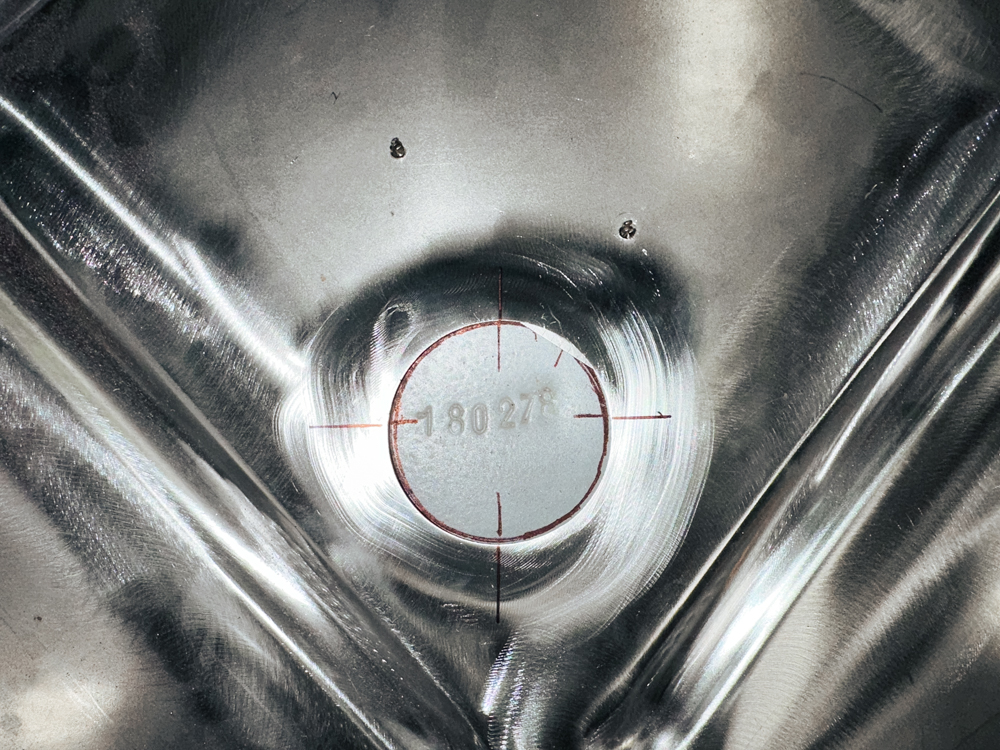
Installation of nose panel assembly
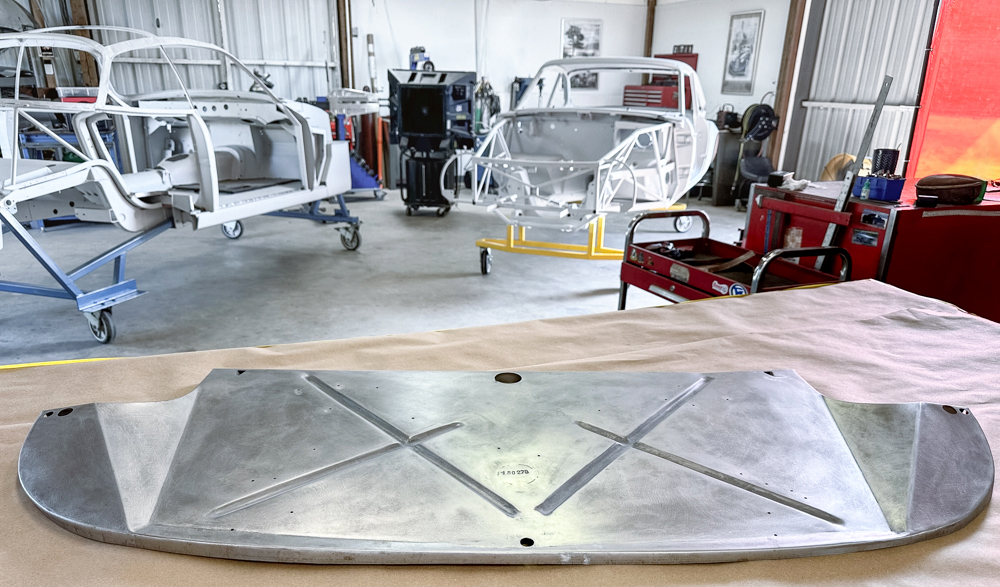
Nose panel ready for installation
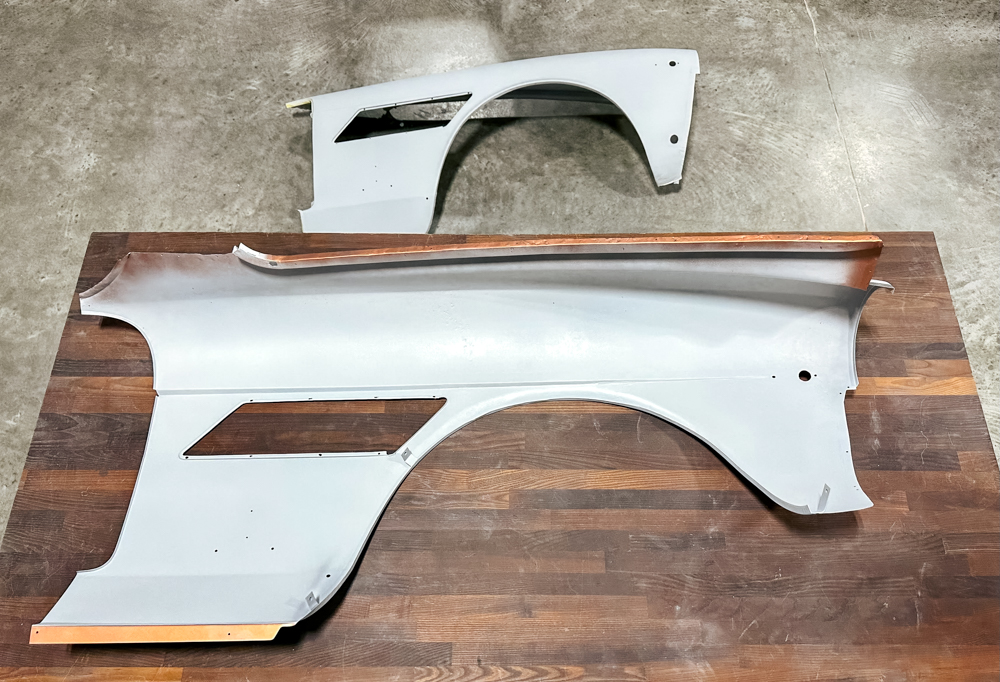
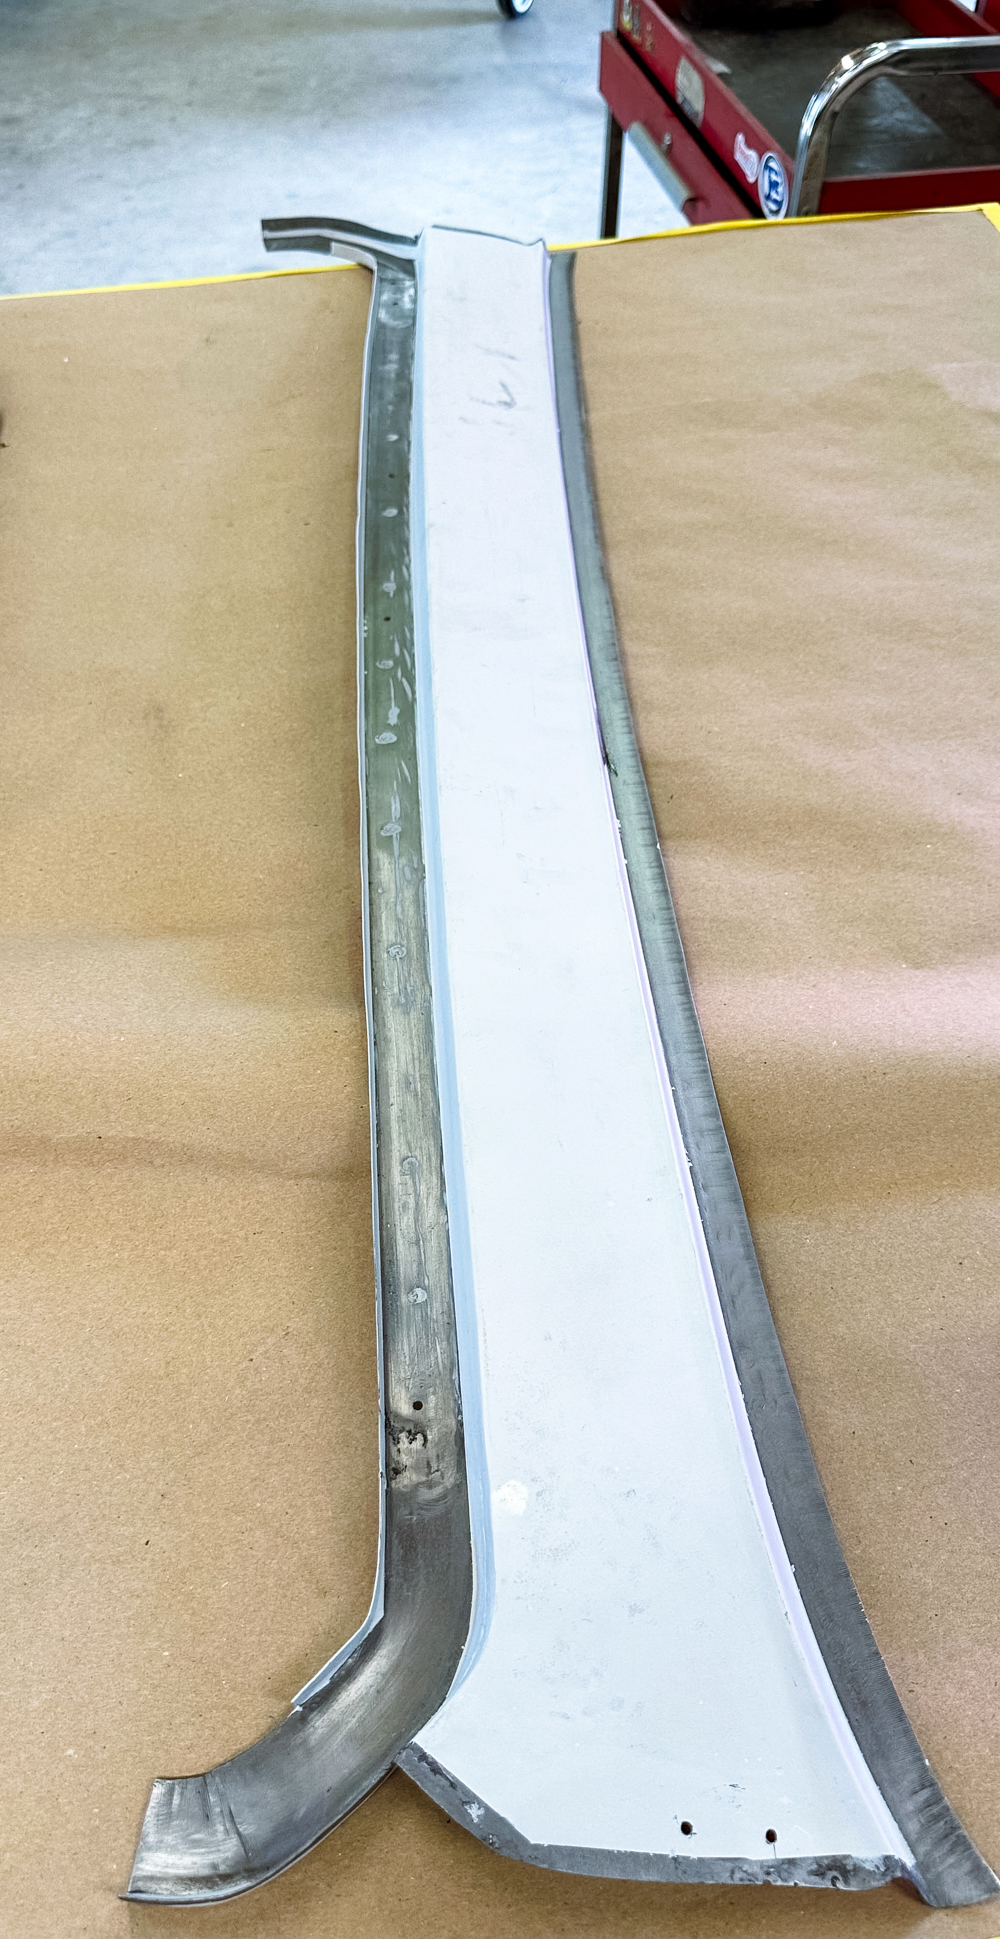
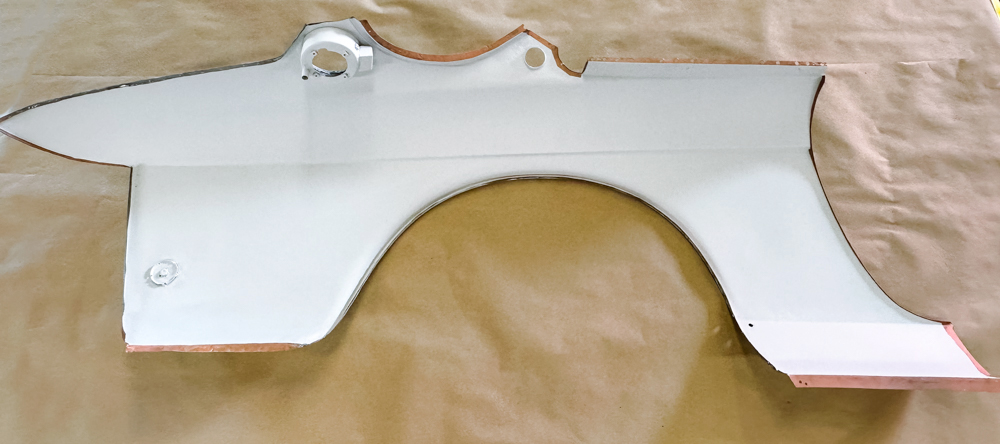
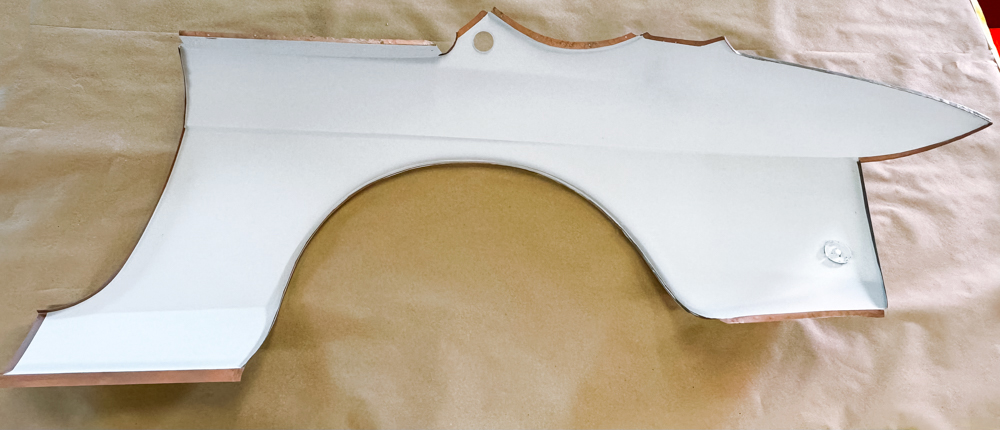
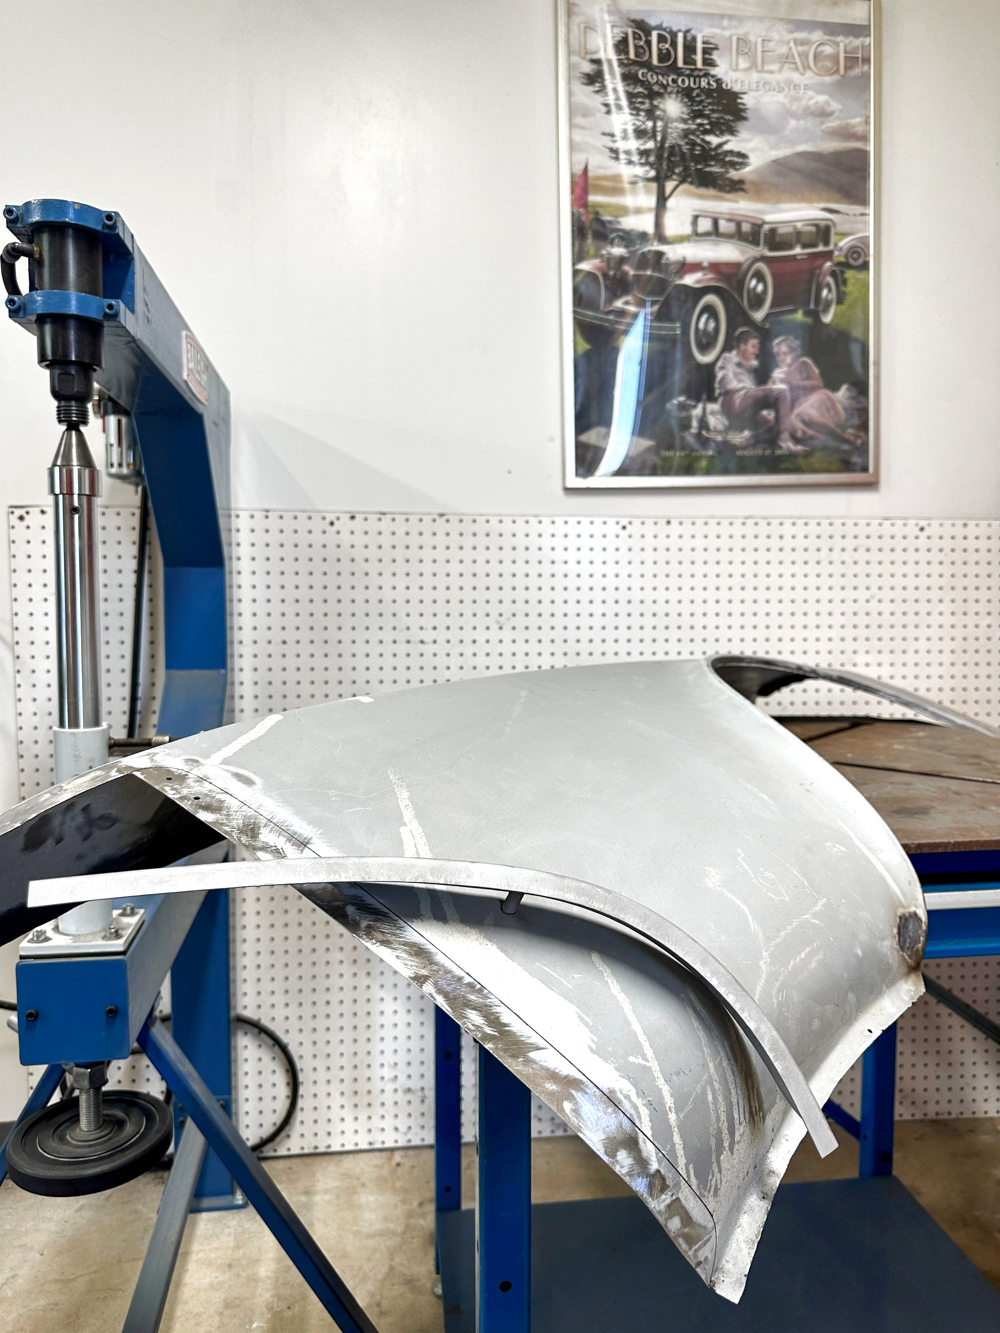
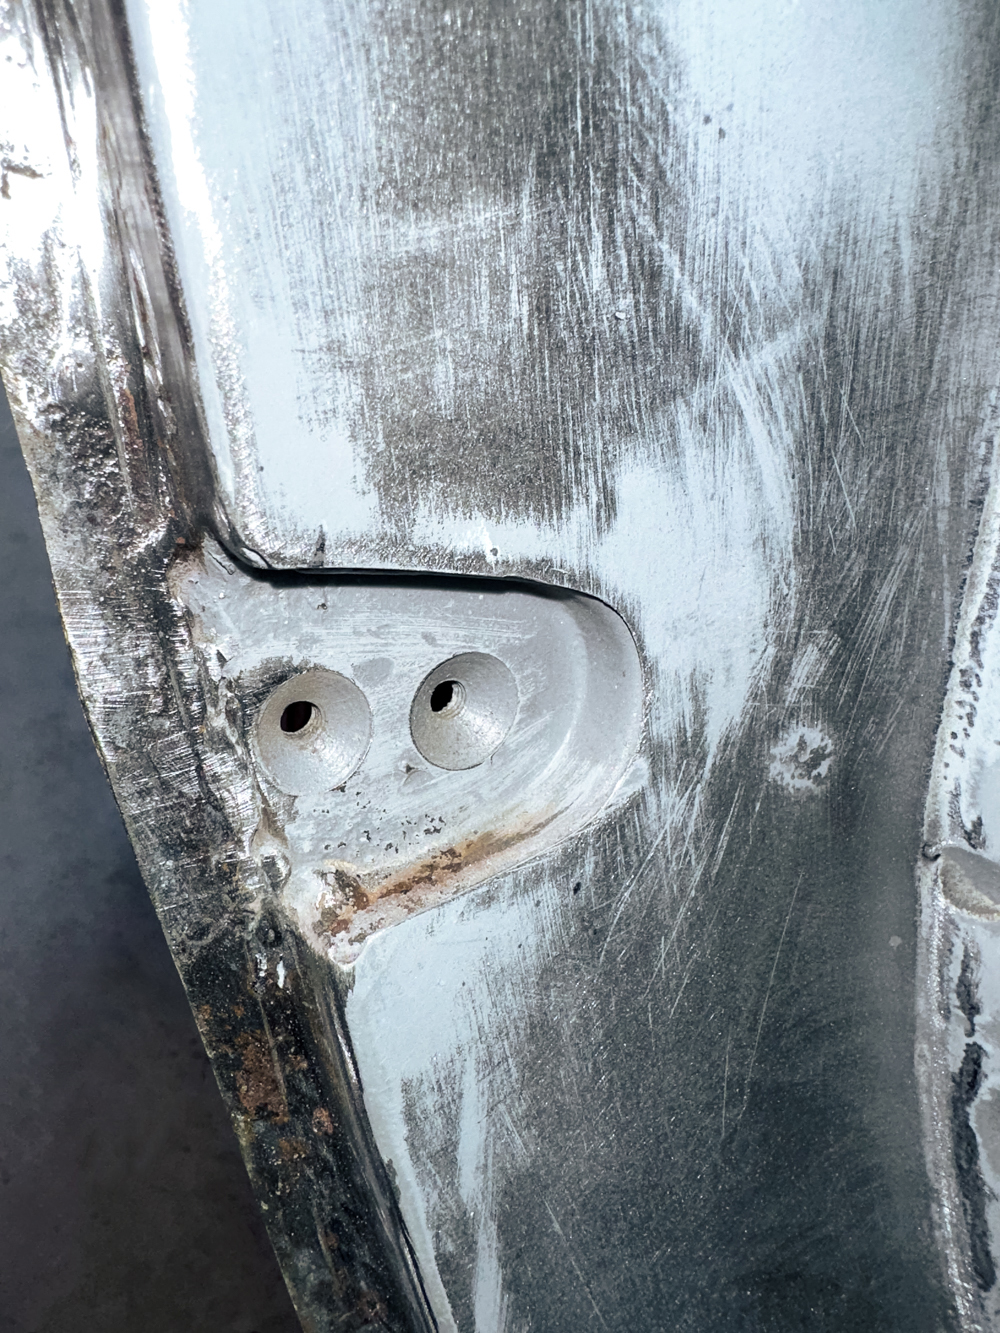
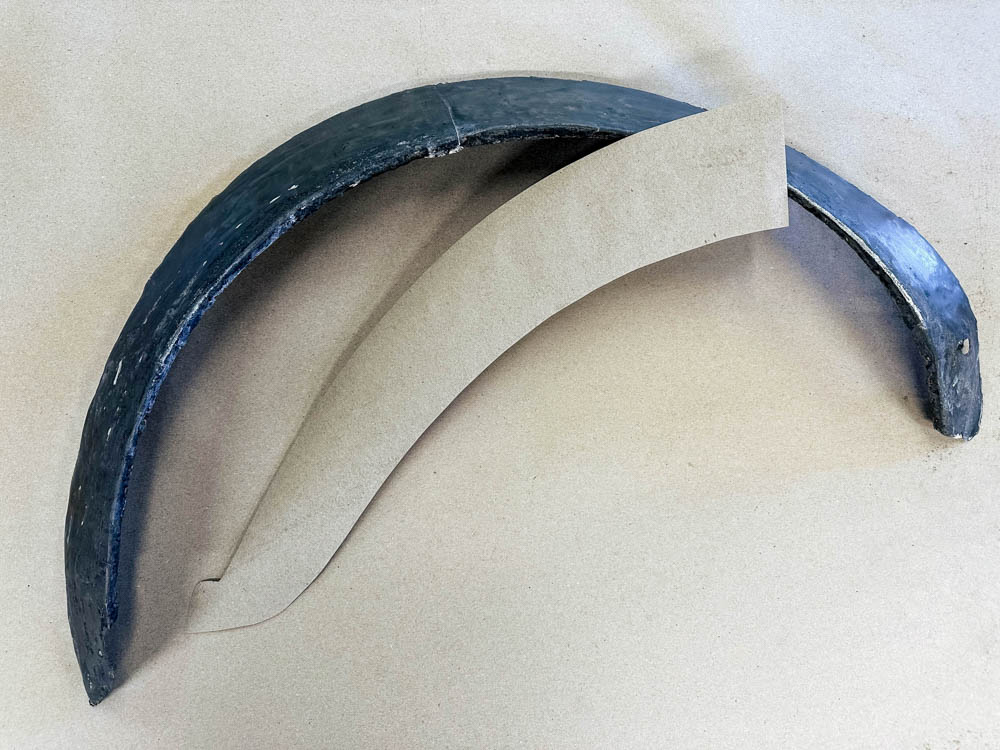
Priming of front fenders
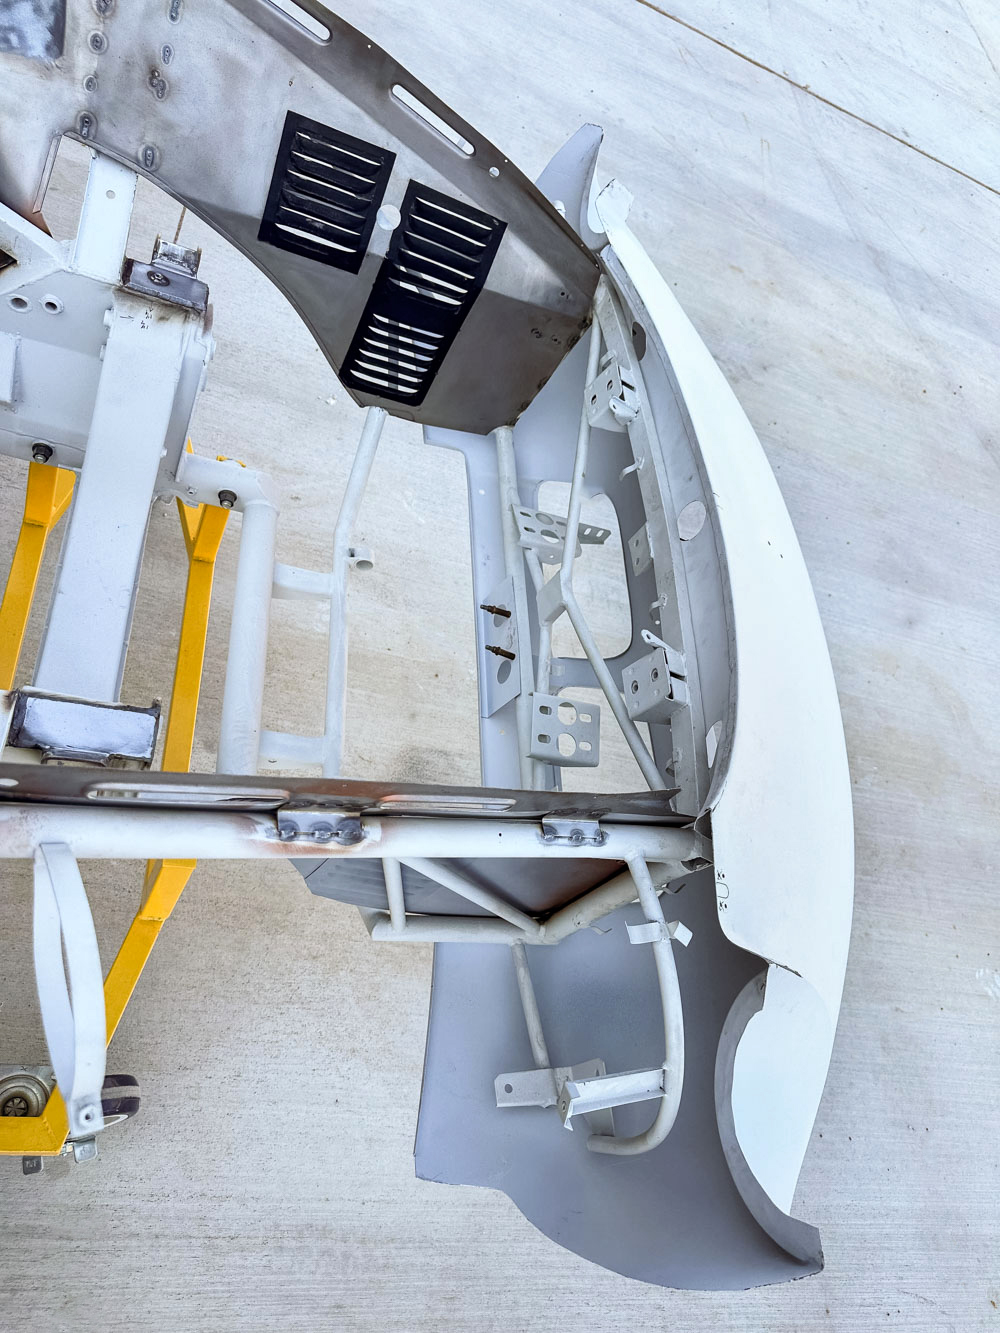
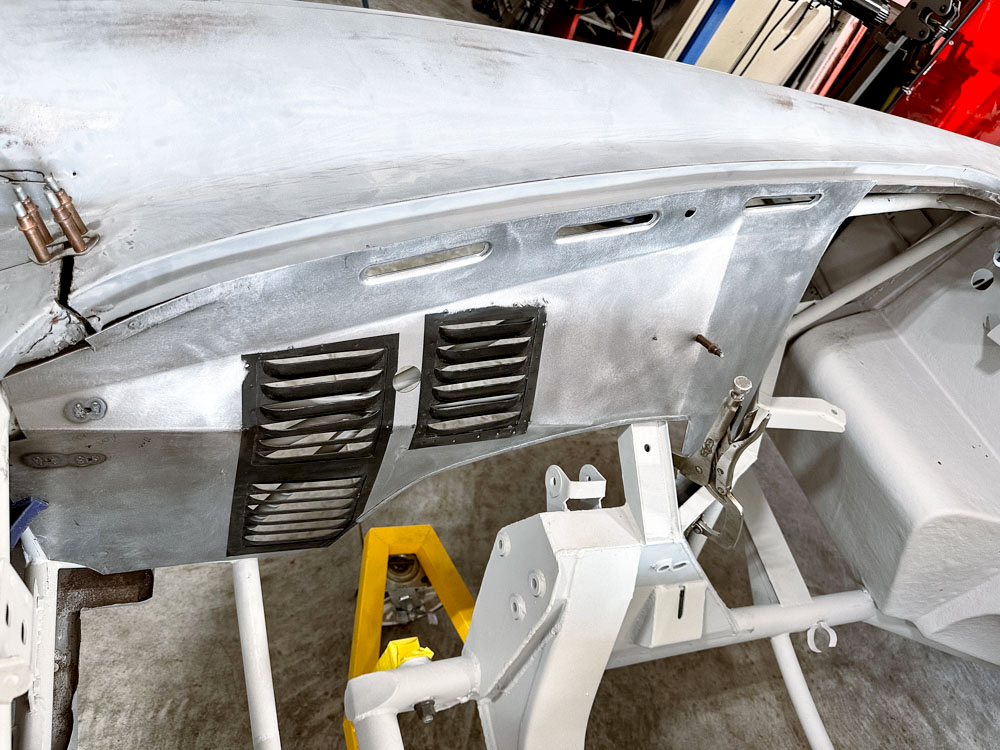
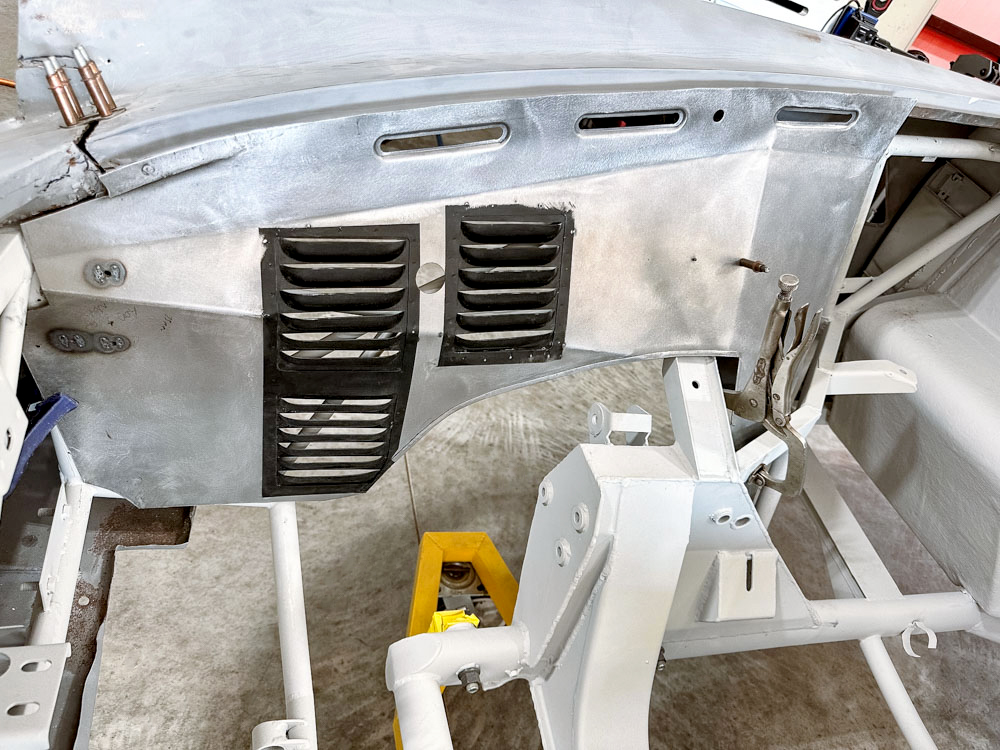
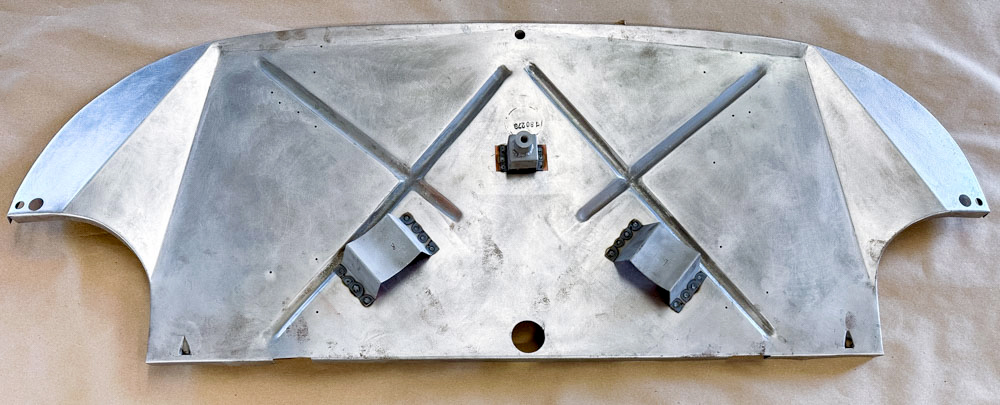
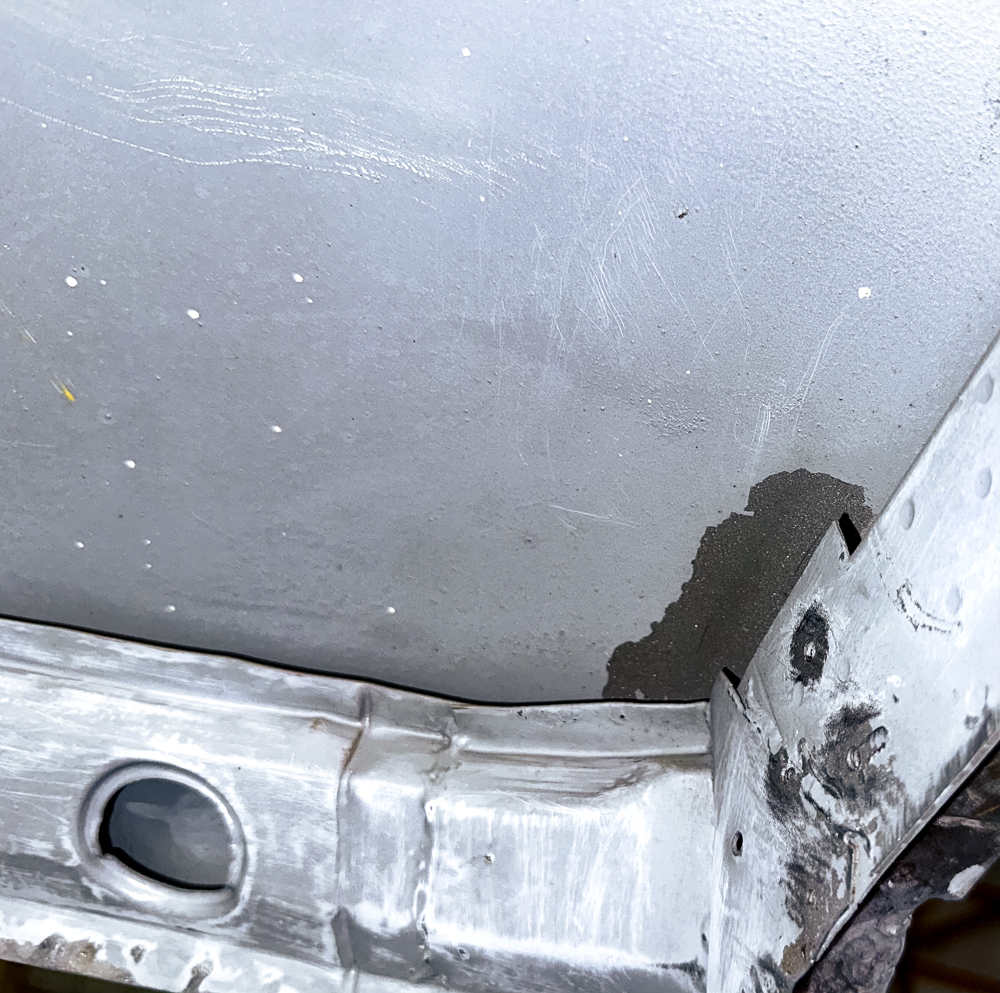
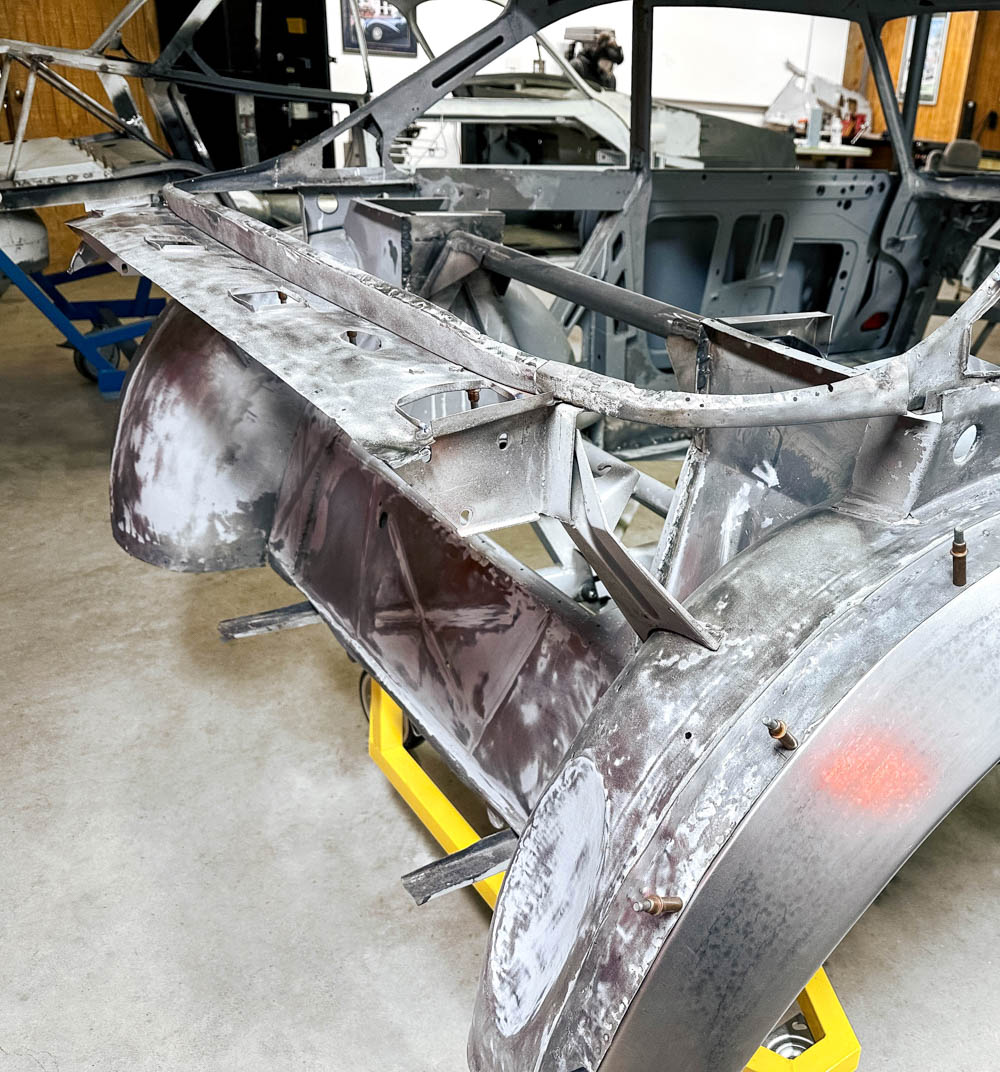
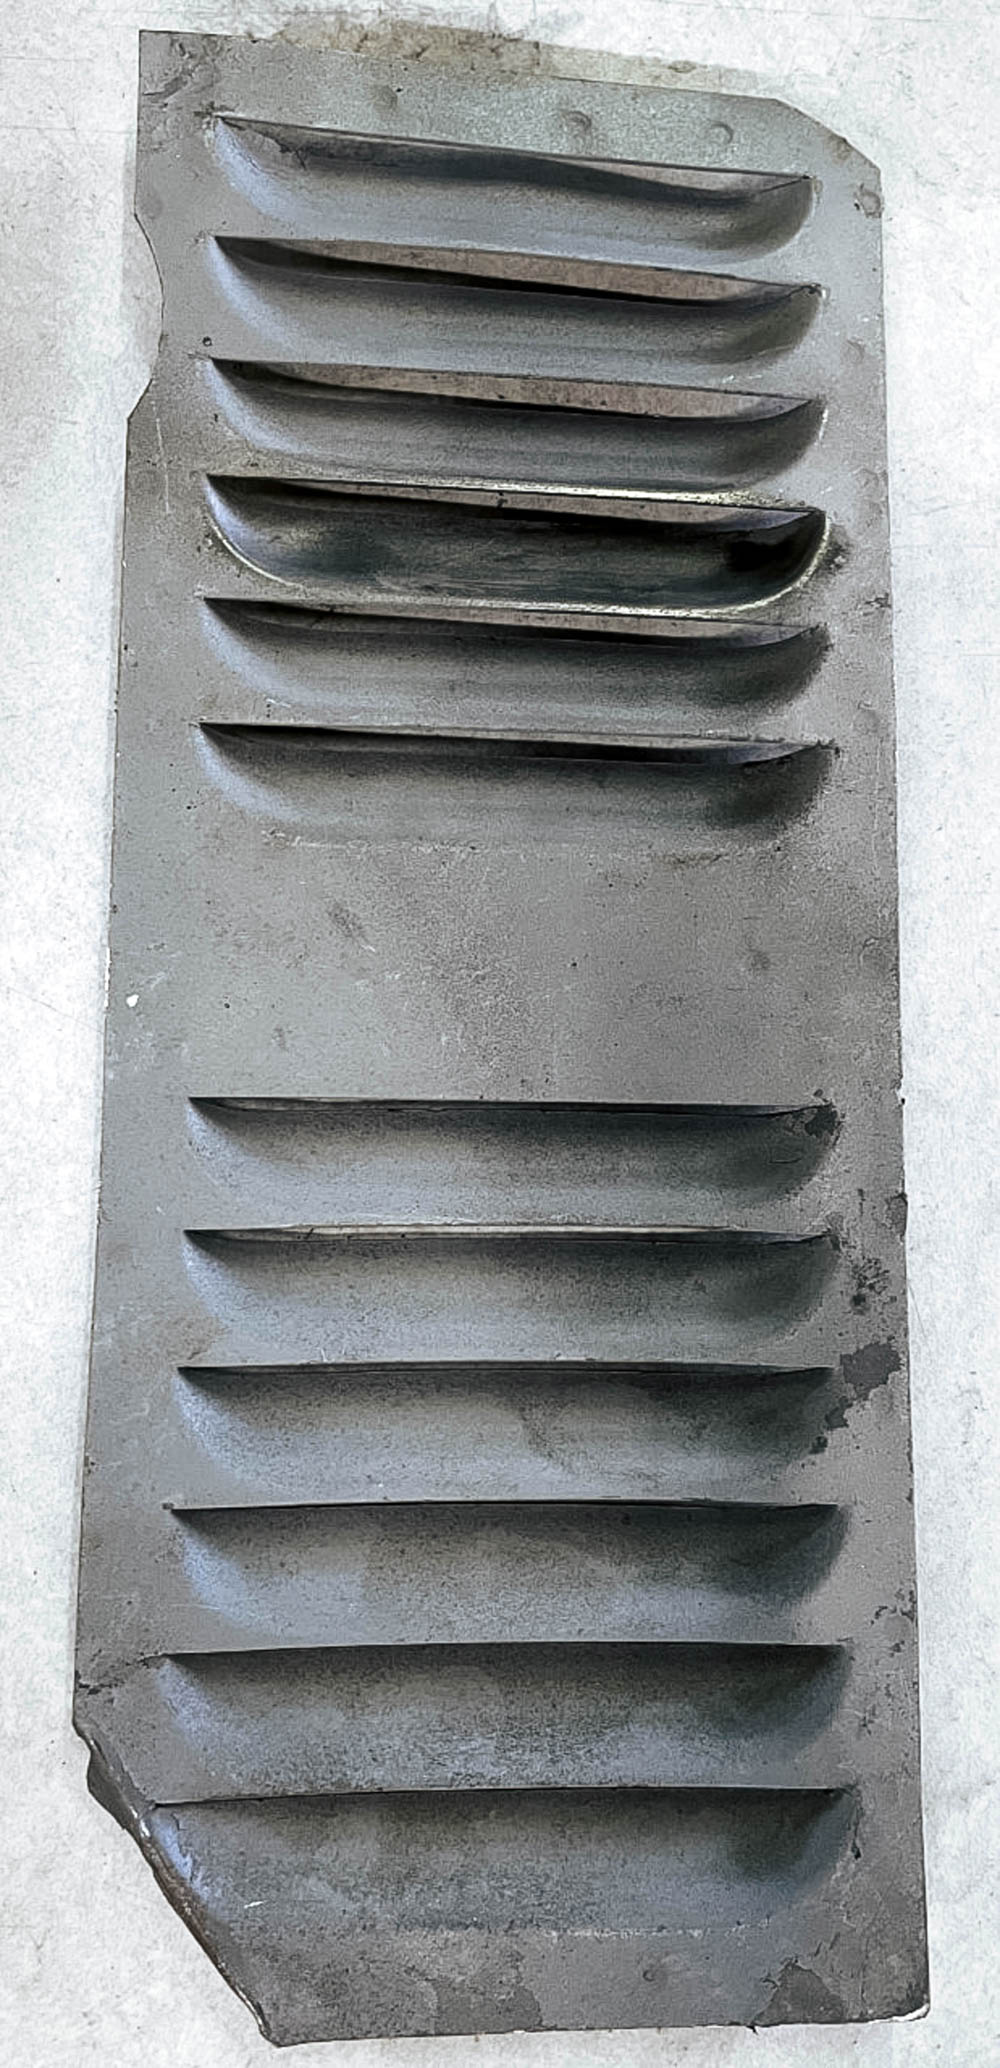
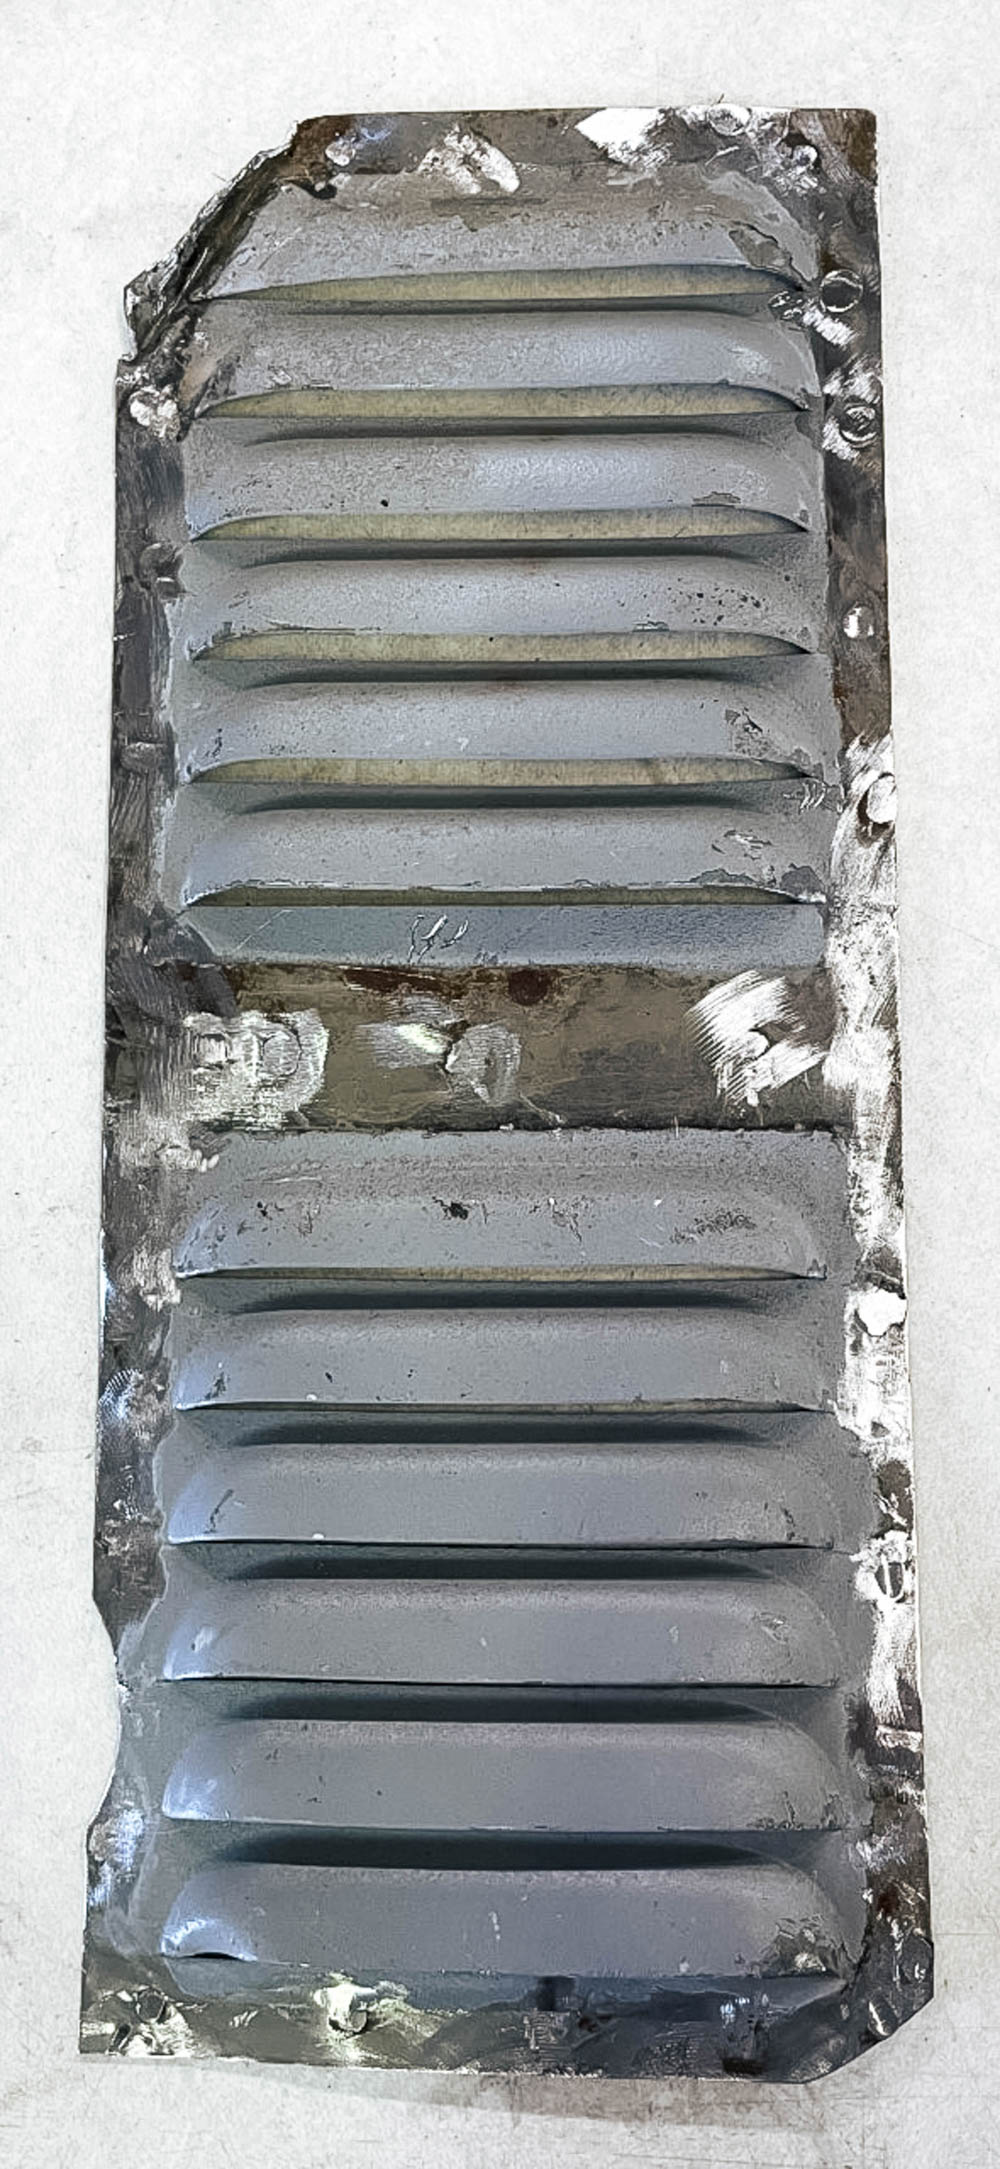
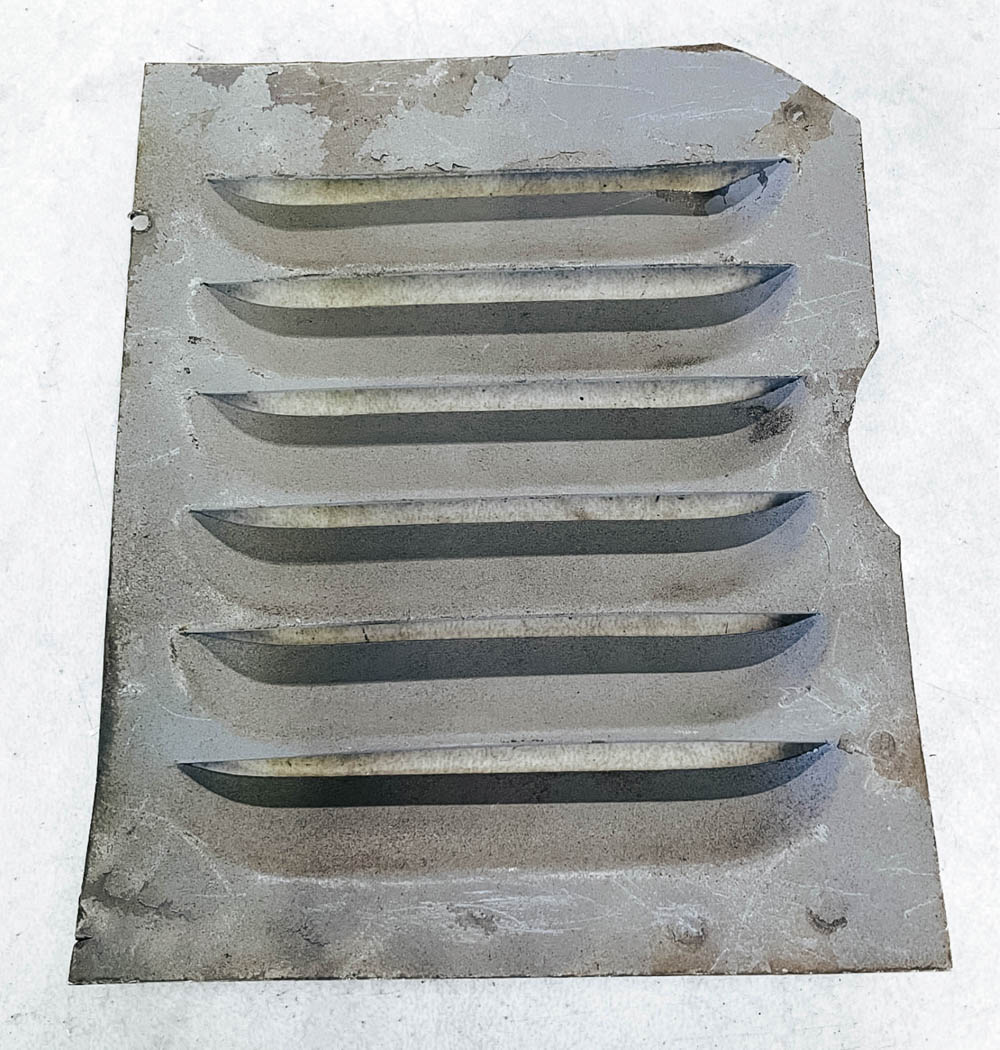
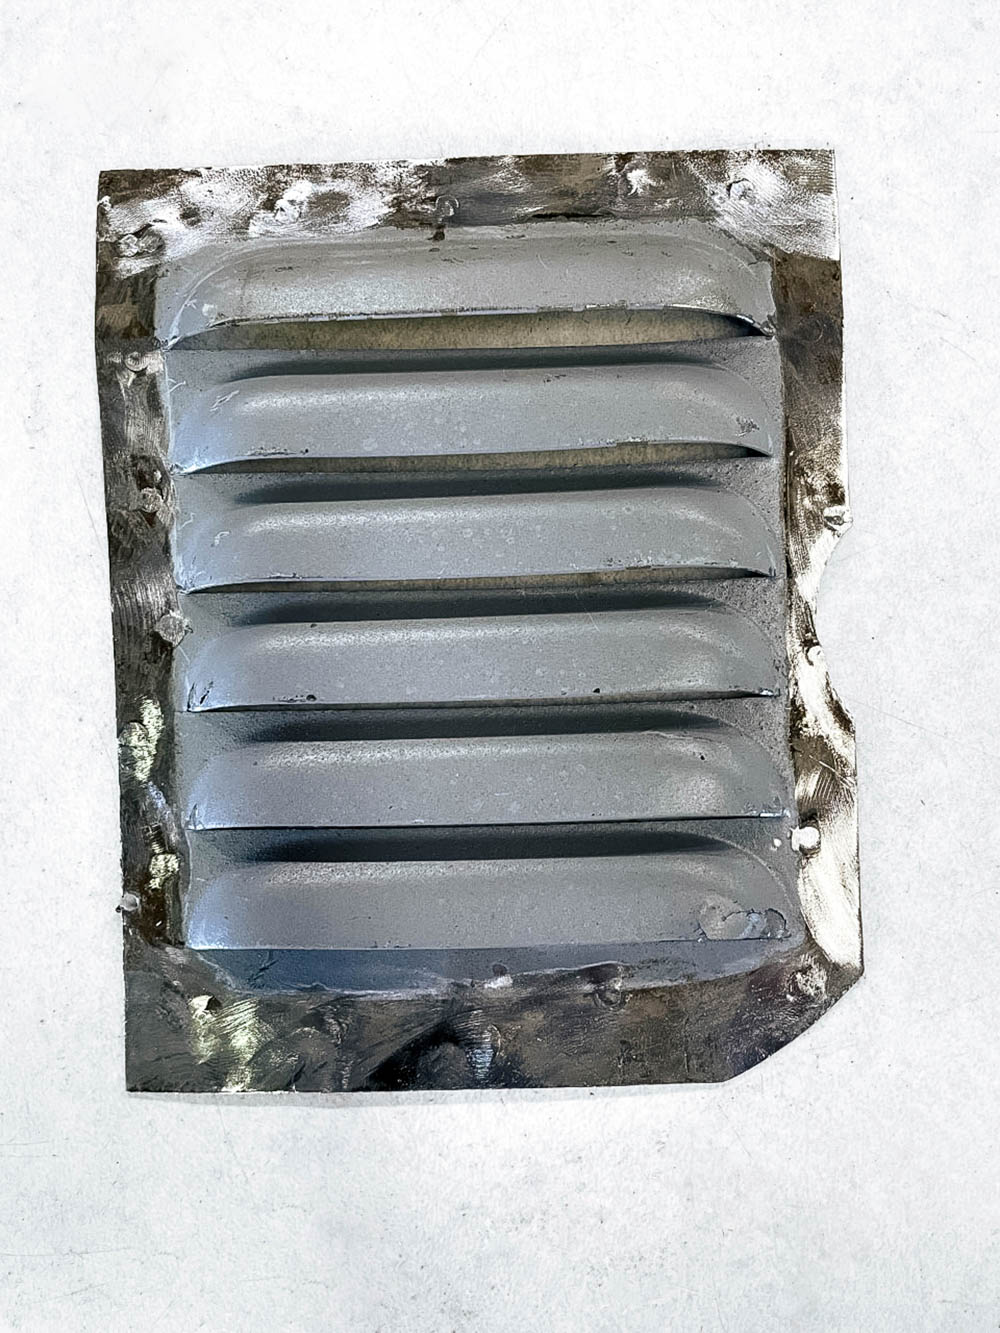
Engine bay panels and front superleggera
framework primed
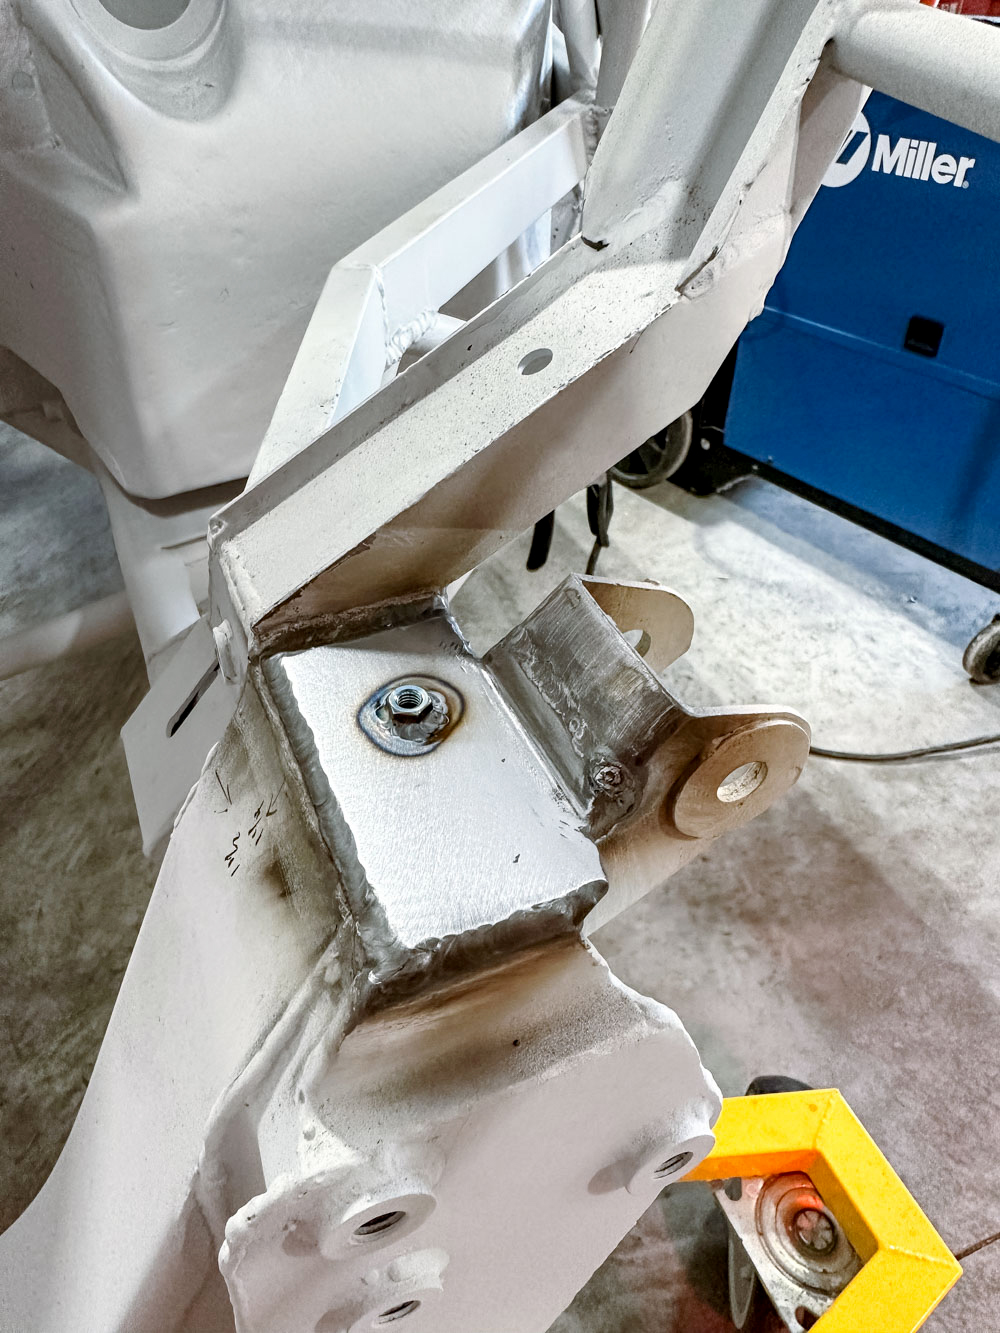
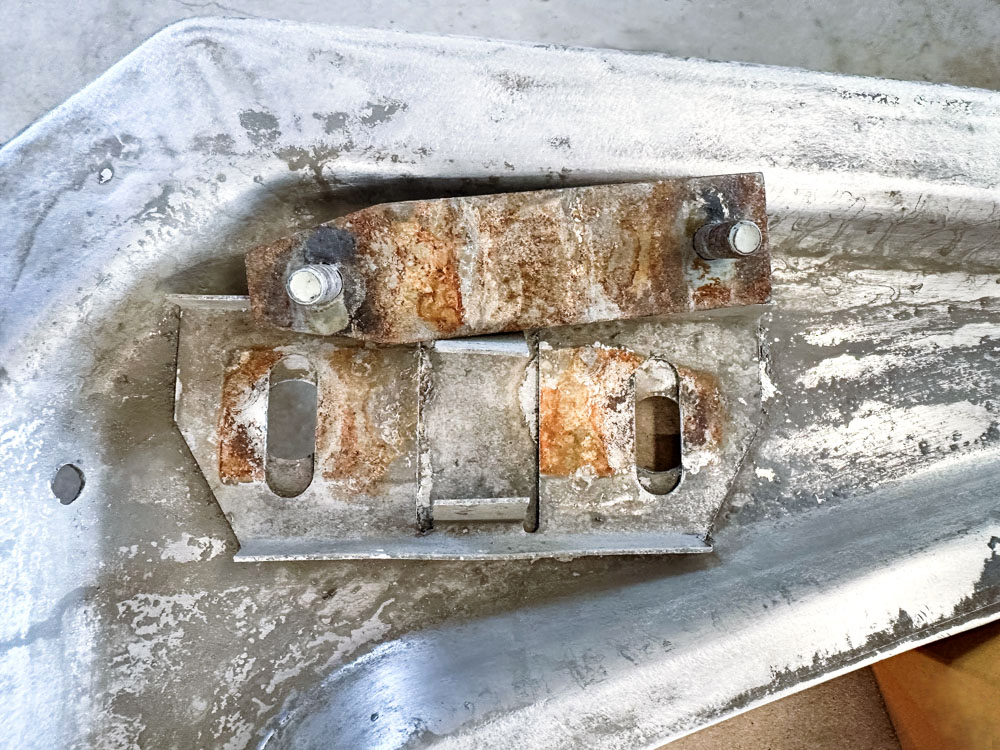
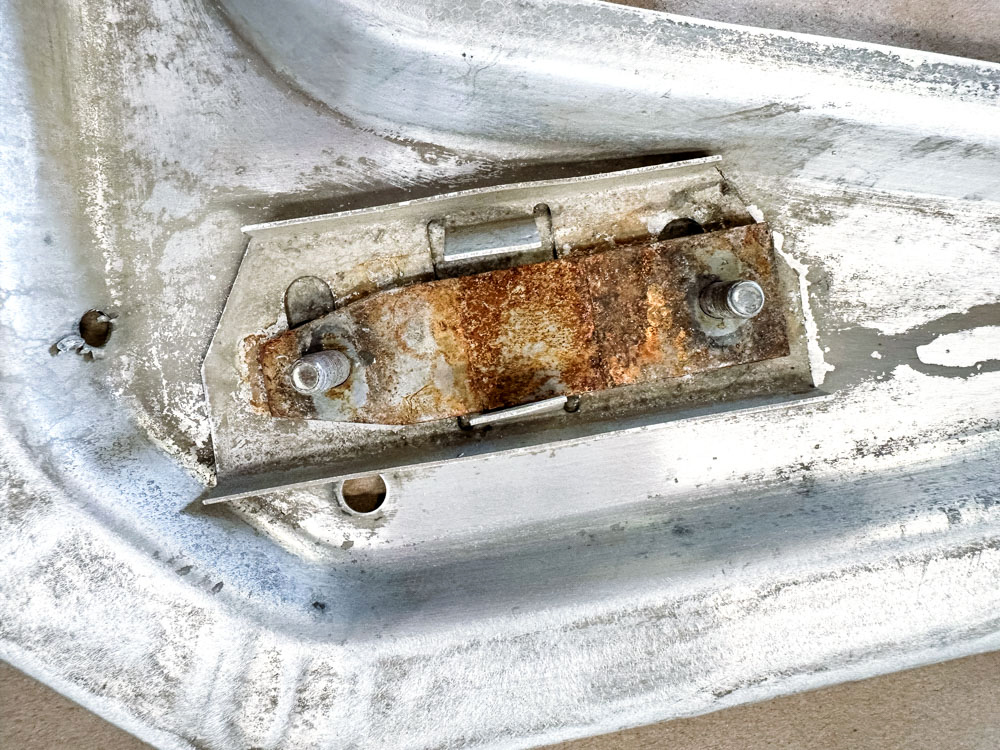
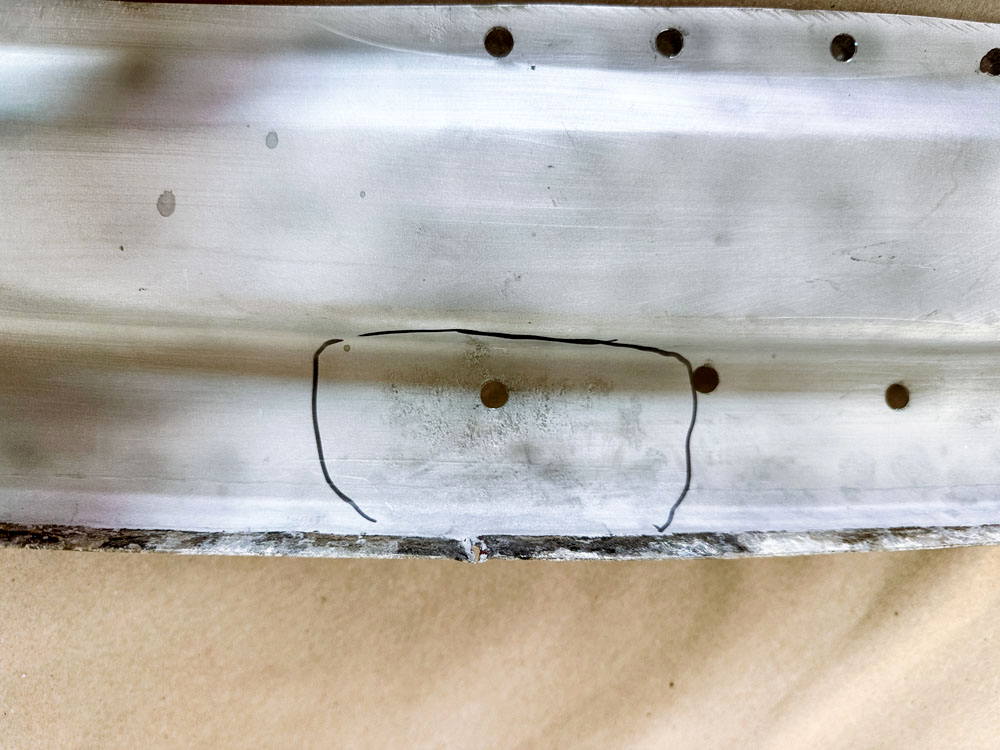
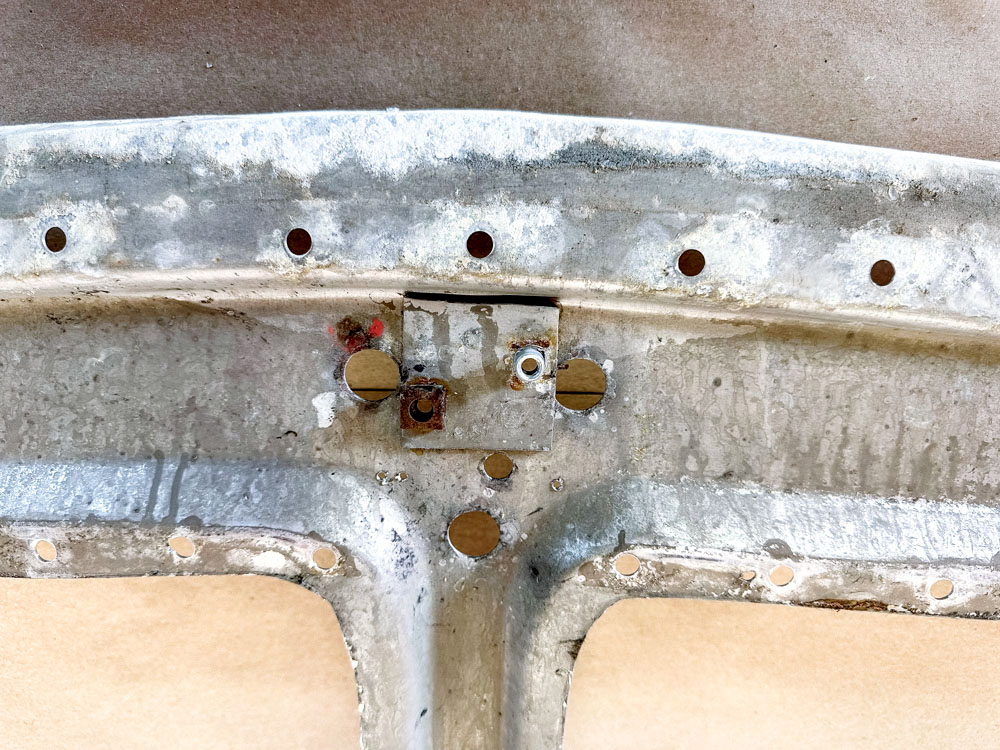
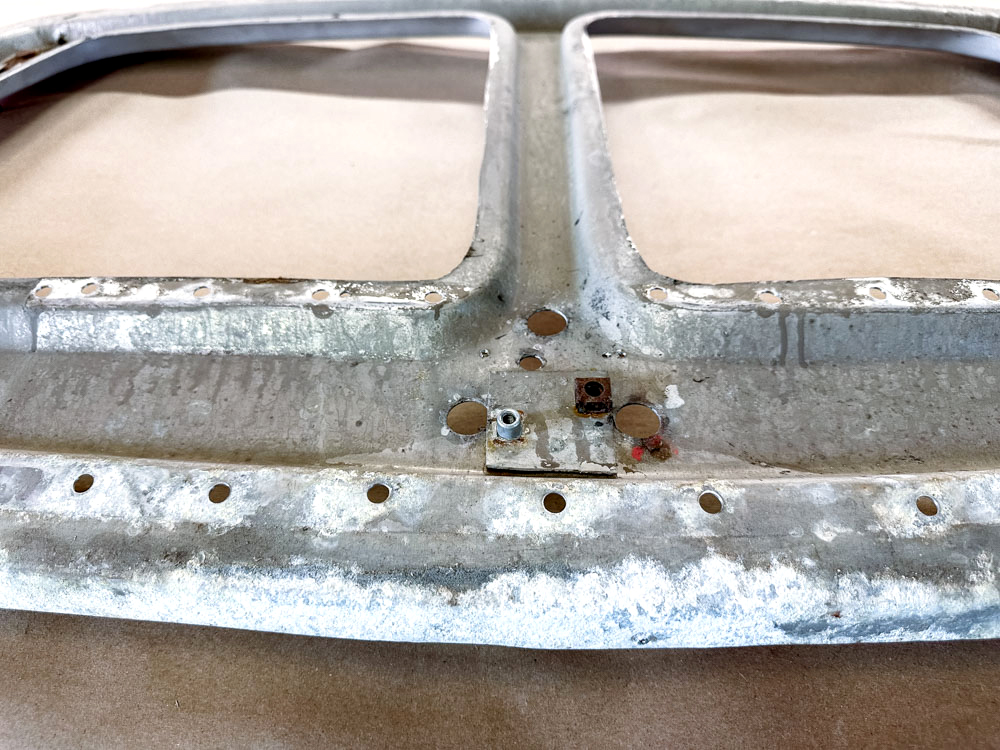
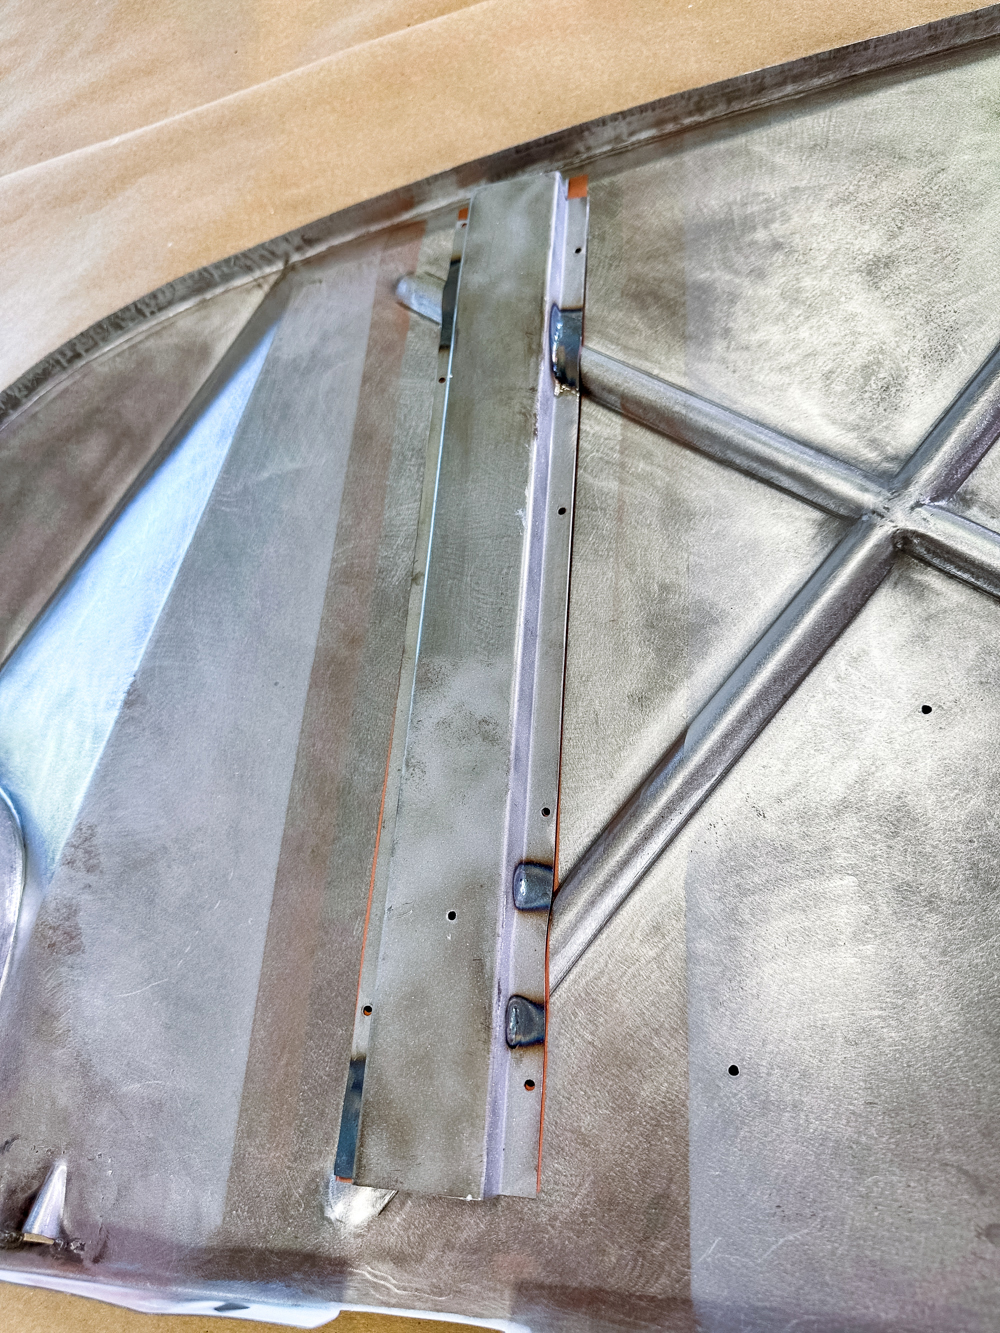
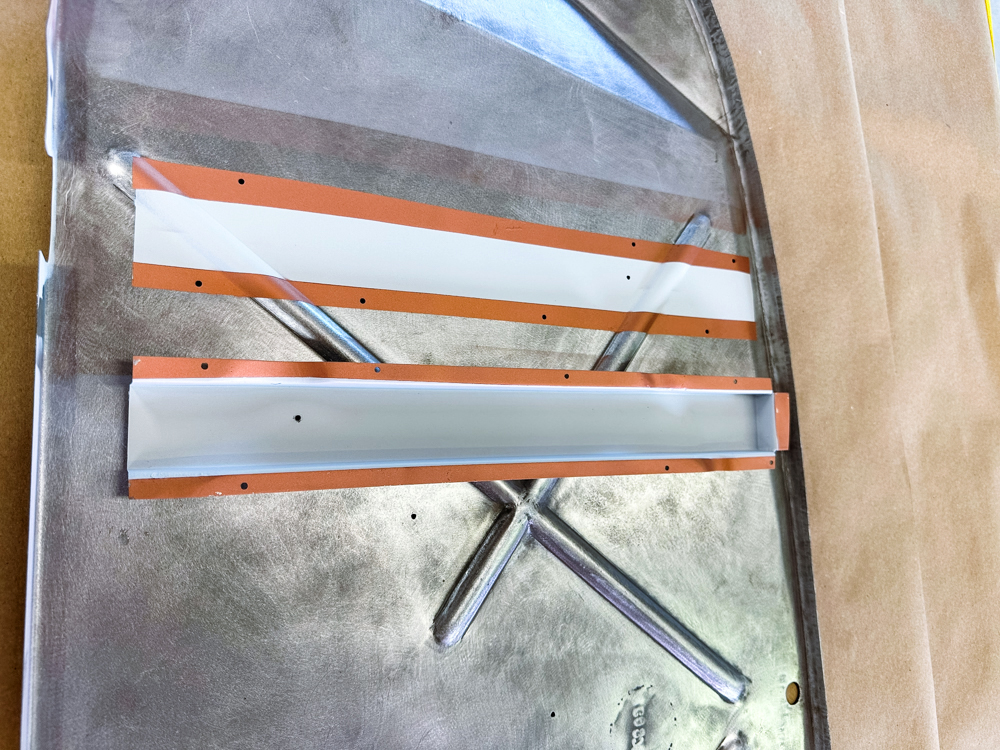
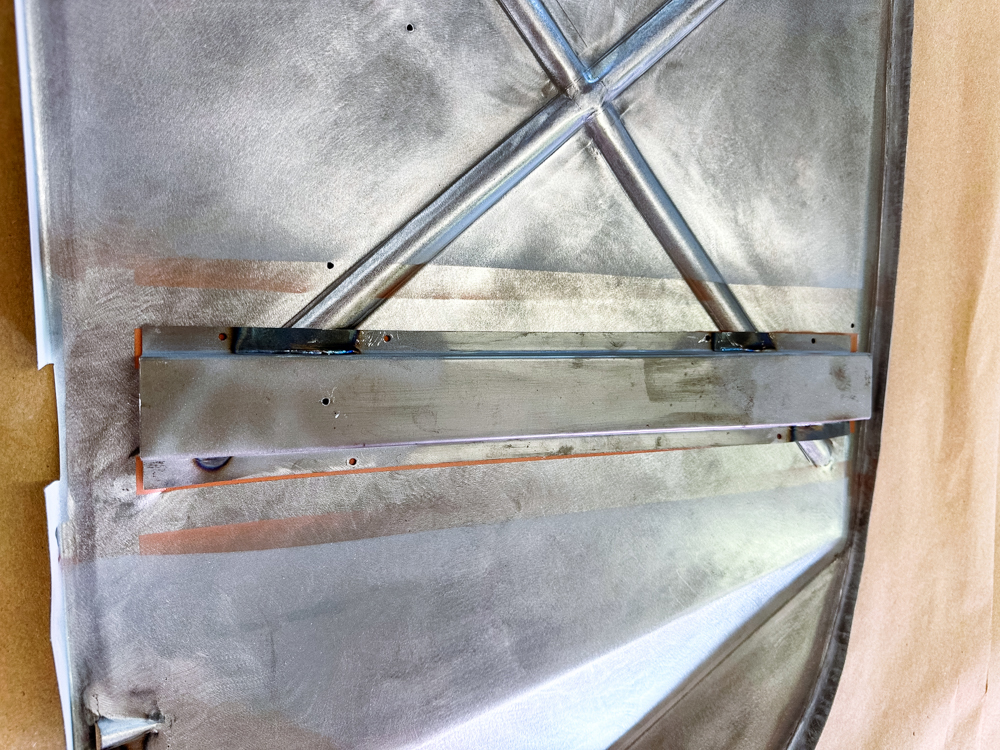
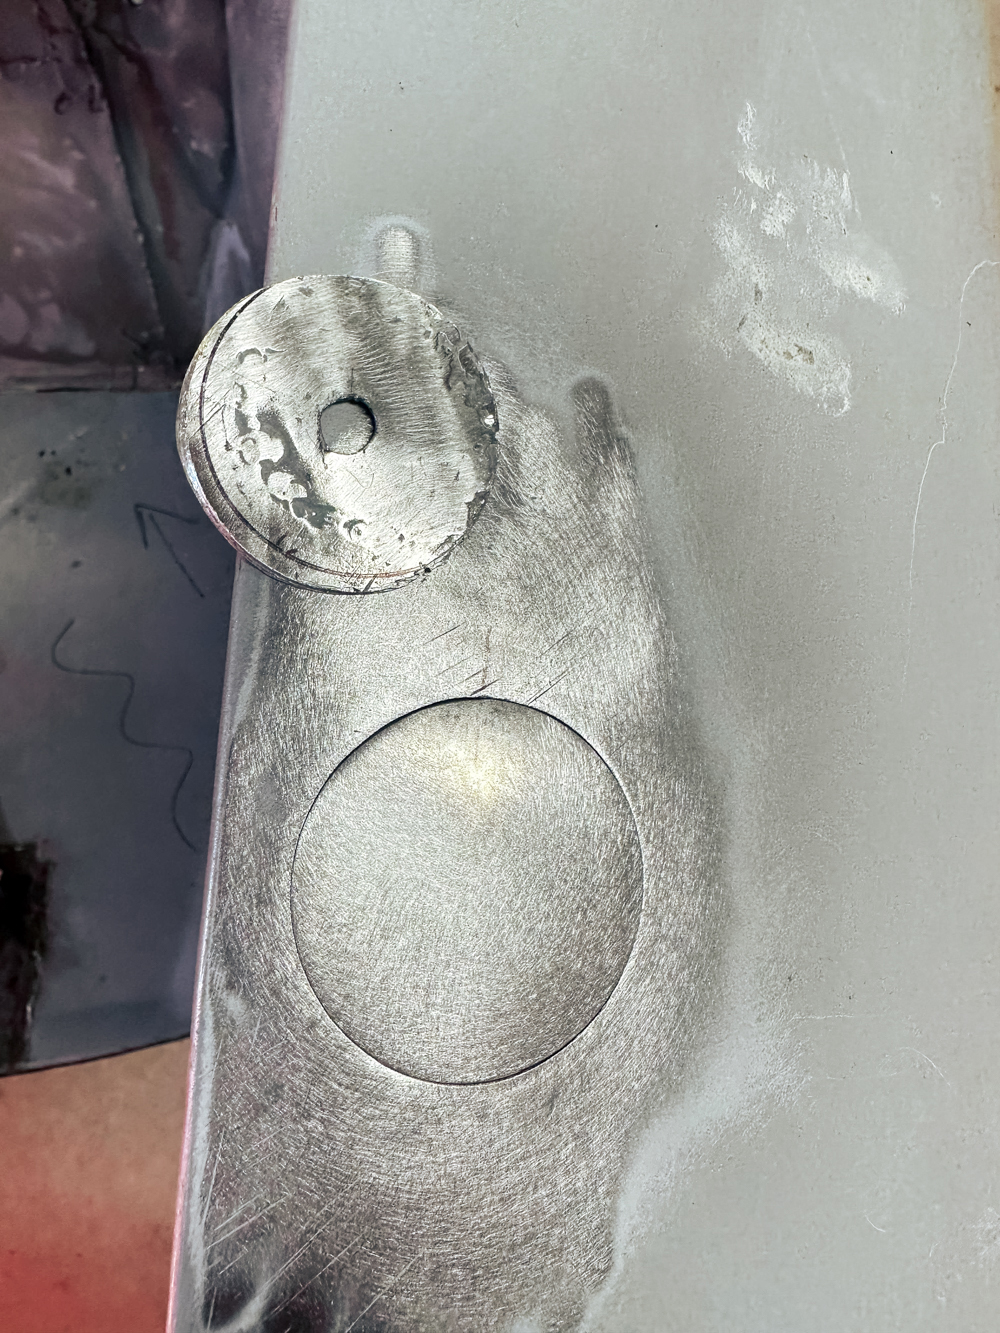
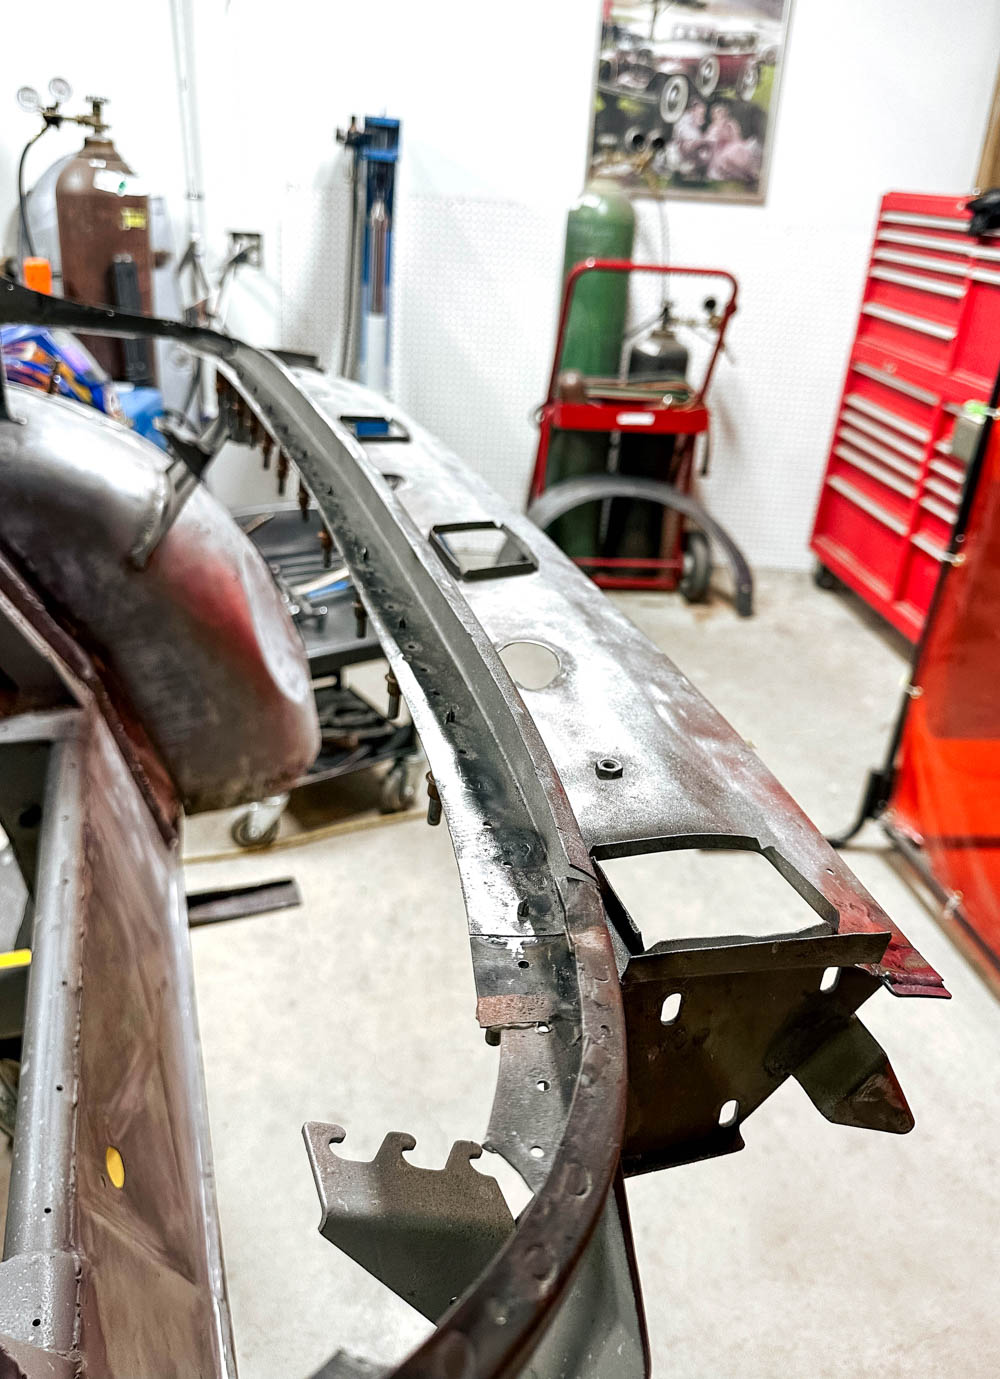
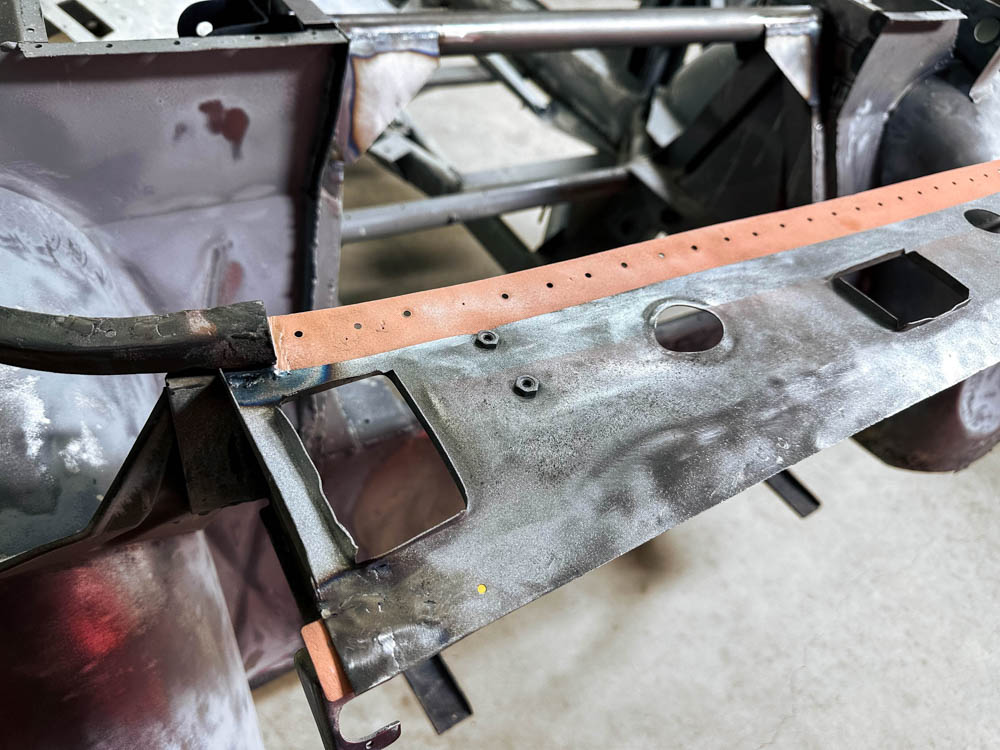
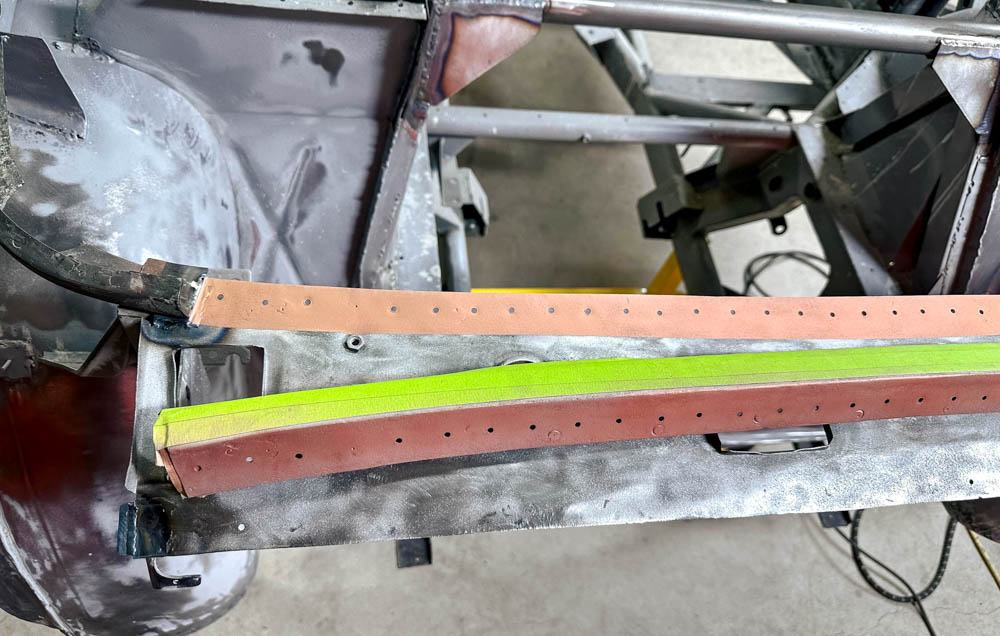
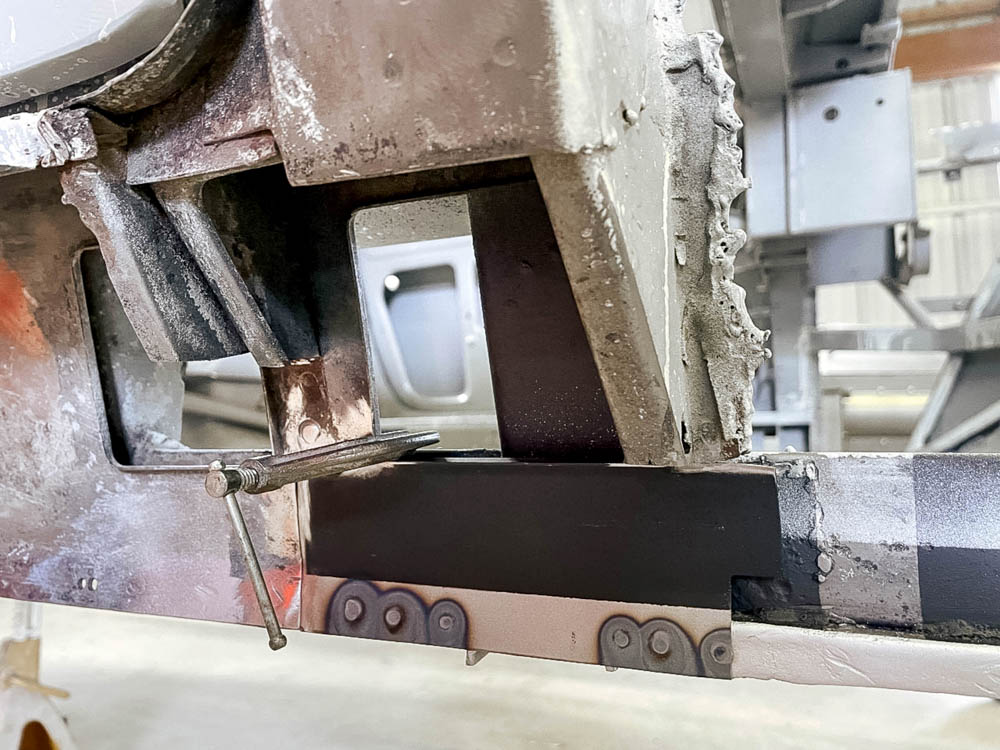
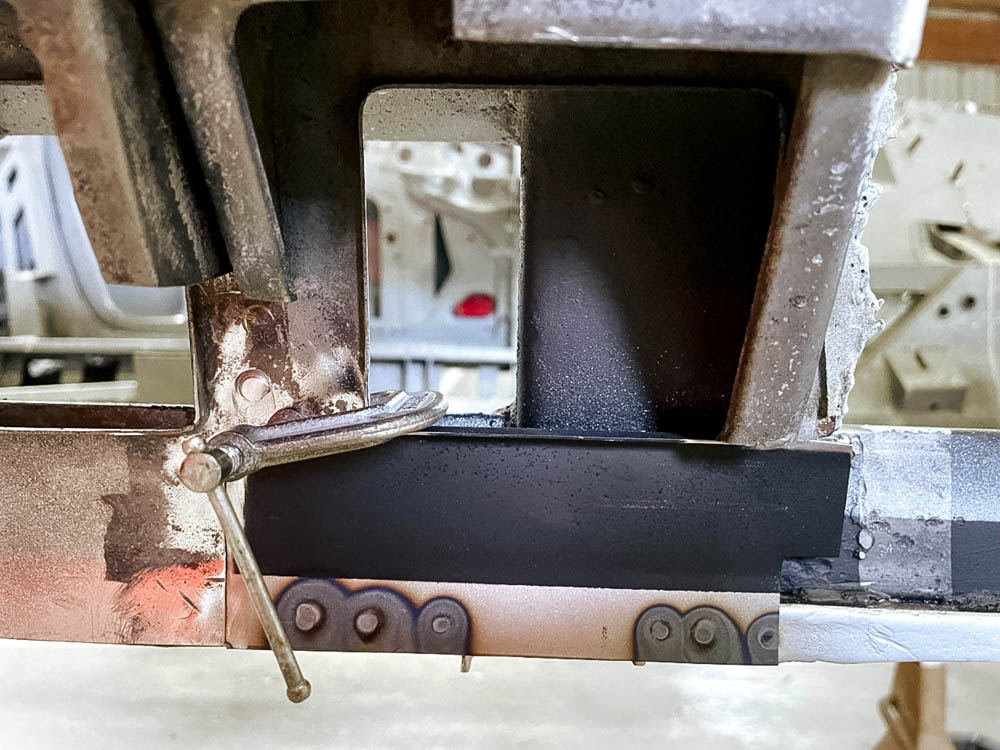
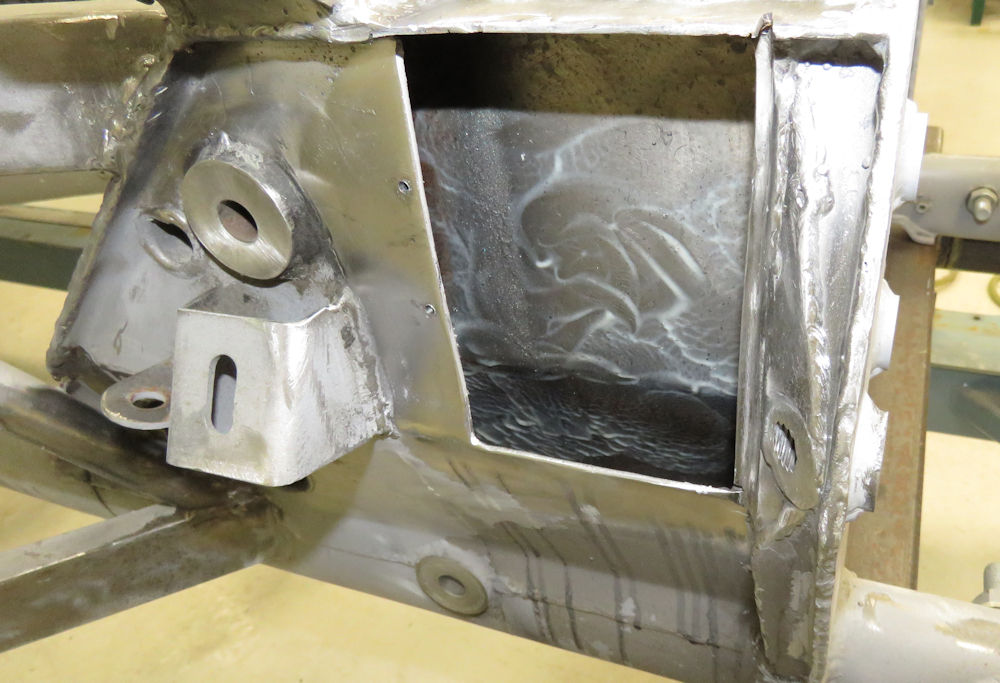
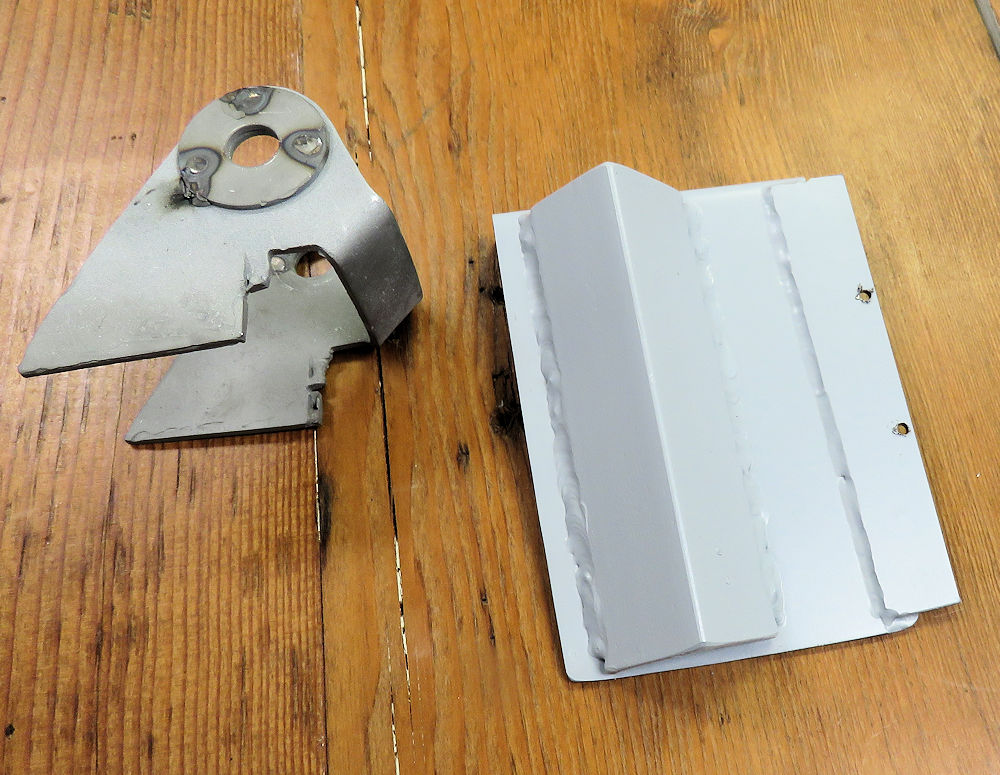
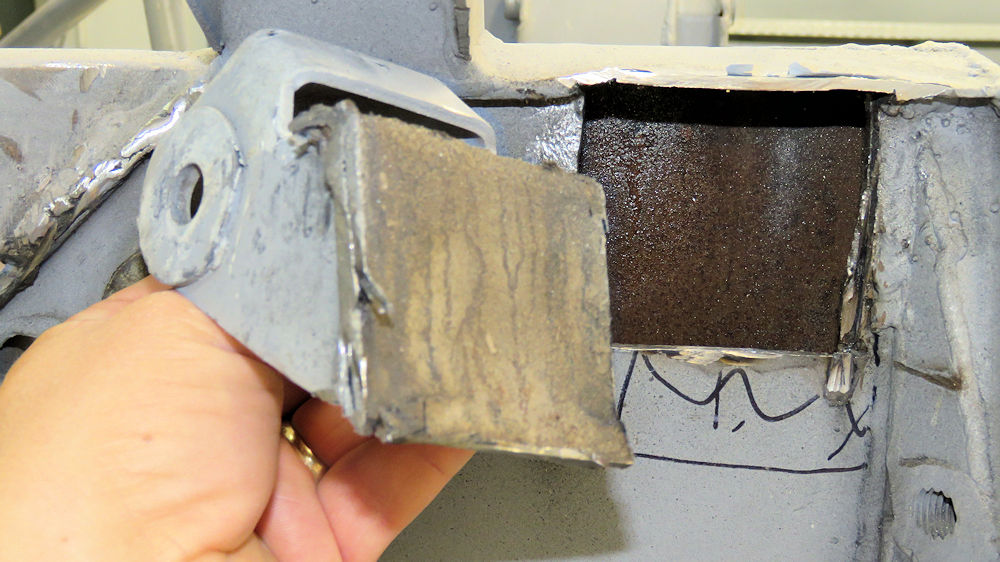
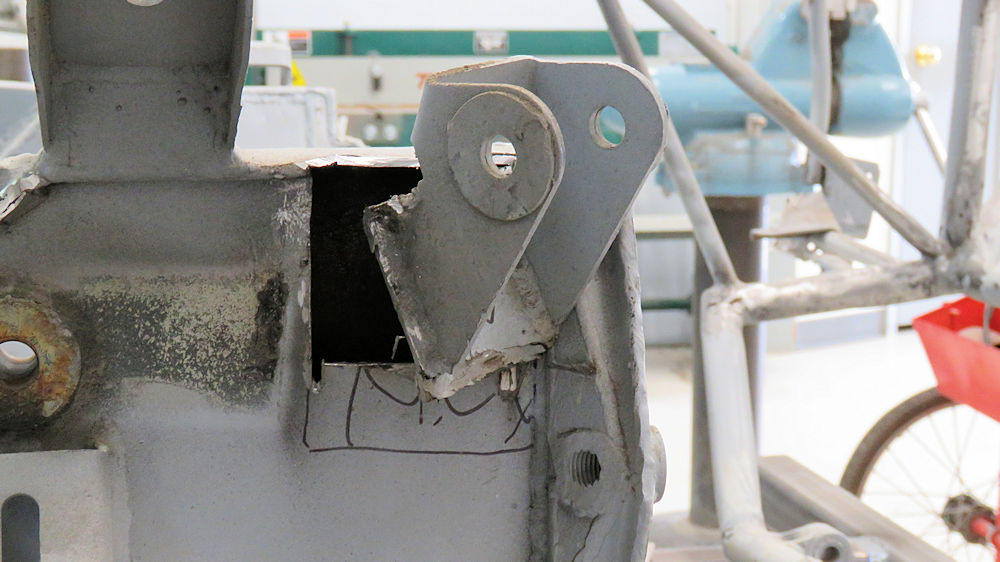
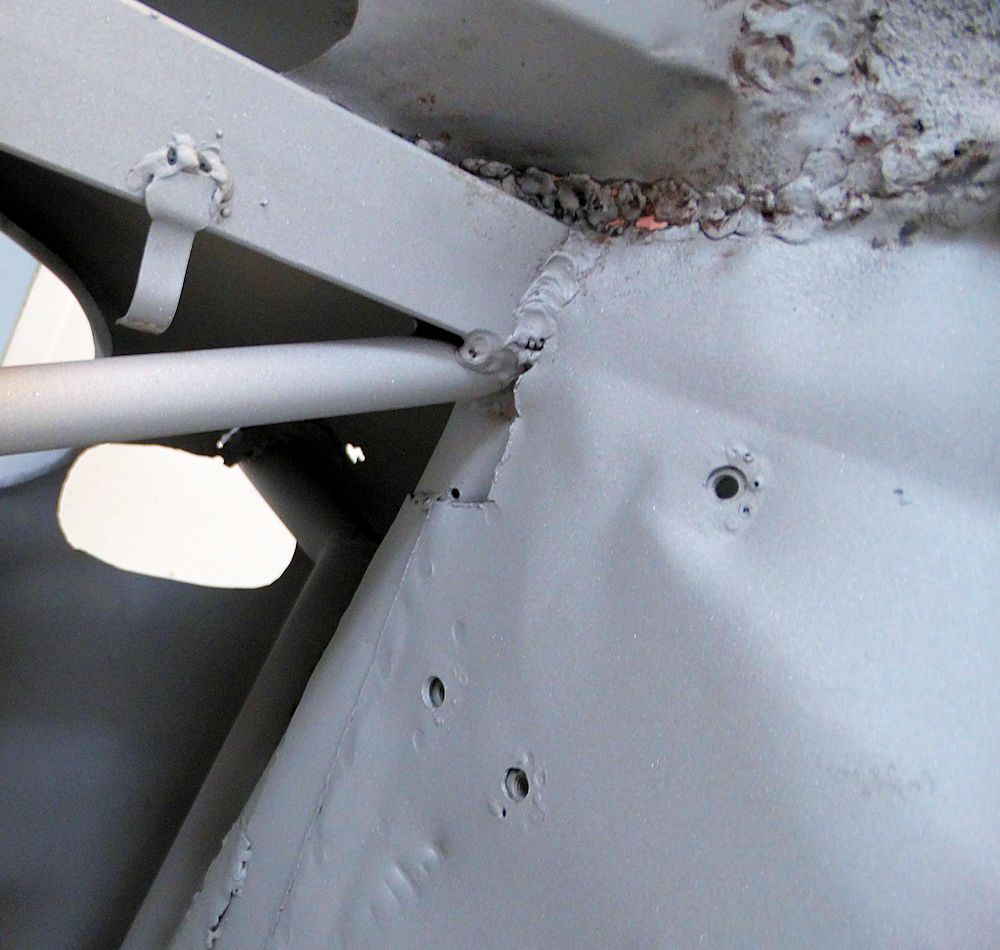
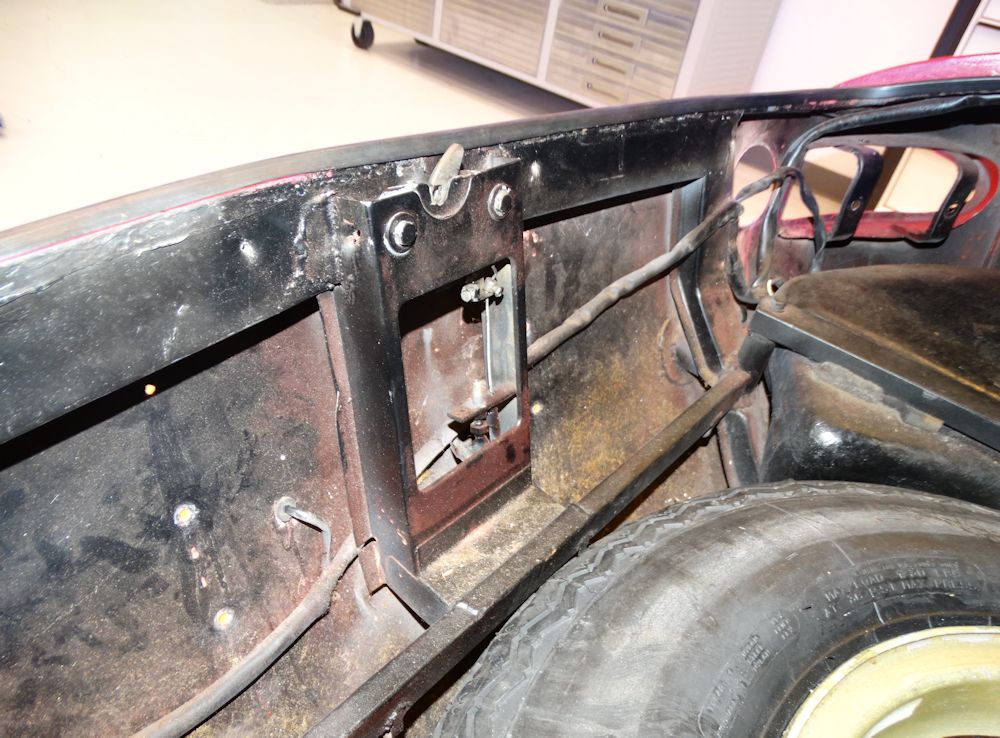
Front bumper mounts and nose panel mounts
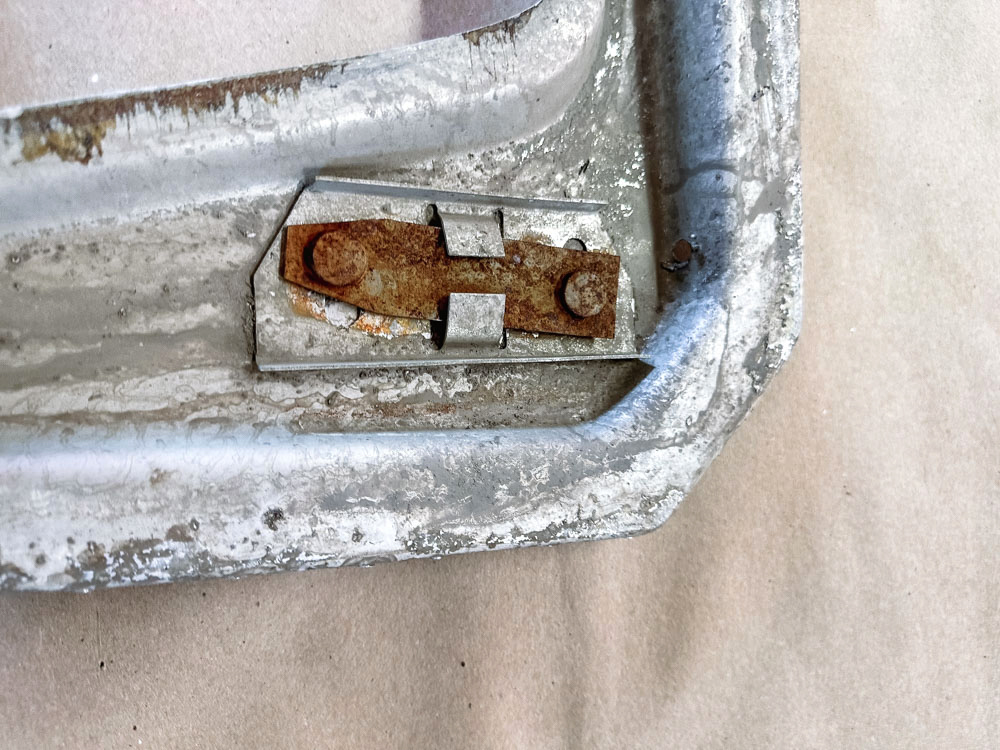
Nose panel mounting bracket
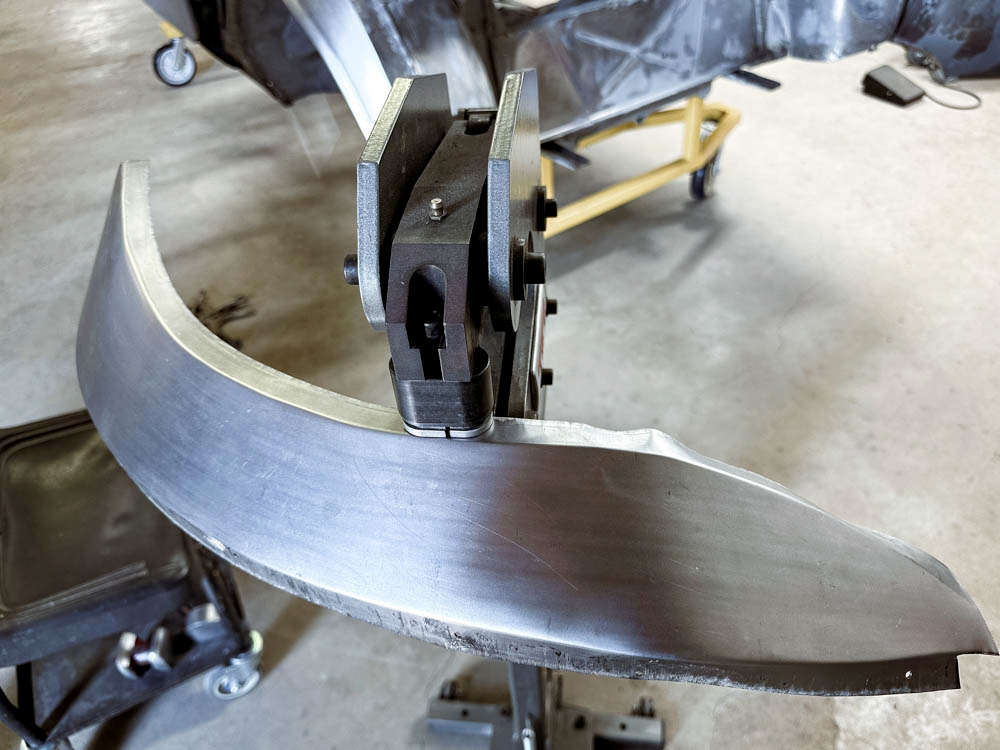
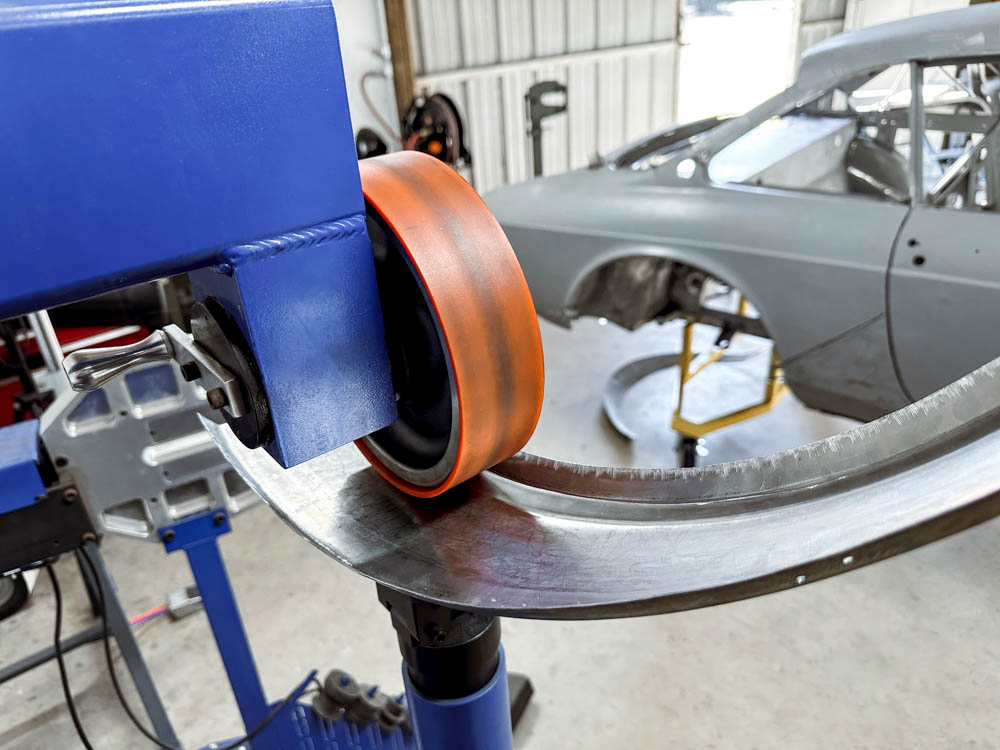
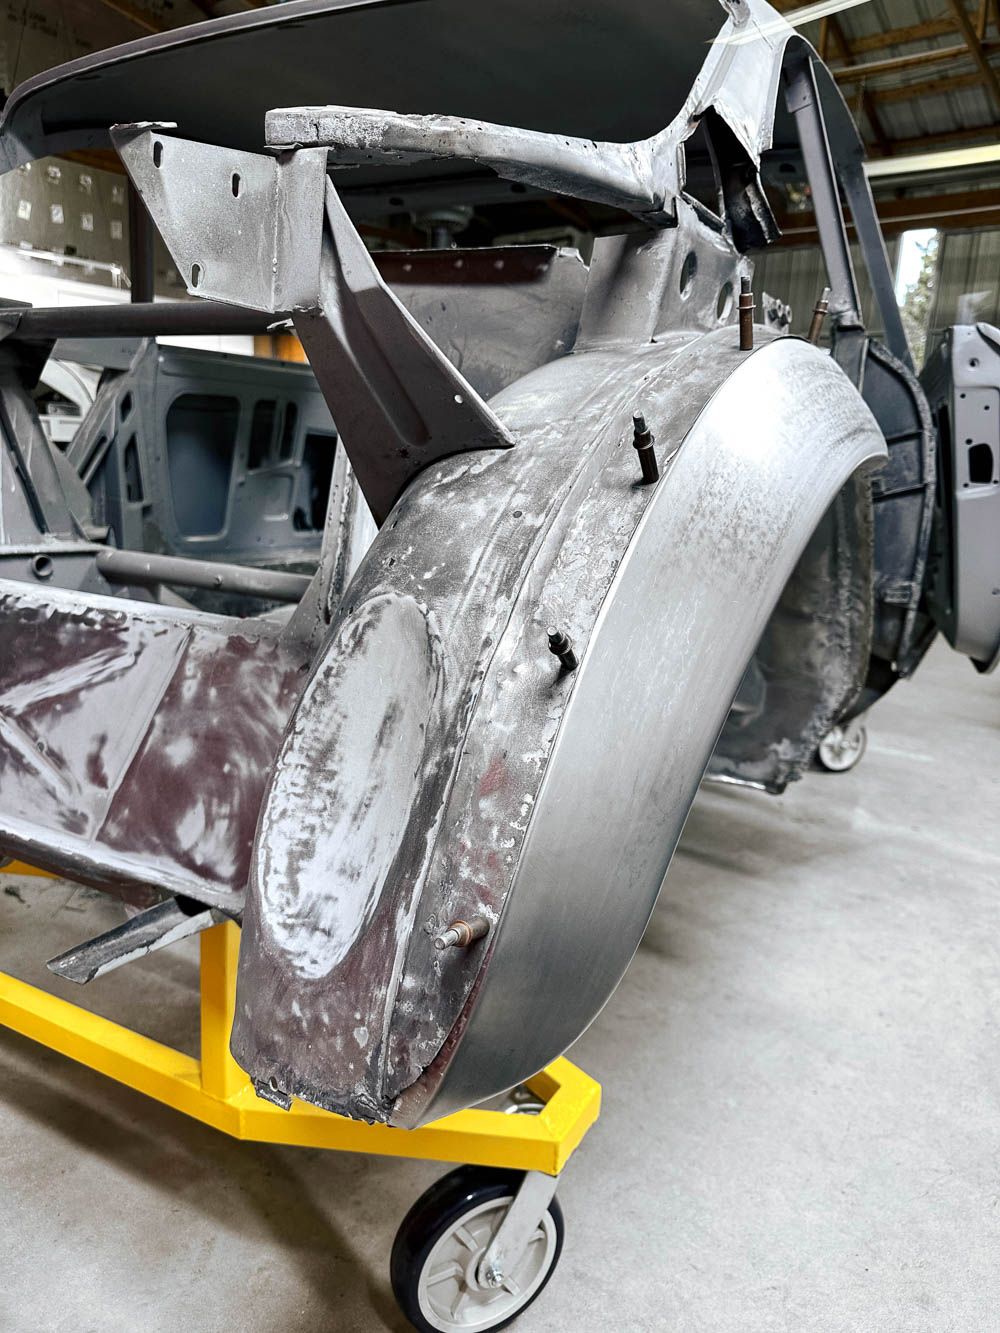
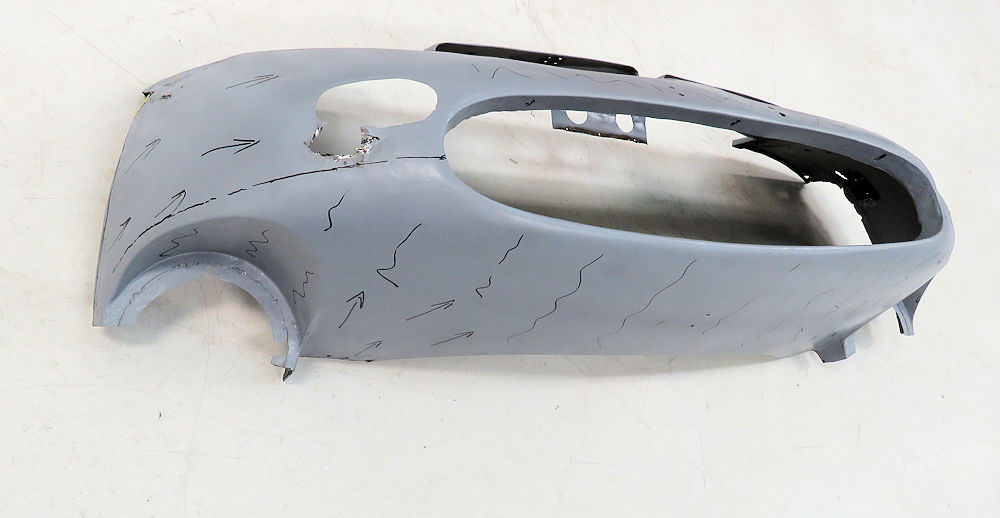
Final fitment of front fenders and nose
prior to priming and installation
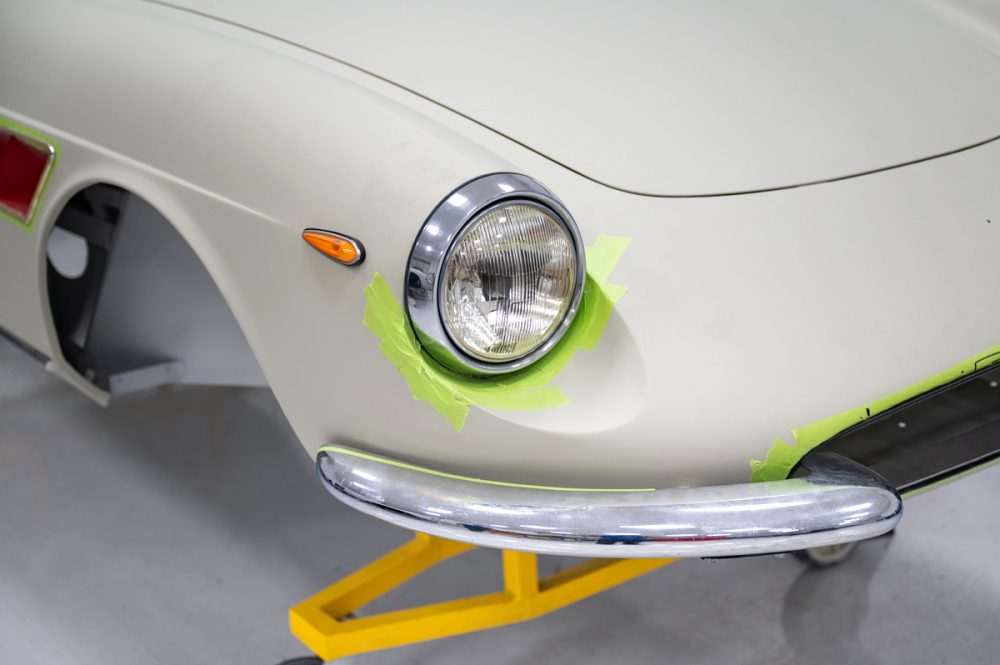
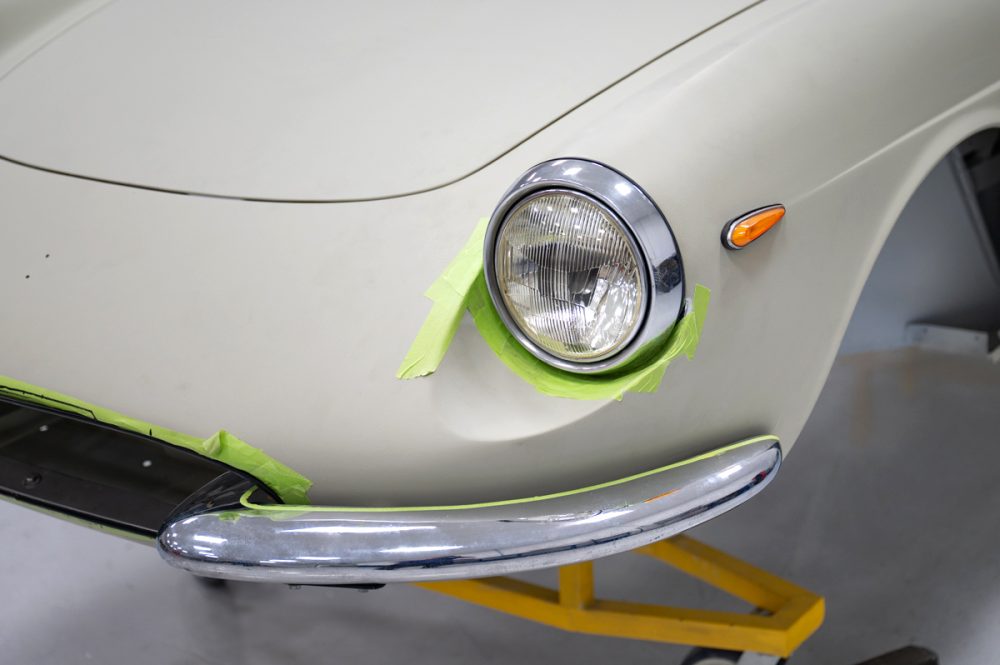
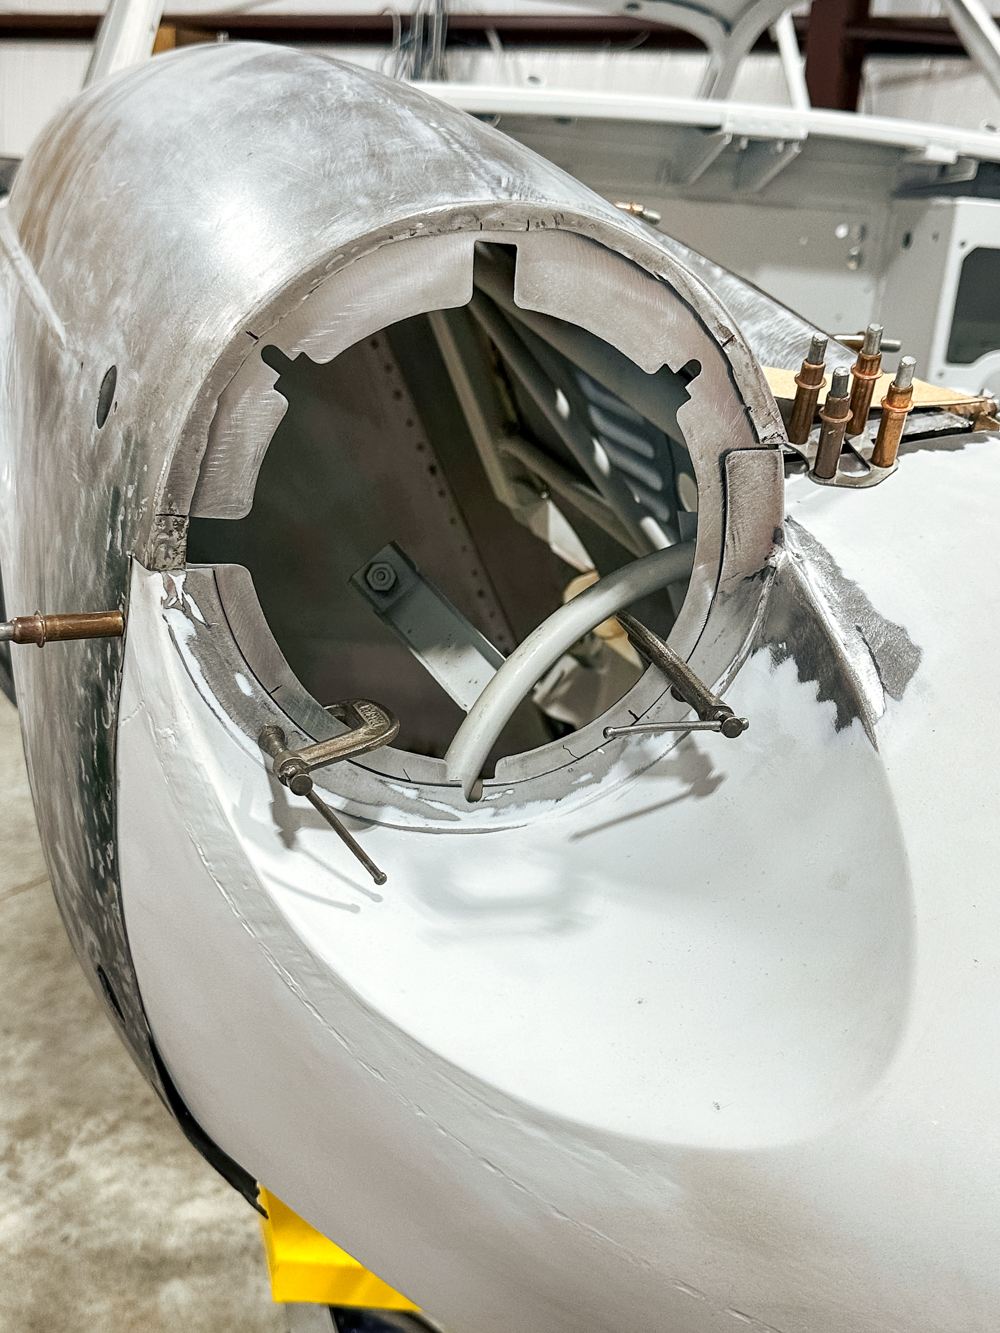
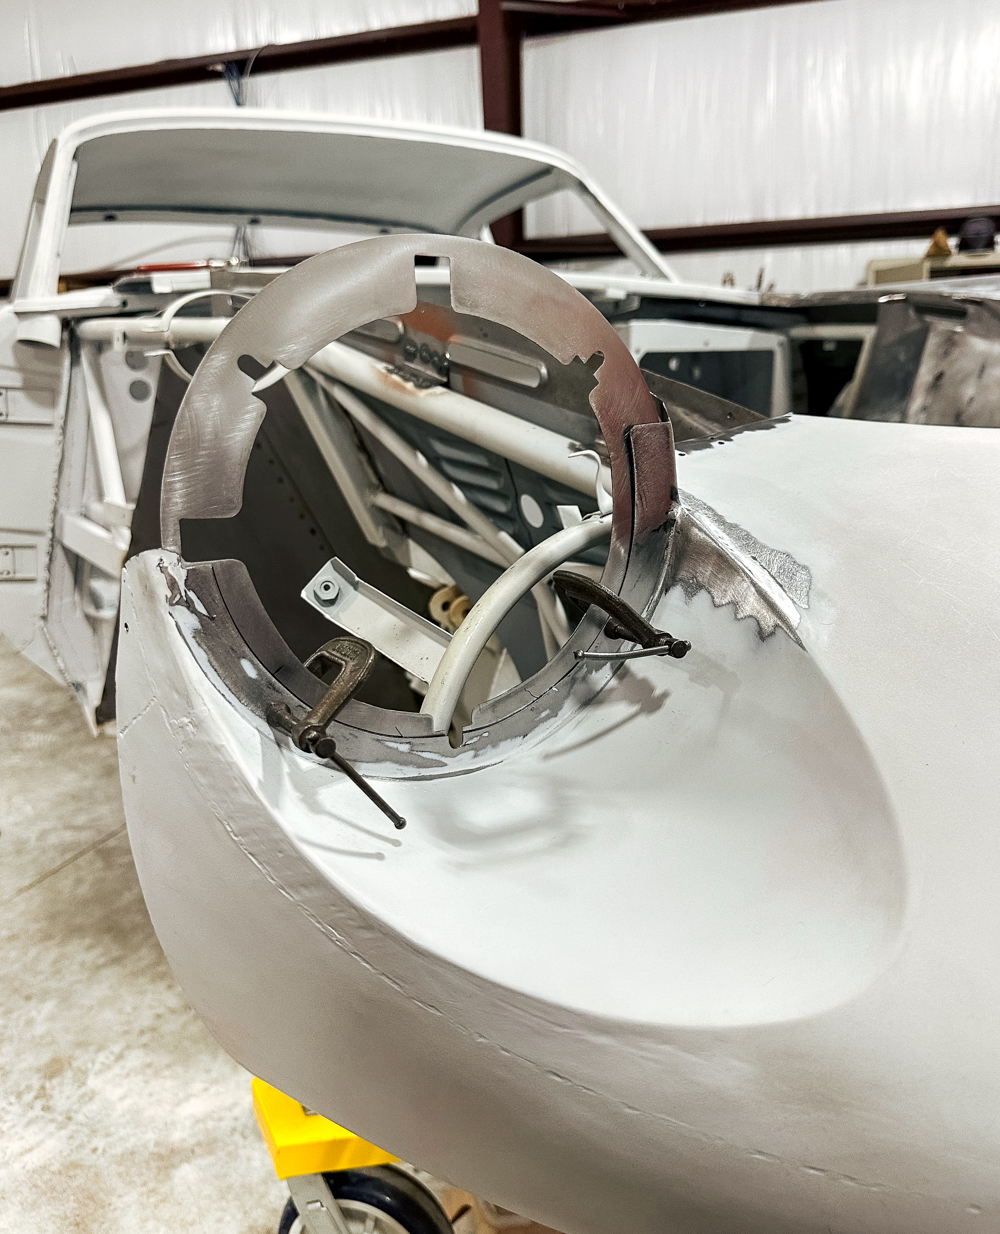
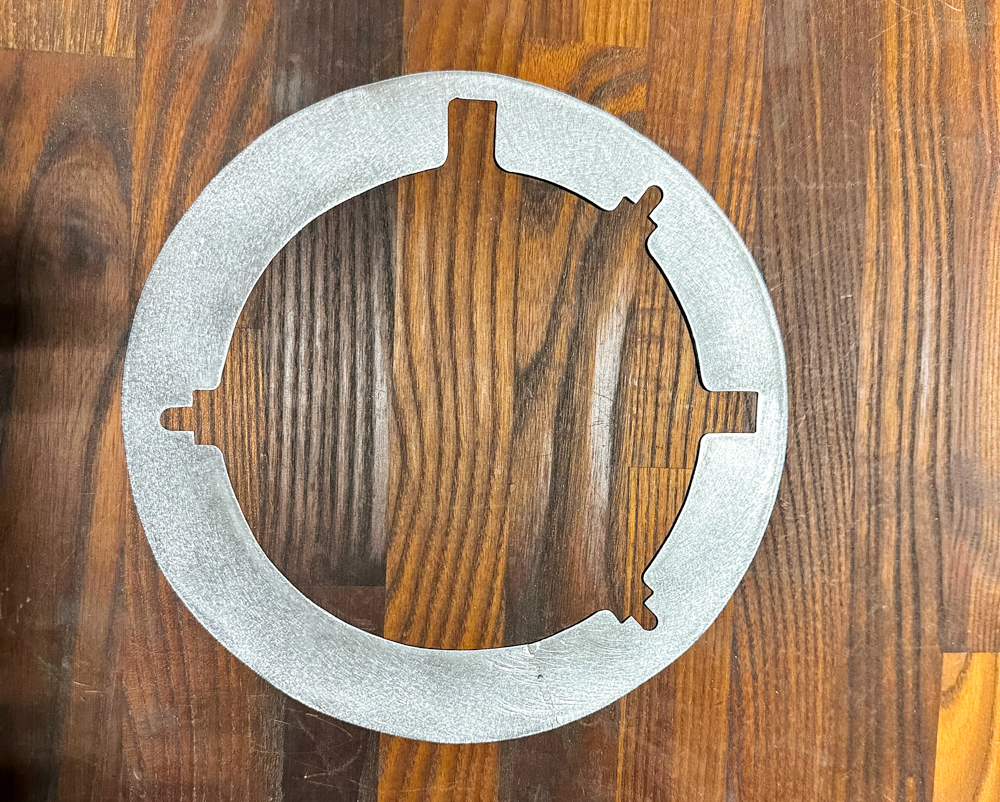
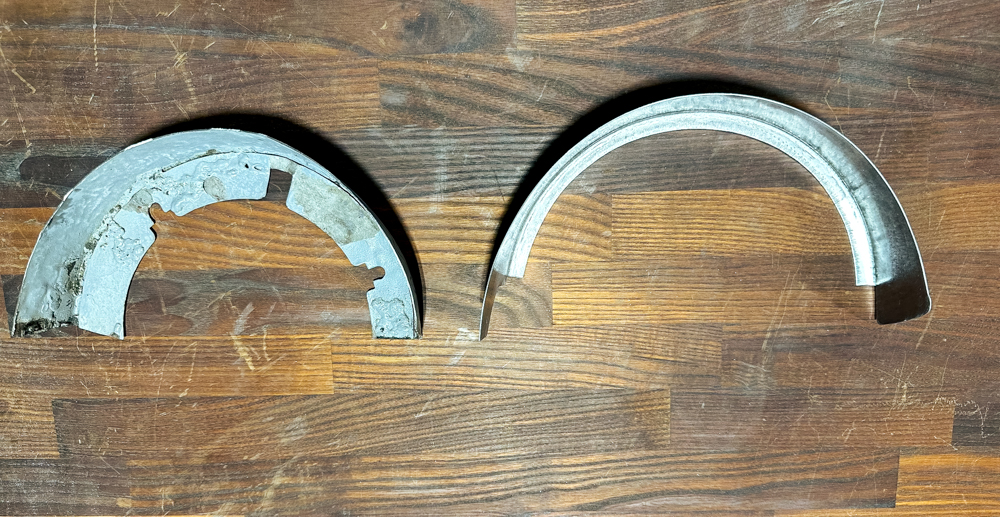
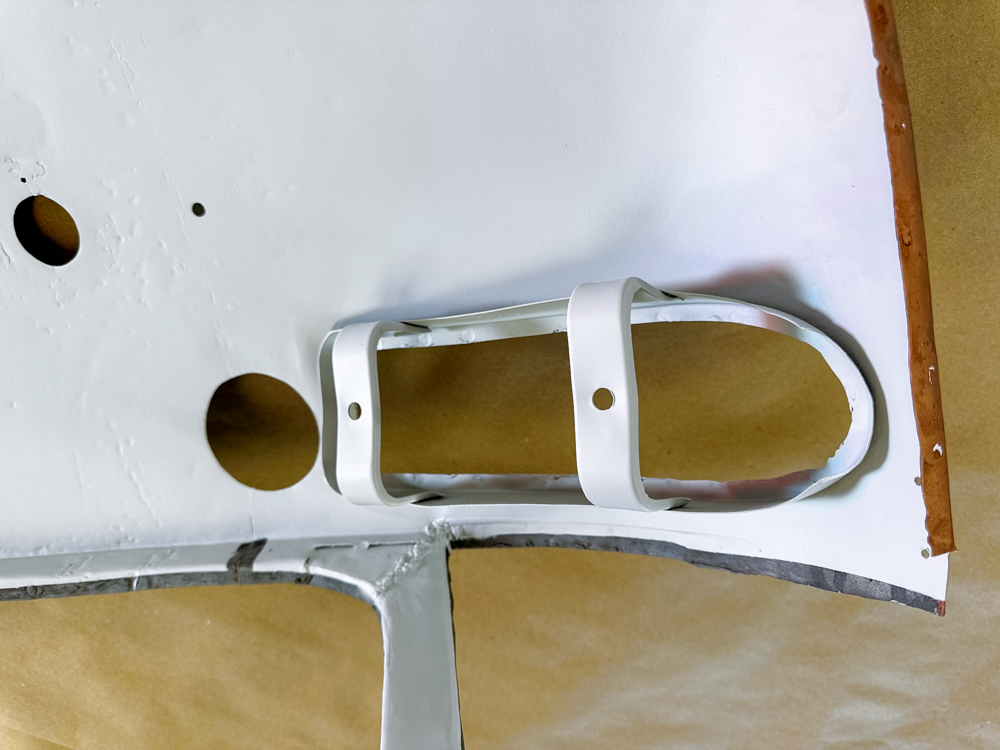
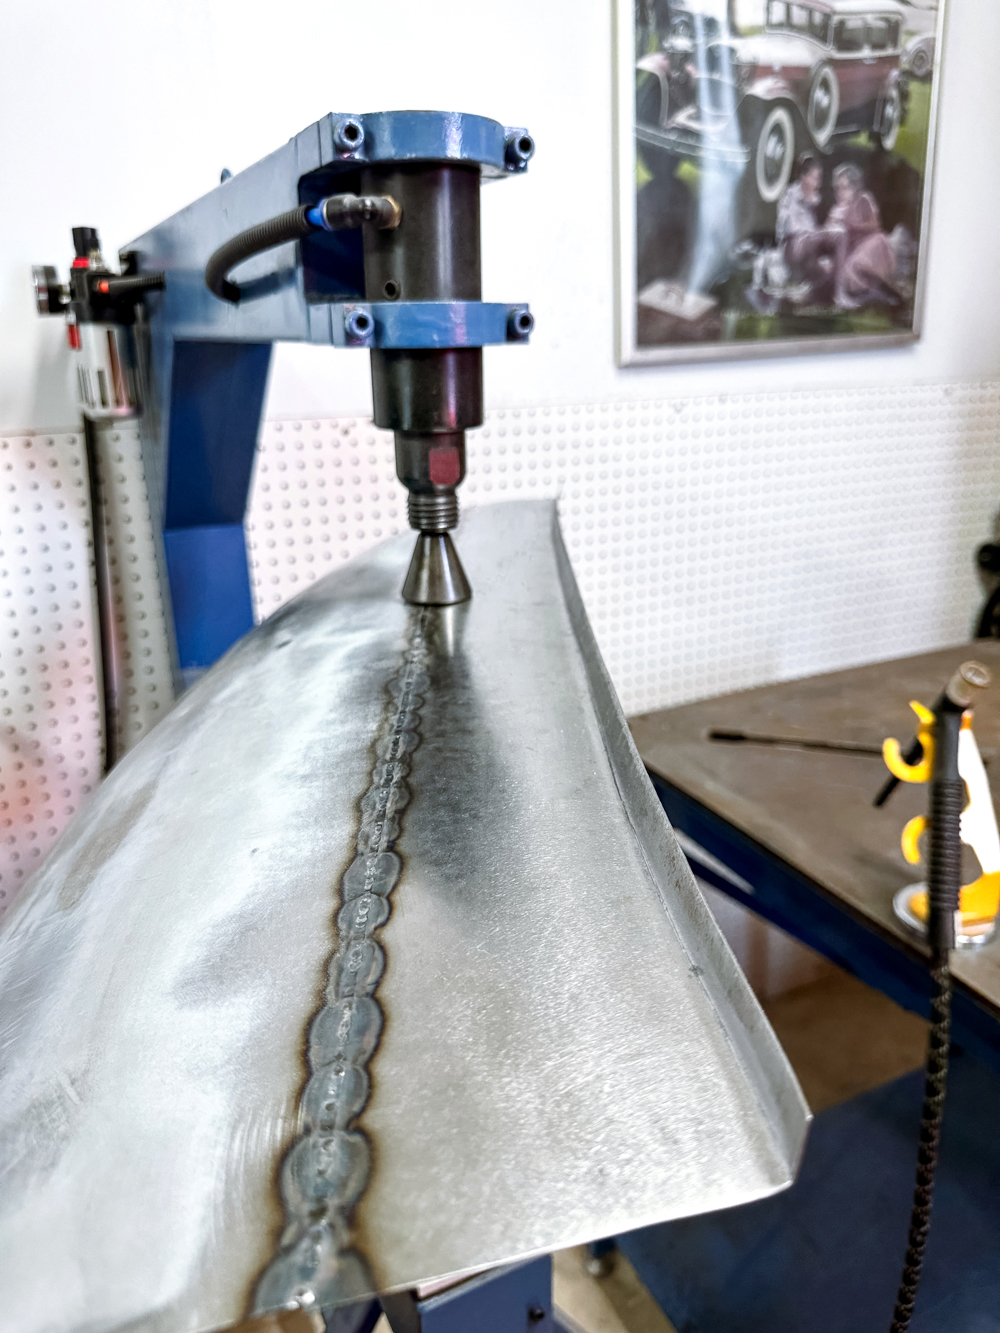
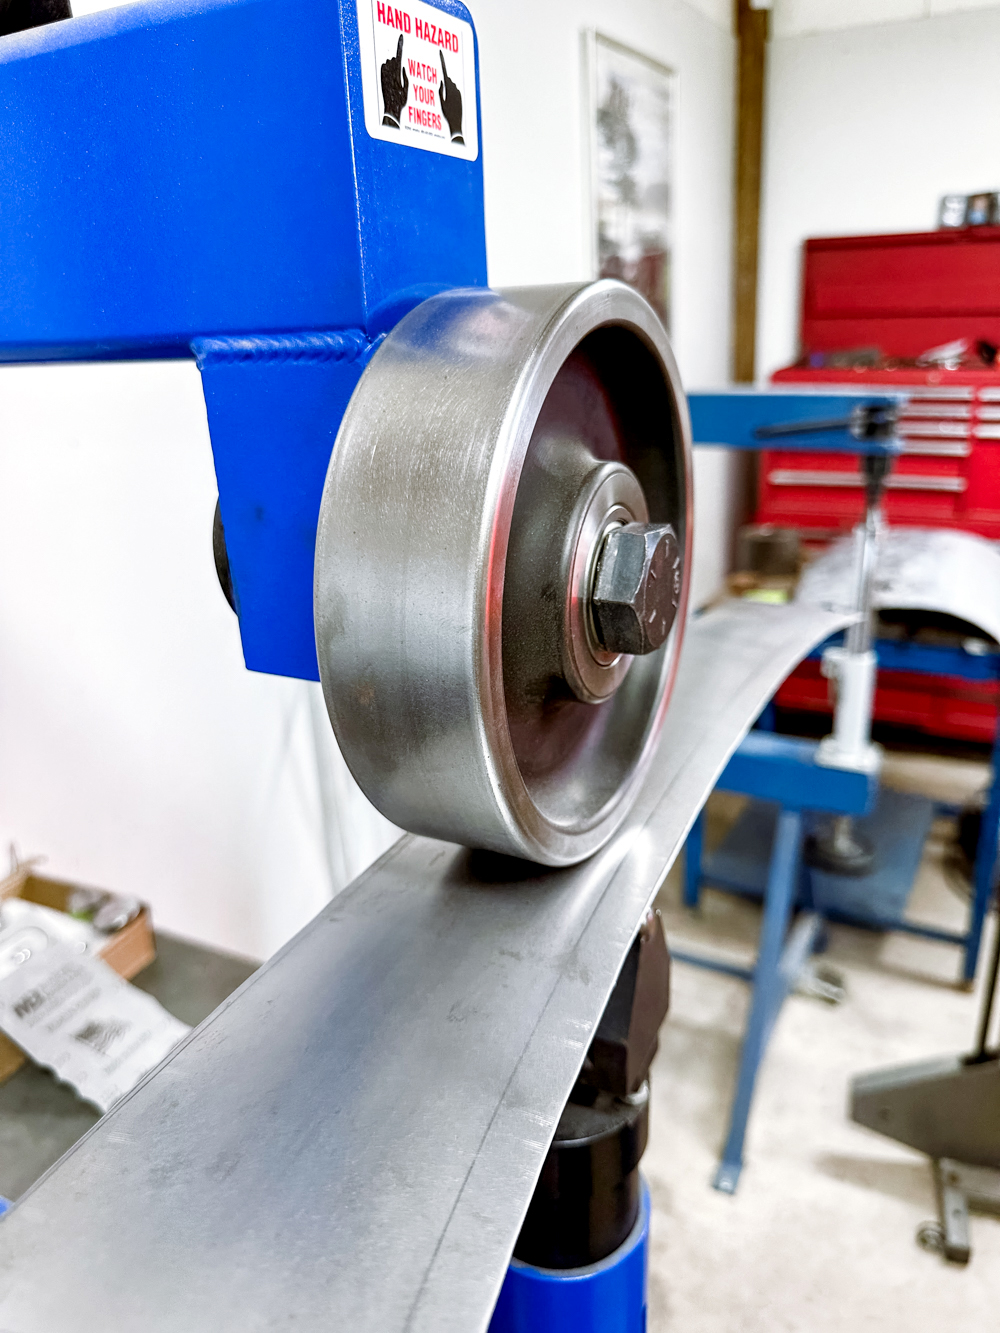
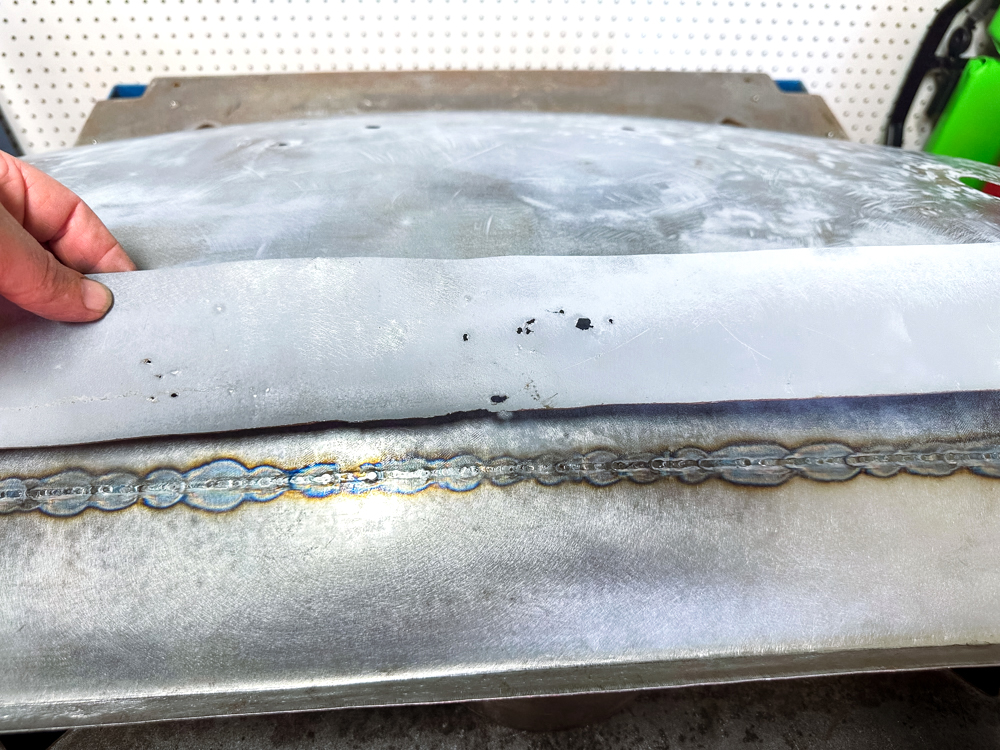
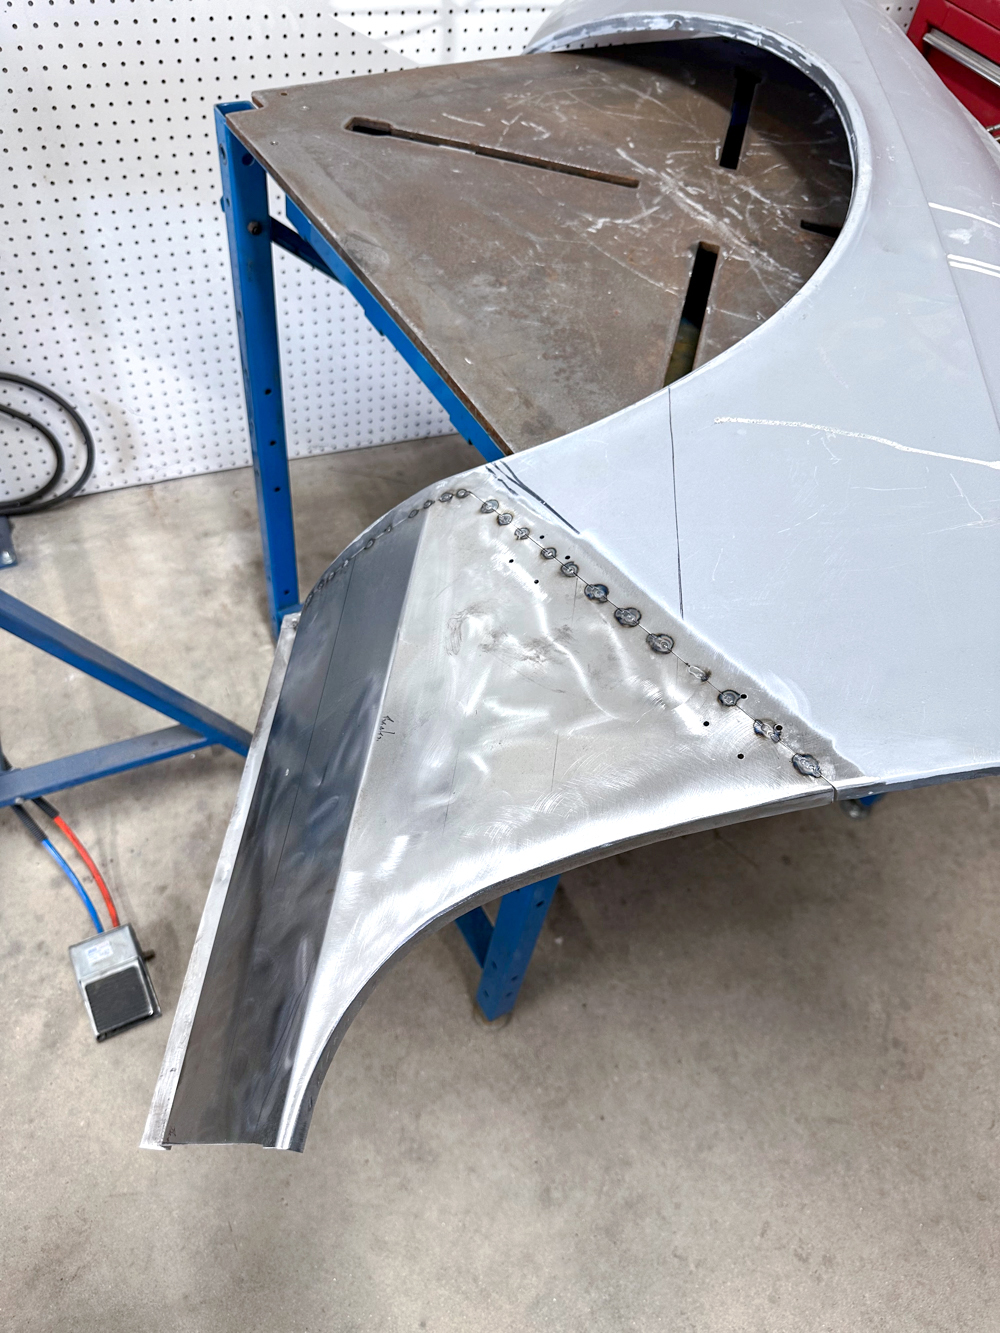
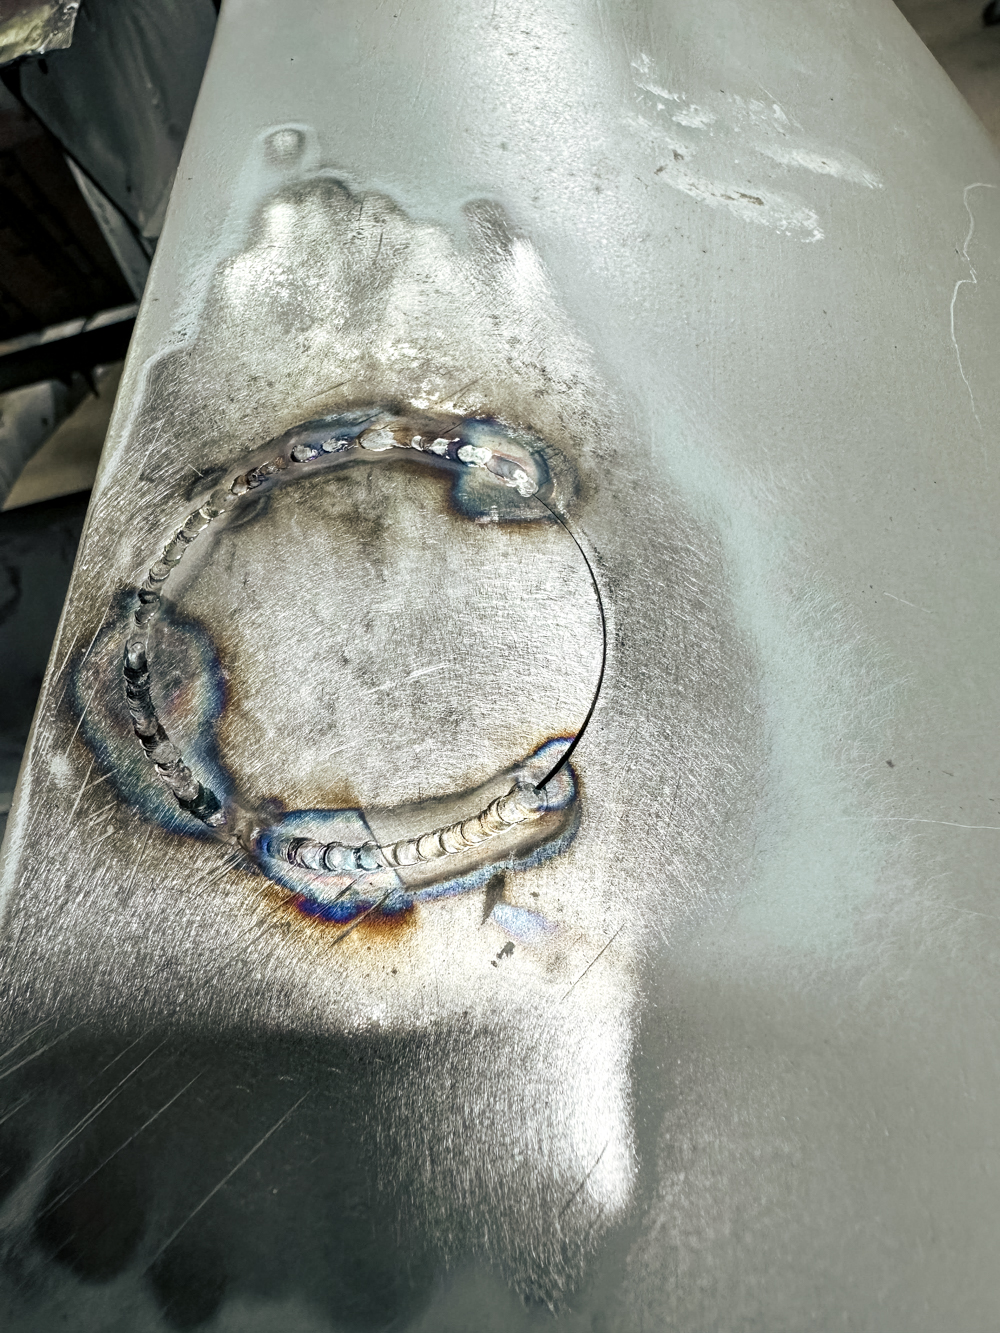
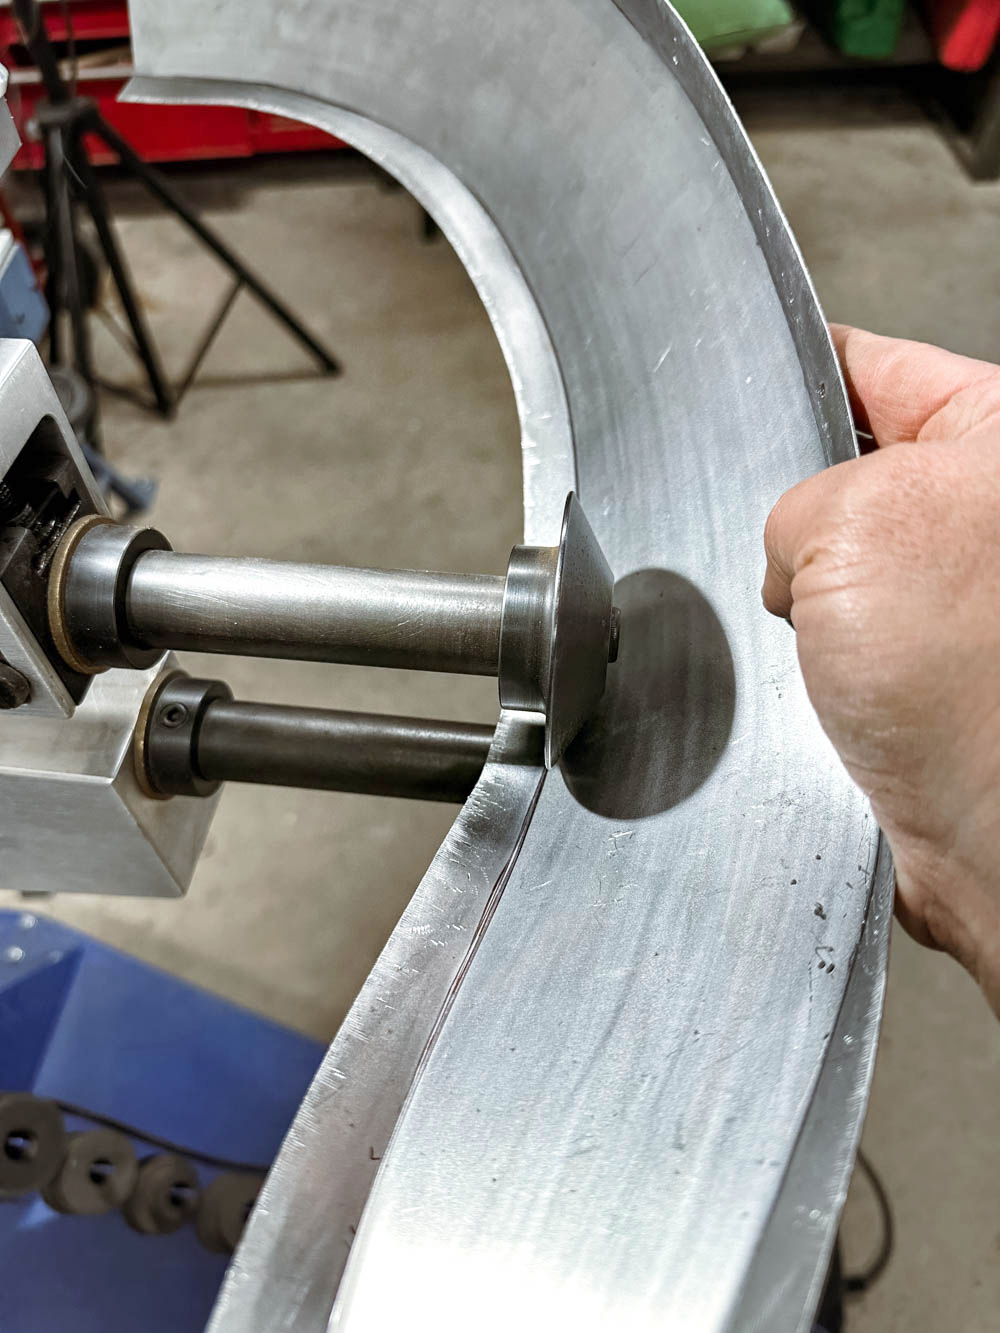
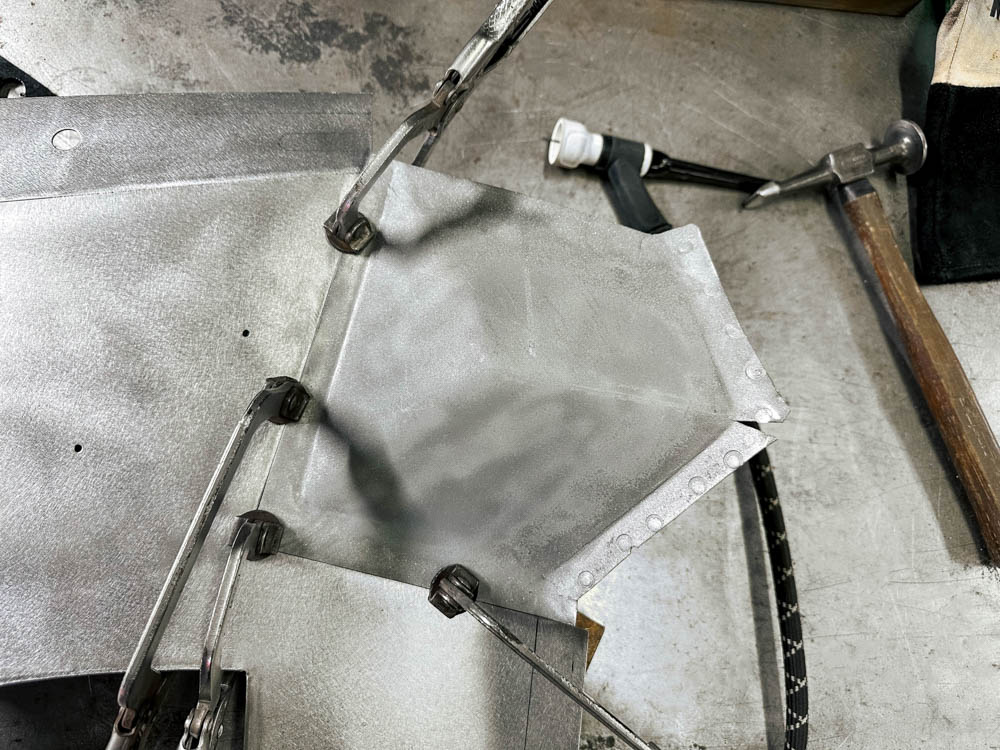
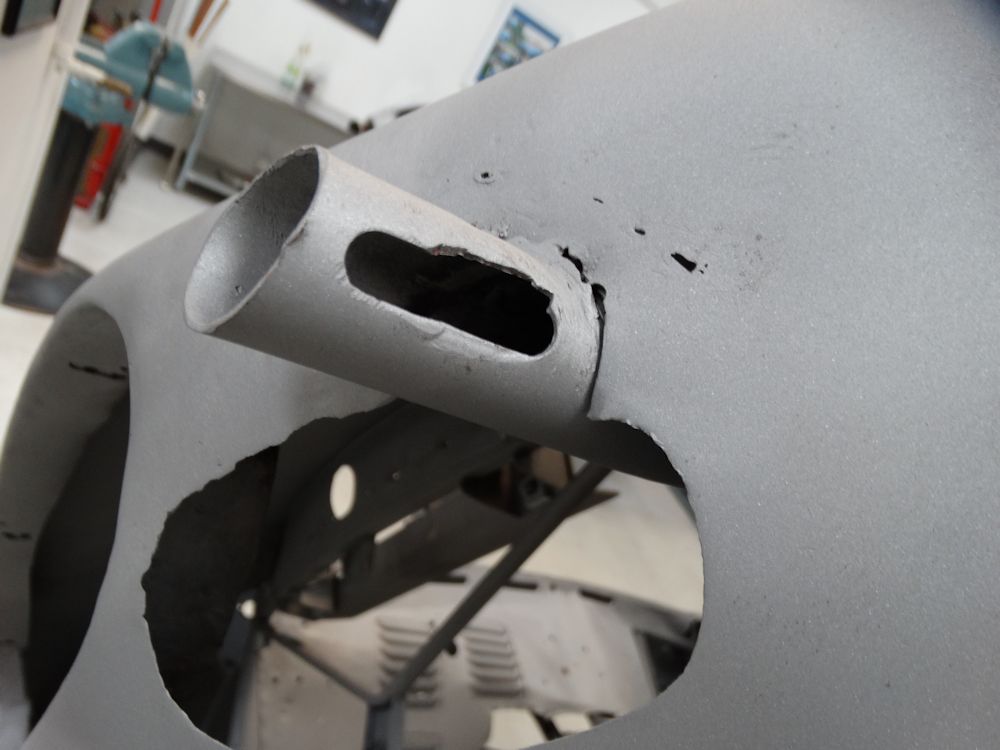
Headlamp locating ring fabrication
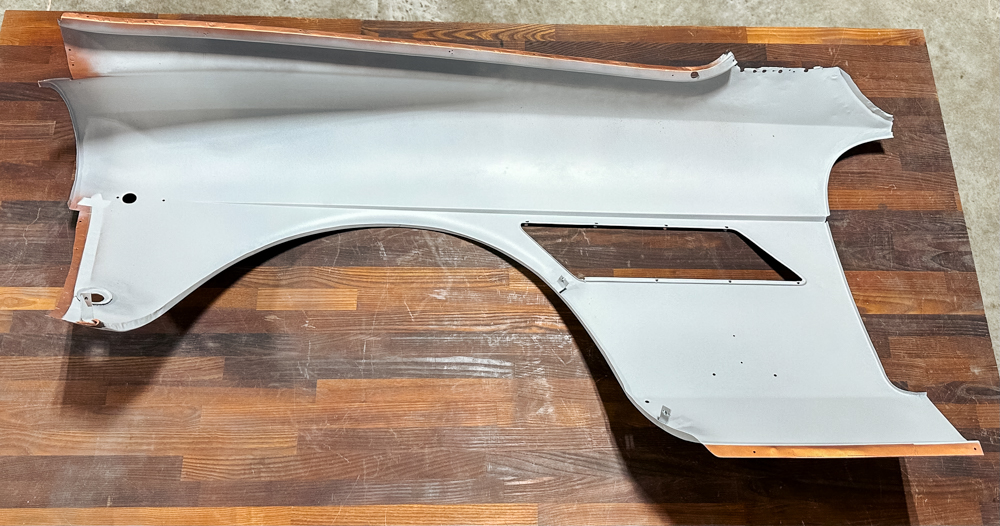
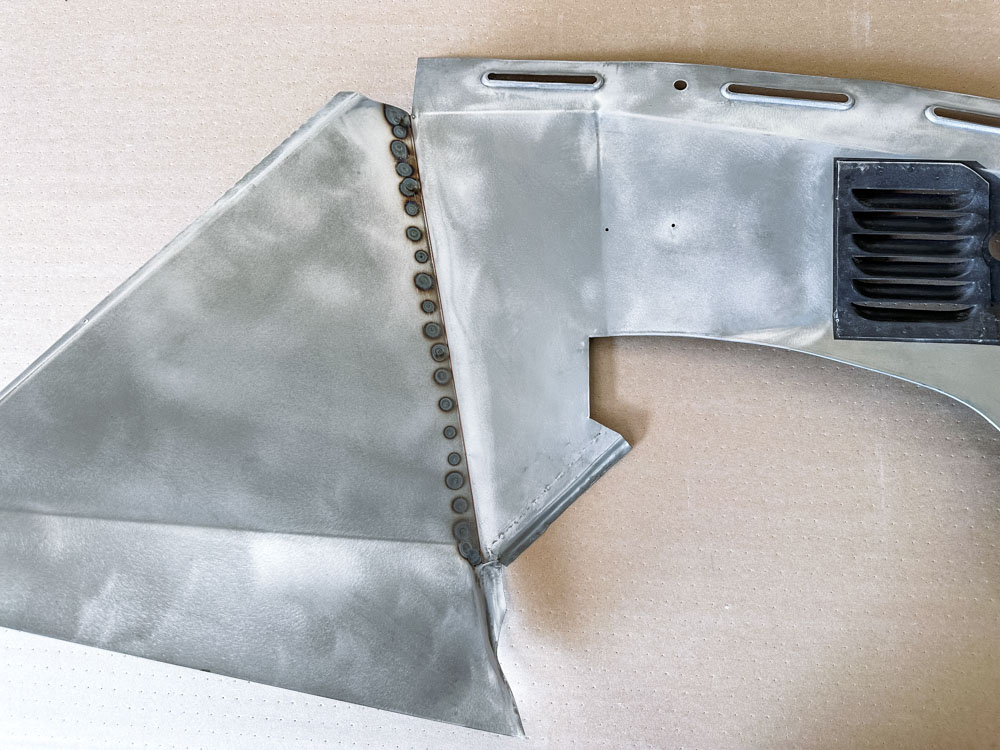
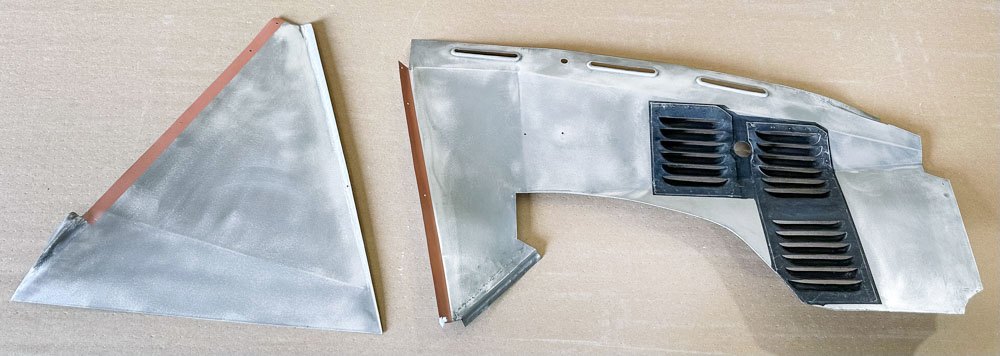
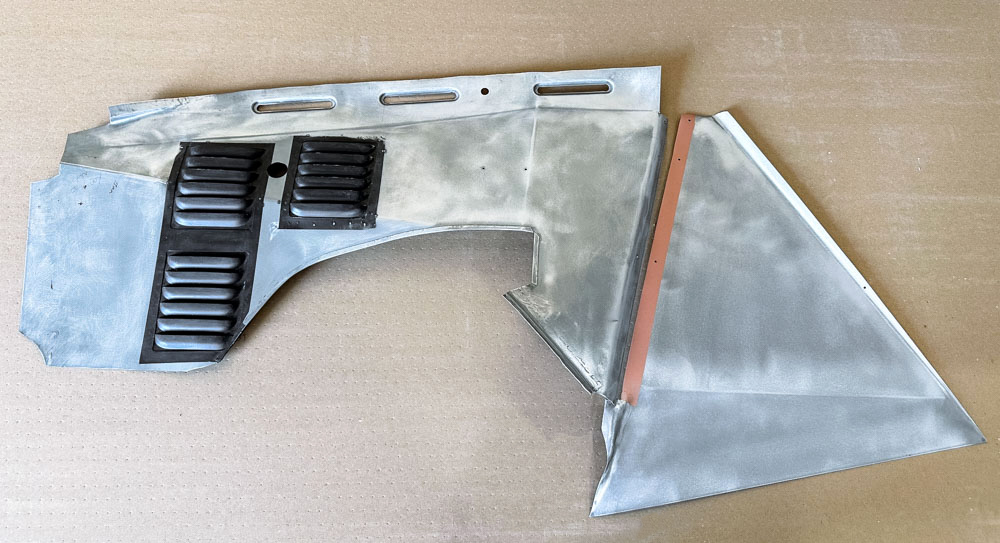
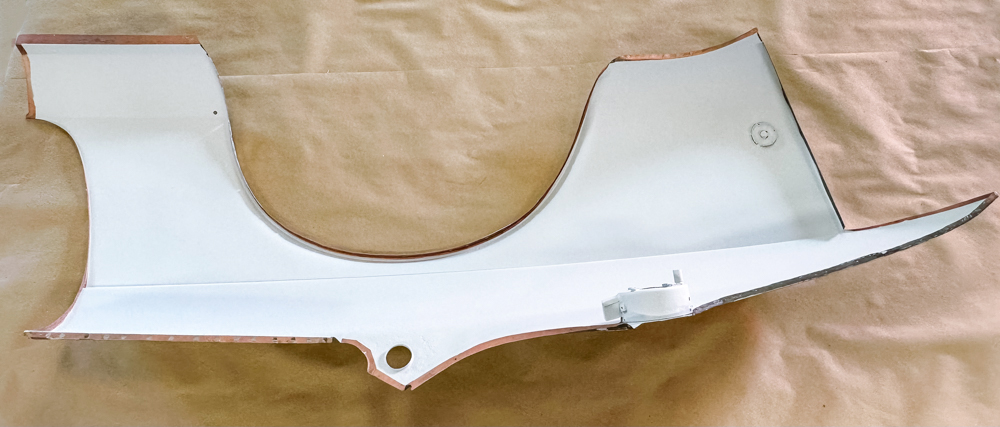
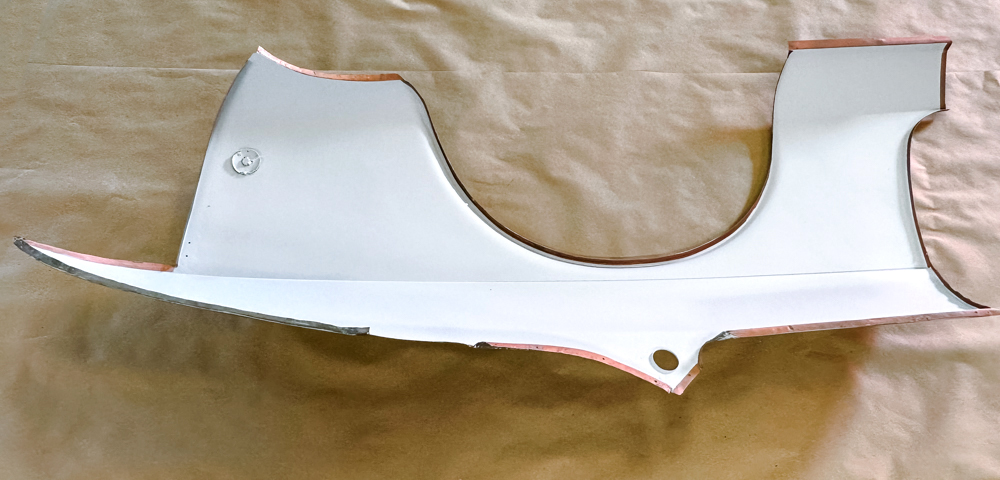
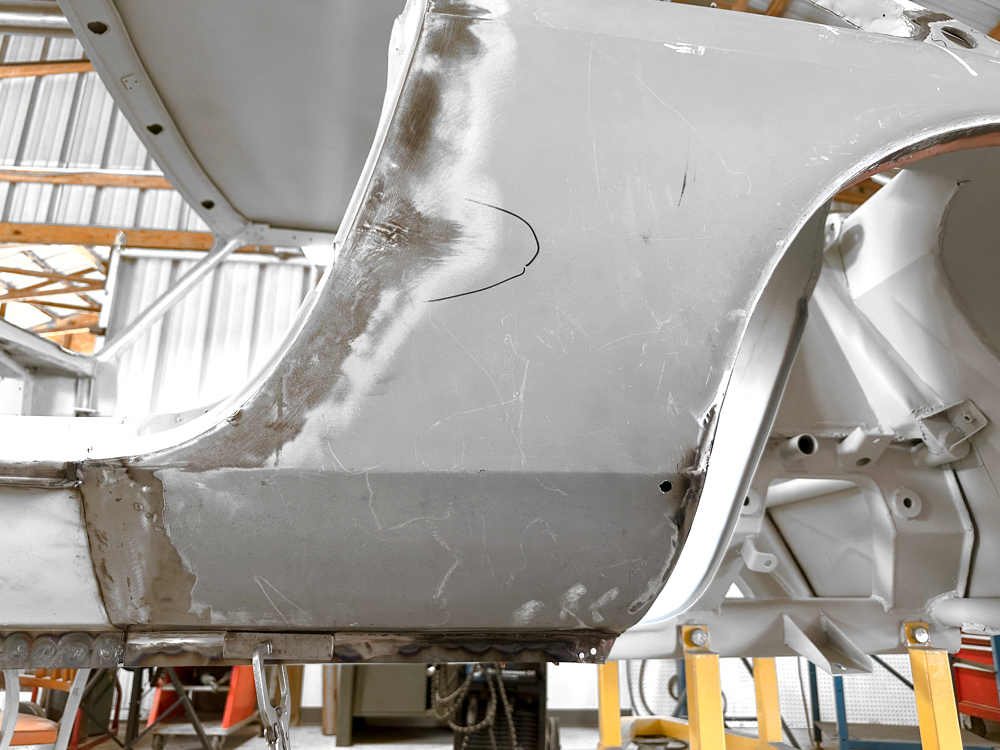
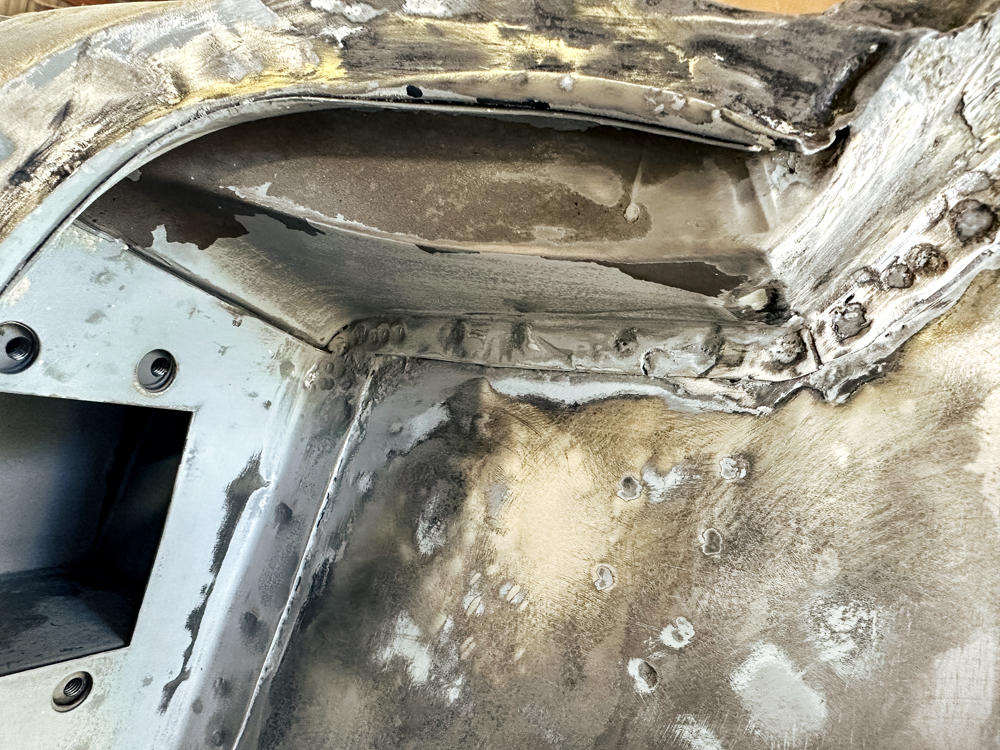
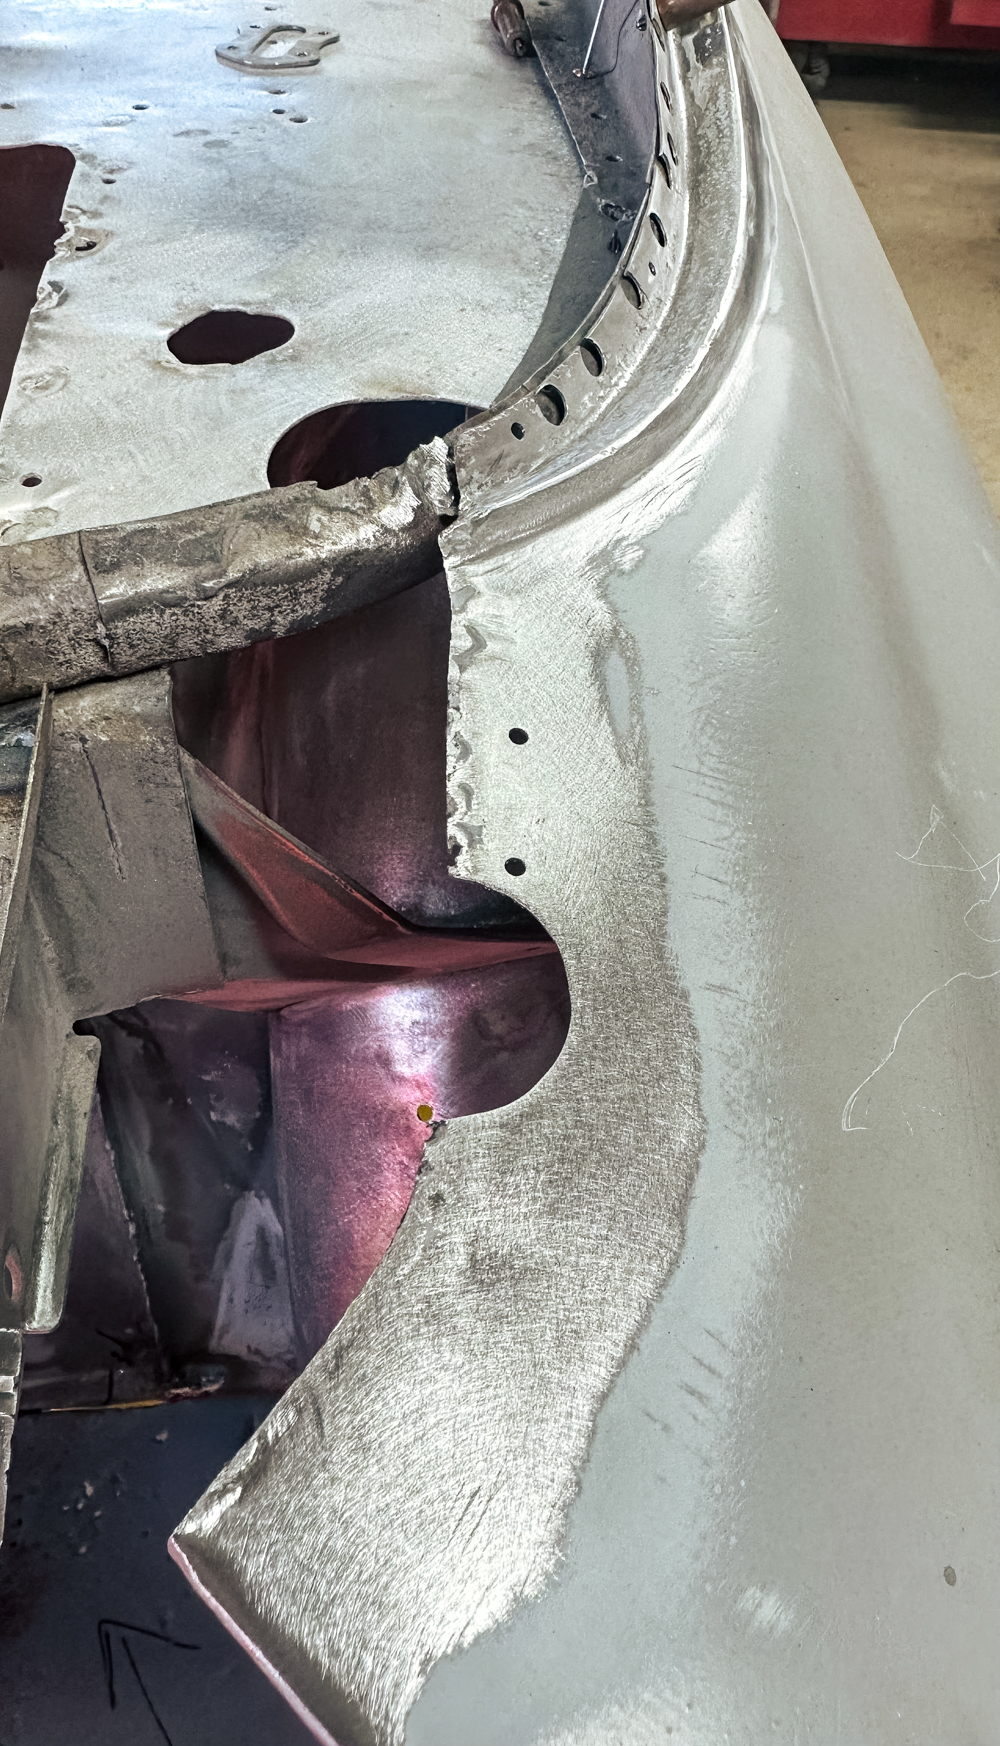
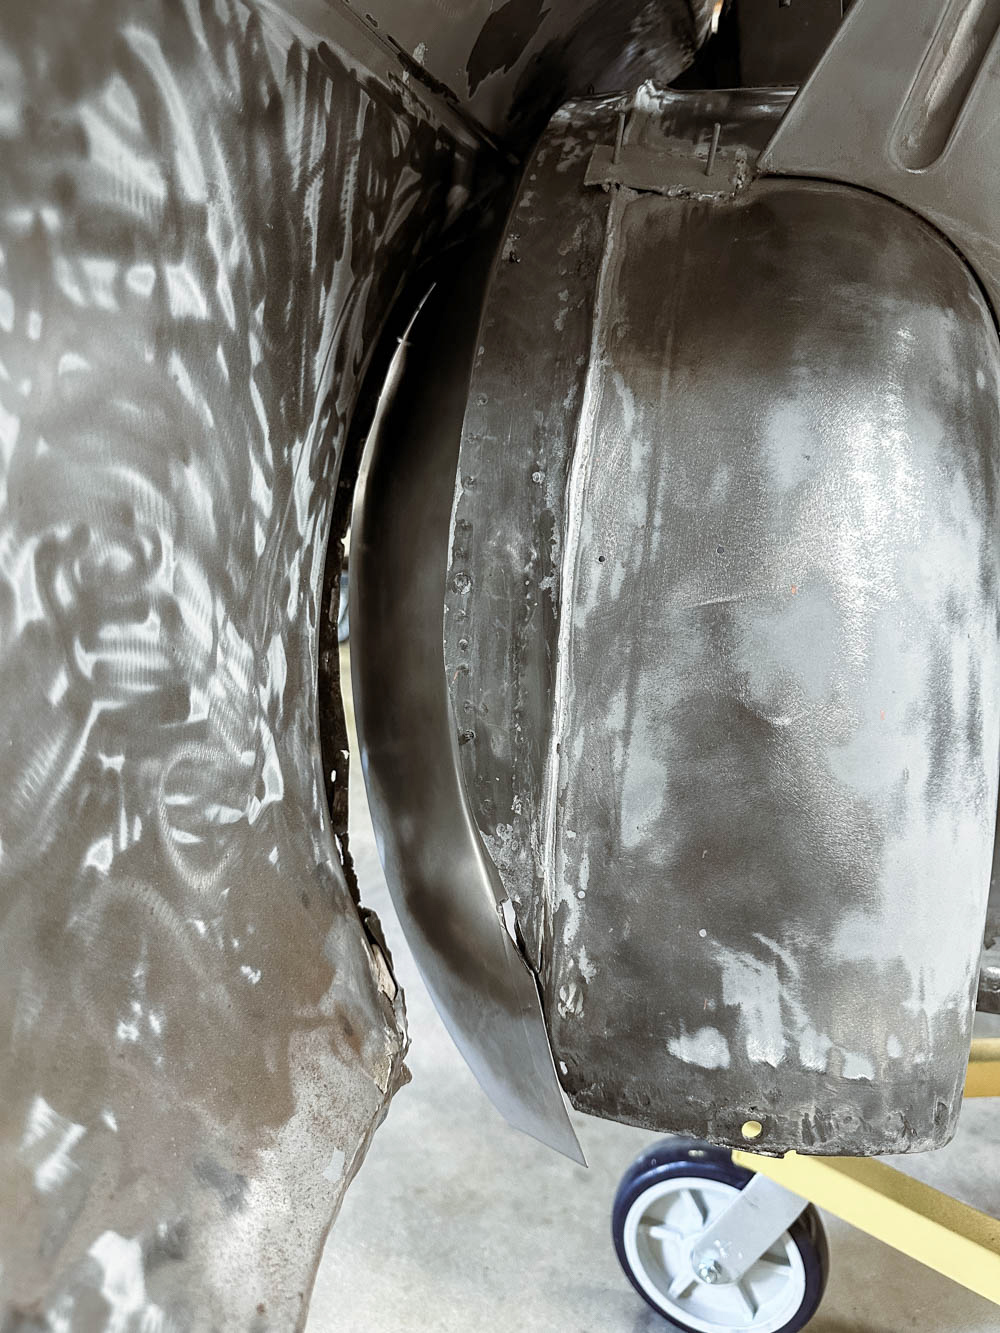
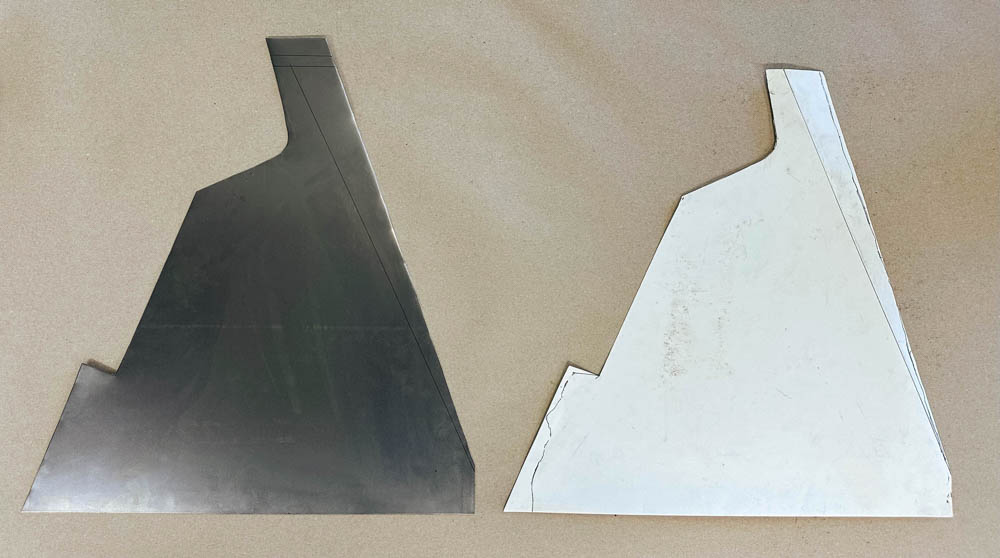
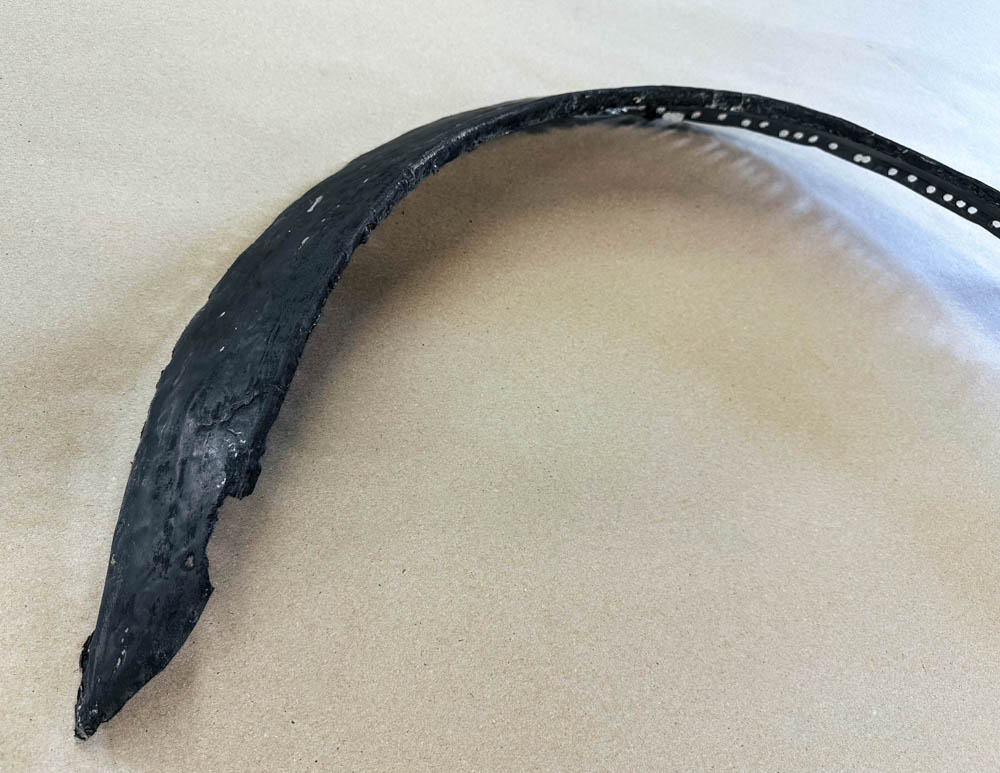
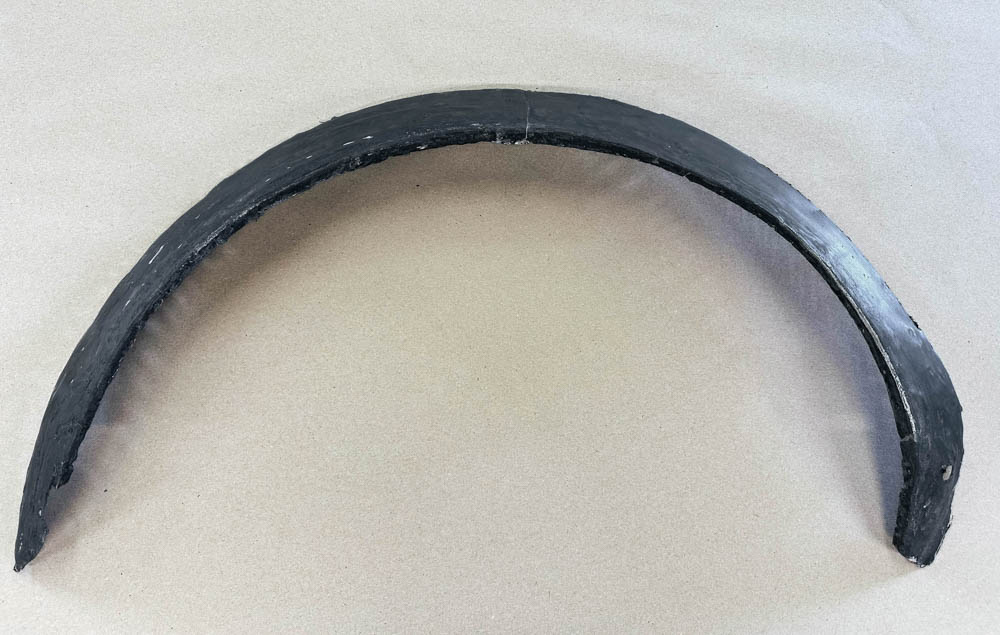
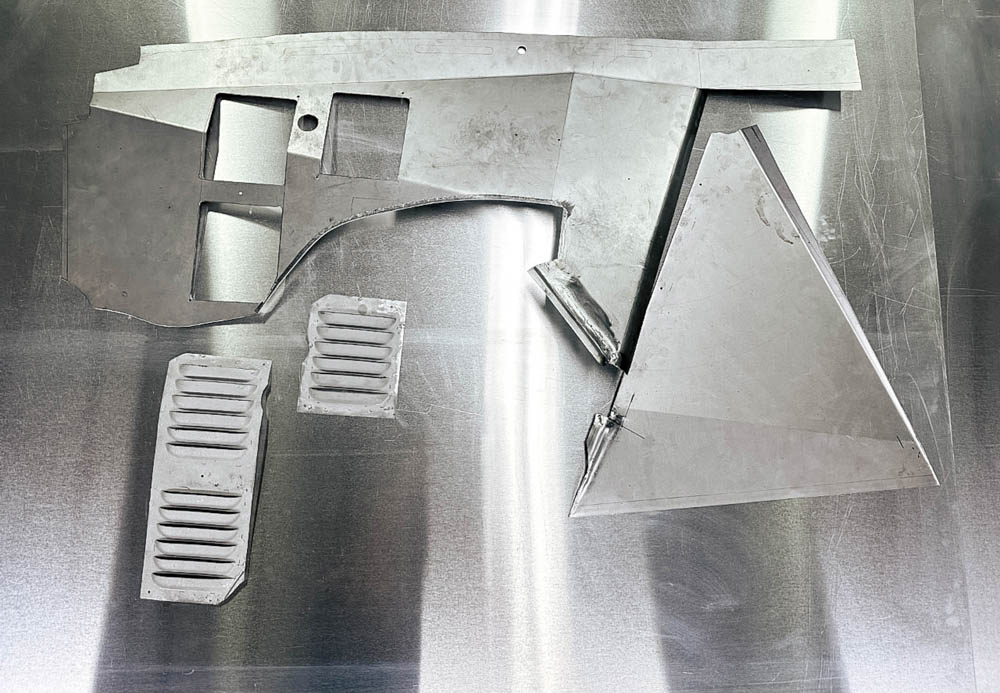
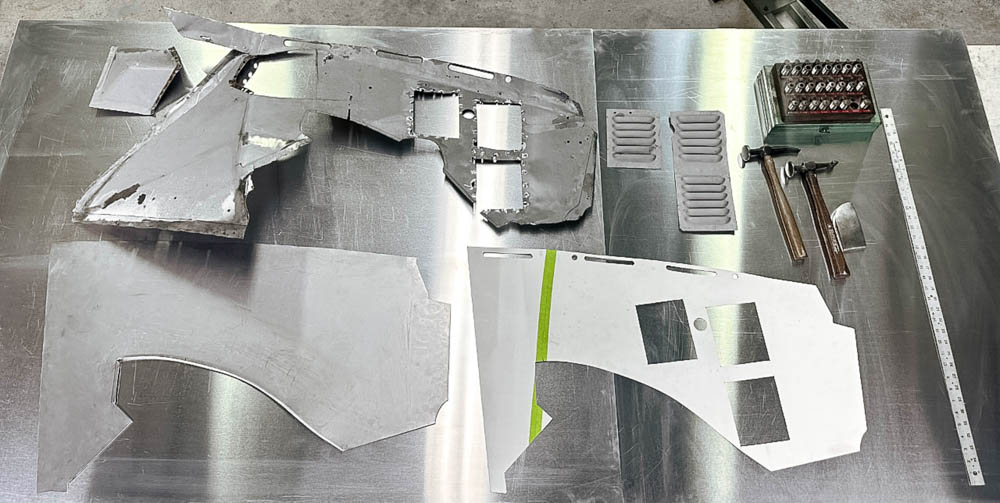
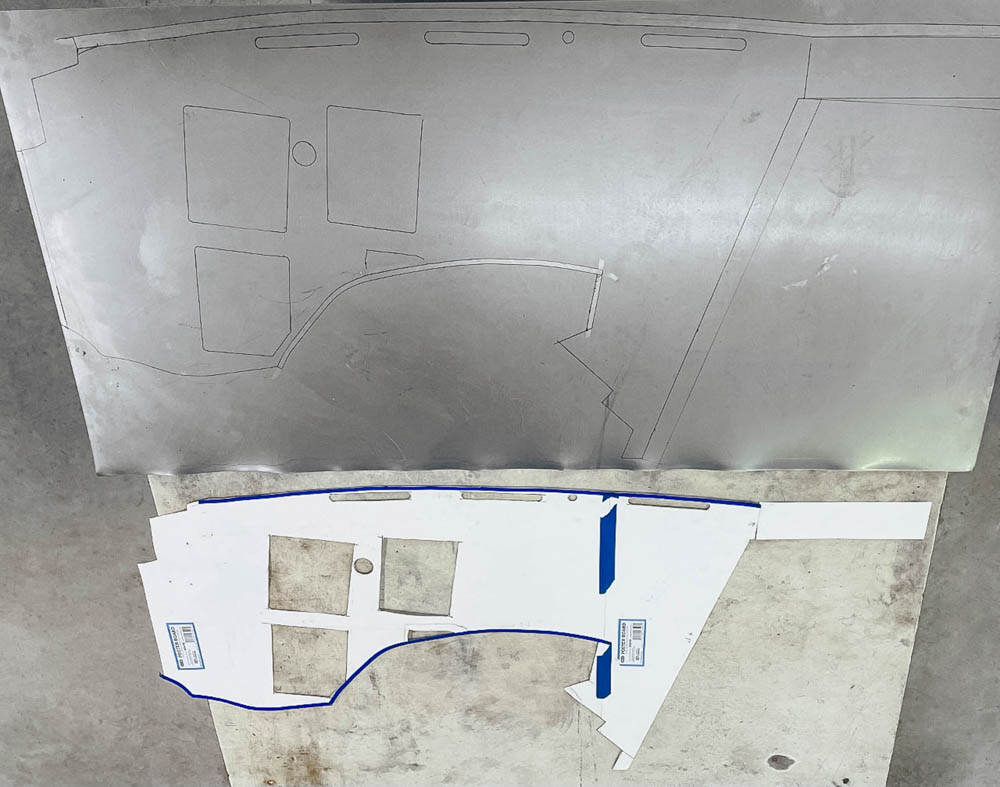
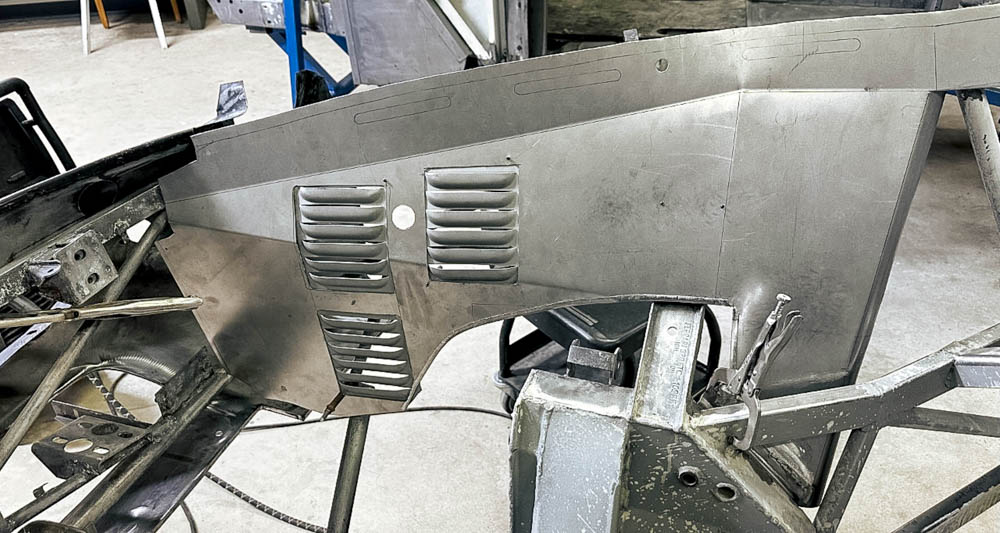
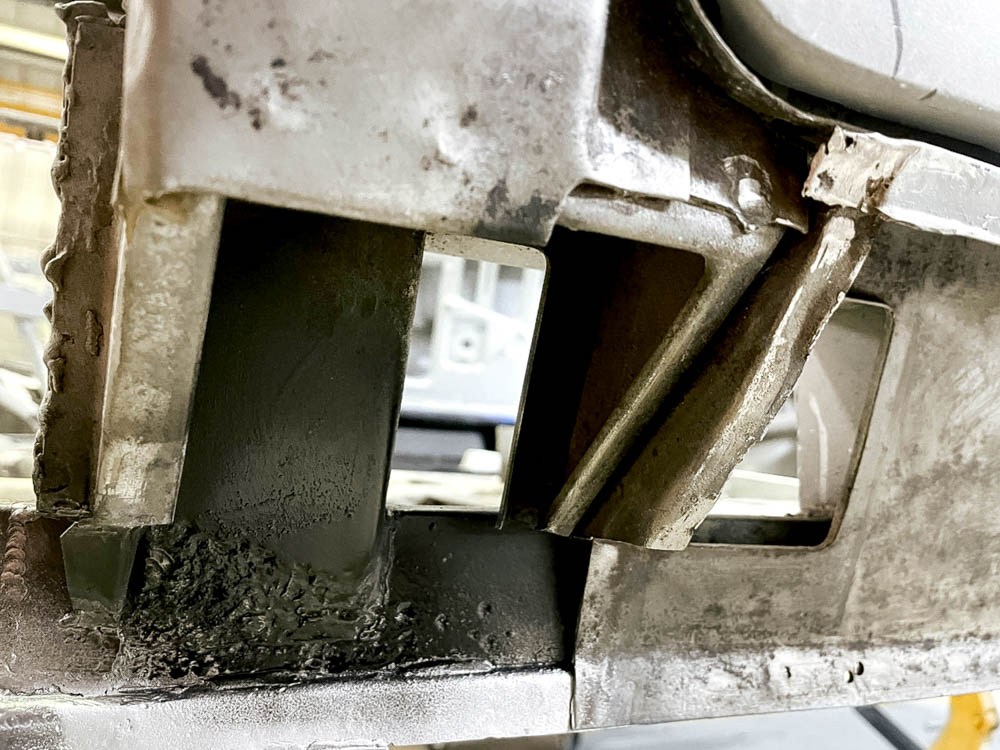
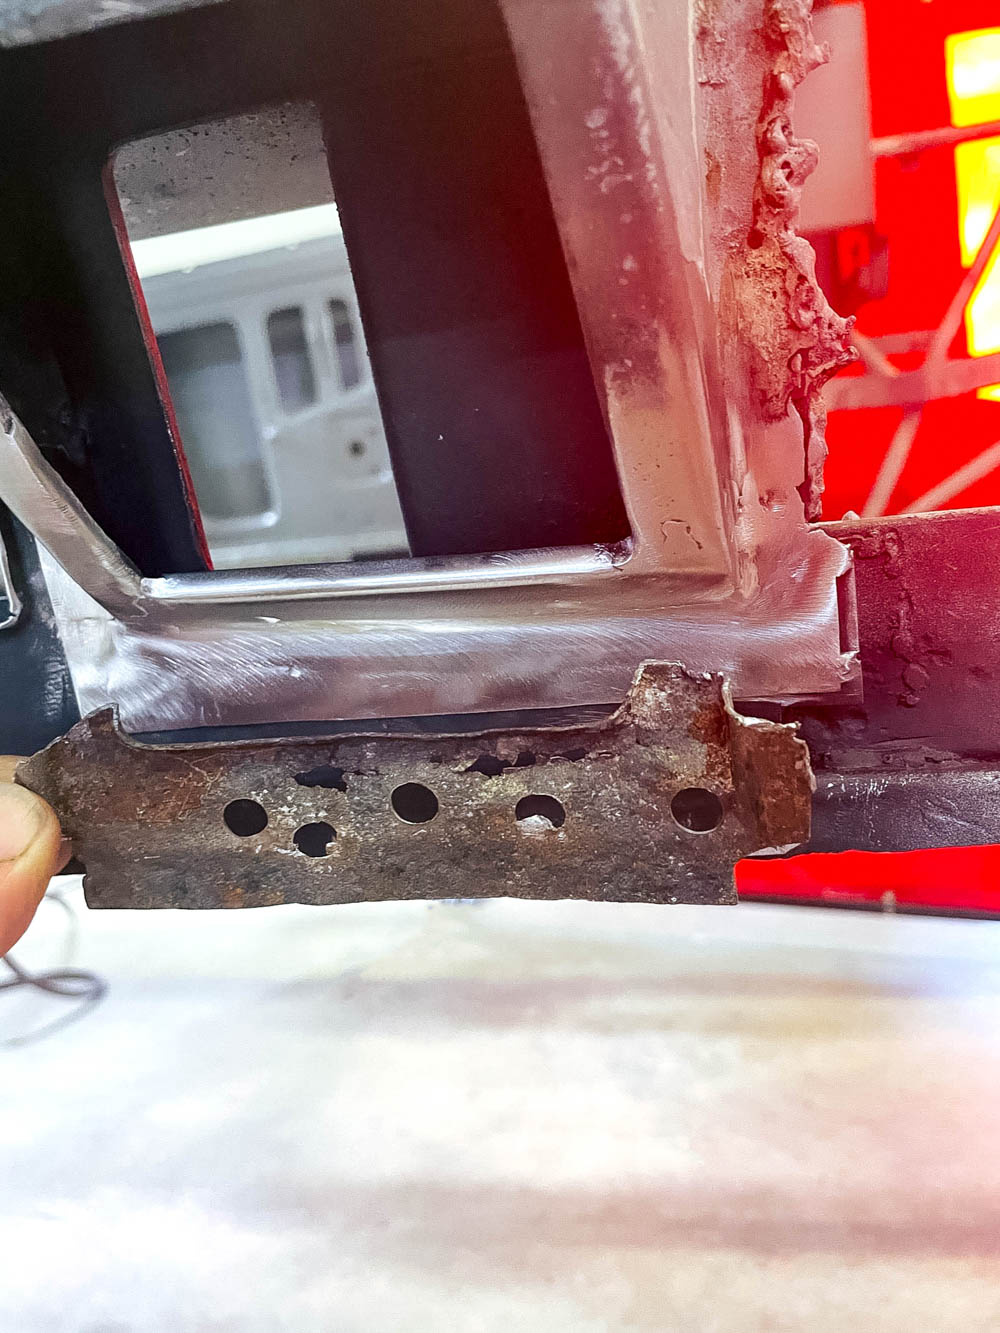
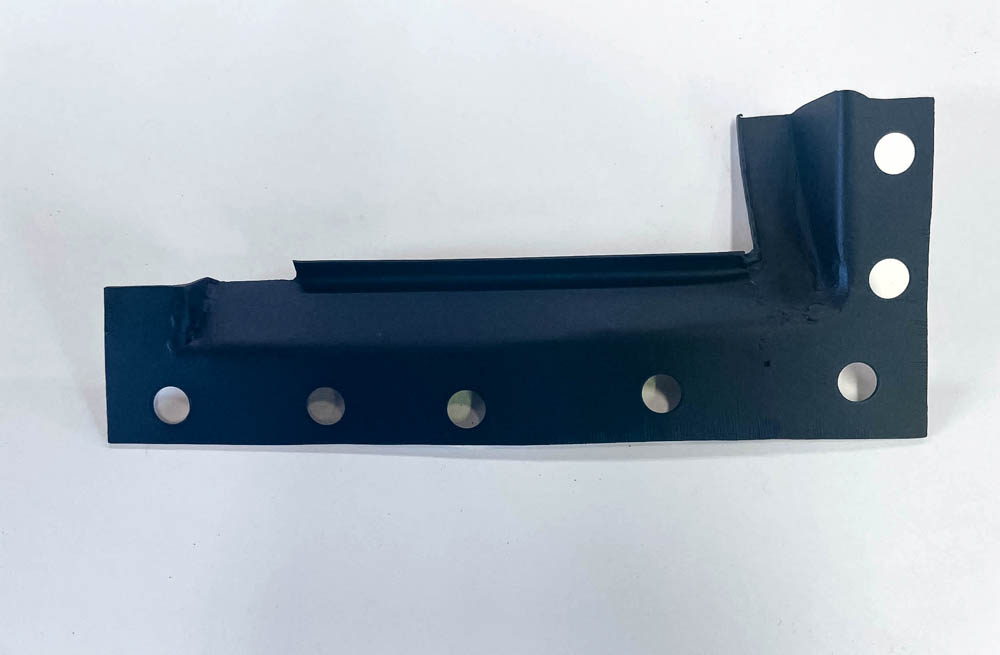
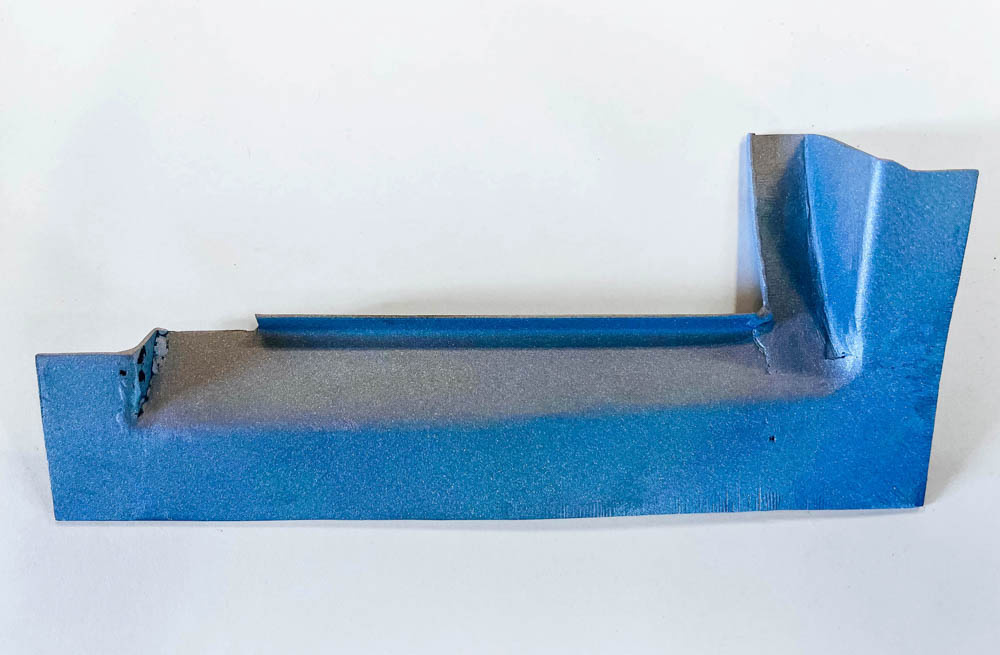
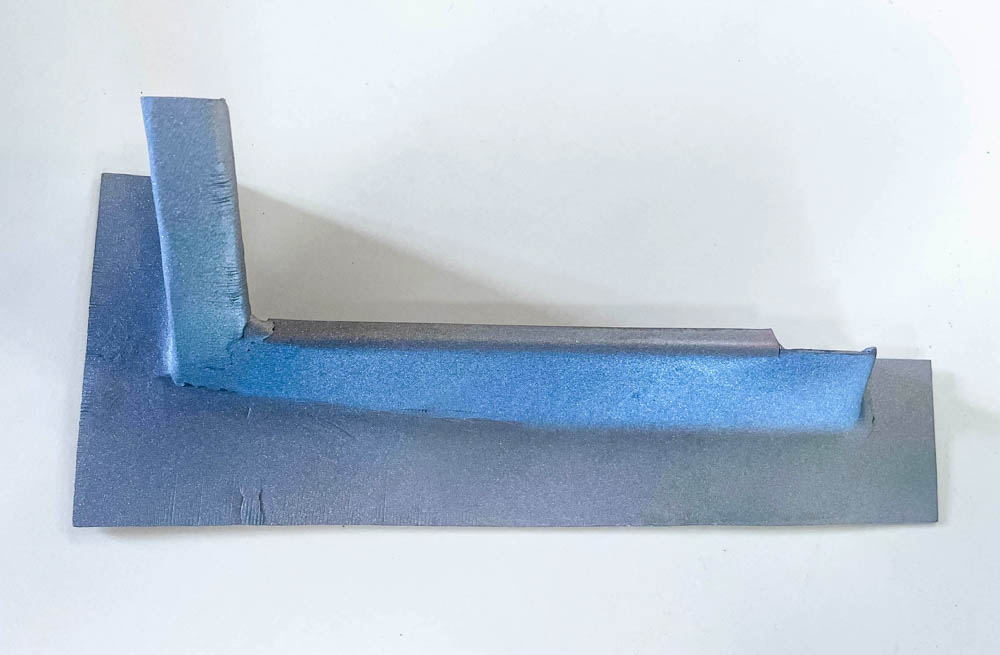
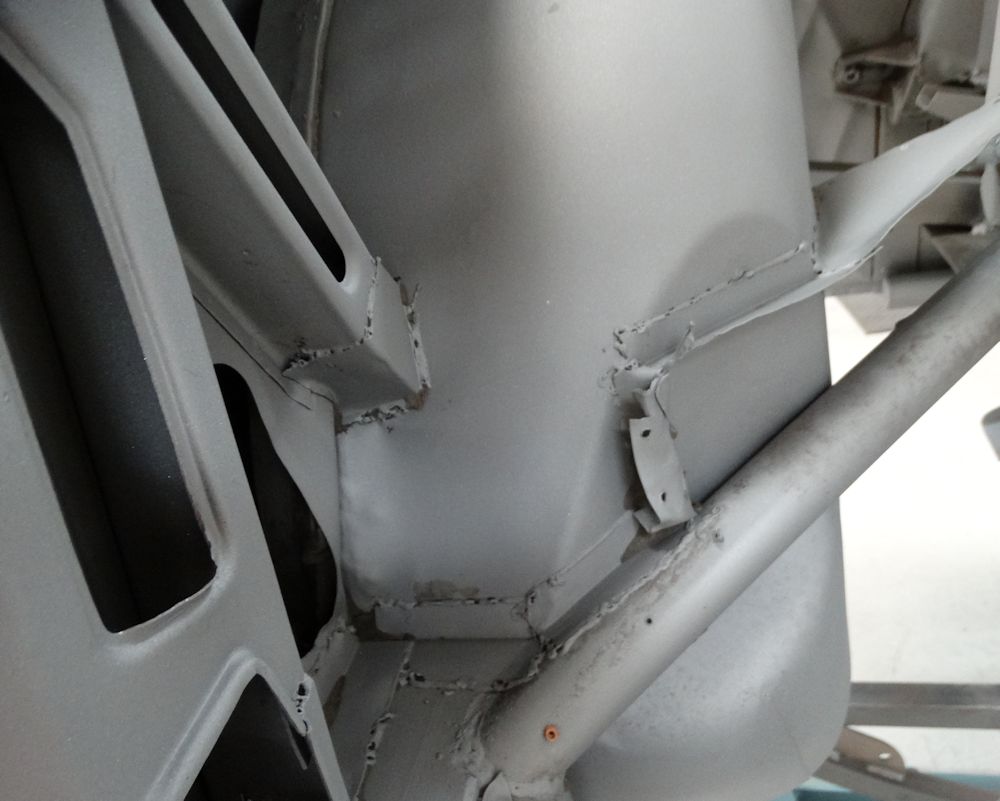
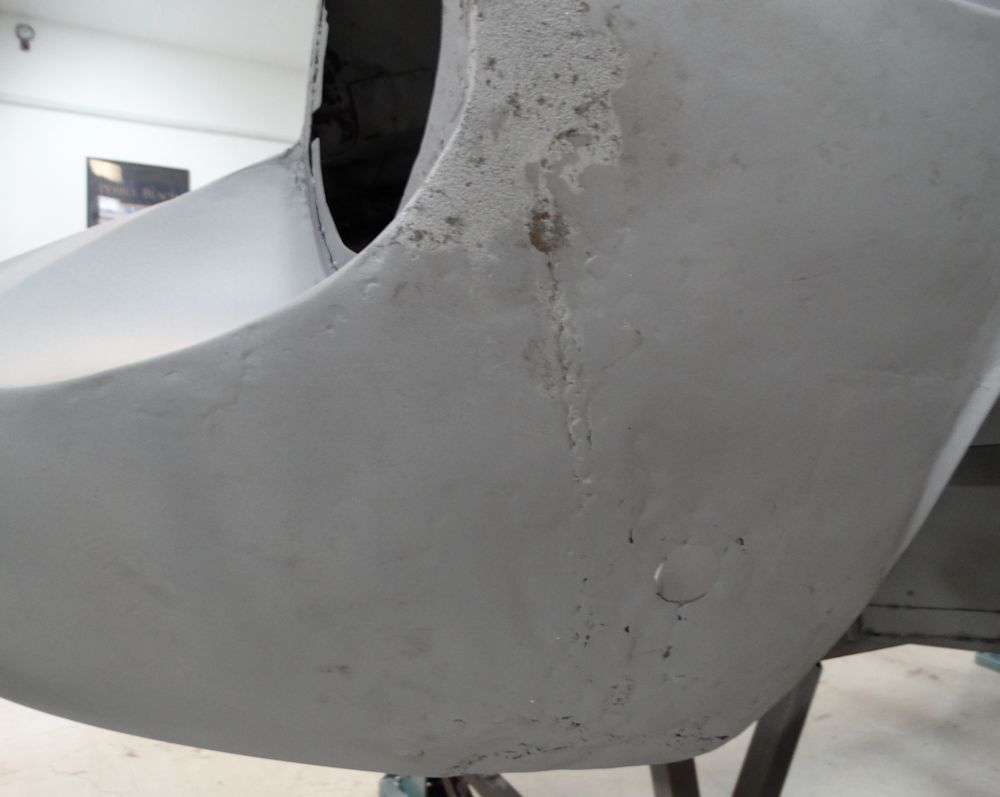
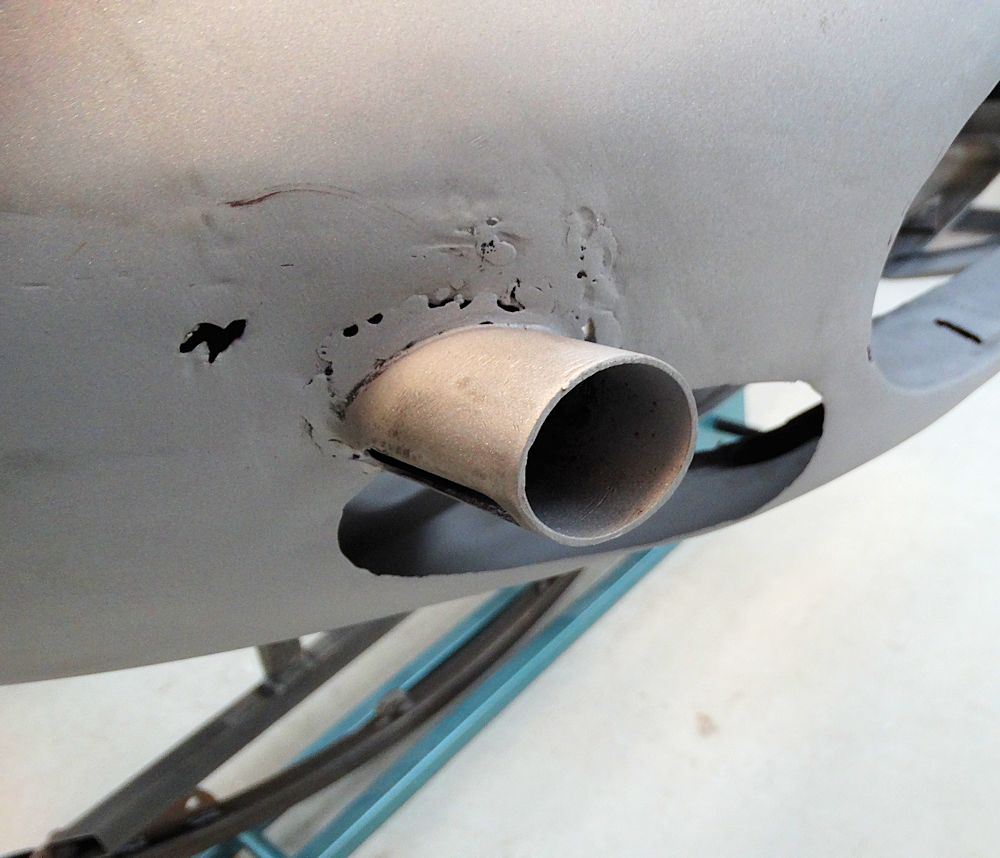
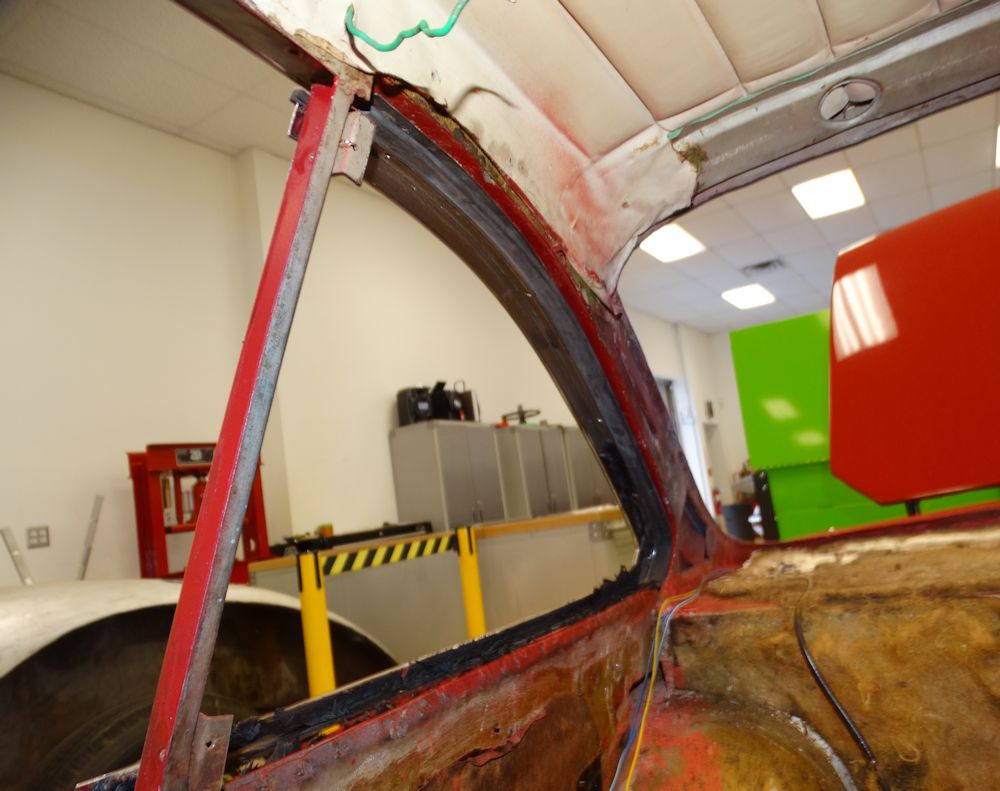
Repair and reconstruction of
left front fender/ quarter panel
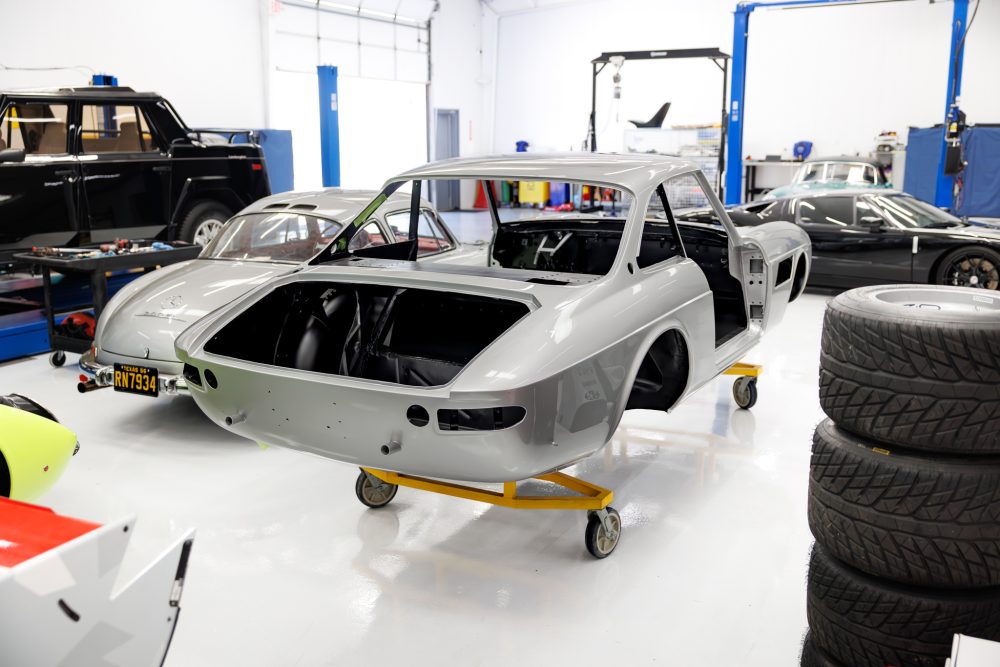
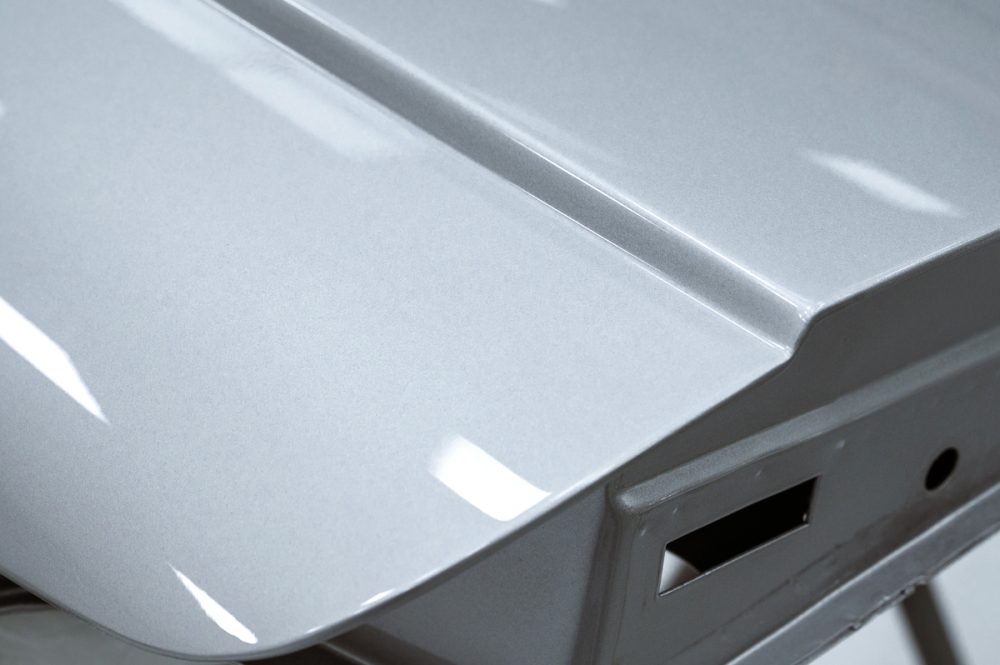
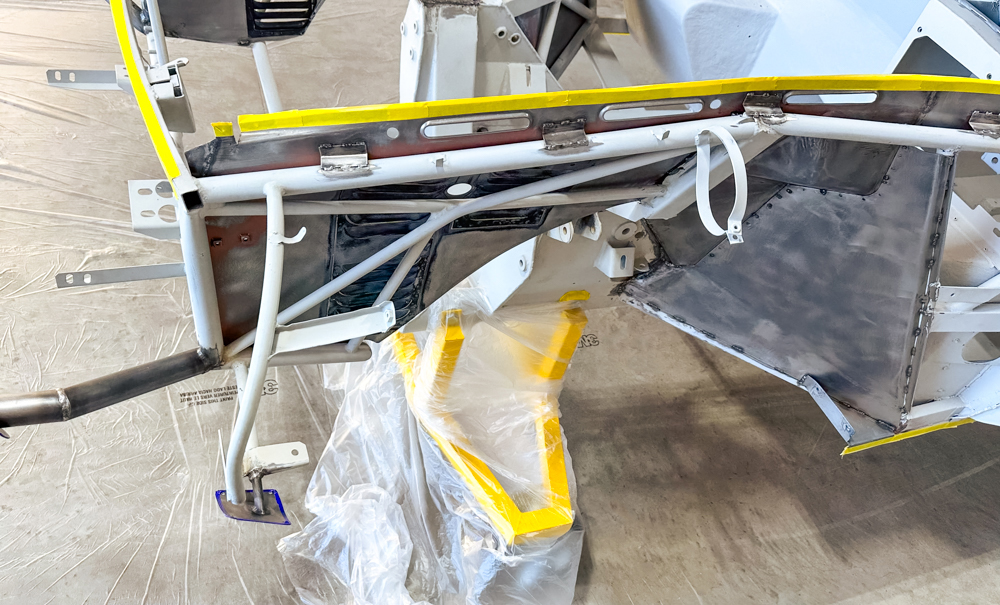
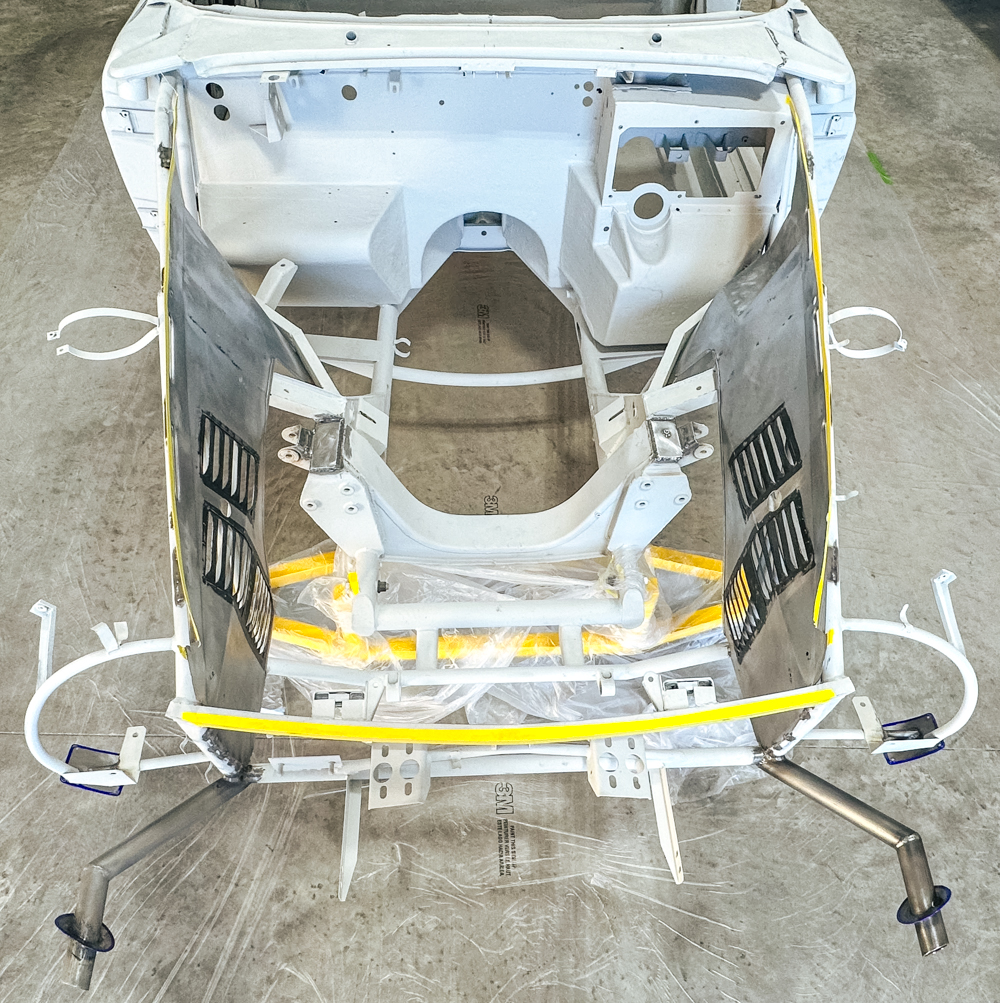
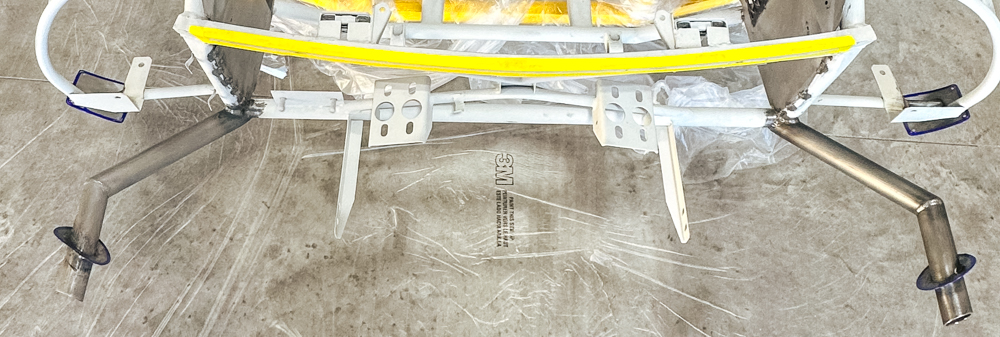
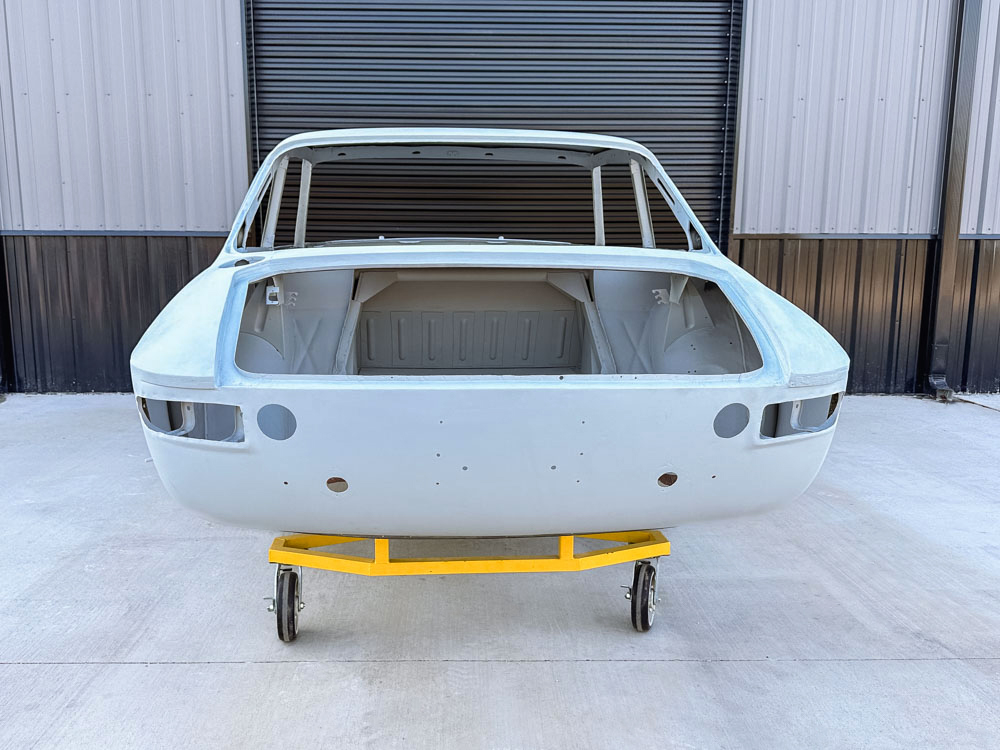
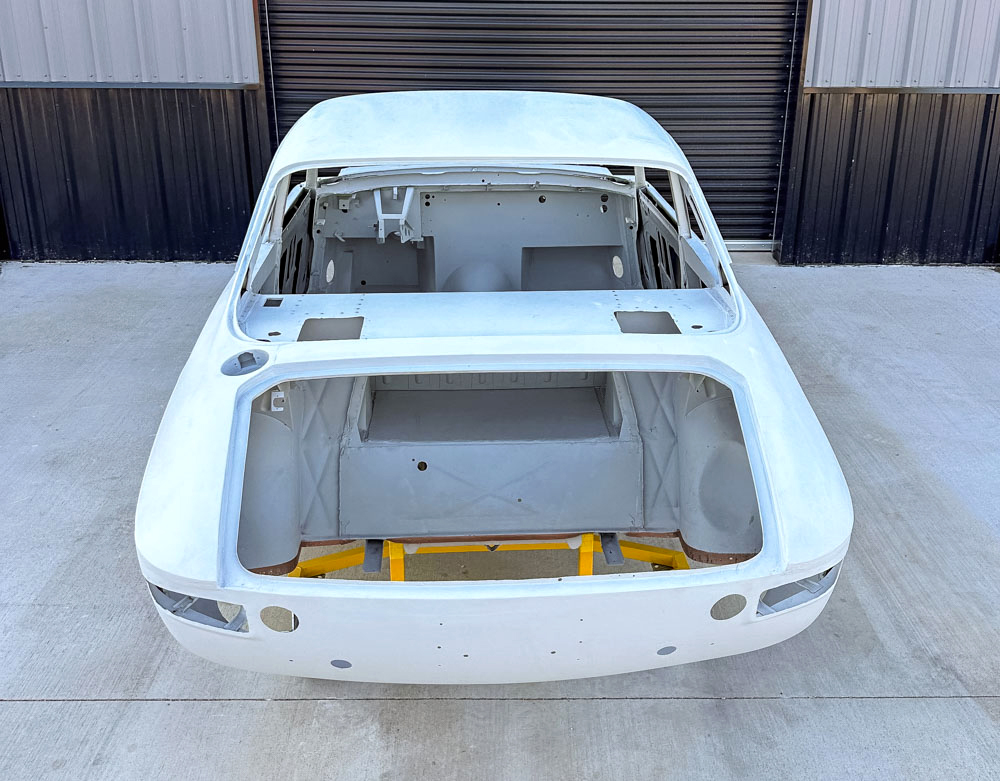
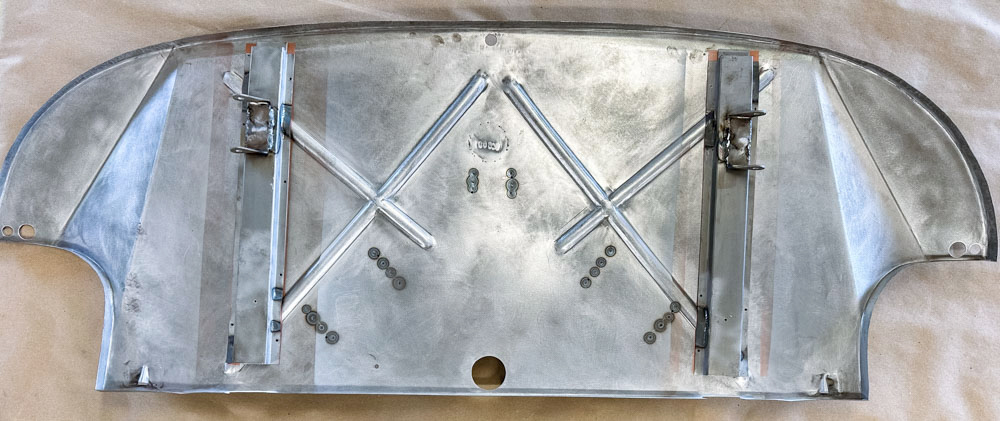
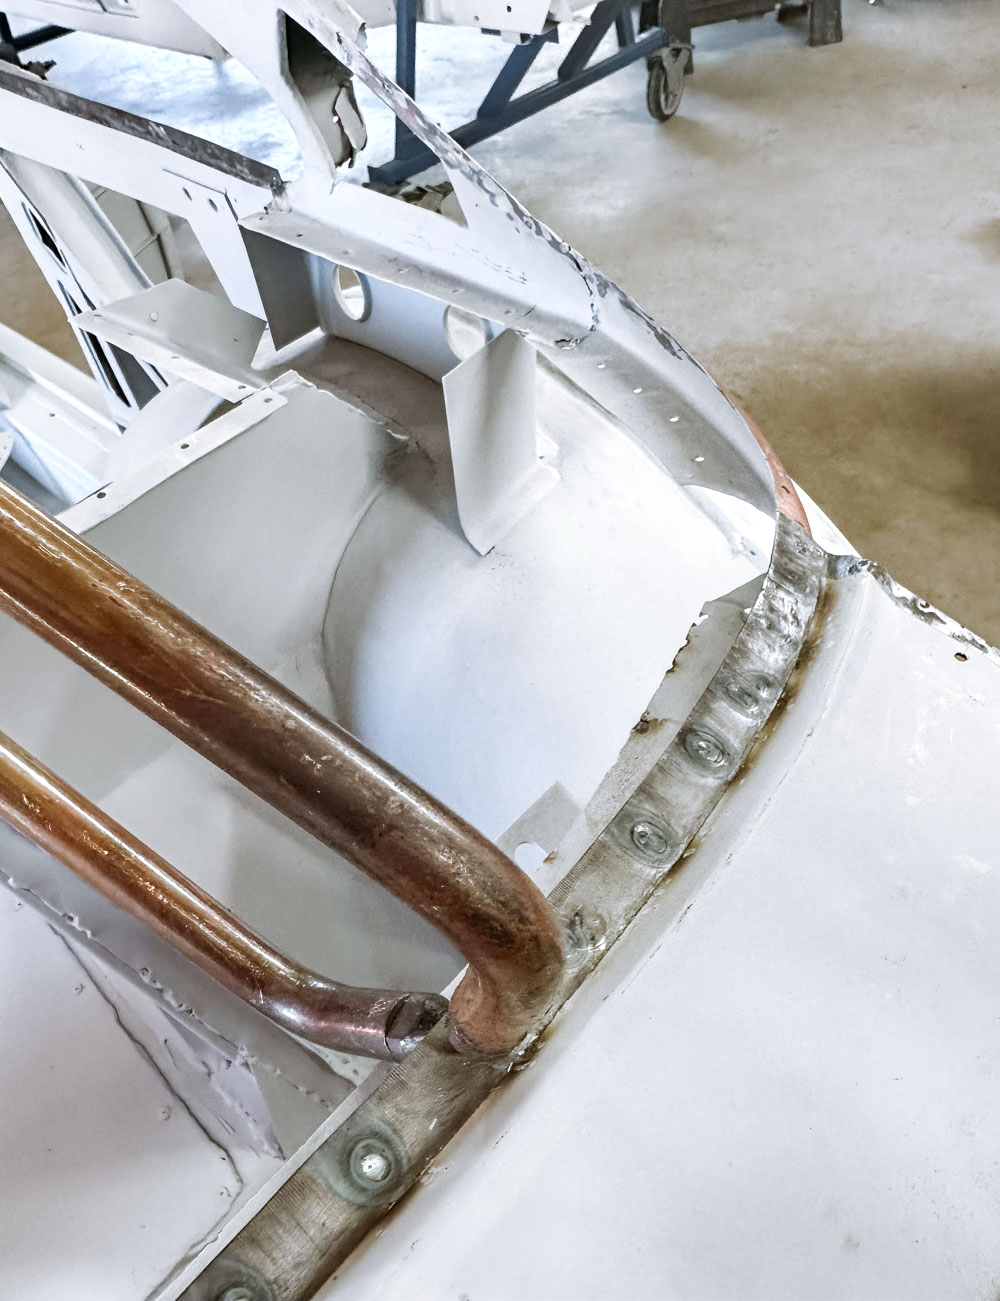
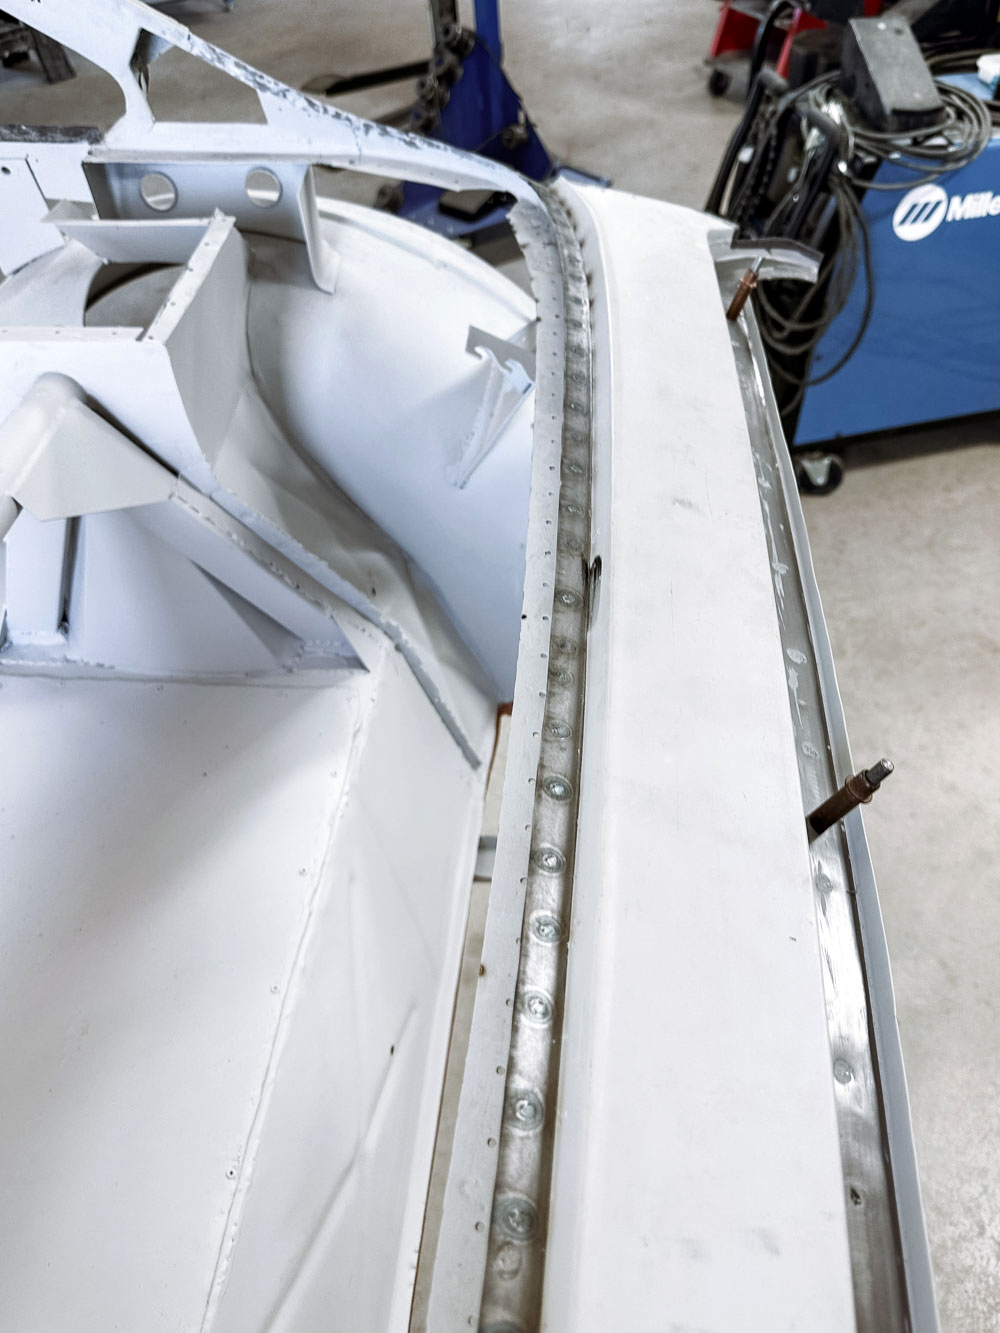
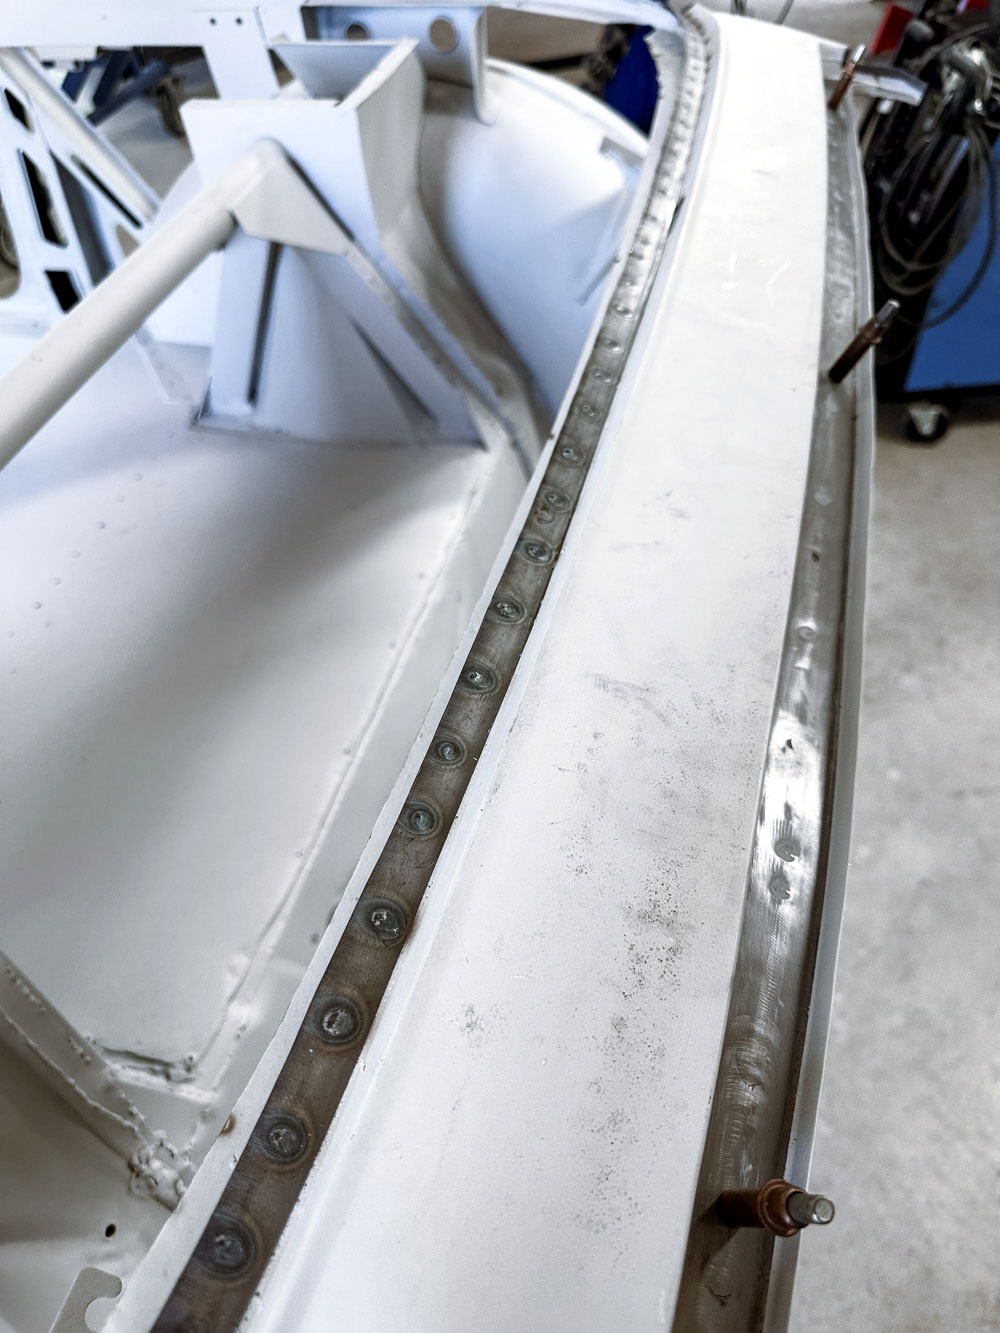
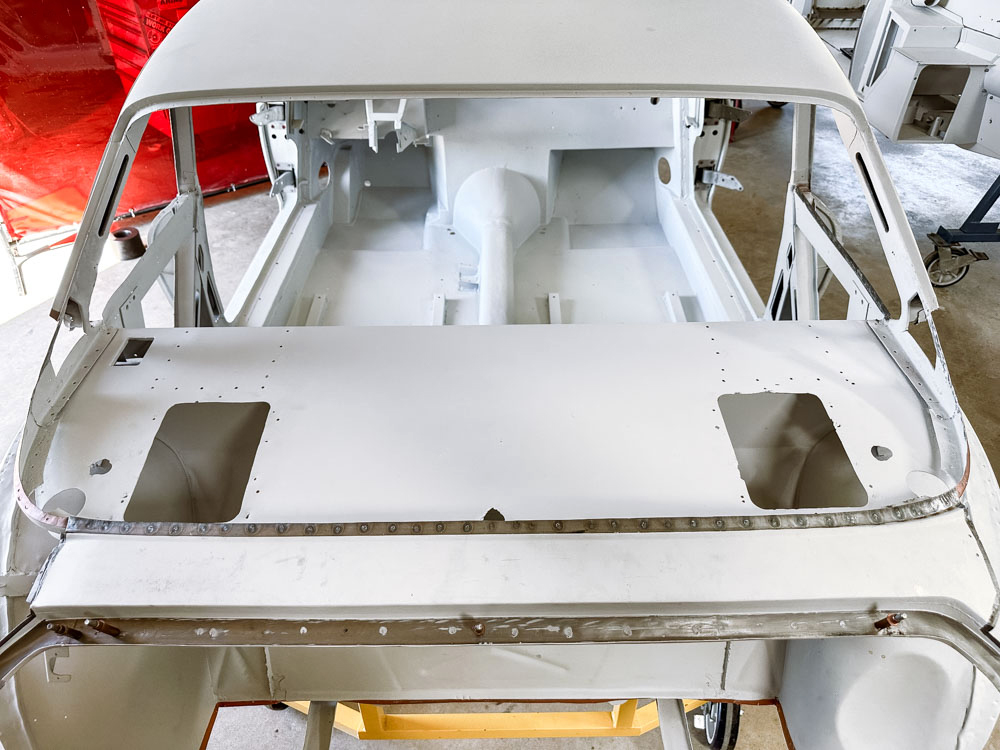
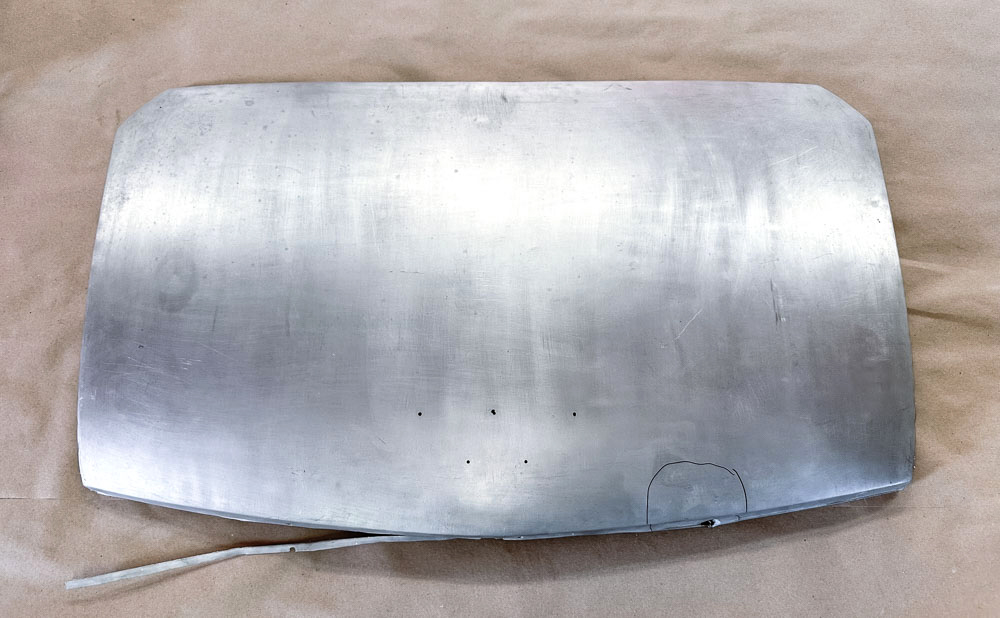
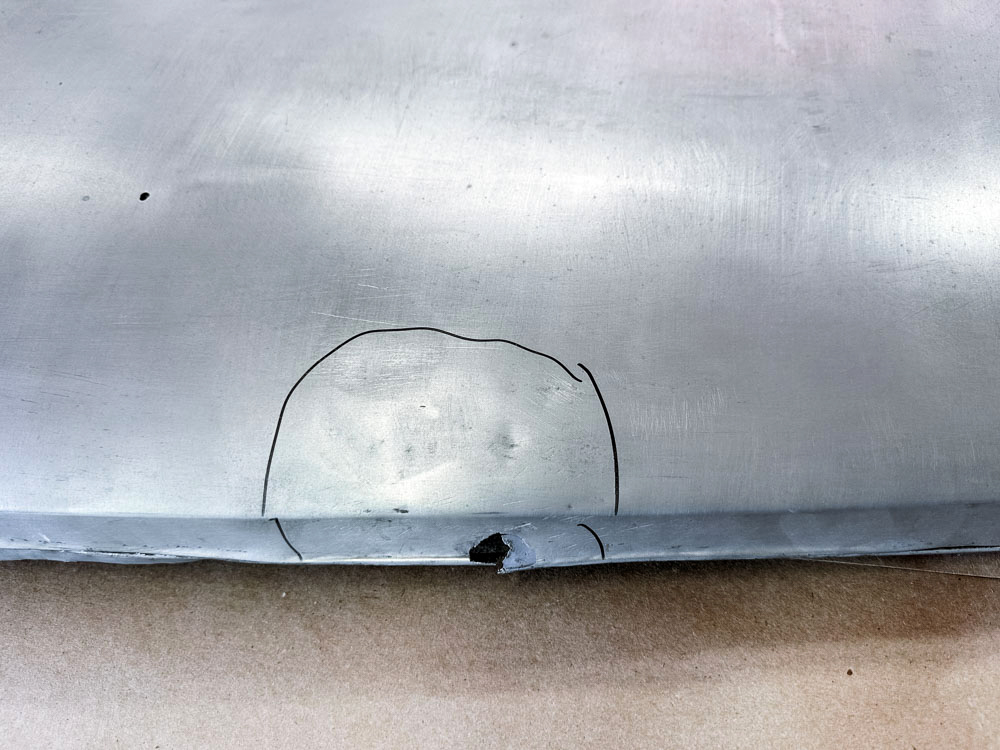
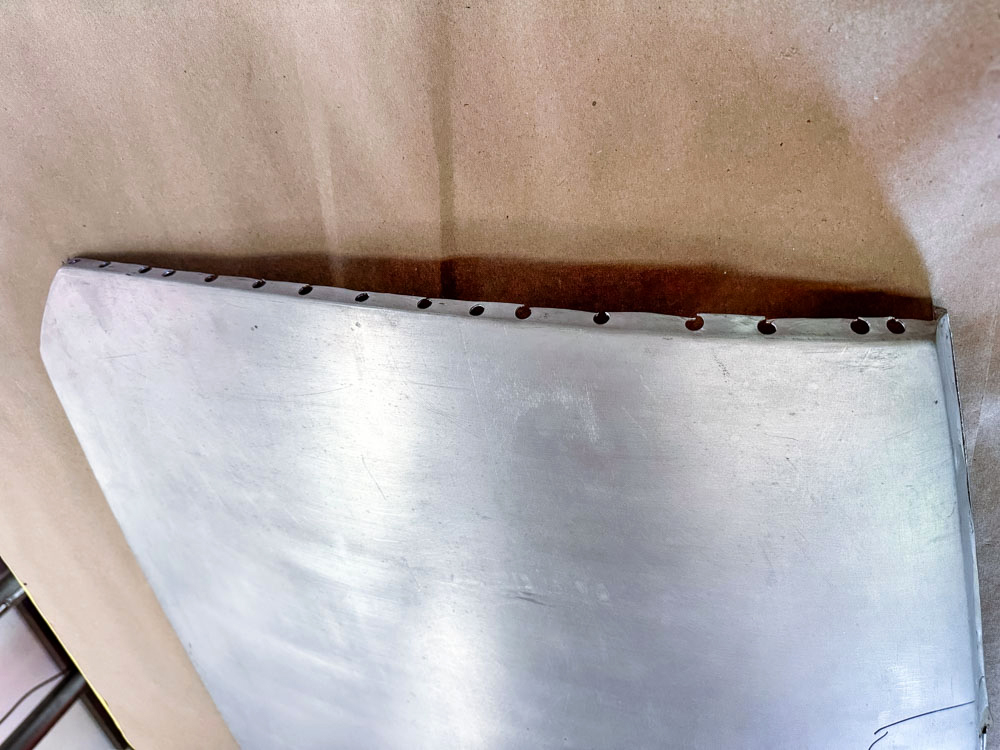
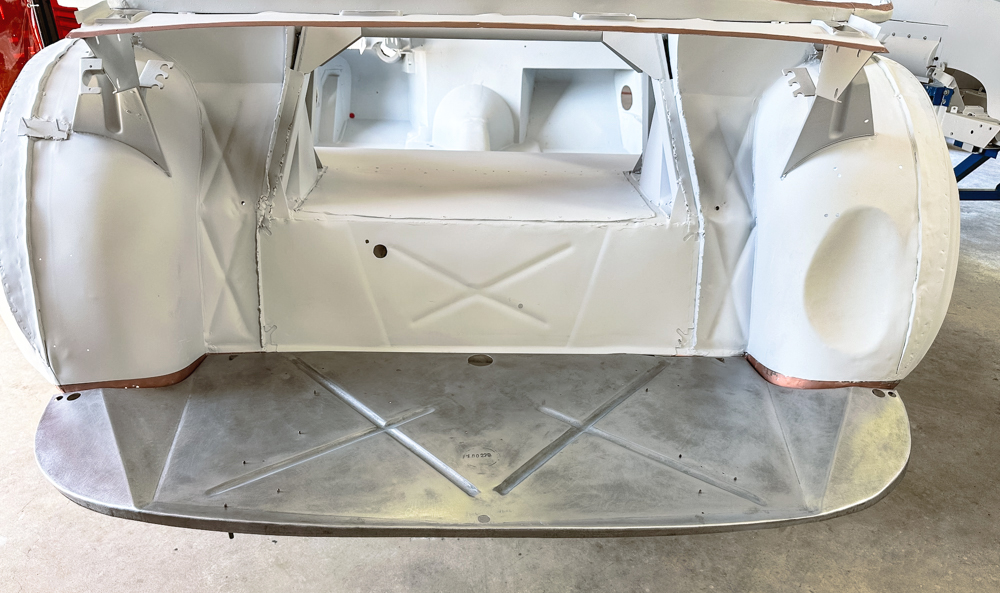
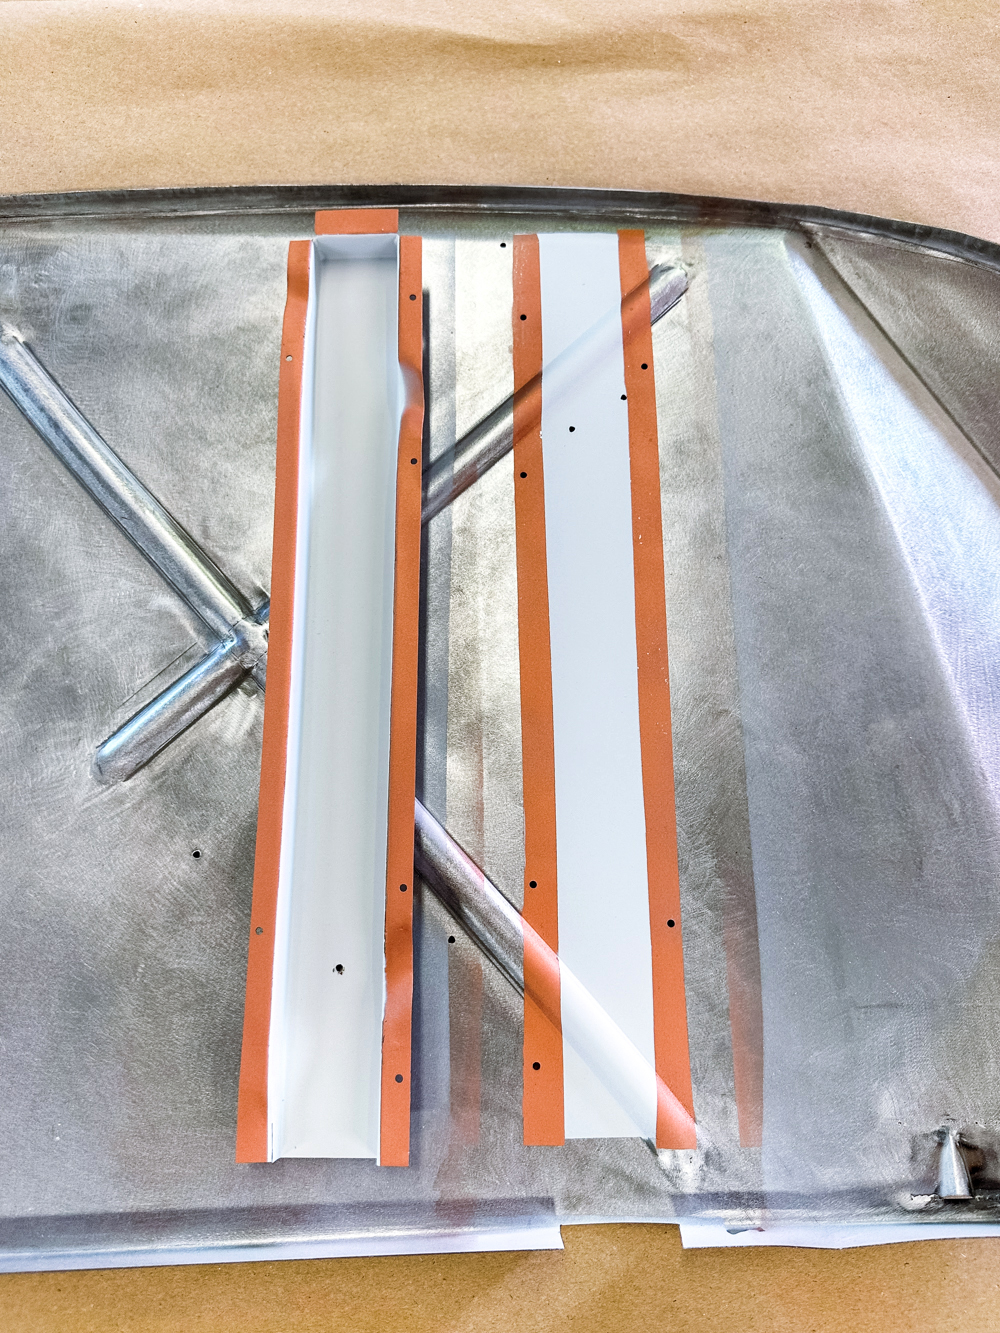
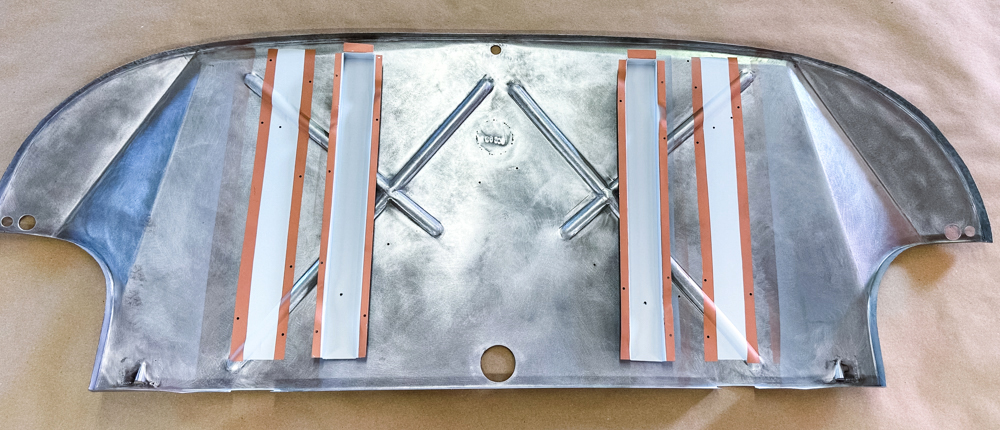
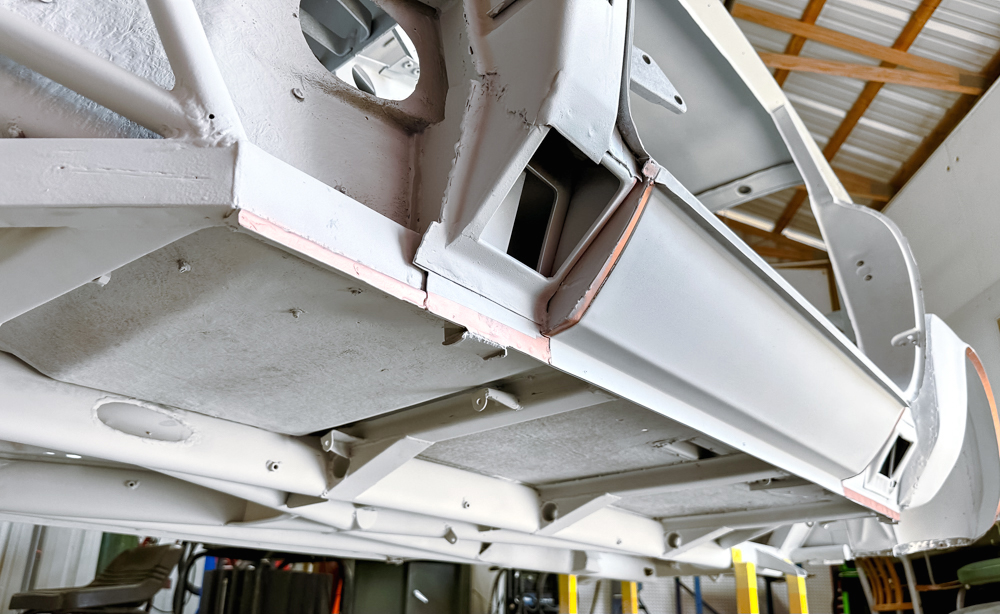
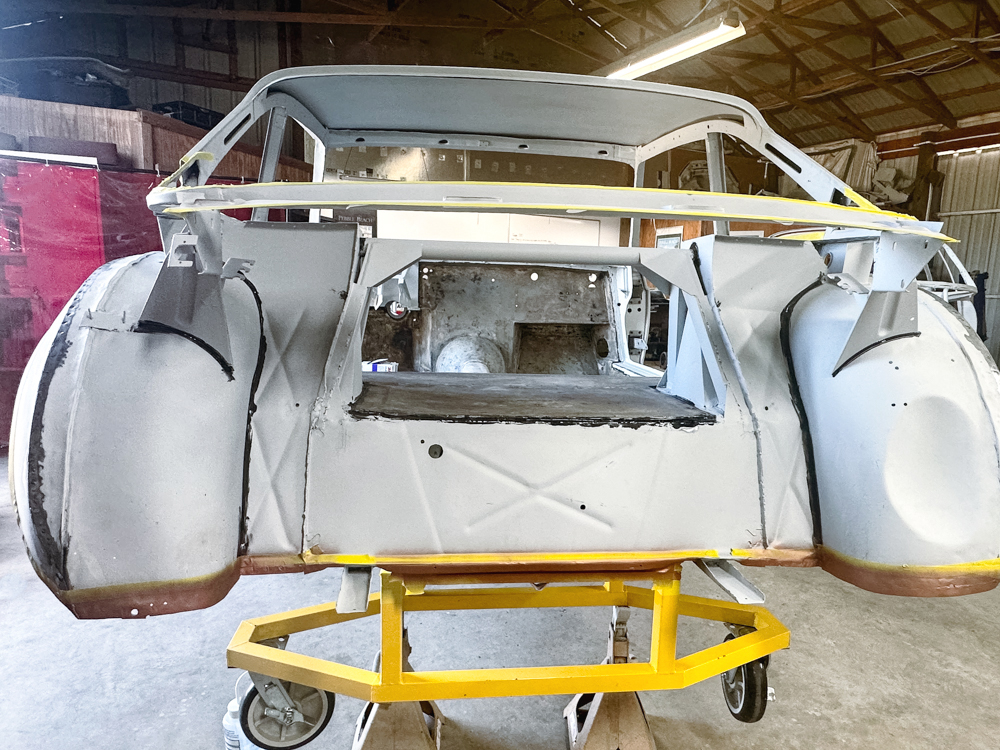
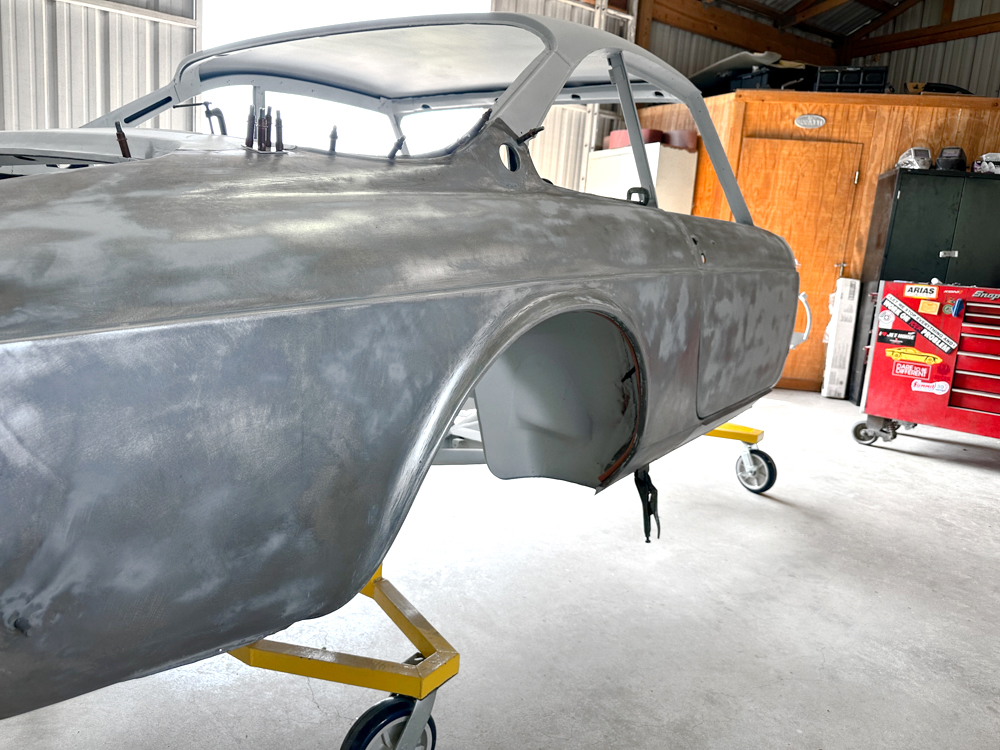
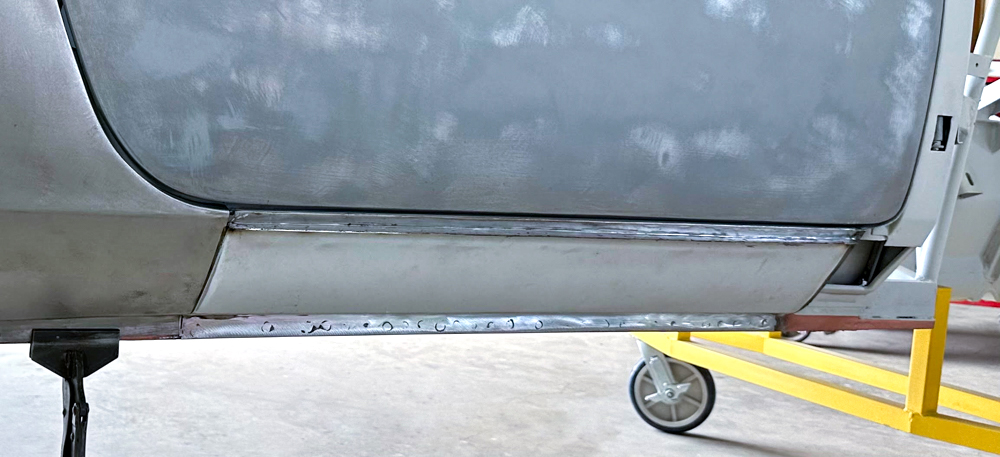
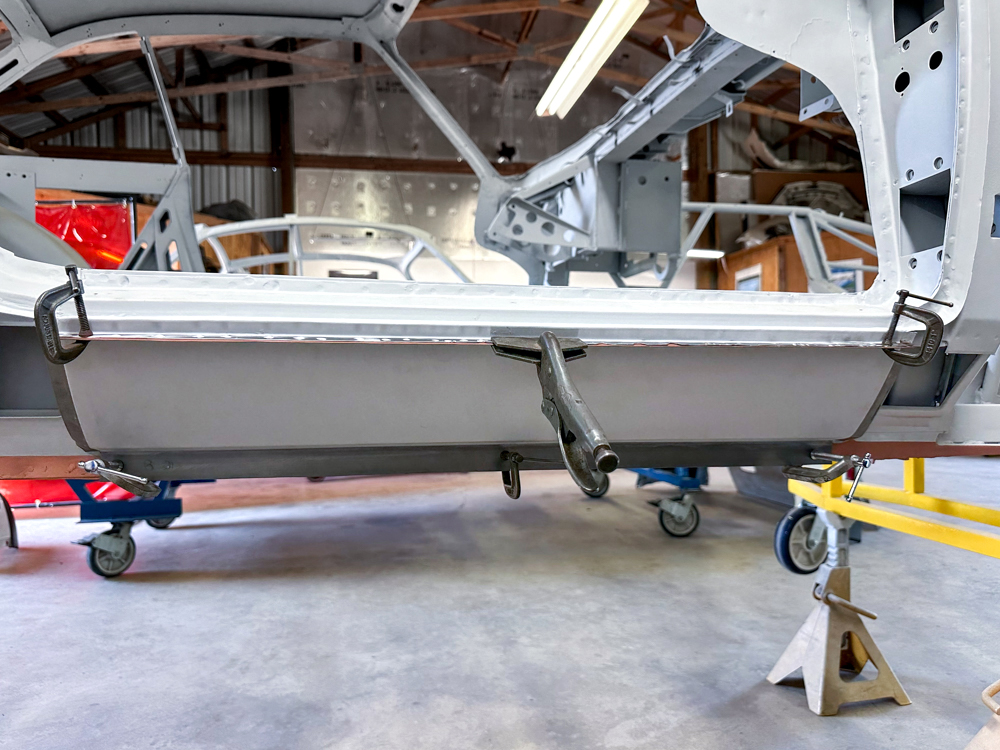
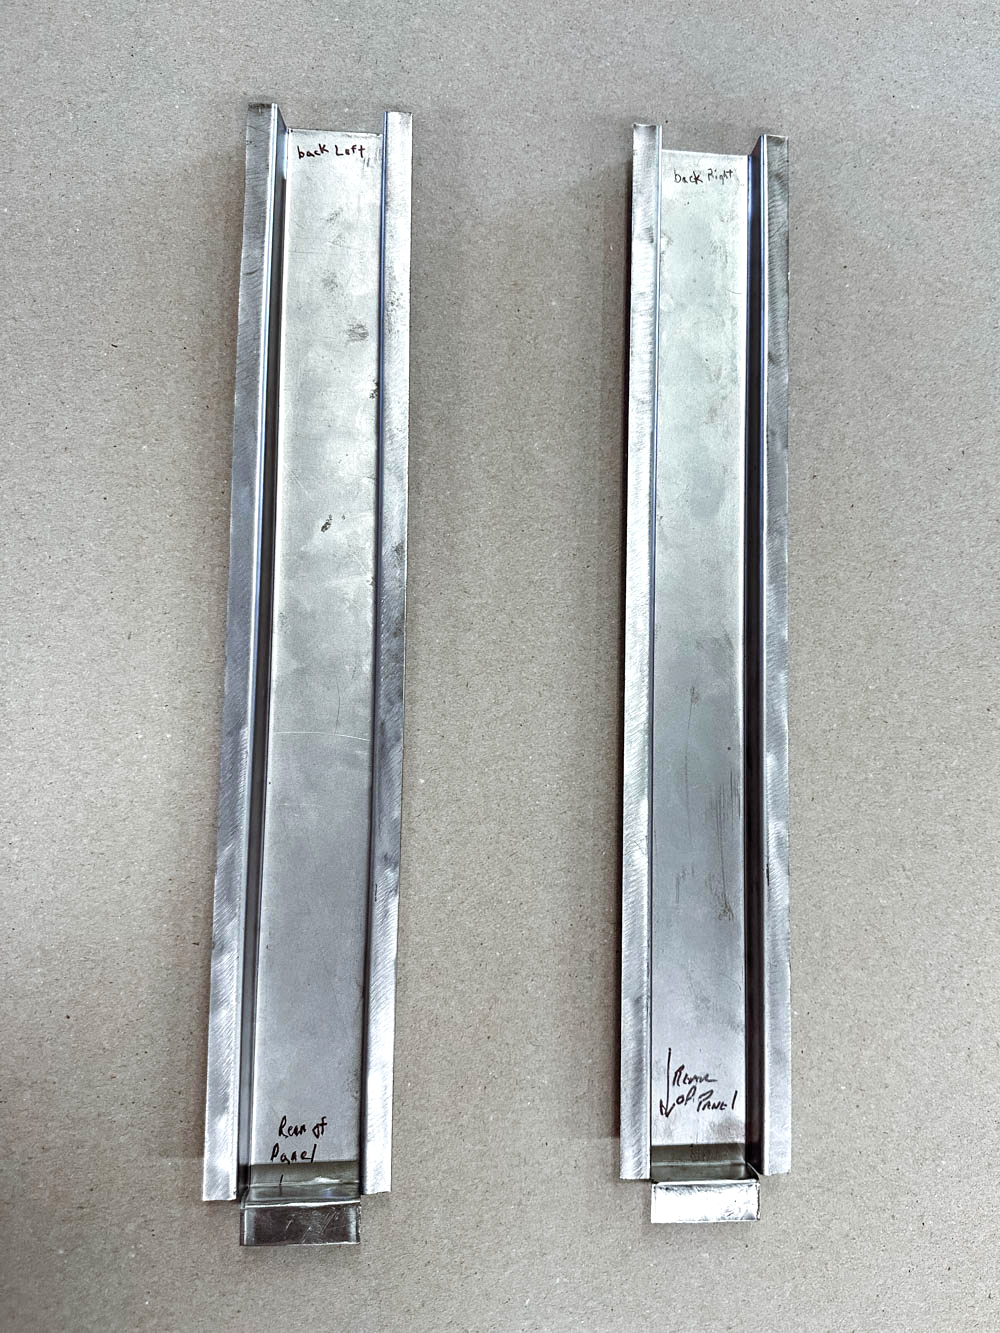
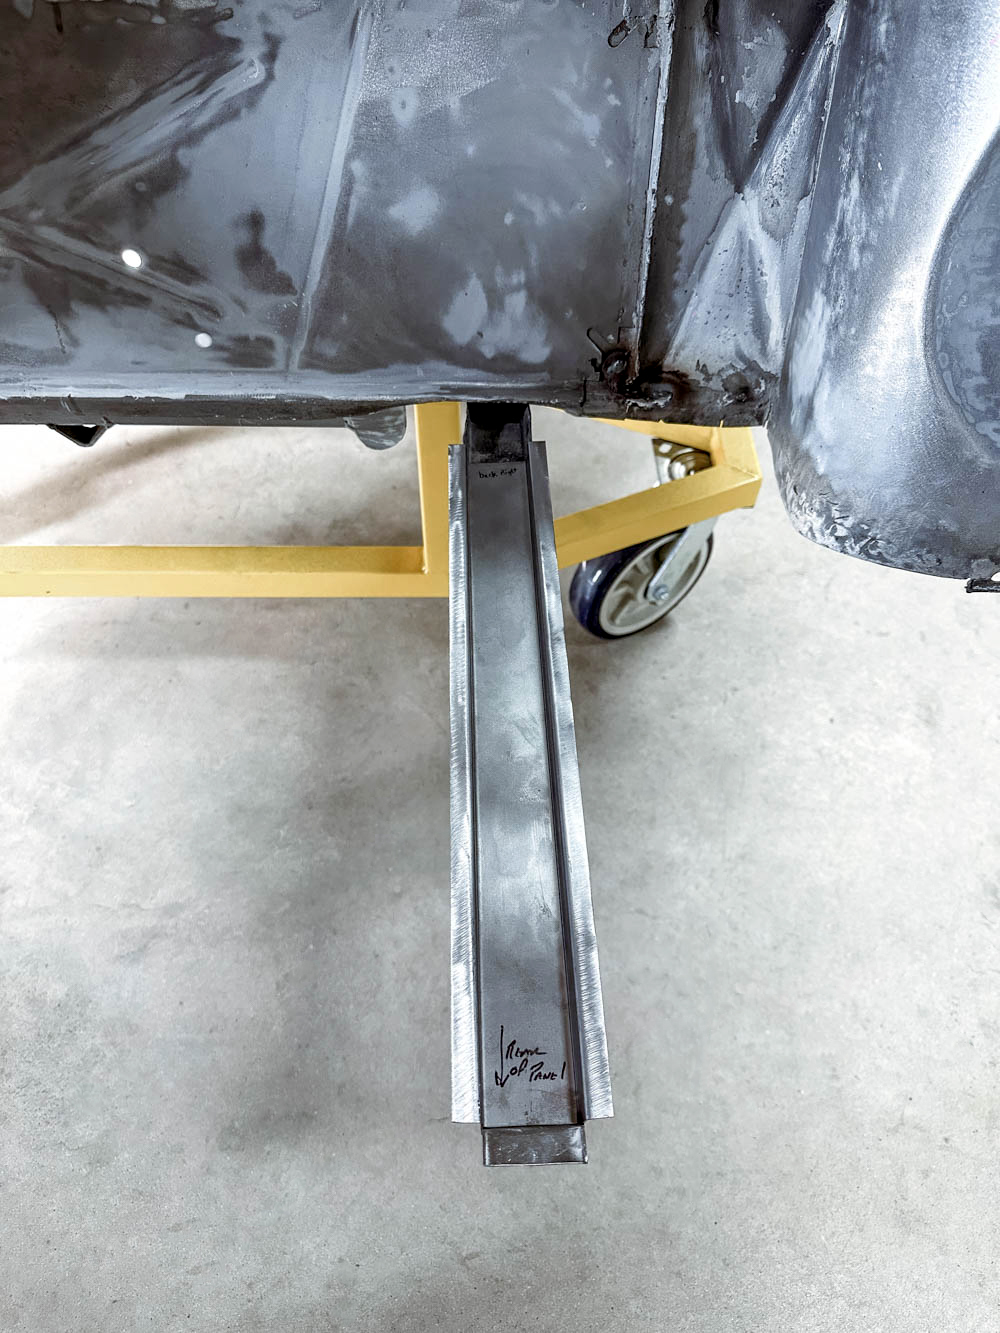
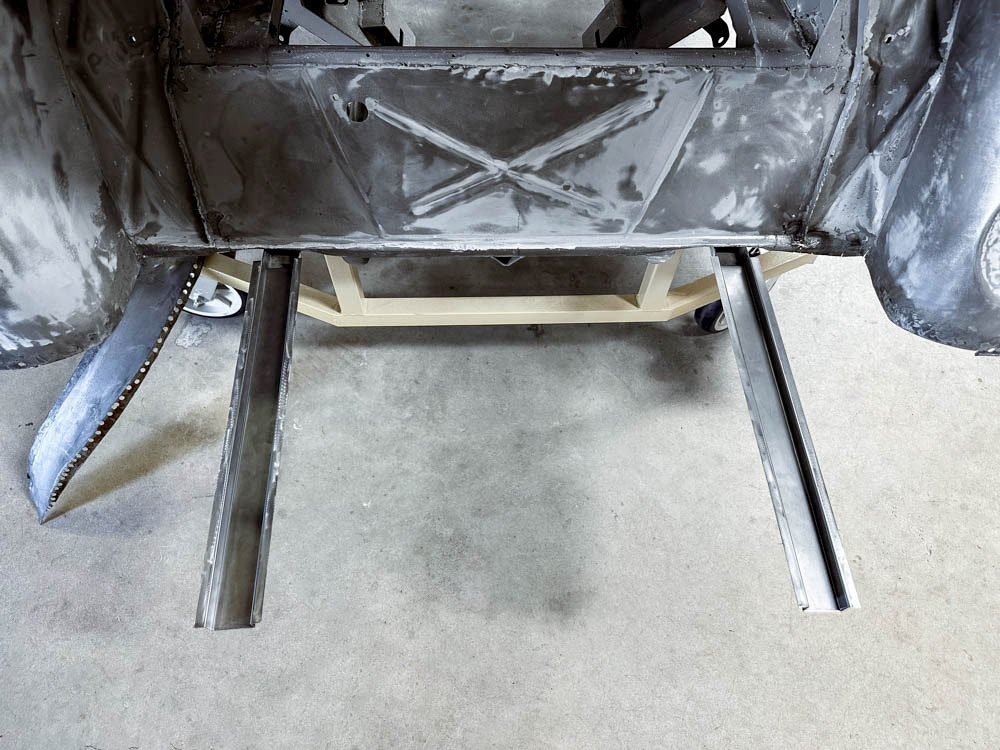
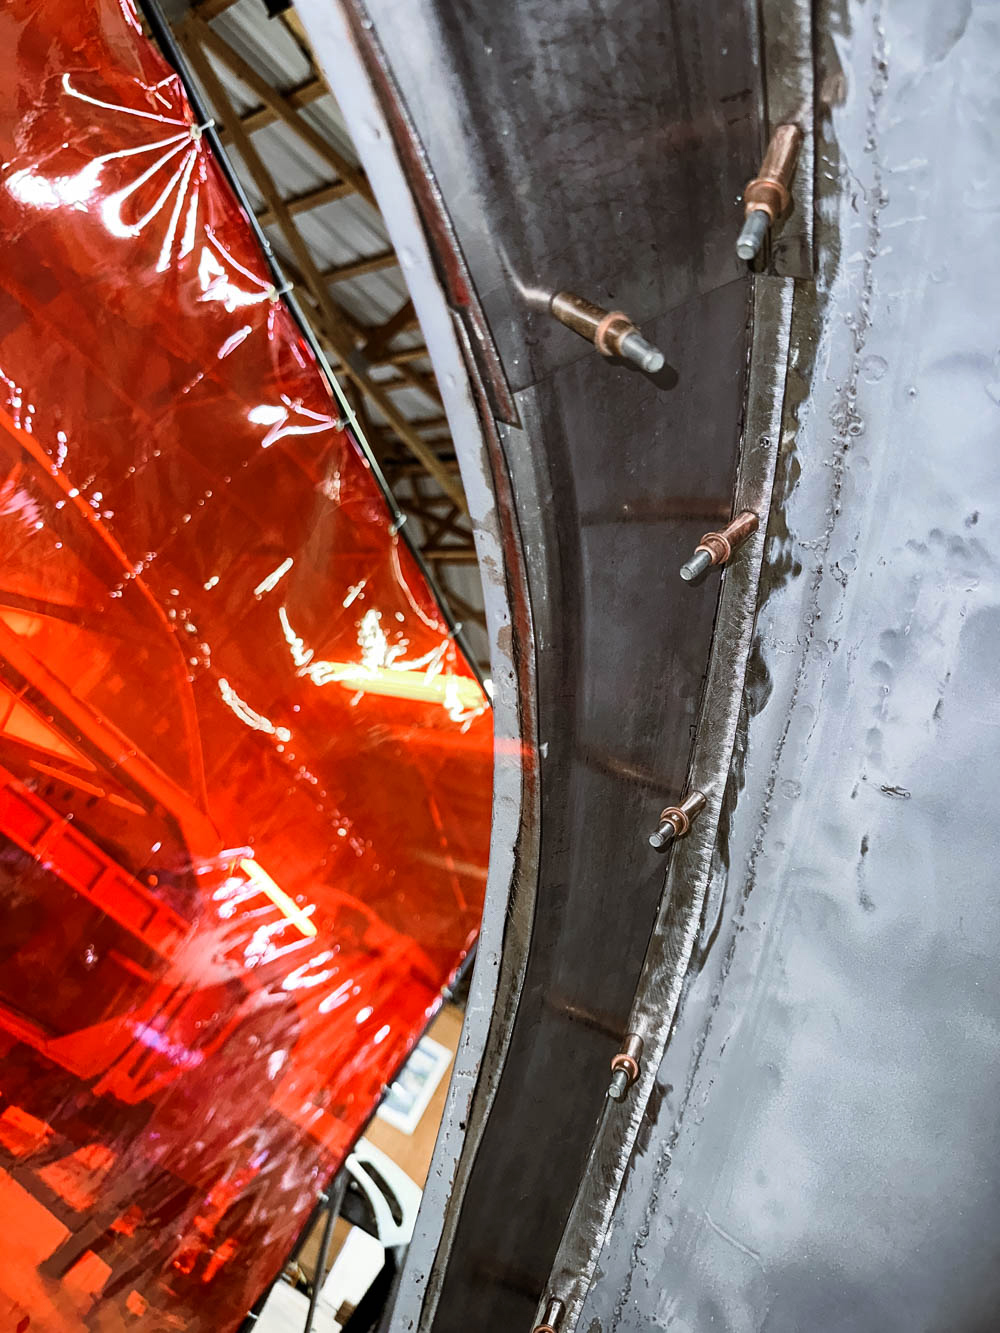
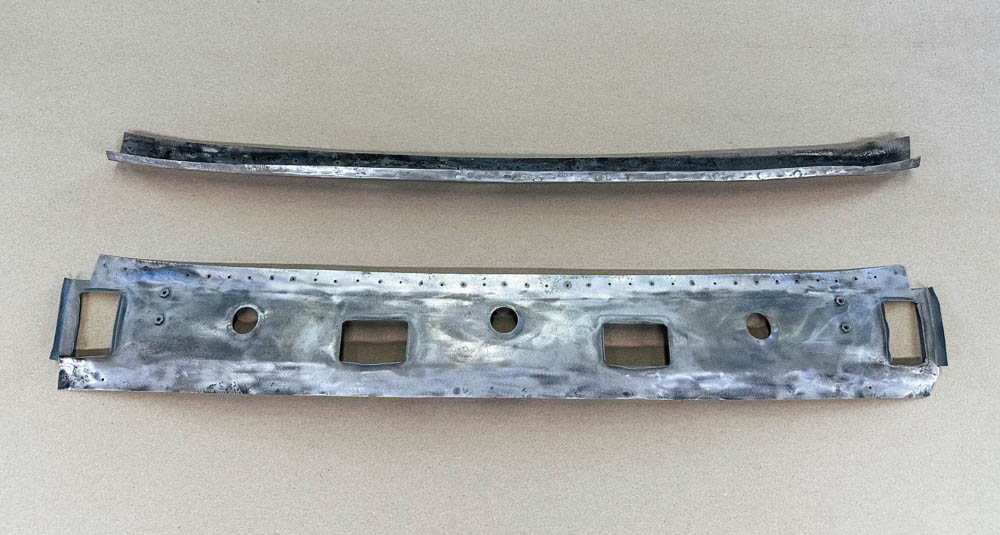
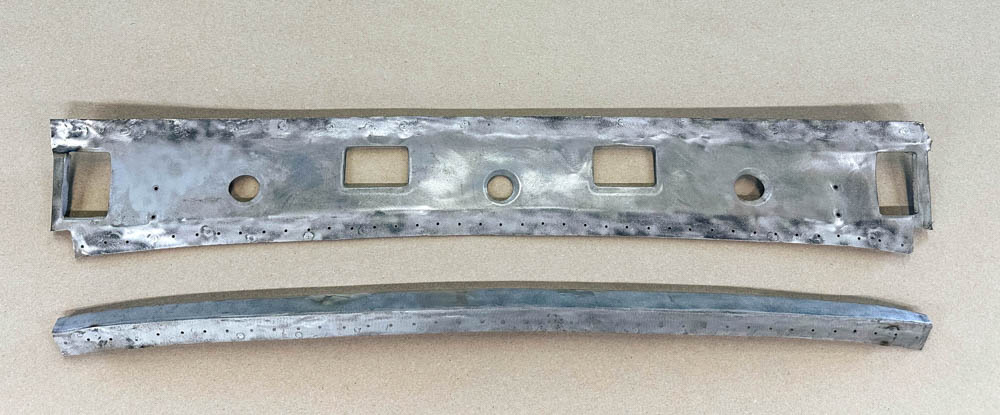
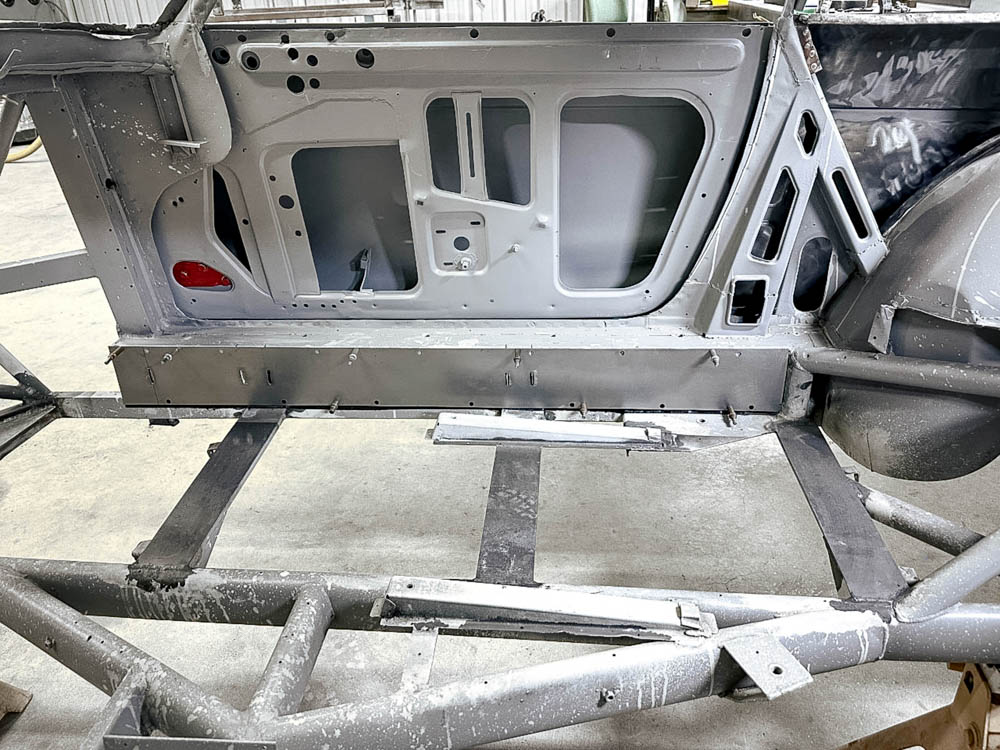
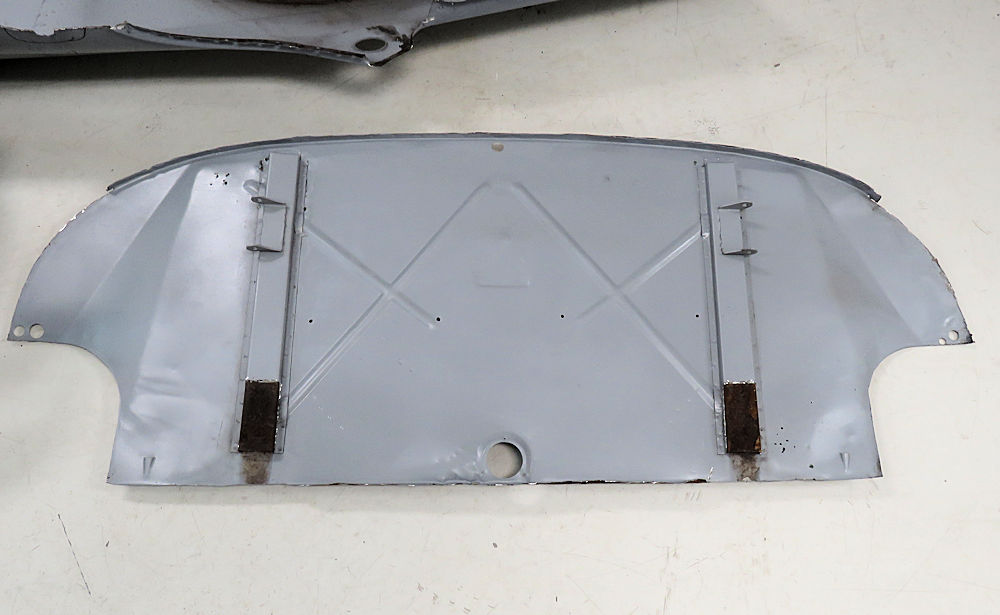
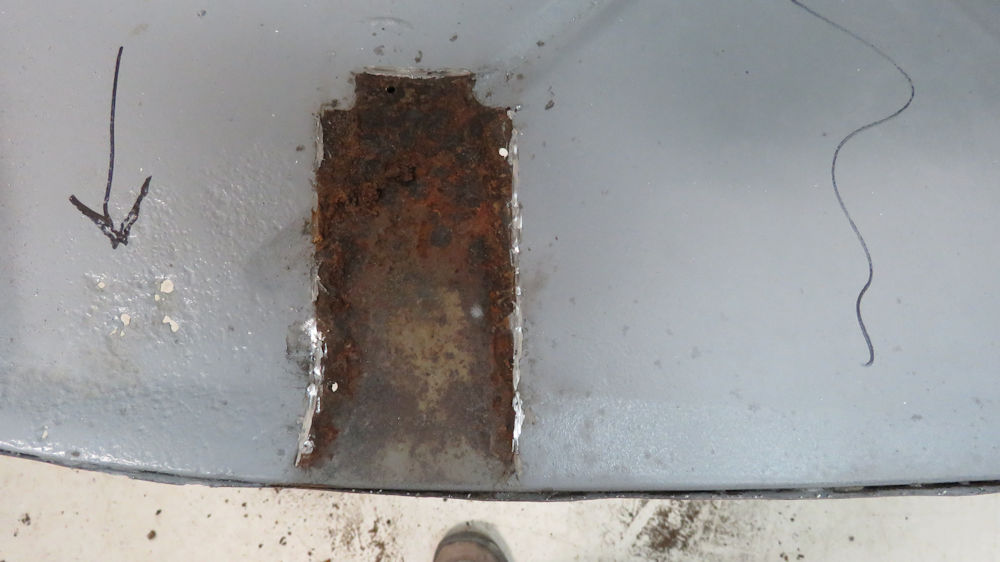
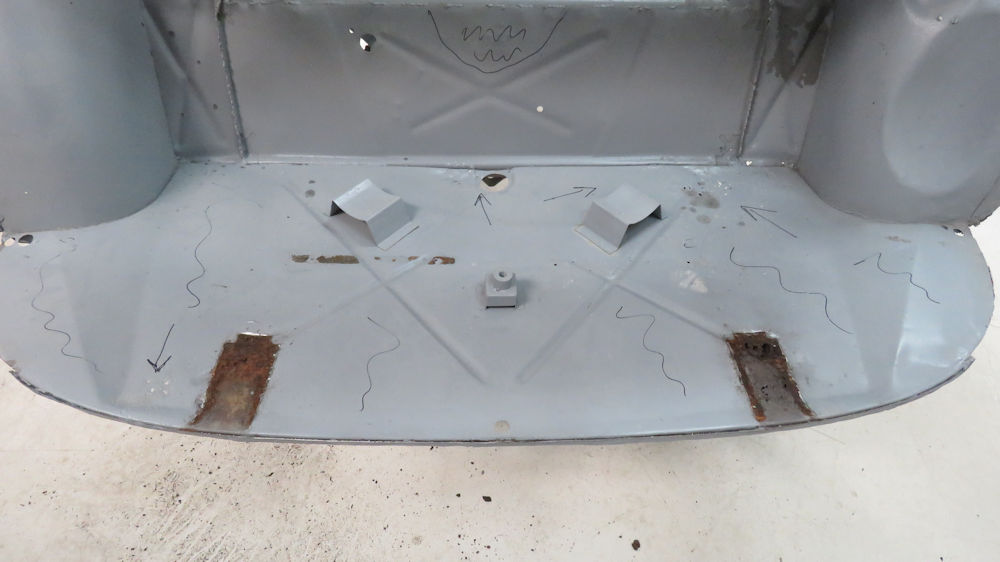
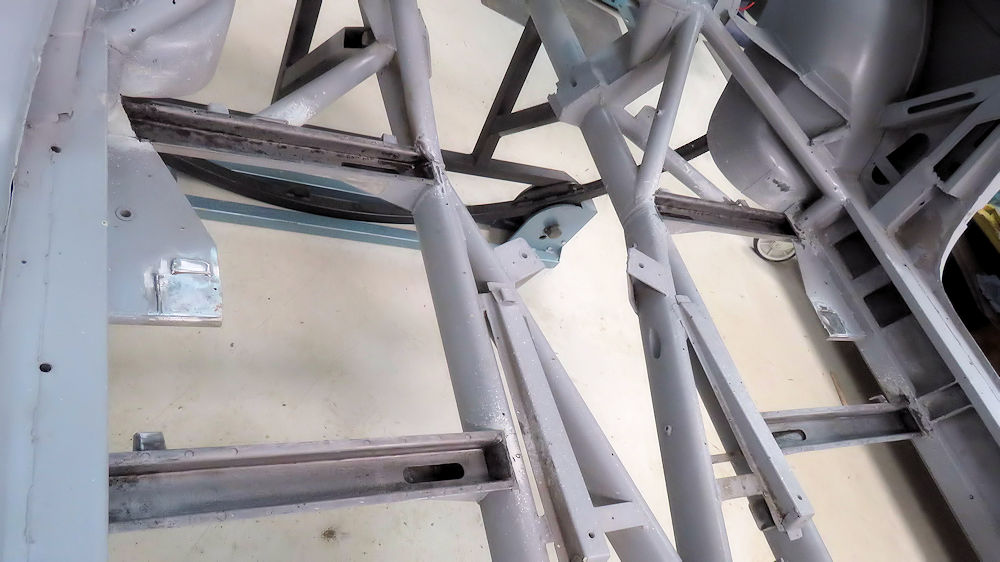
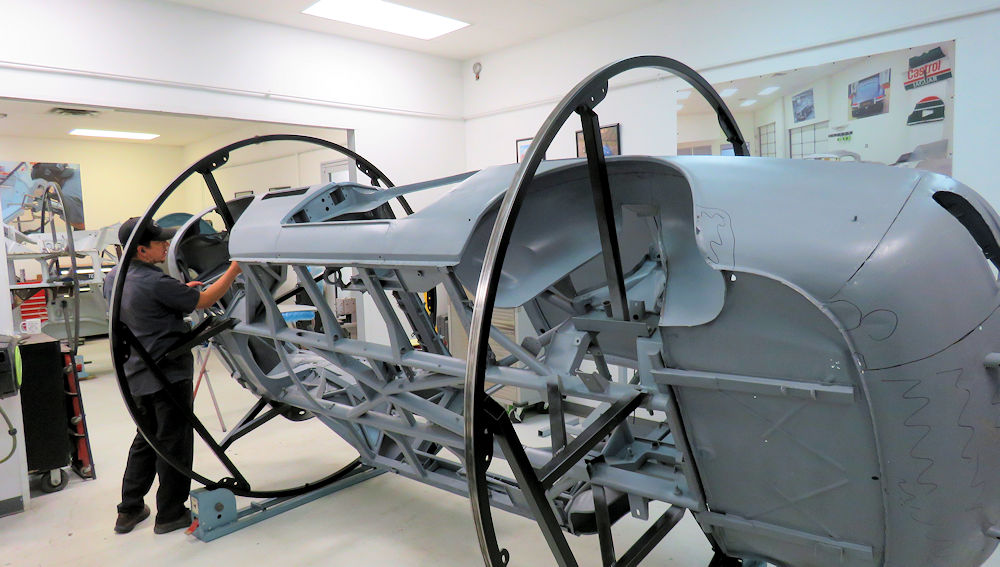
Rear cowl panel primed
and ready for installation
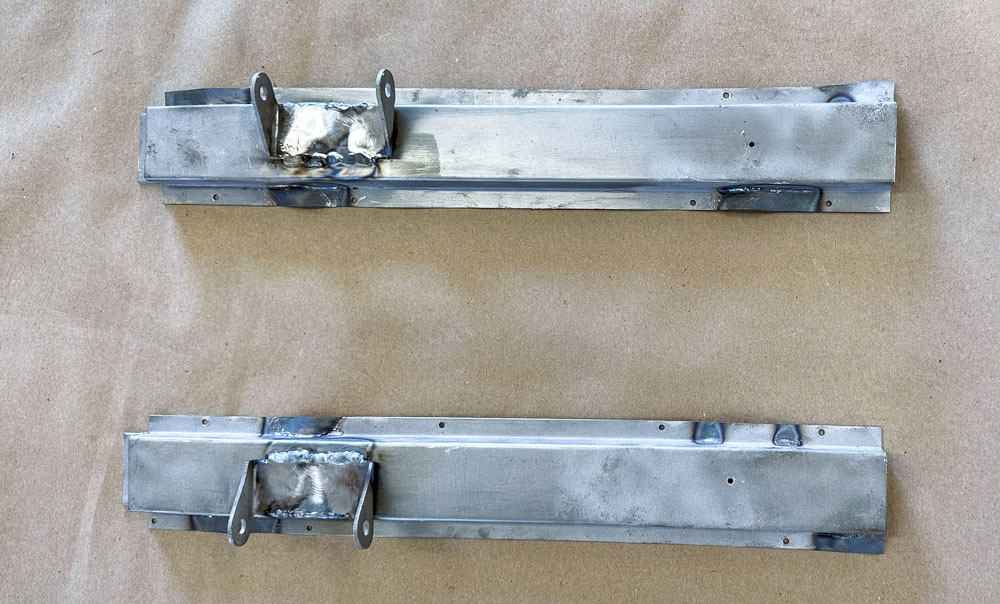
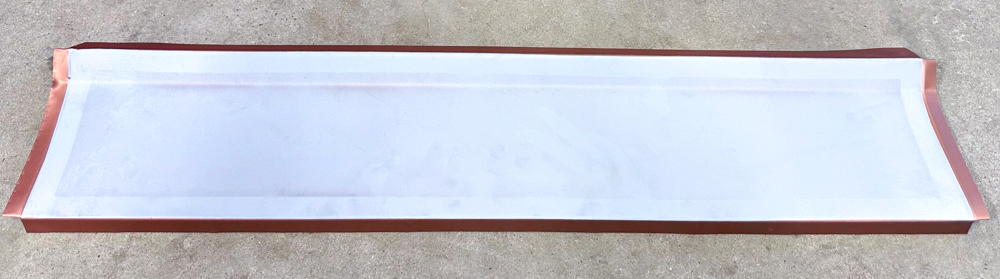
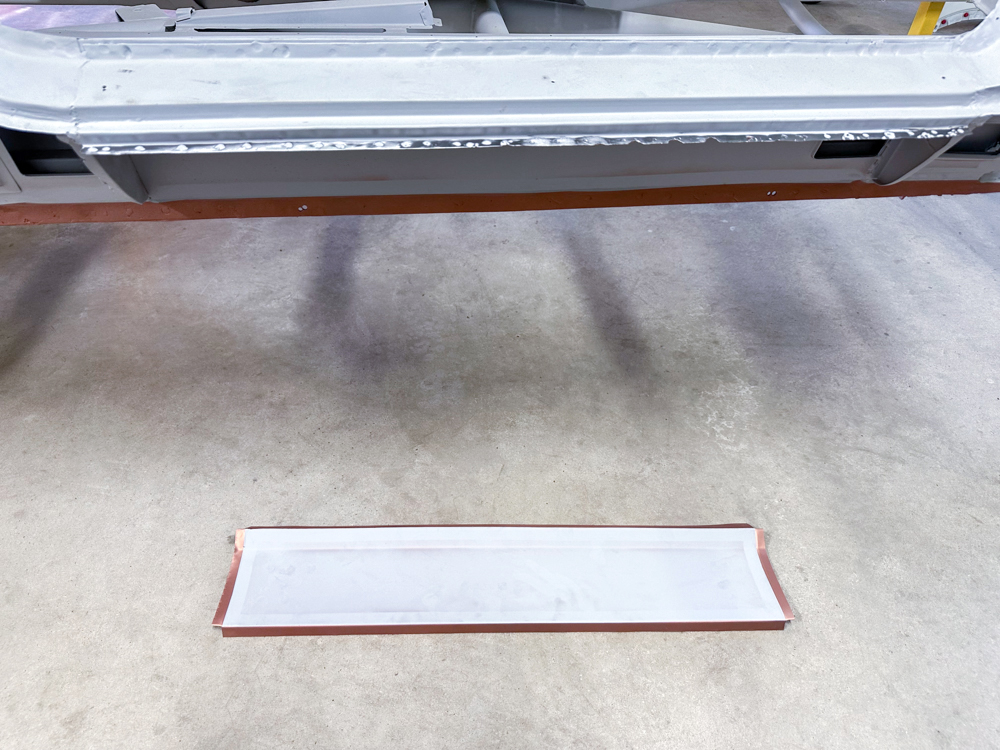
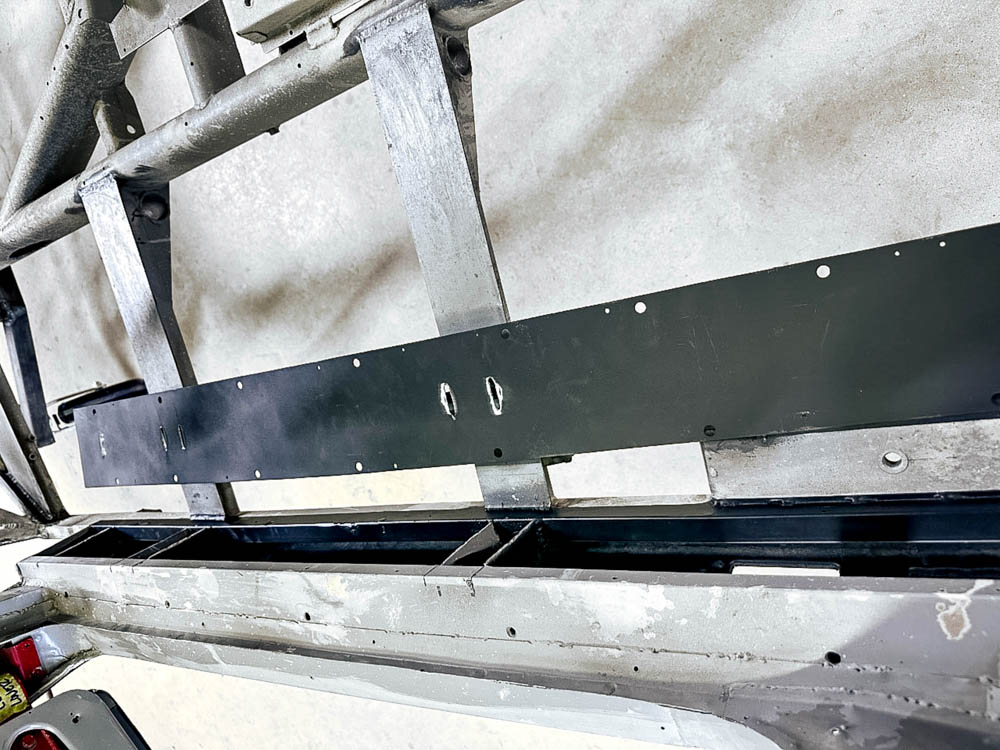
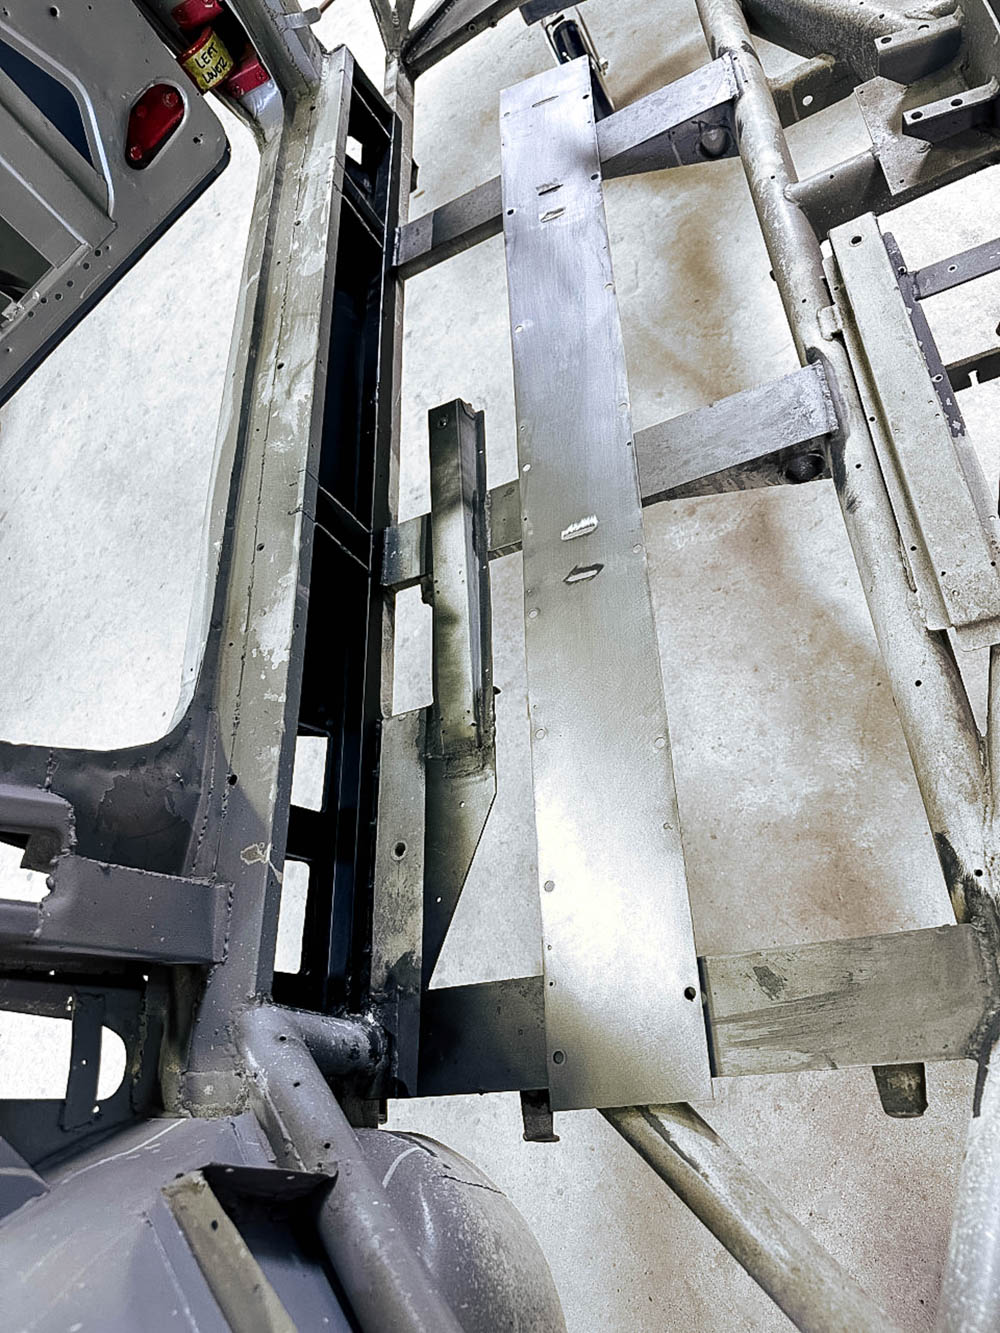
Trunk floor panel support brackets, fit,
primed and ready for installation
Inside of rear quarter panels, tail panel,
and interior close out panel primed
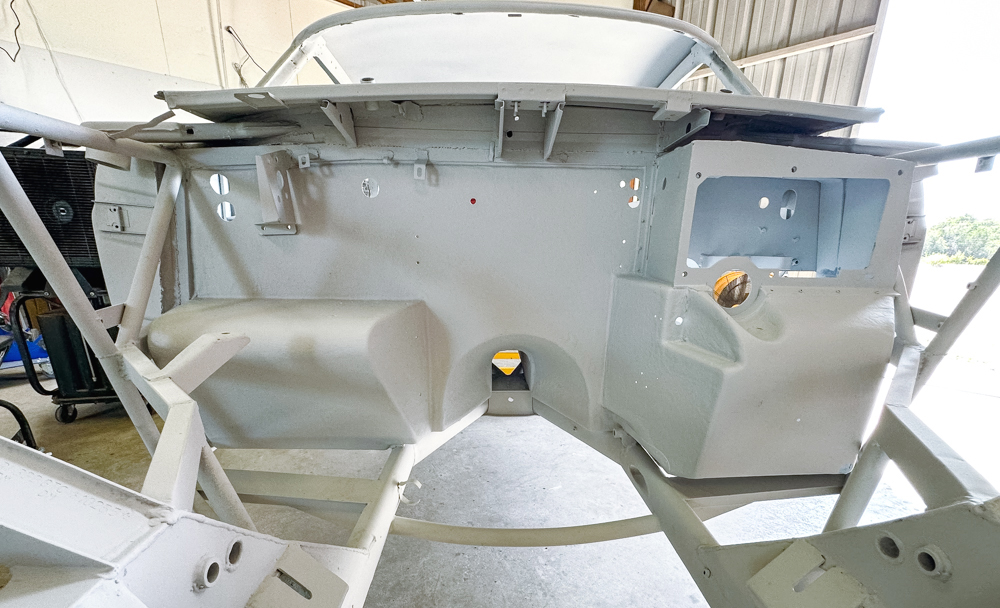
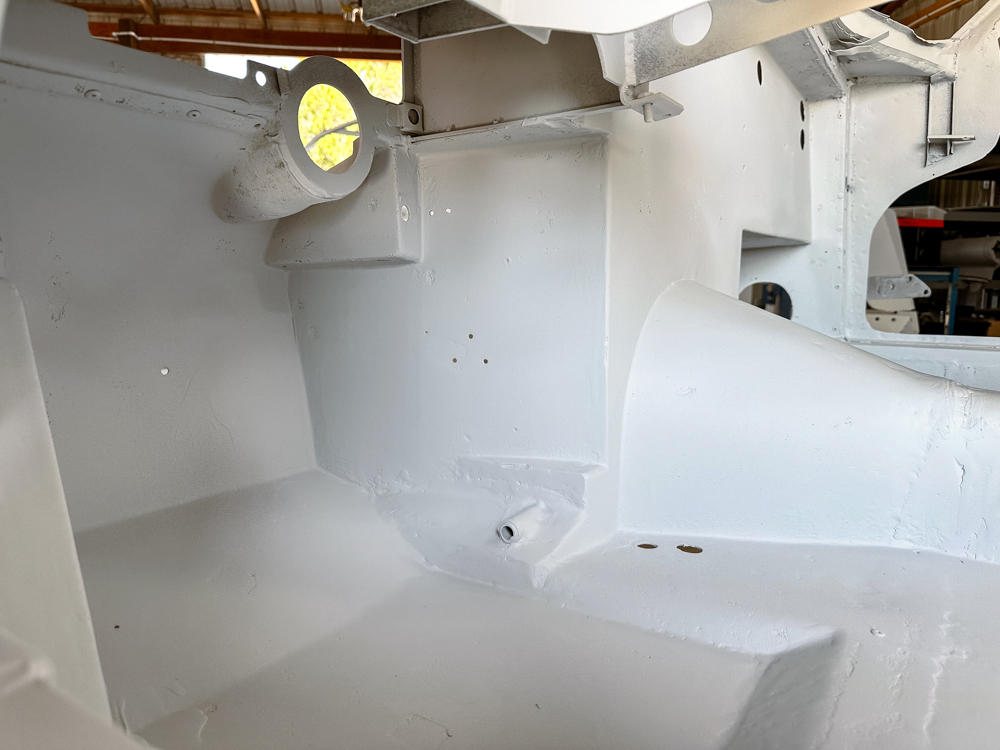
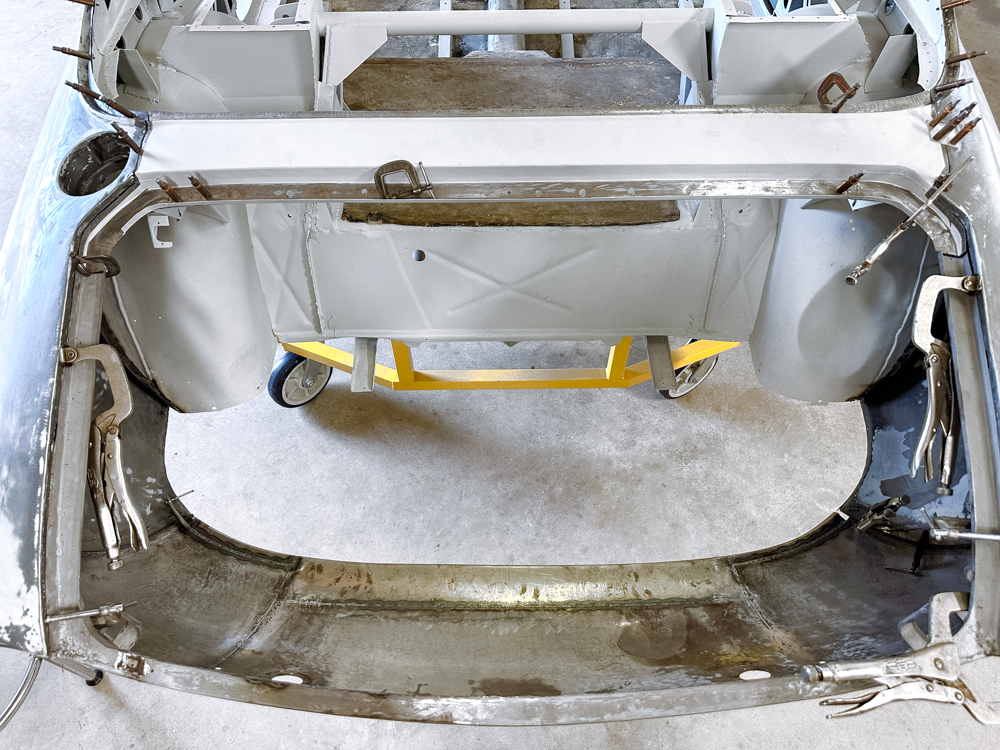
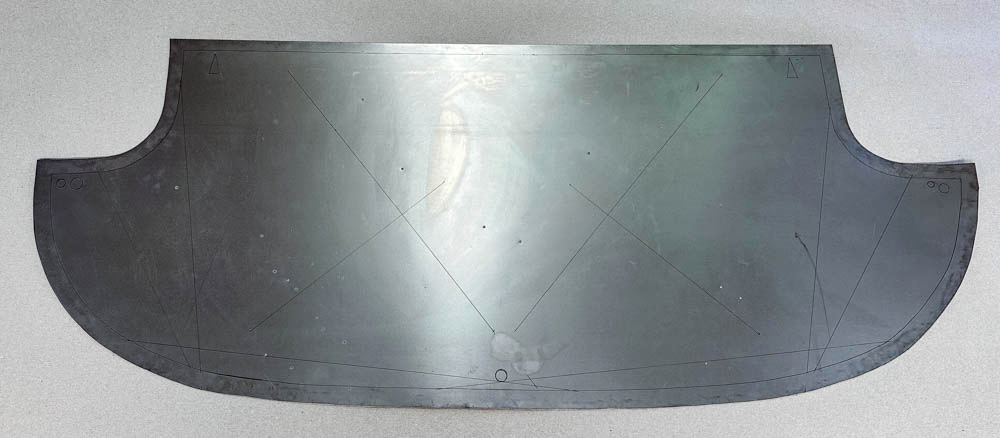
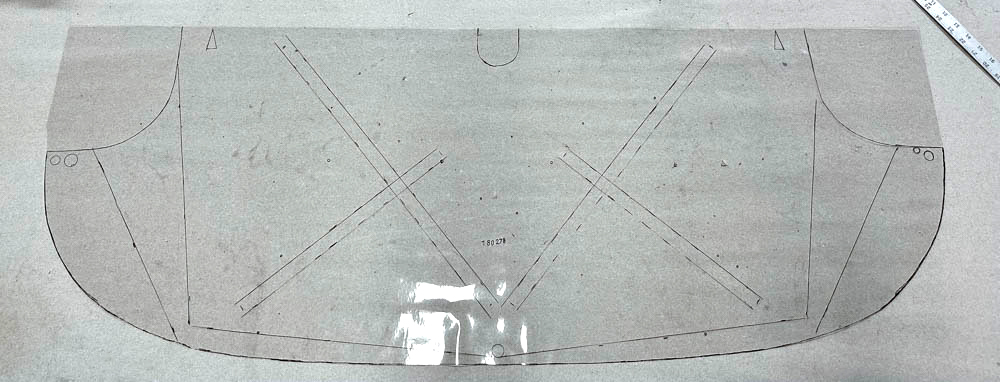
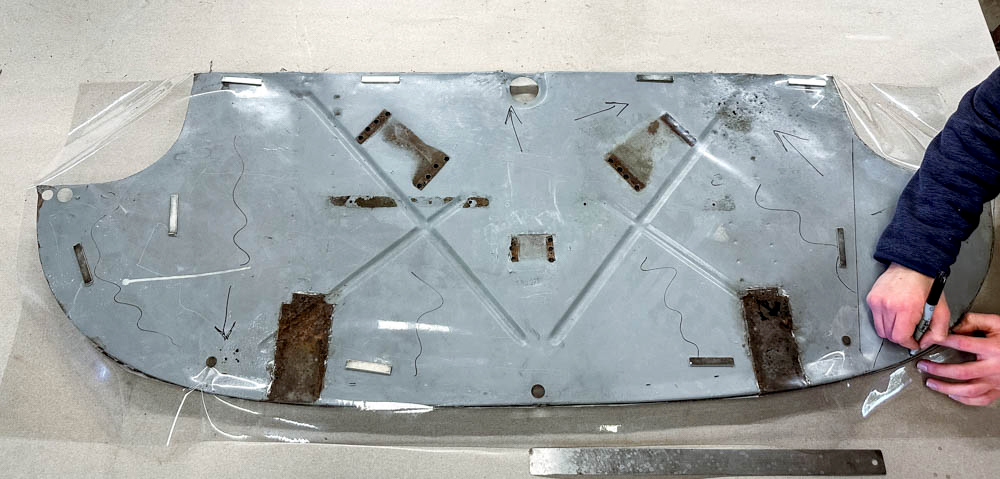
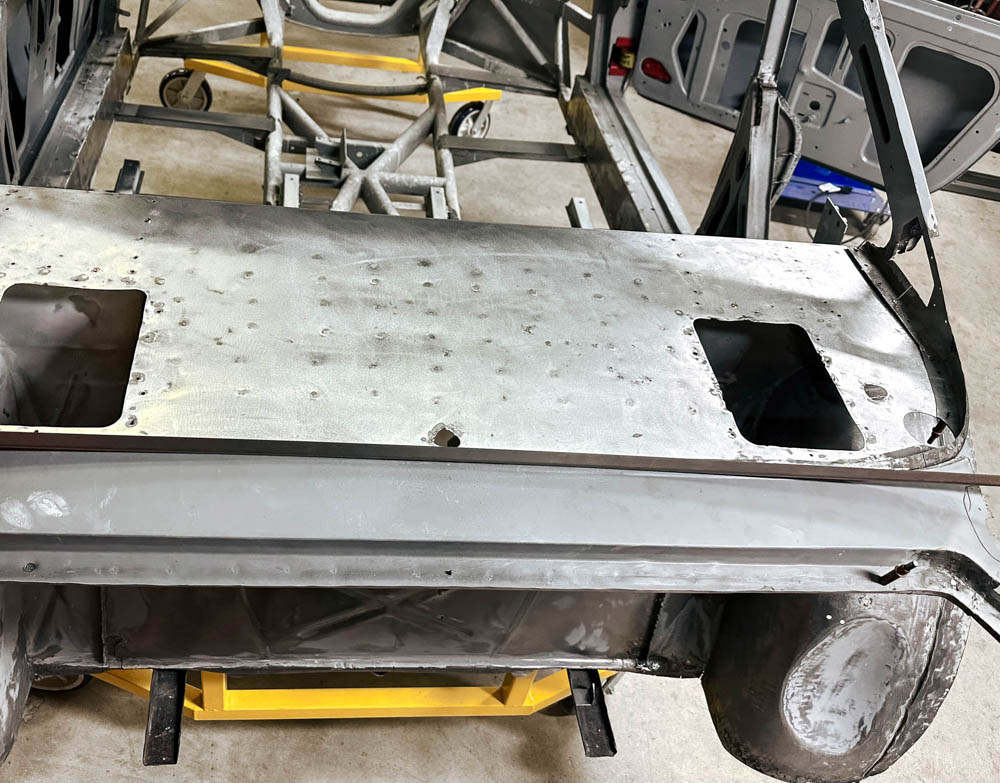
Floor assembly,
footwell and firewall primed
Seam sealing of floor pan,
footwell and firewall pans
Installation and repair of fiberglass floor,
footwell and firewall panels
Disassembly of rear bumper/
fuel tank mounting assembly
Rebuild of tail panel assembly
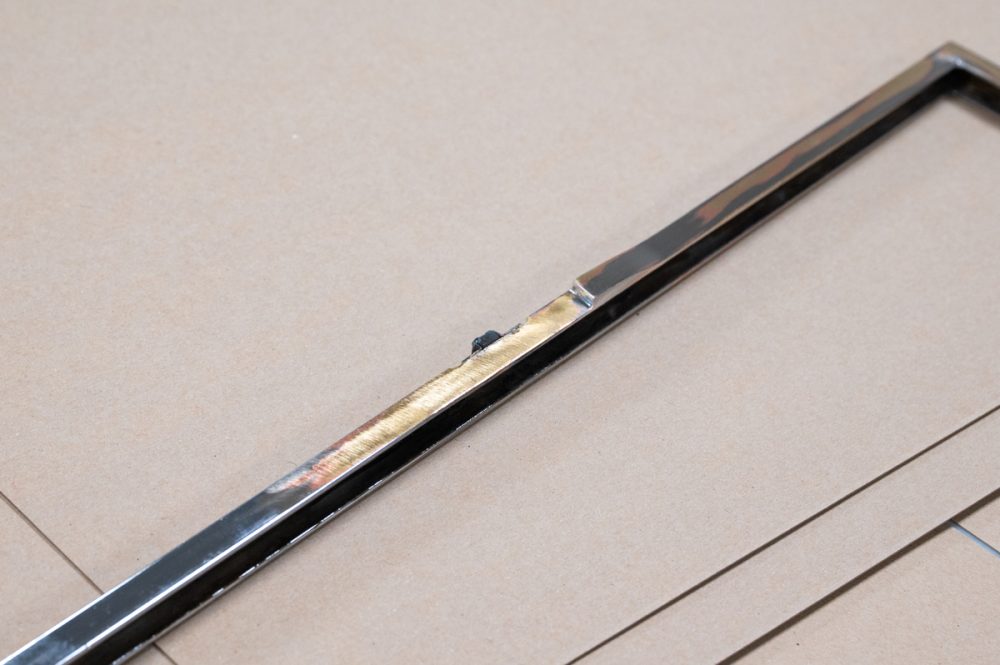
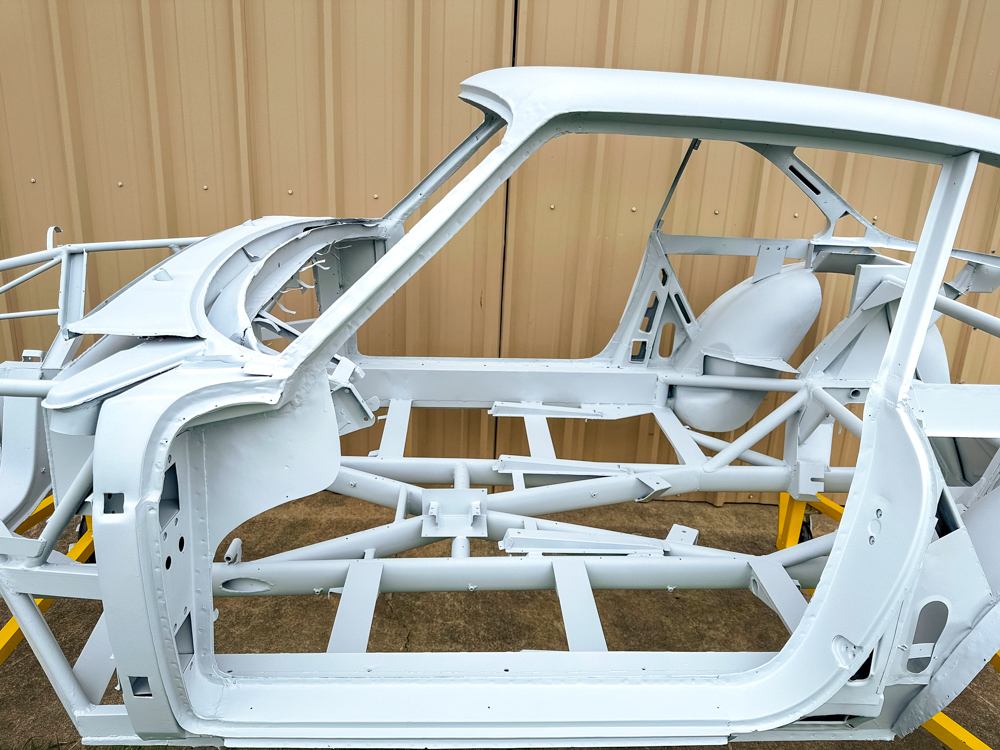
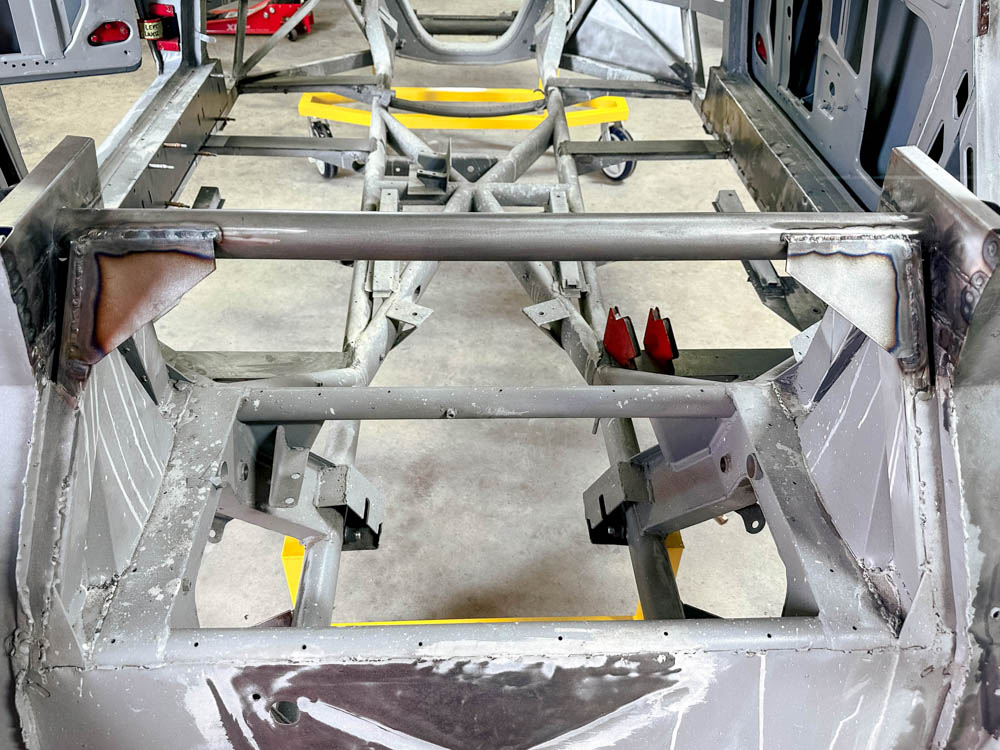
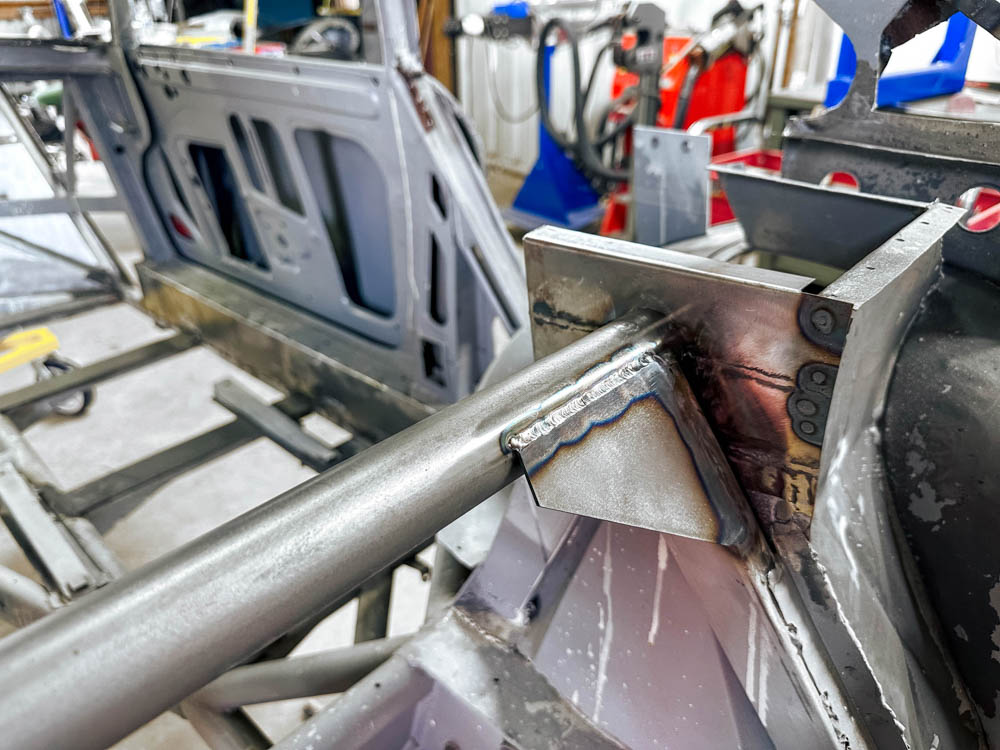
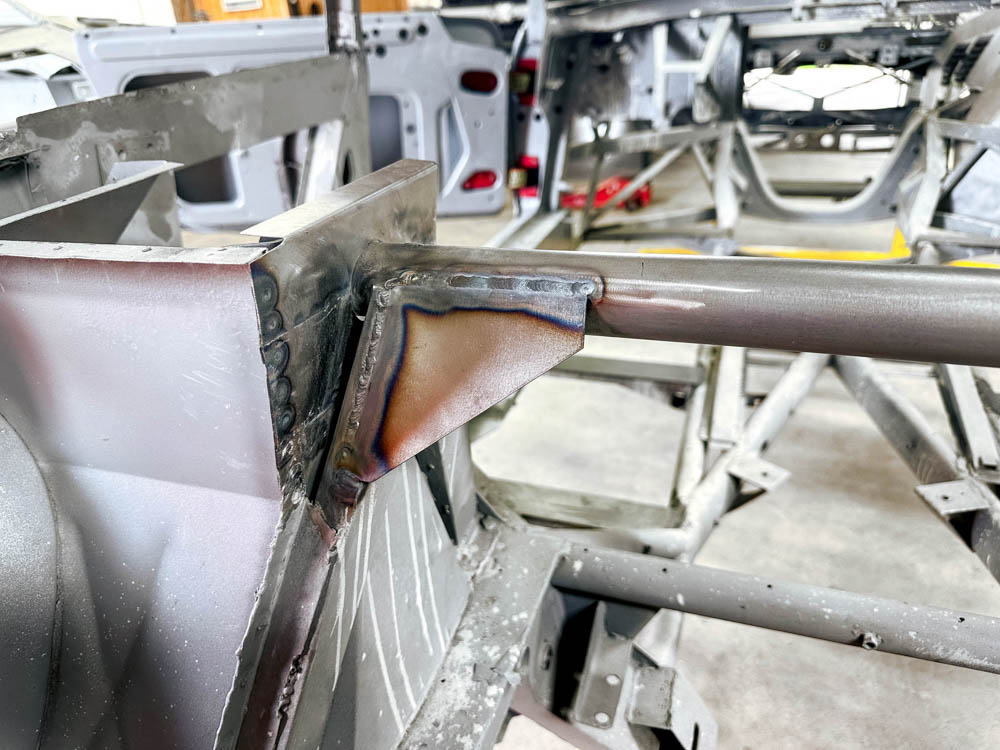
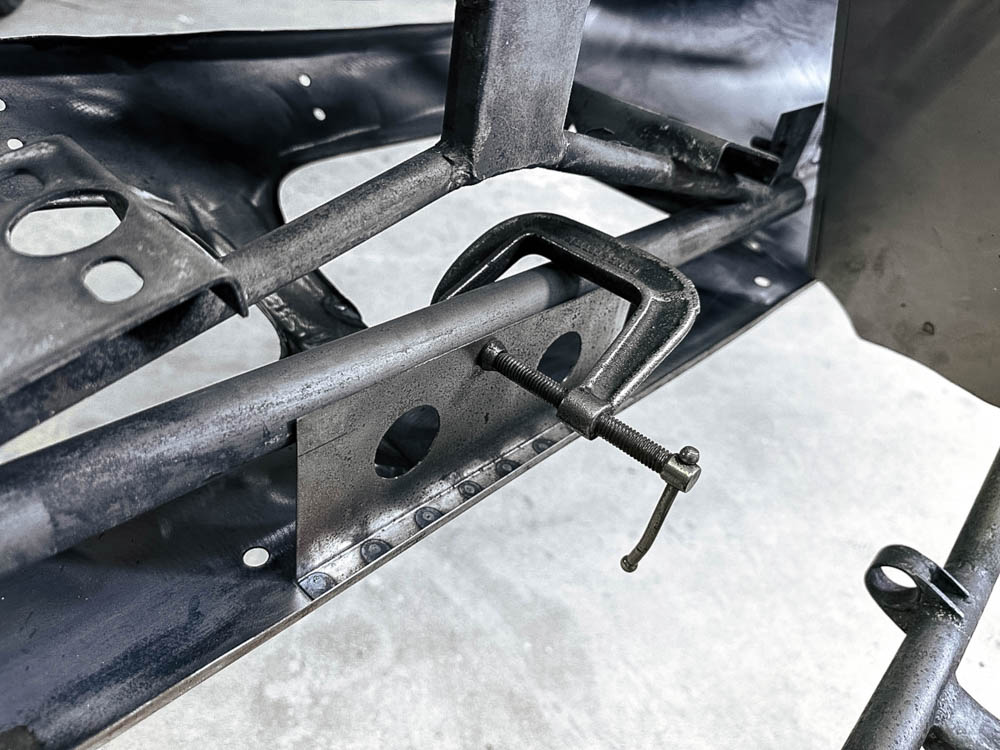
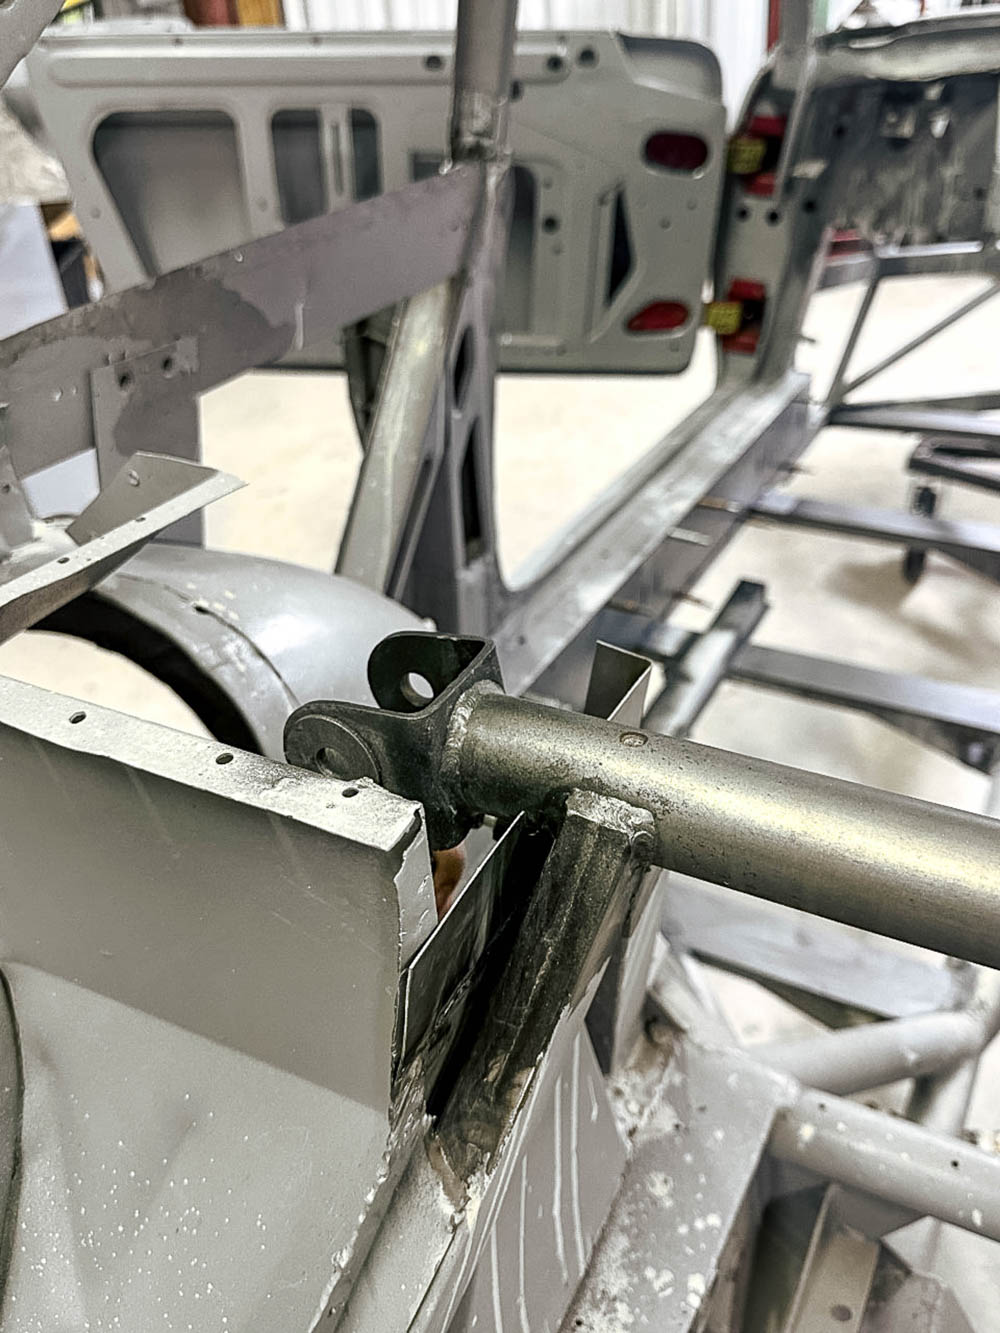
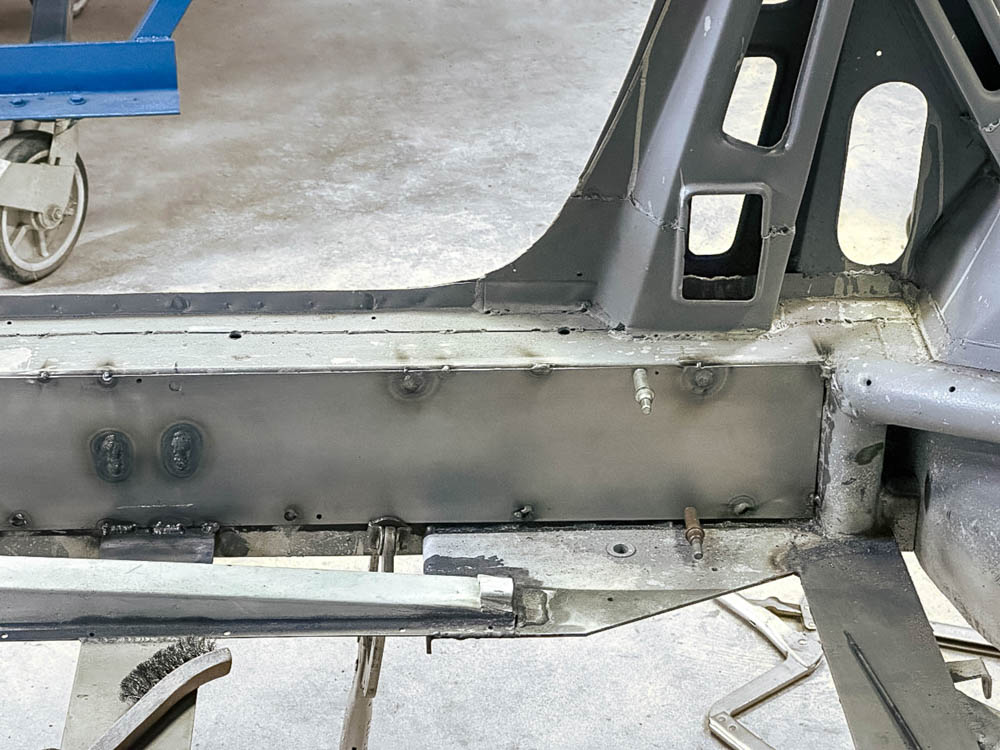
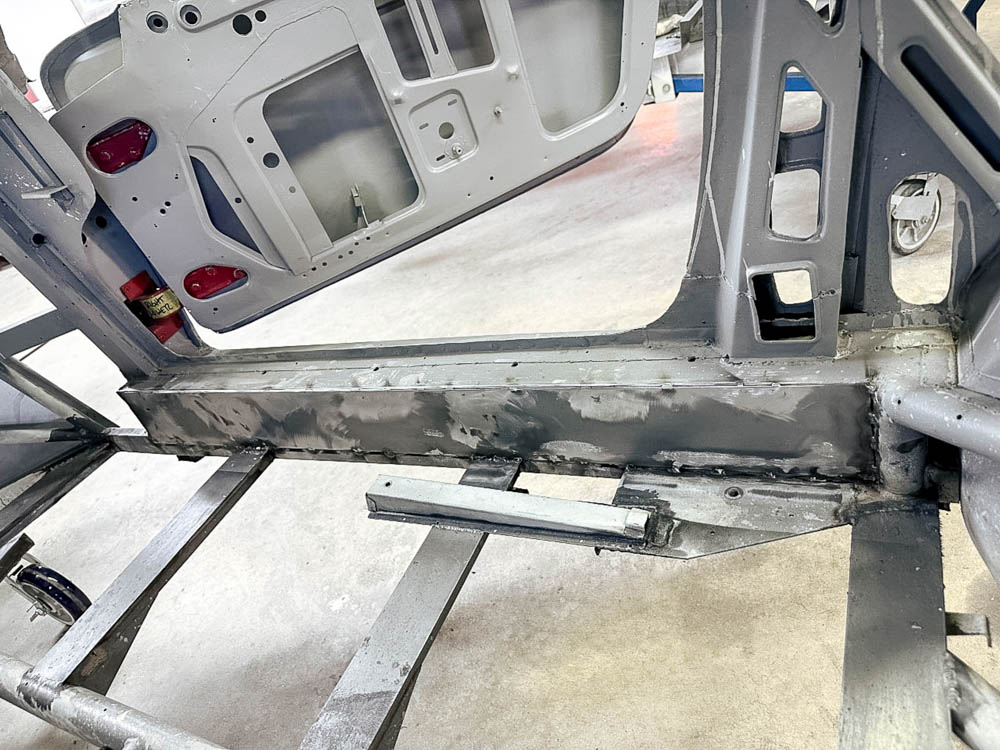
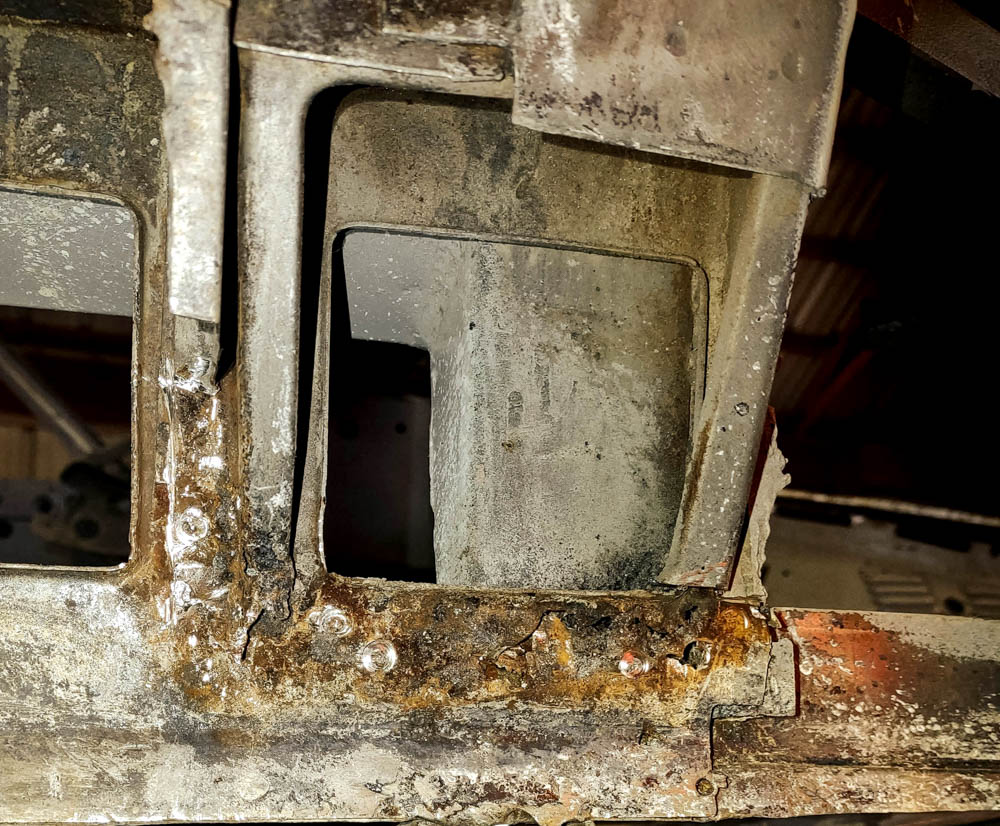
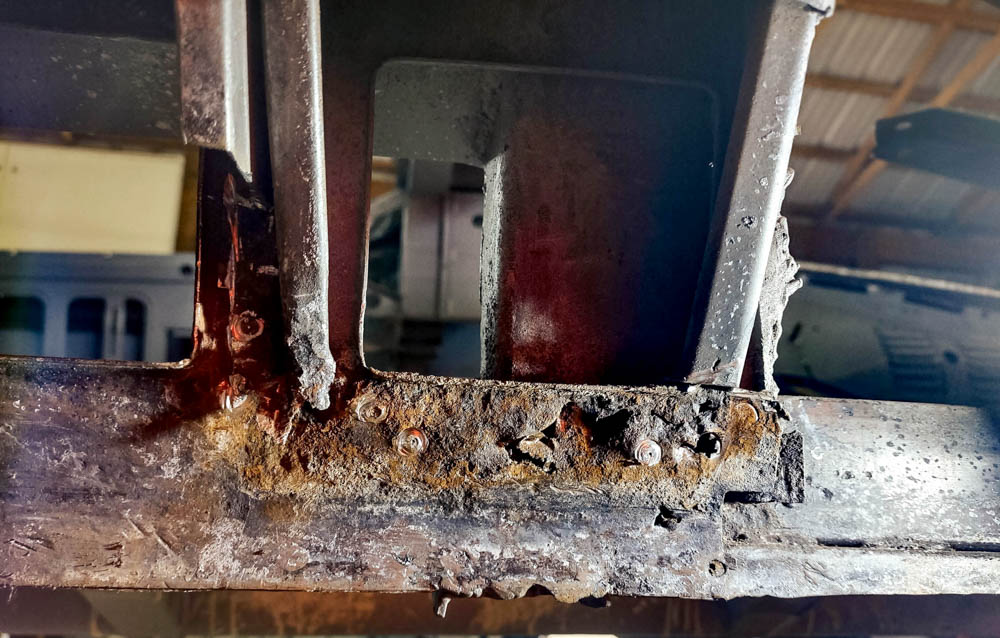
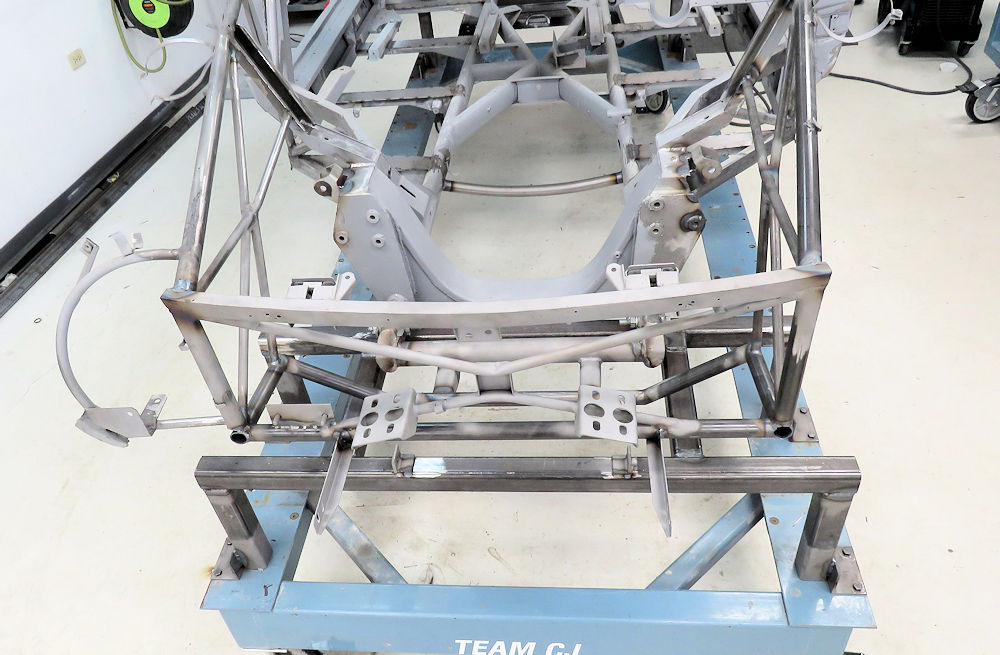
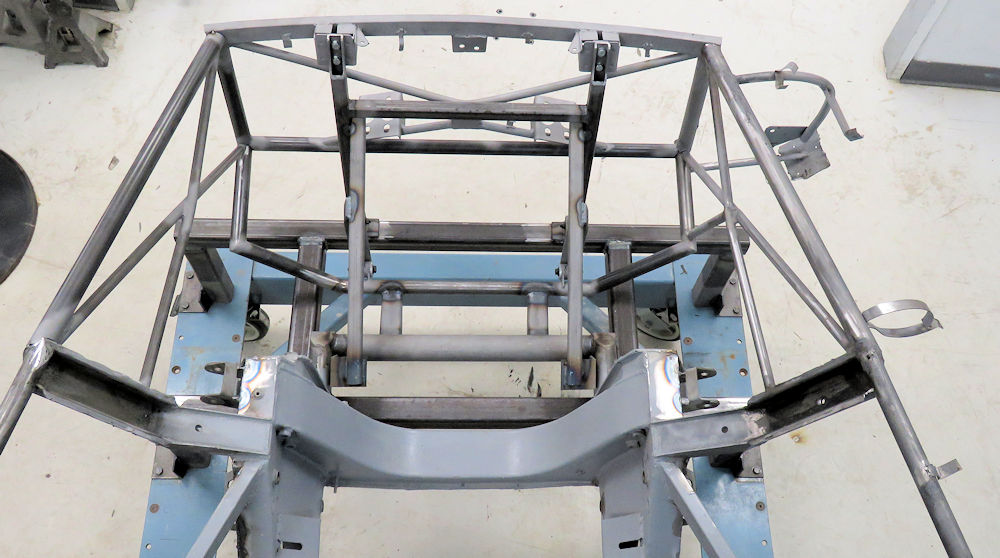
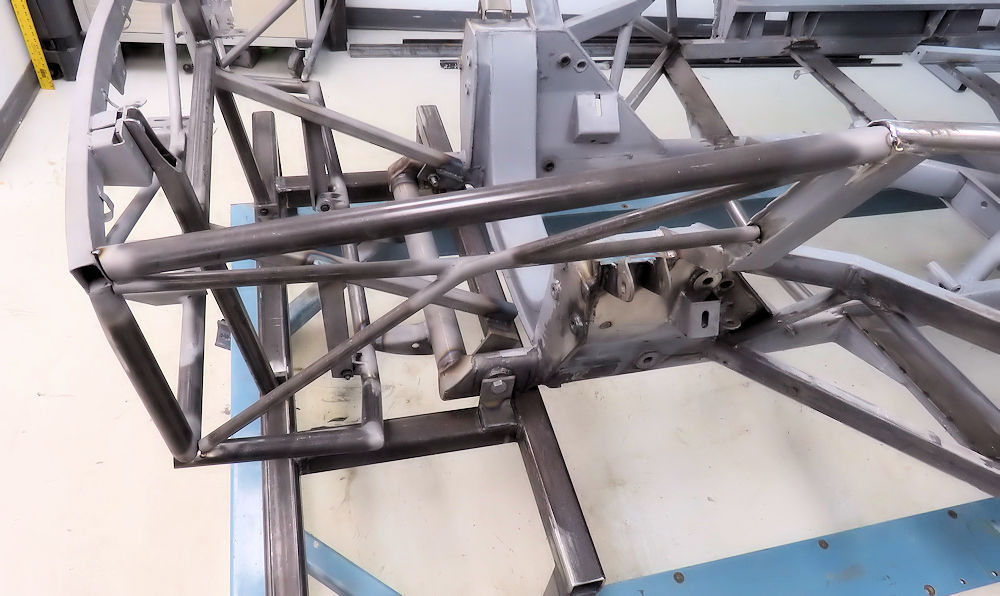
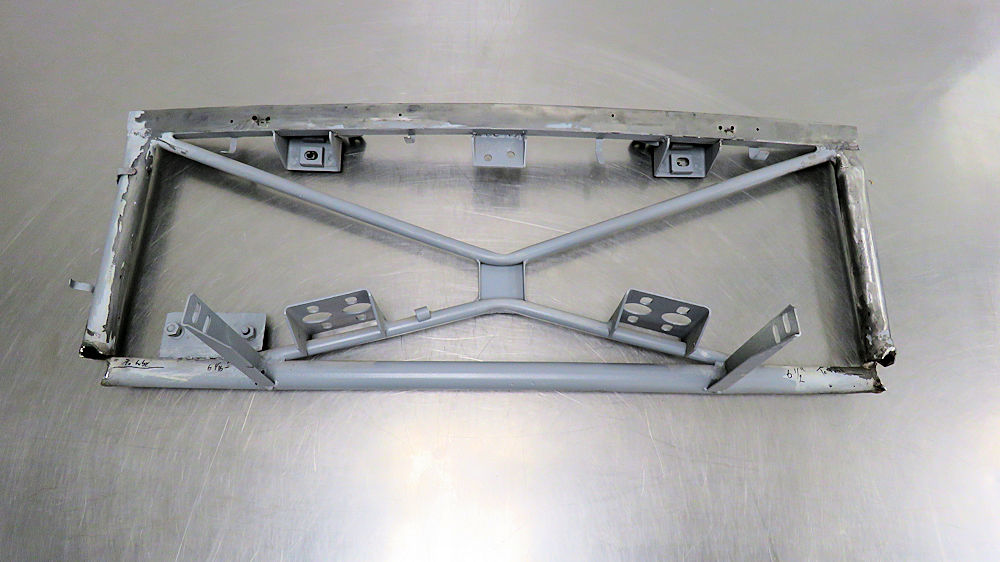
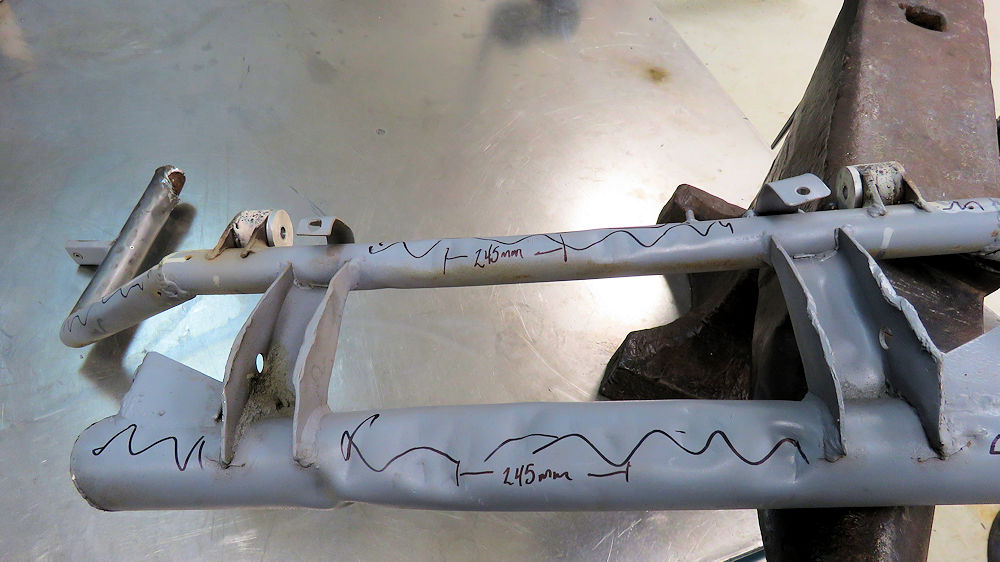
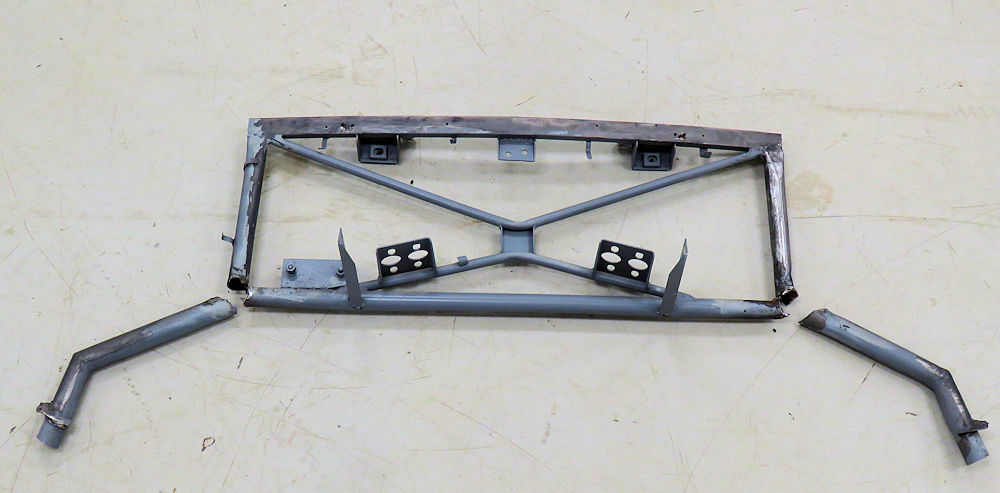
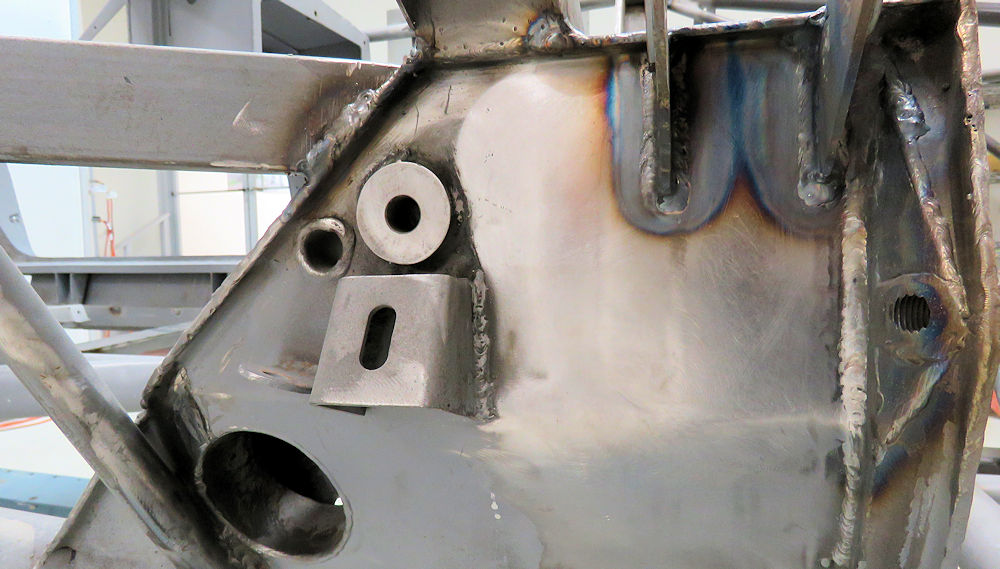
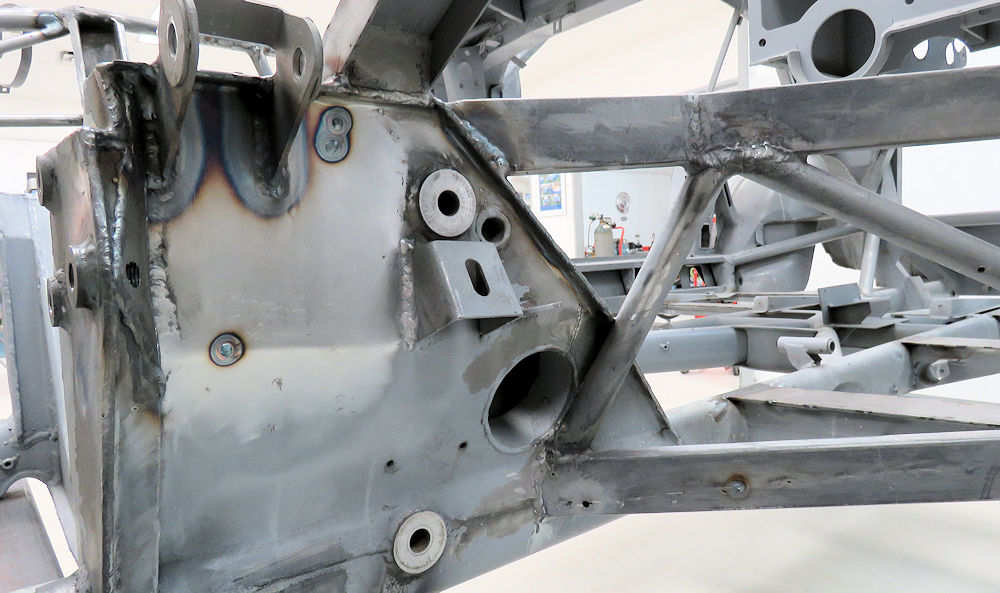
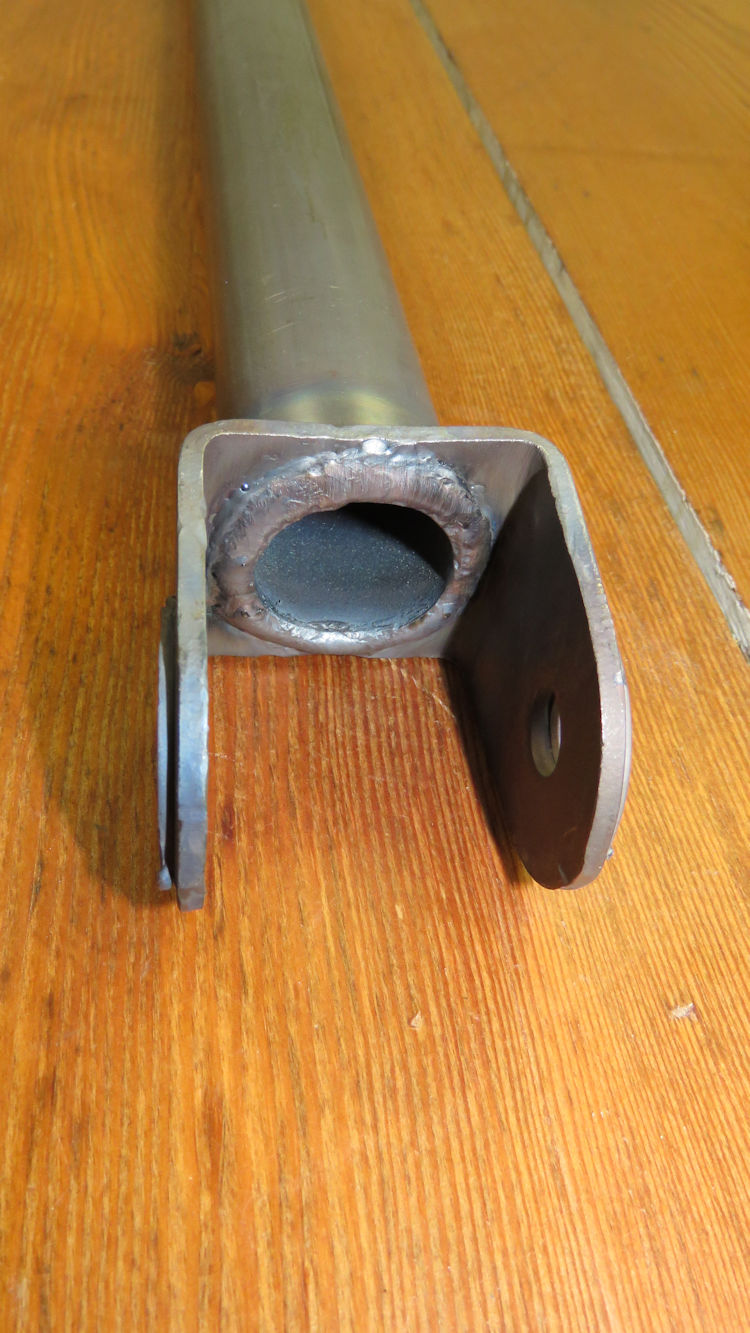
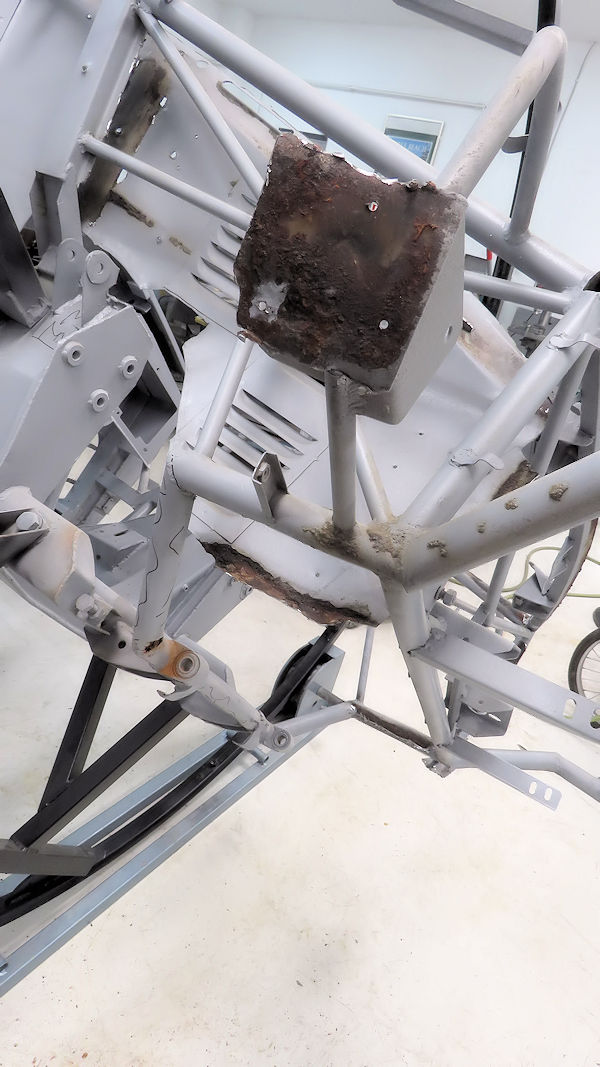
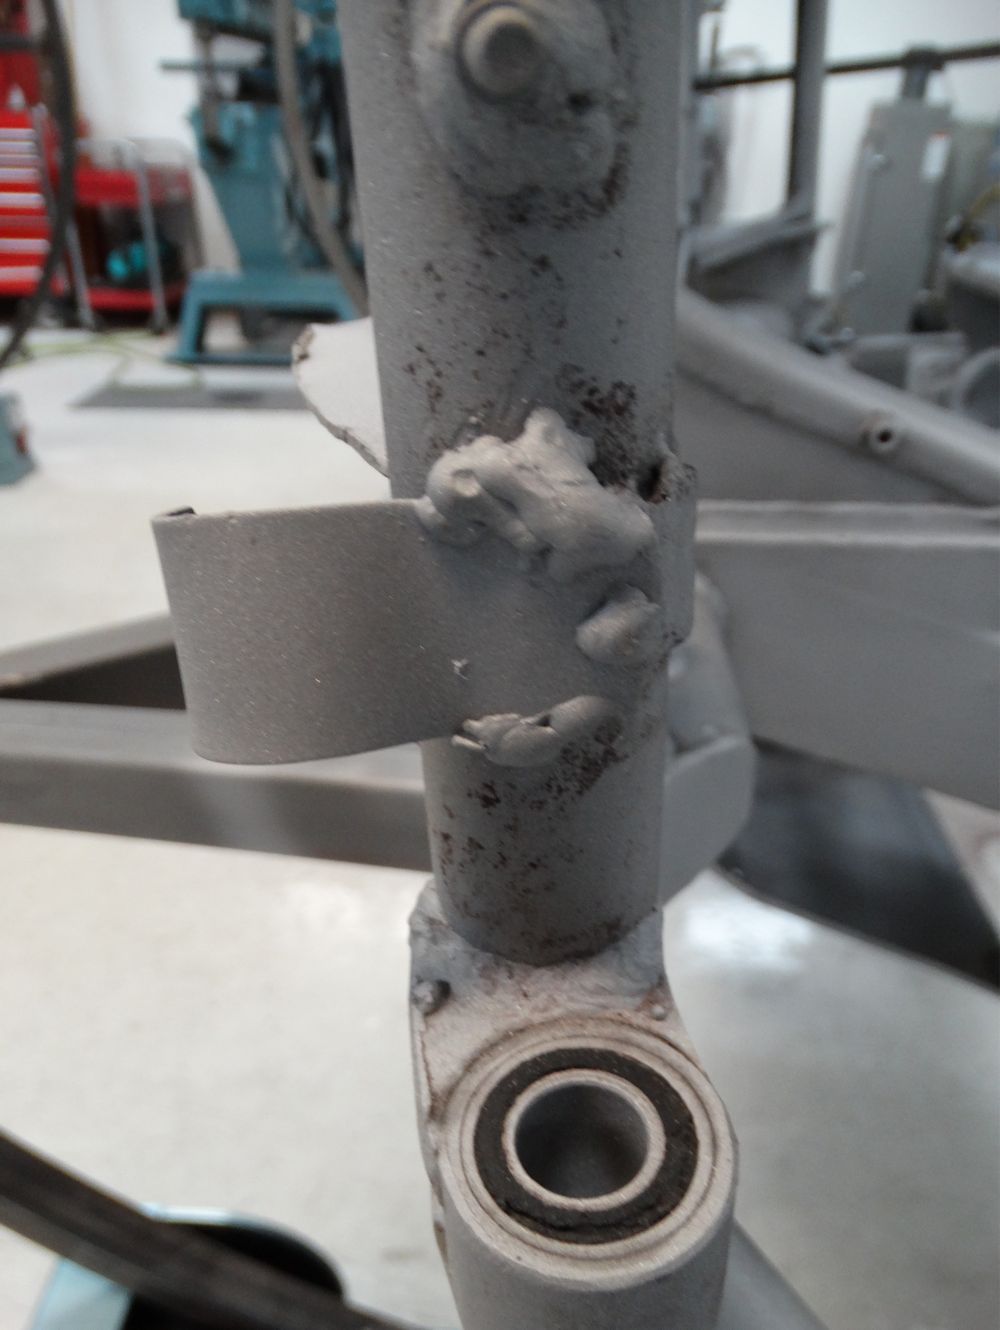
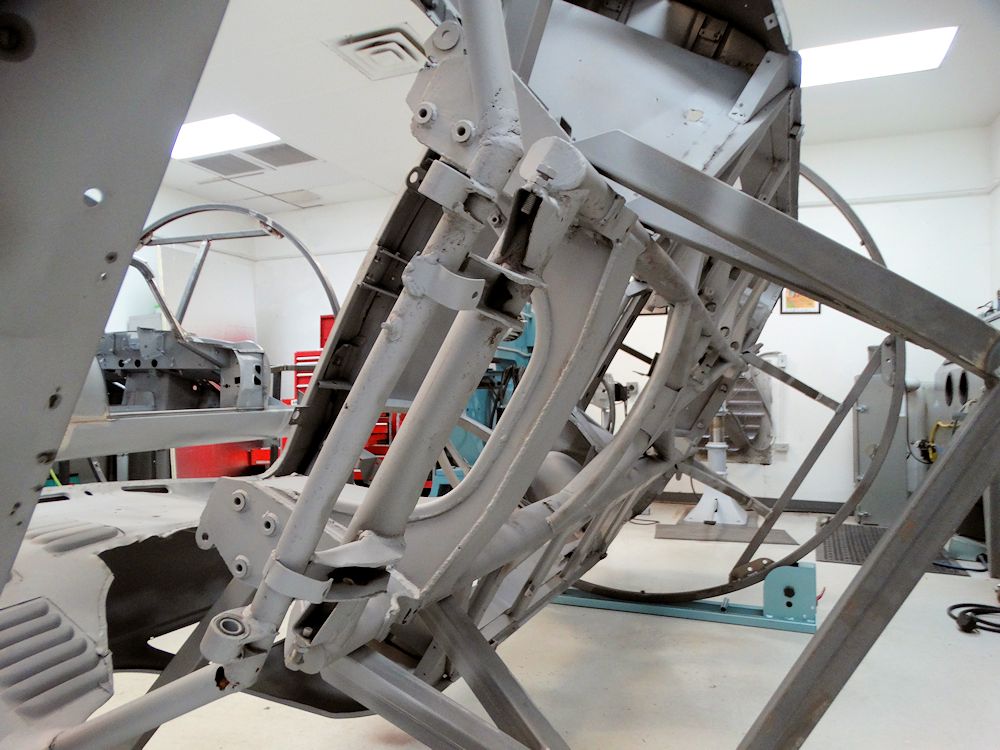
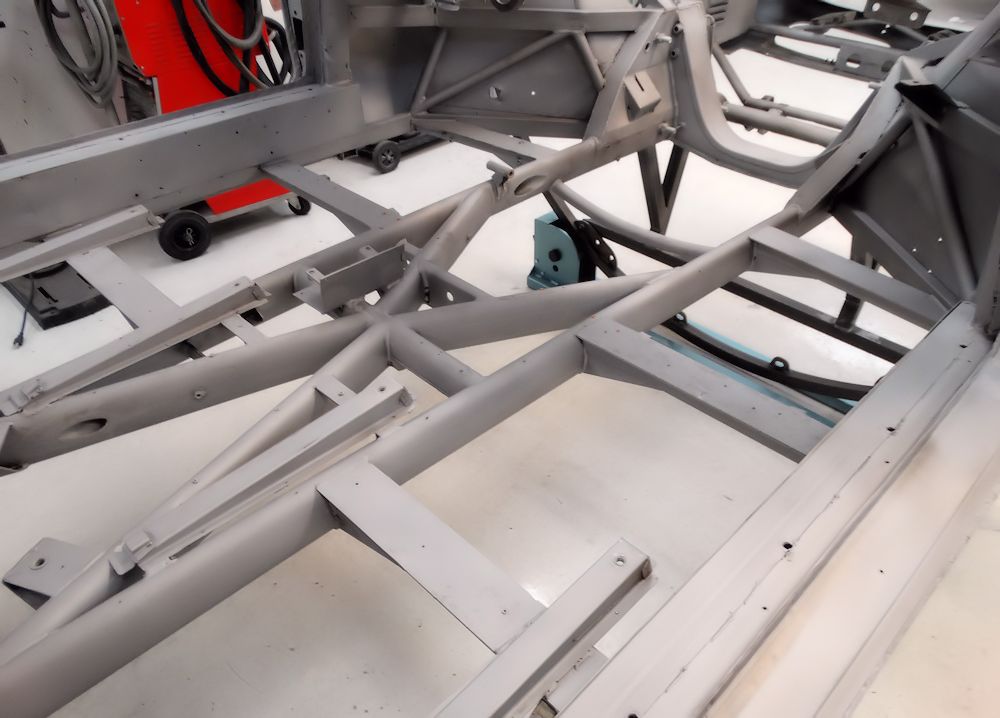
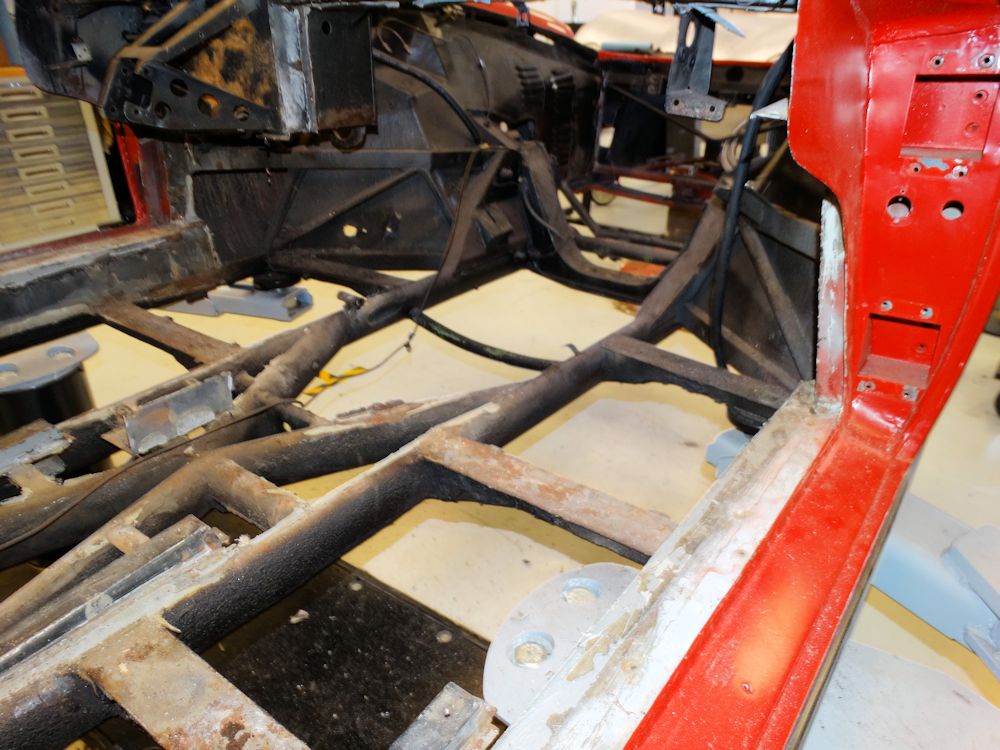
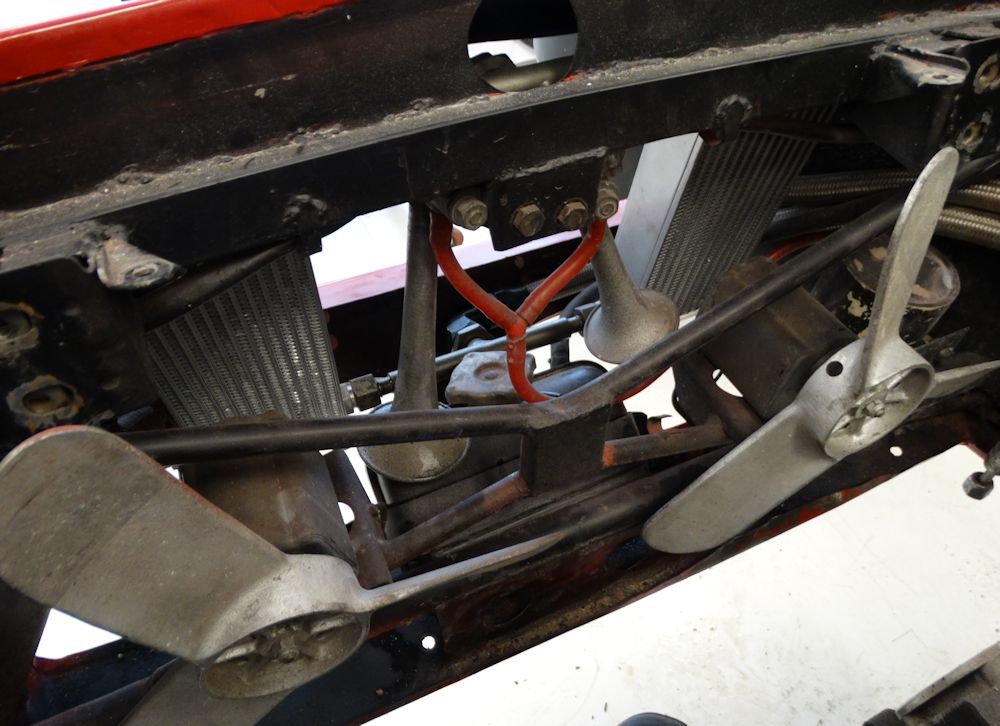
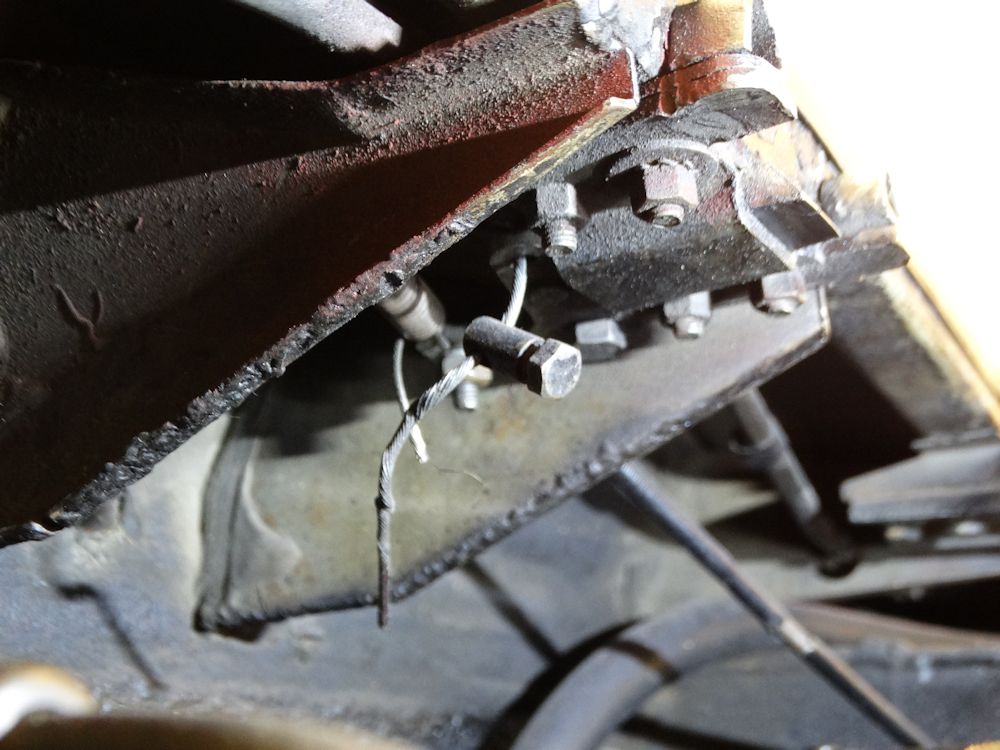
Double walled chrome-moly tube now welded in
place for rear shock mounts
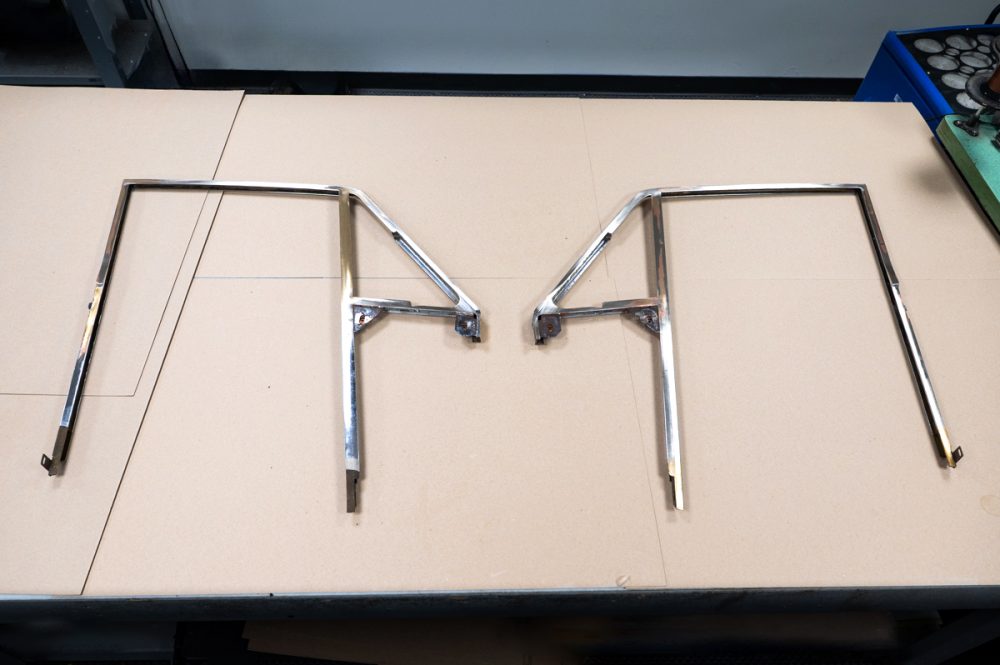
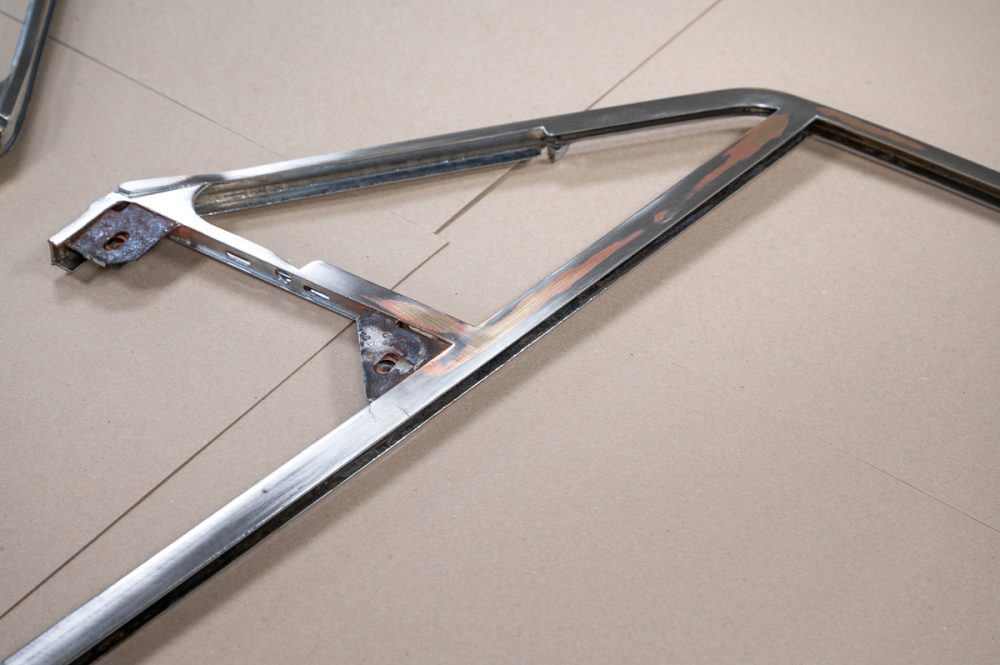
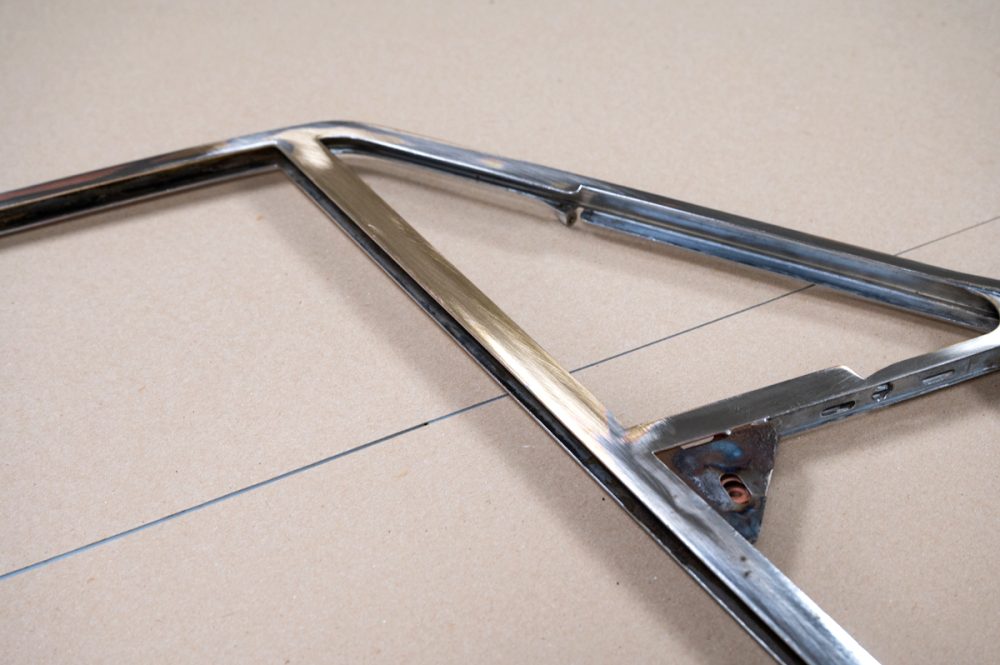
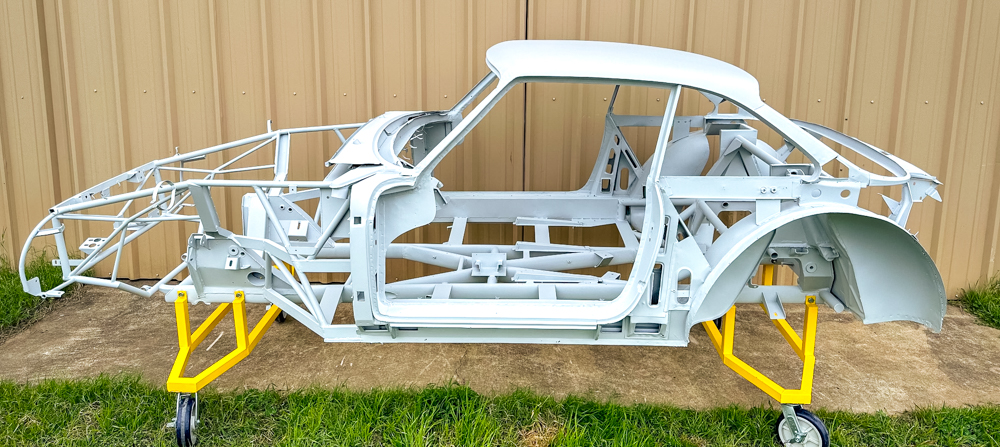
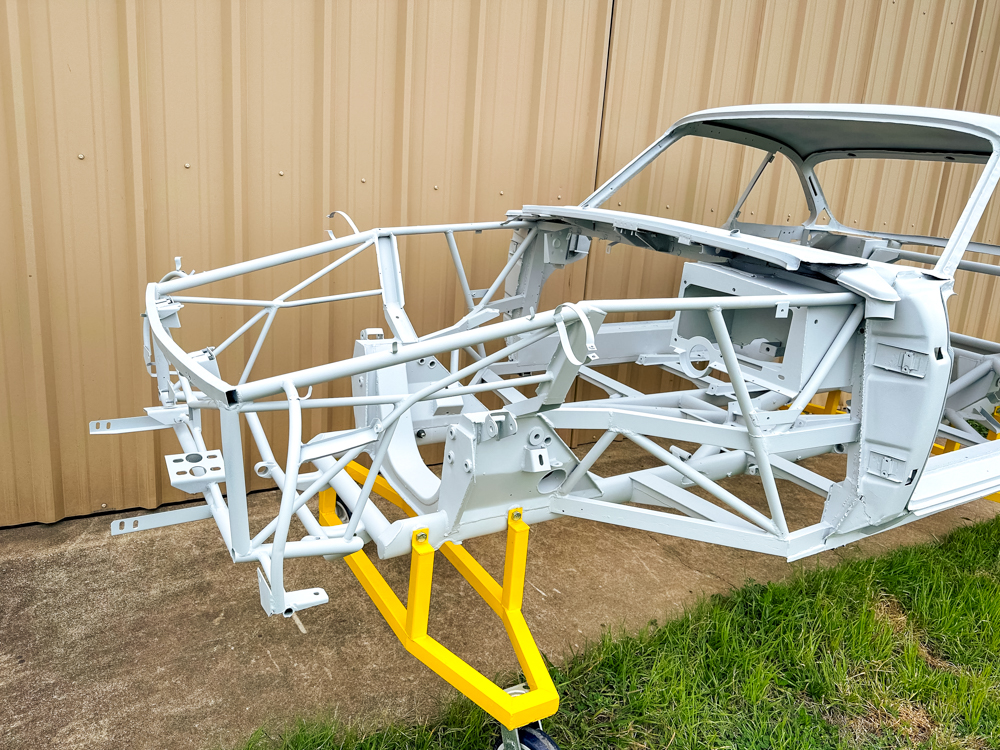
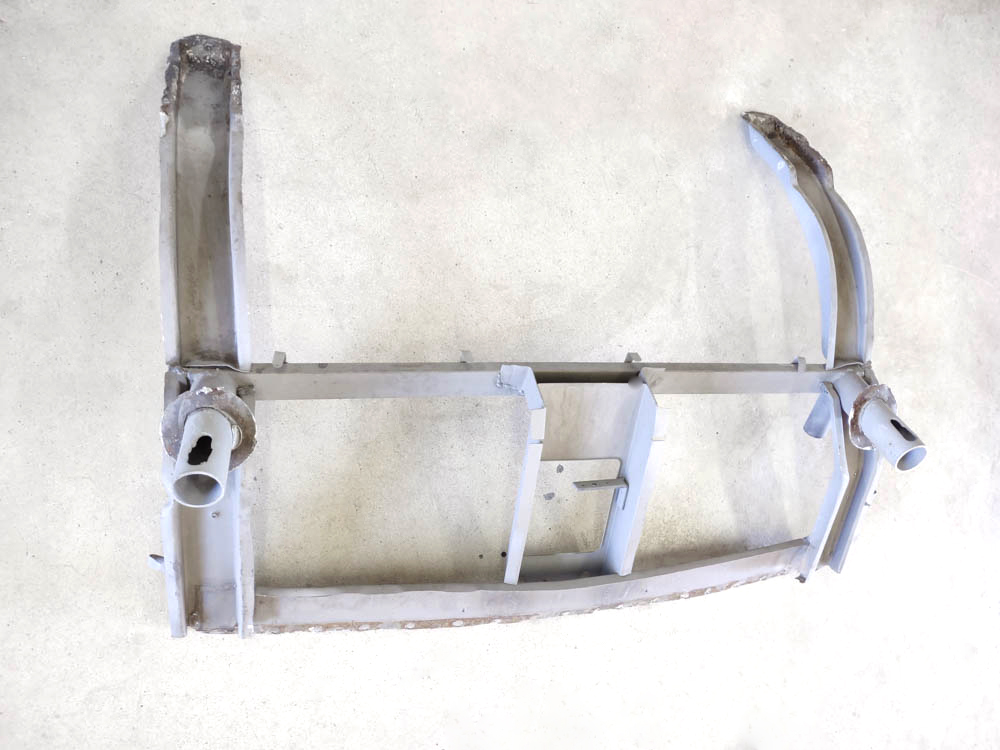
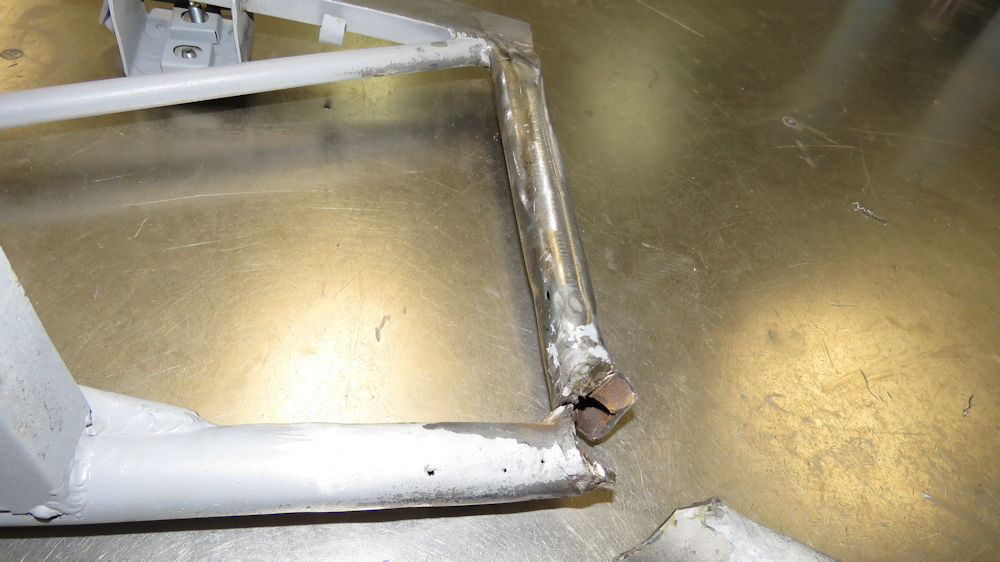
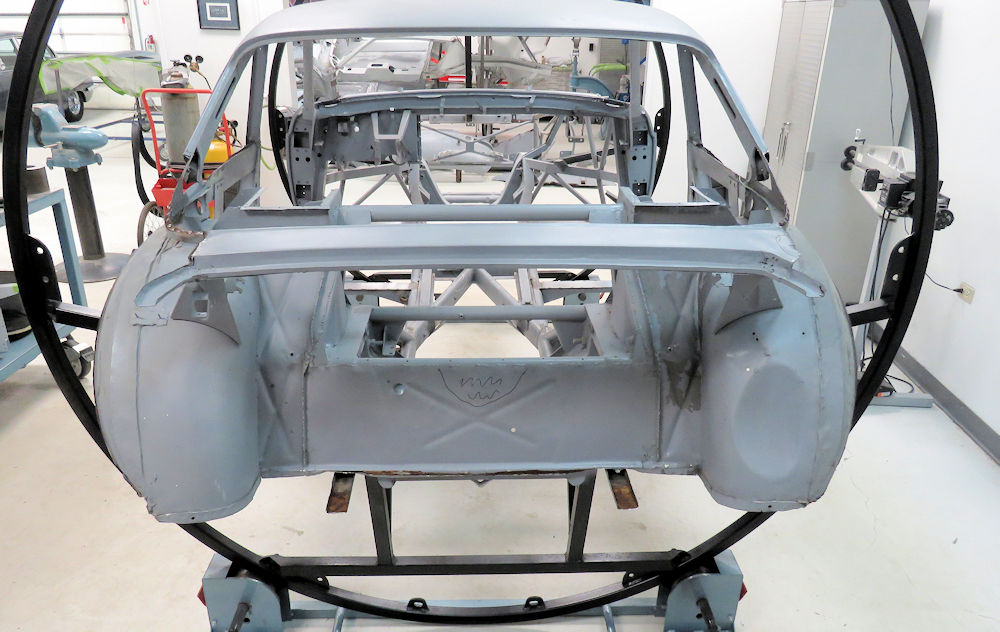
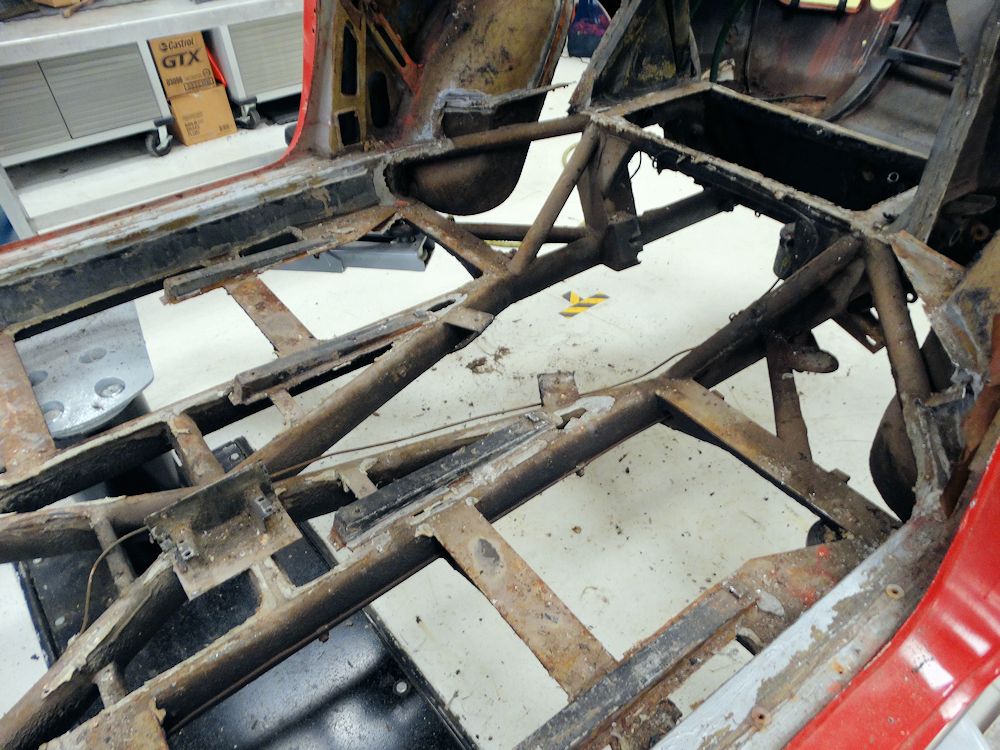
Frame is now symmetrical, straight and sound
Forward picture frame has lost its symmetry
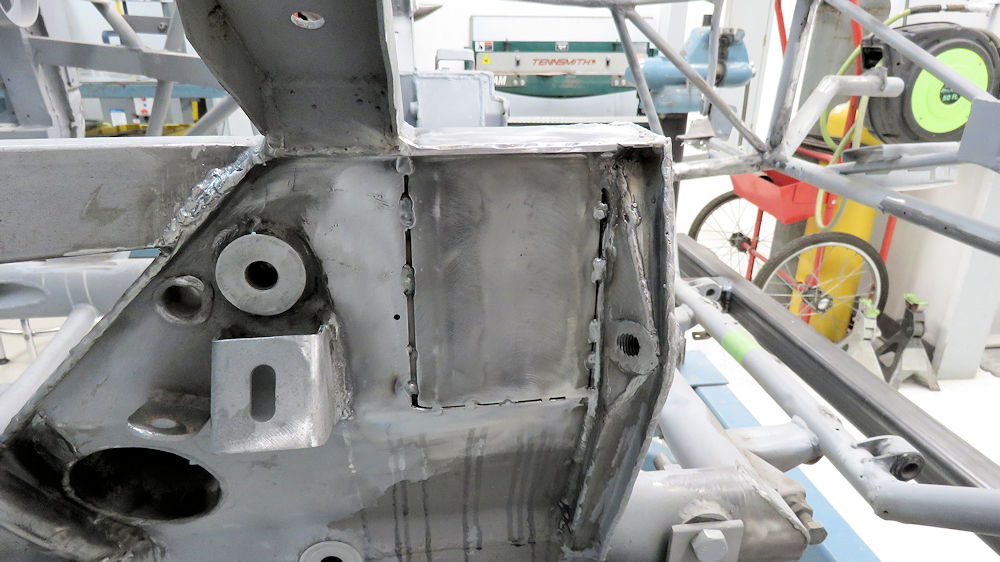
New lower engine bay brace fabricated and
welded in place
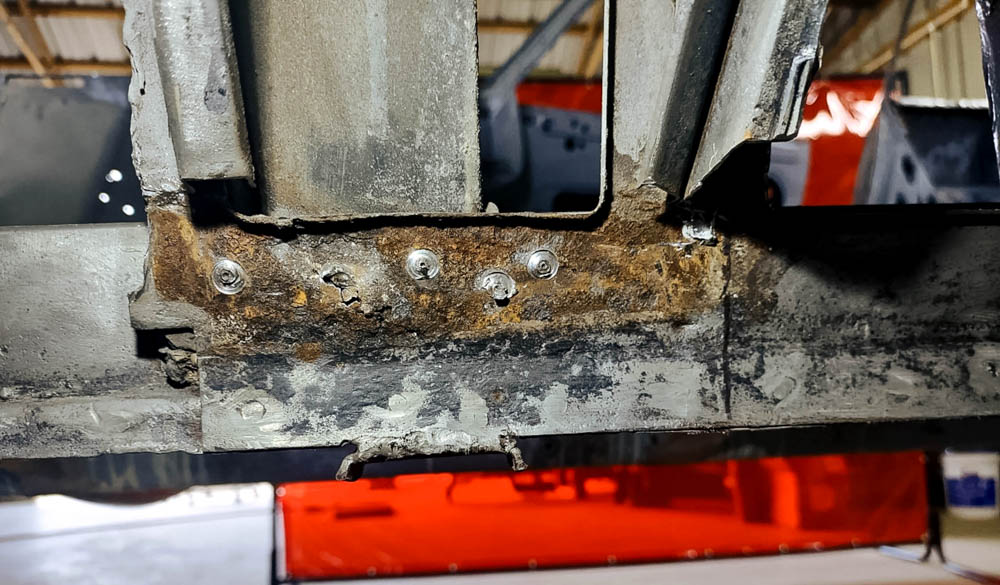
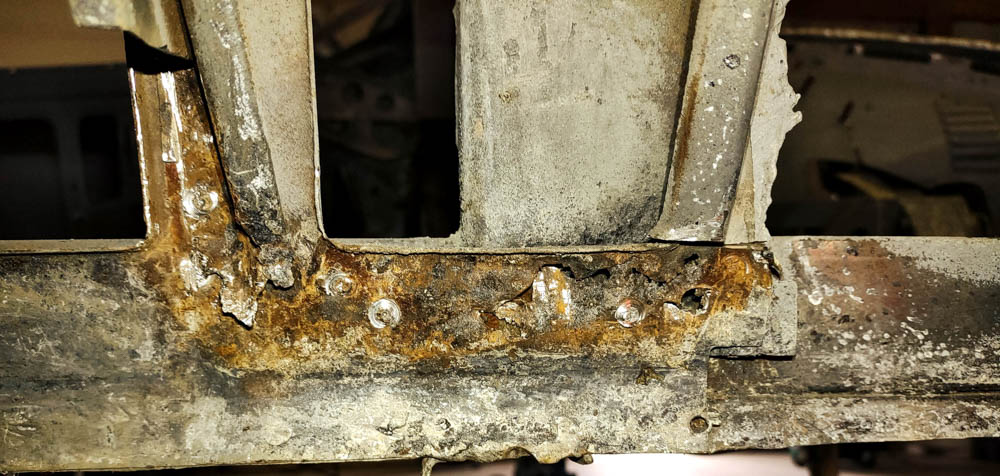
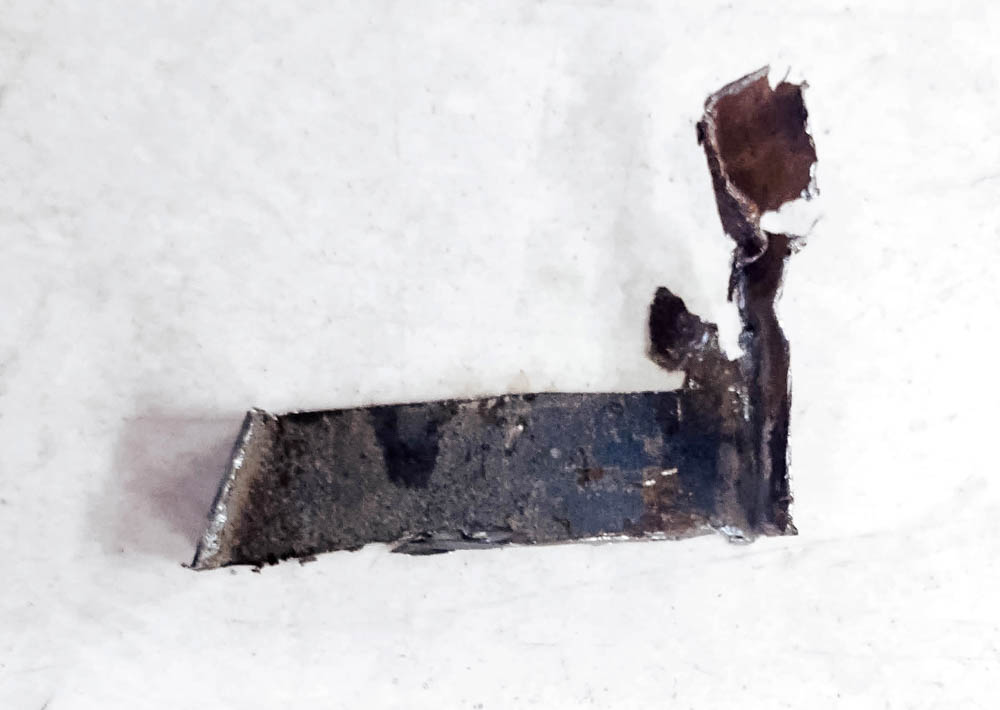
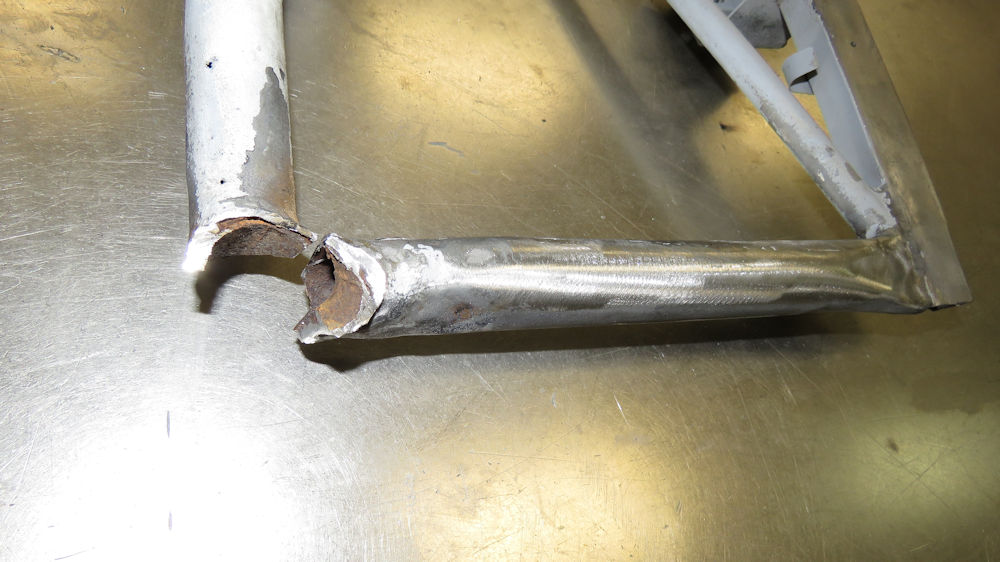
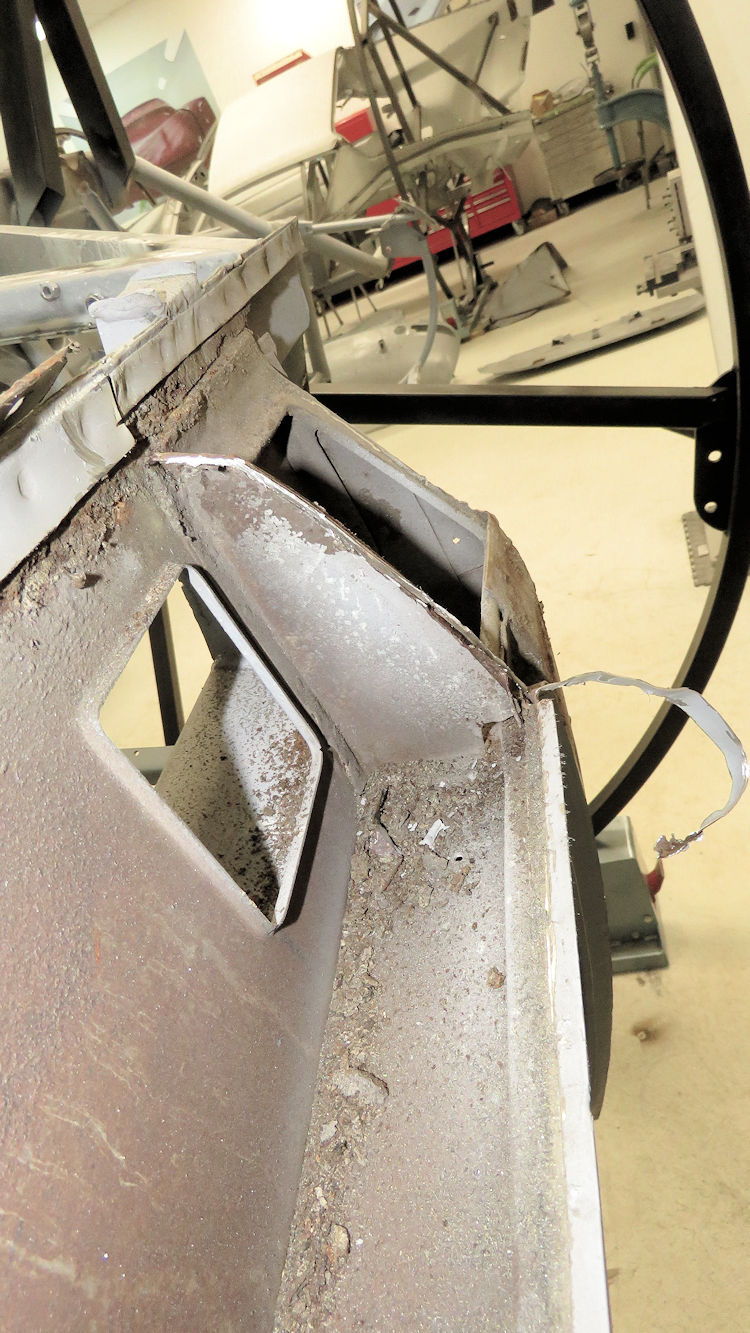
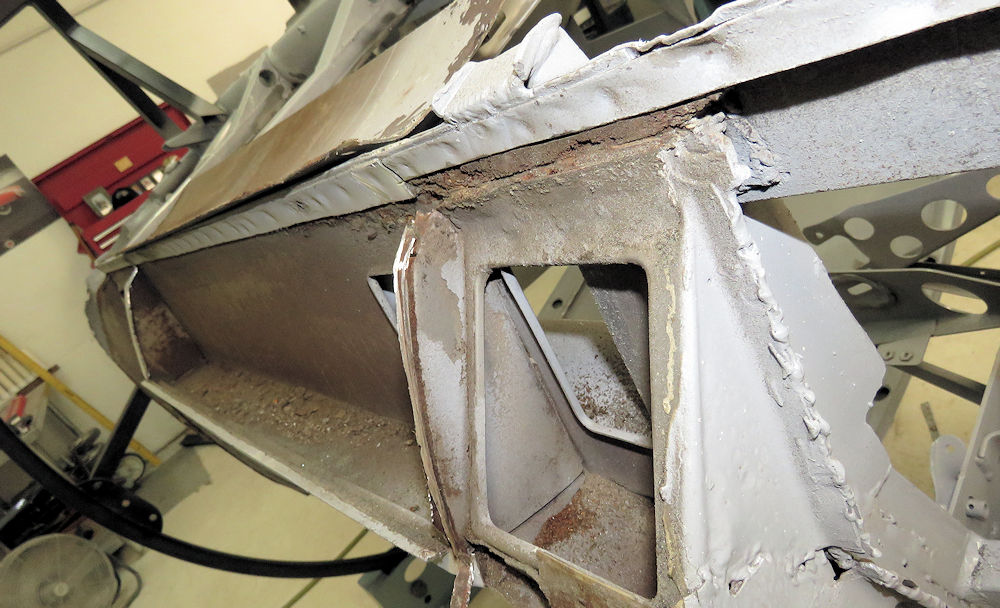
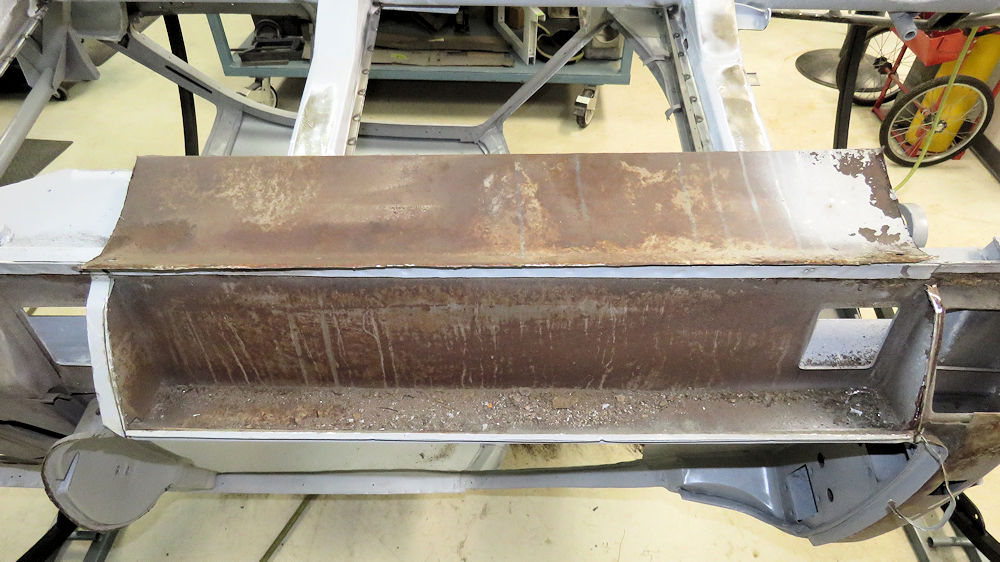
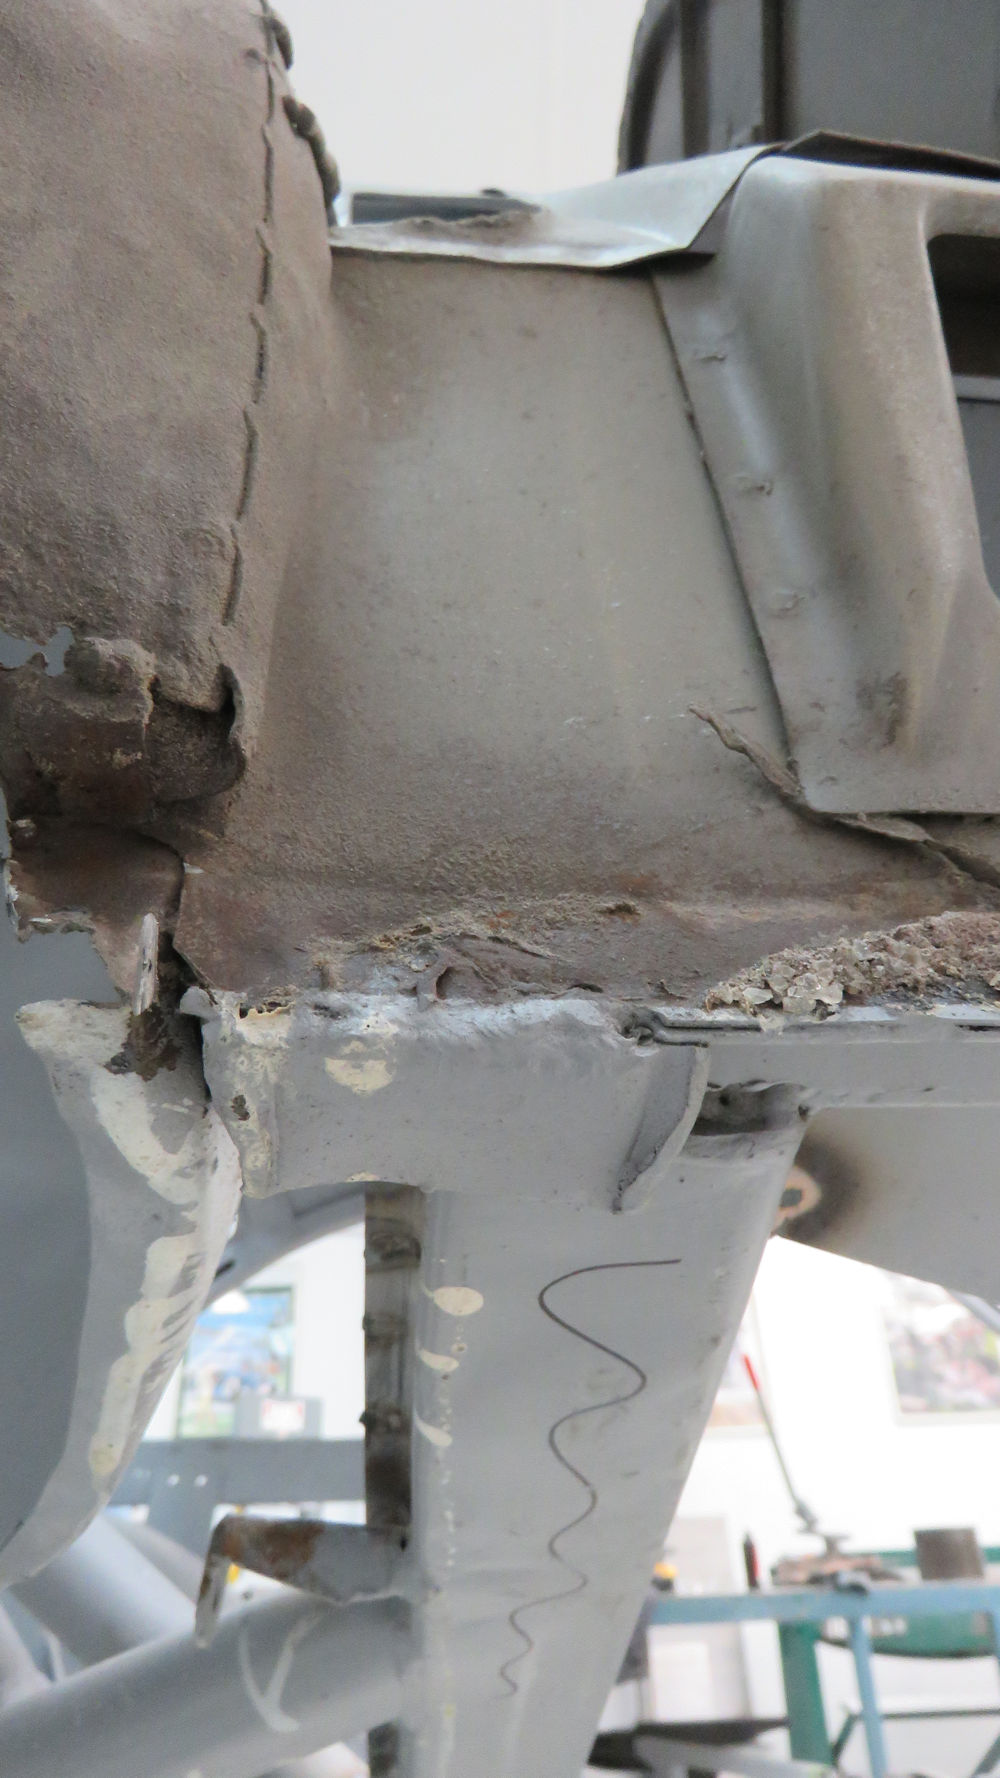
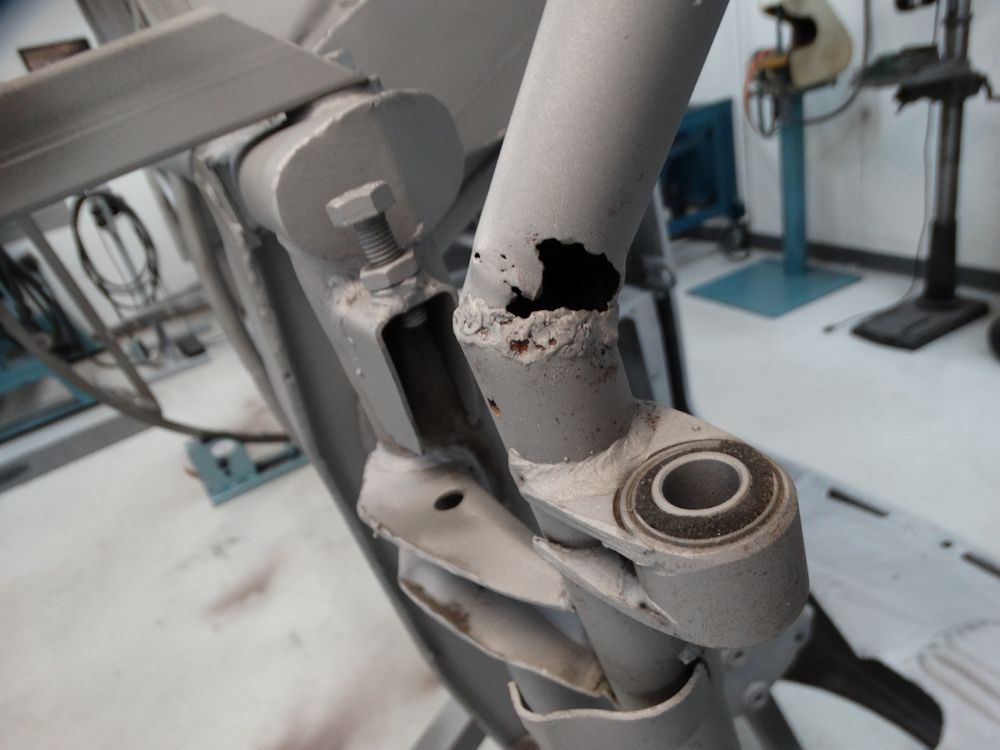
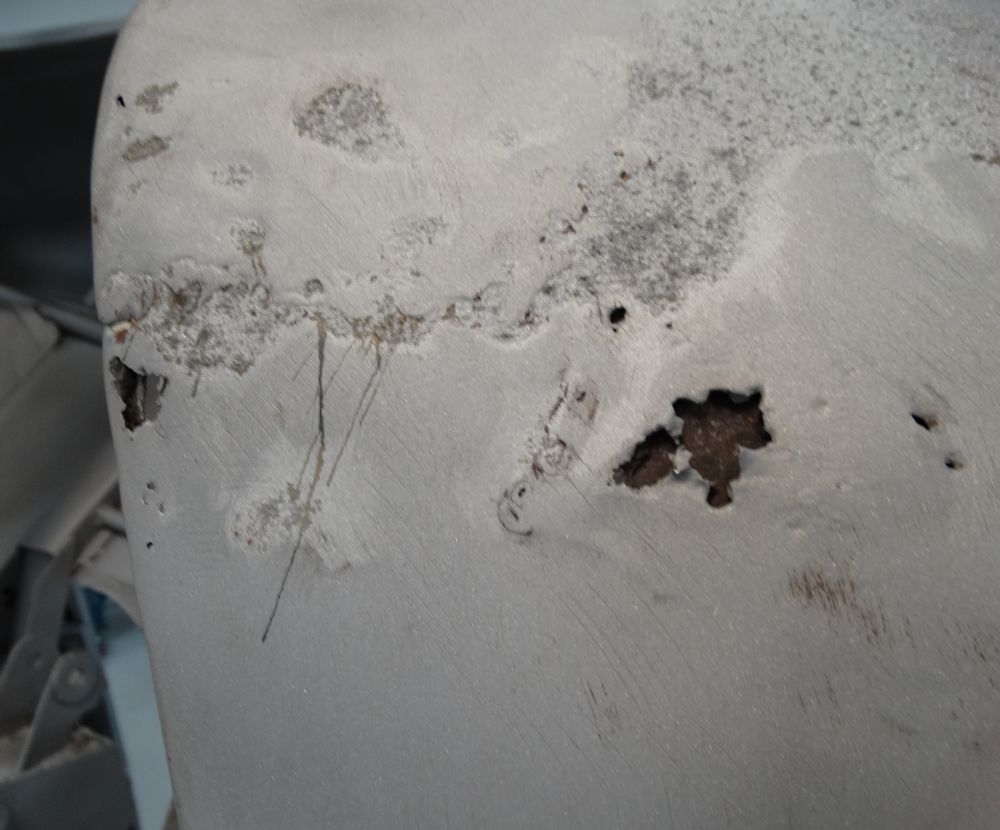
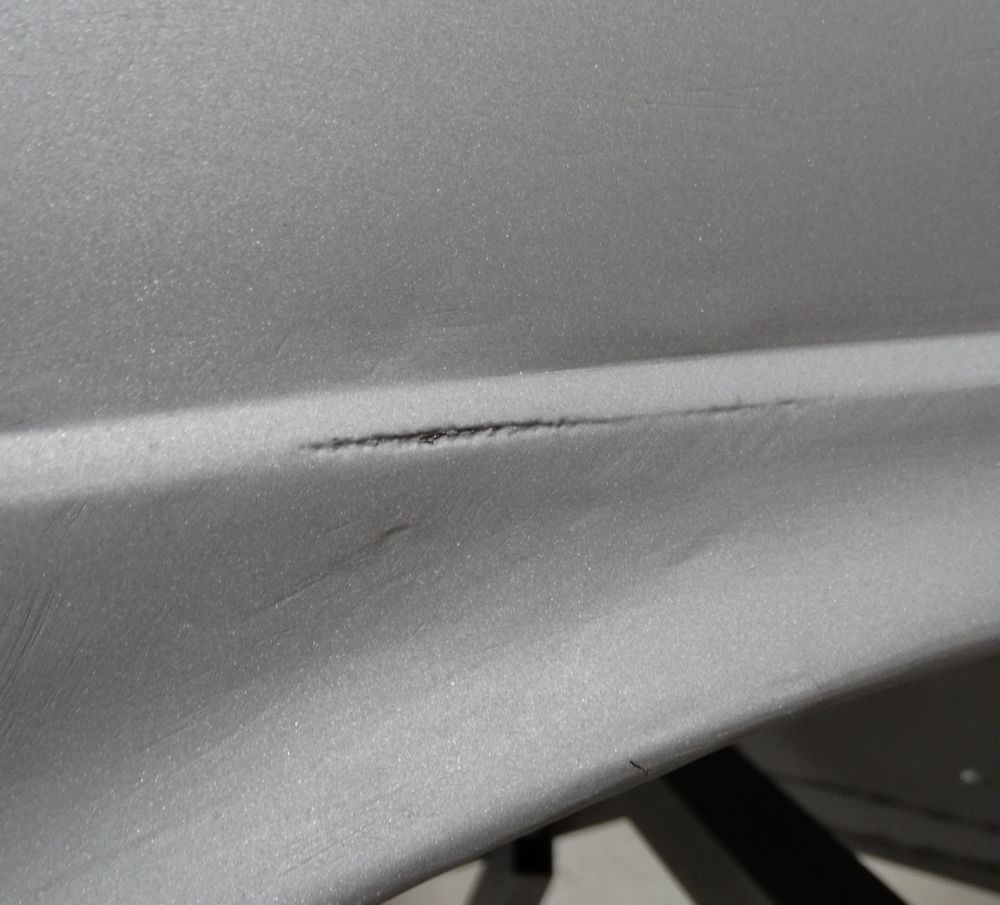
This section has suffered damage from both
impact and corrosion
Forward picture frame has been removed
for repair
Plotting the location of the upper shock mount
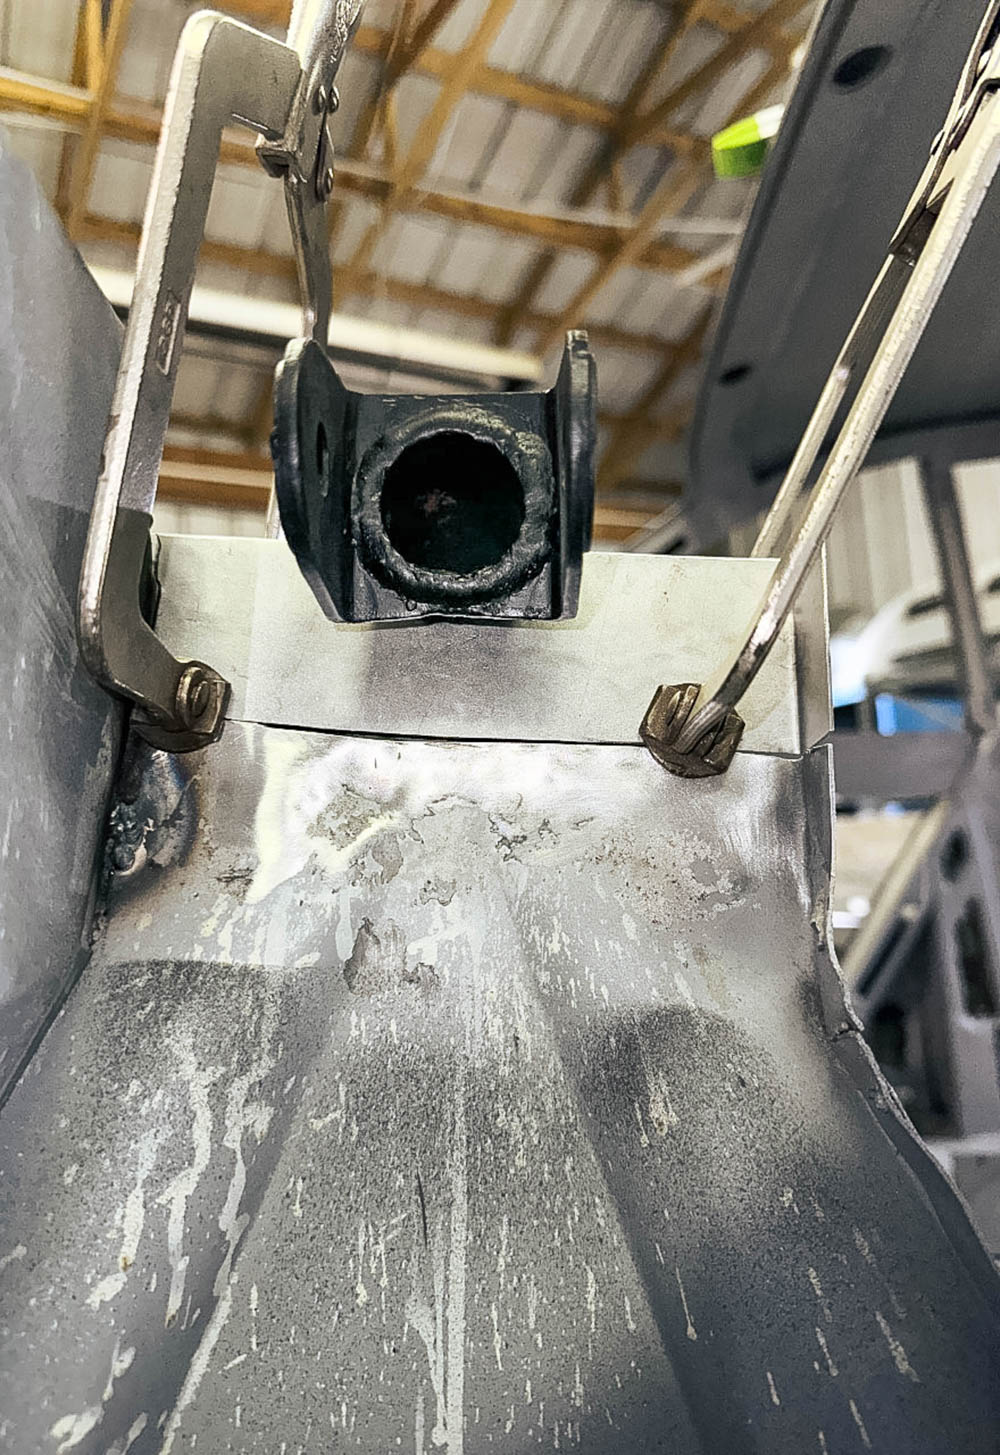
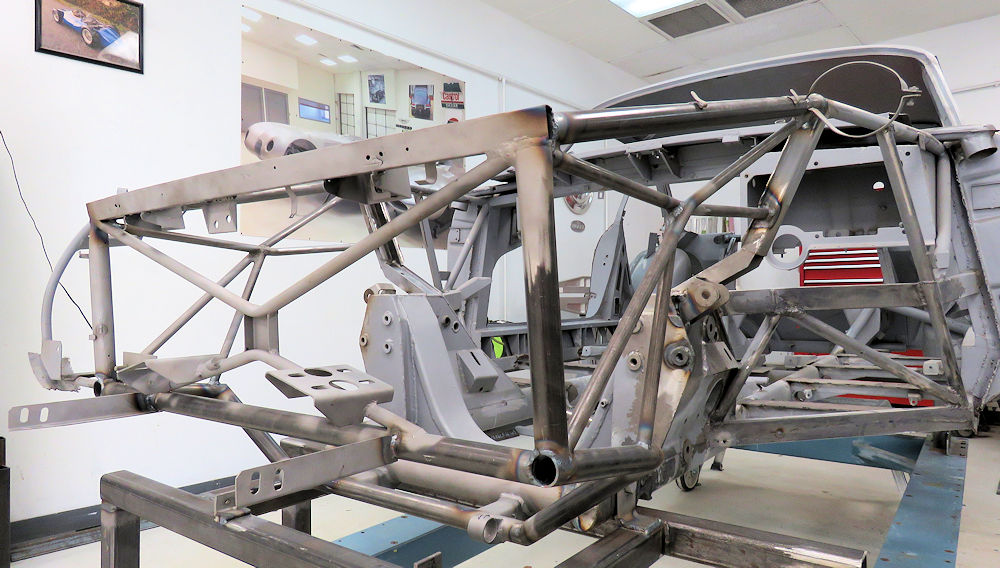
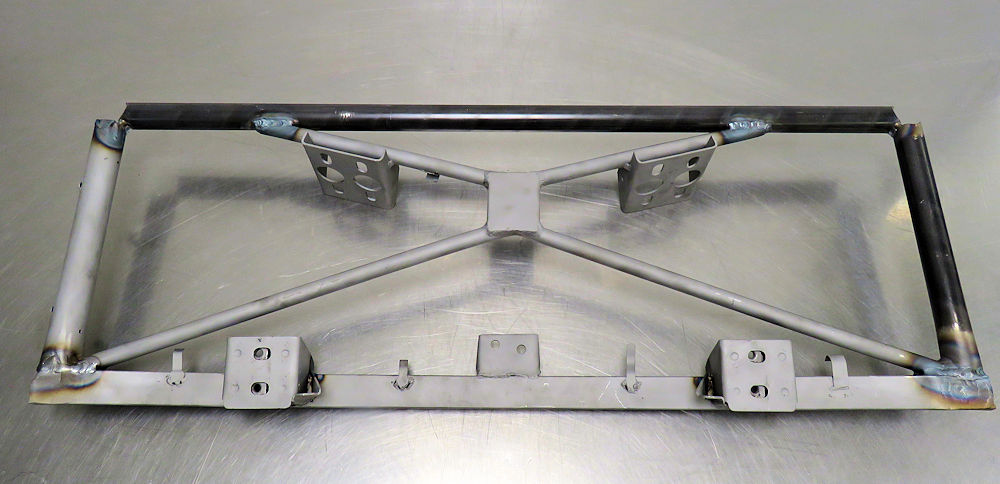
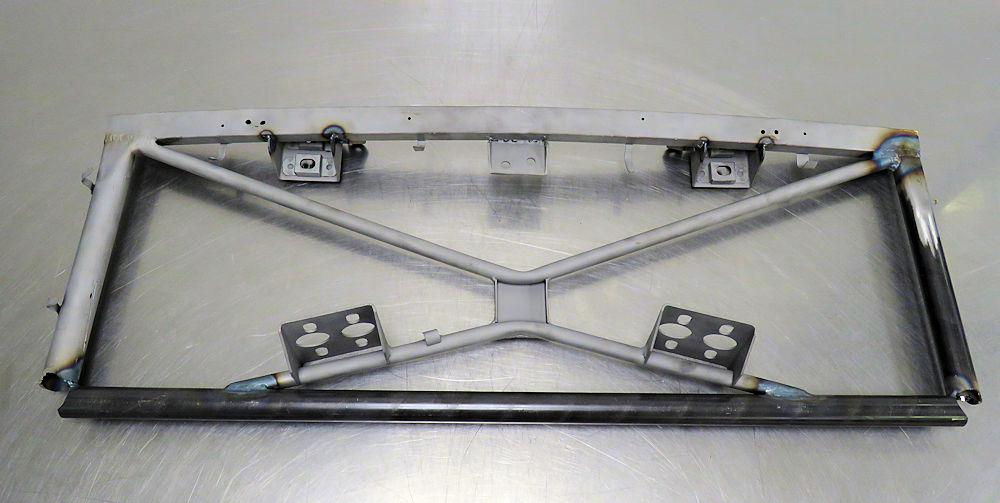
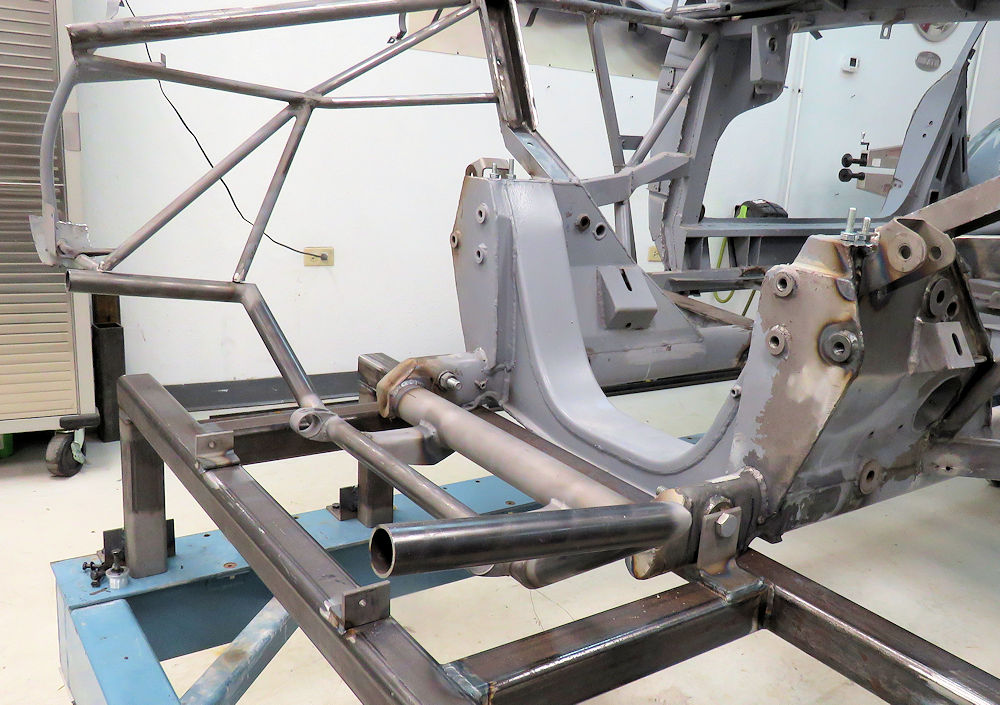
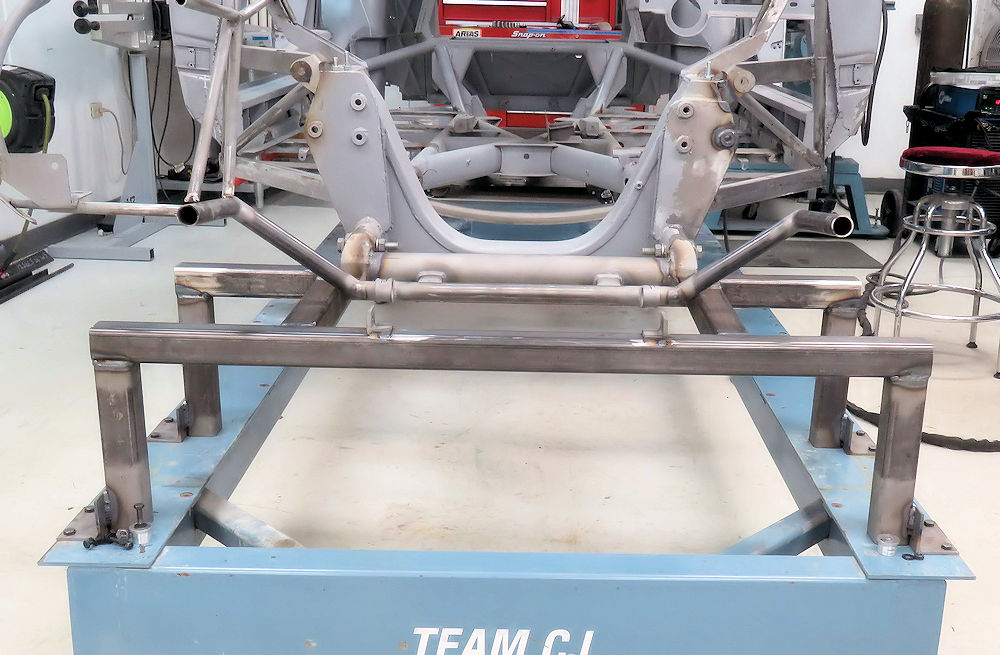
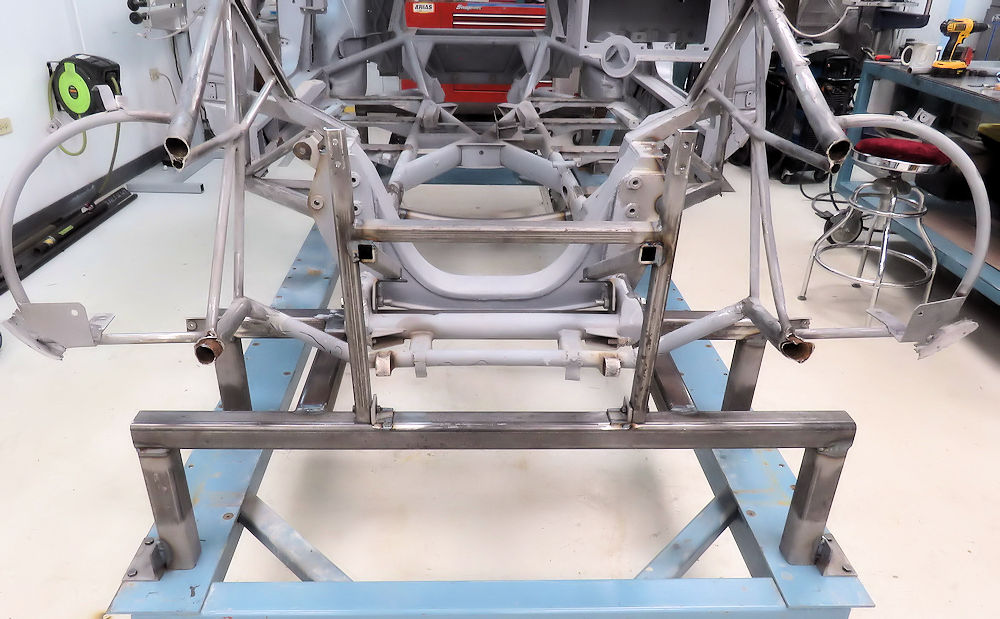
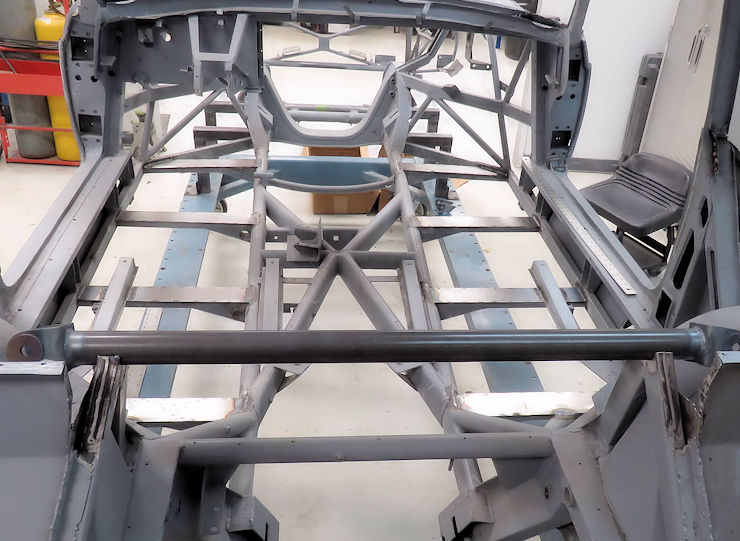
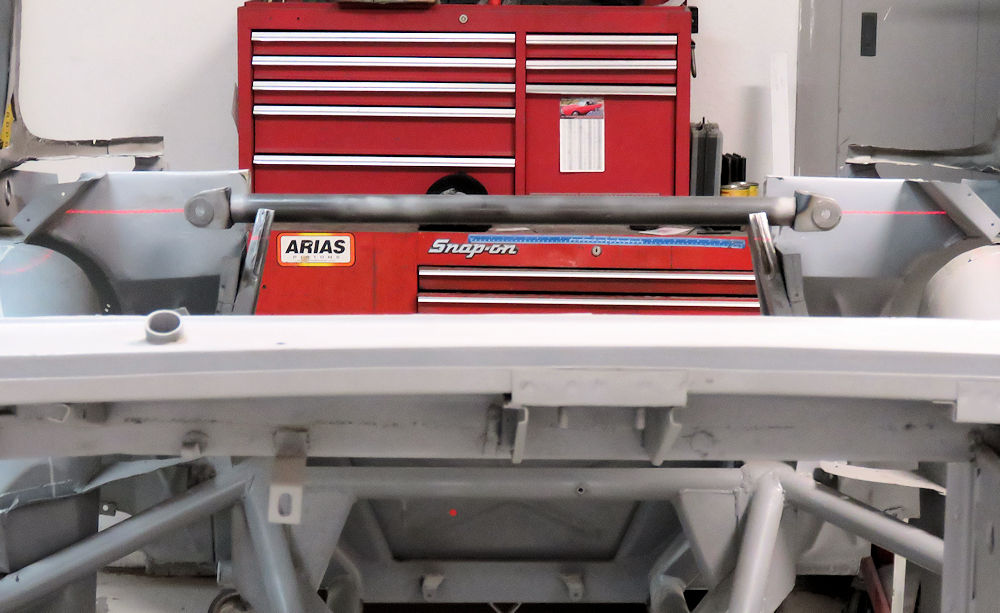
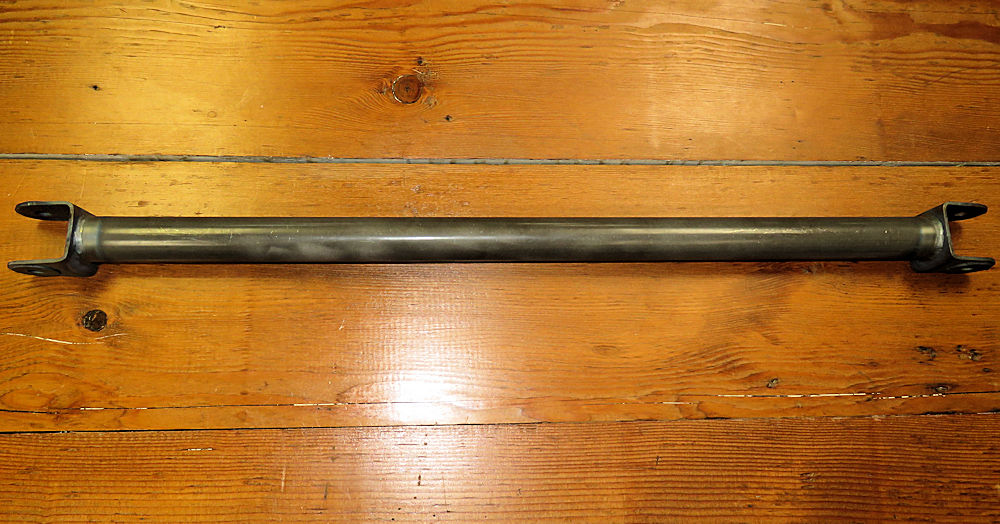
Using infrared beam to ensure rear shock bar is
perfectly straight and level
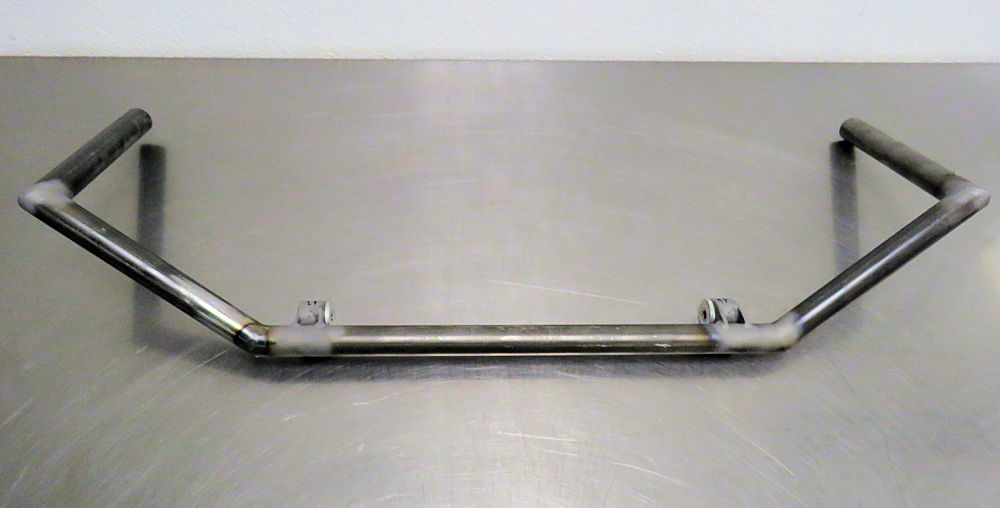
Rear shock bar has been reconstructed using new,
heavy walled chrome moly tubing
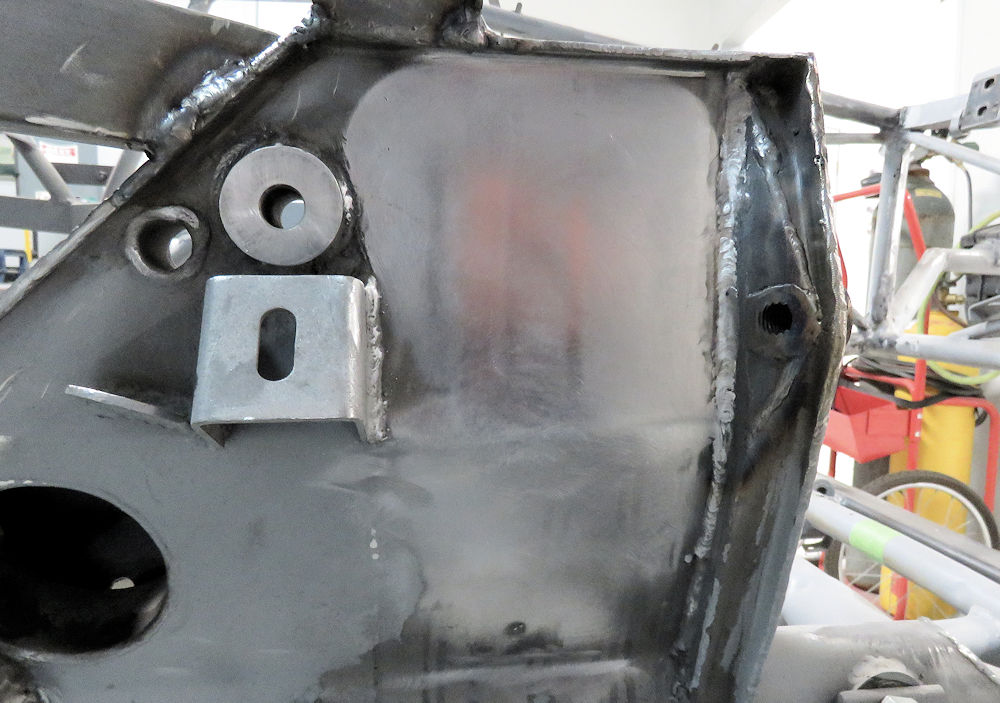
Welding the reinforced panel in position
Jake welded a piece of angle iron behind the shock
mount panel to add strength
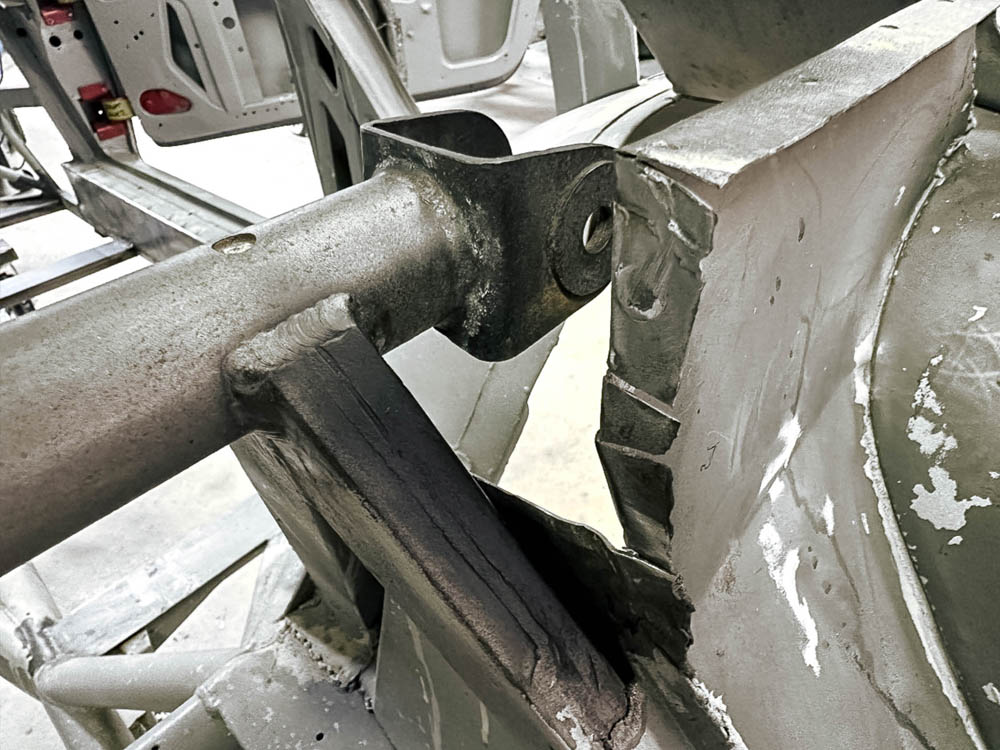
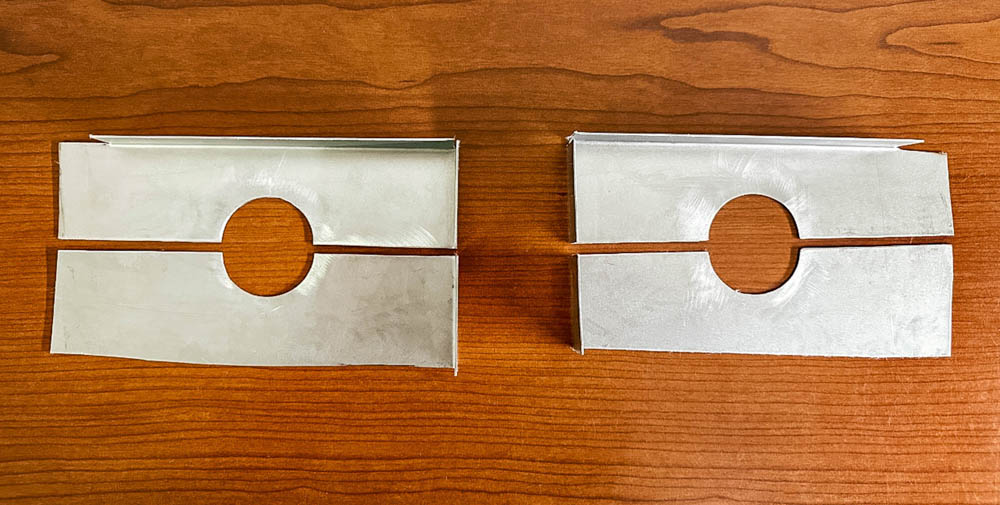
All surface rust was ground away before being
sealed and coated in Wurth Body Wax
Removing the front right mount revealed minor
rust lurking behind
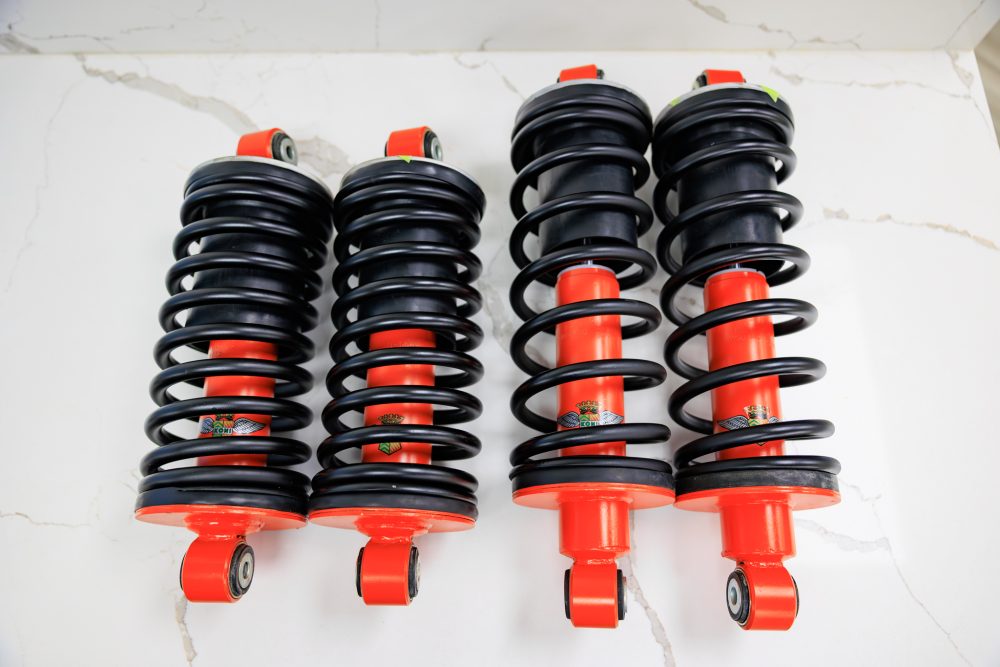
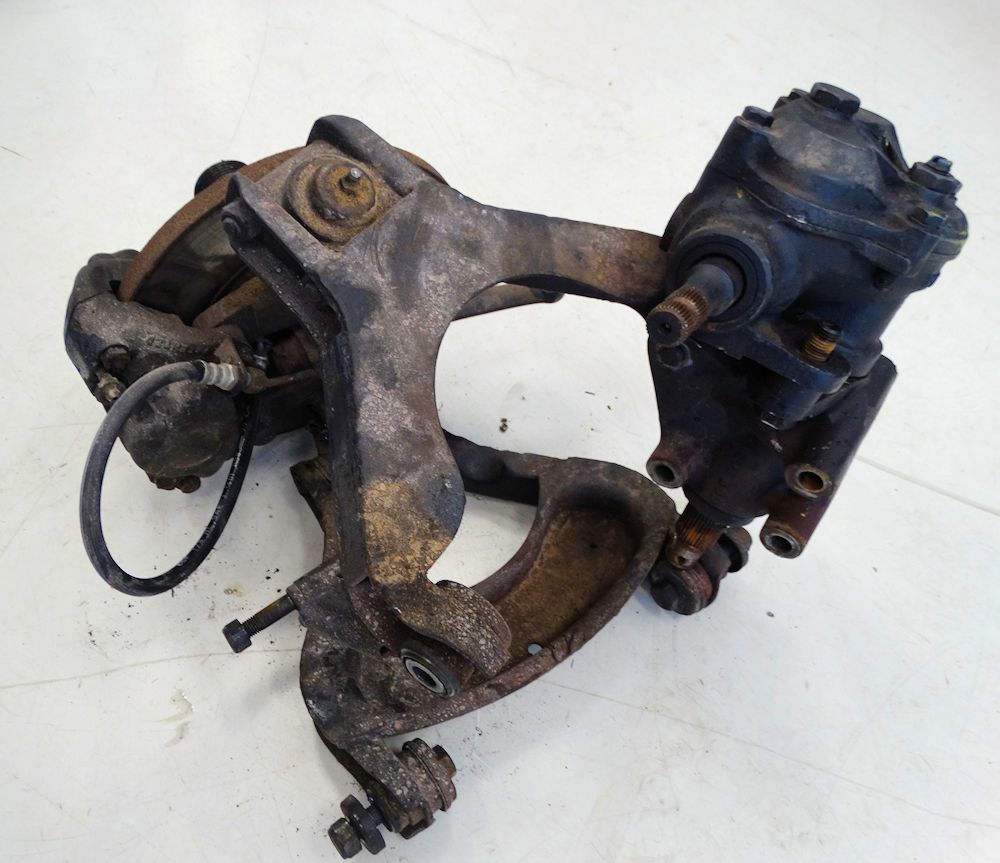
Upper front shock absorber mounts will be
repaired and reinforced
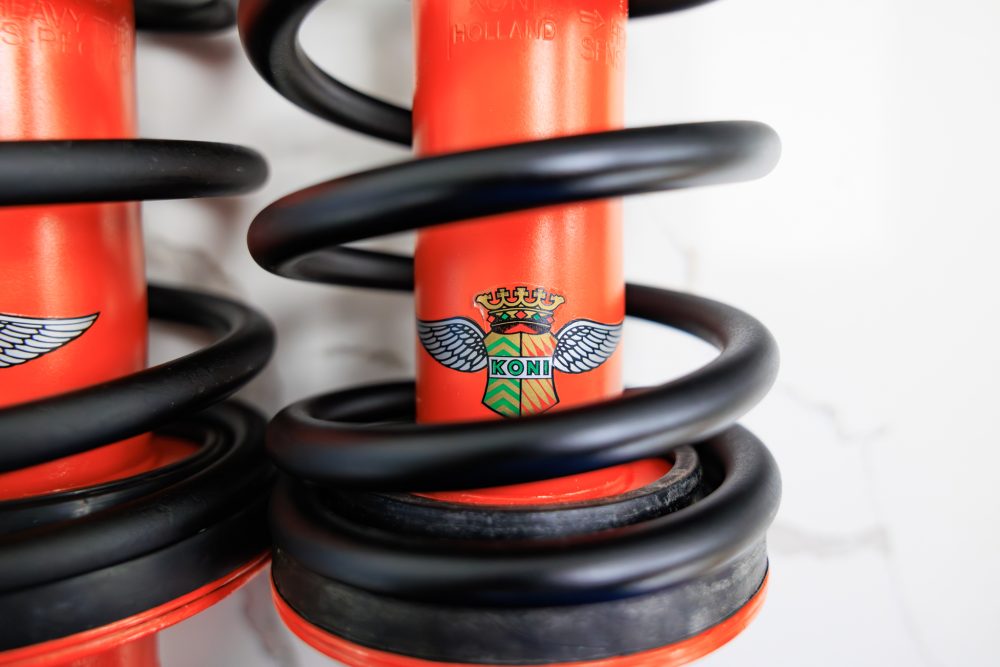
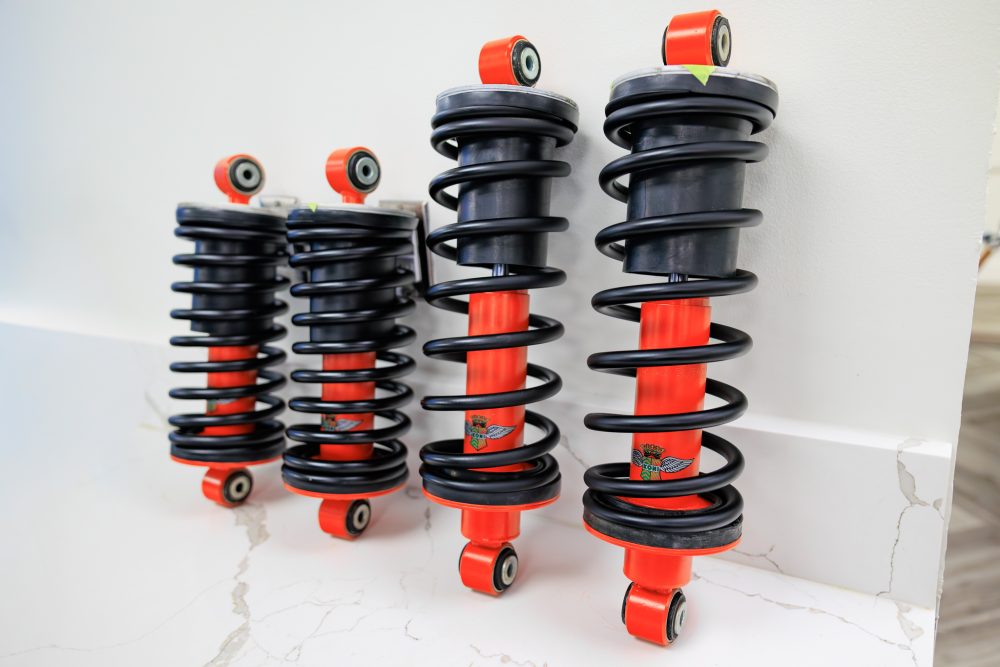
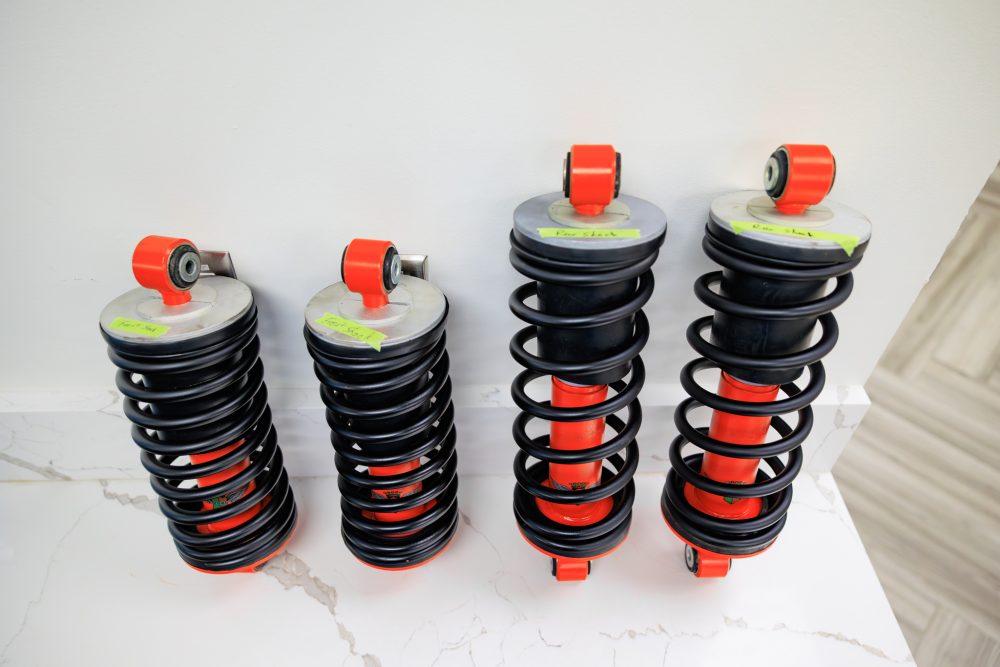
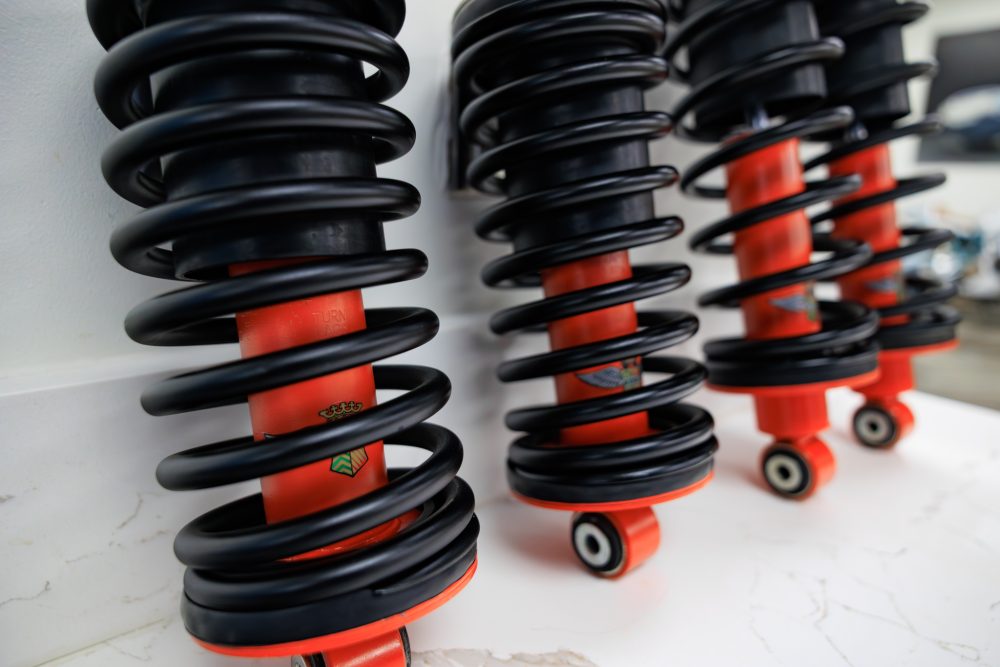
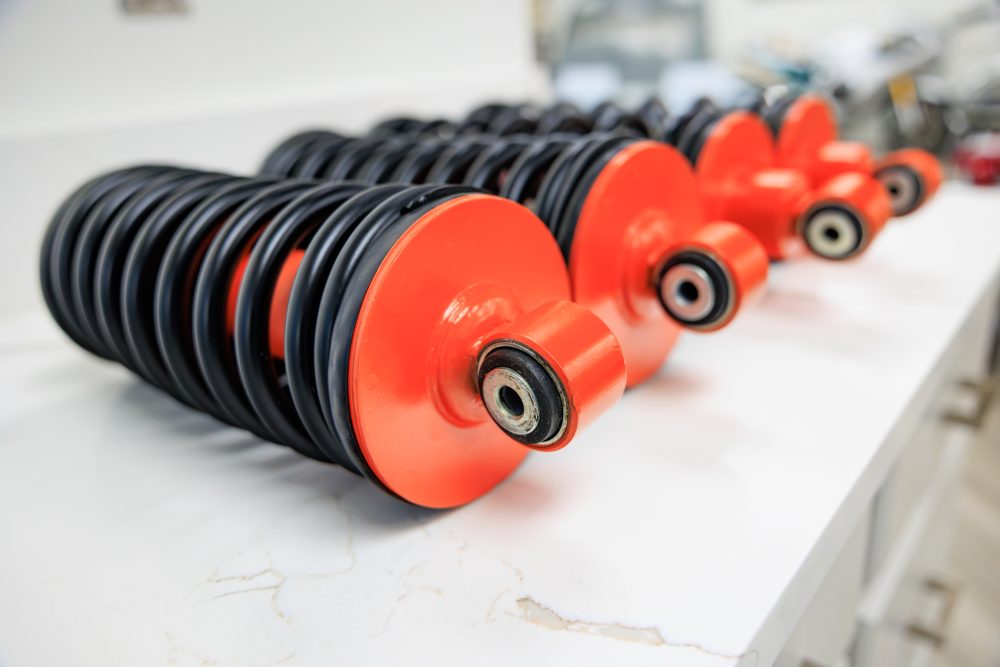
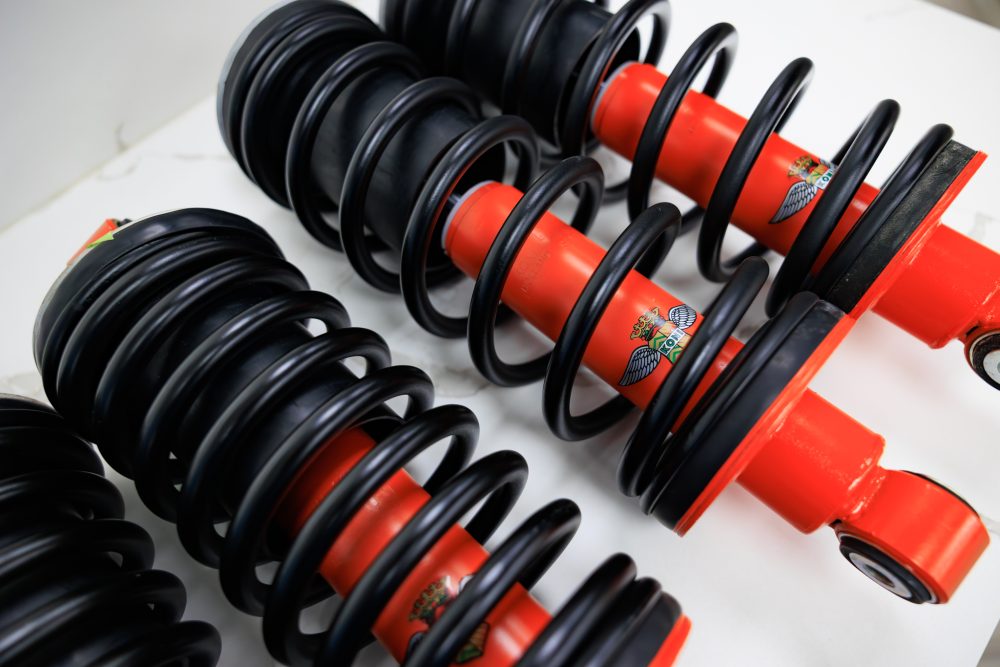
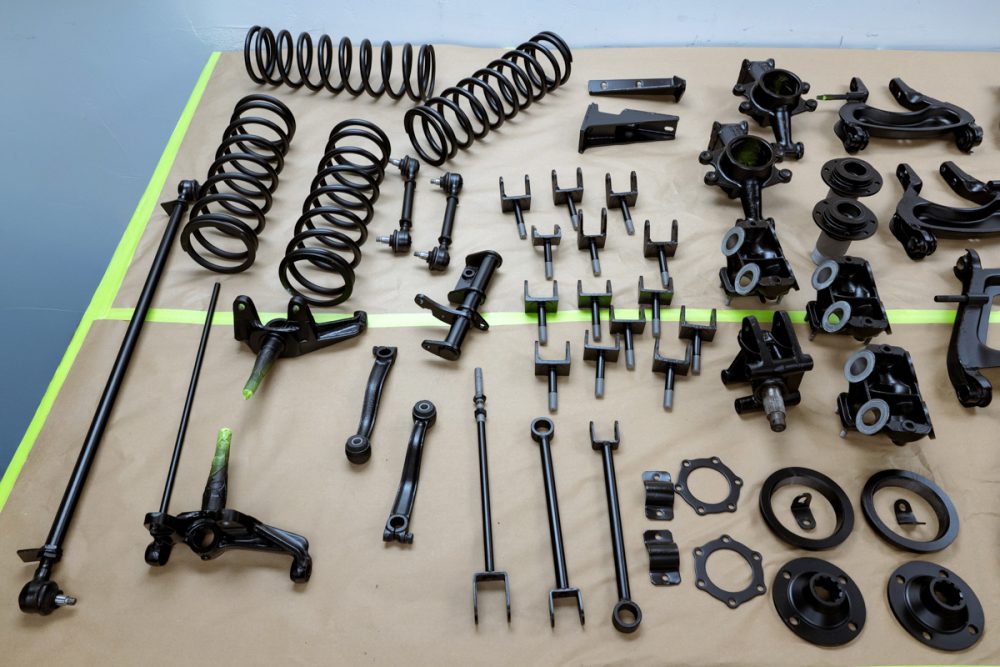
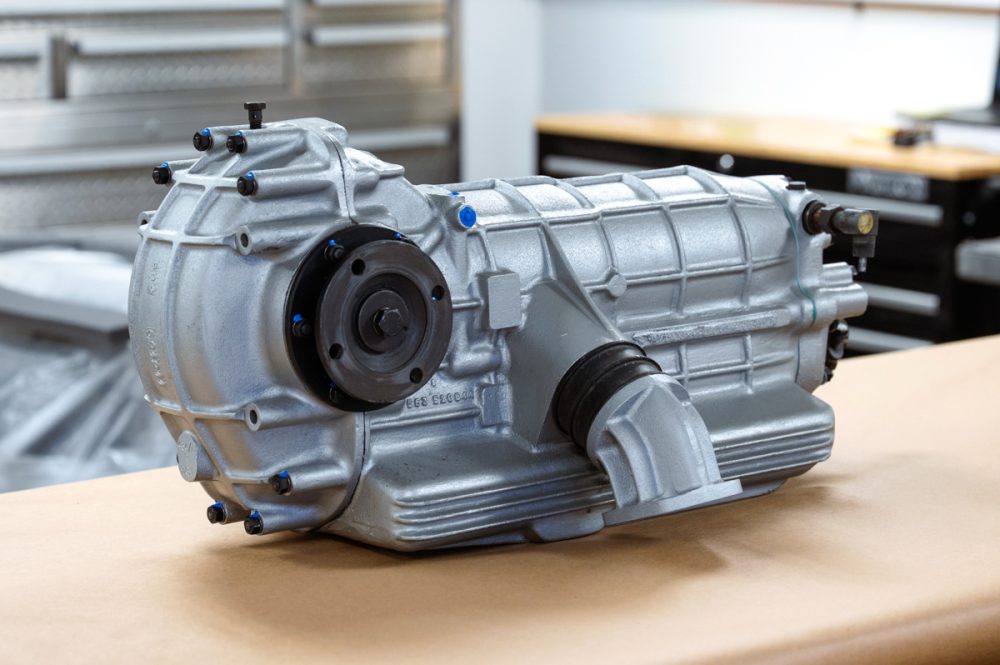
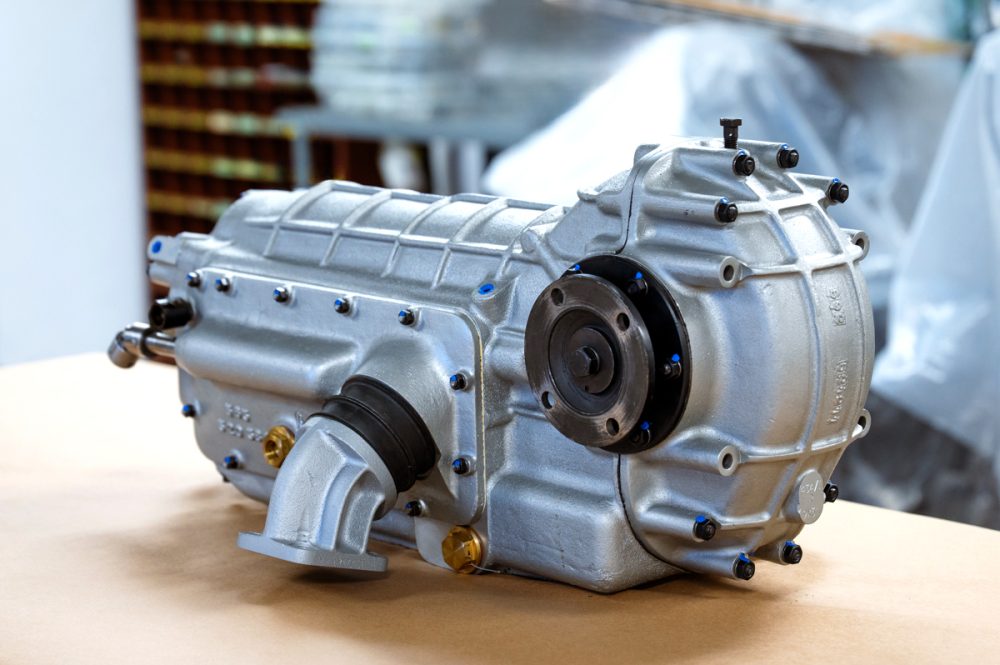
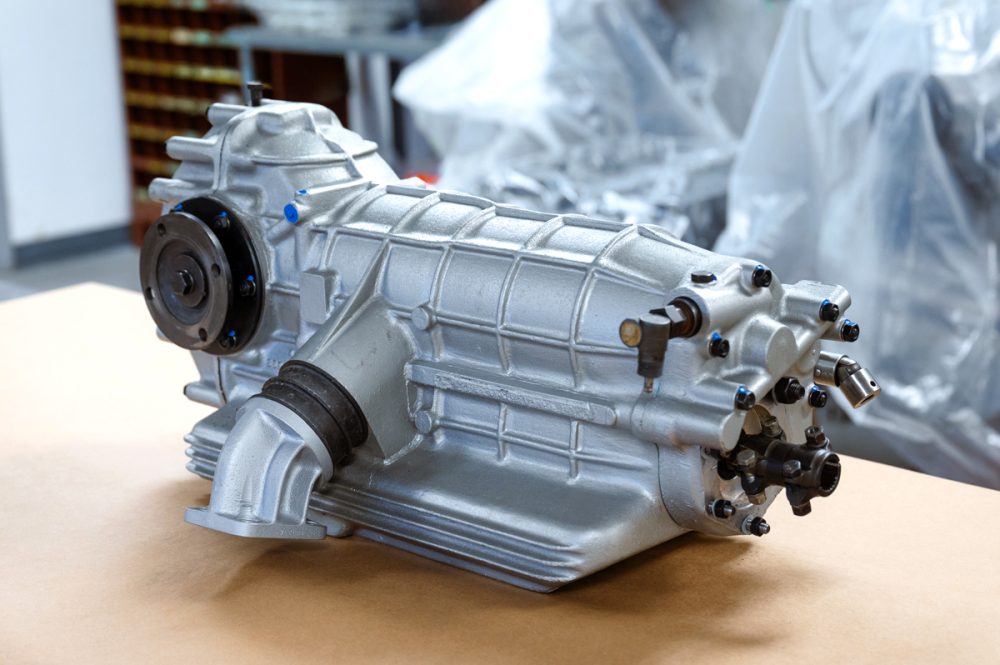
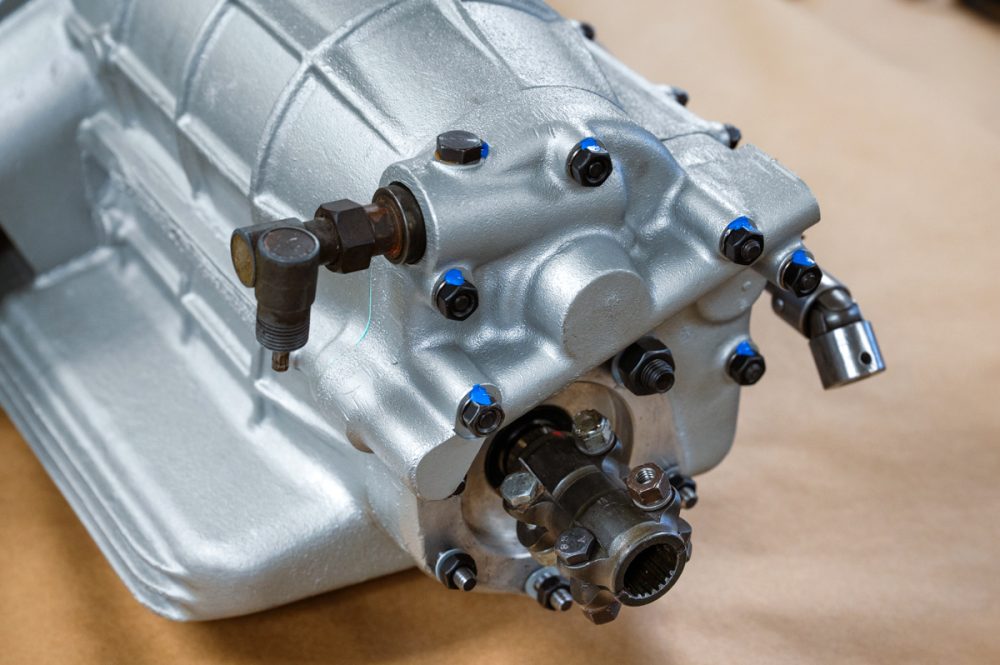
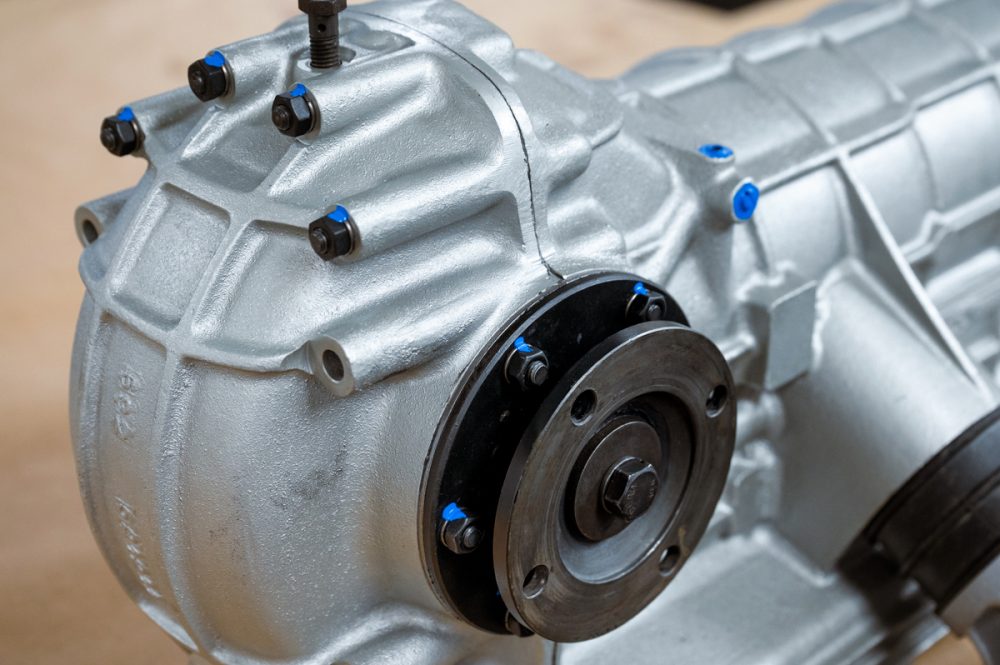
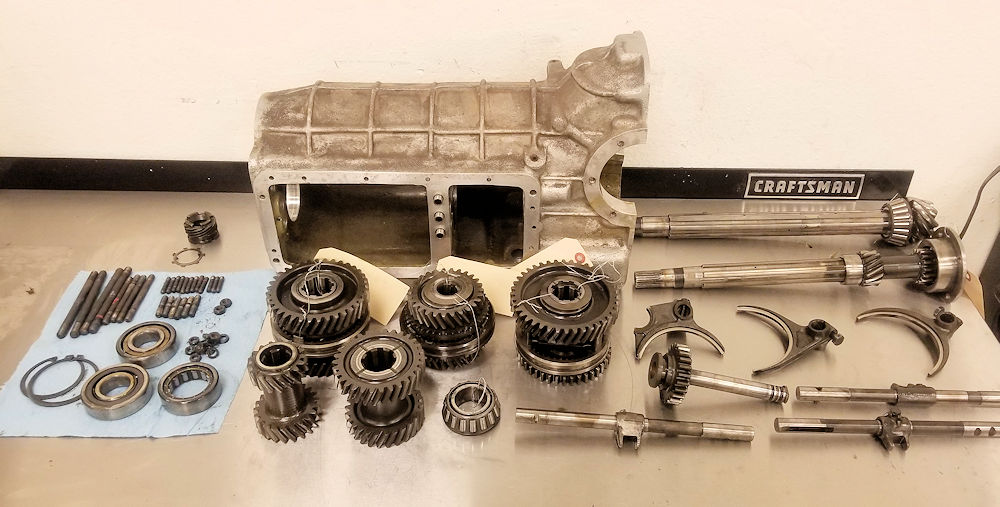
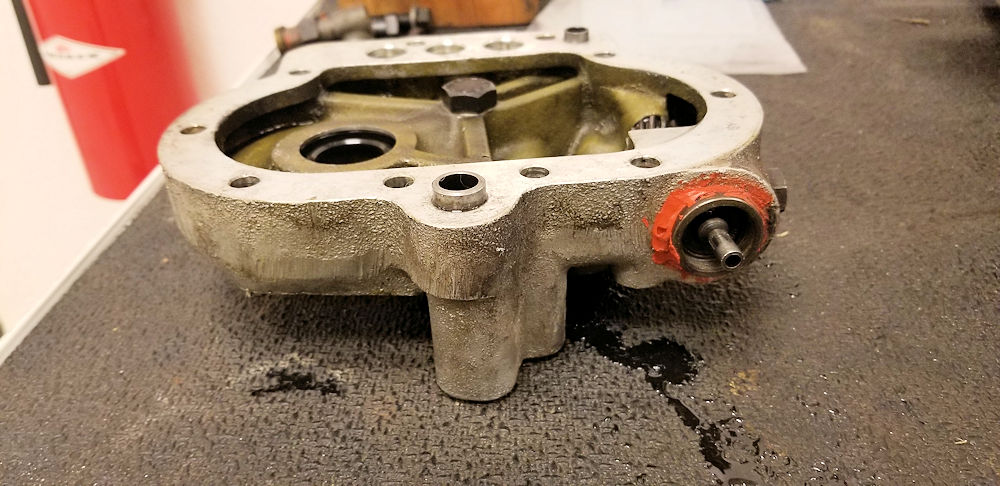
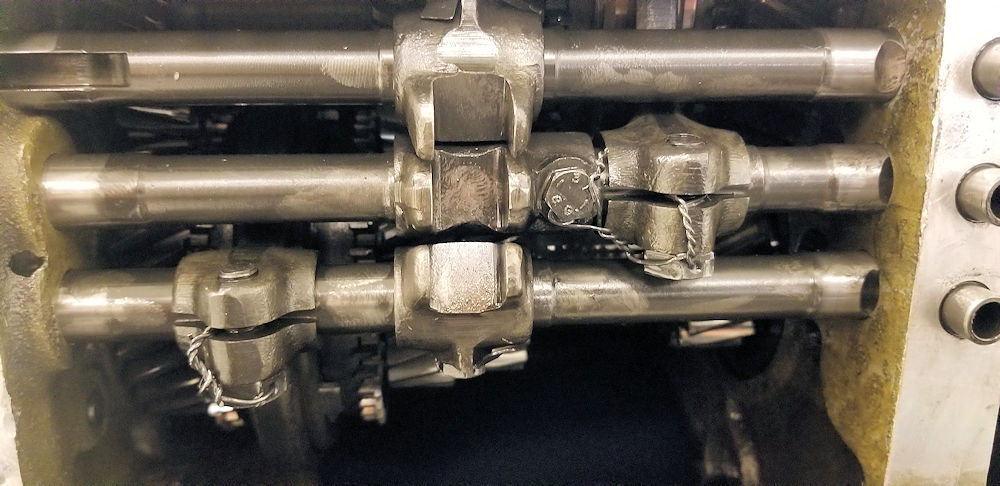
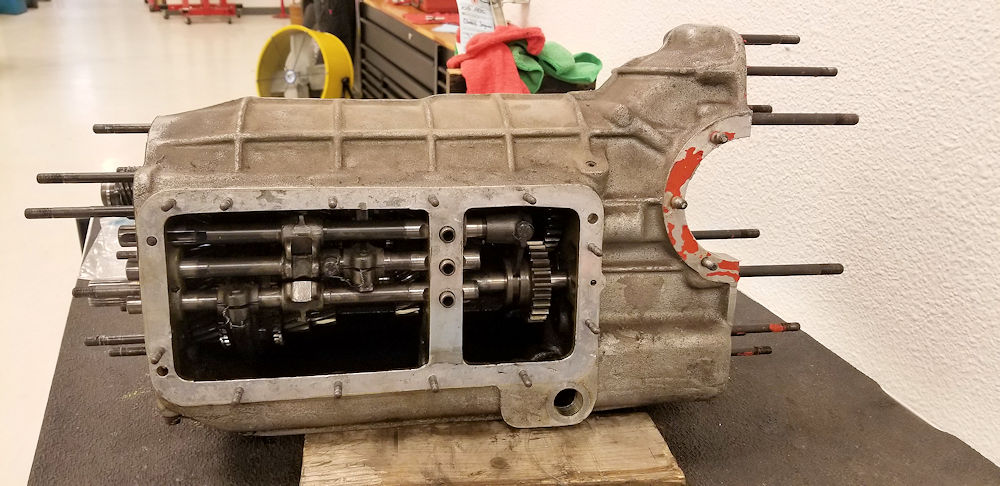
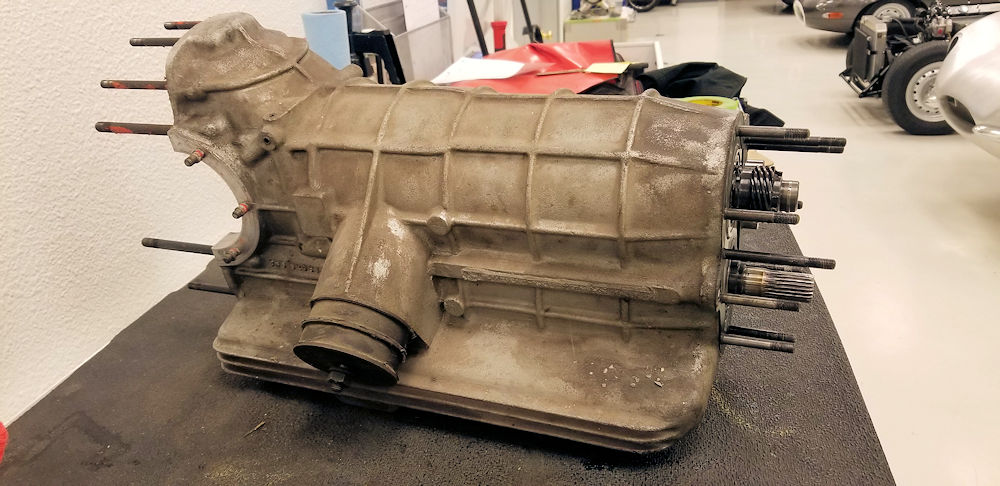
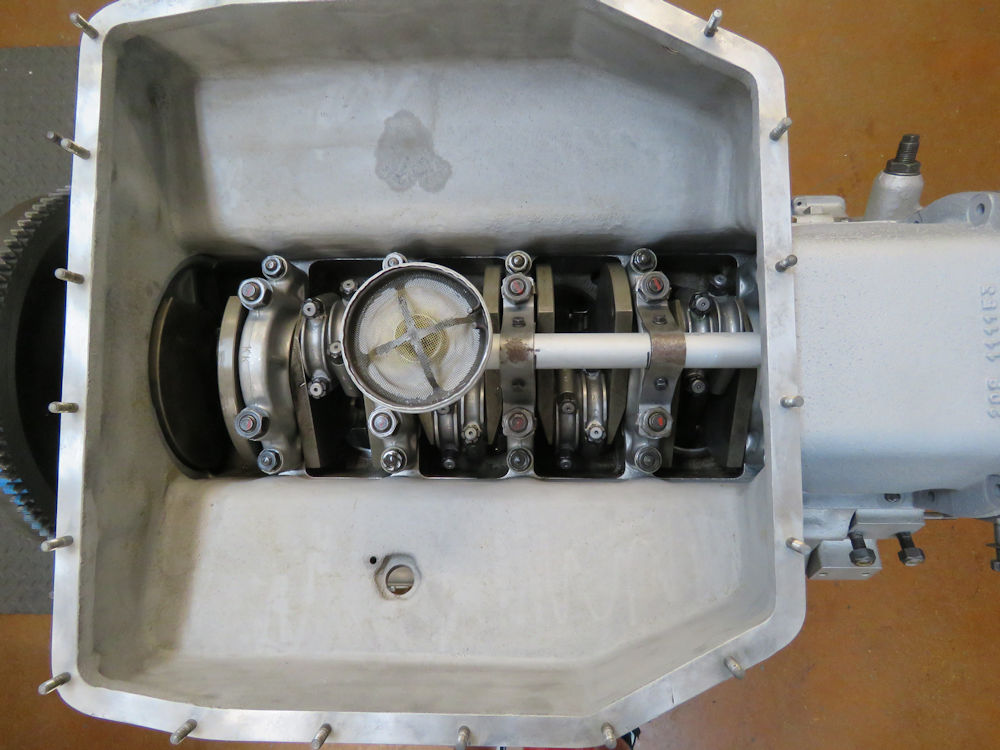
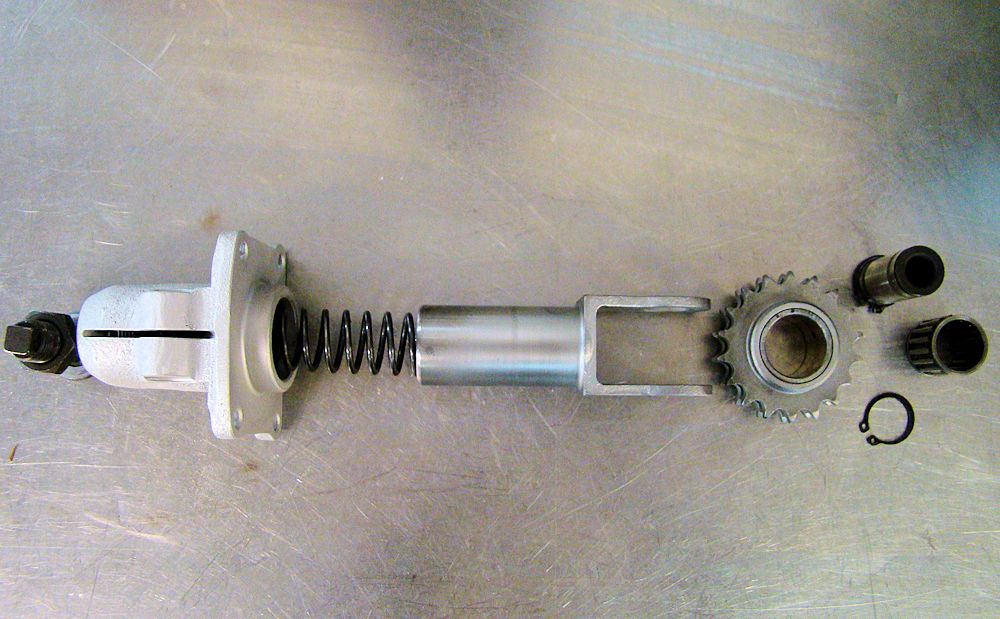
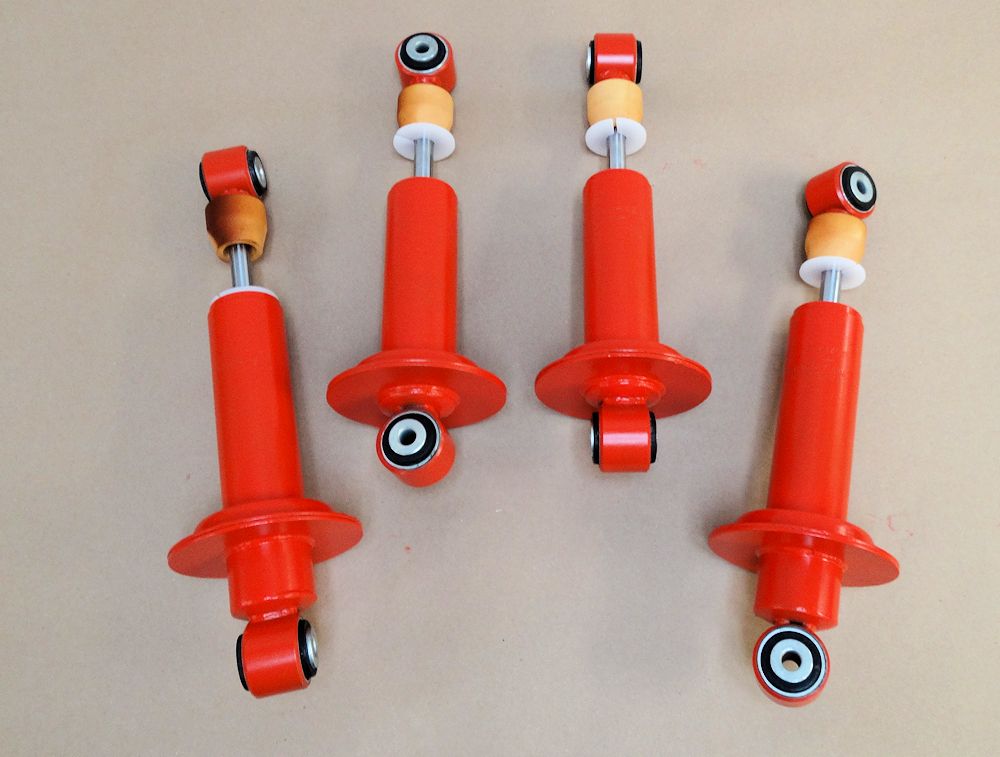
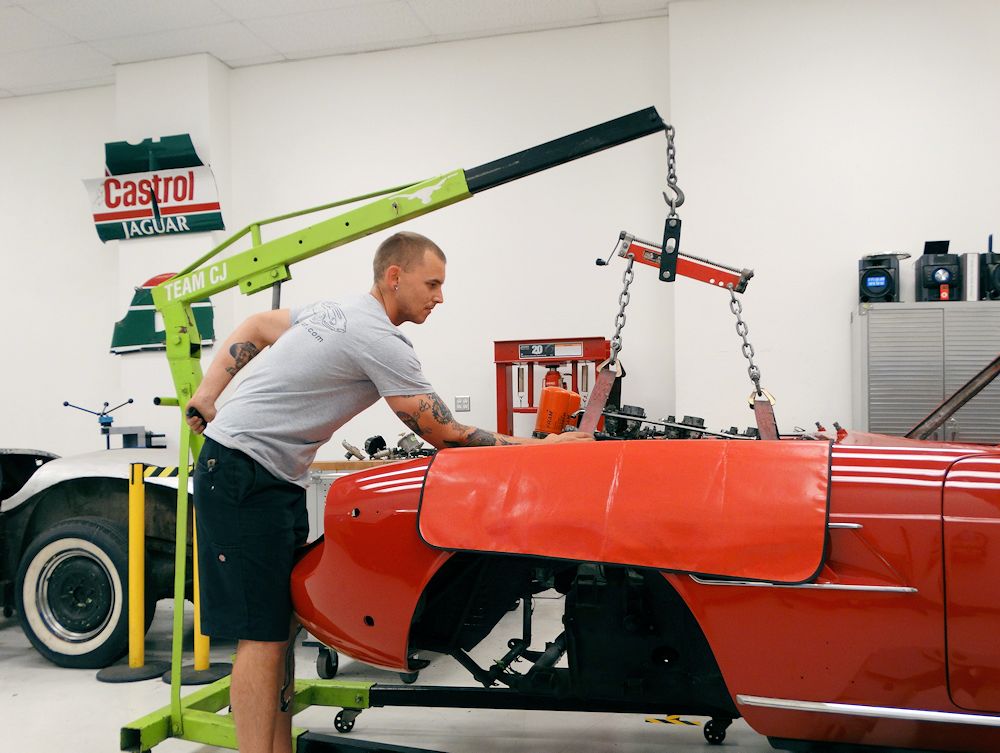
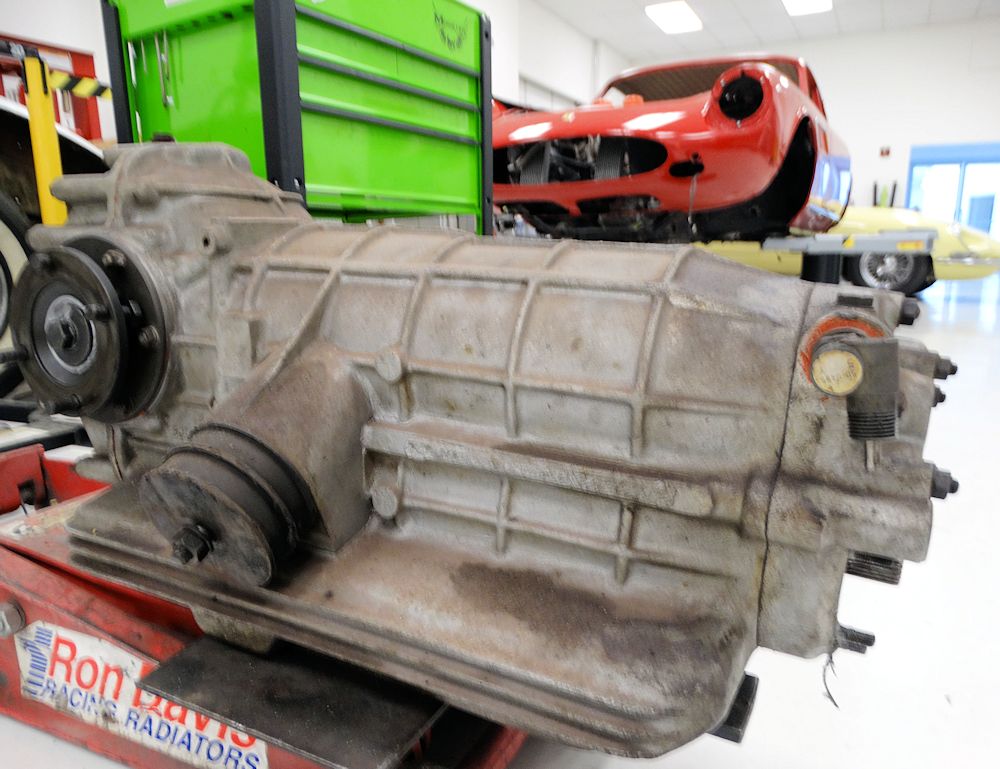
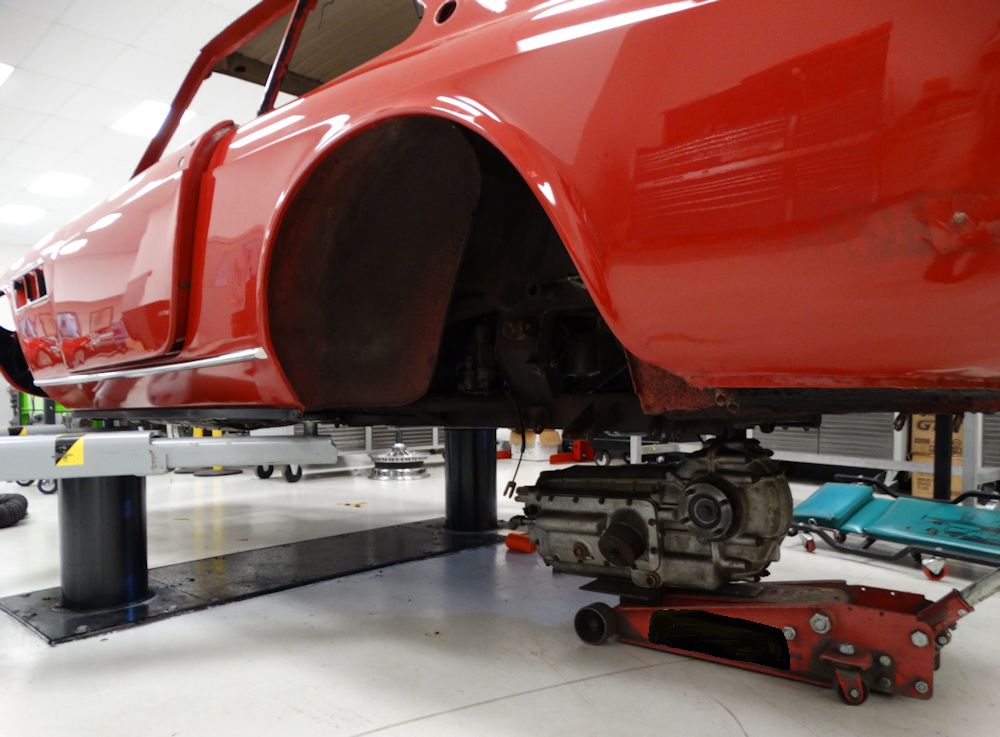
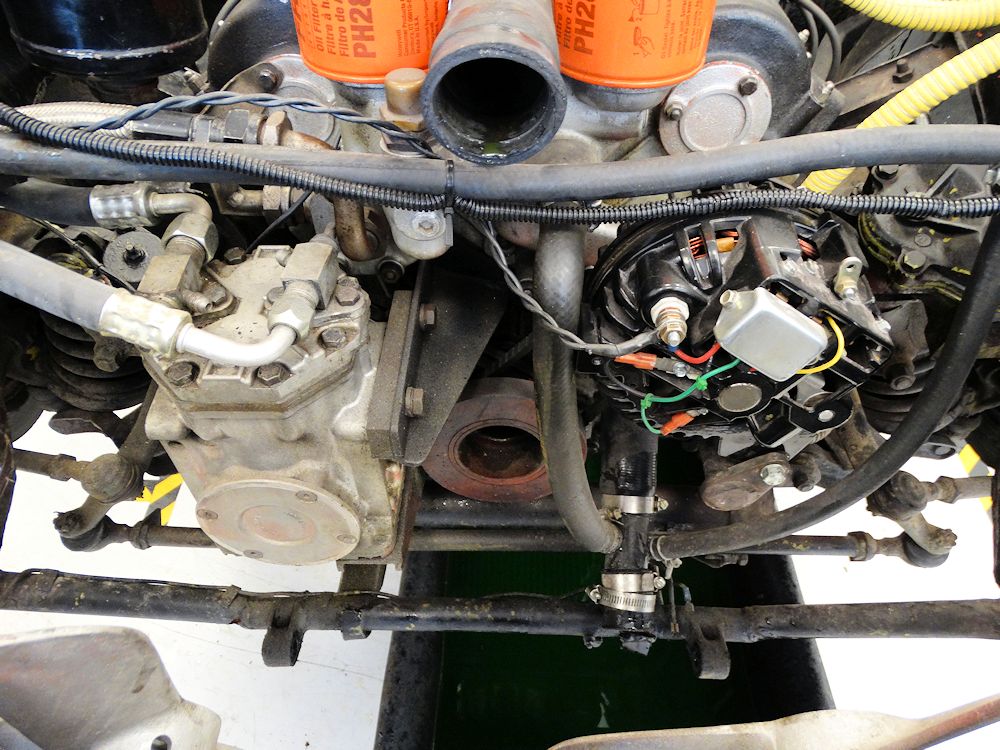
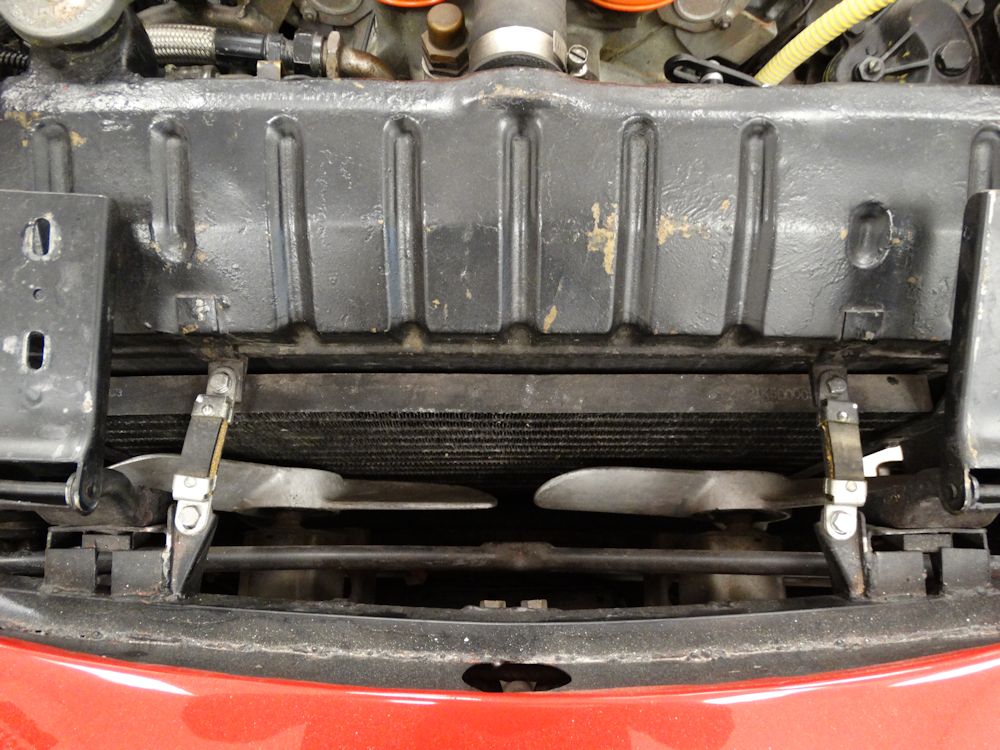
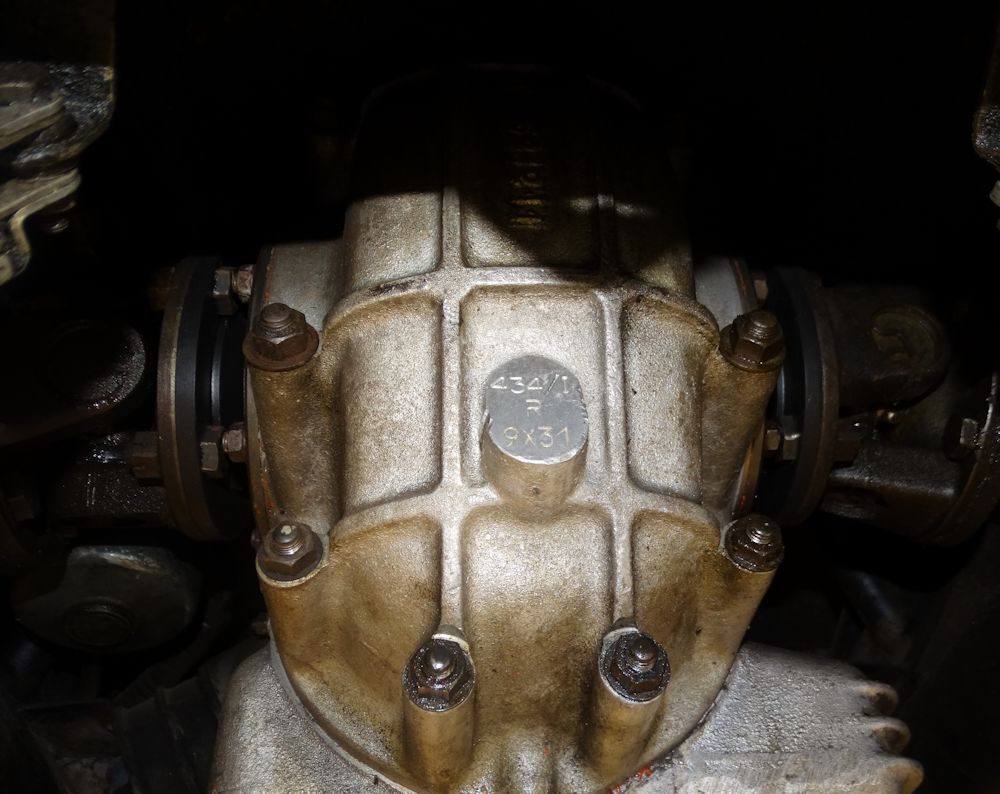
Transaxle will be fully rebuilt
The following sequence of photos show the transaxle rebuild underway and also Jake repairing and reinforcing the front and rear shock mounts.
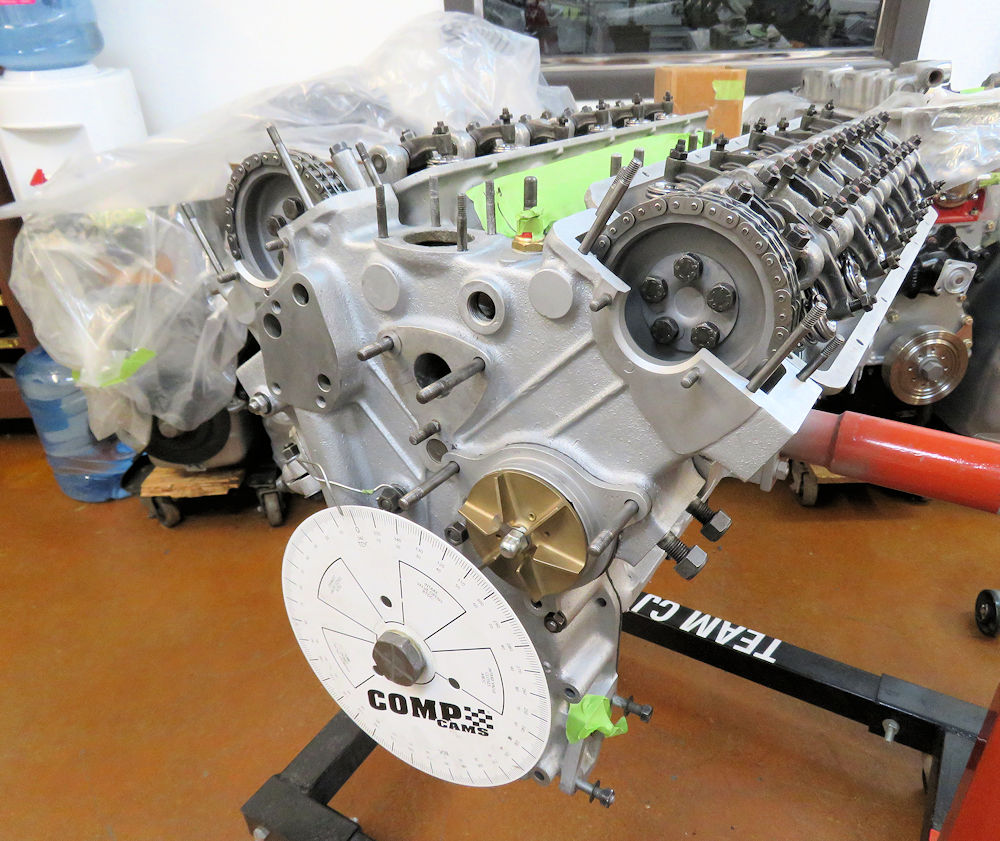
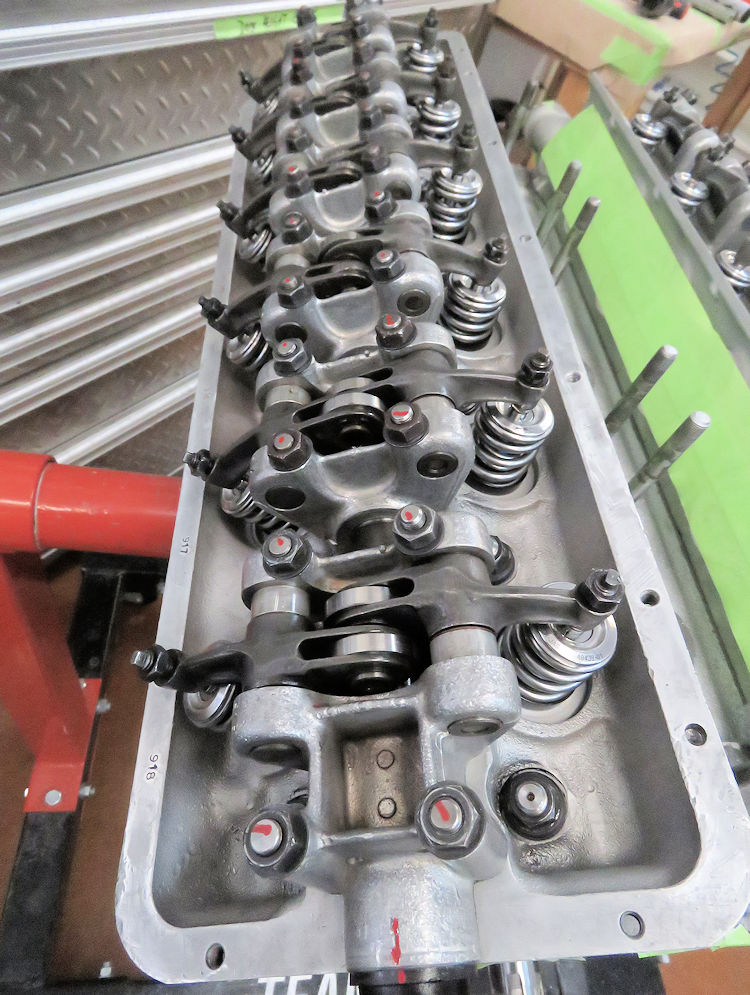
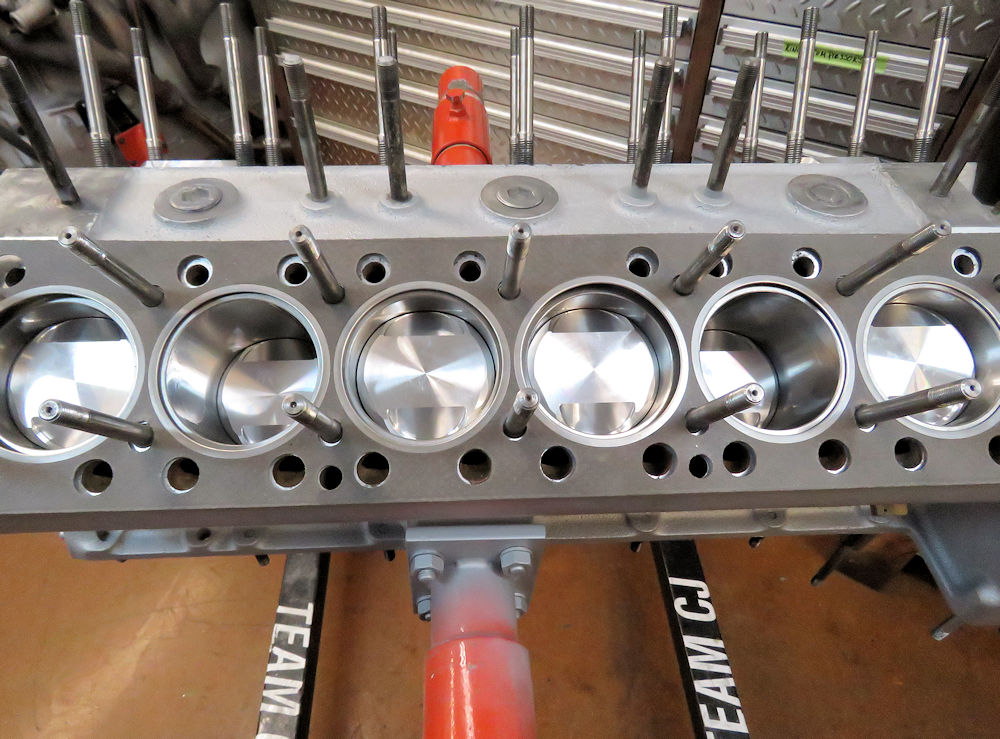
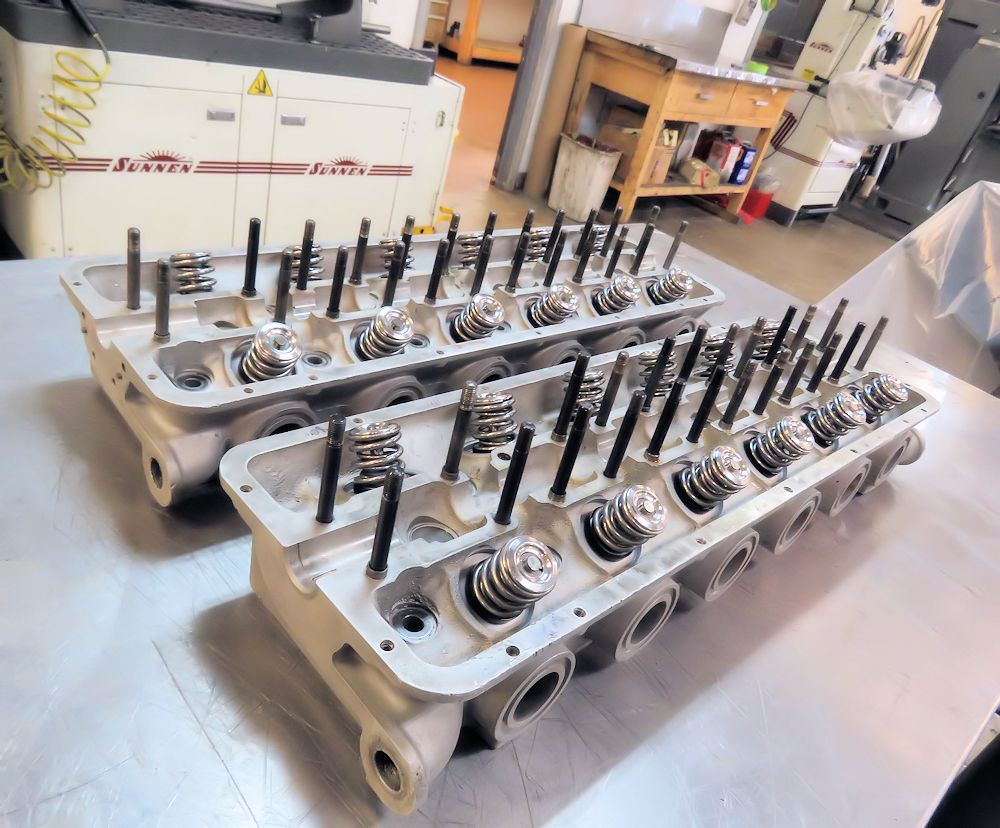
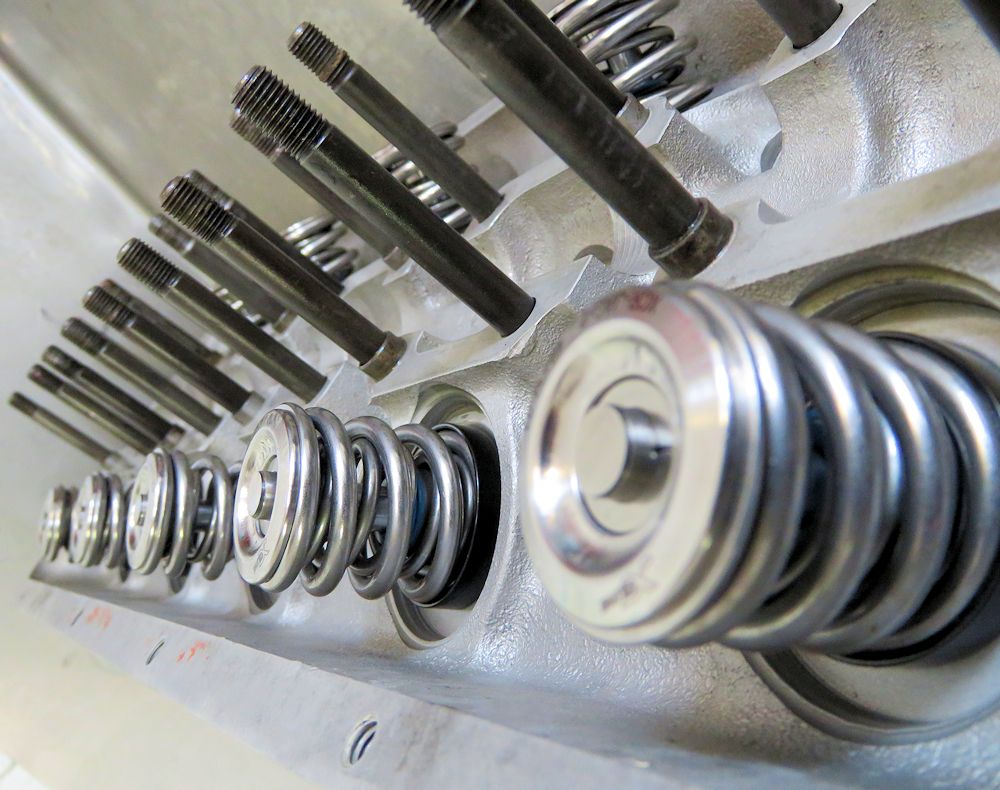
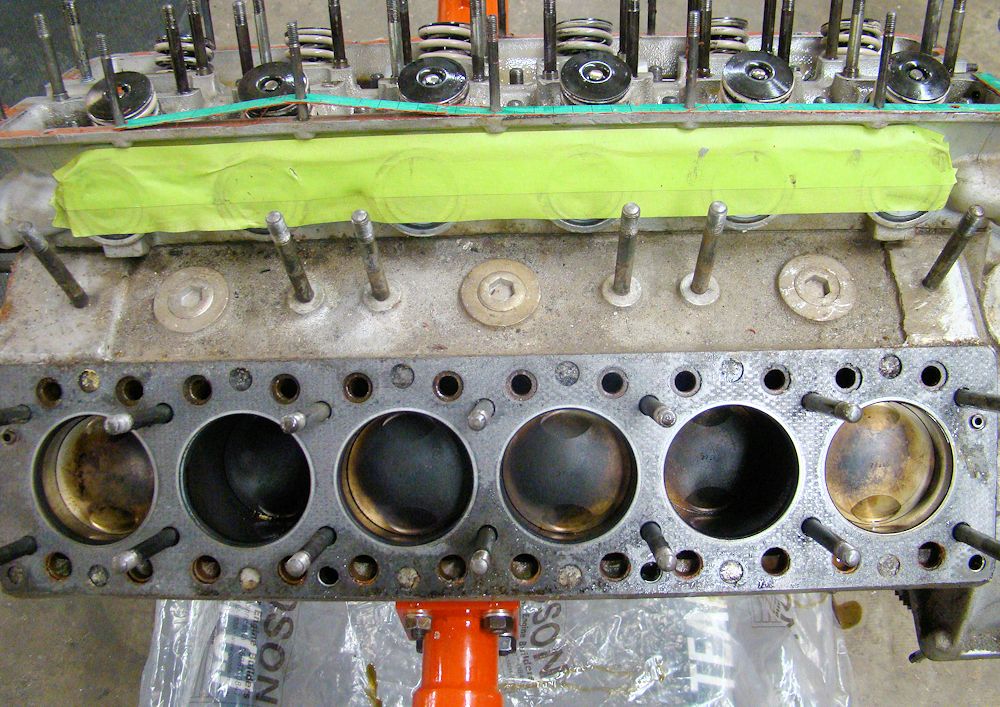
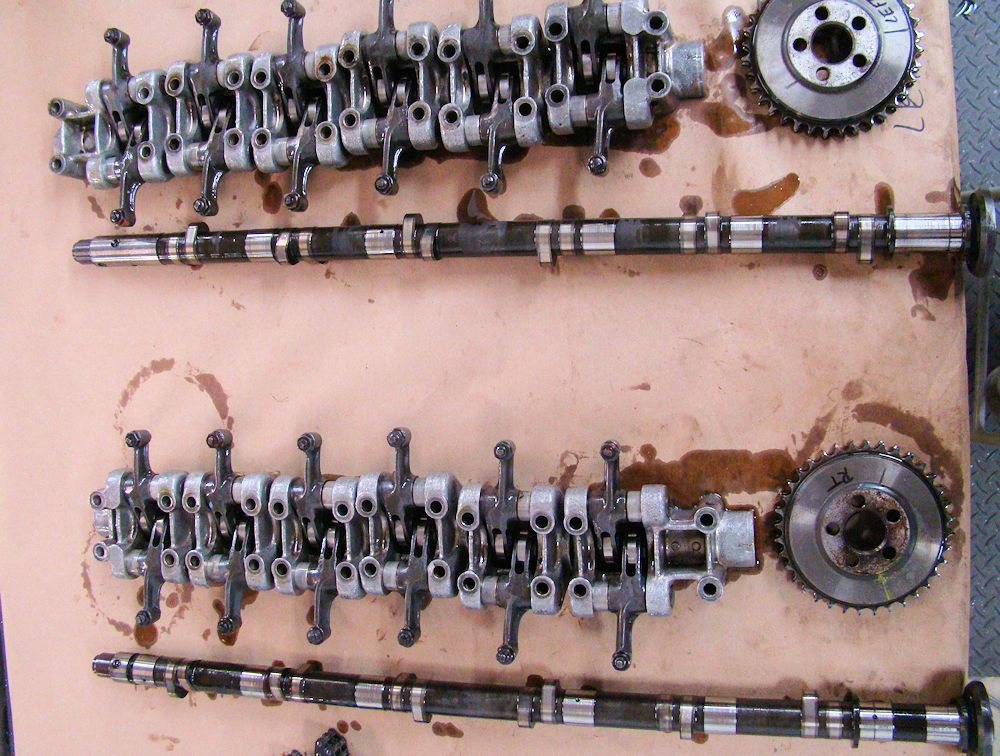
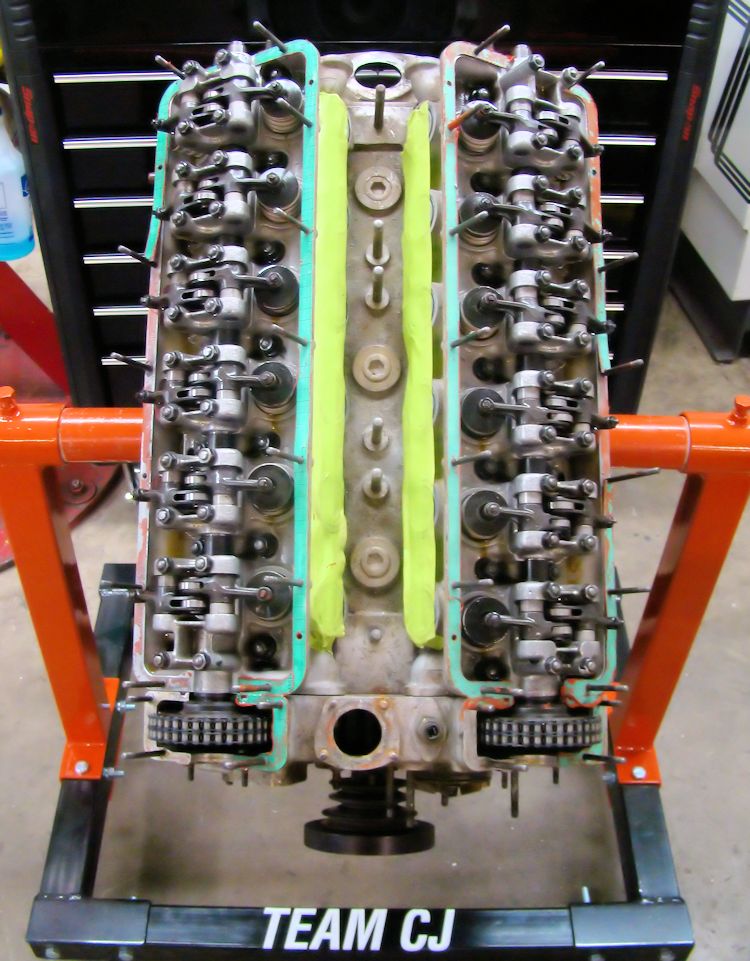
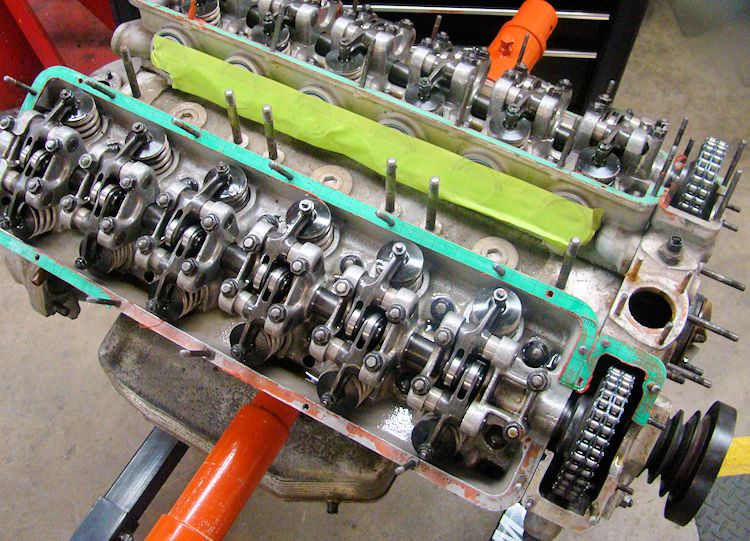
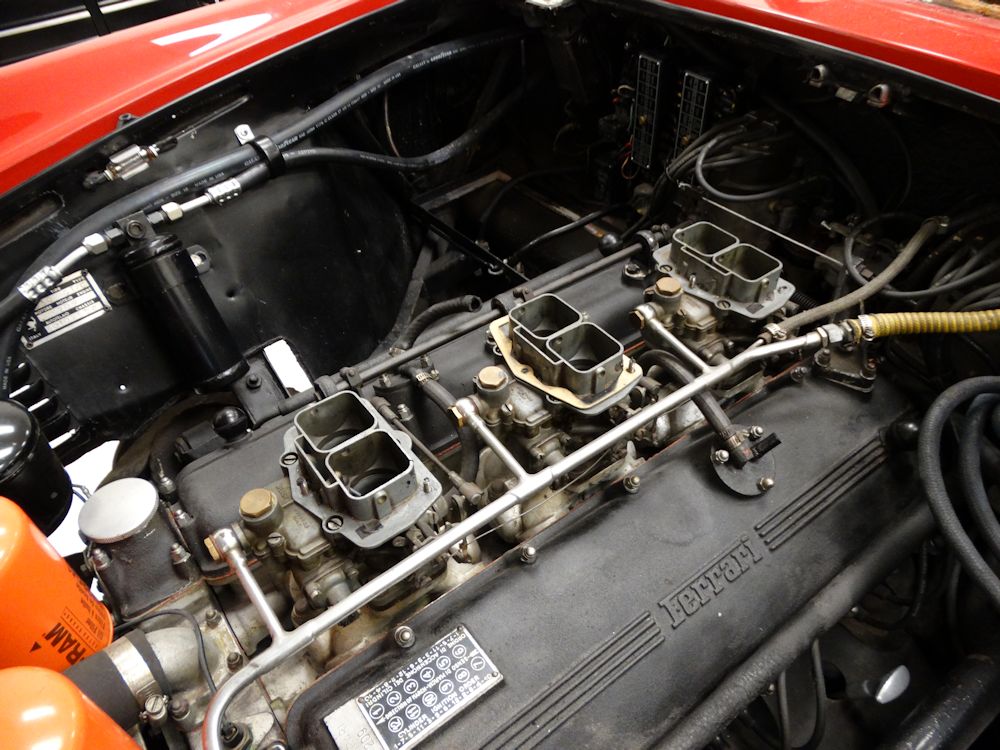
Heads now full rebuilt and ready to install
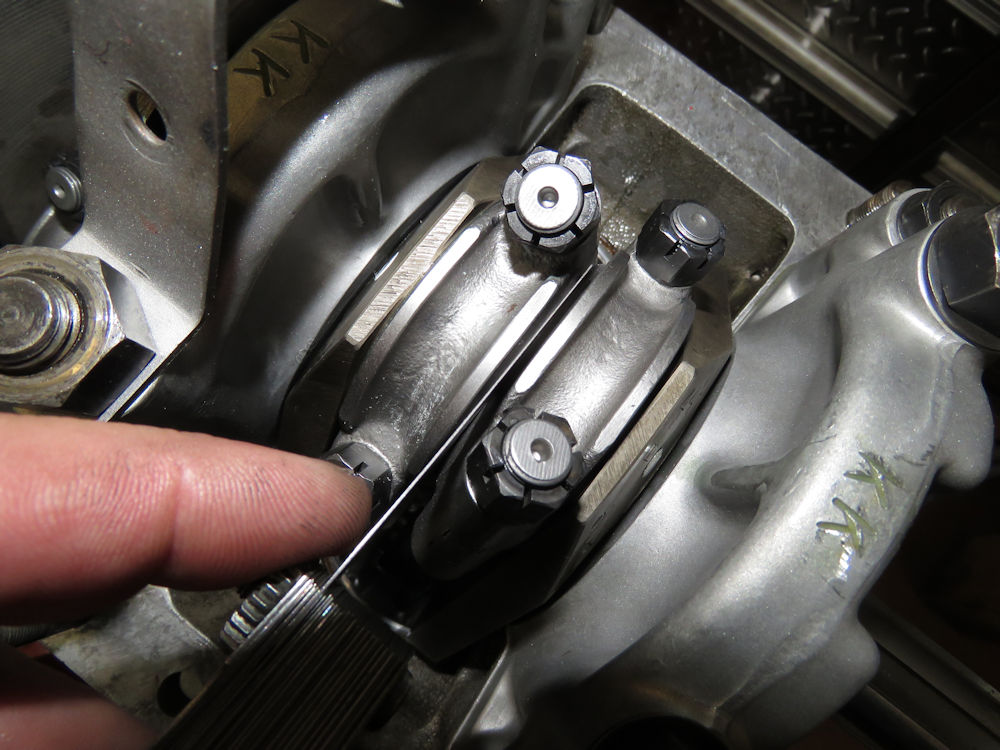
Assembling the cylinder head and setting valve lash
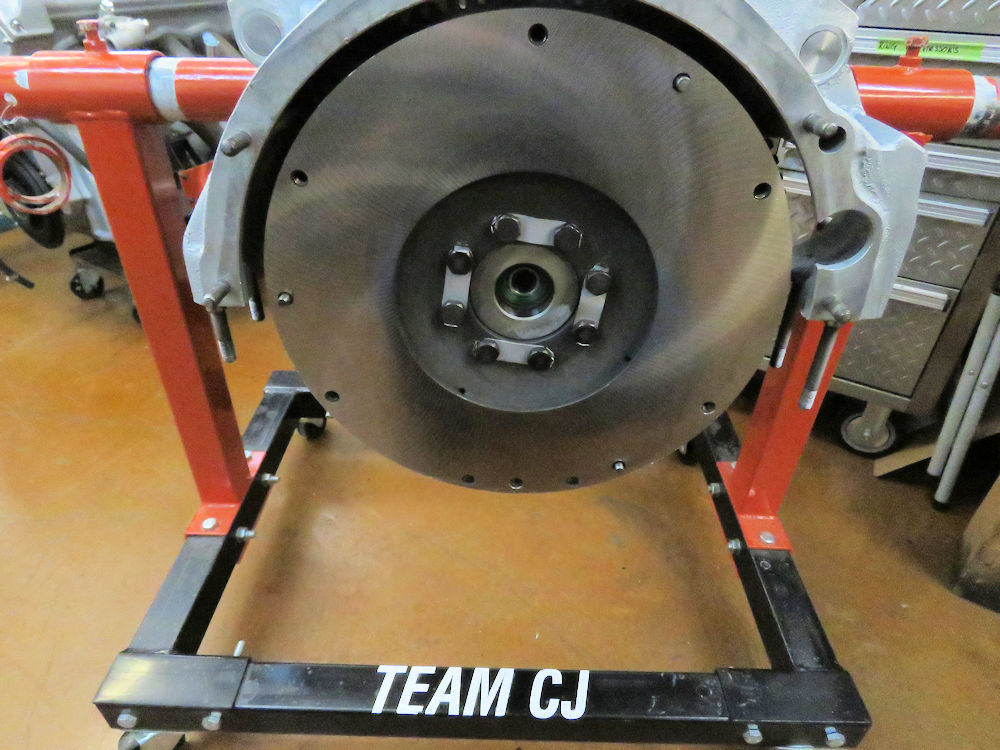
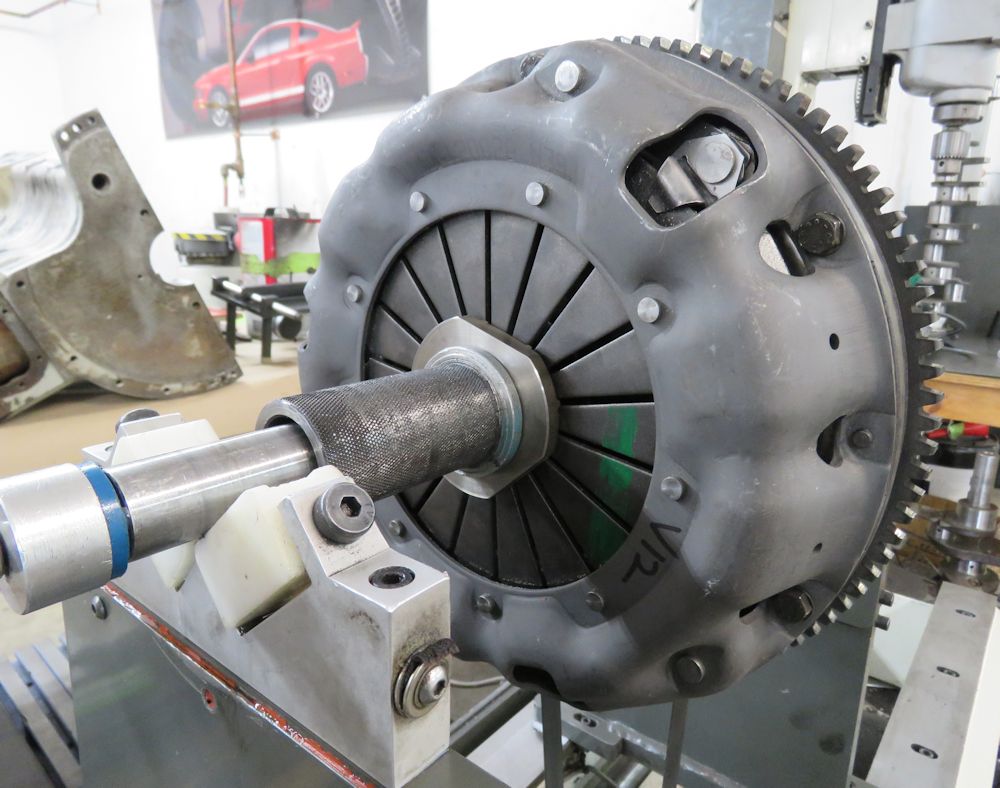
Balancing the flywheel and clutch
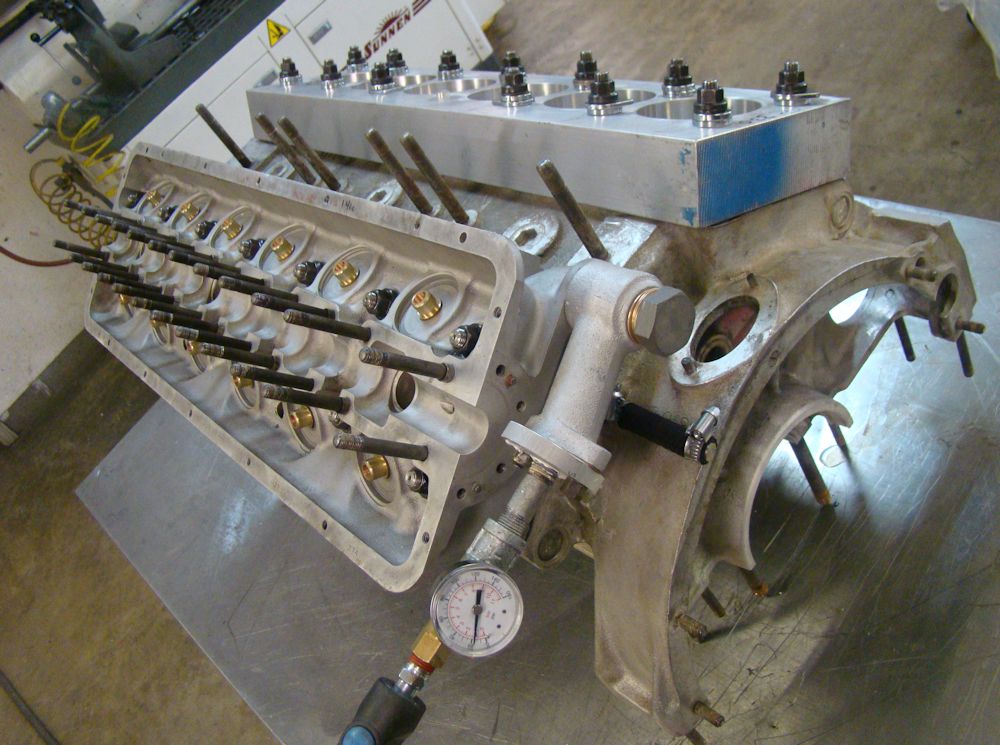
Pressure testing with custom head gaskets trial fitted
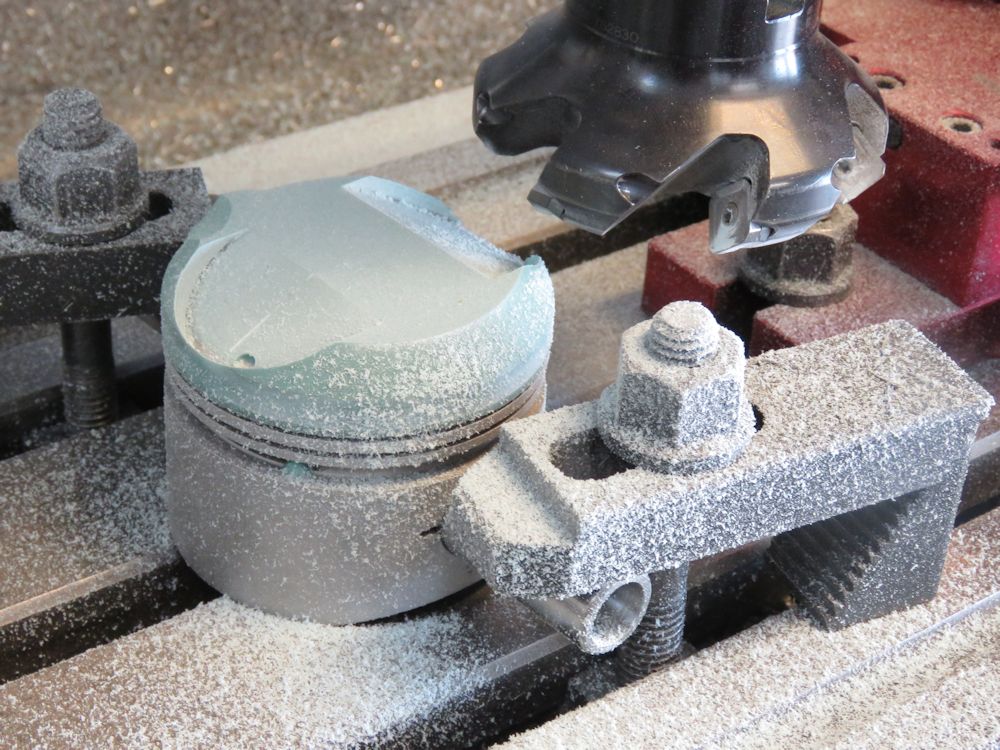
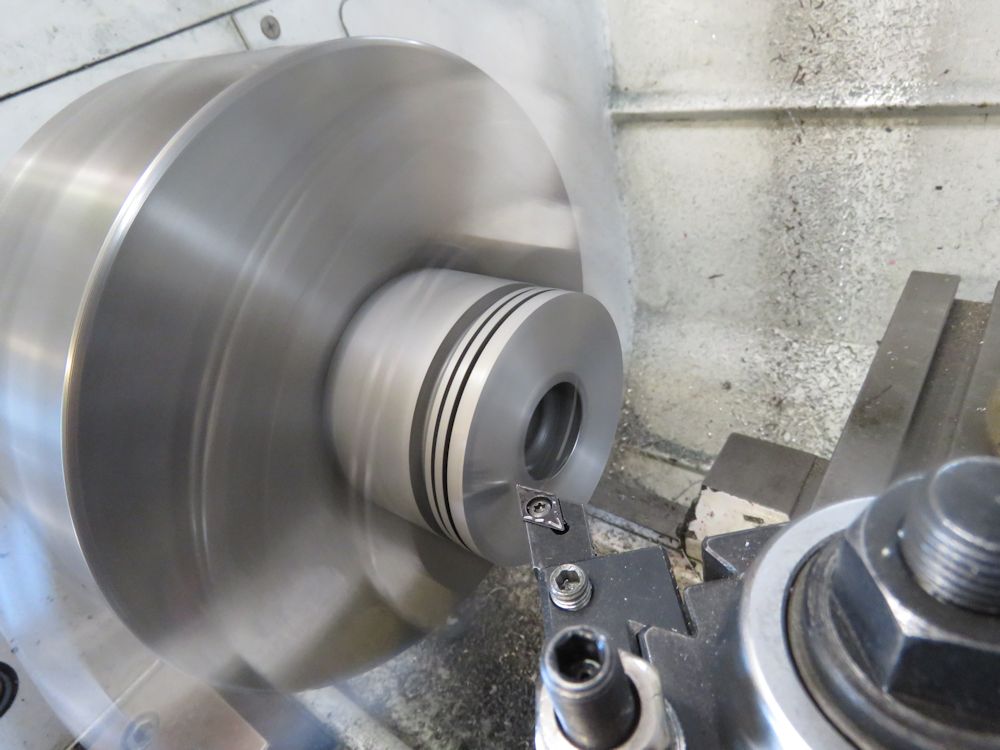
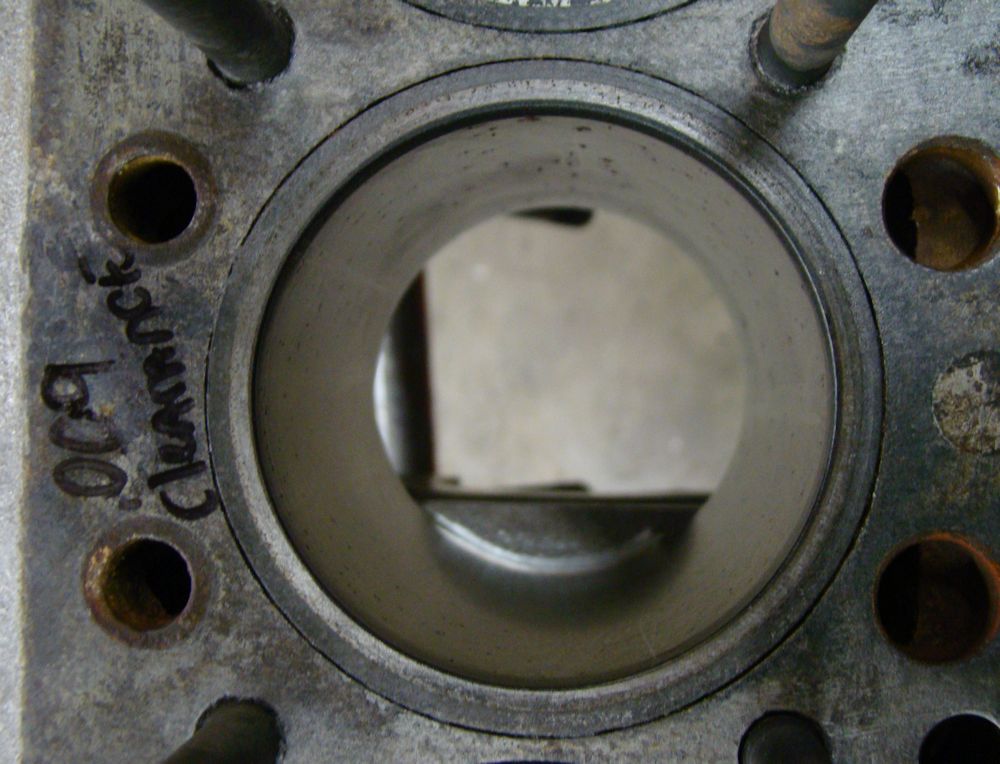
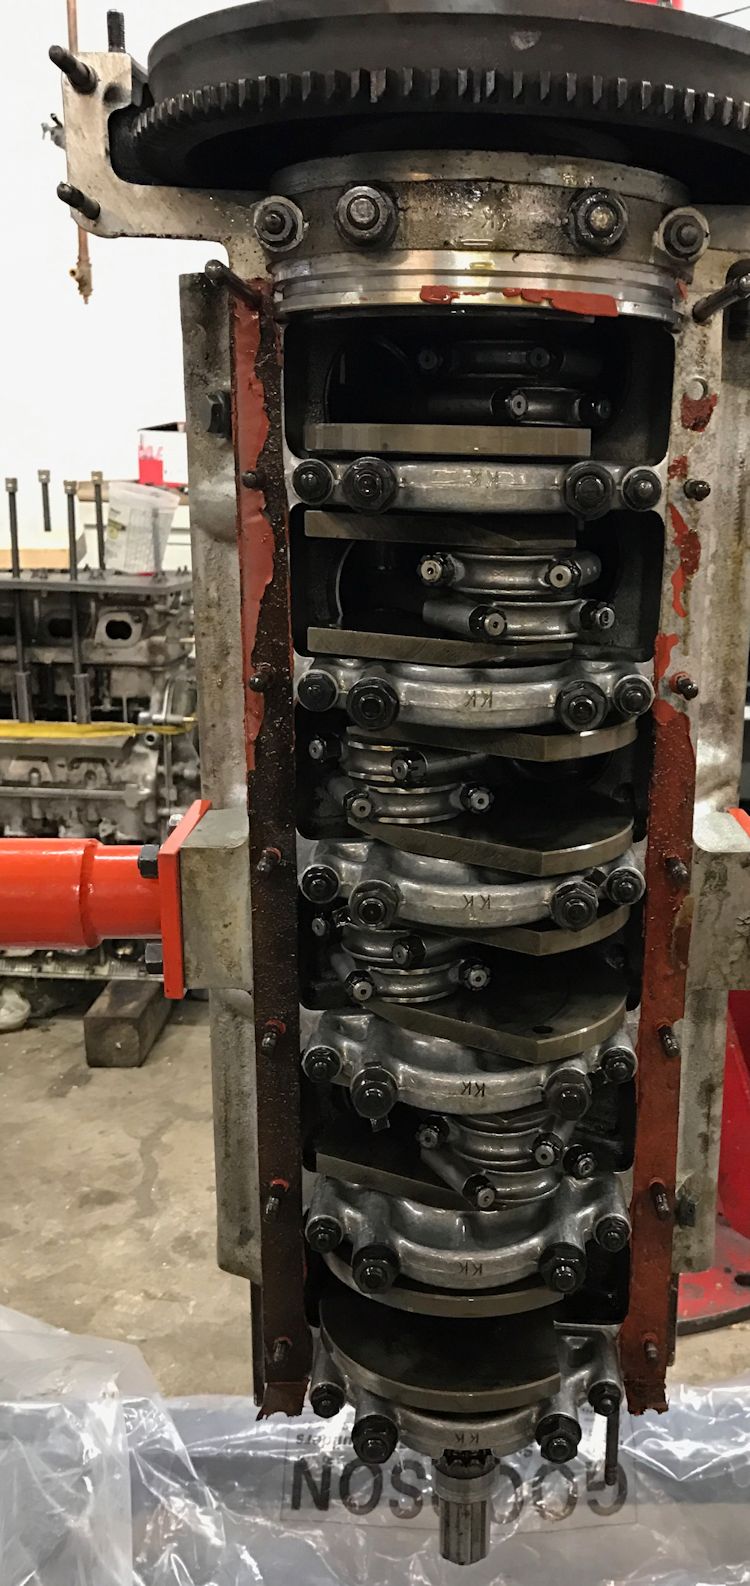
Torque plate honing the cylinders to final size
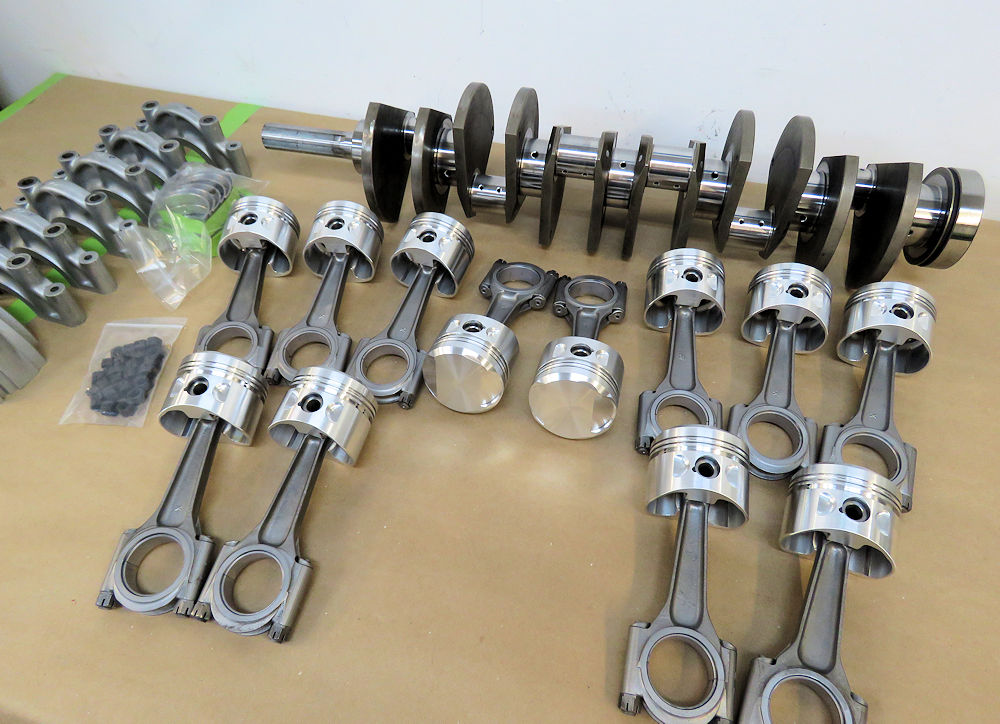
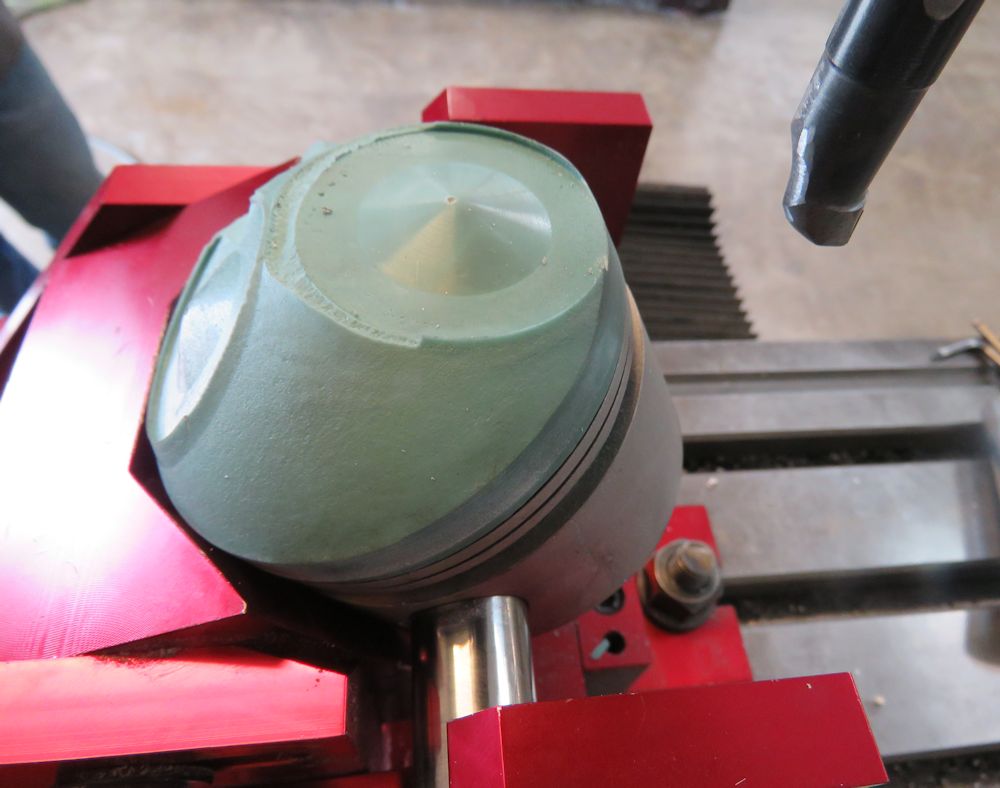
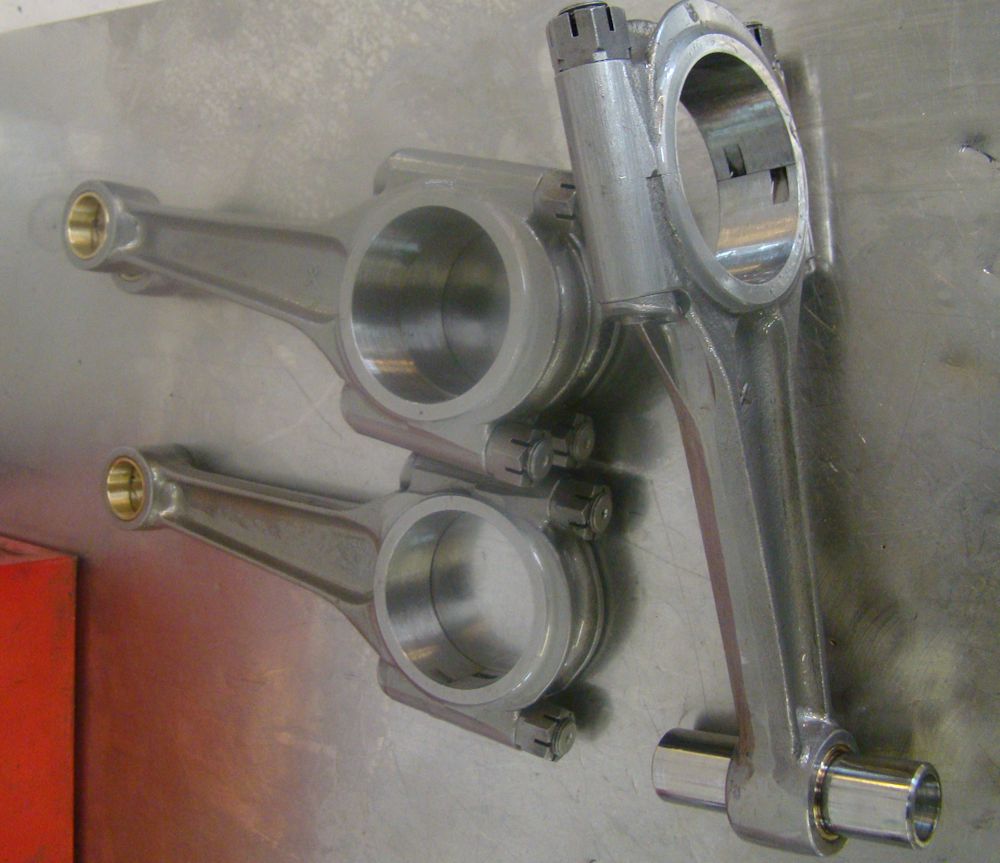
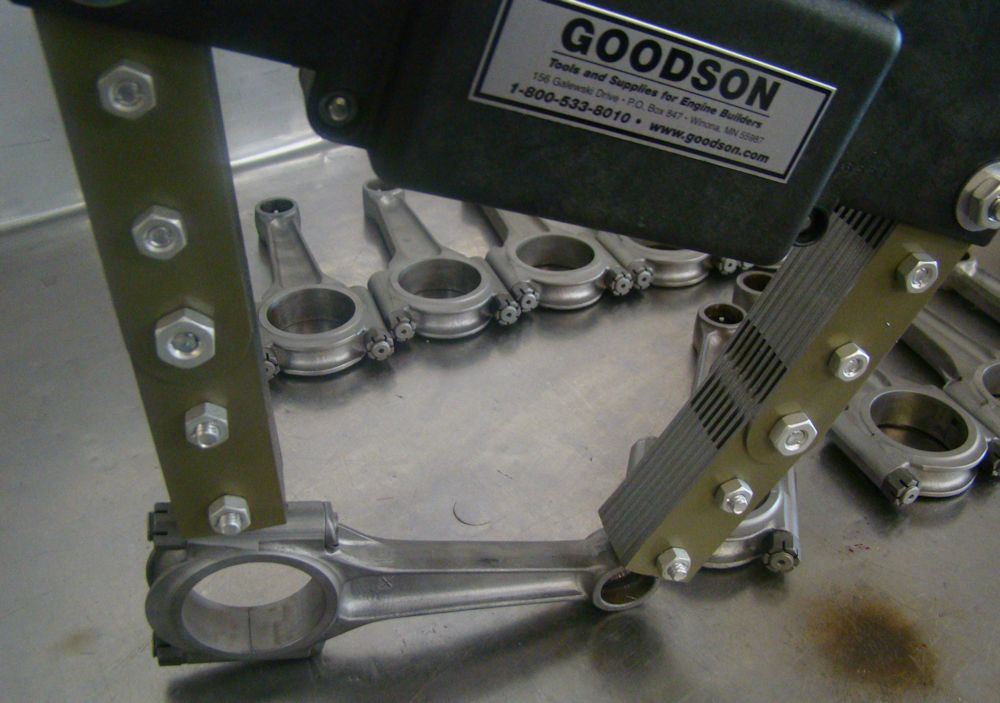
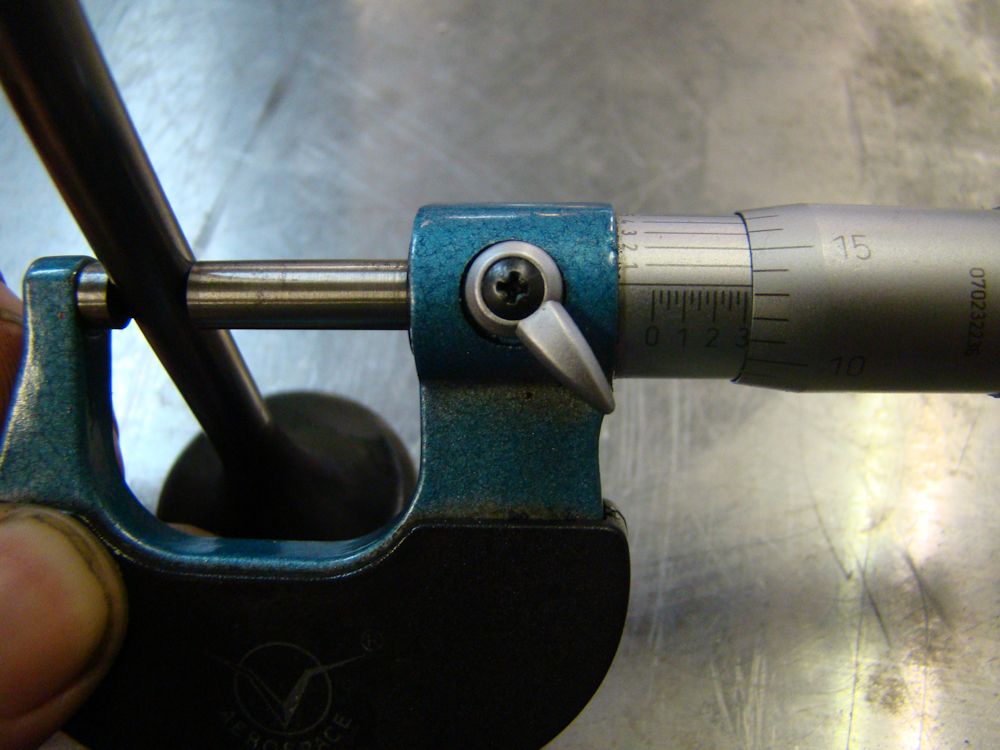
Hanging rebuilt rods on the pistons
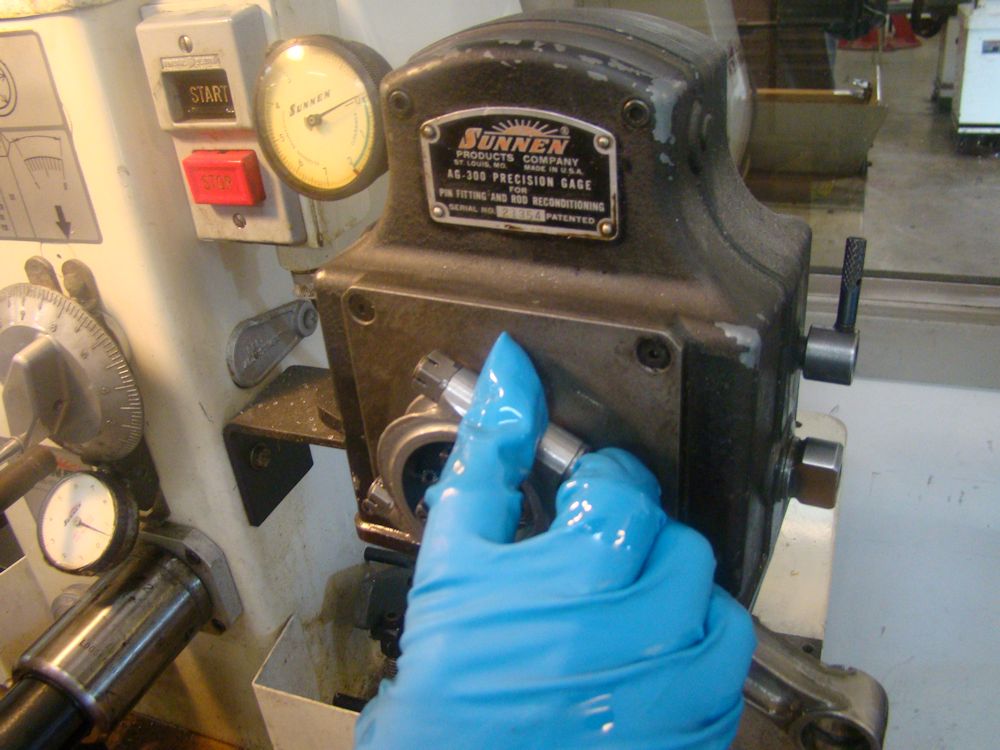
Honing rod wrist pin bushings to size
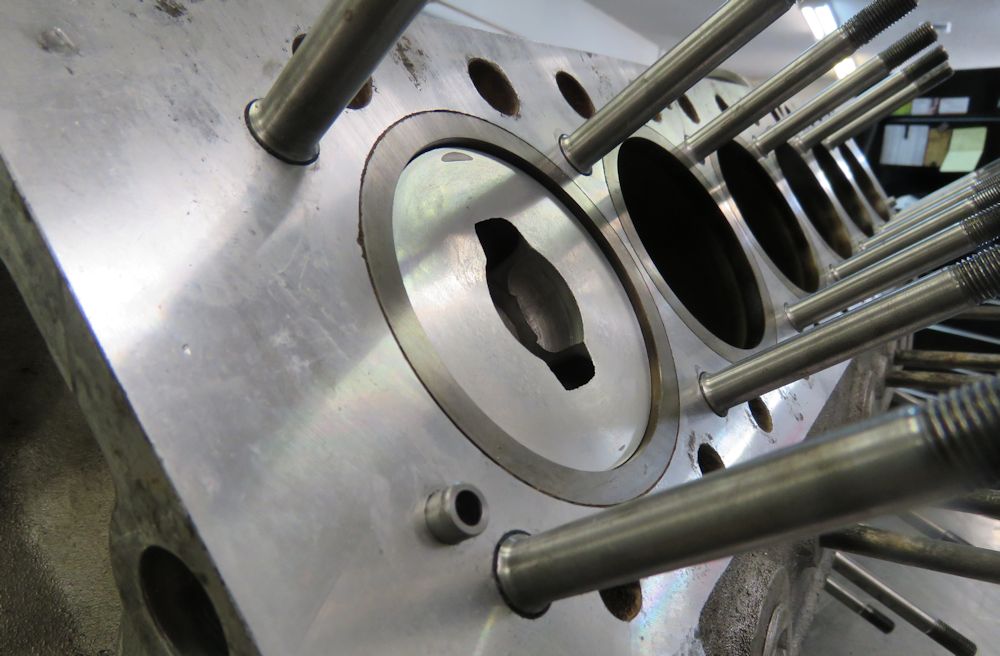
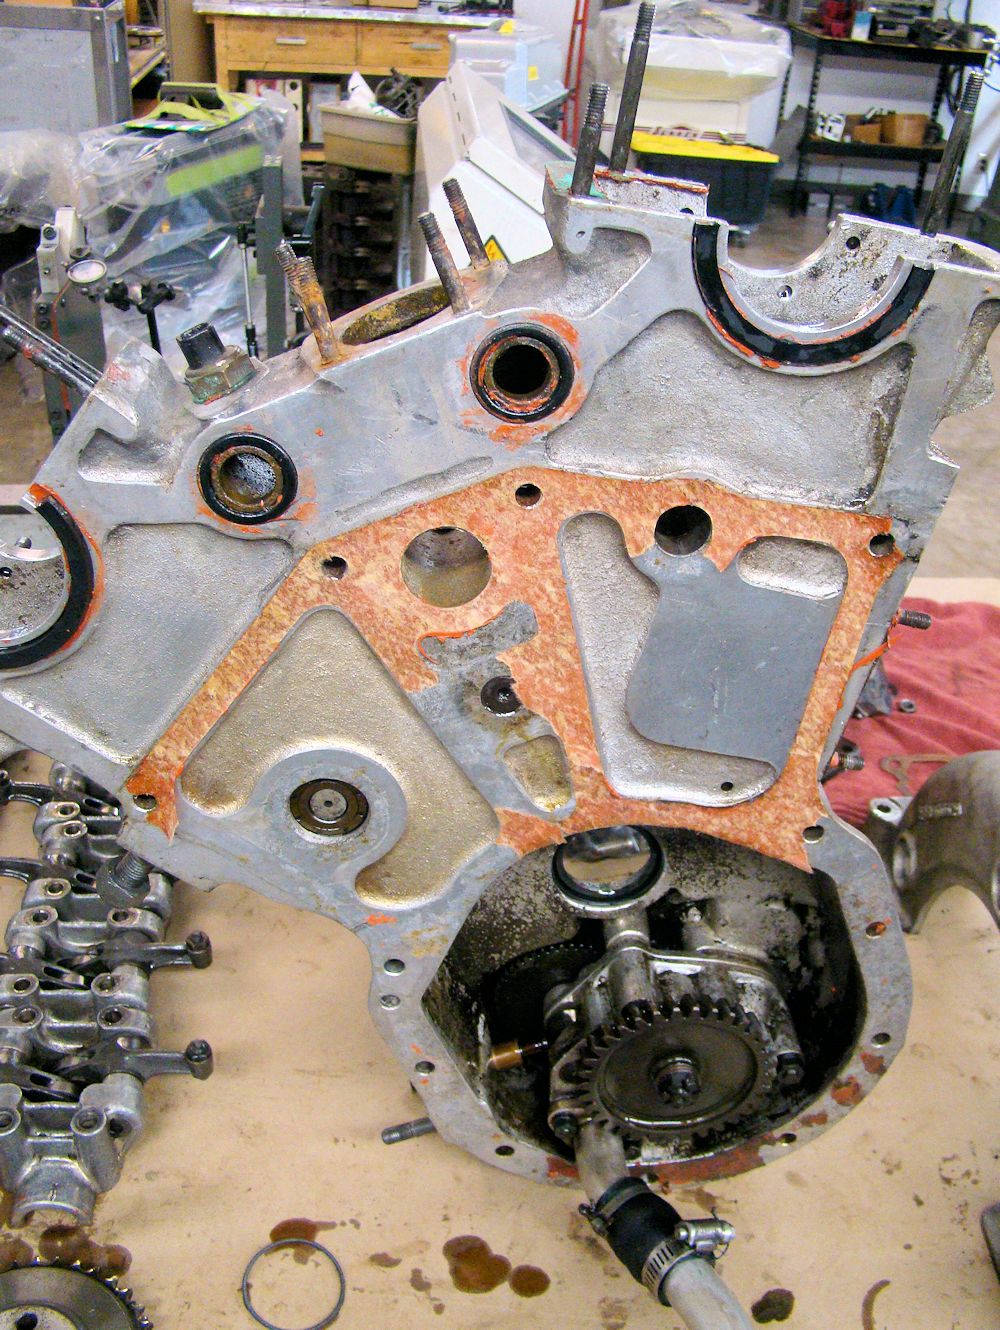
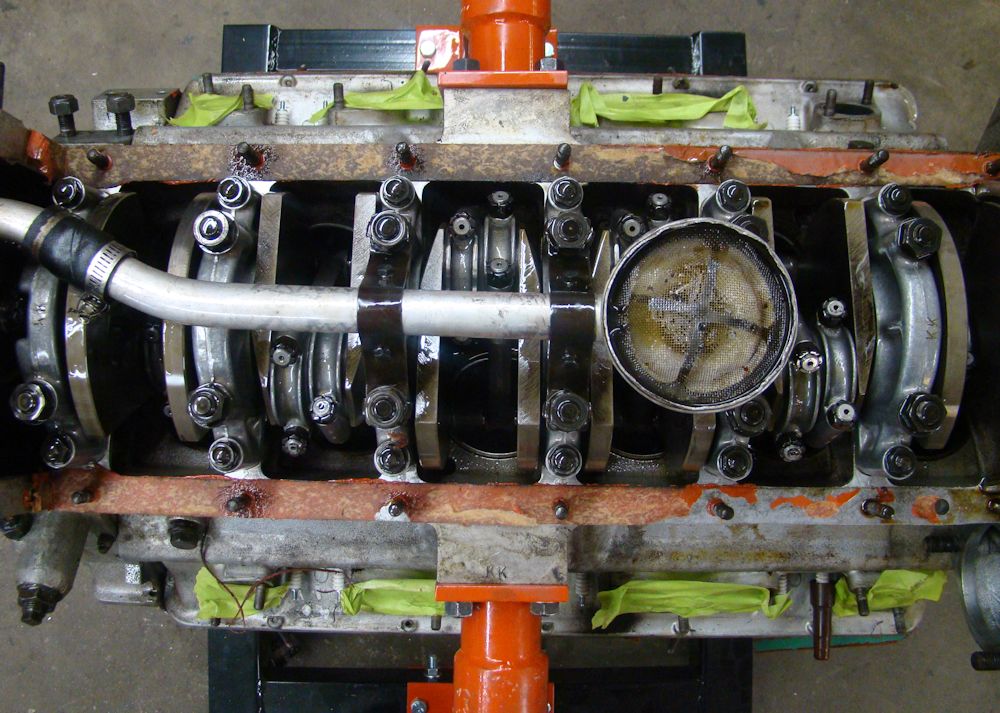
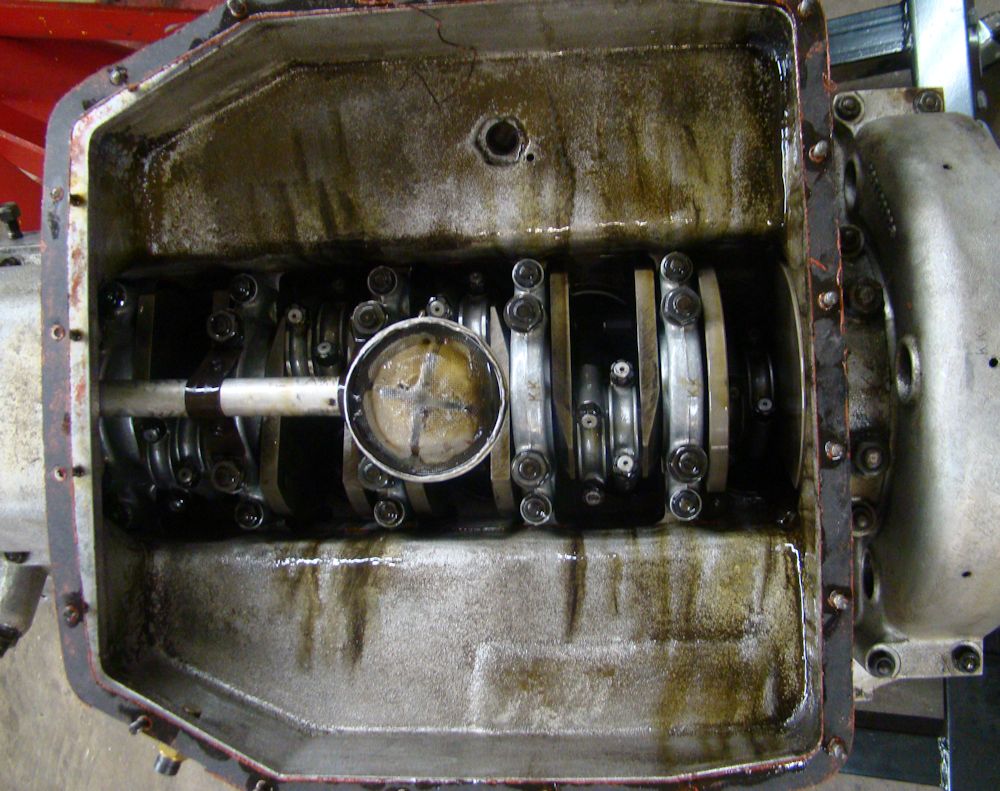
Pressure testing the engine block
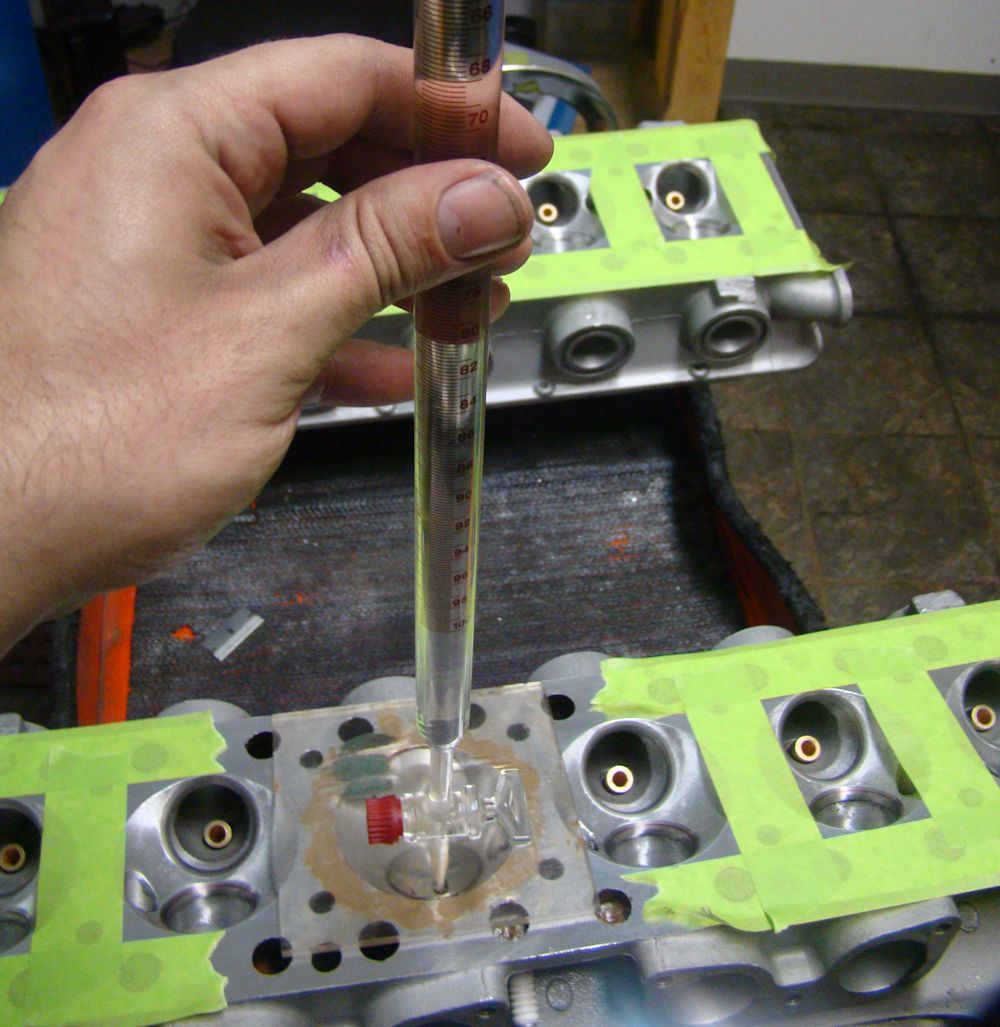
Measuring head cc
Machining for new valve seals
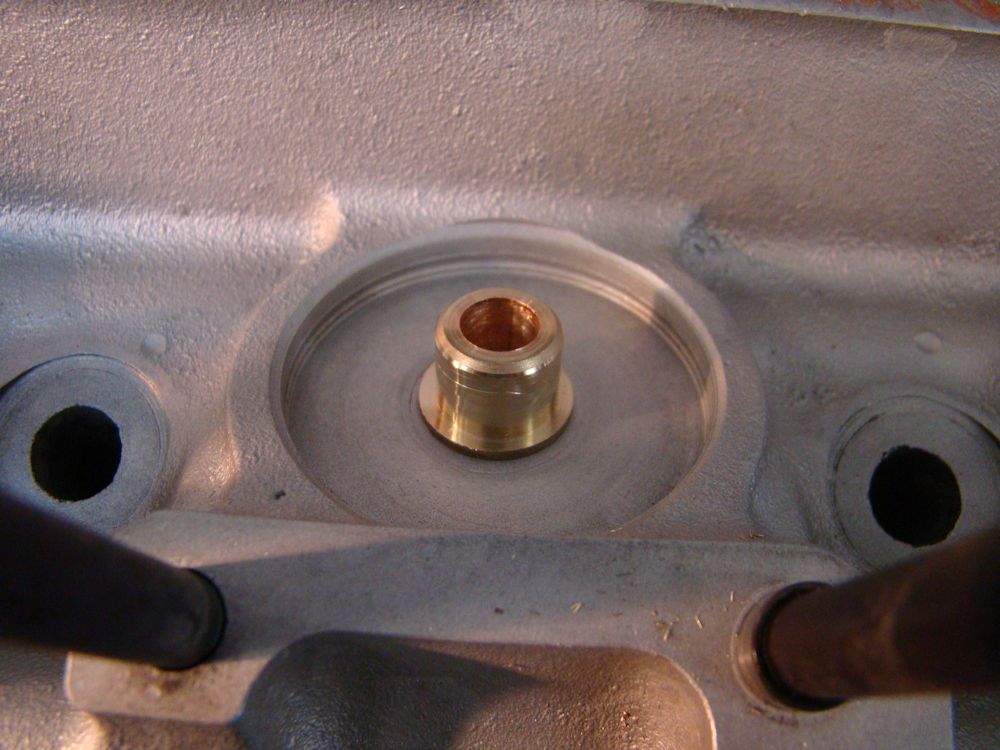
Honing new valve guides
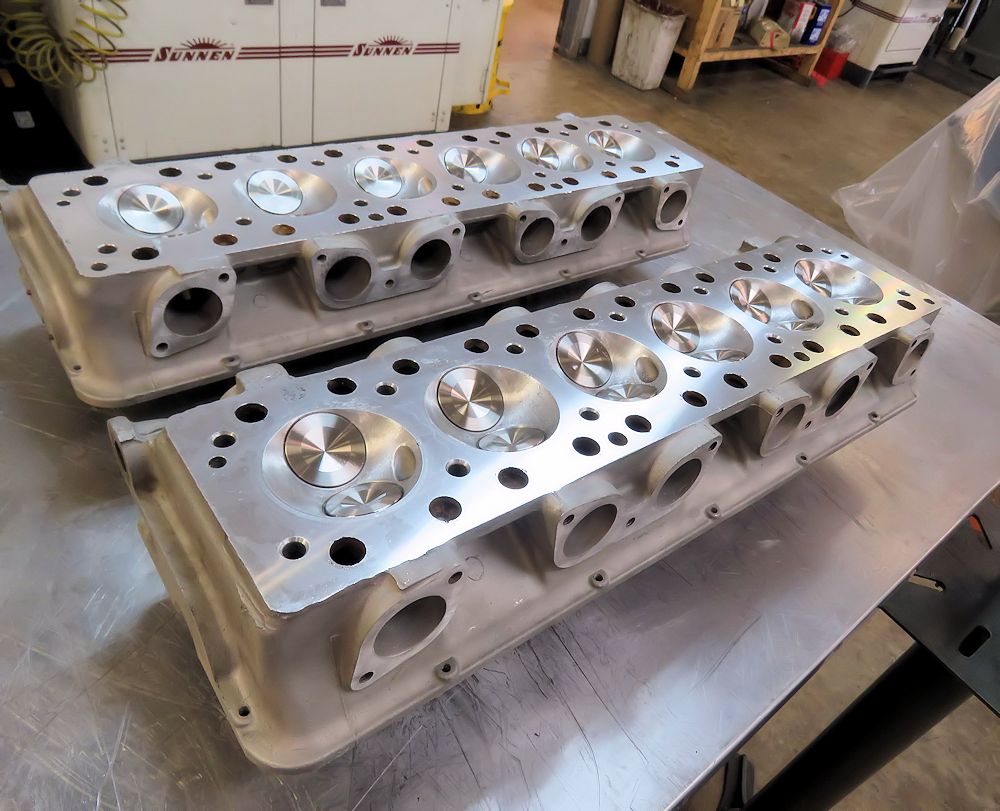
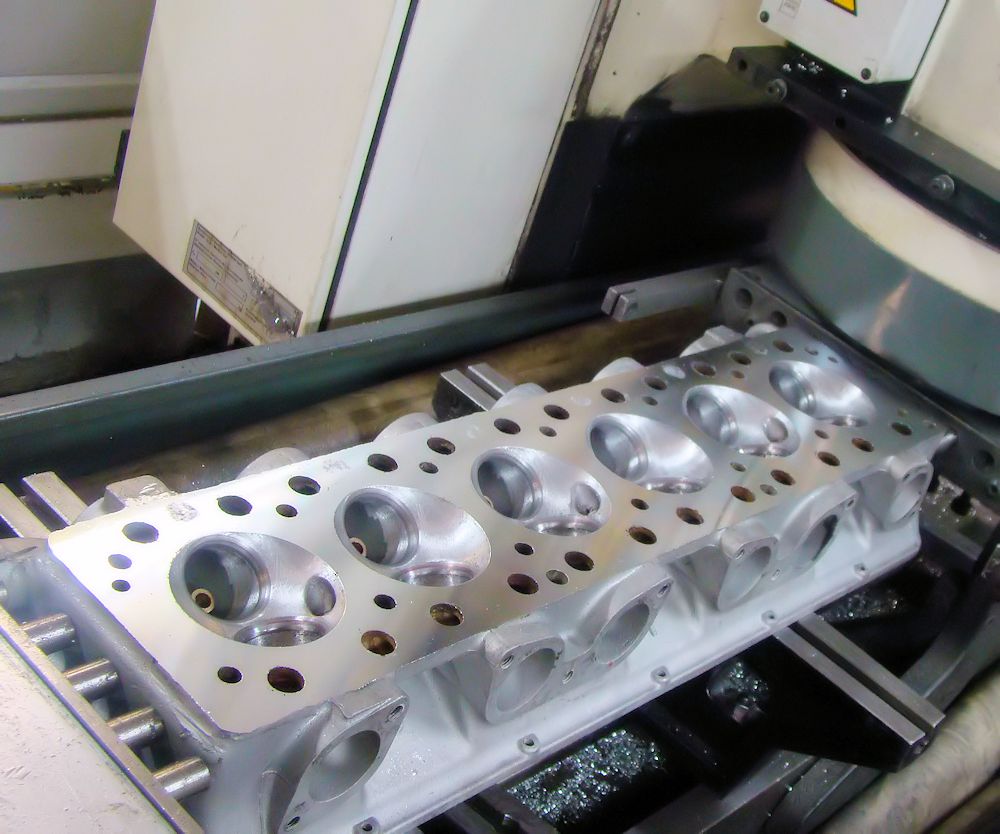
Surfacing one of the cylinder heads
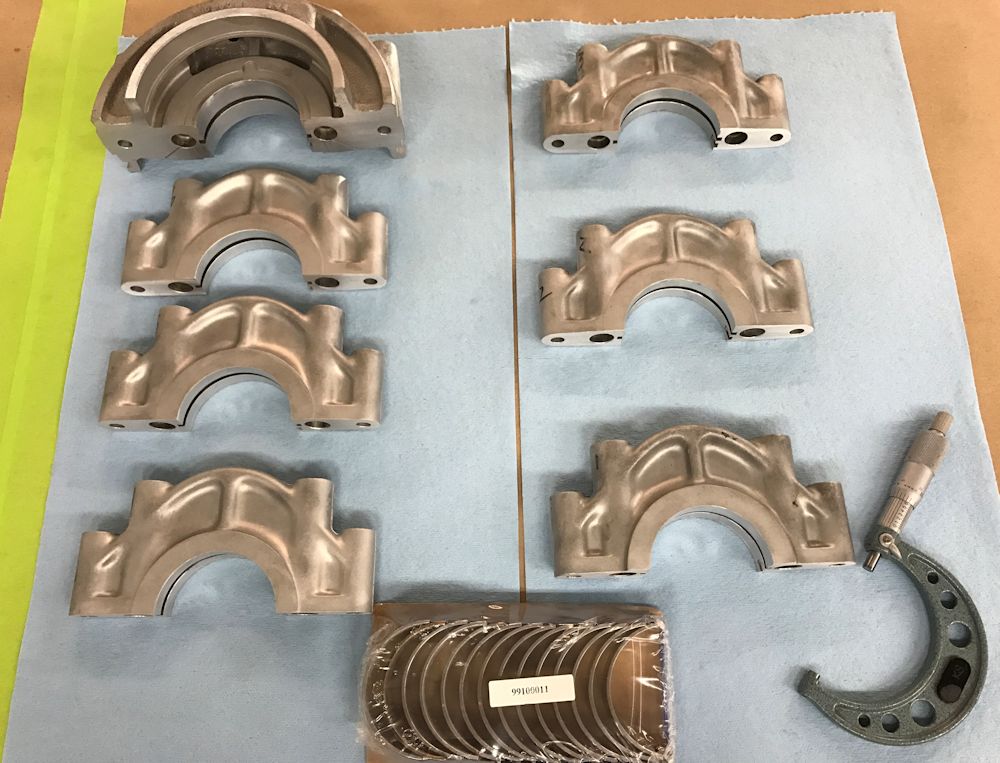
Preparing to trial fit main bearings
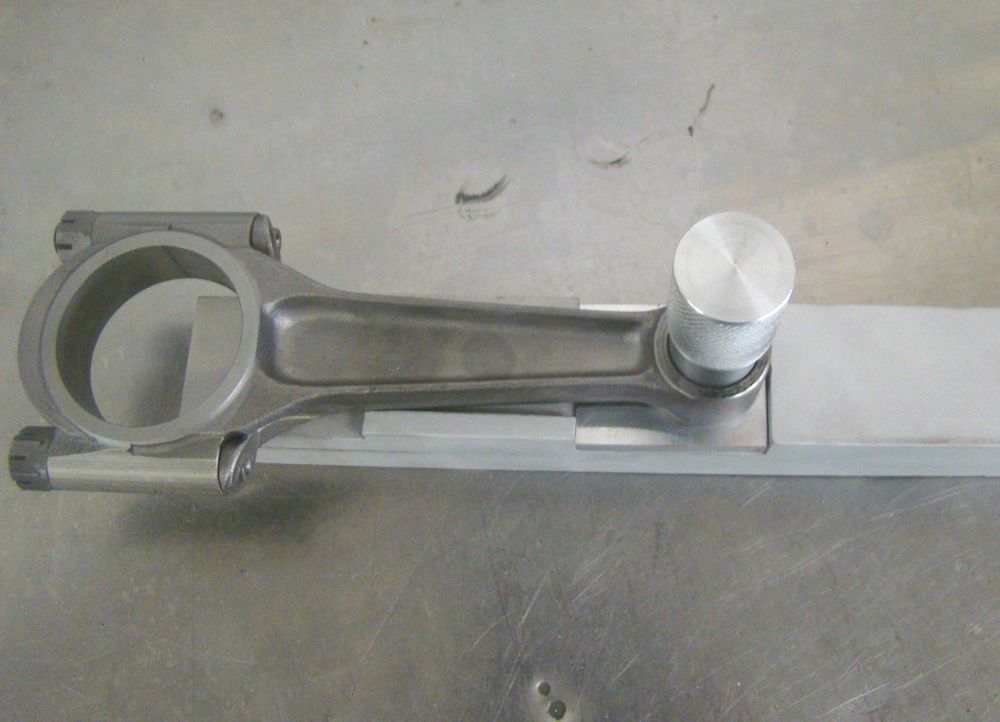
Rods now fully rebuilt
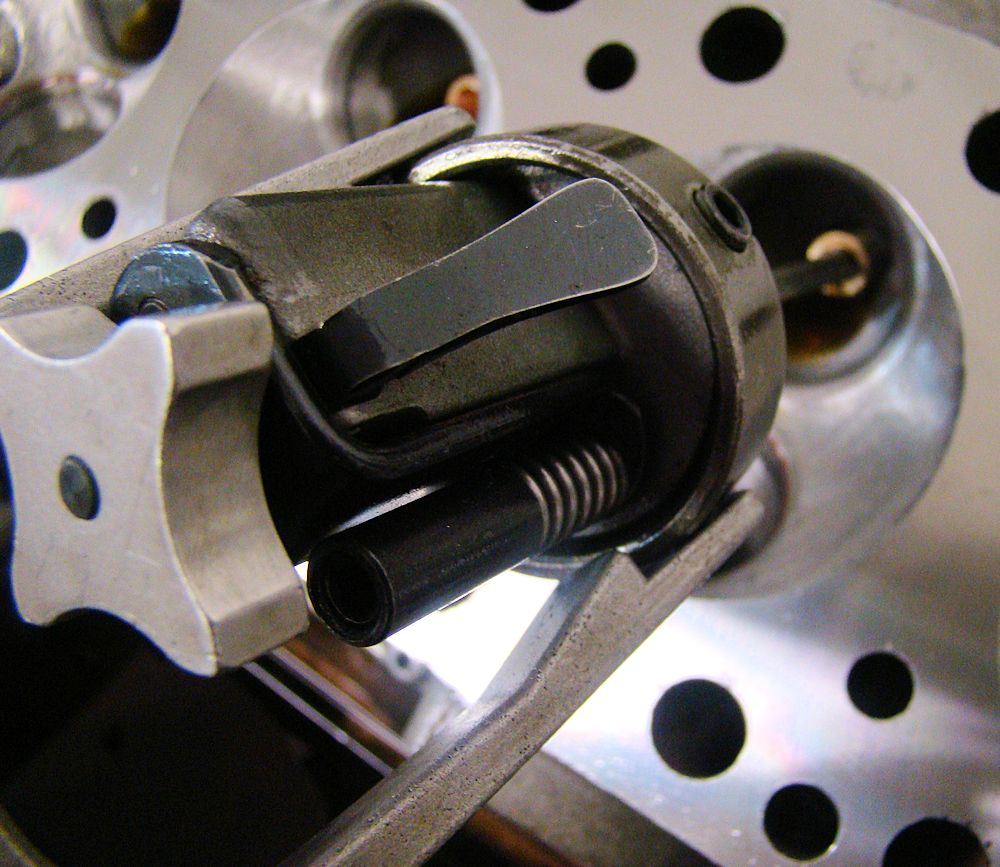
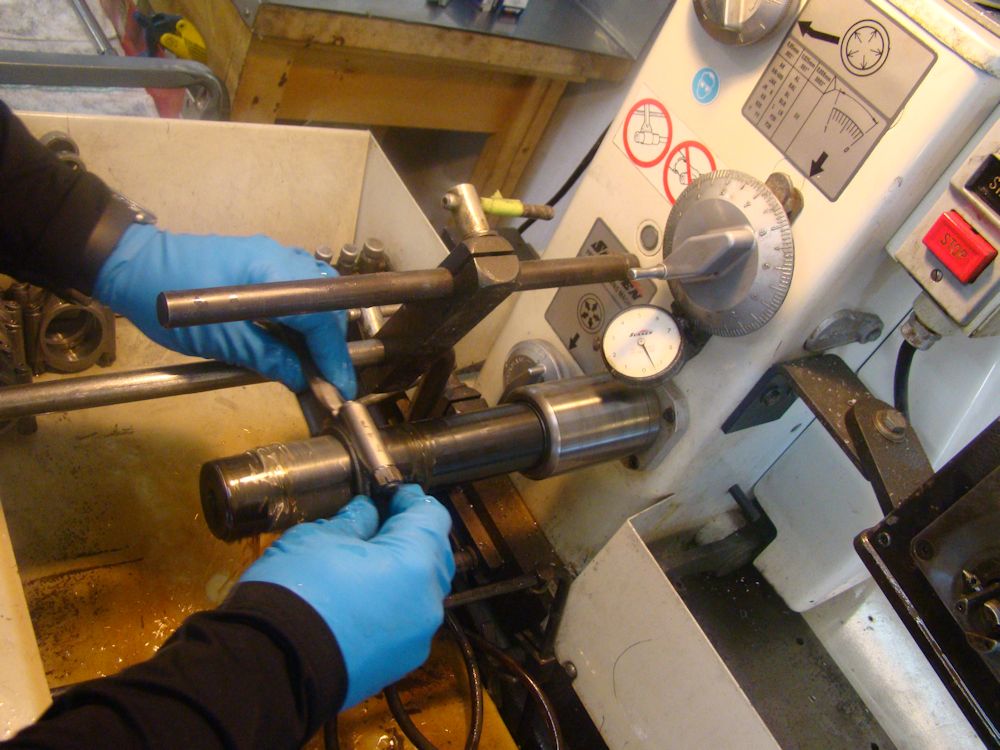
Setting up to hone new pin bushings
Honing rod housings
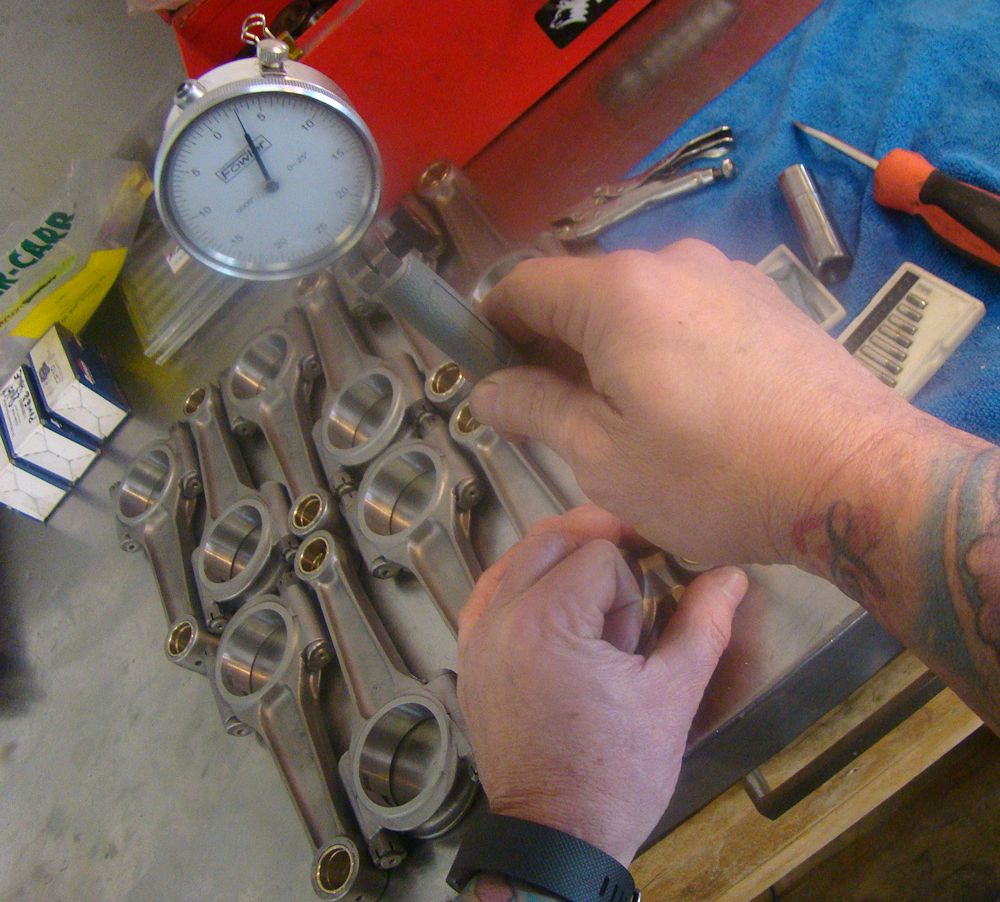
Magnaflux checking rods
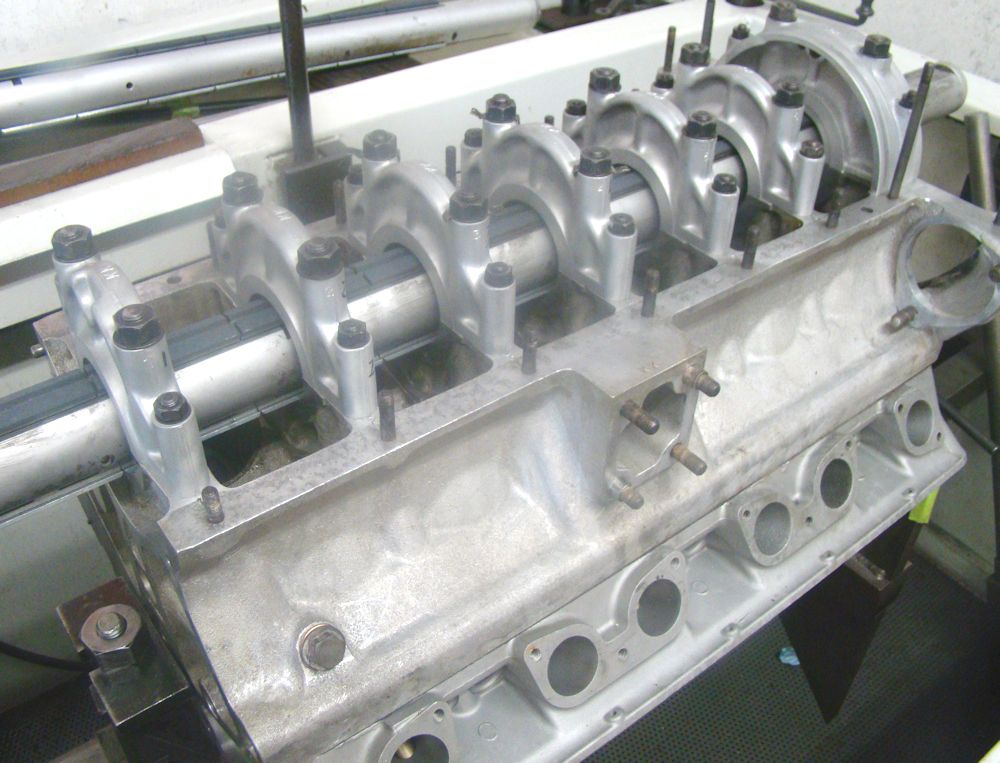
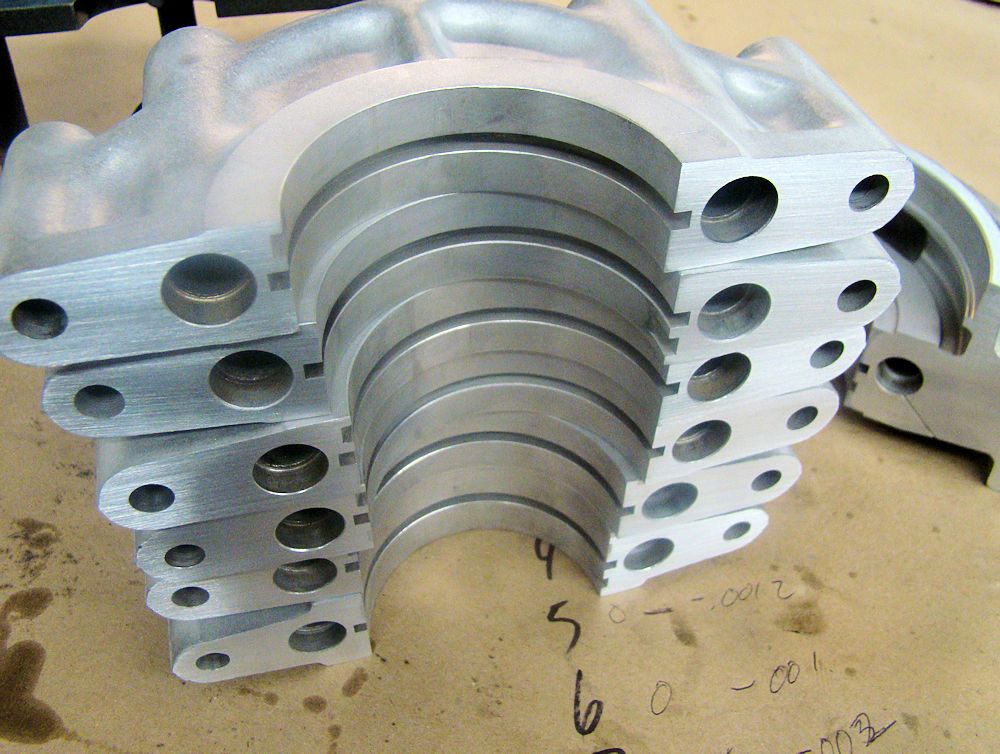
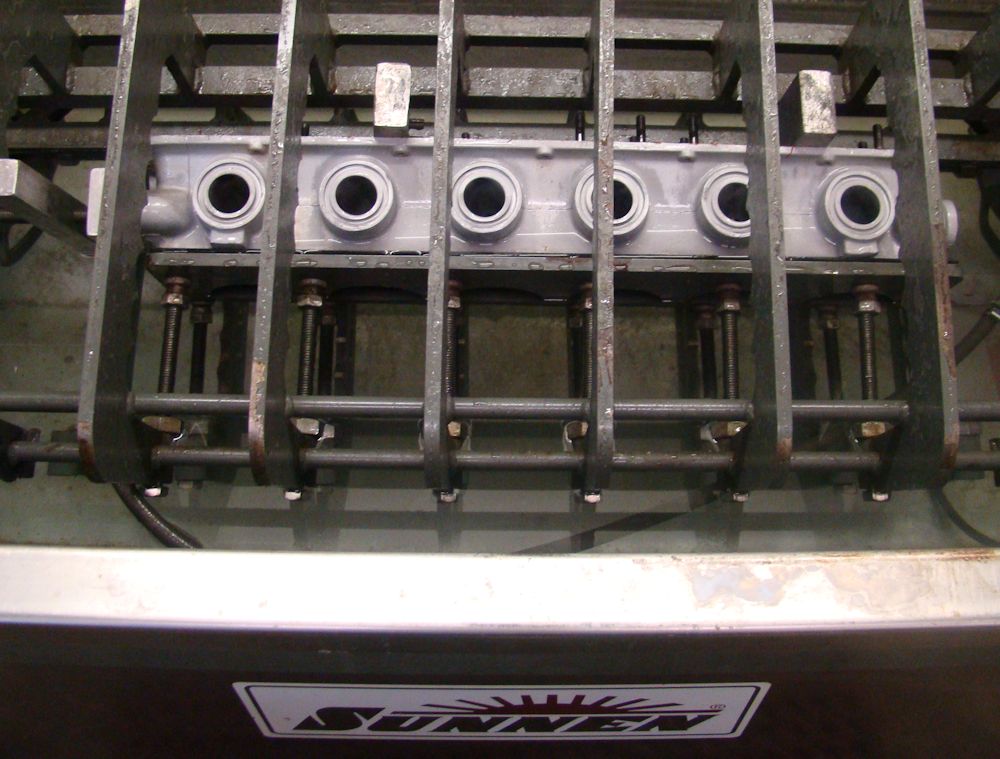
Setting up for align hone with cylinder heads
bolted in place beneath block (essential)
Squaring main caps prior to performing a much
needed align hone
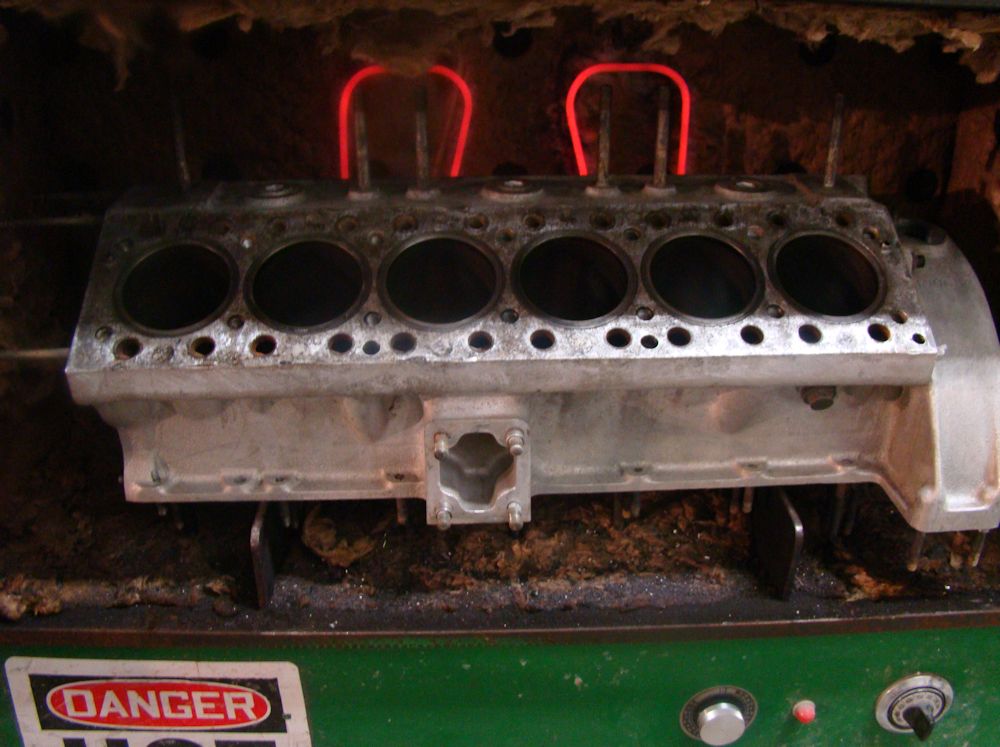
Heating block in oven to aid removal of seized studs
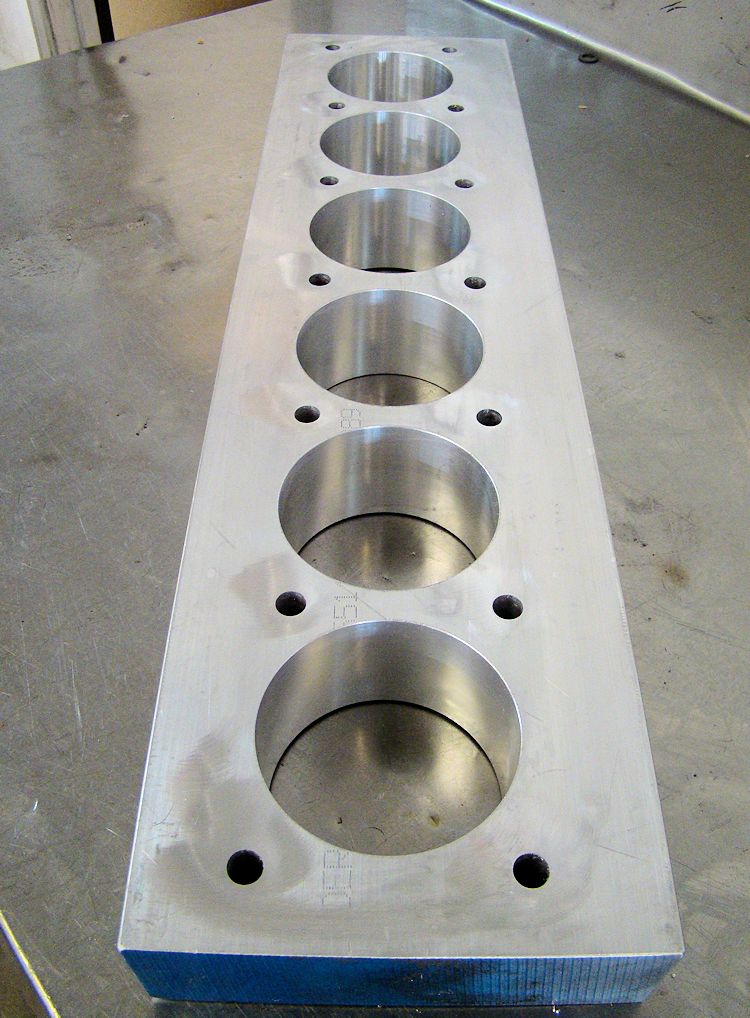
Custom Ferrari V12 torque plate
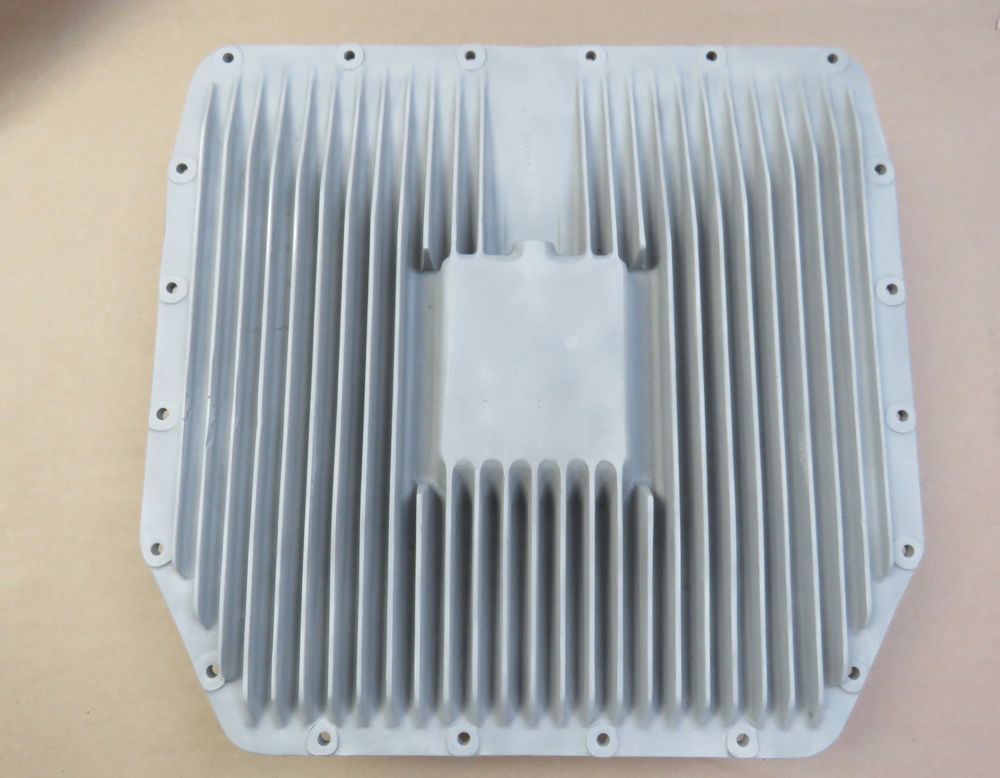
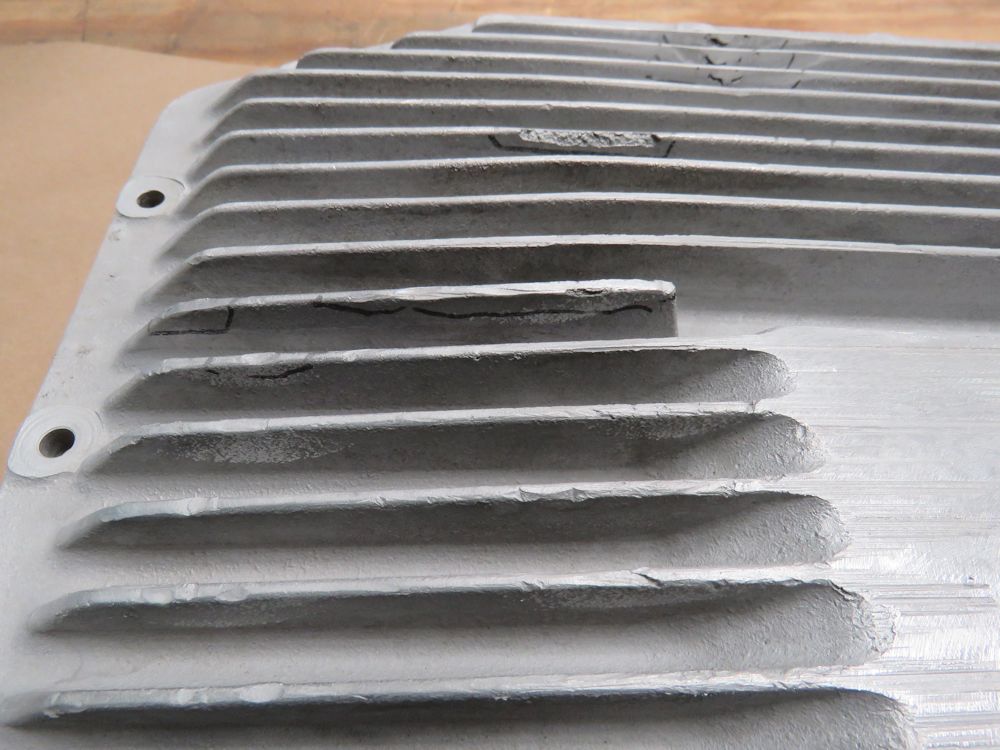
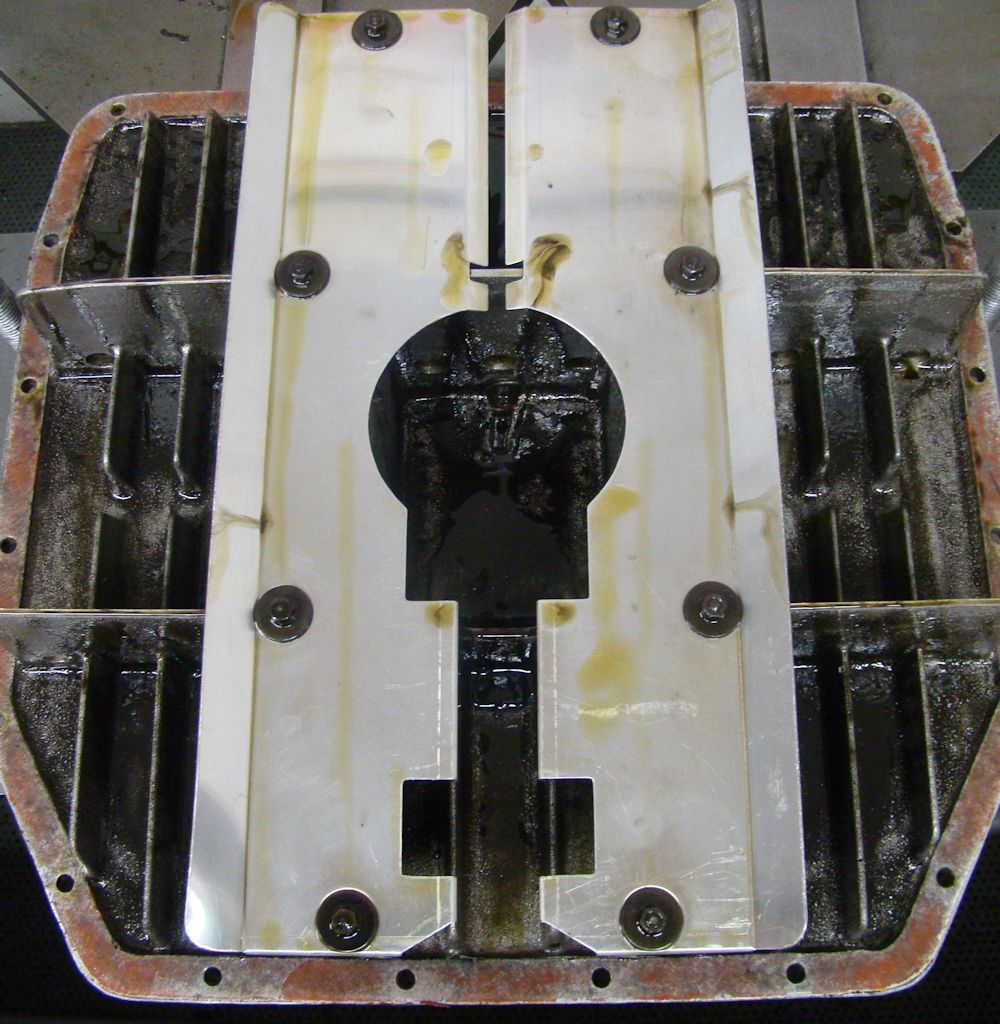
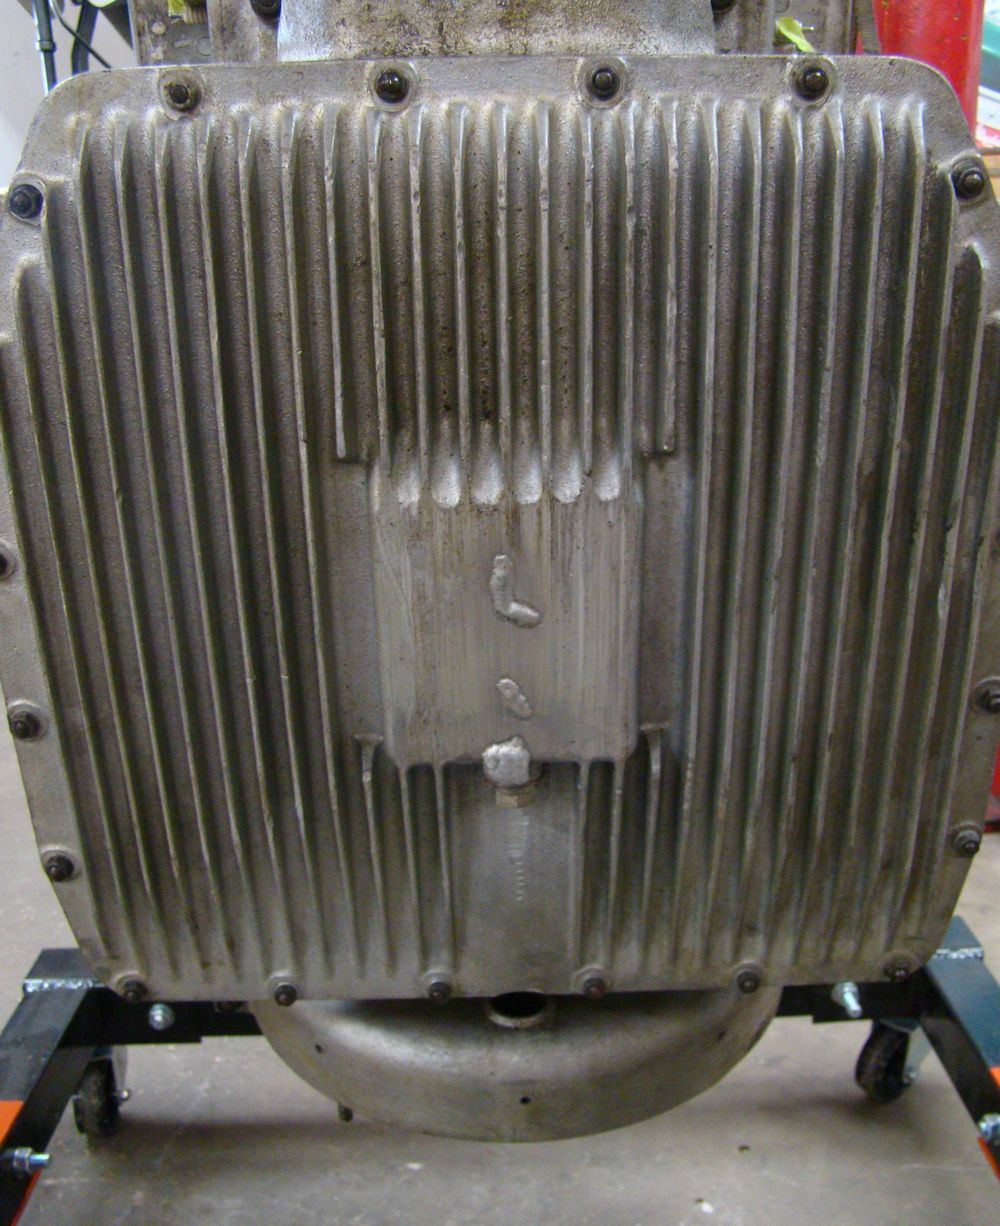
Repaired pan looking virtually new once more
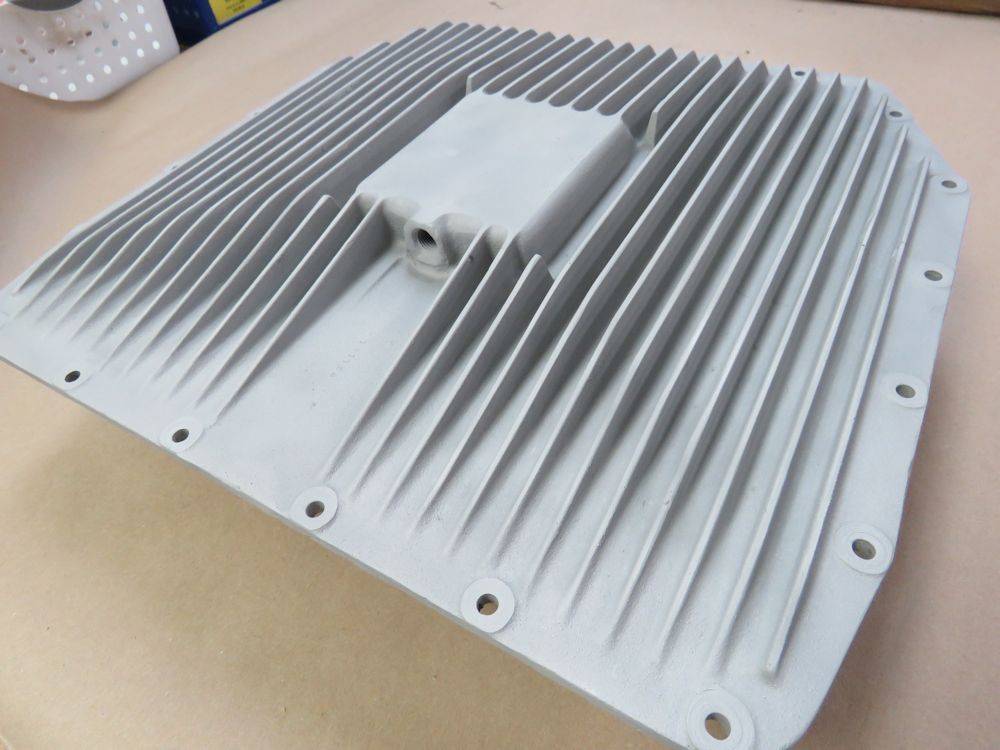
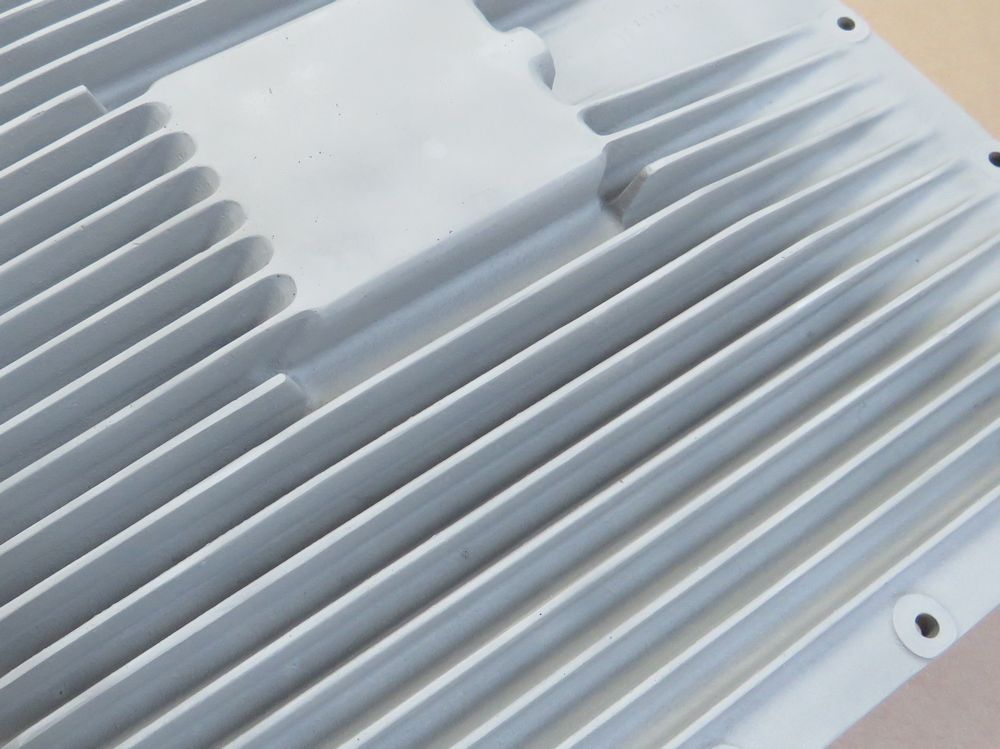
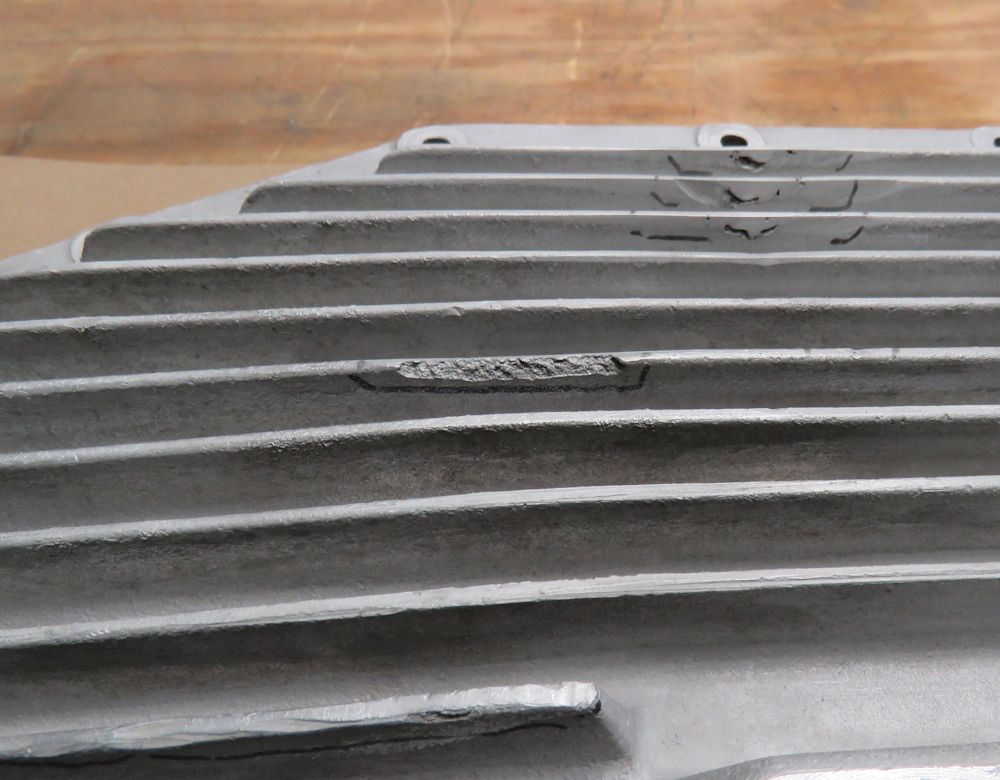
Several cracked/damaged fins will be welded
and reshaped
Oil pan has several previous weld repairs
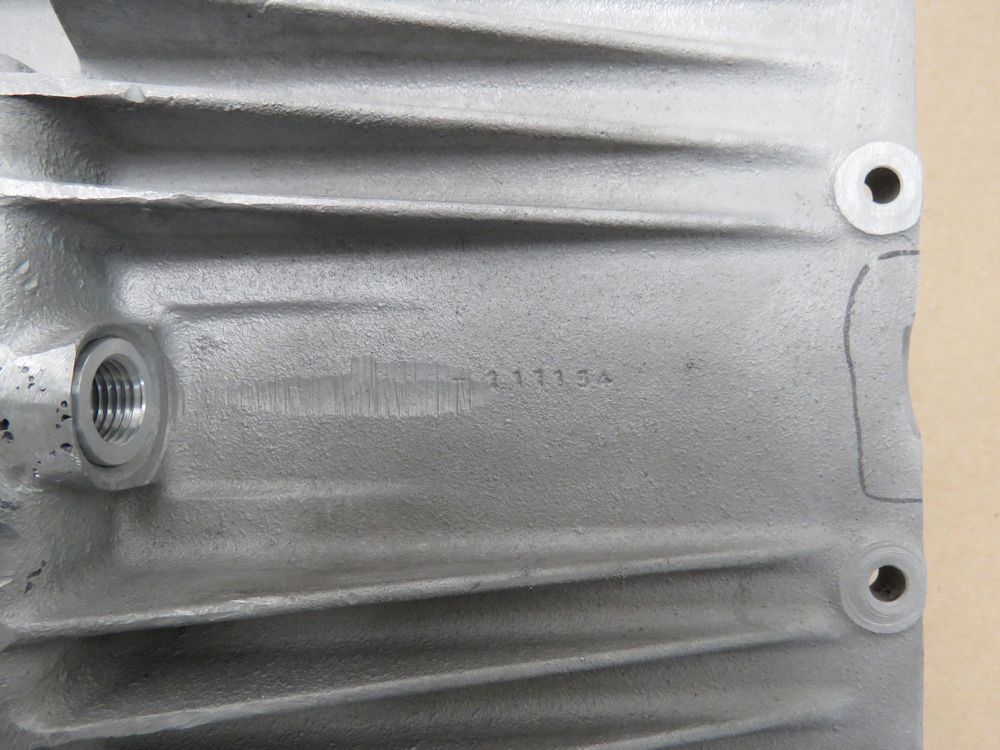
Badly installed thread repair for oil pan drain plug
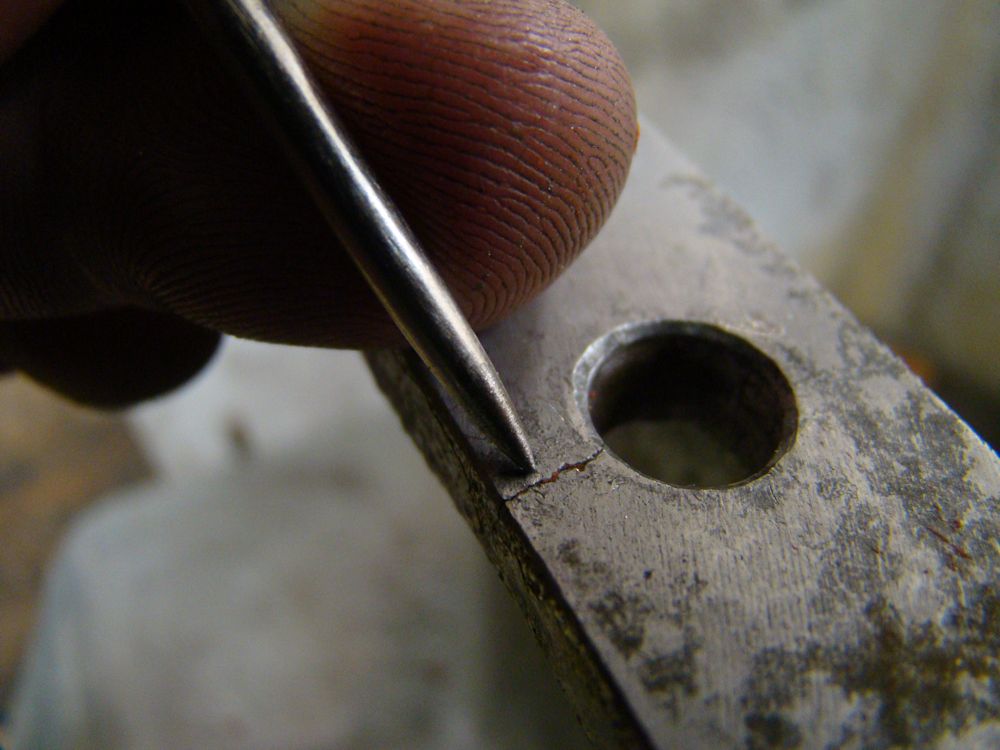
Crack in oil pan rail
Custom torque plate
Scary looking banjo bolt
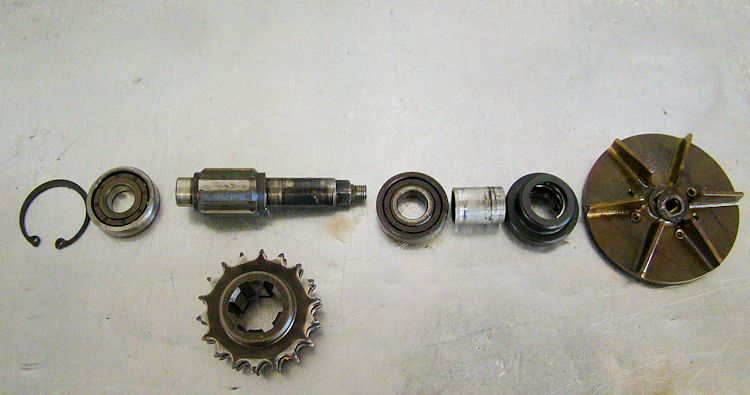
Damaged timing gear
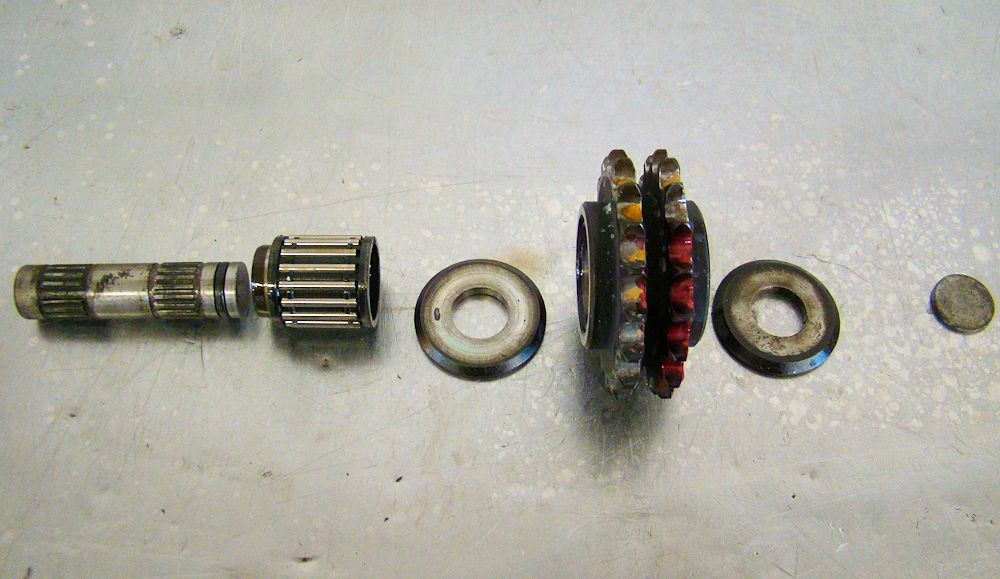
Timing gear idler assembly
Water pump bearings and gear badly worn
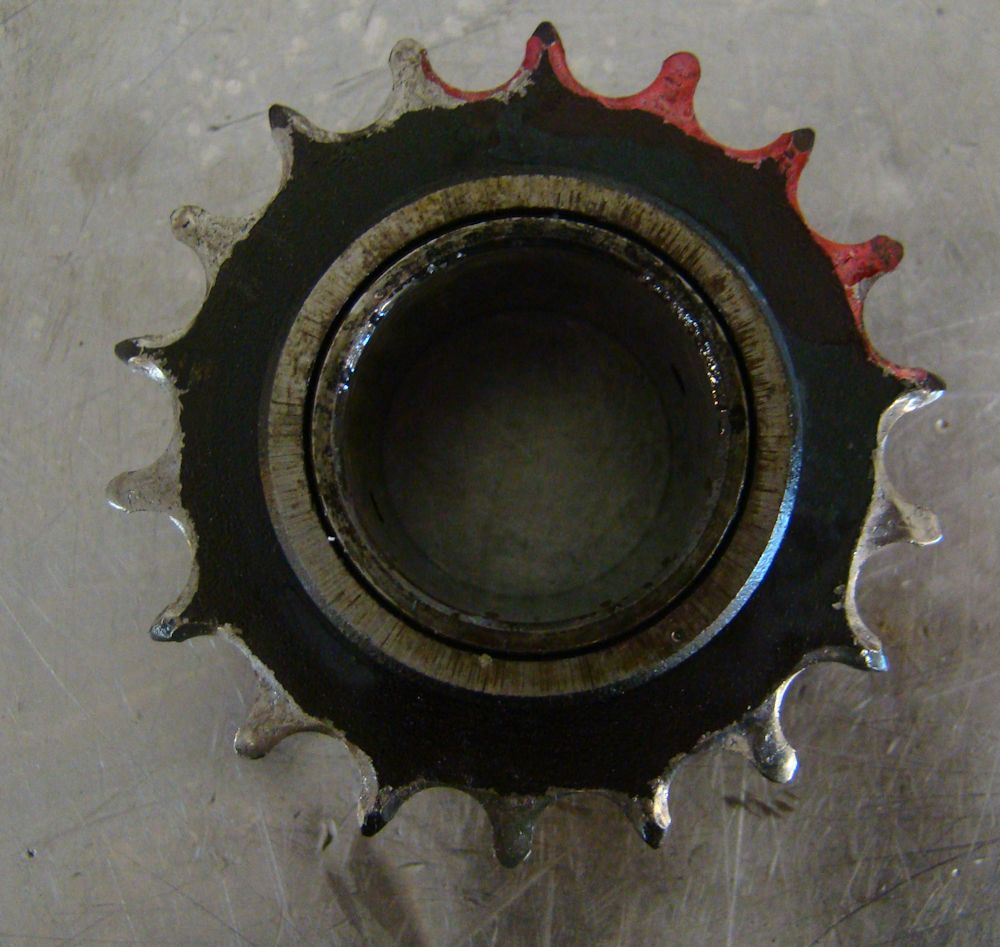
Complex timing chain idler sprocket
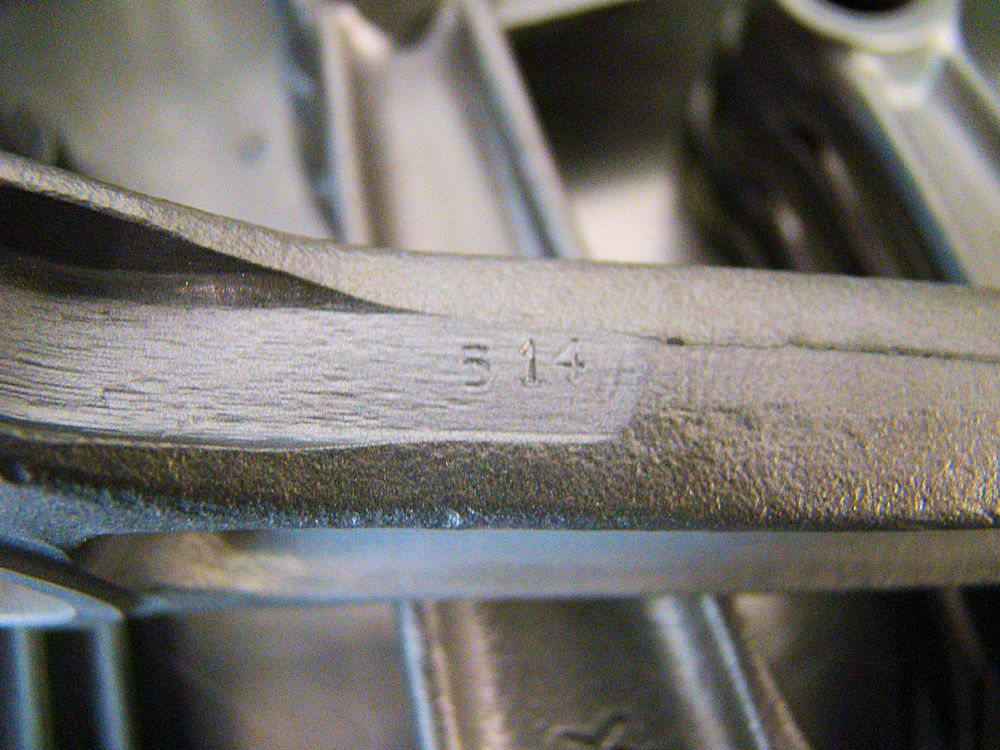
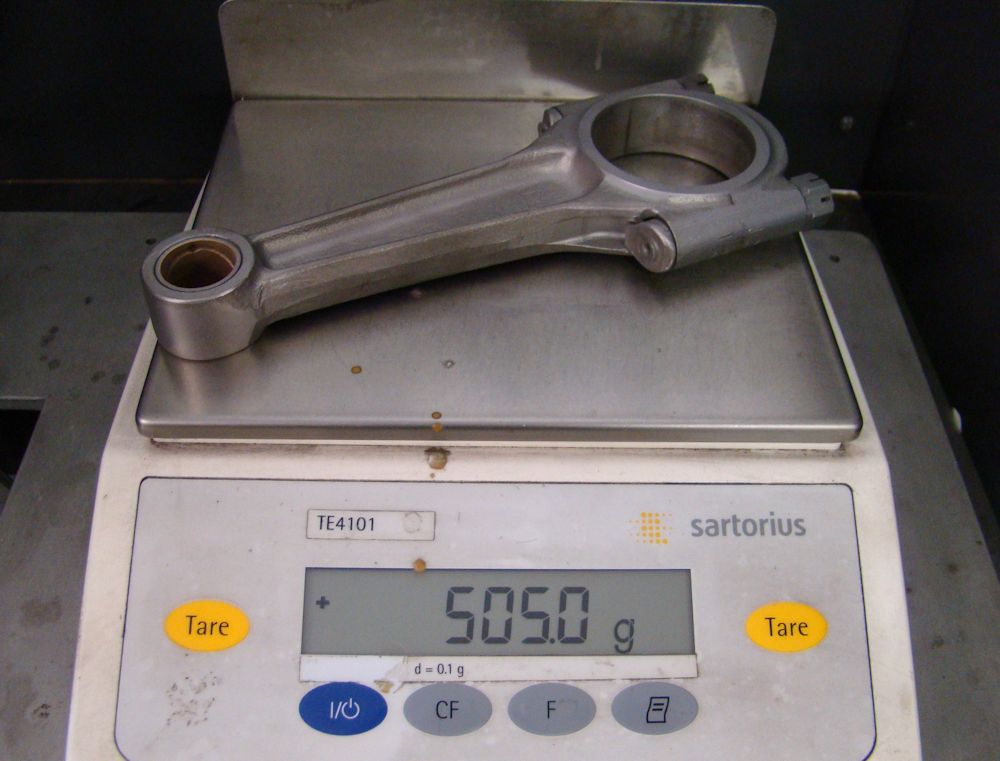
Ferrari rods of the era had the weight stamped
on them - in this case 514g
Weighing connecting rods after cleaning
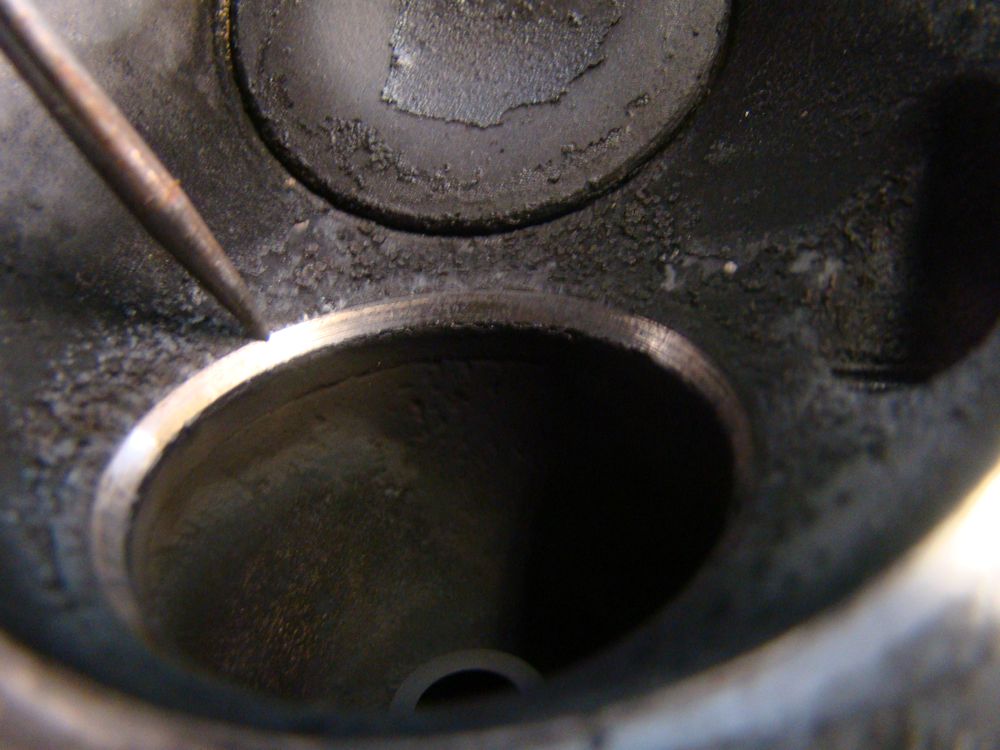
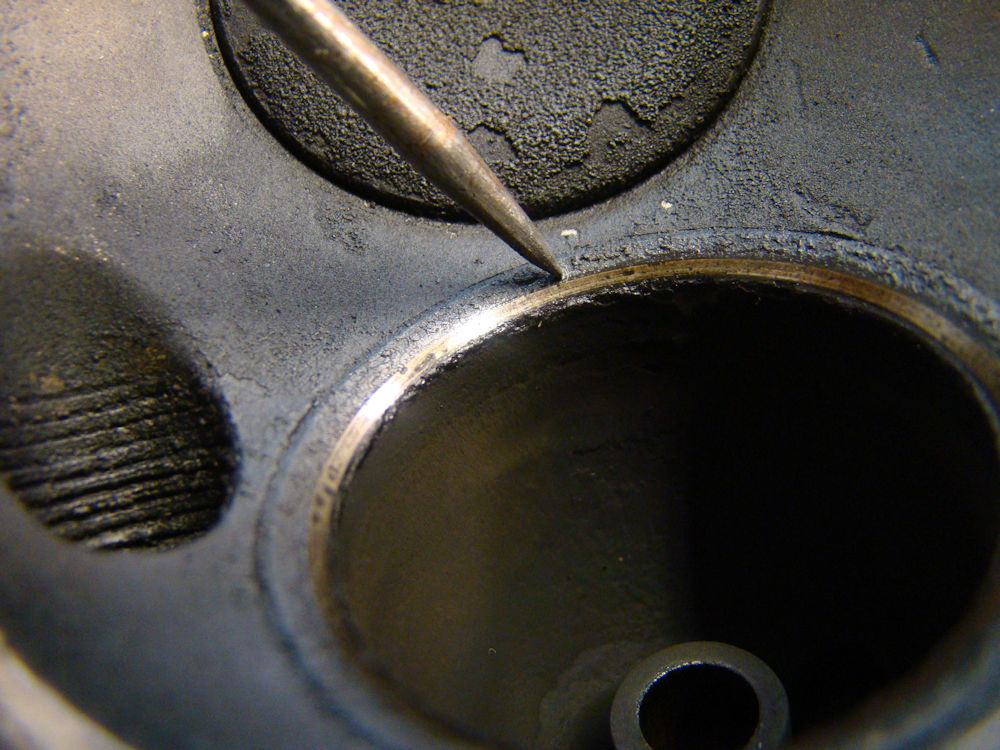
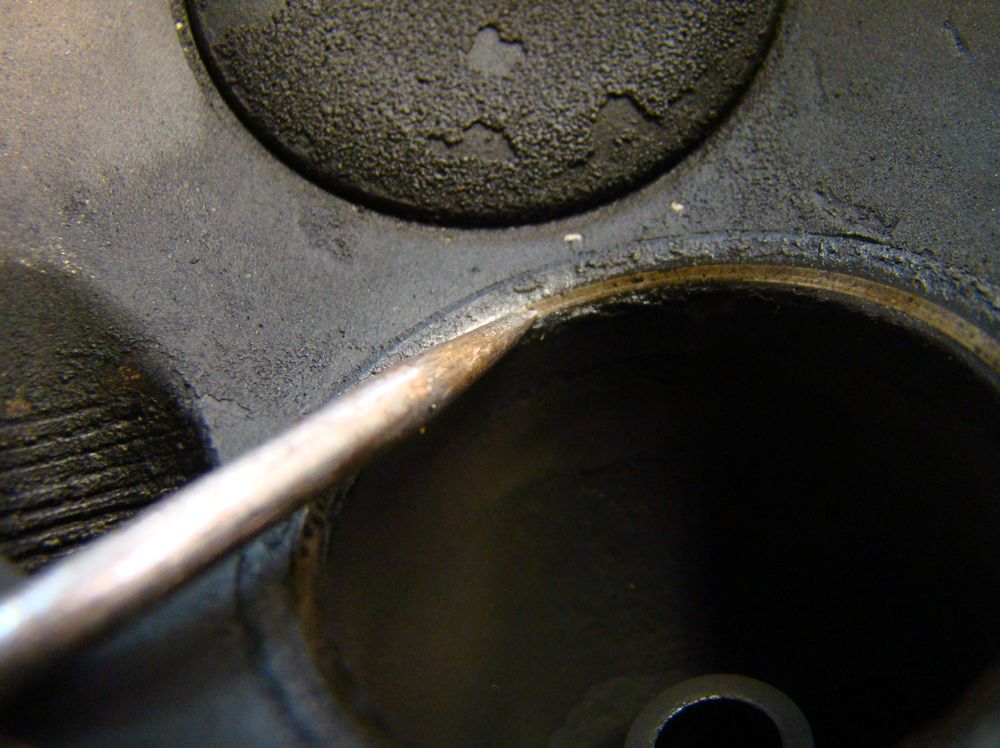
Valve stems measured inconsistently
Stem to guide clearances were huge
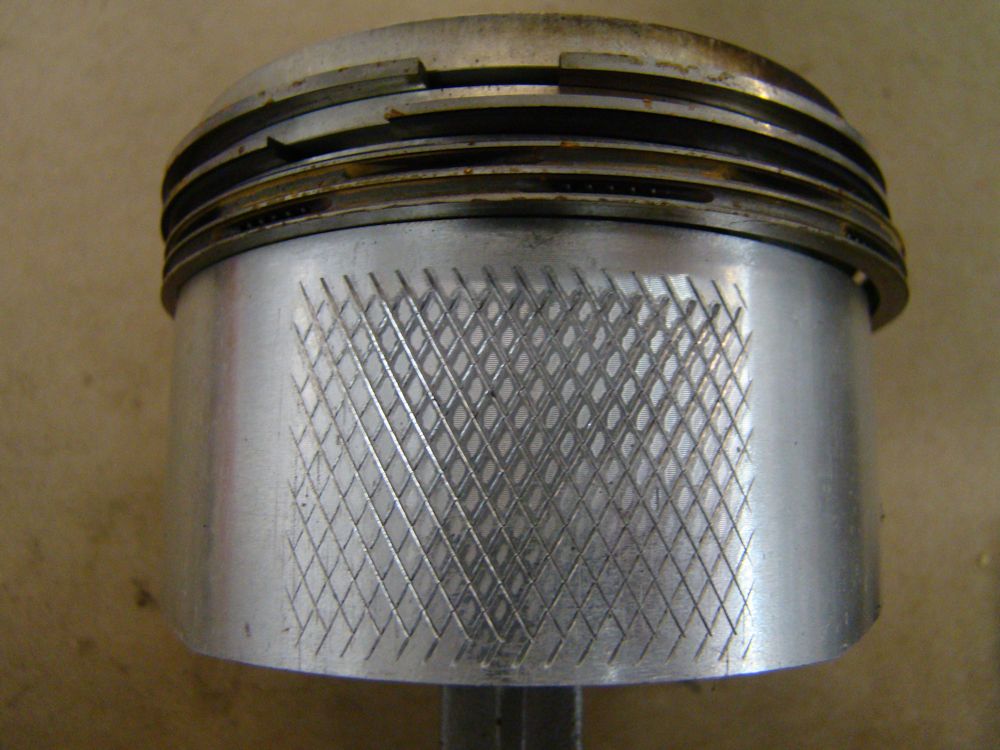
Knurled piston is cost saving old school
practice
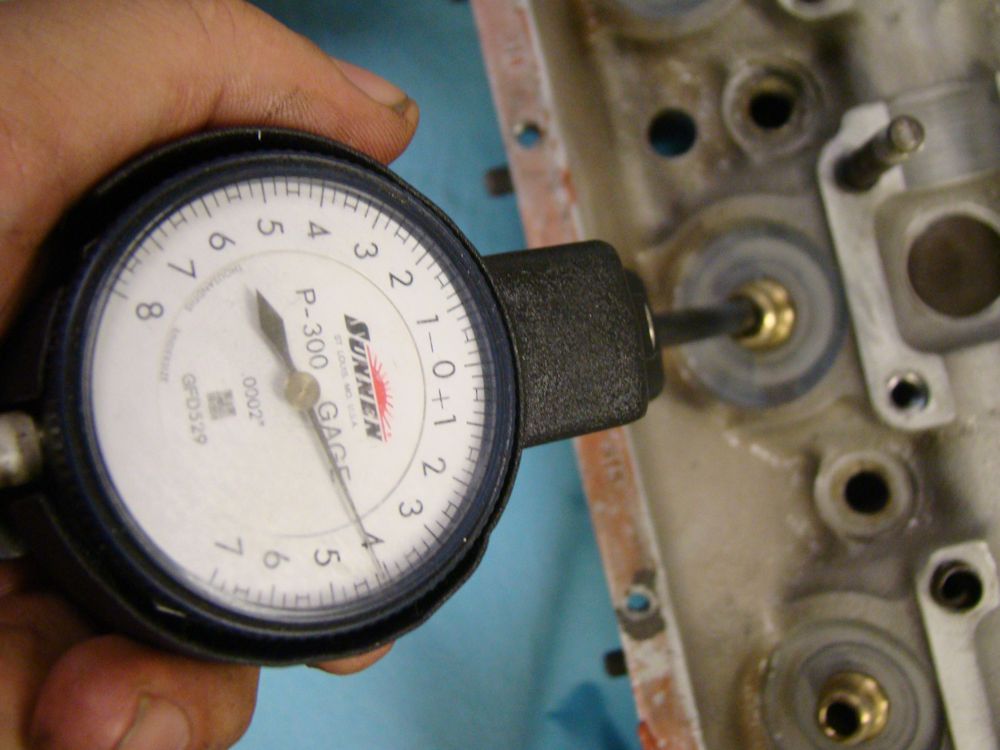
This cylinder had .009" skirt clearance!
Pressure testing cylinder heads
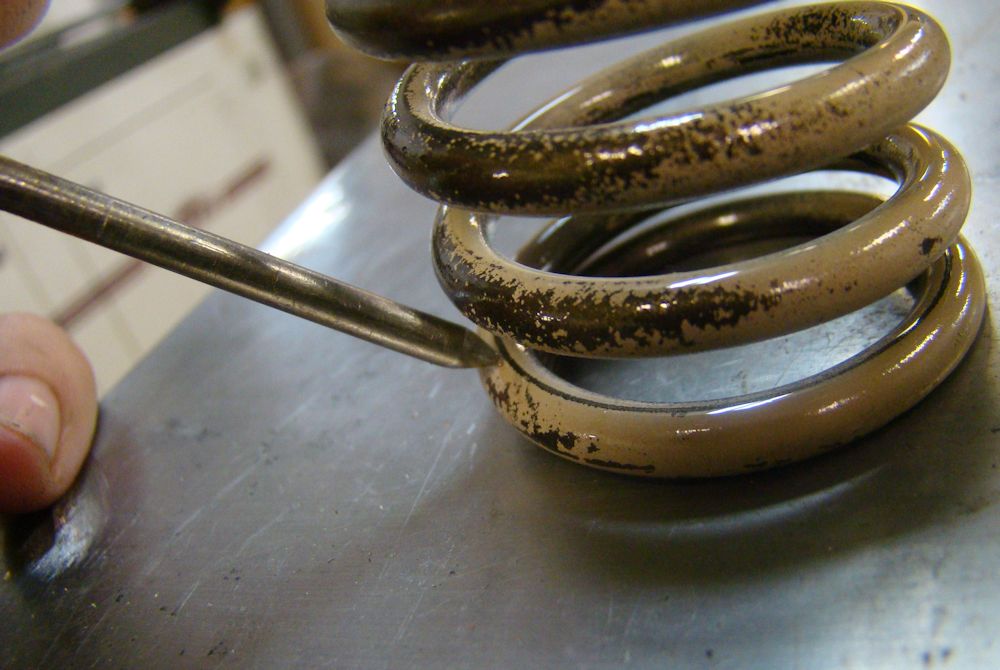
This line clearly visible on the bottom coil is
evidence of coil bind
No to valve jobs were the same!
All the valve seats had different widths
and heights
Disassembling the cylinder heads
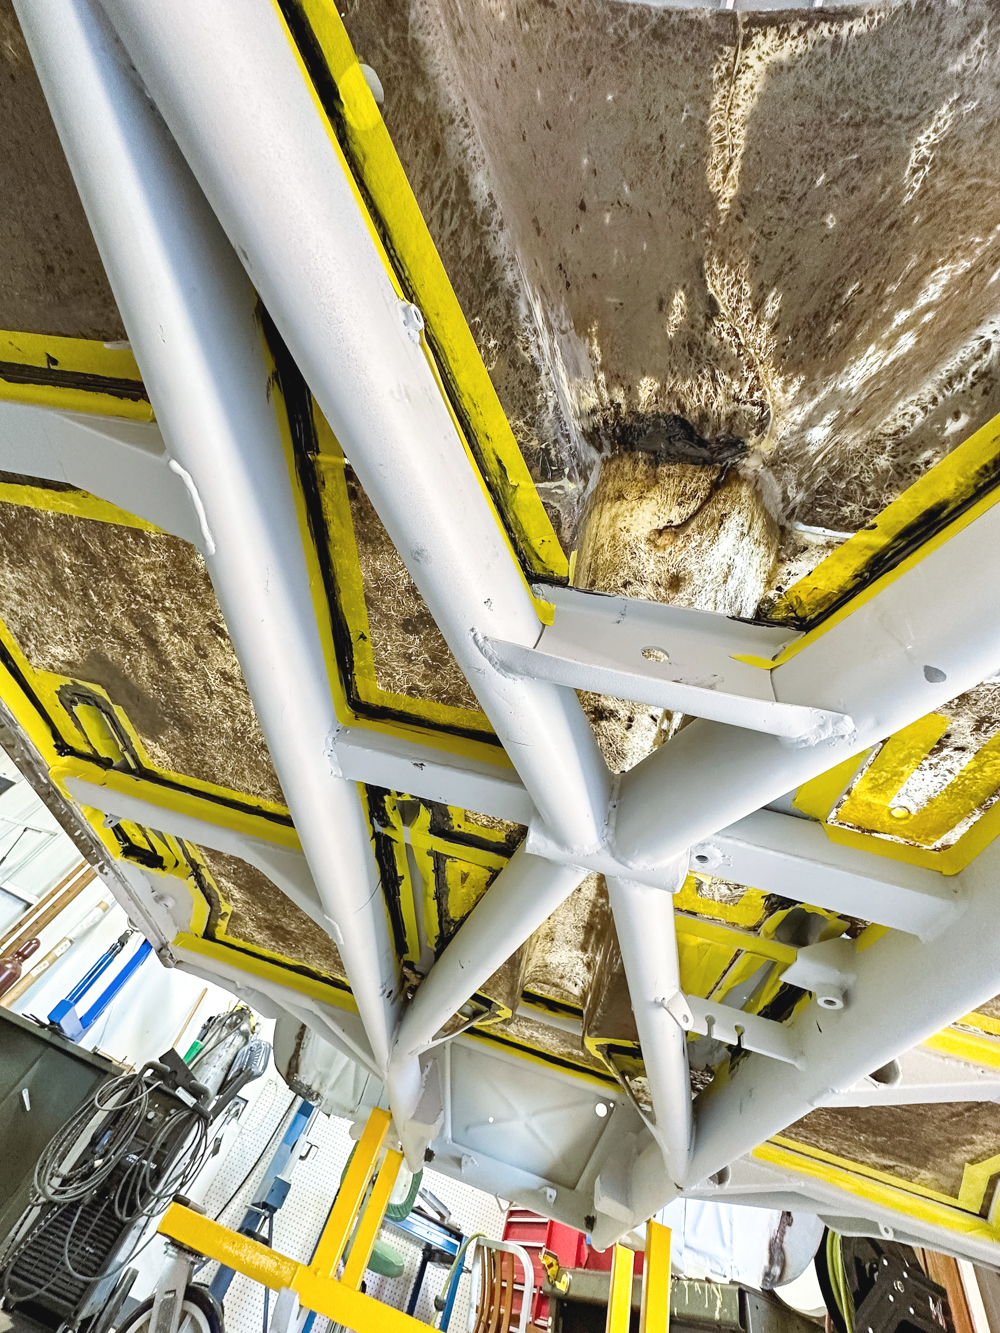
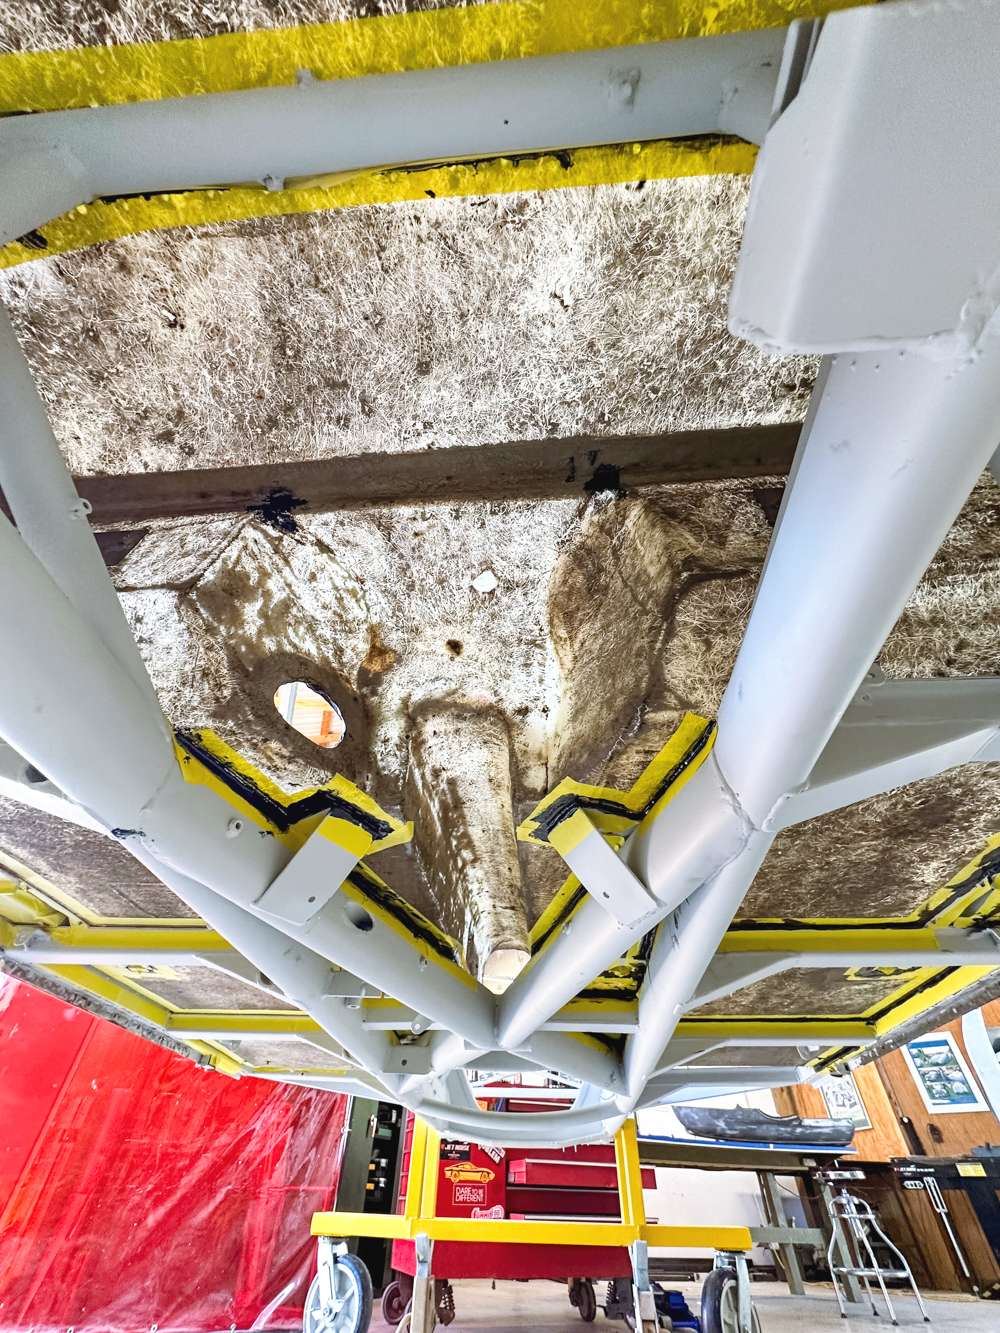
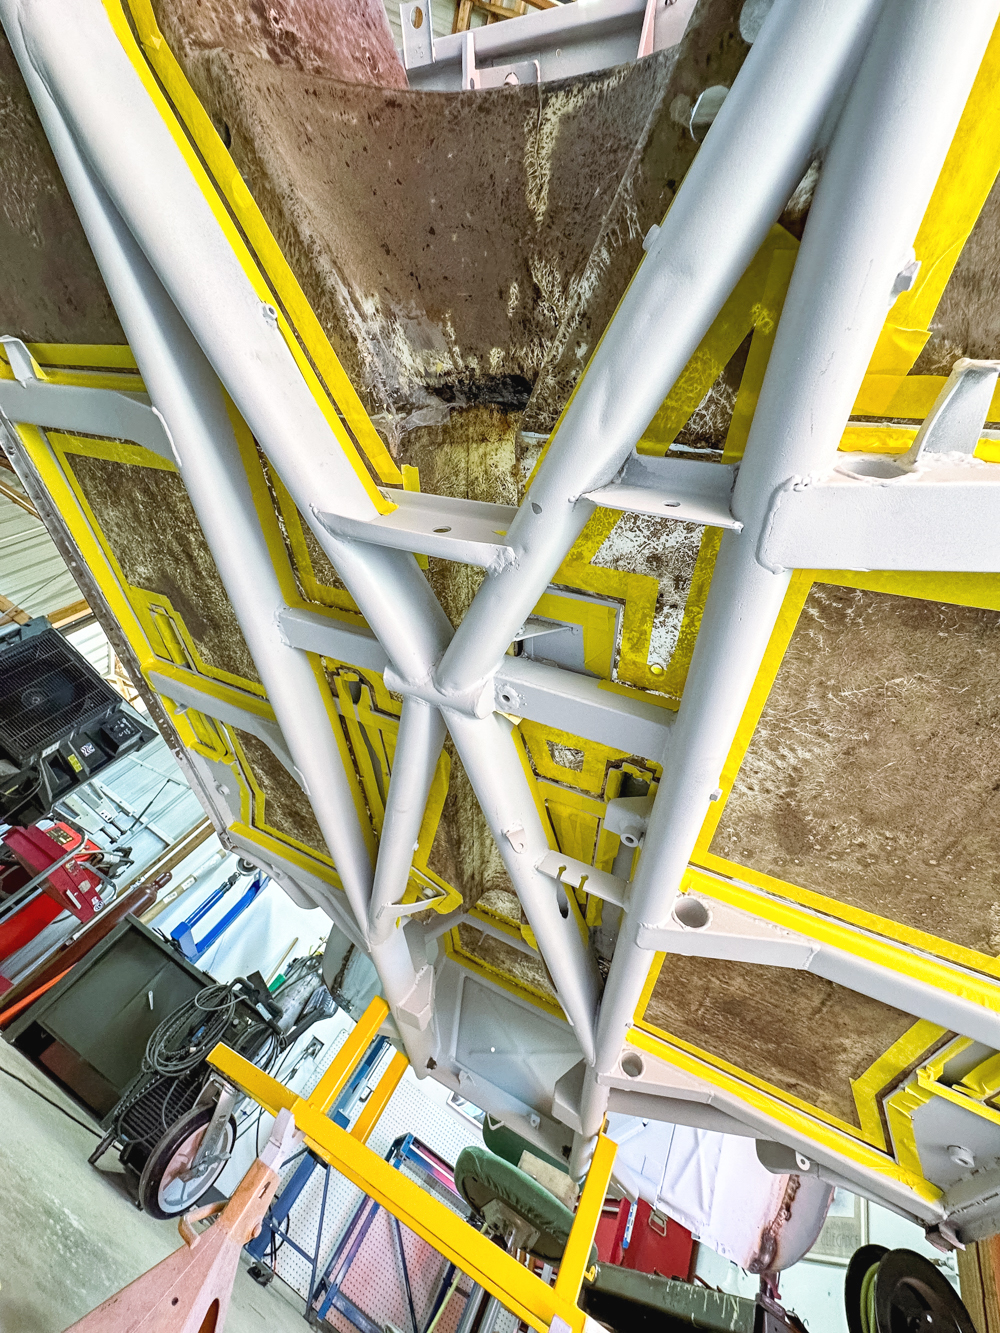
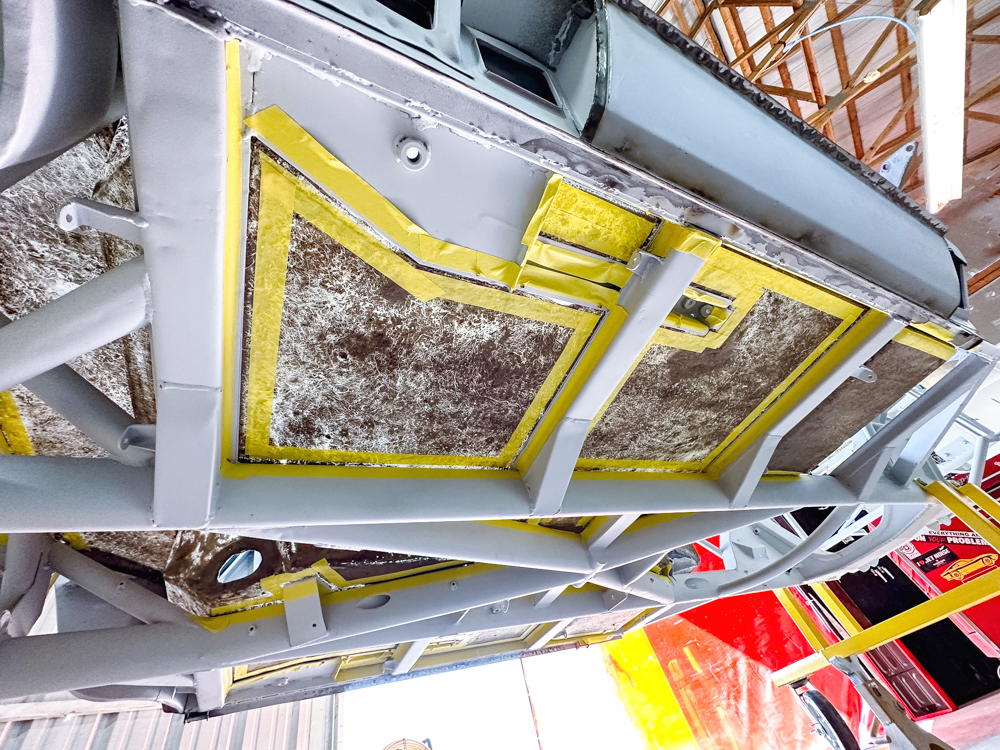
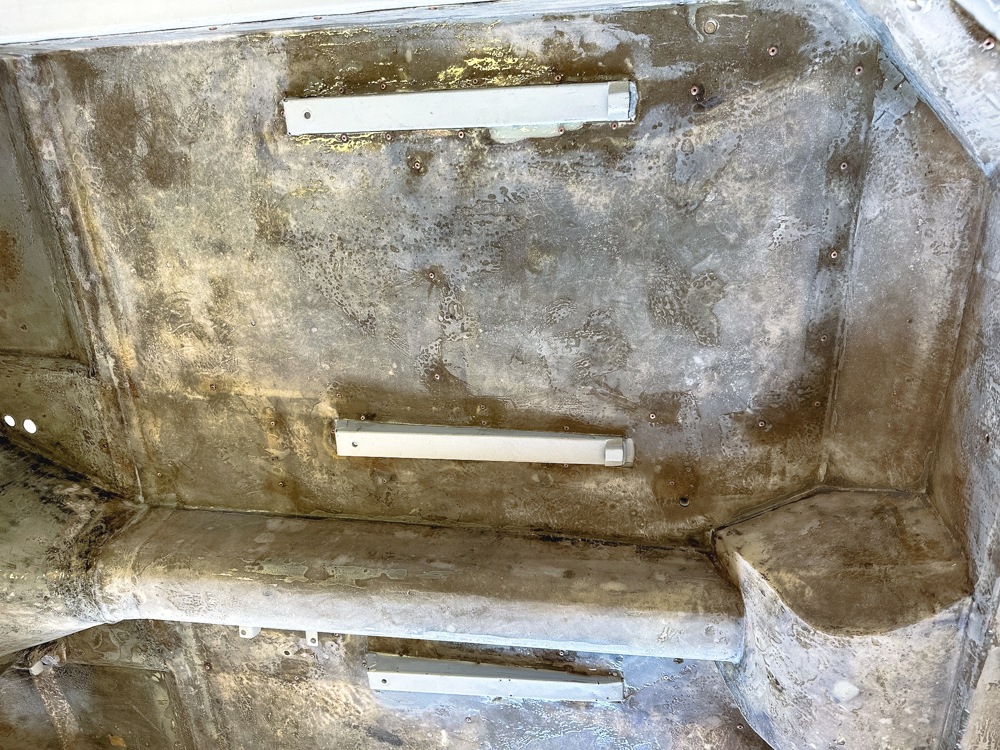
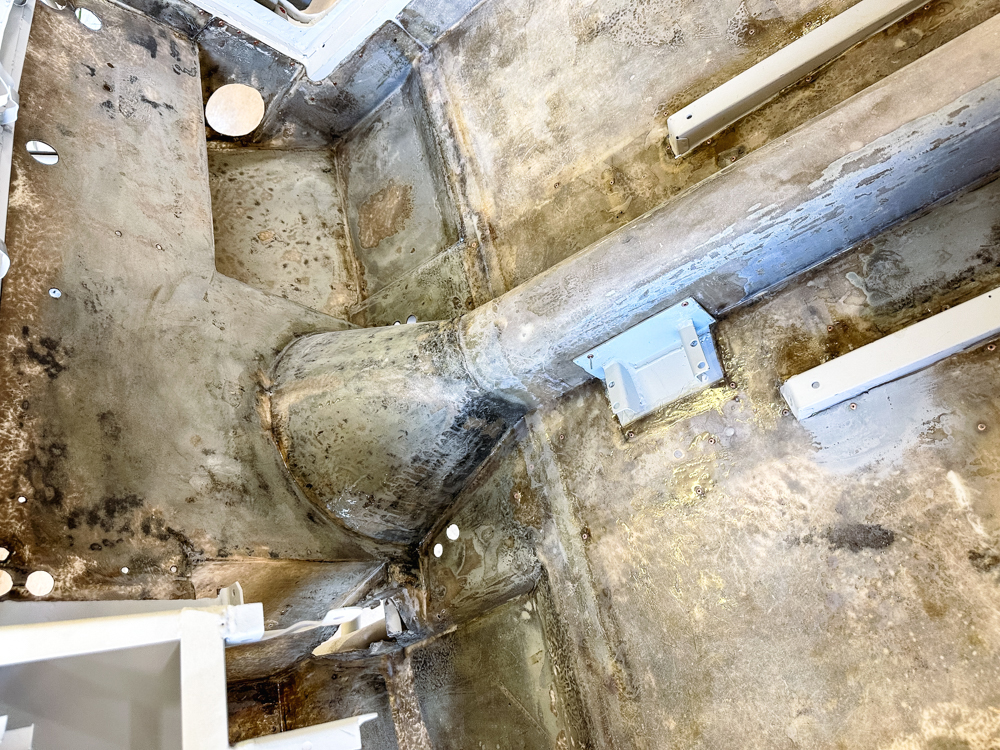
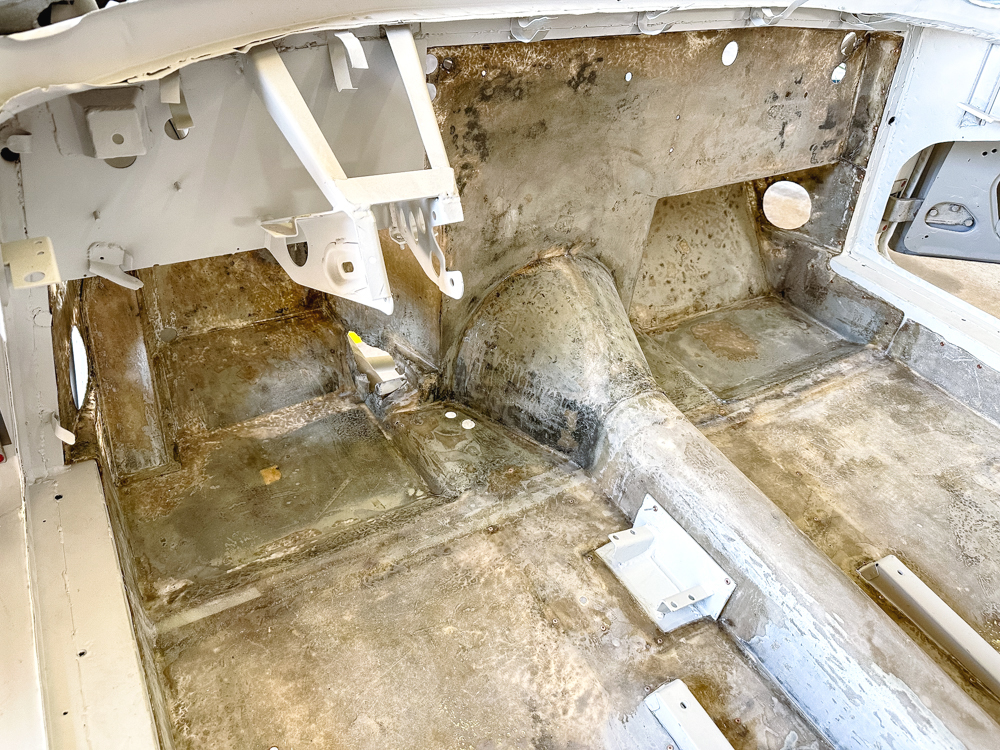
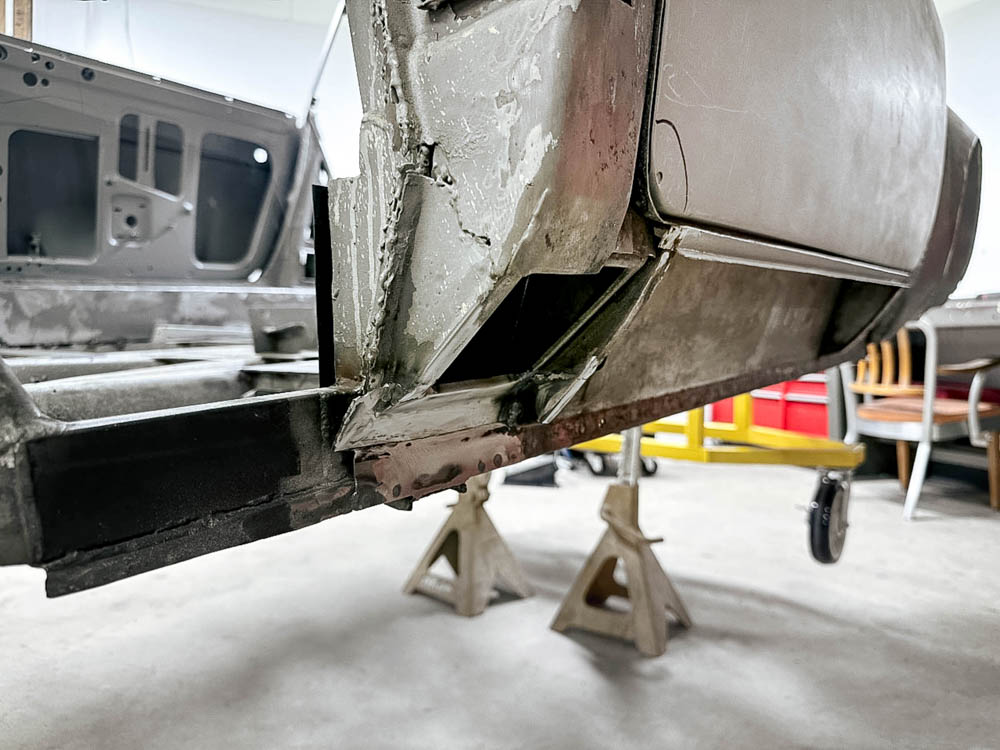
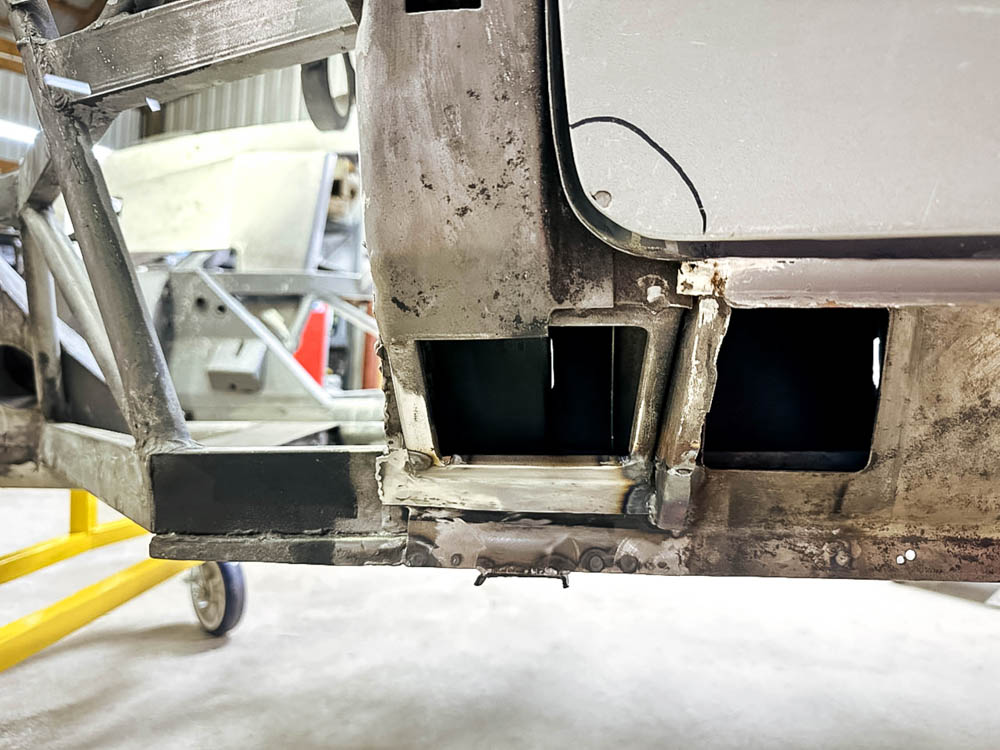
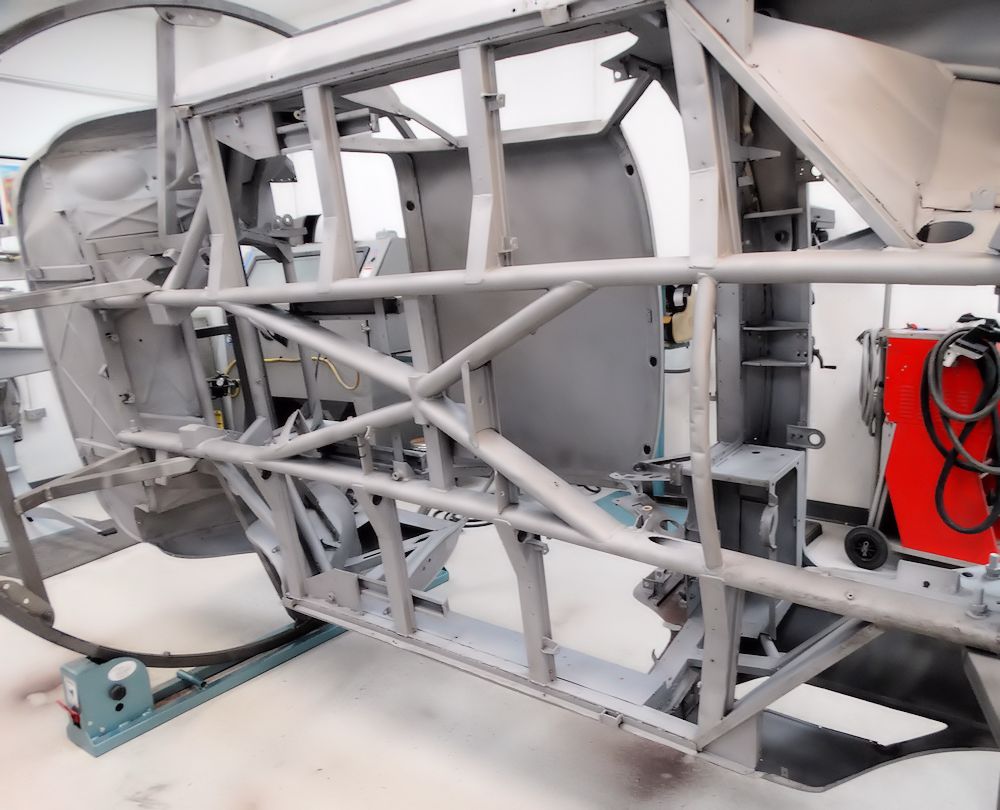
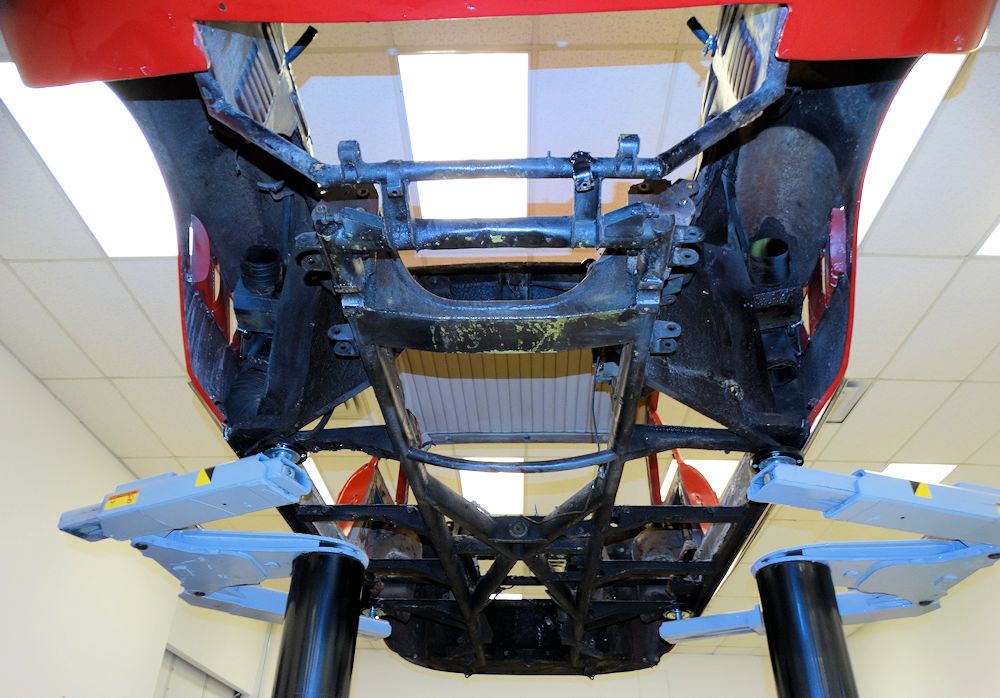
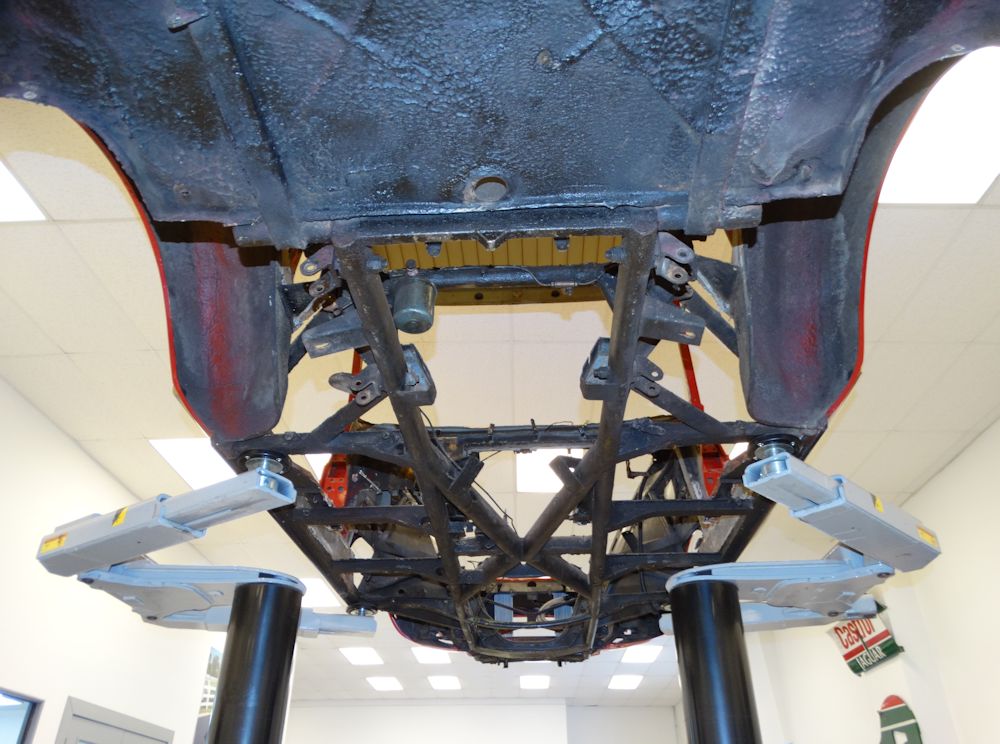
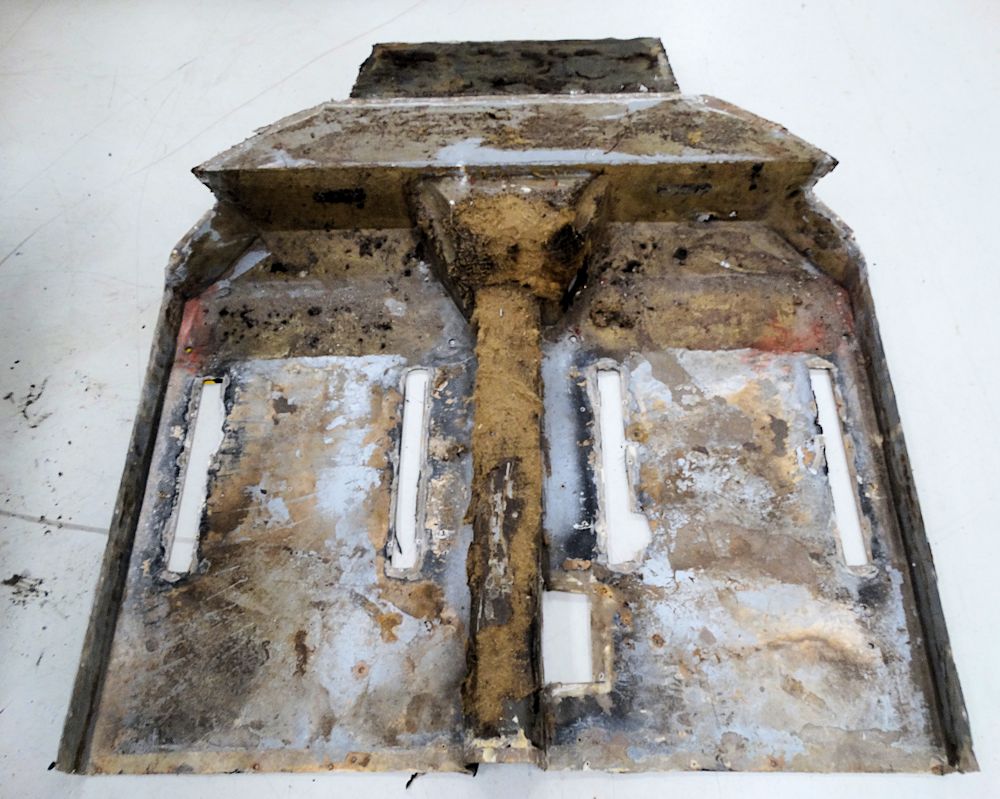
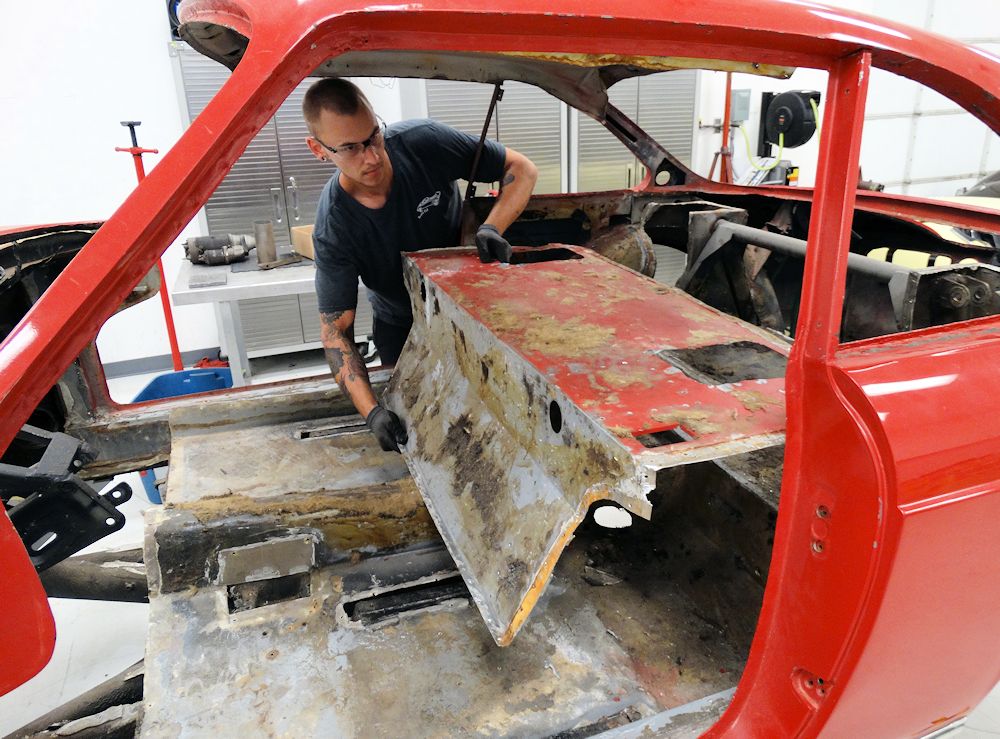
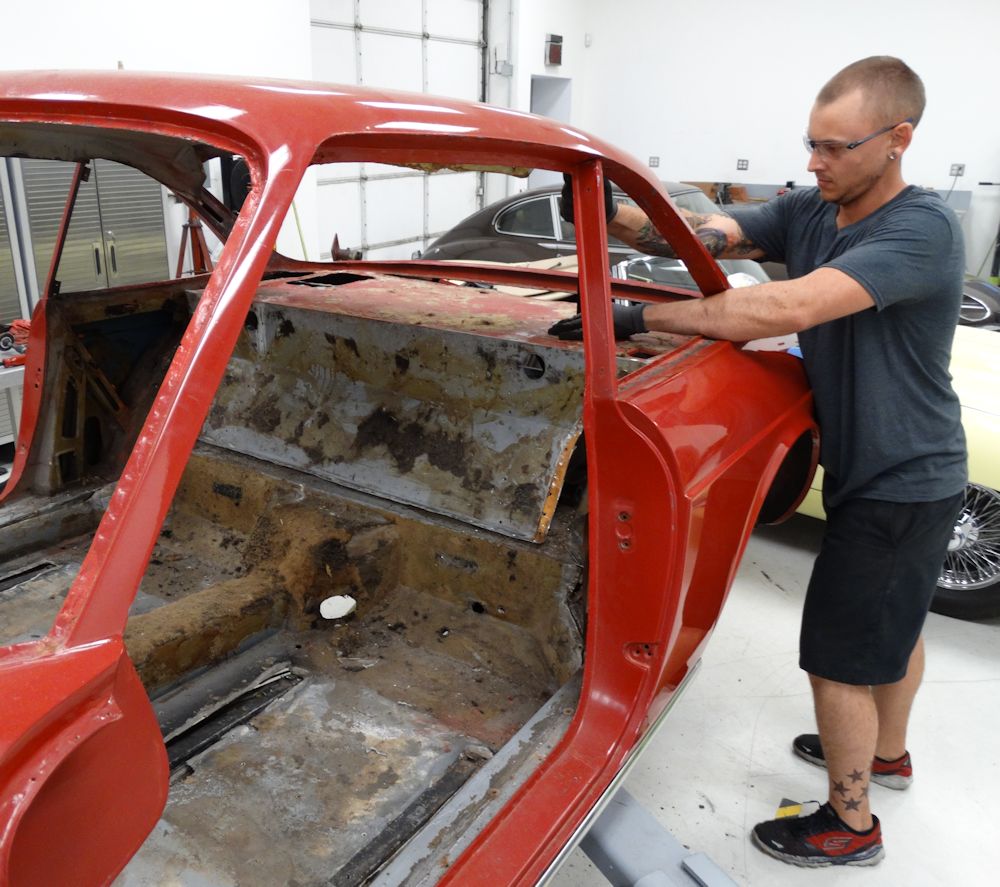
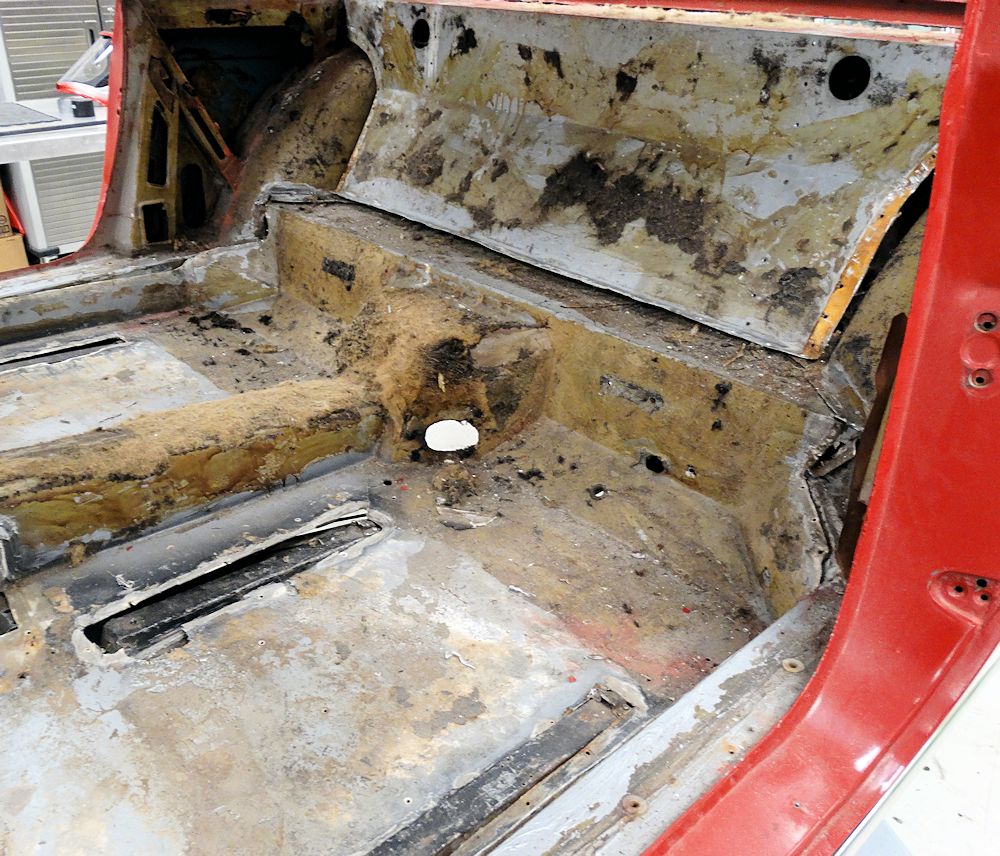
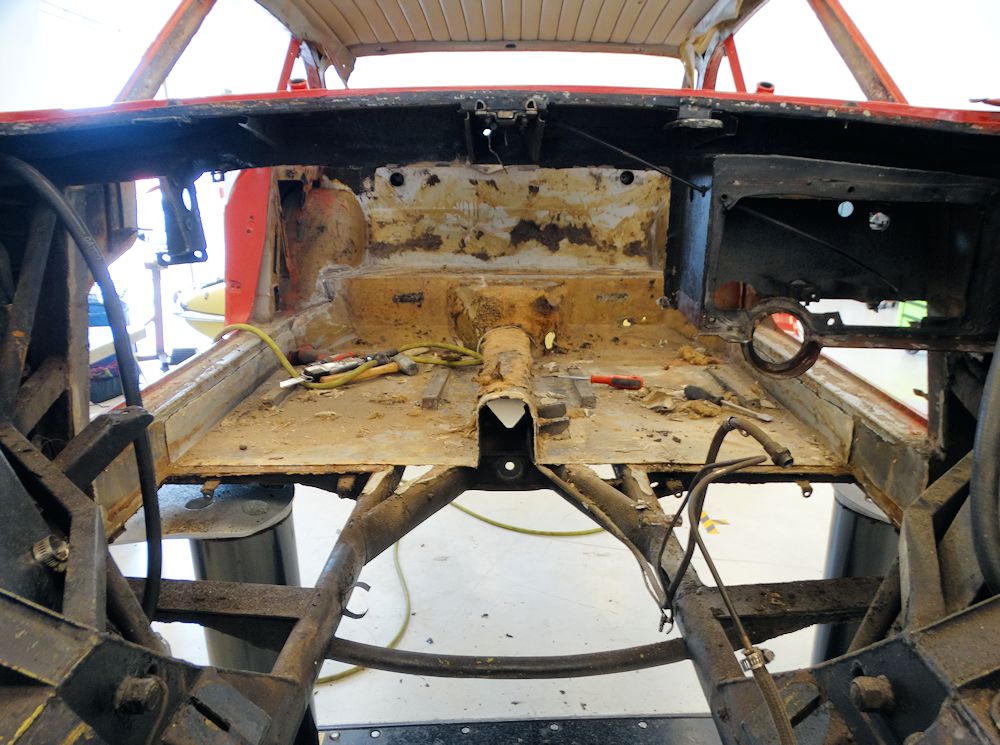
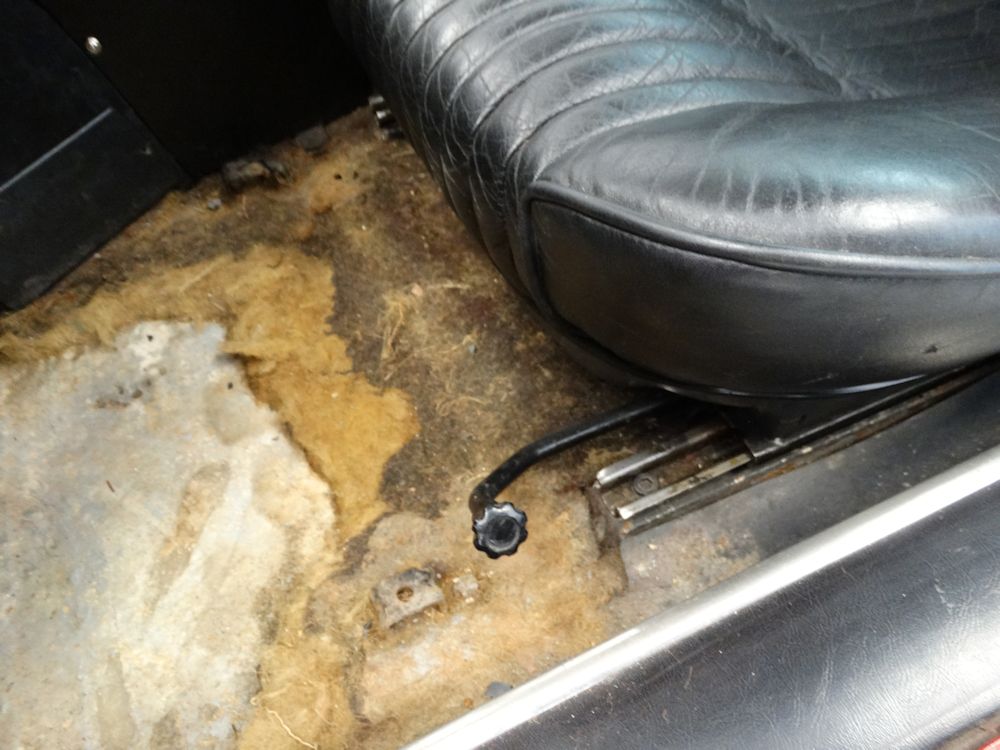
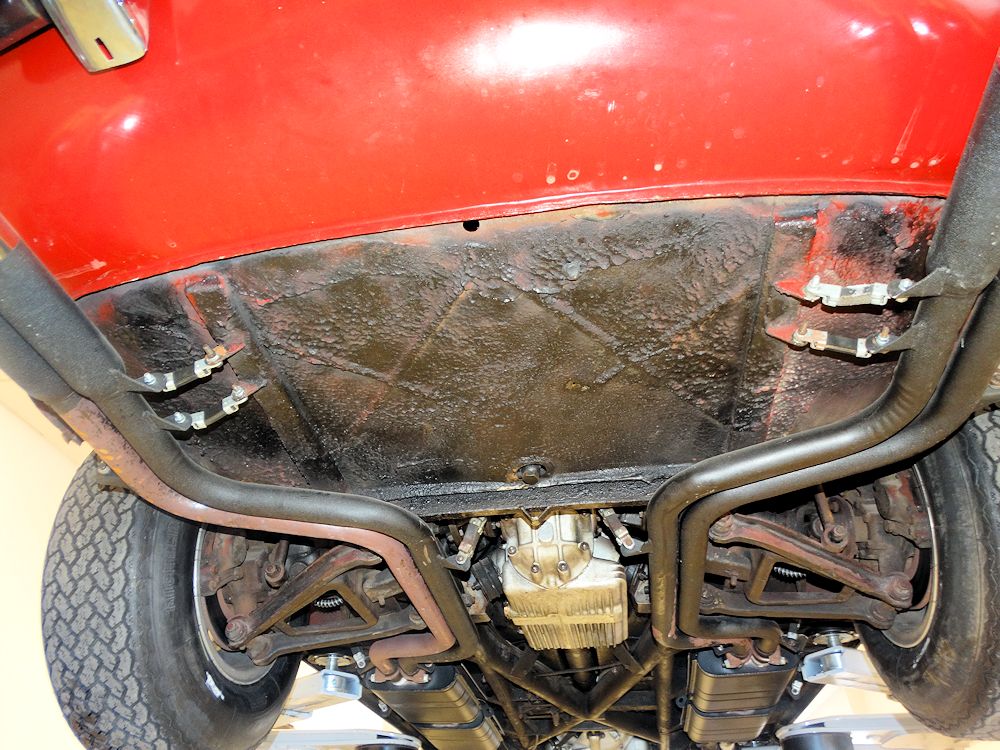
Unusual view from beneath the car with the
floor pans removed
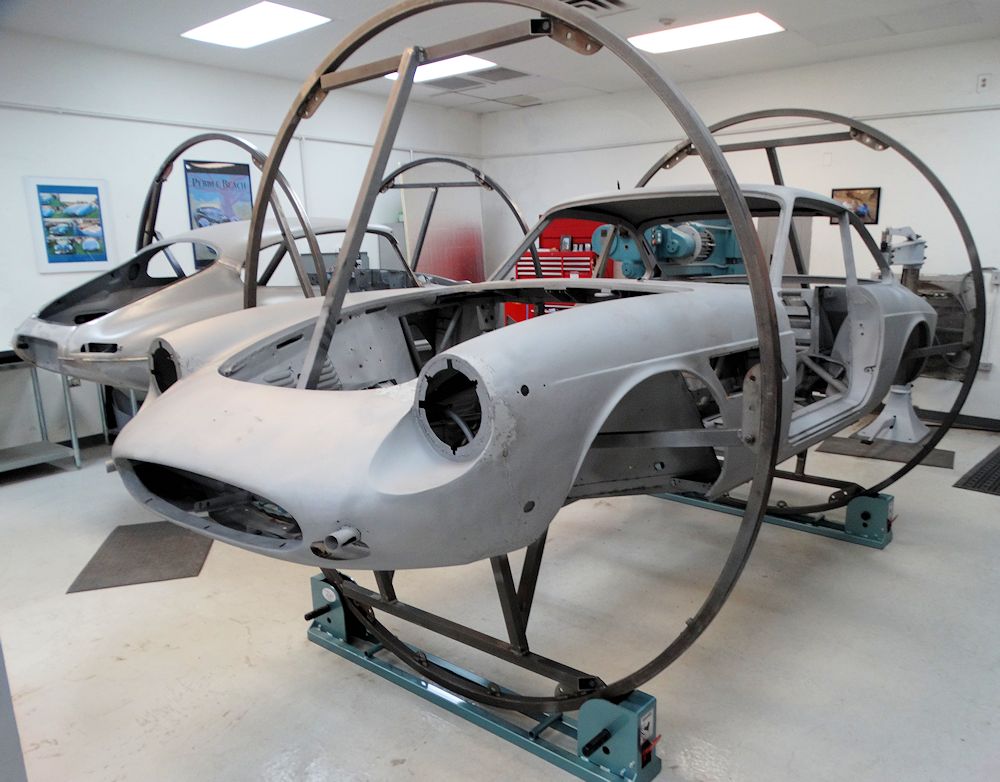
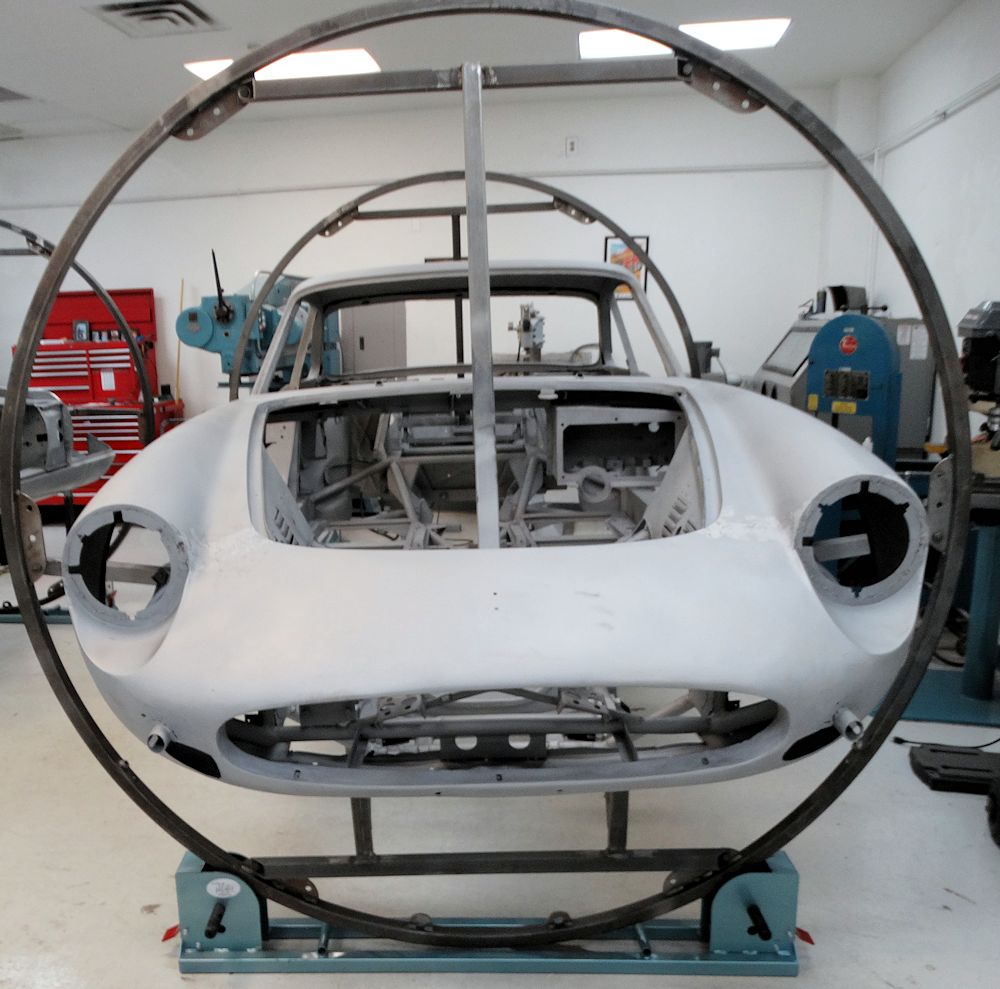
Chassis will be blasted back to bare metal, repaired
and refinished to new condition
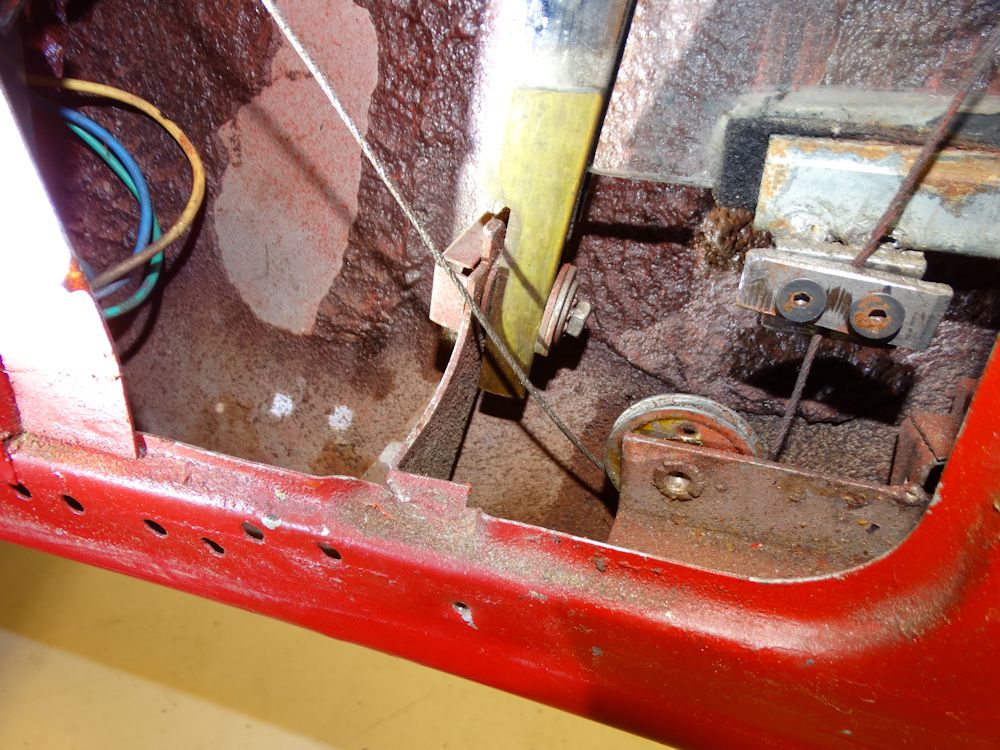
Many rivets were broken or corroded
Removing pans was essential to gain full access
to the chassis
Main floor pan now lifted away
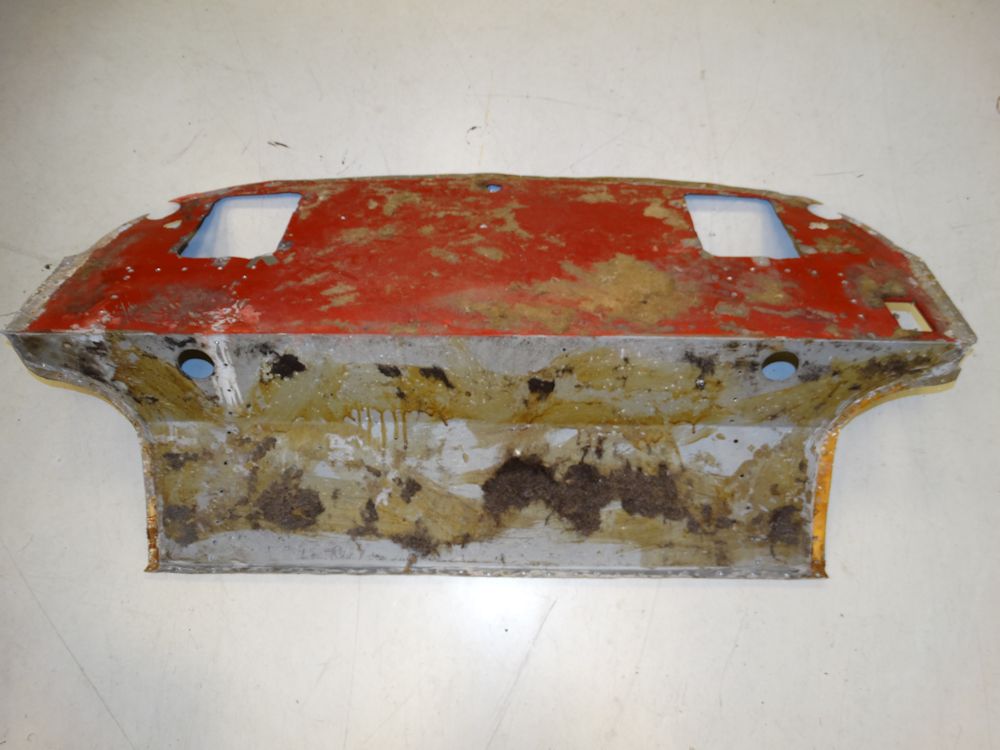
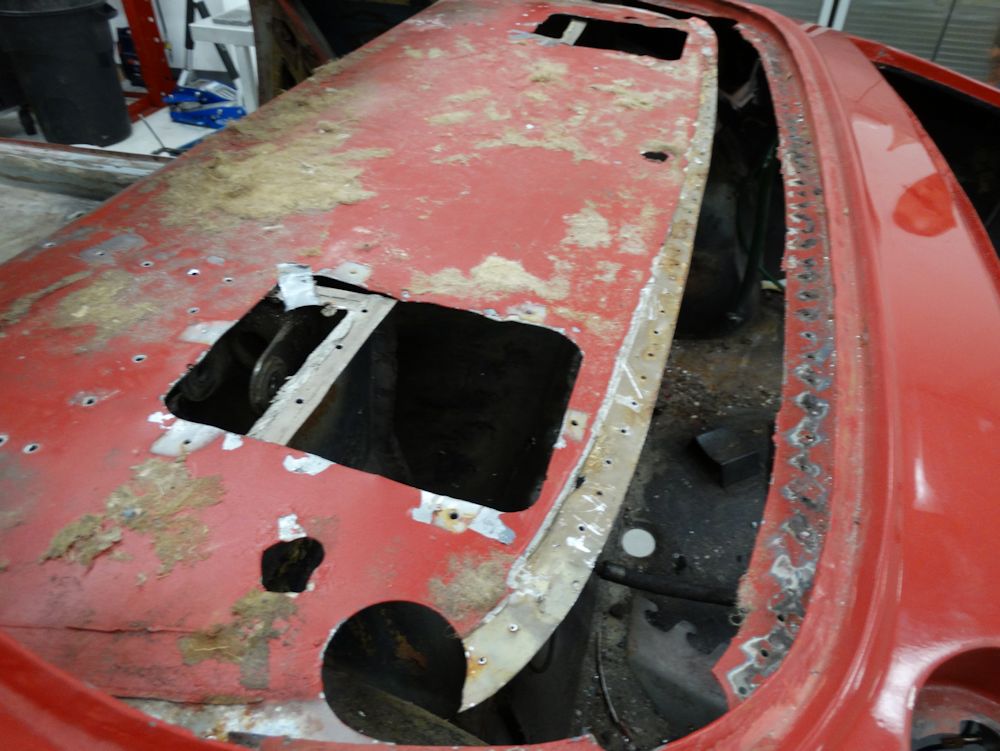
Rear panel now removed
Removing rear window panel/upper rear bulkhead
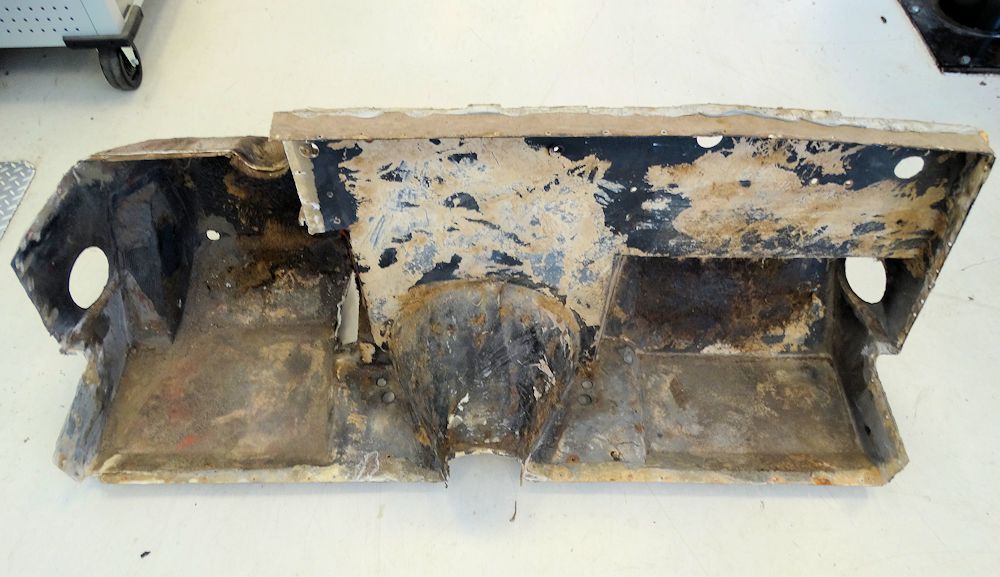
Panel beneath rear window is aluminium
Hundreds of rivets hold the floor pan and front
and rear bulkheads in place
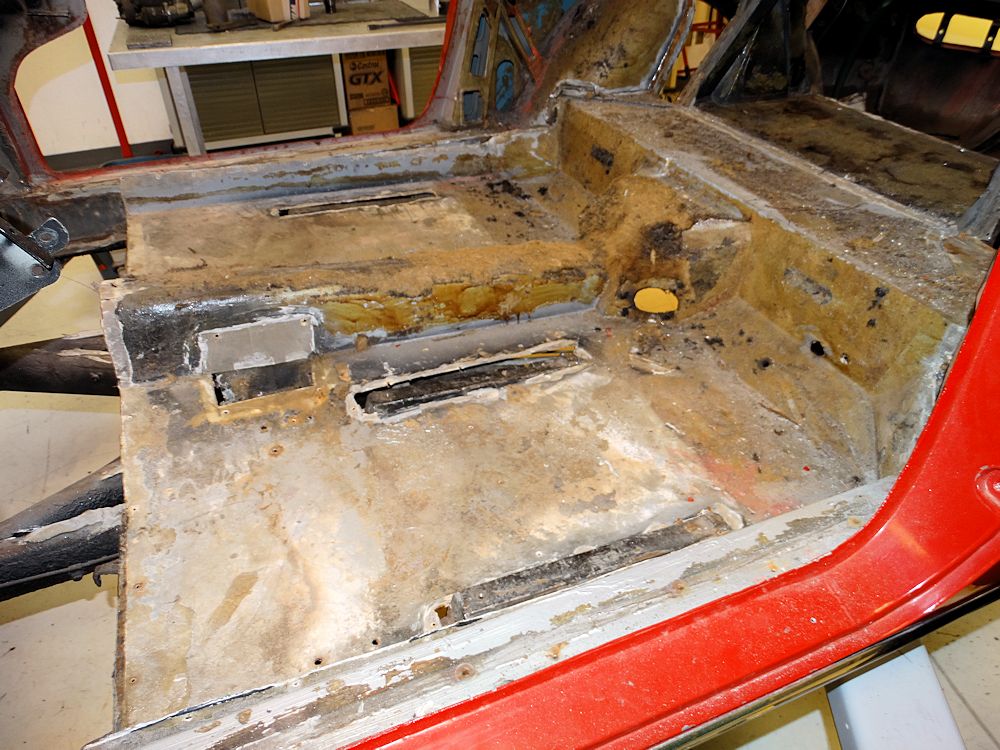
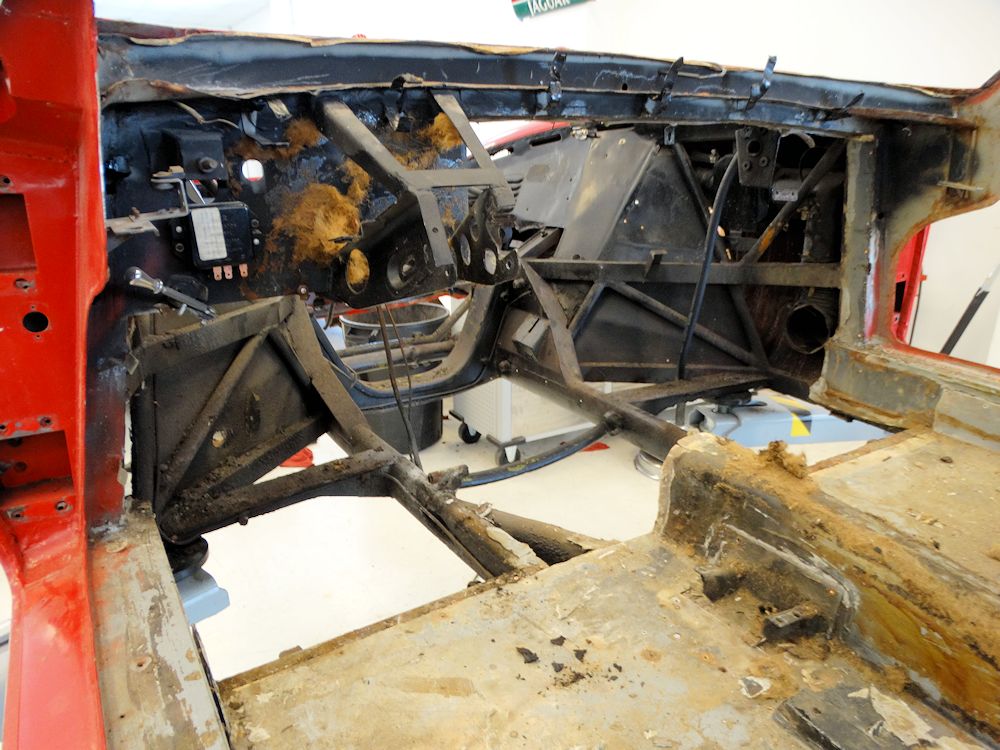
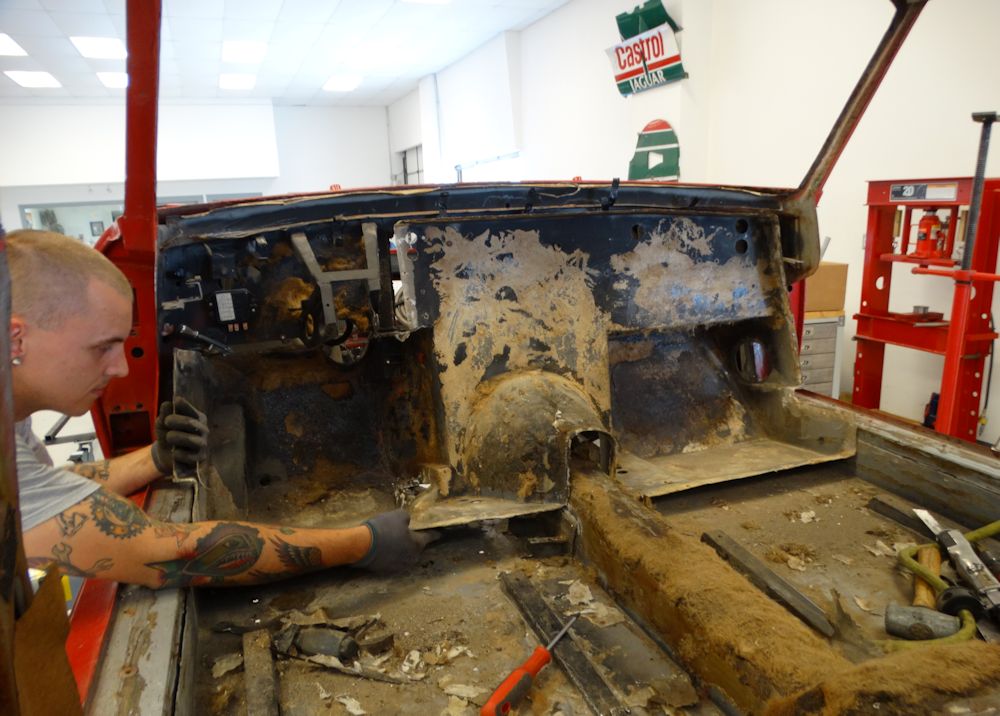
Framework of the dash exposed
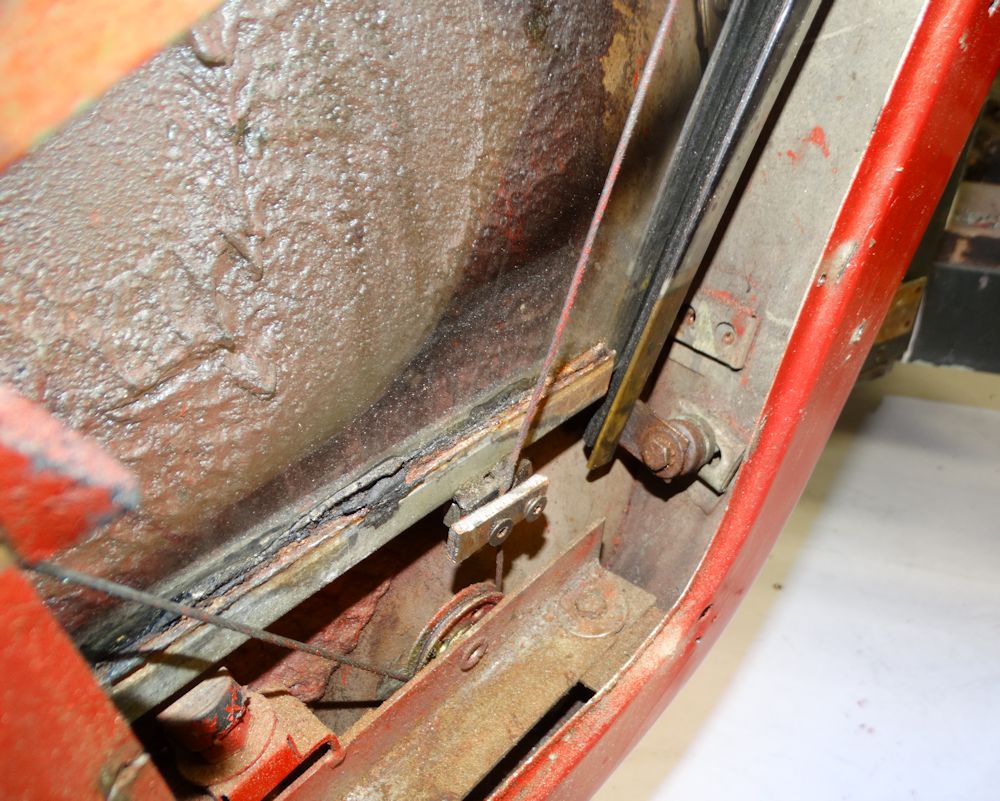
Panel has slight damage around transmission
mound that will be repaired
Removing the fiberglass dash and floor pan in order to gain full access to the chassis..
Fiberglass dash/firewall is first to be removed
With the engine on the ground, the mechanical
tear down is almost complete
Almost clear...
Engine is angled in order to clear the firewall
on the way out
Chris Scarborough carefully extracting the compact
V12 from the engine bay
With the gearbox out of the way, removal of
the engine is a simple matter
Lowering the 5 speed gearbox to the ground
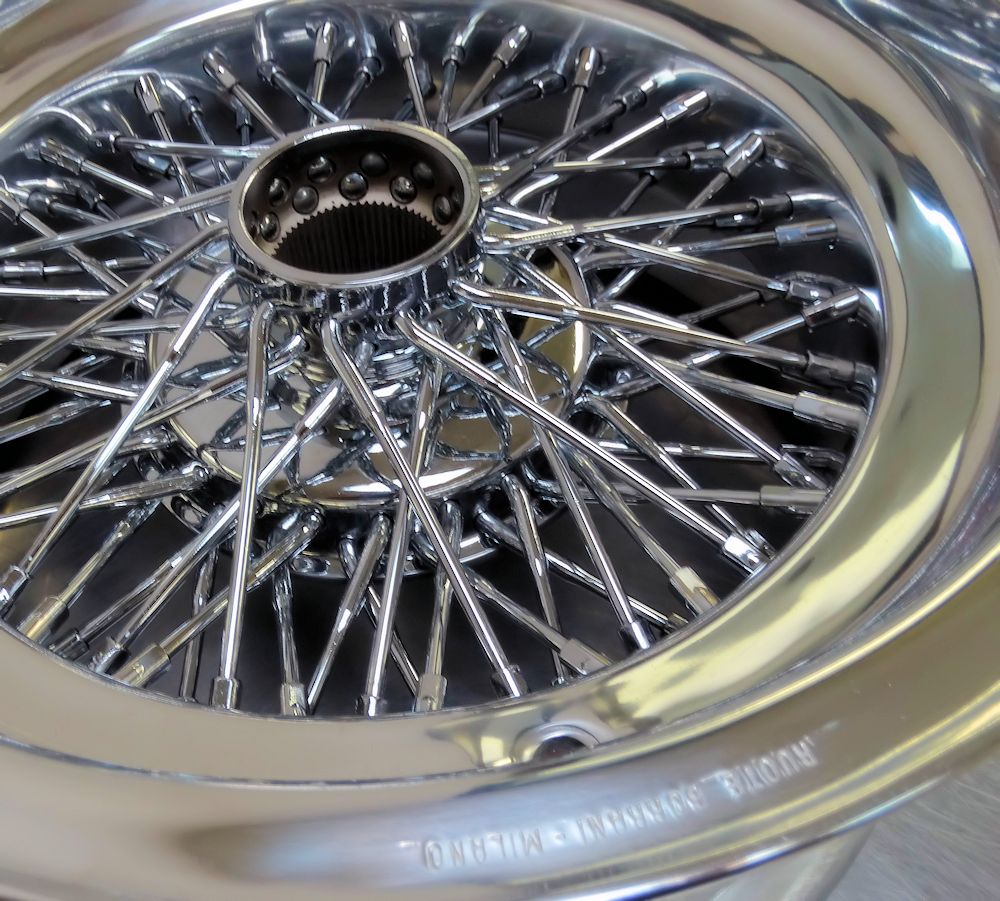
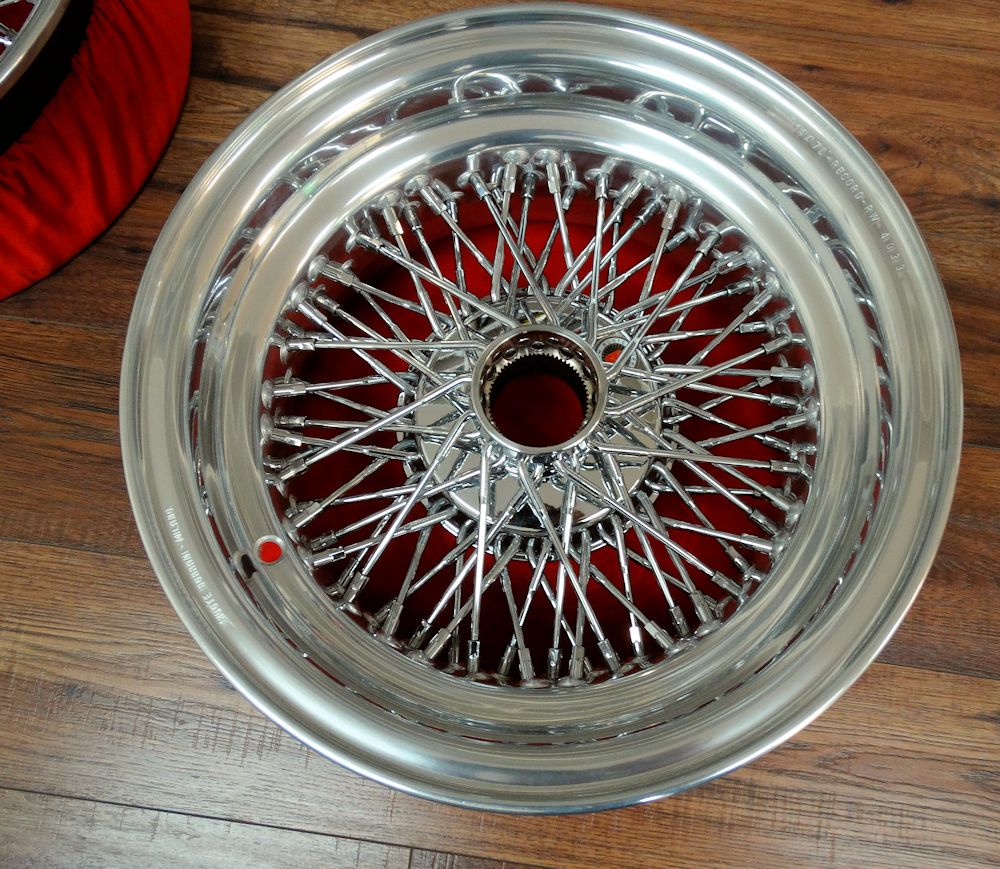
Glittering new RW 4039 Borrani spare wheel
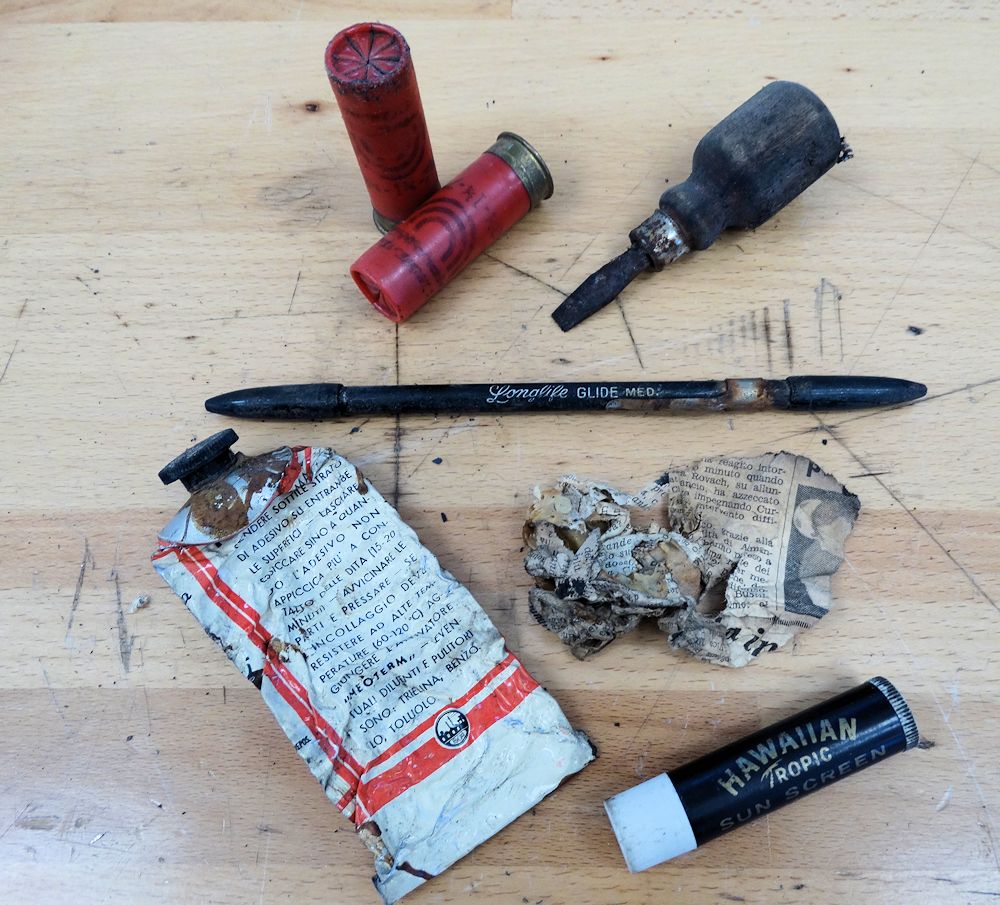
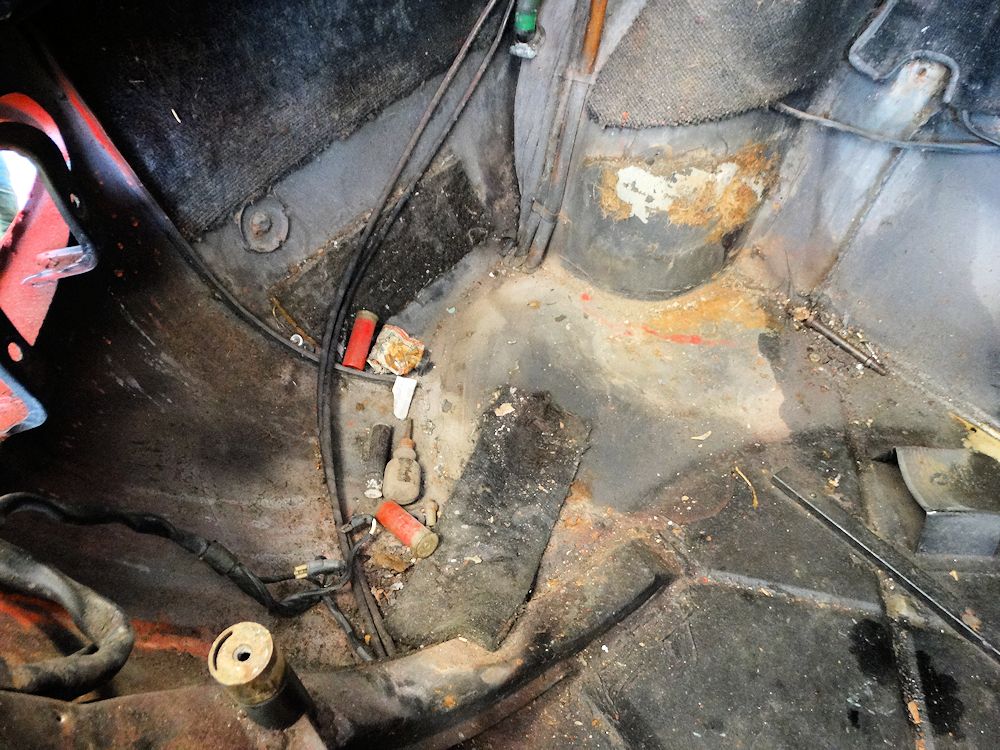
Unspent shotgun cartridges, Italian newspaper
clipping, glue, lipsalve and screwdriver
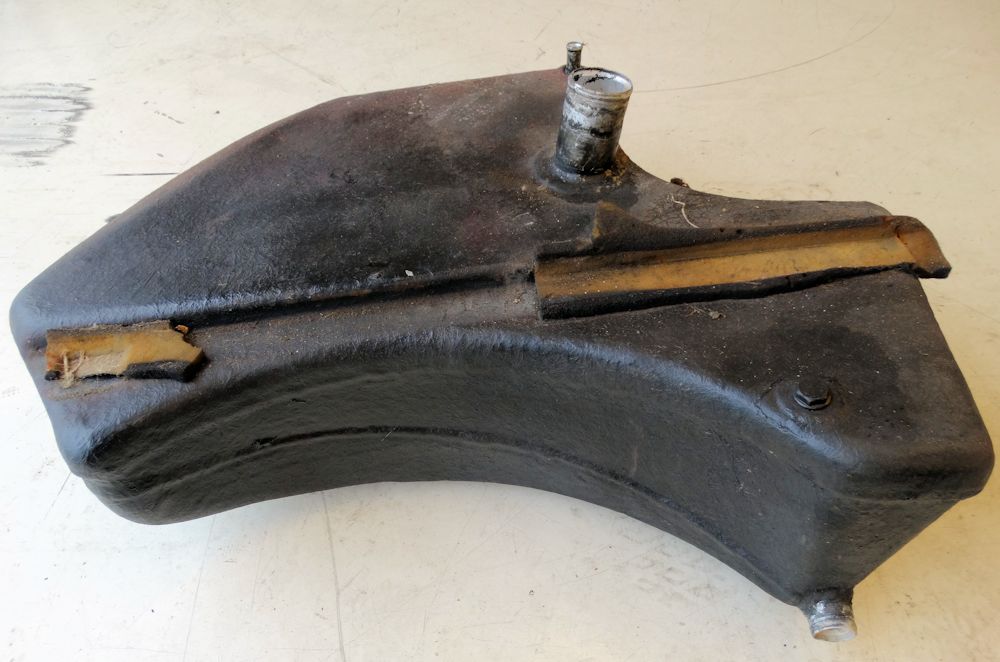
Strange assortment lurking beneath gas tanks
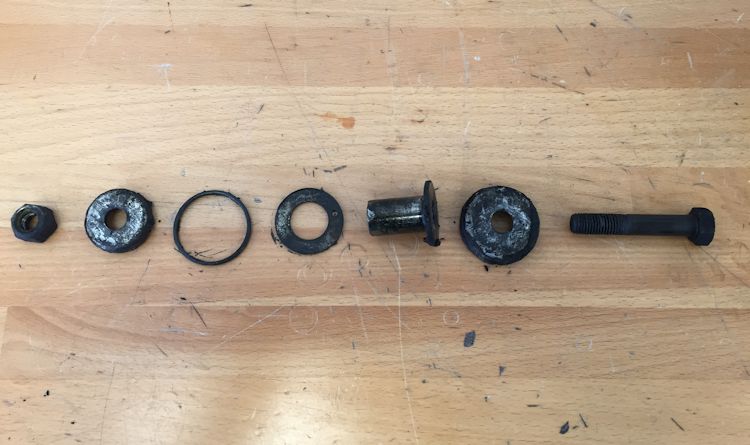
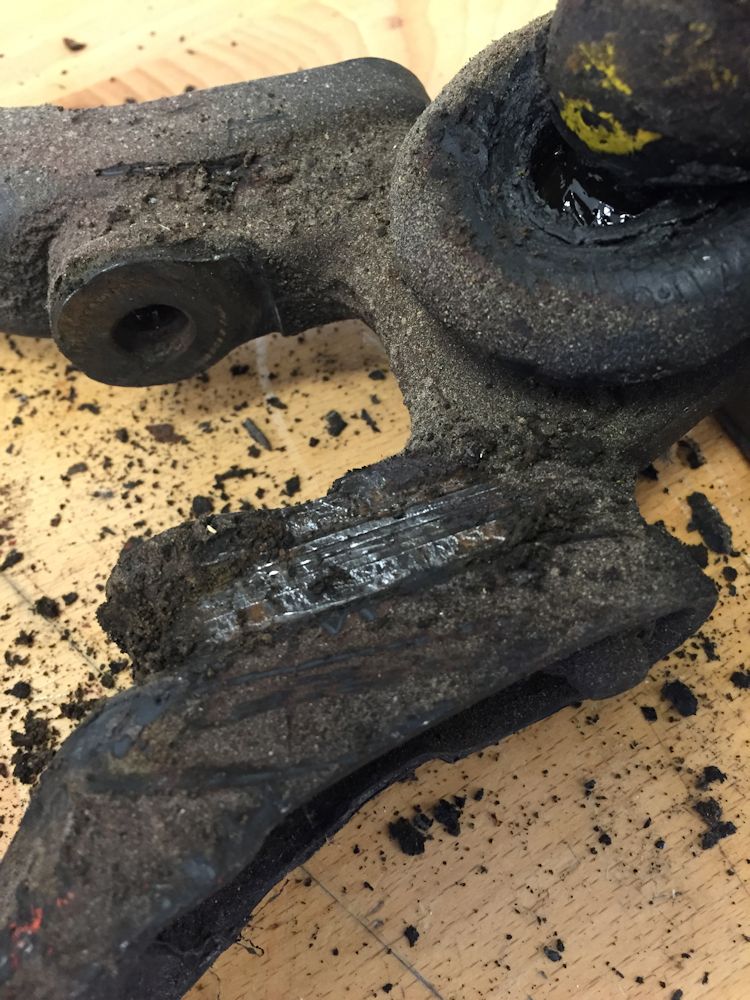
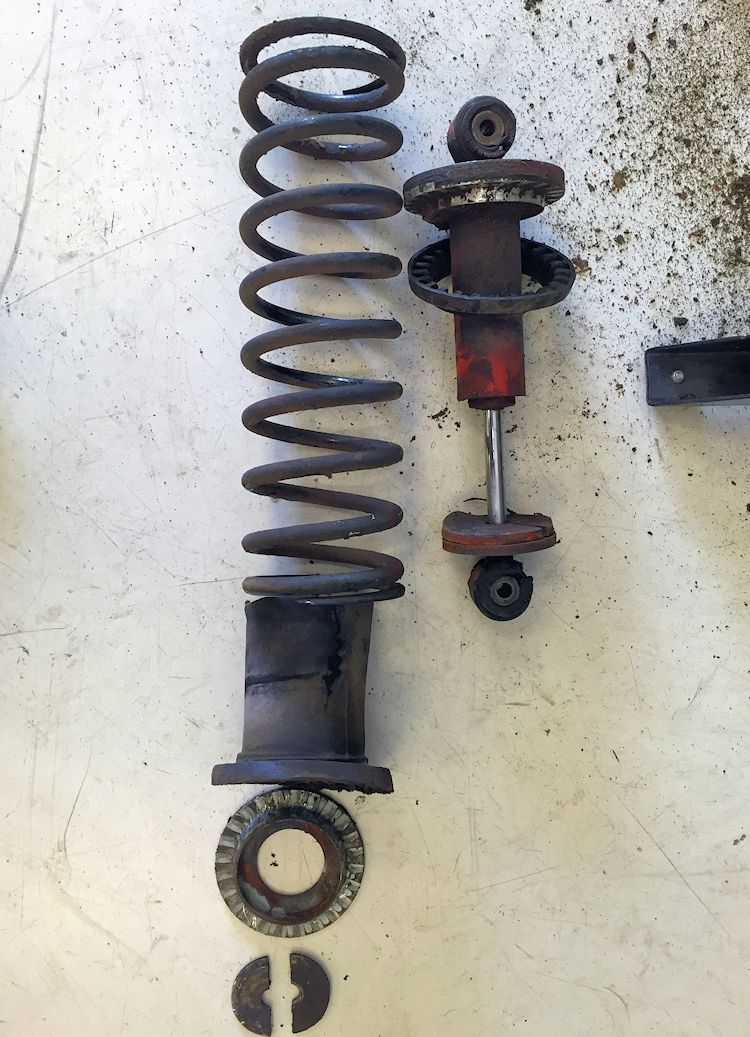
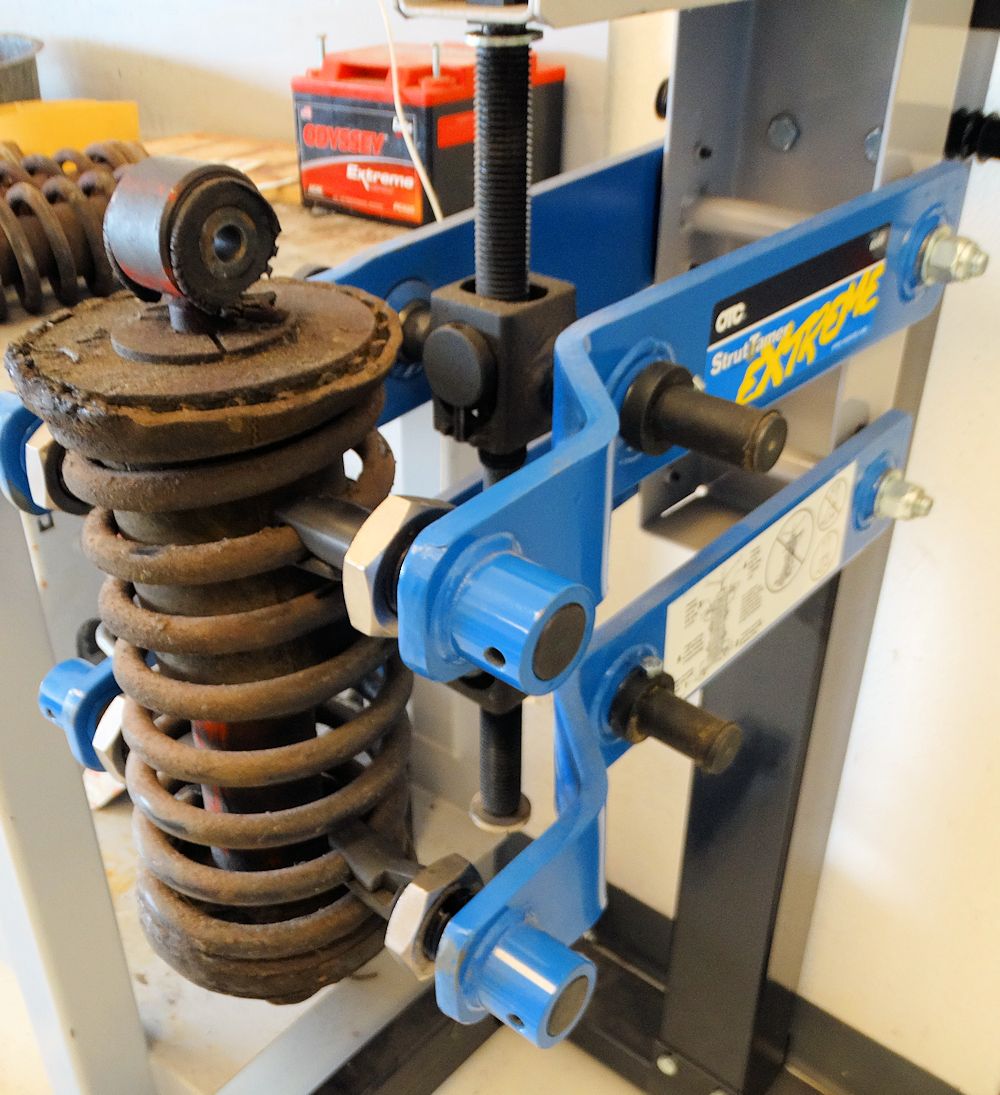
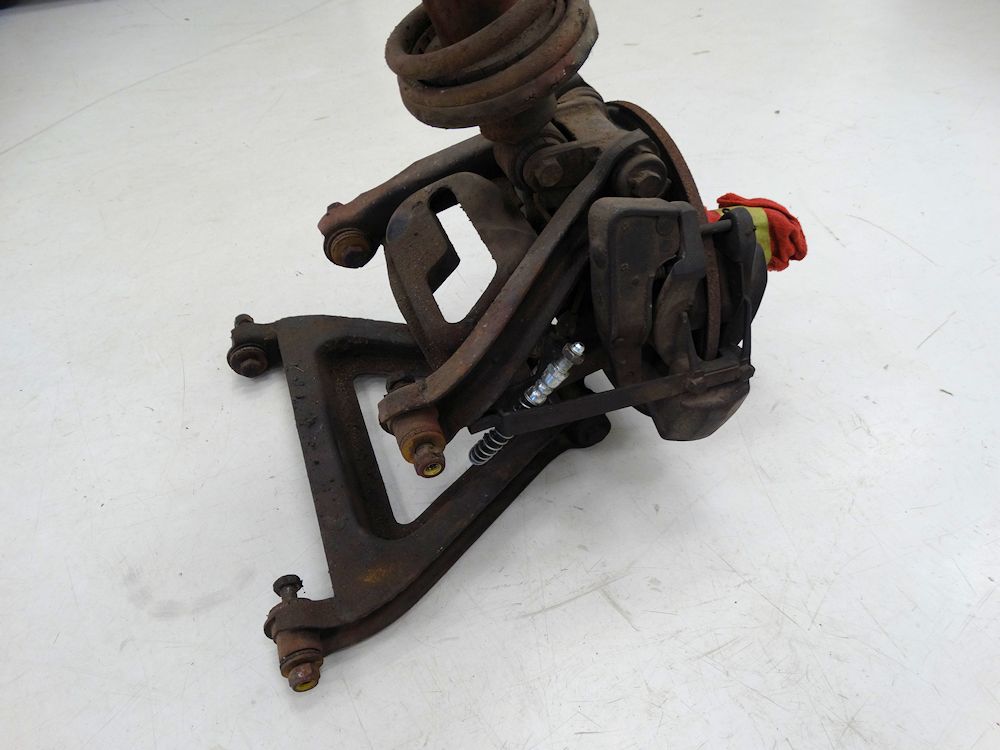
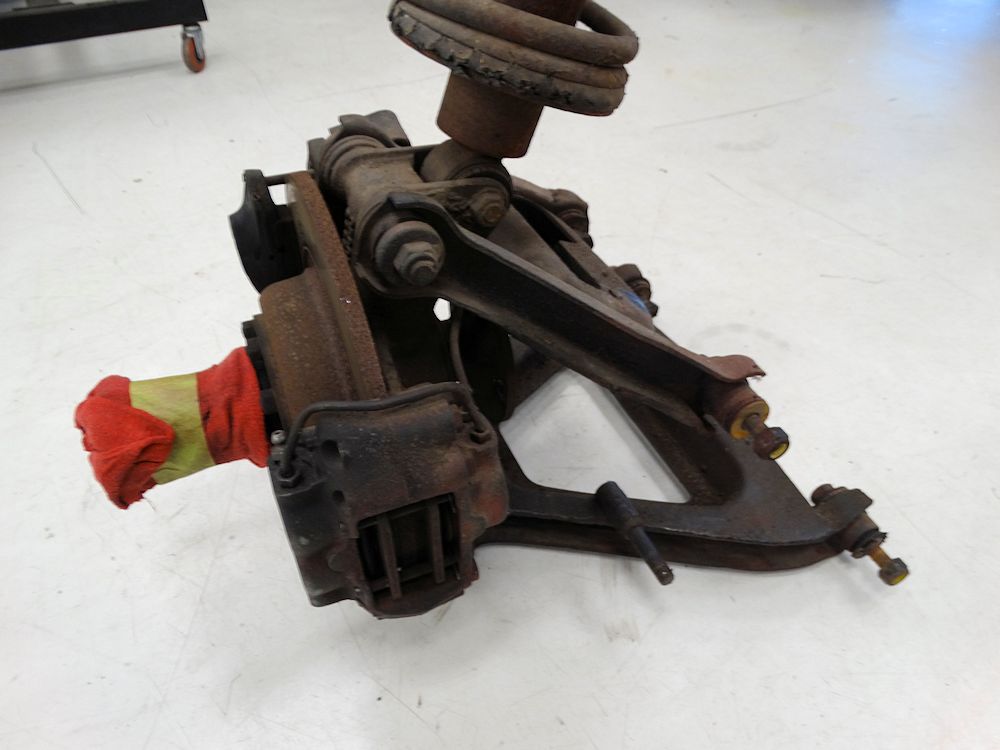
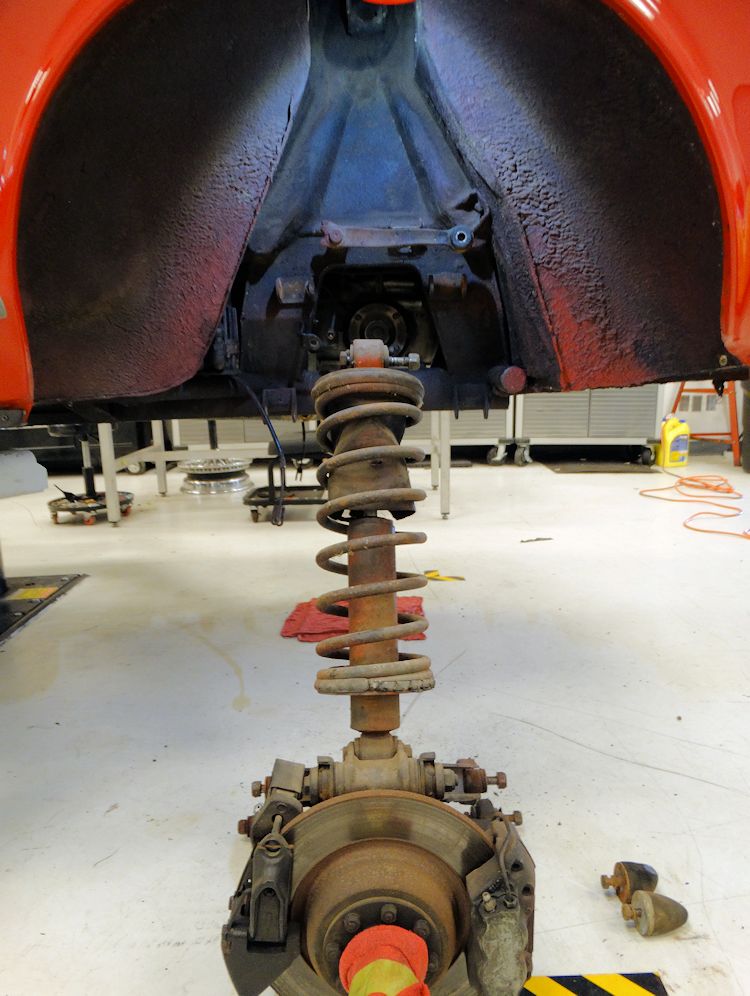
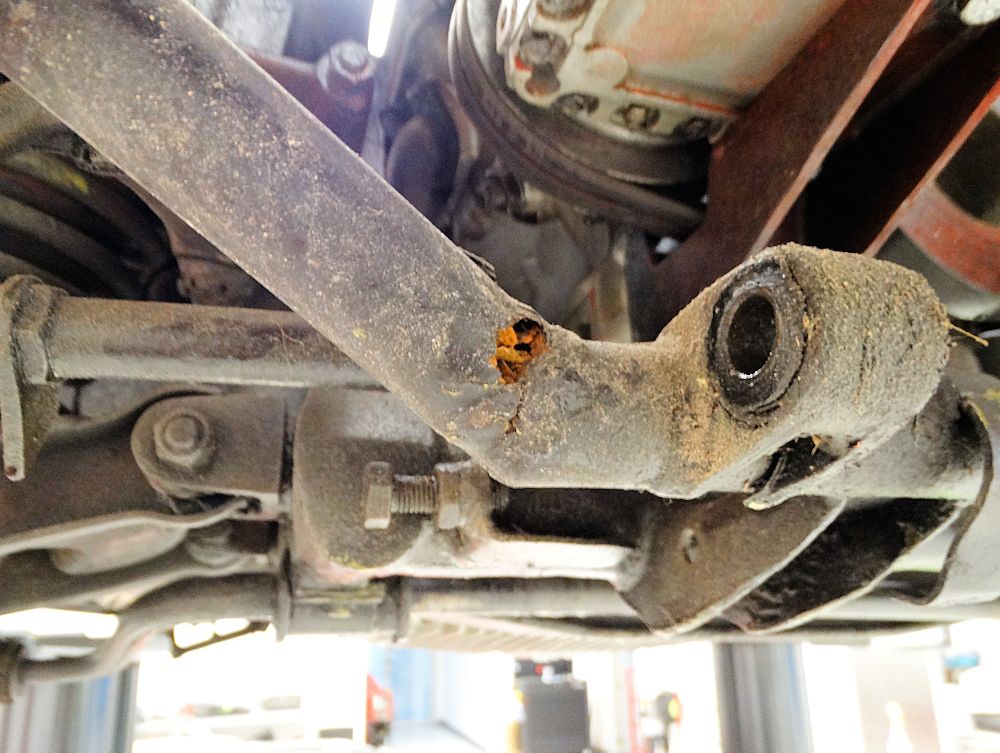
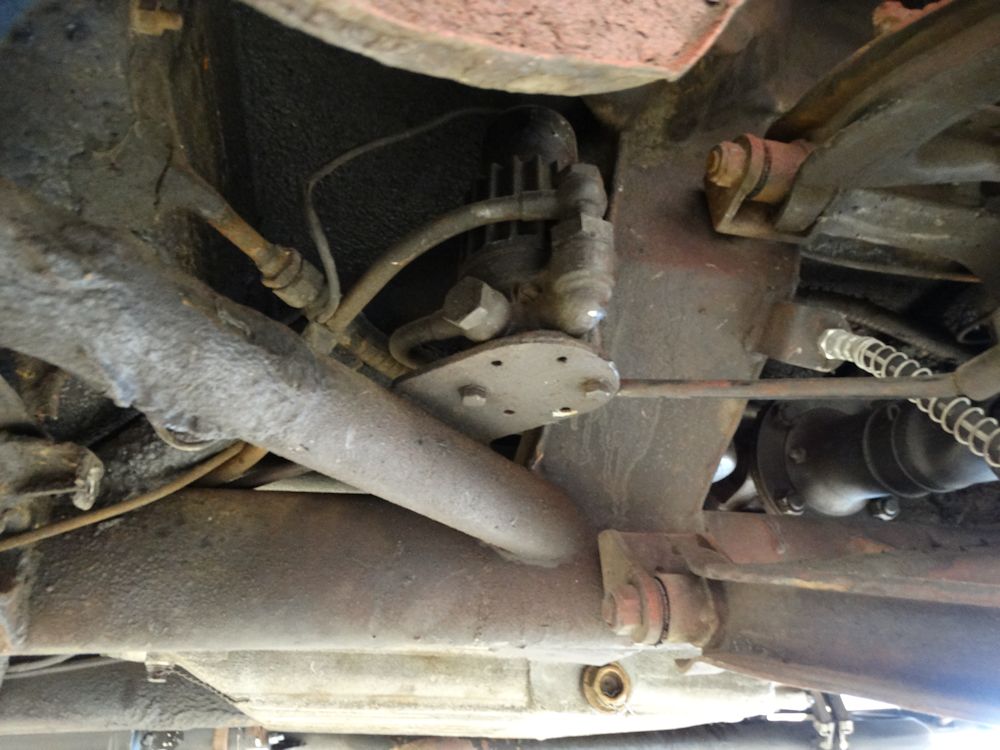
Right rear strut mount slightly damaged and pushed
upward, causing car to ride low in right rear
Left rear strut mount
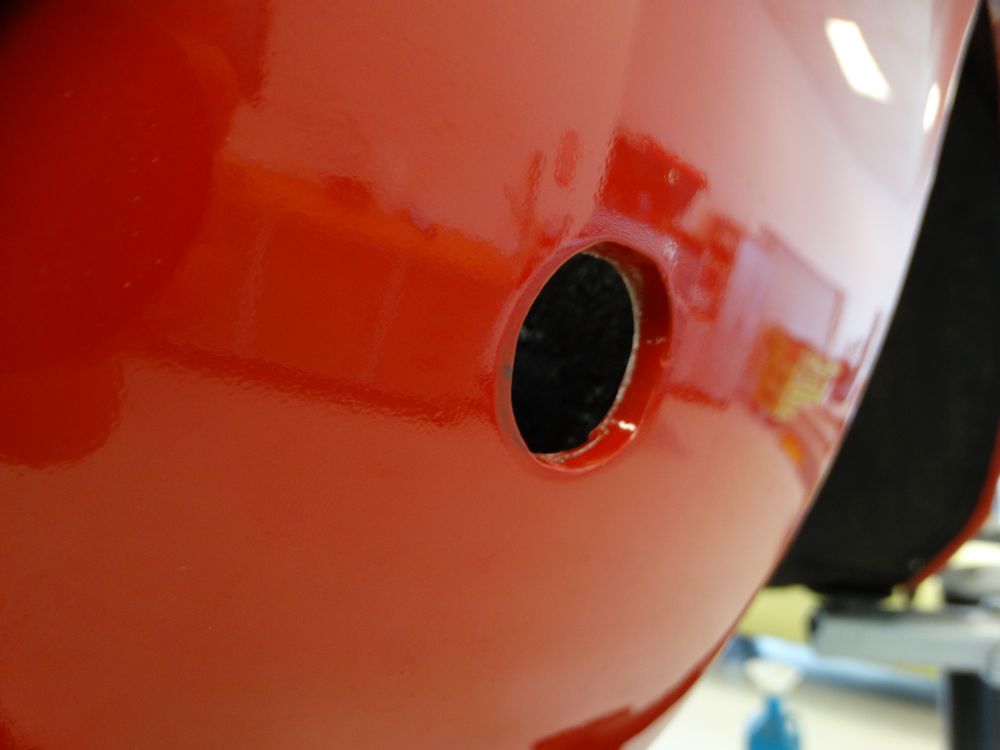
Note thick bondo lurking behind front bumper
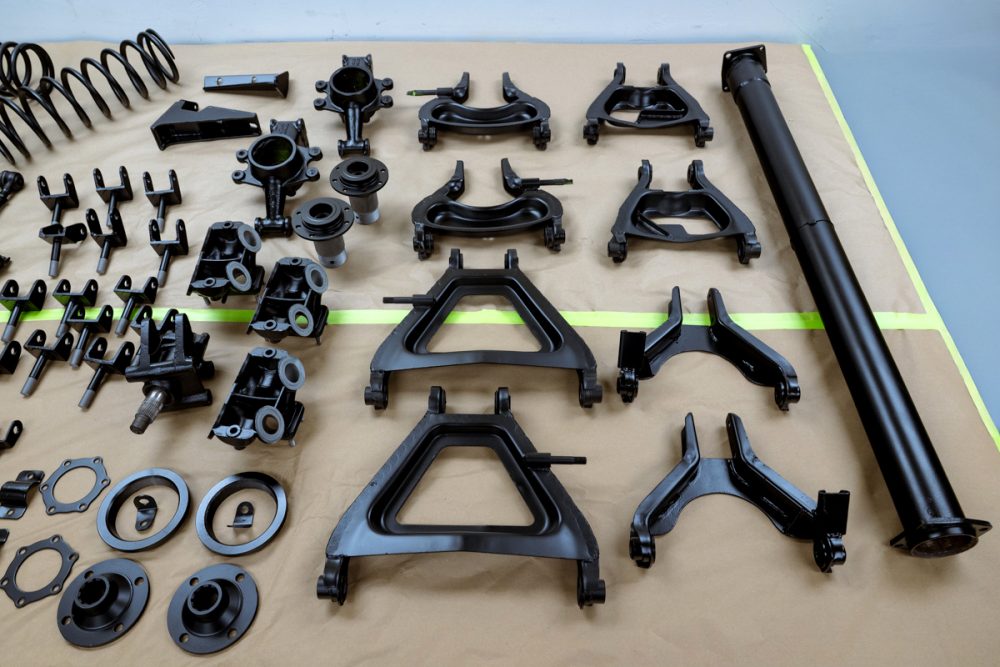
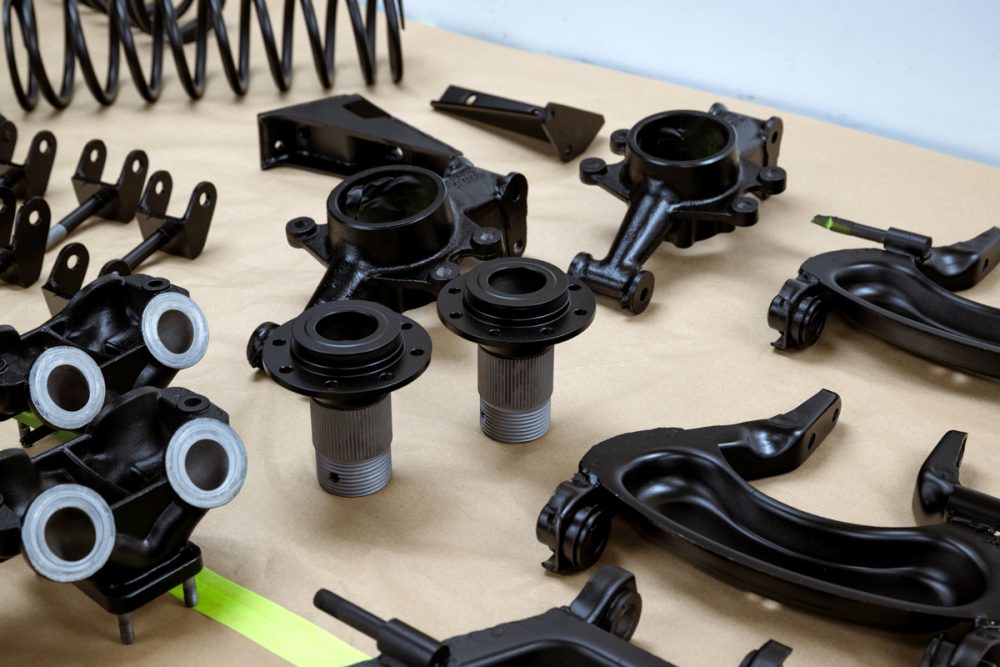
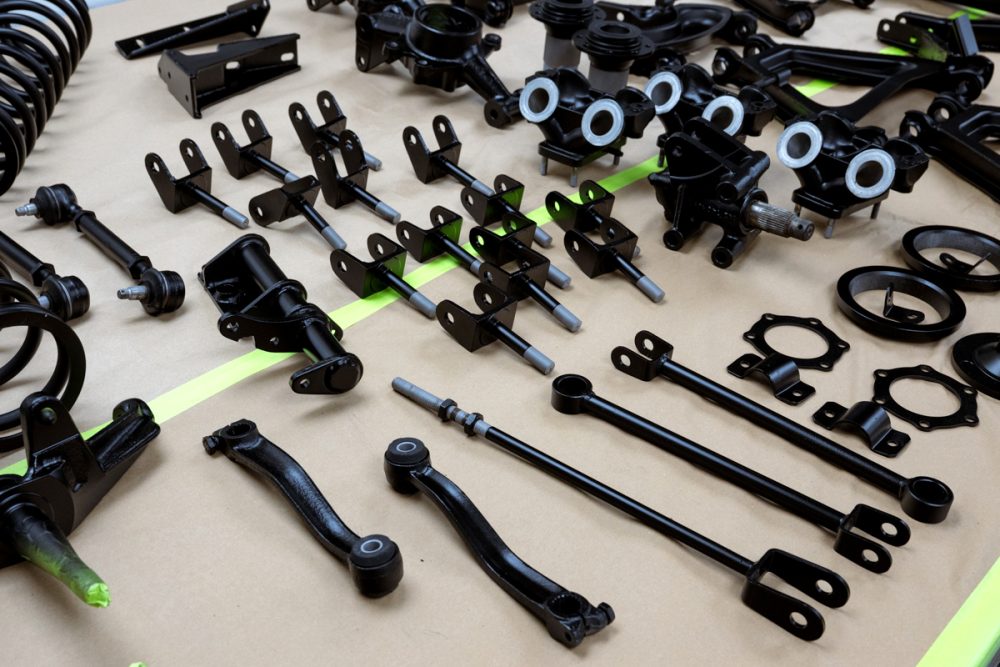
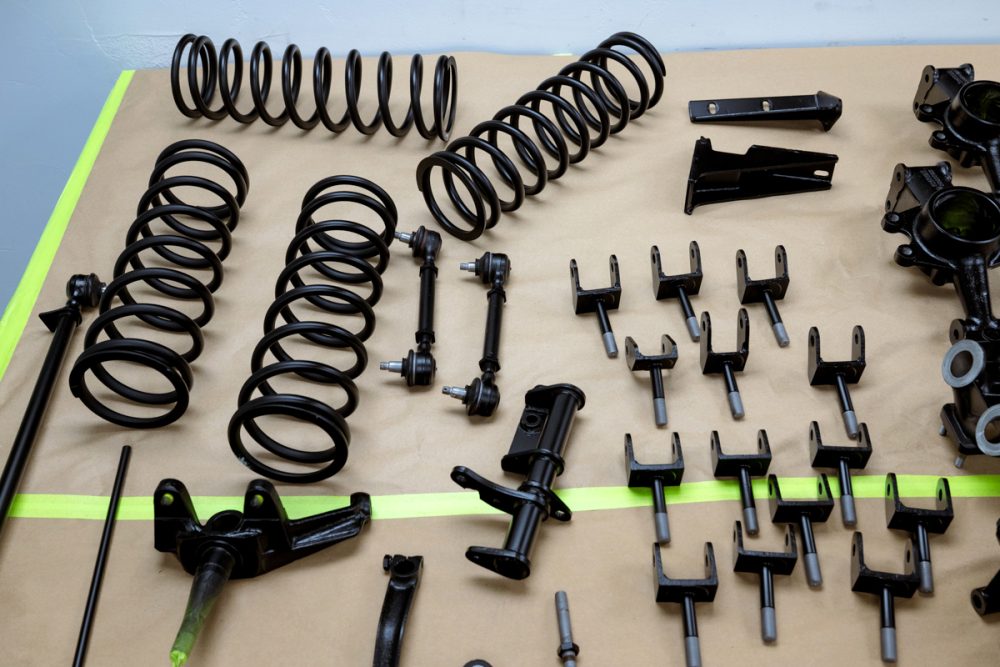
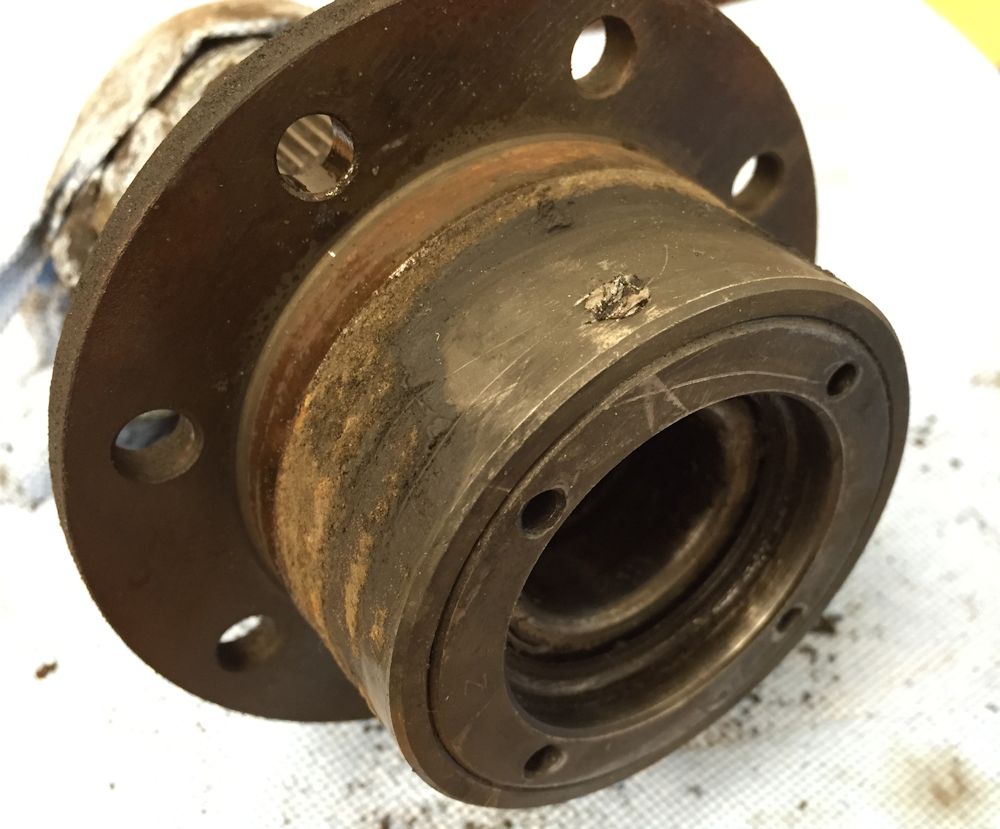
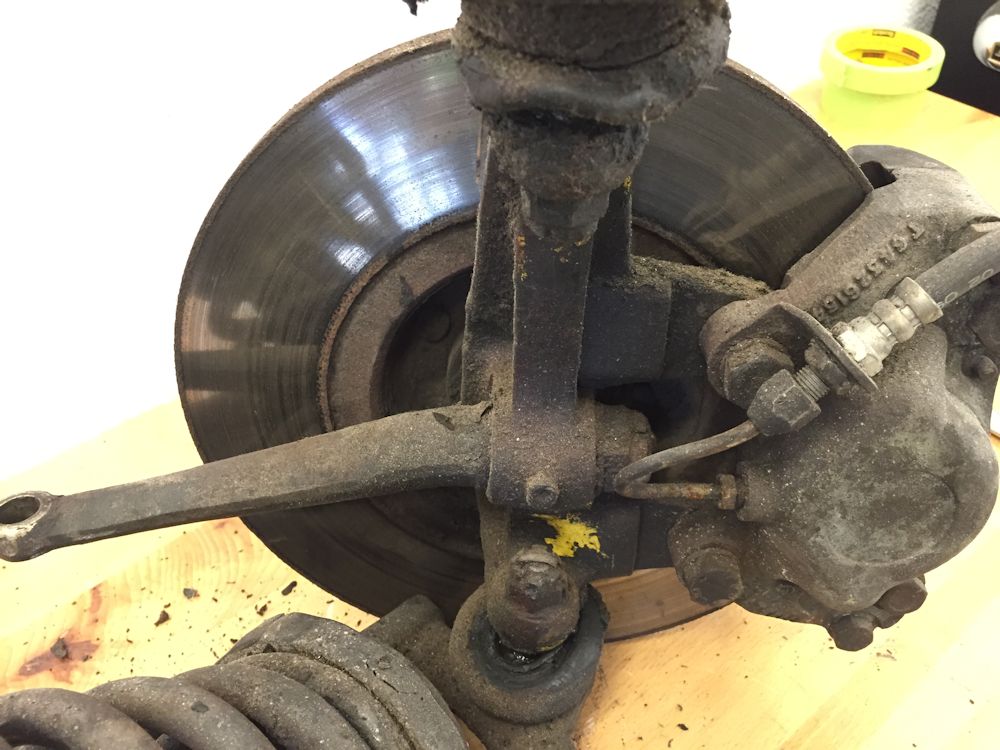
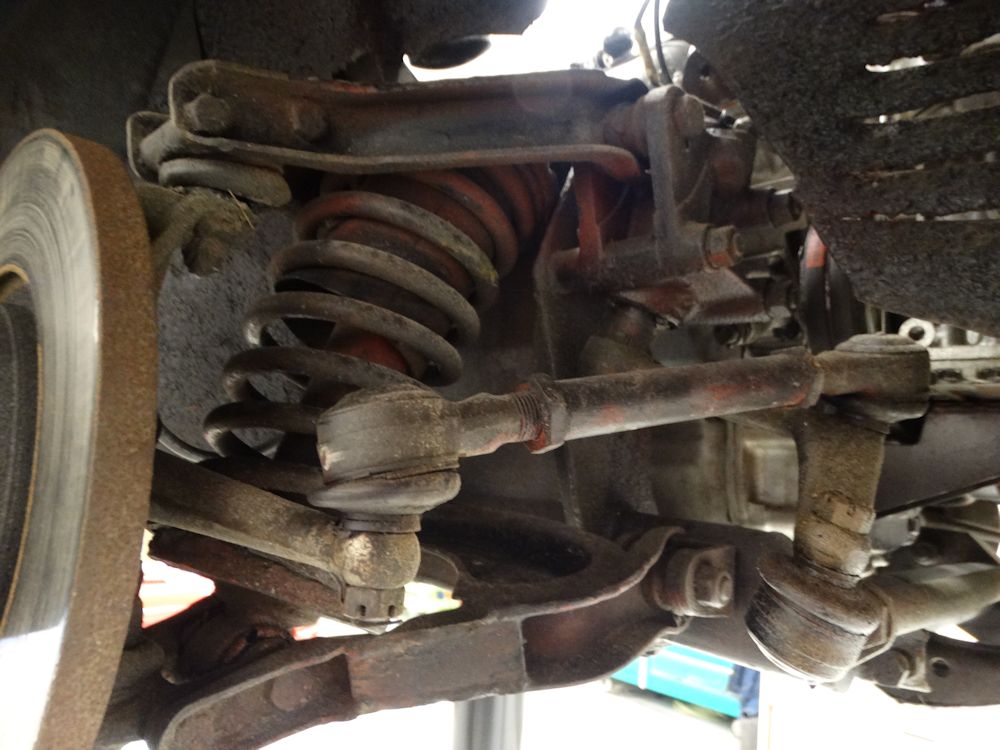
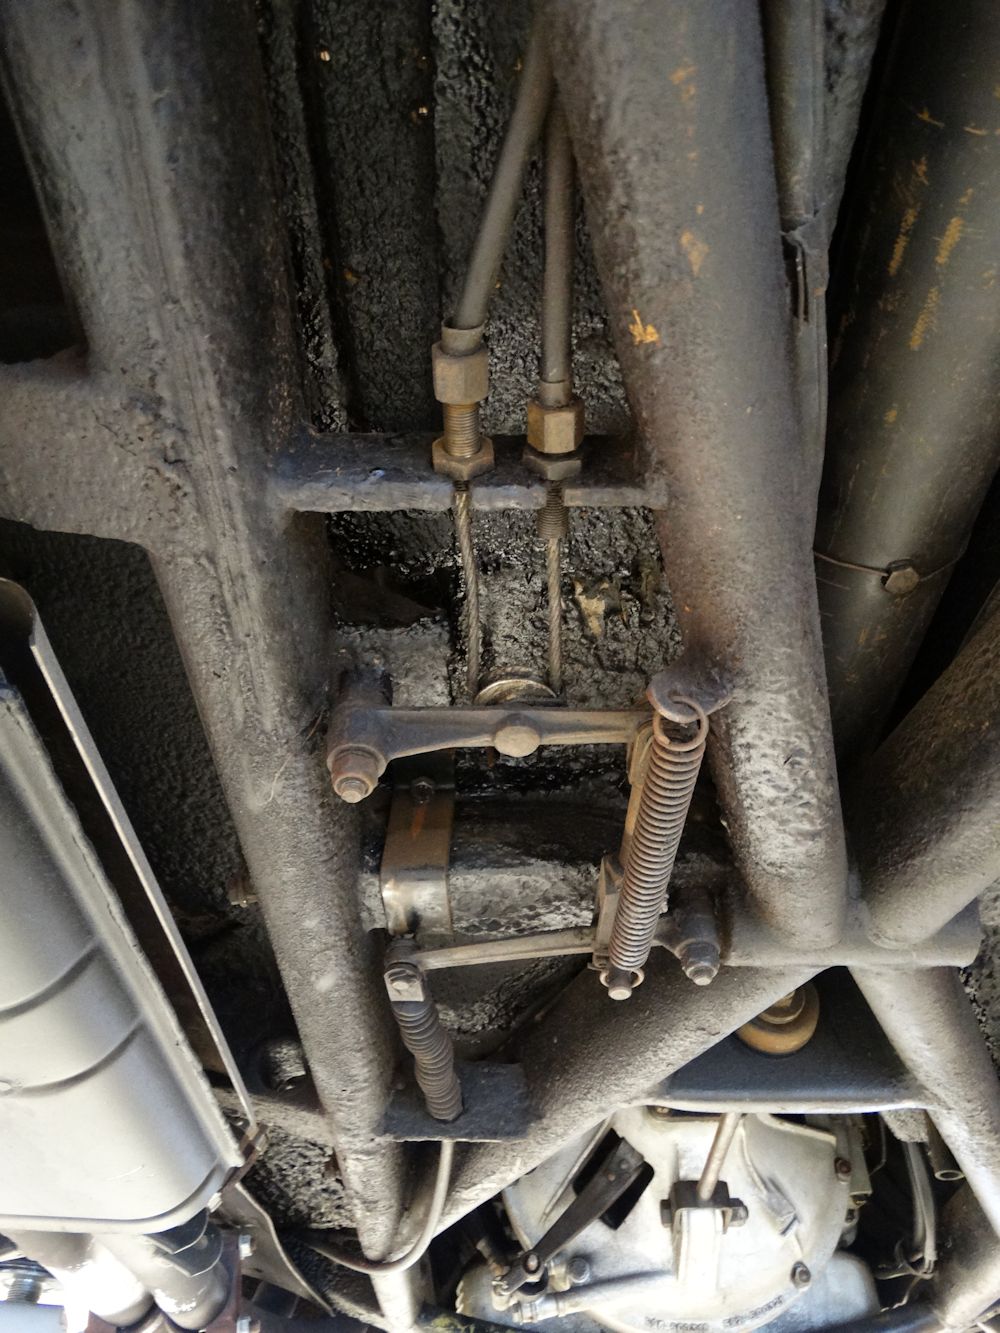
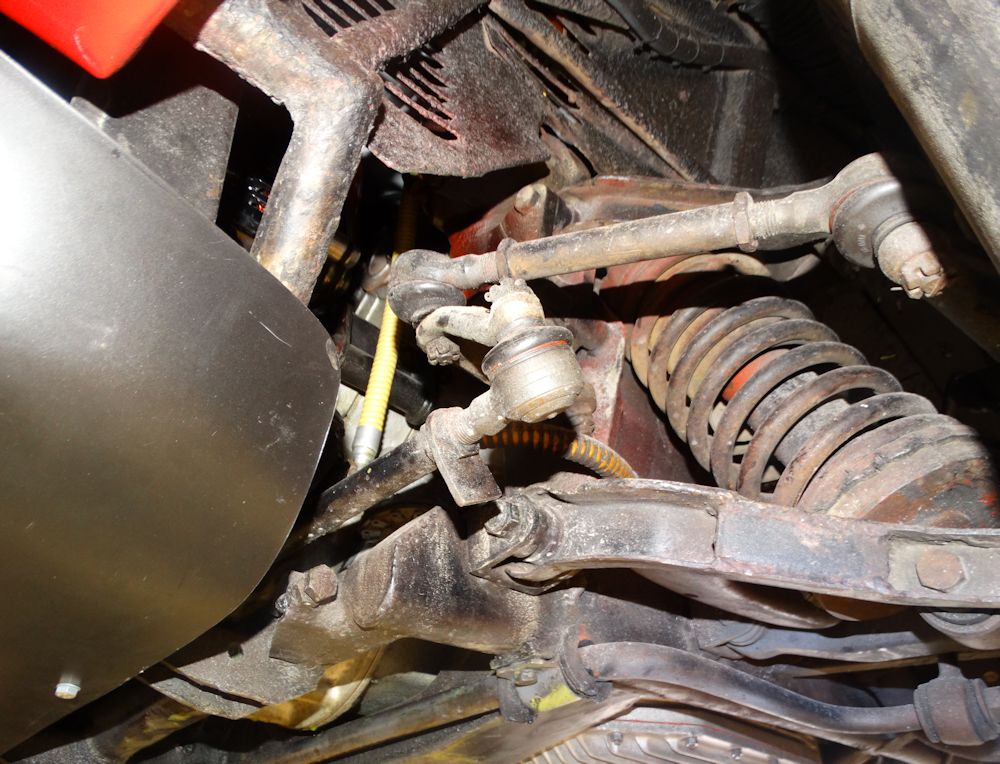
Removing rear suspension
Tear down continued, a glittering new Borrani wheel, and unspent shotgun cartridges hidden beneath the gas tanks...
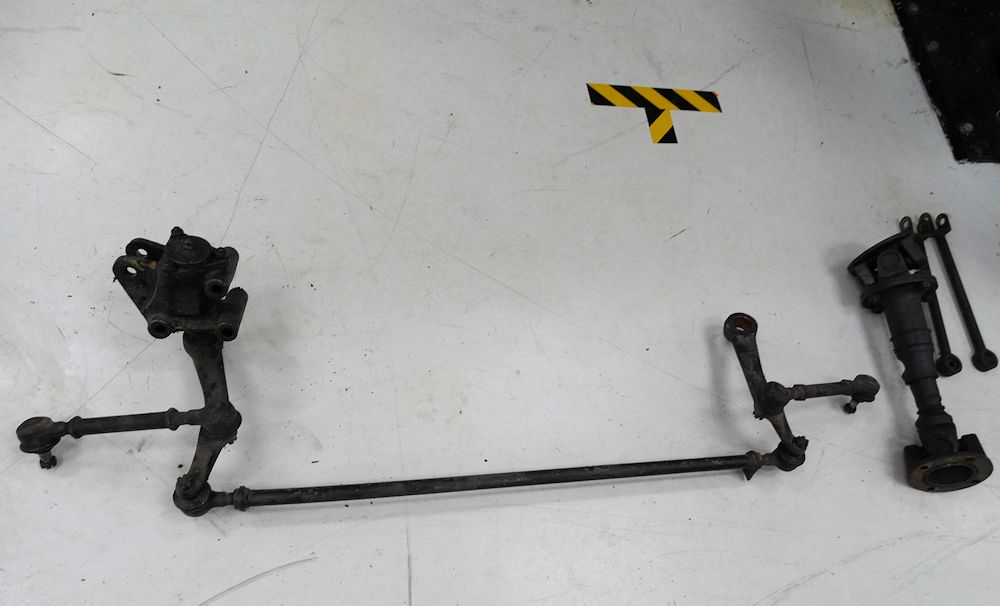
Front suspension now removed