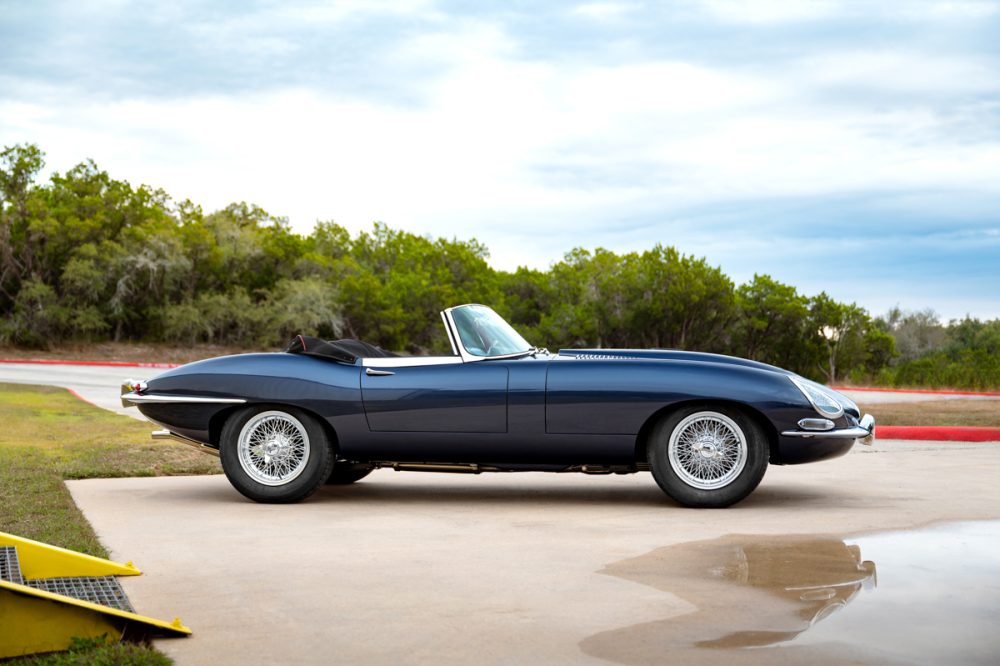
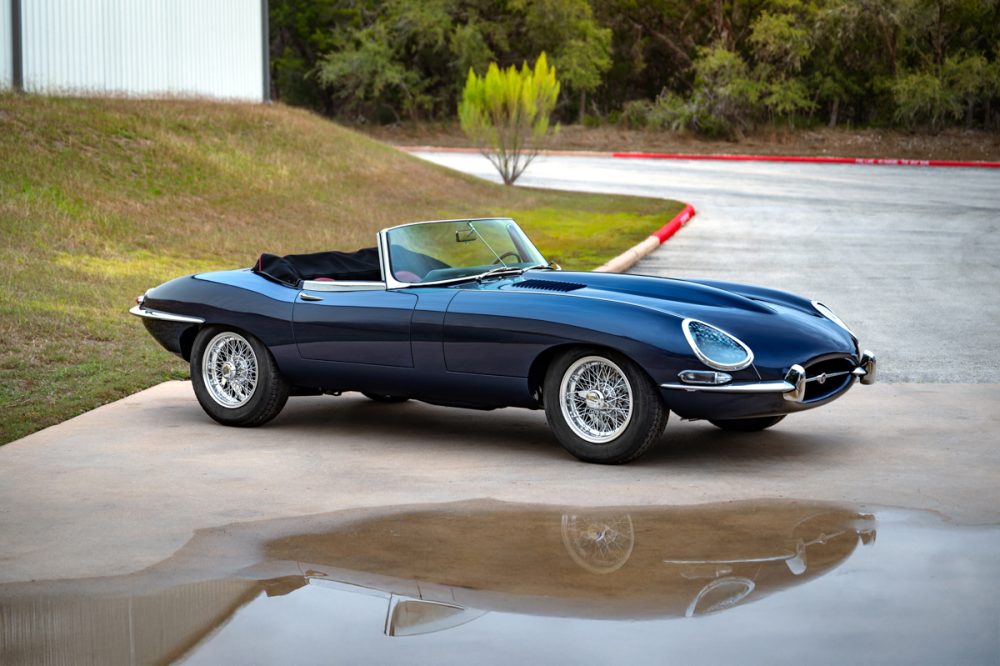
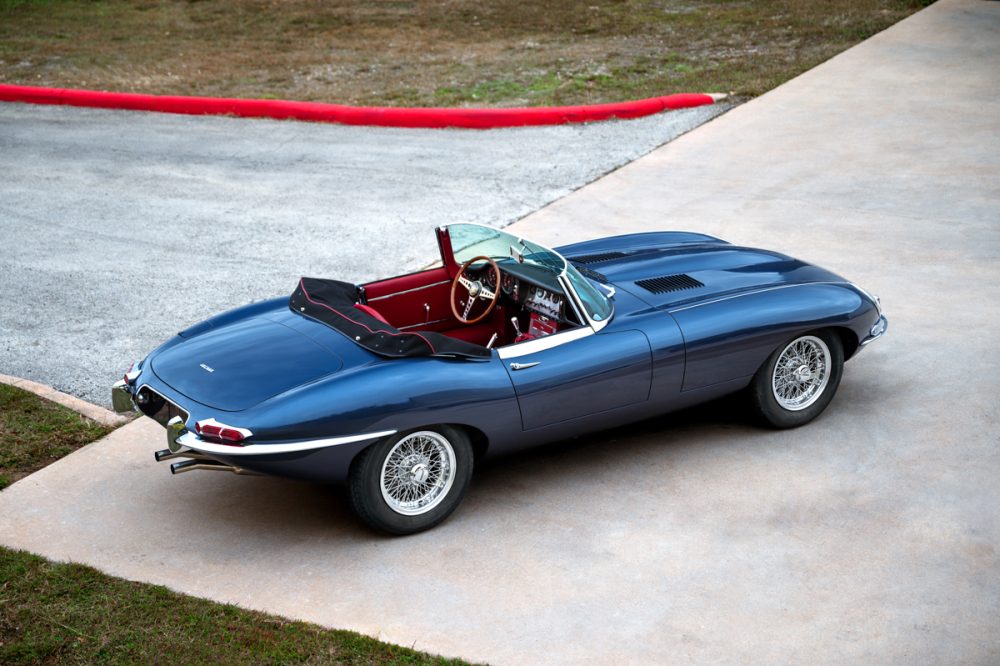
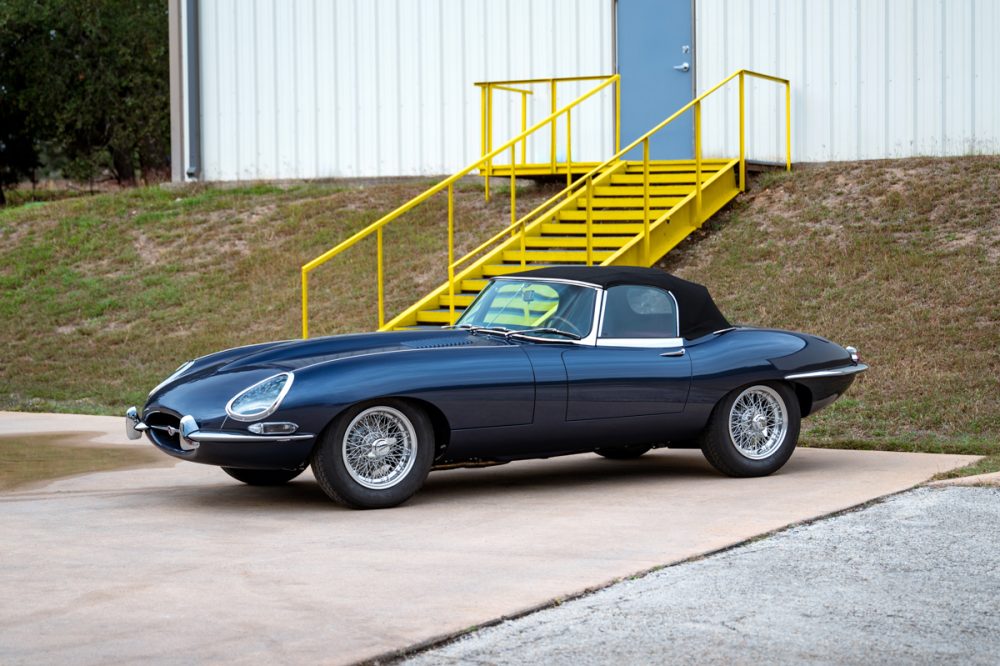
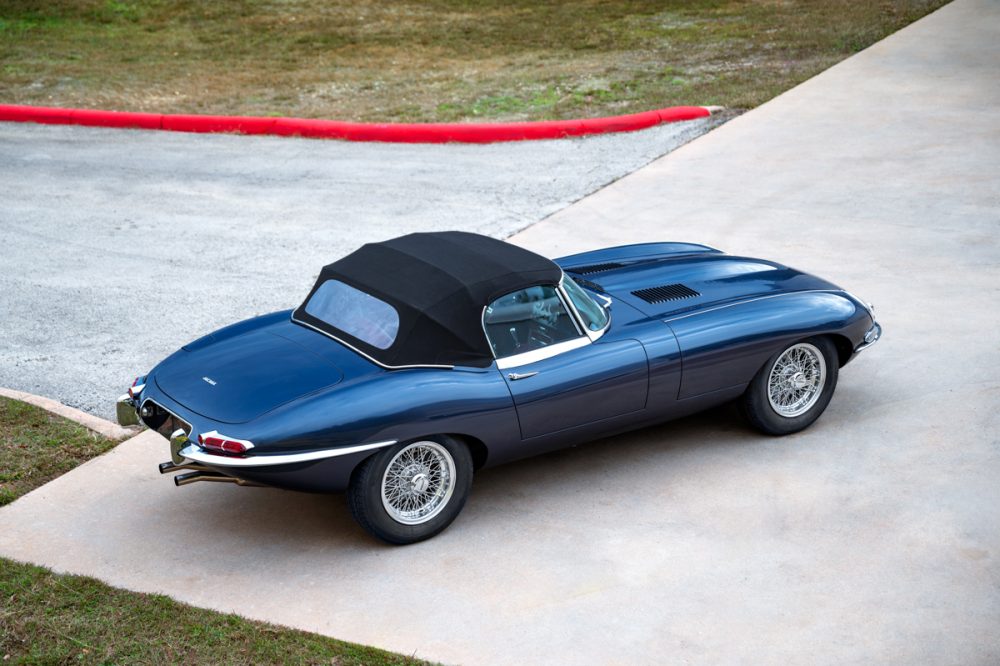
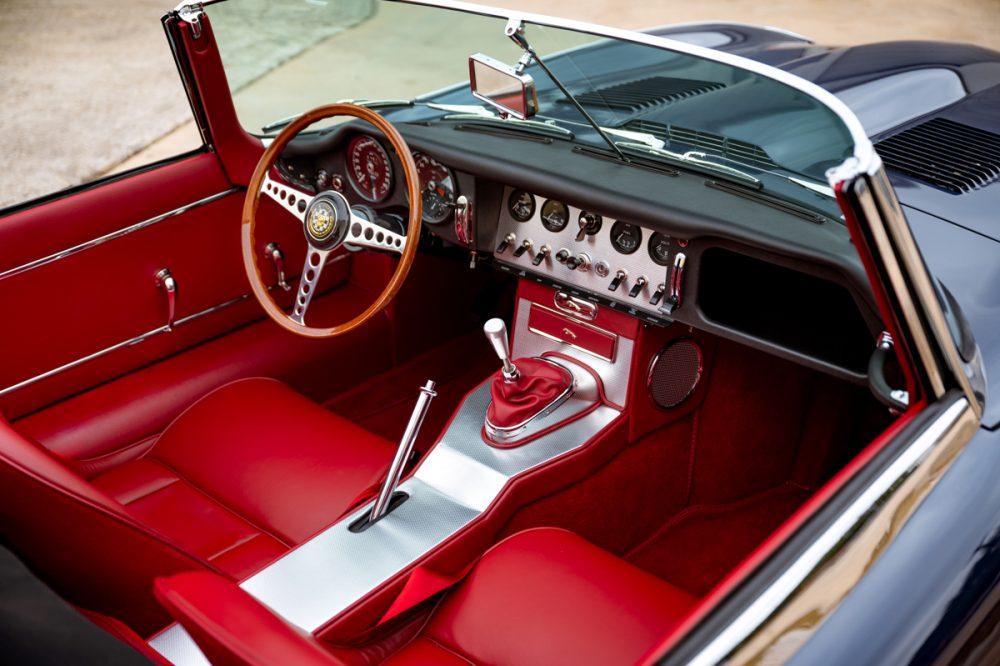
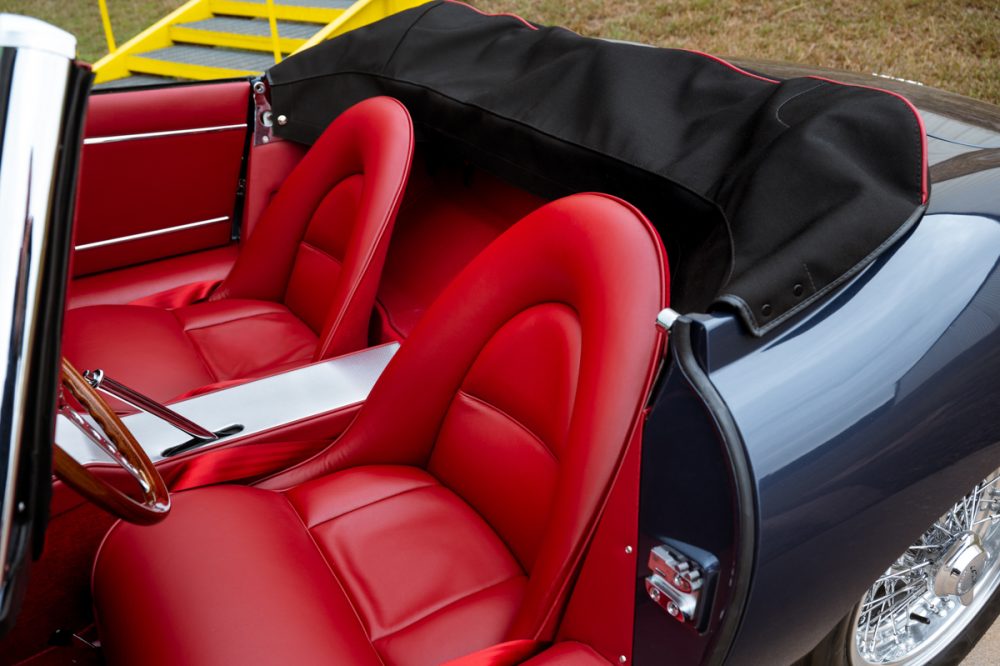
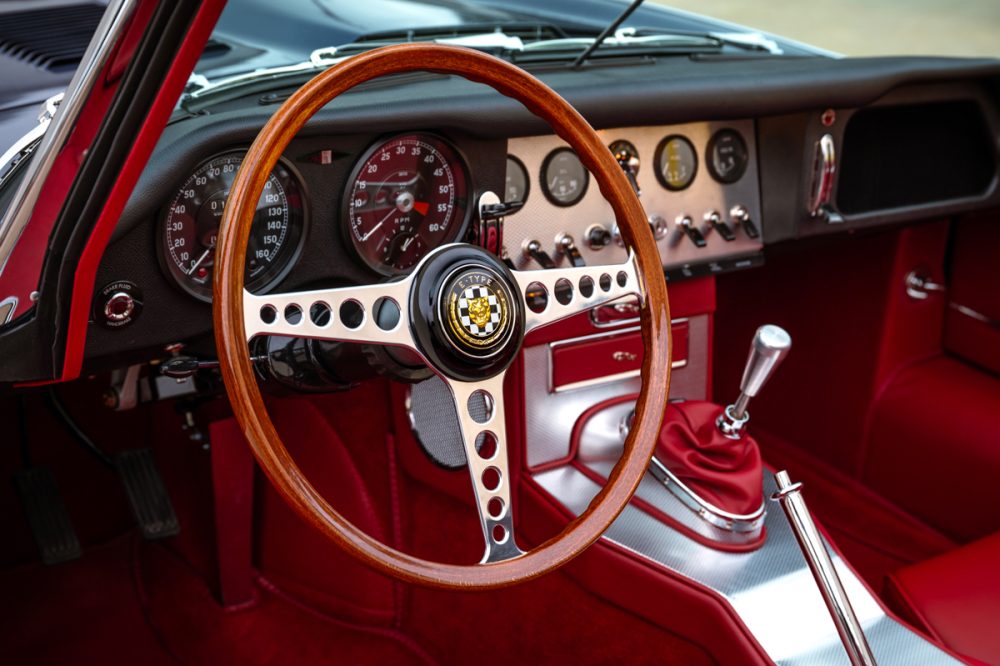
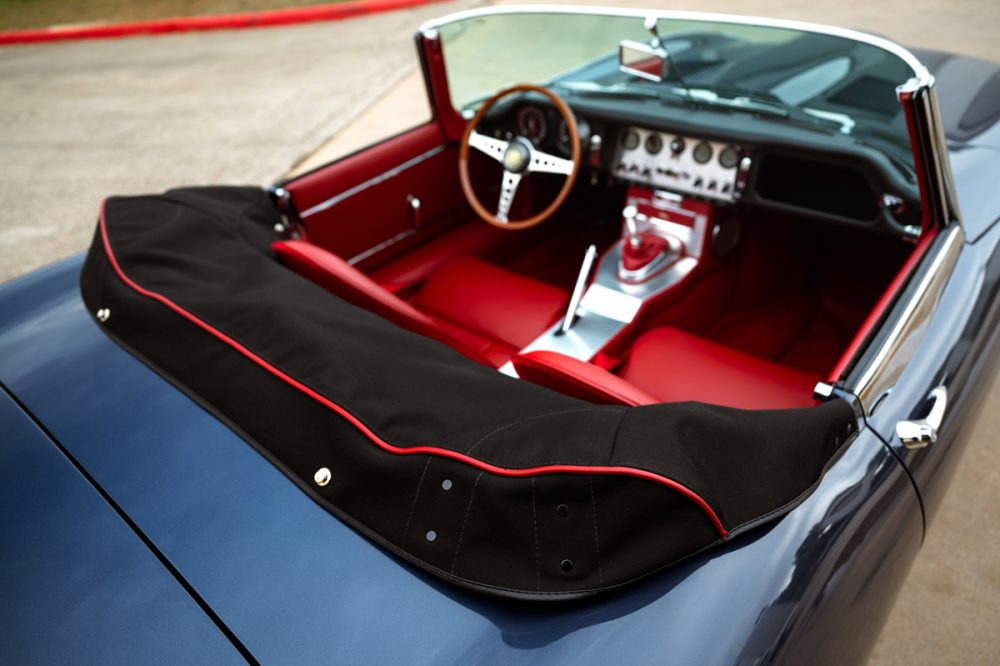
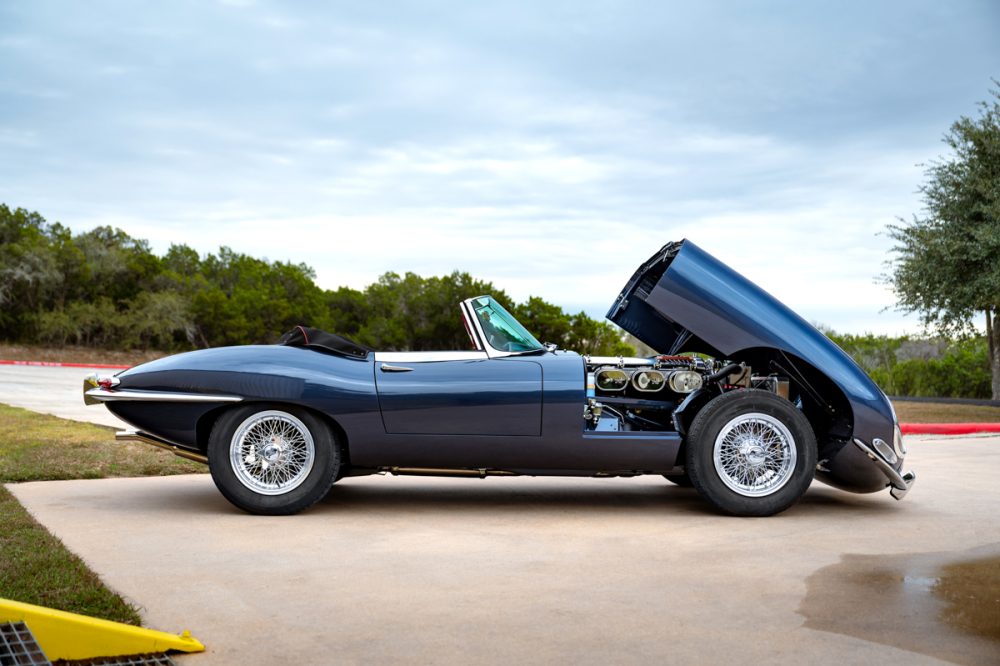
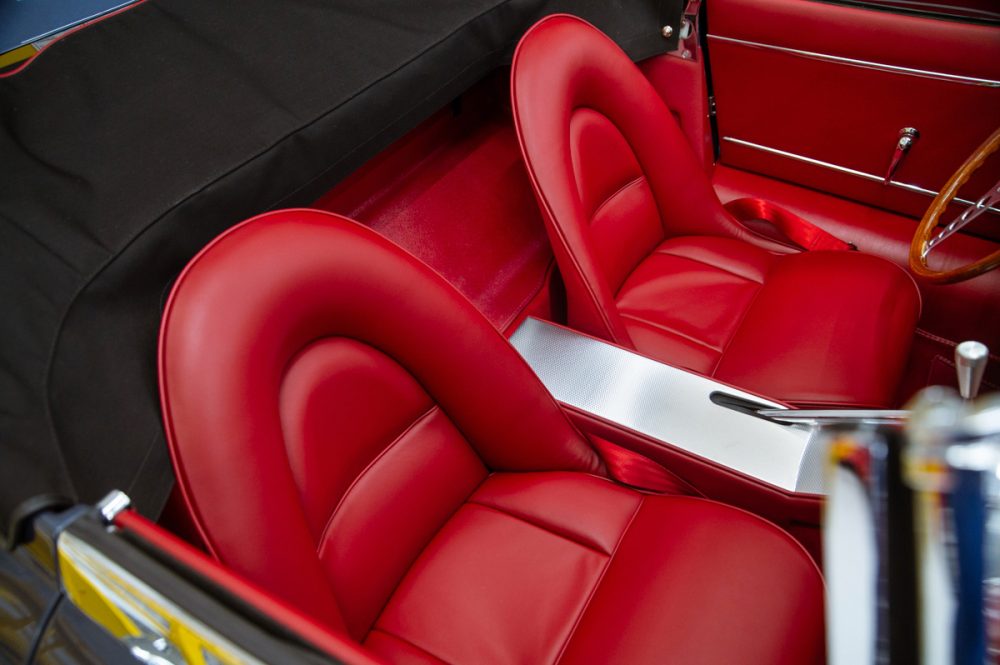
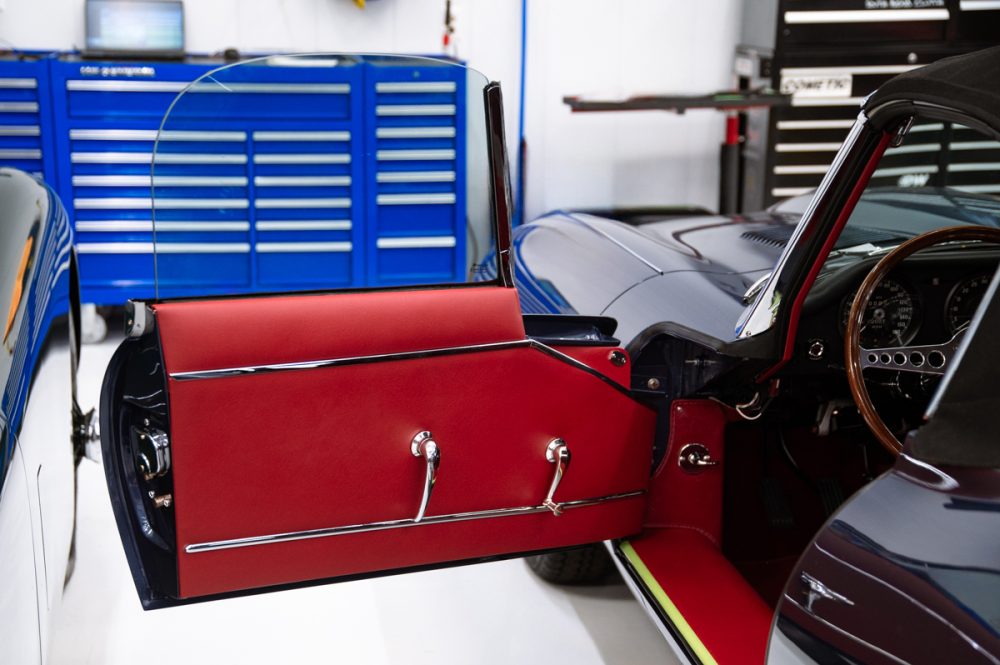
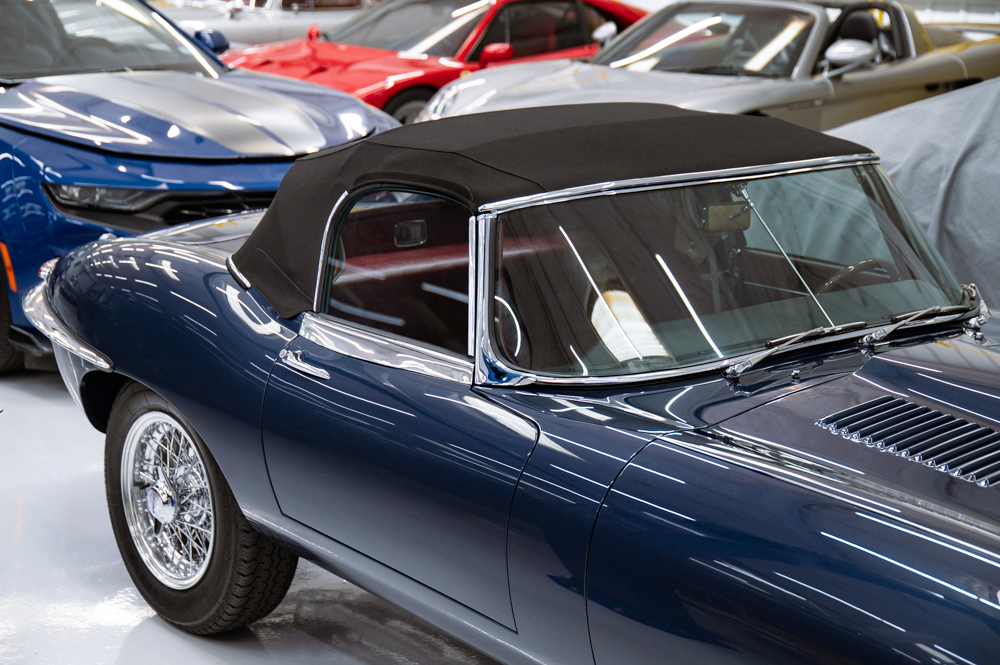
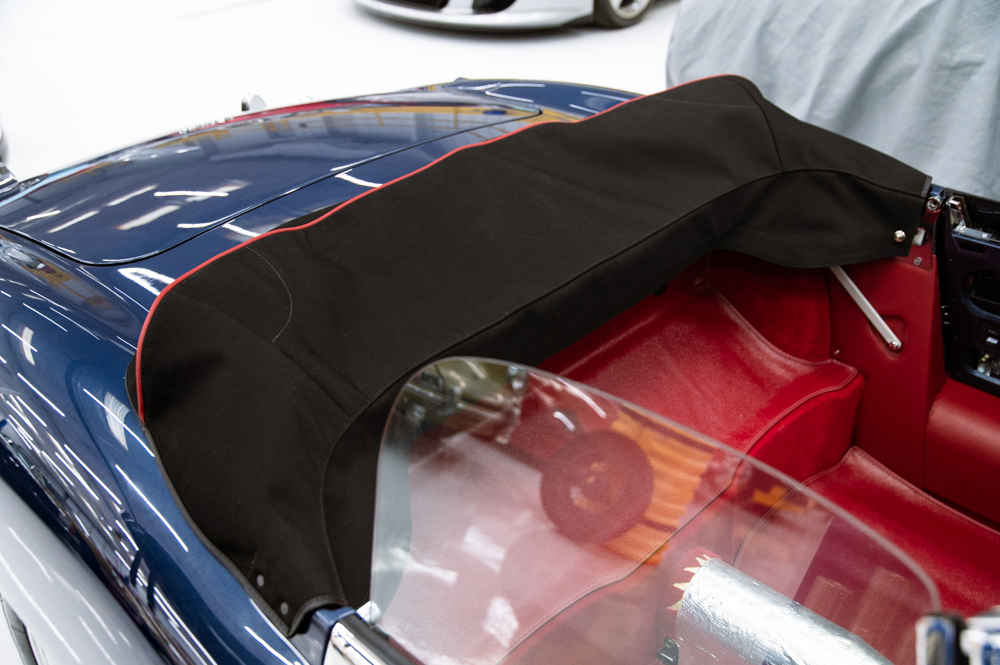
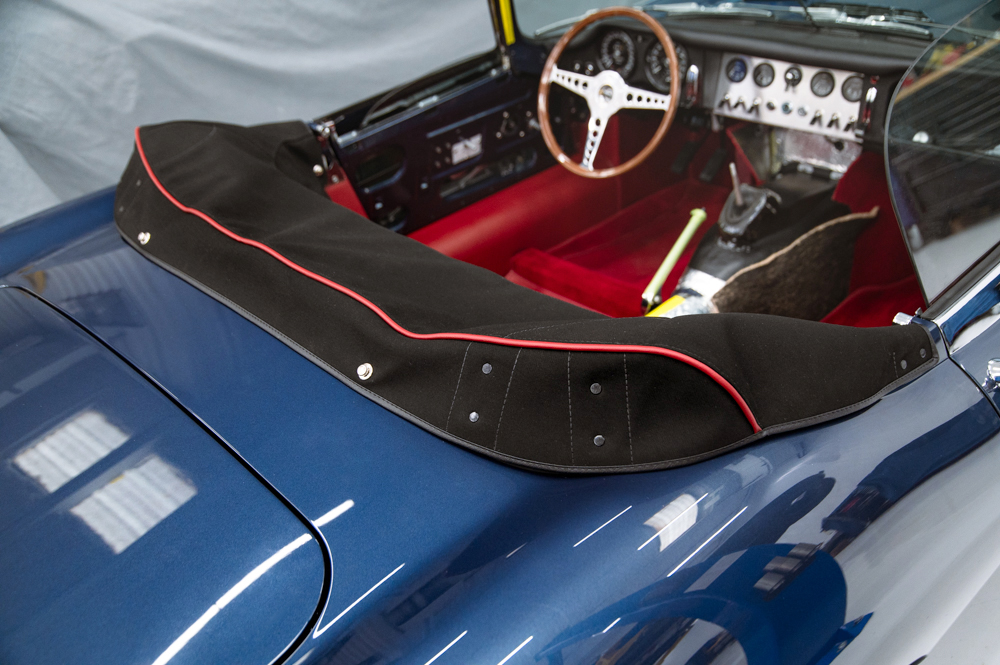
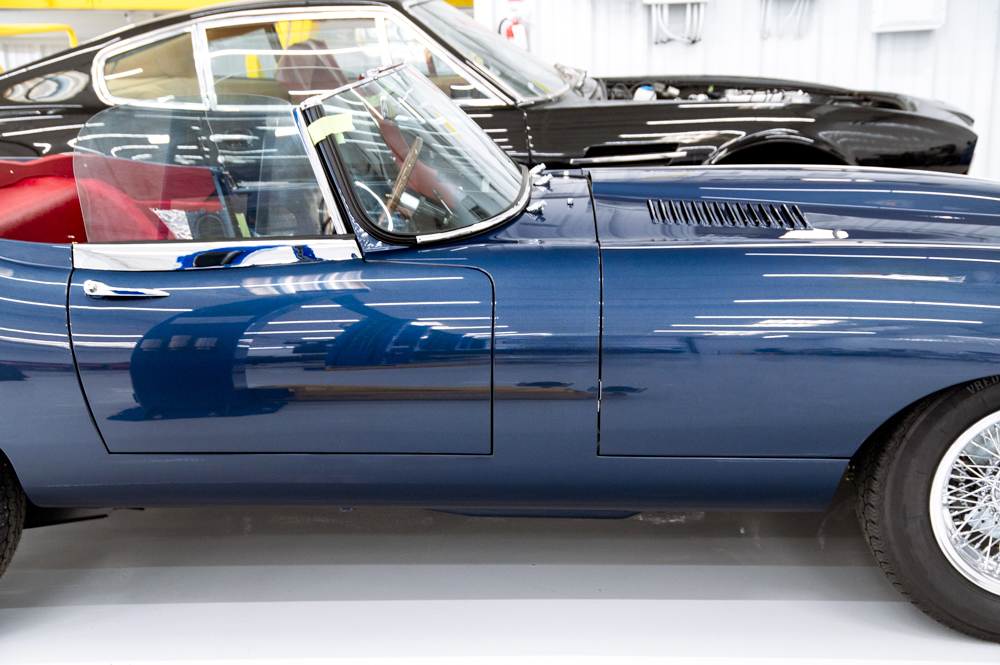
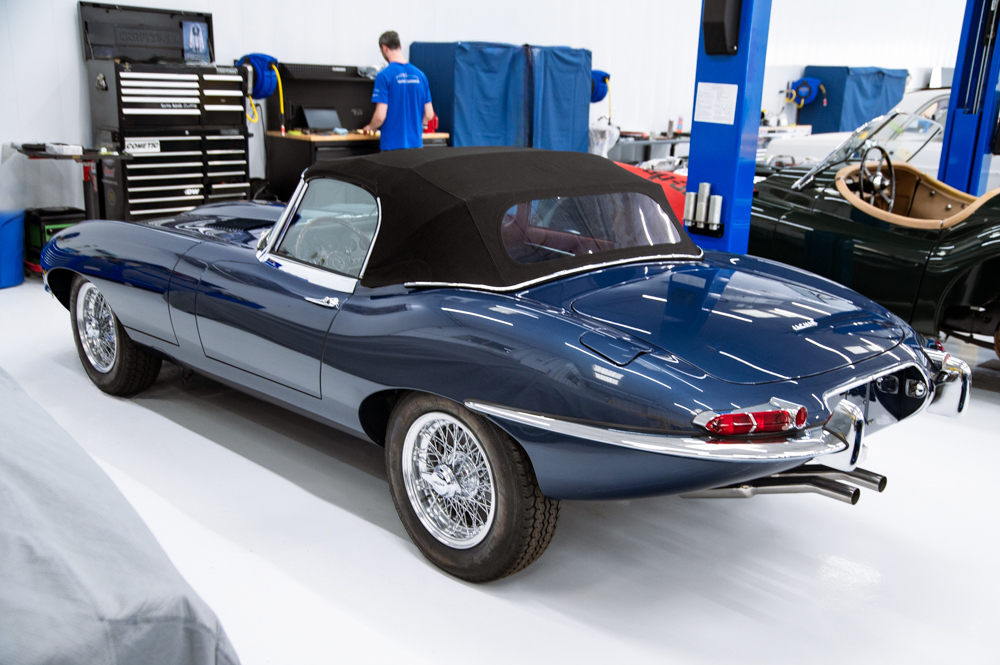
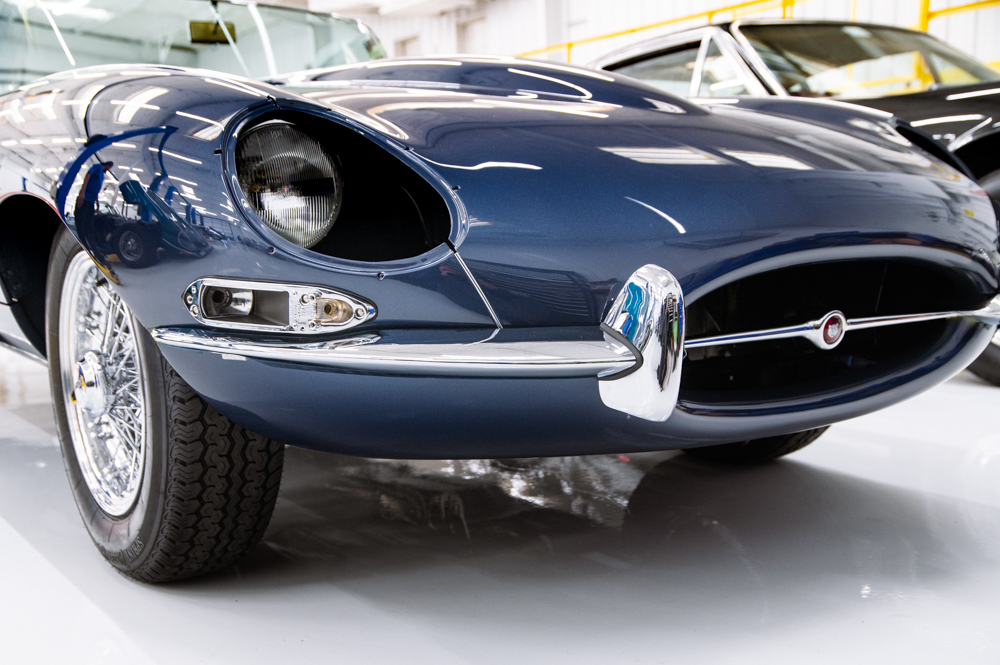
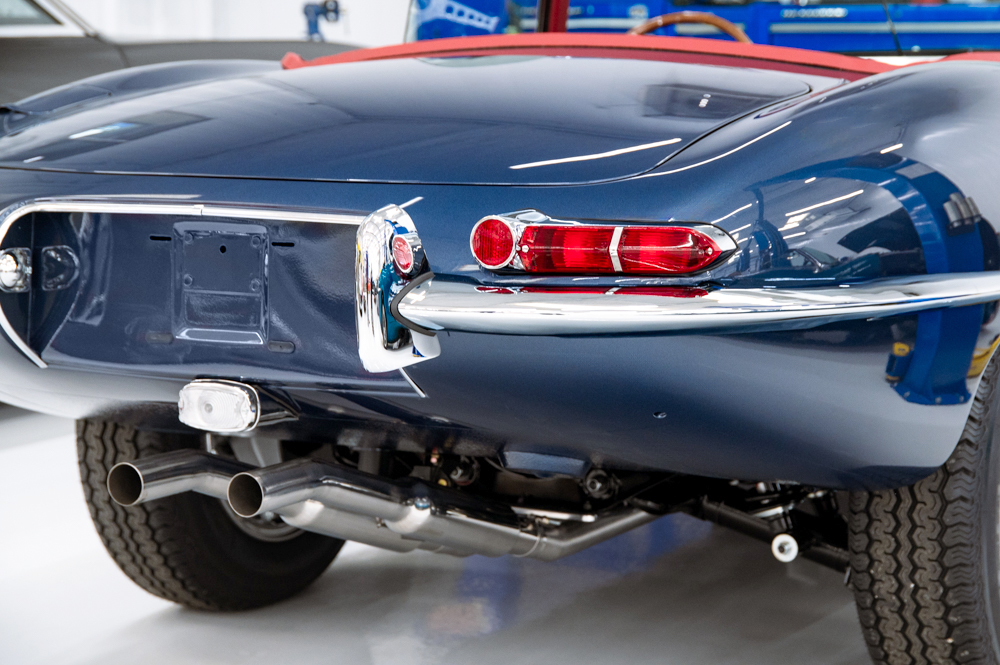
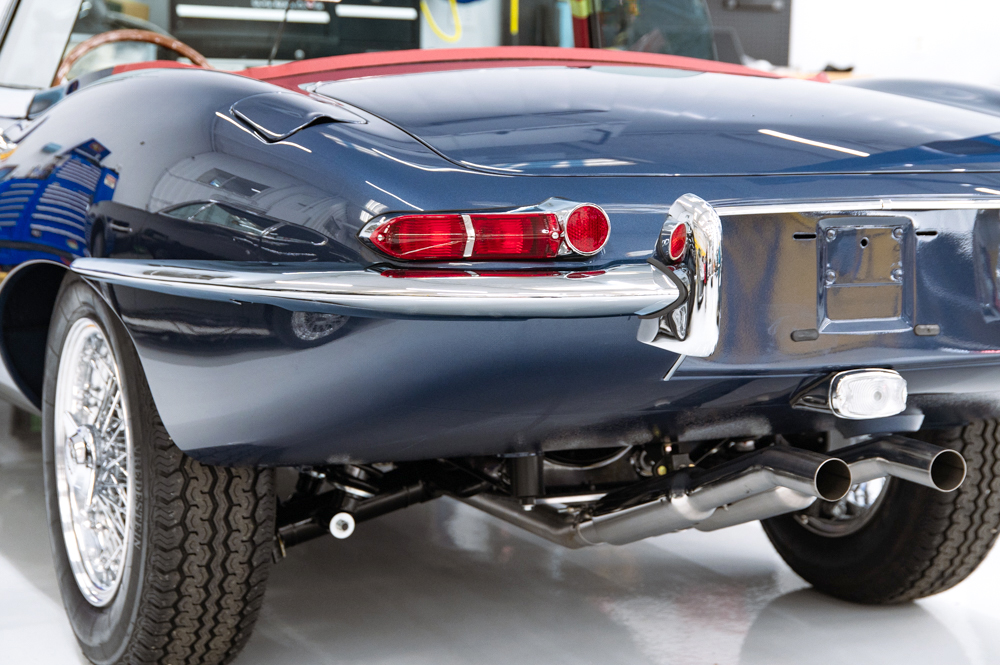
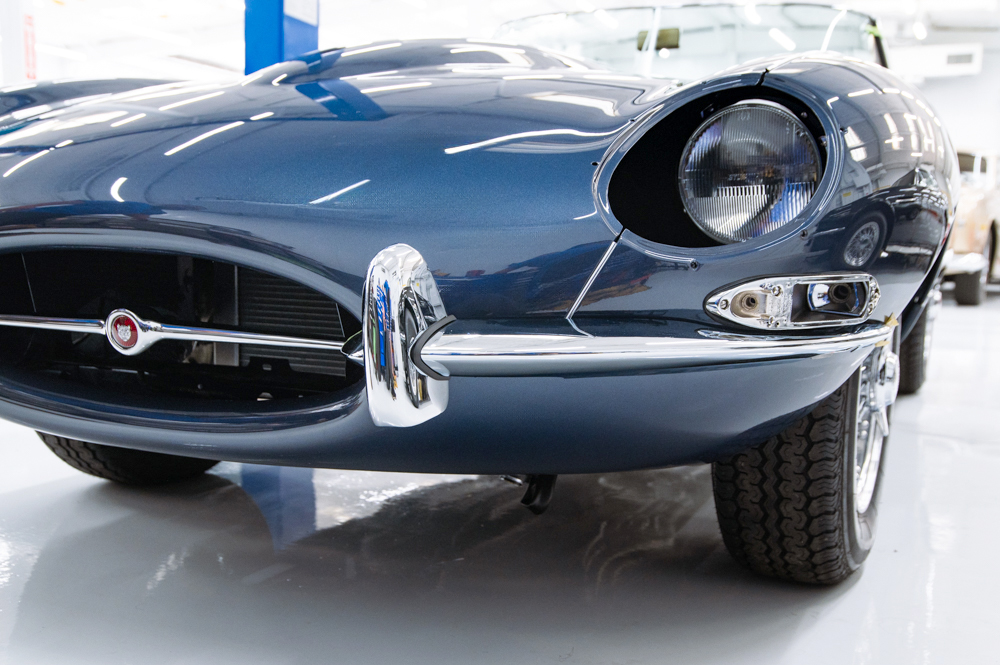
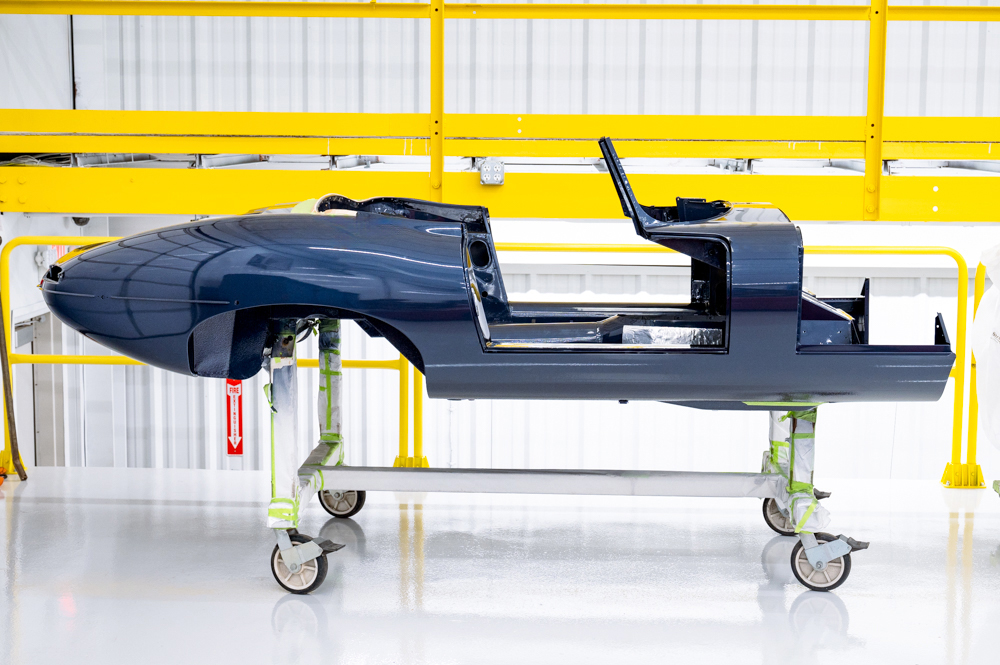
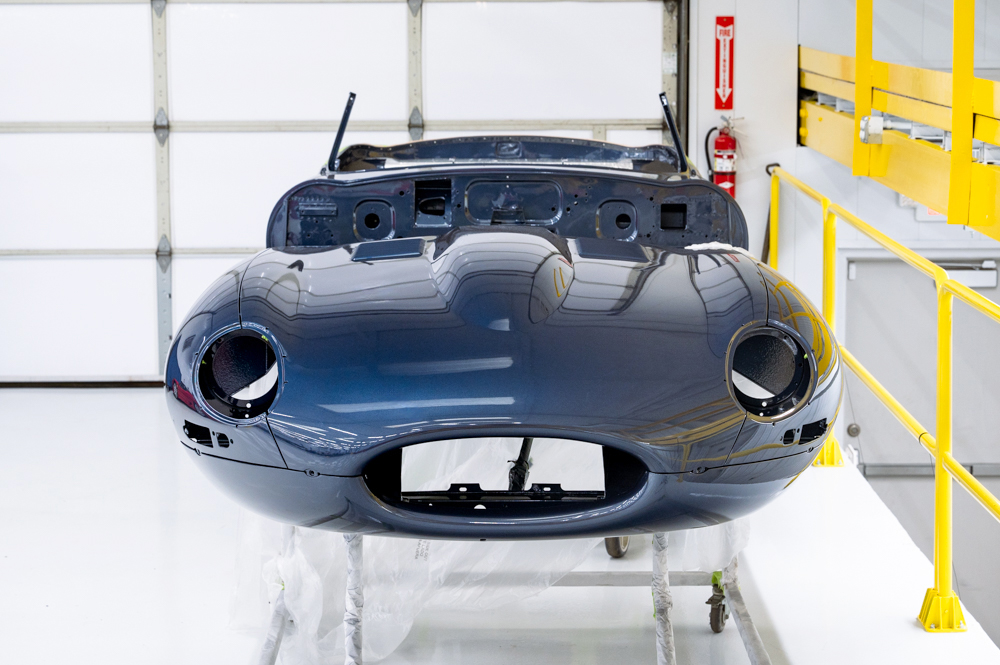
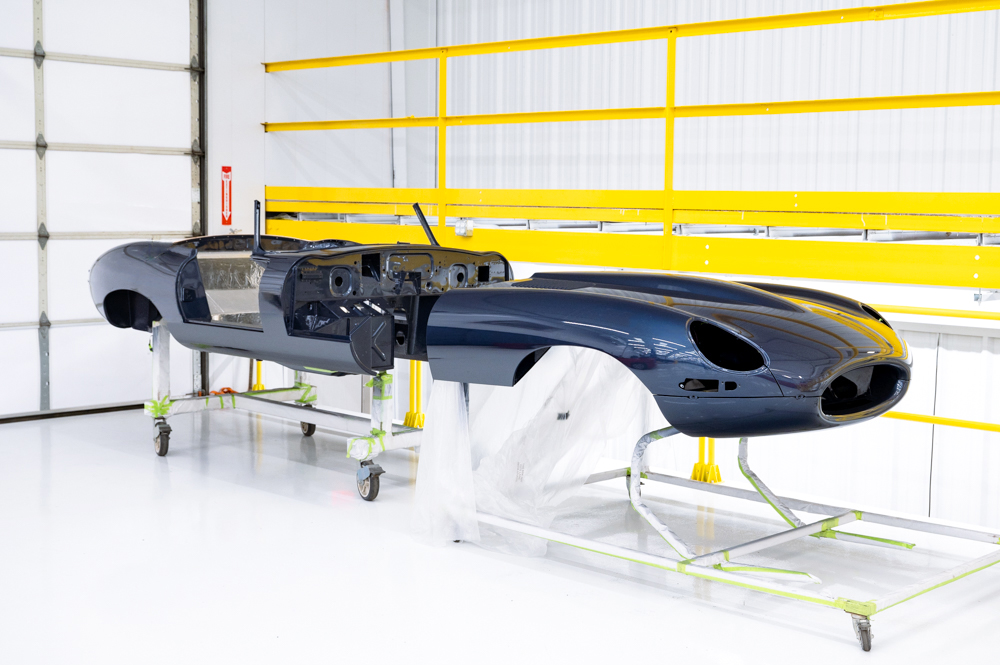
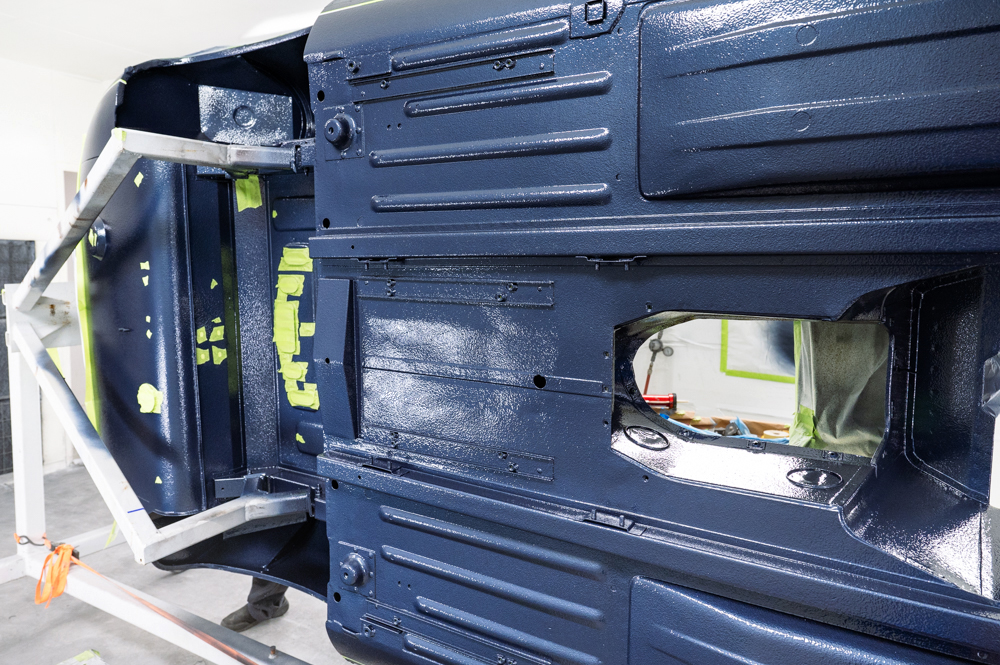
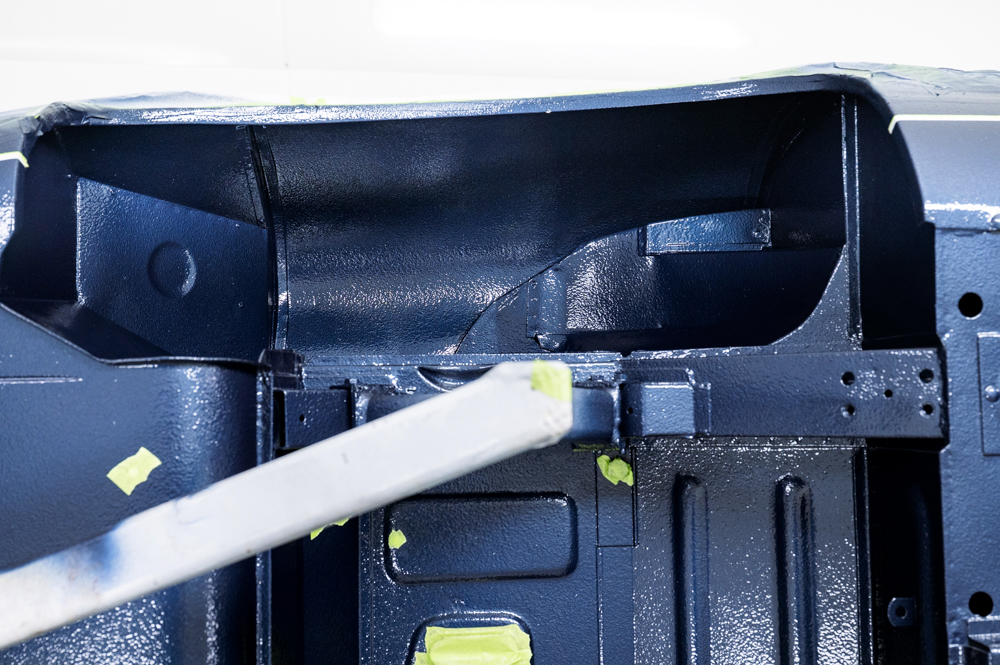
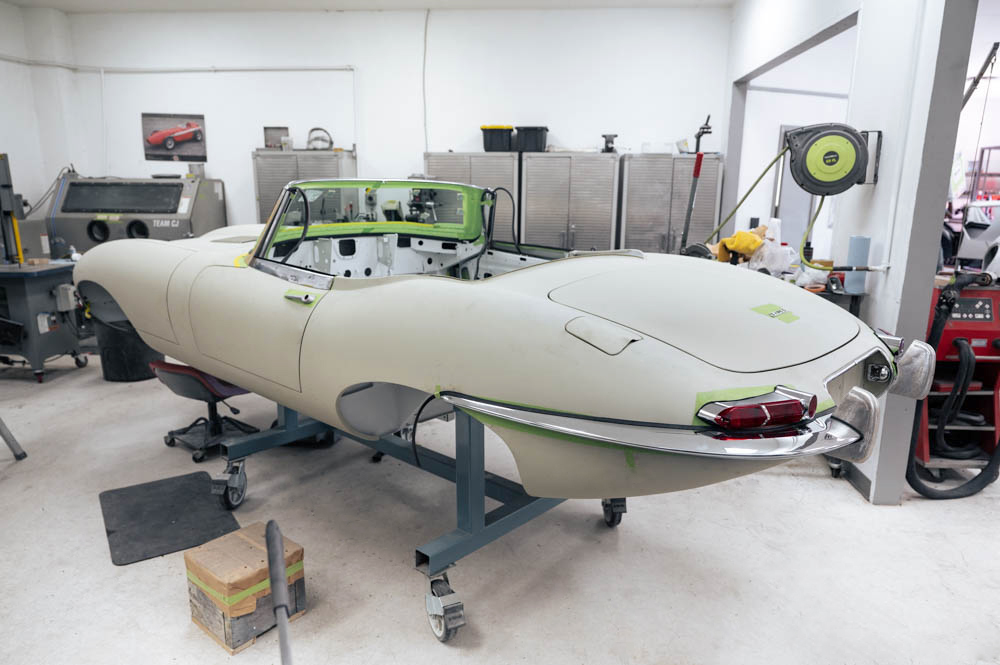
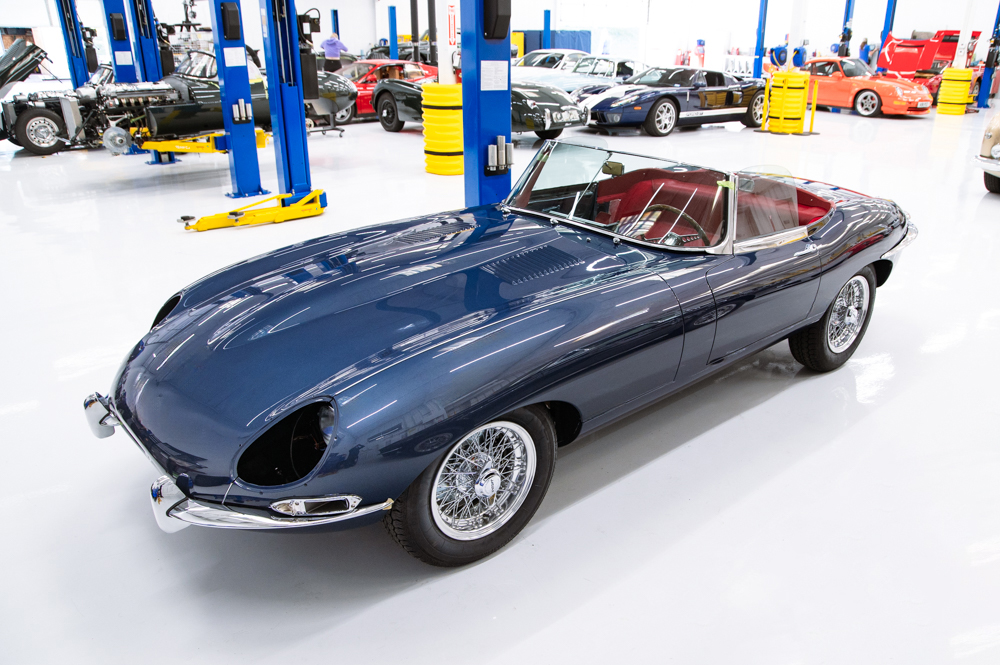
Total restoration to ultimate concours standards. This matching numbers roadster will be finished in Opalescent Dark Blue with red hides, complimented by a black mohair convertible top and (red) leather-fitted luggage.
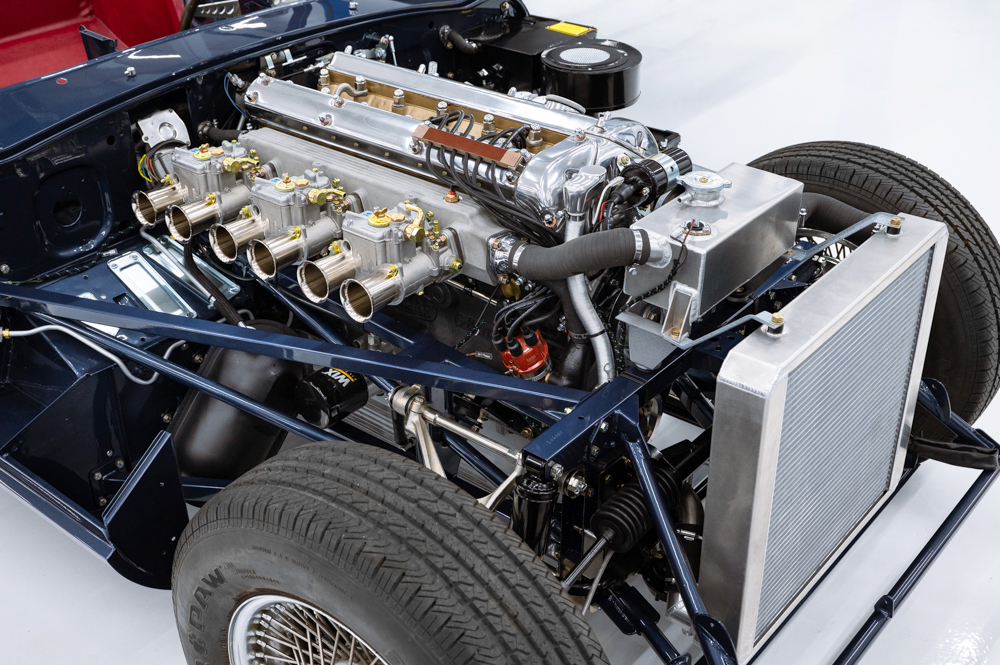
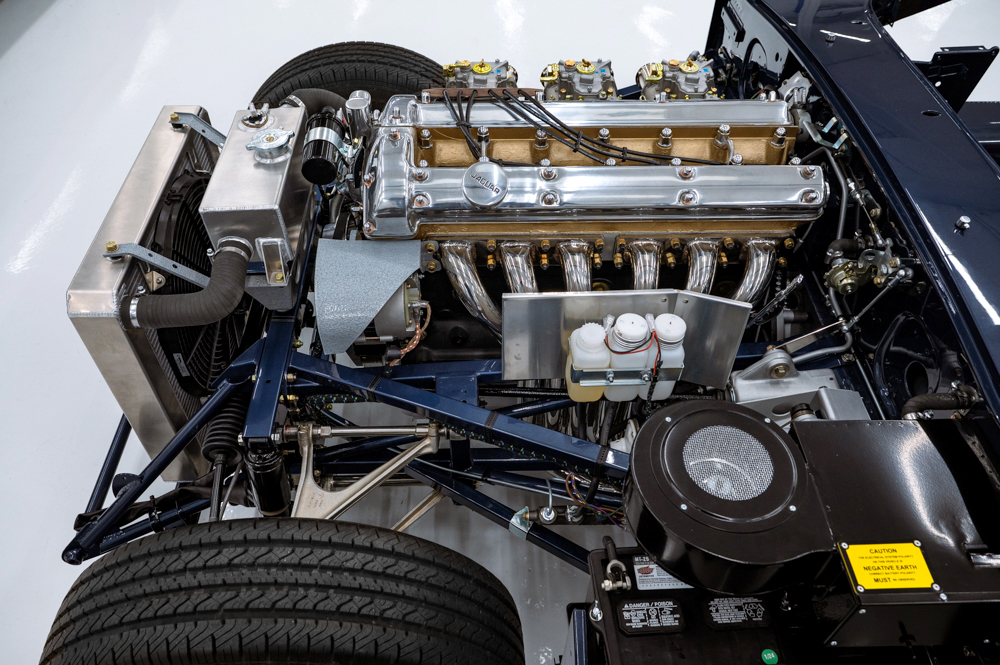
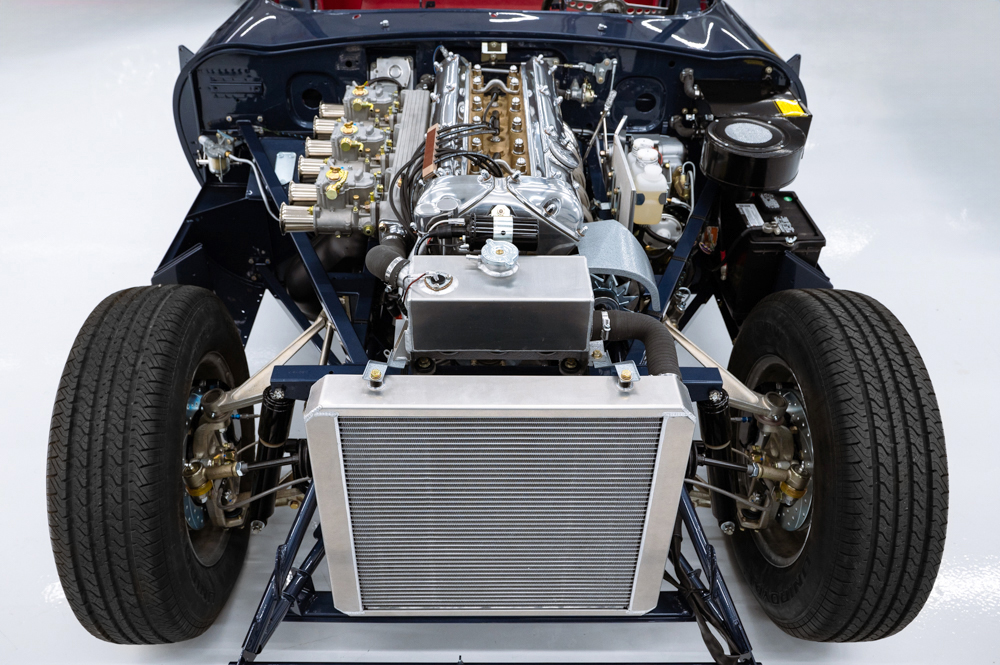
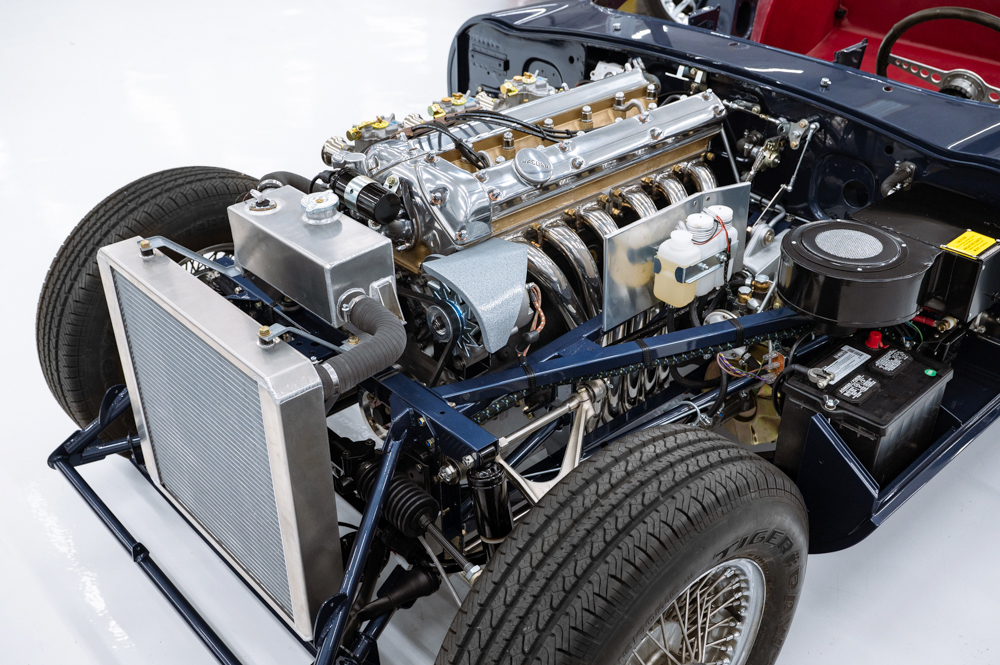
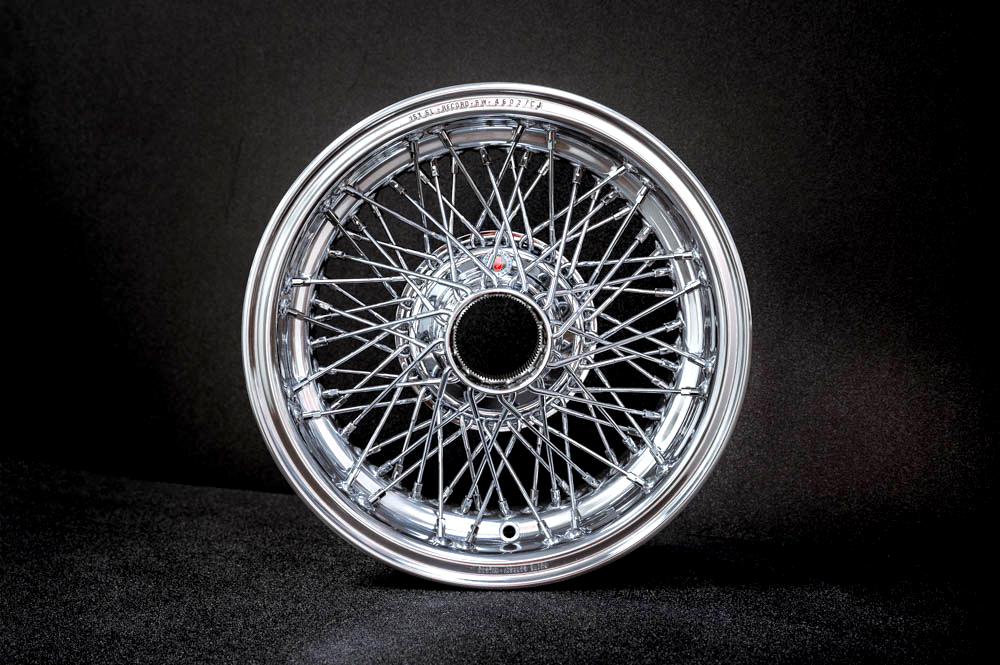
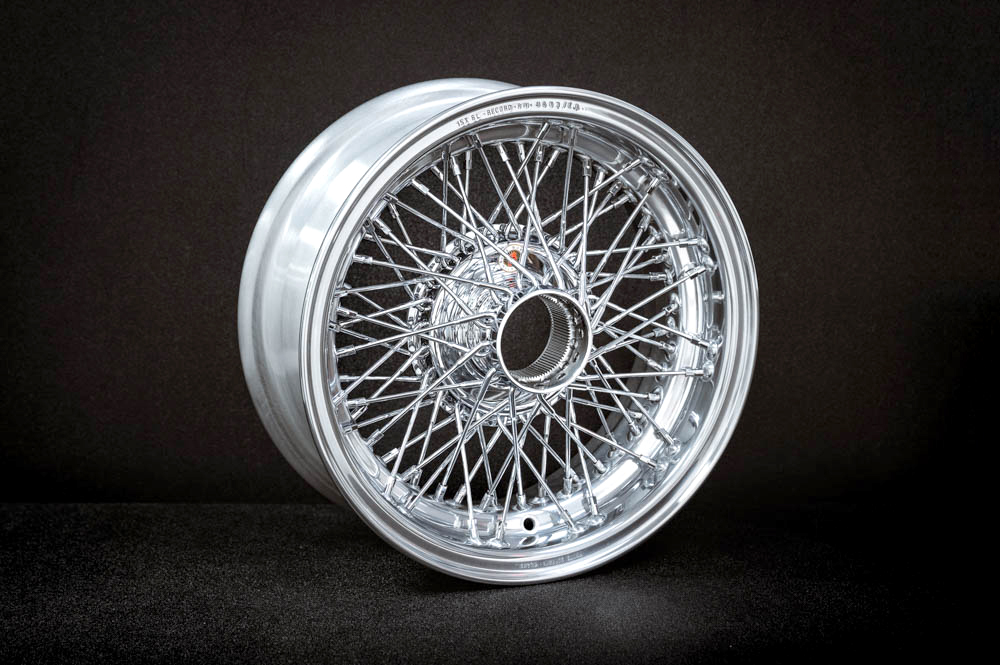
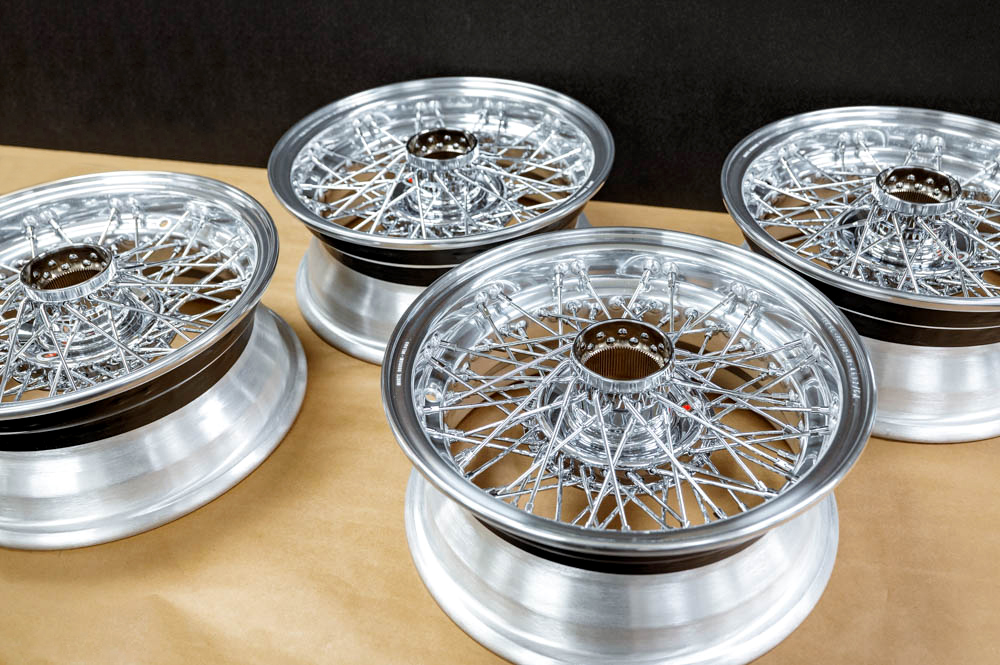
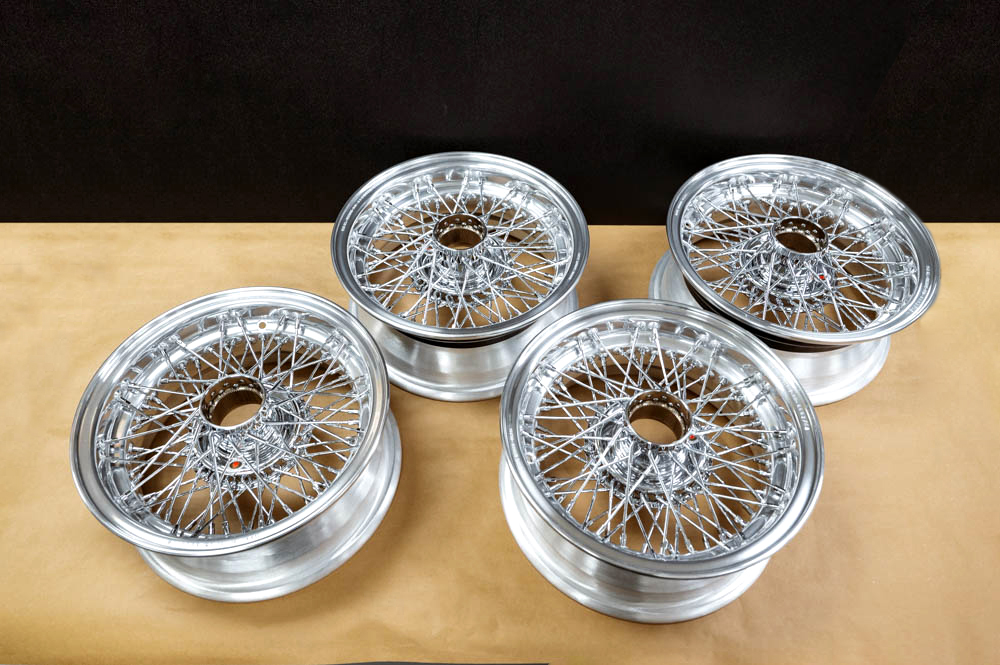
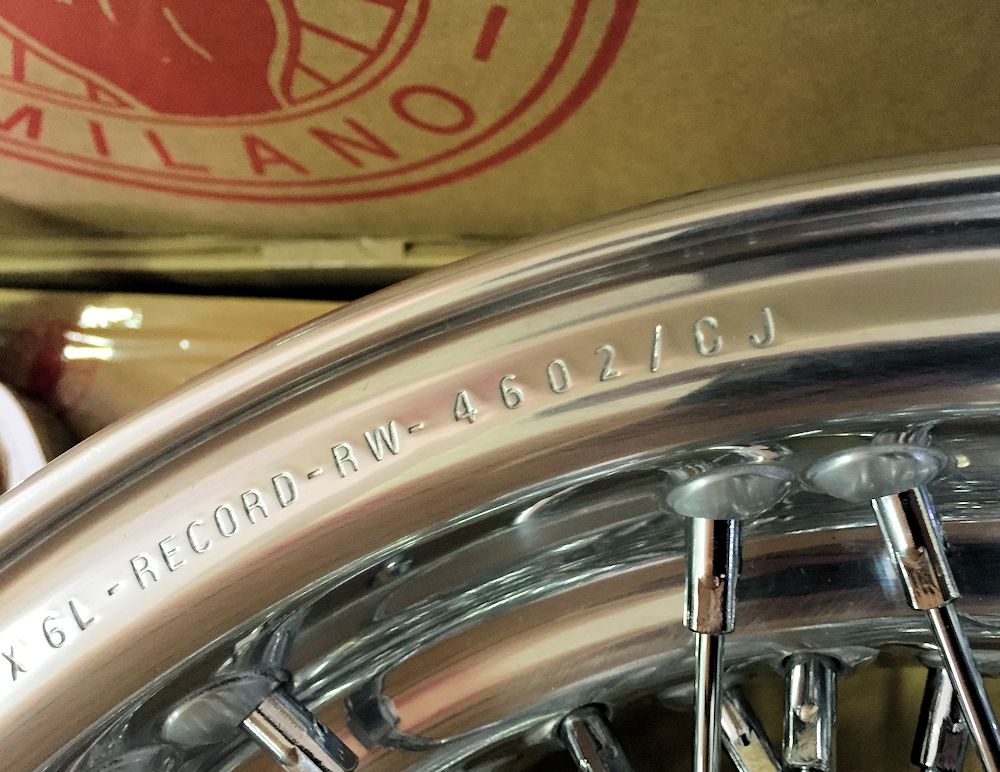
The car will feature some mild performance and reliability upgrades, including a Stage One engine, upgraded cooling and ignition systems and exclusive CJ Borrani wire wheels.
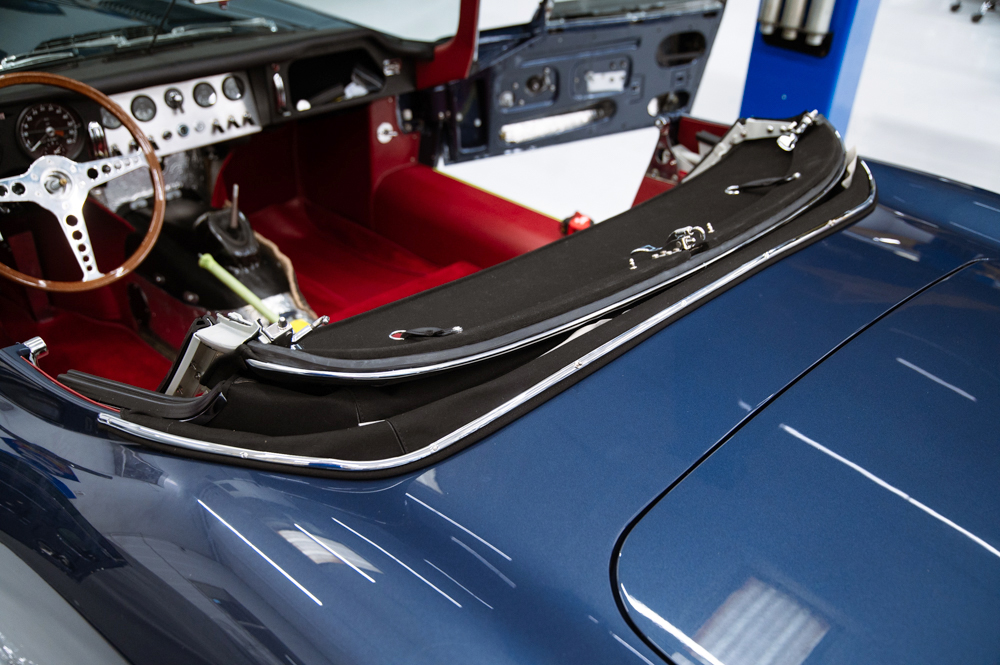
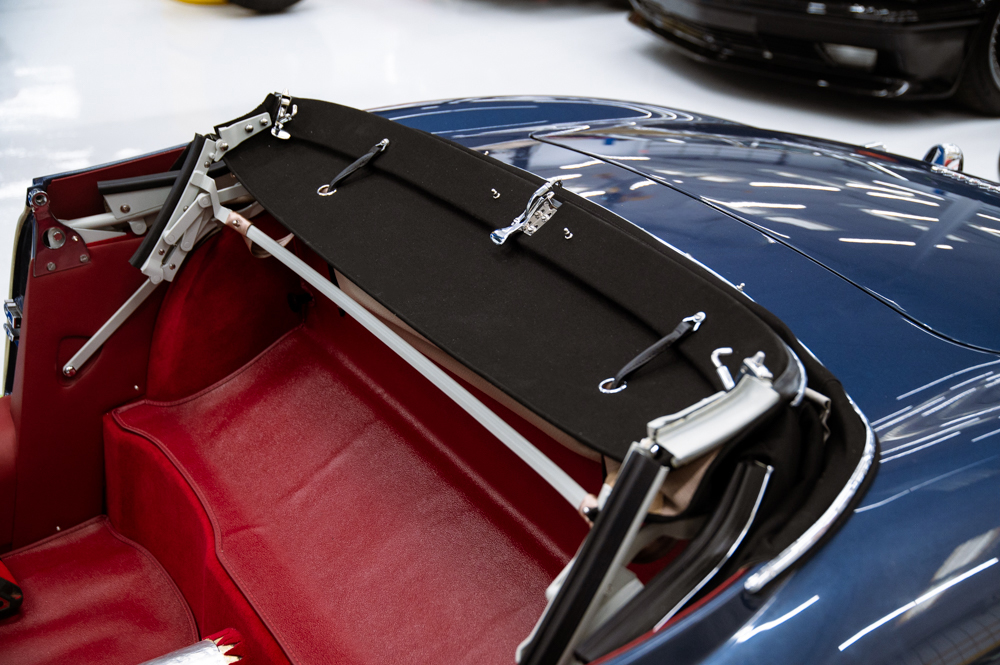
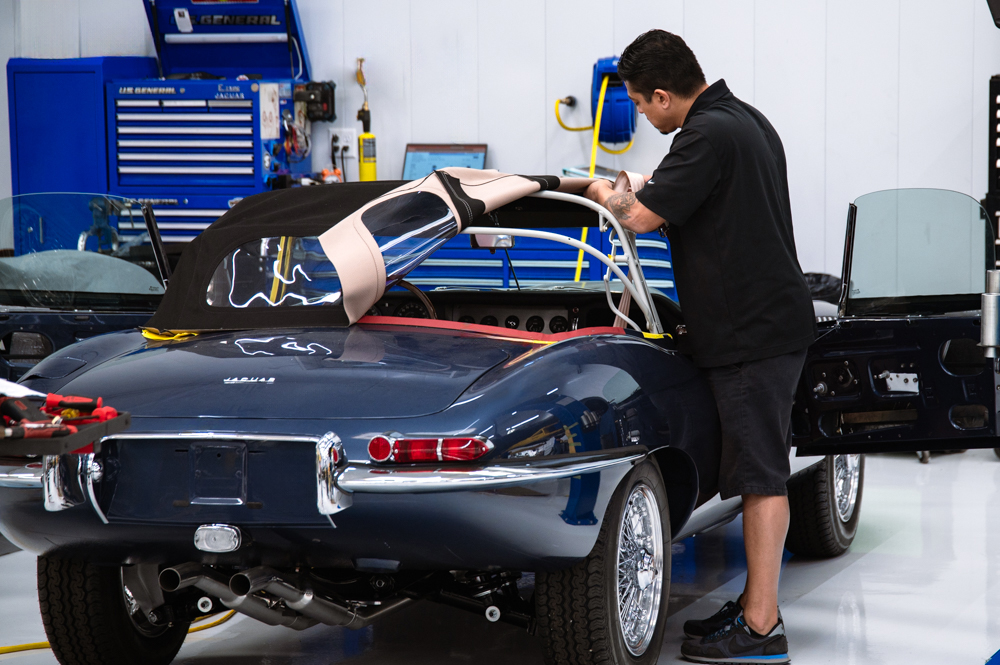
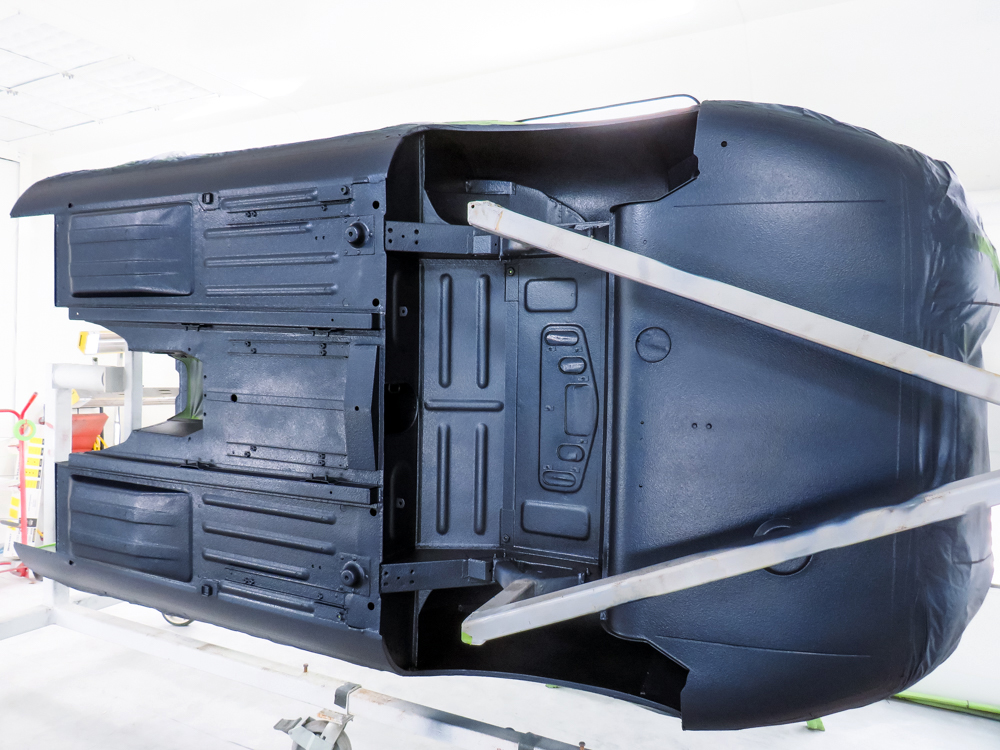
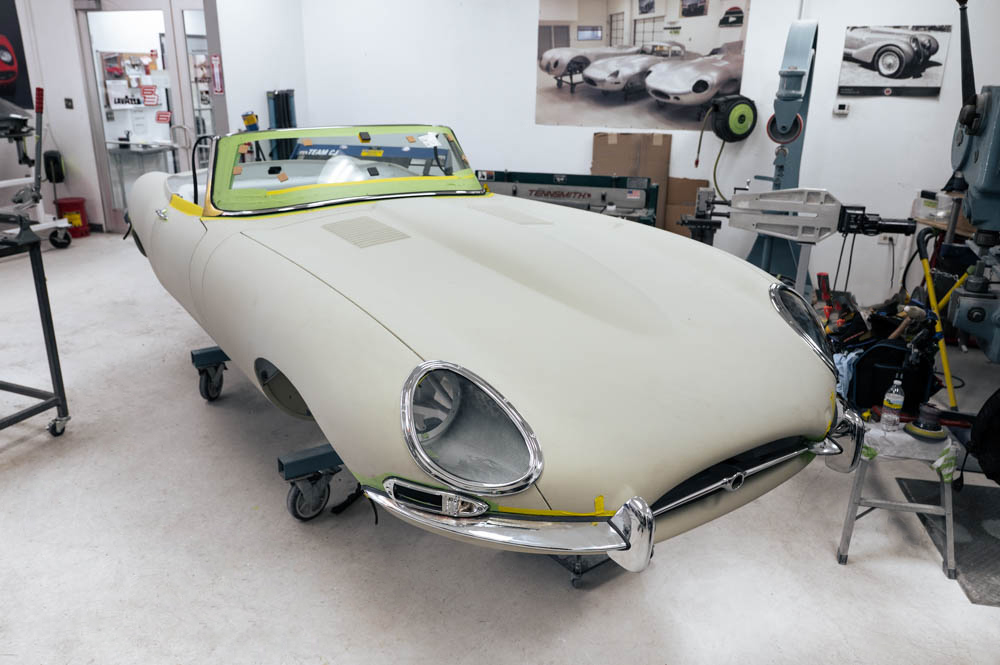
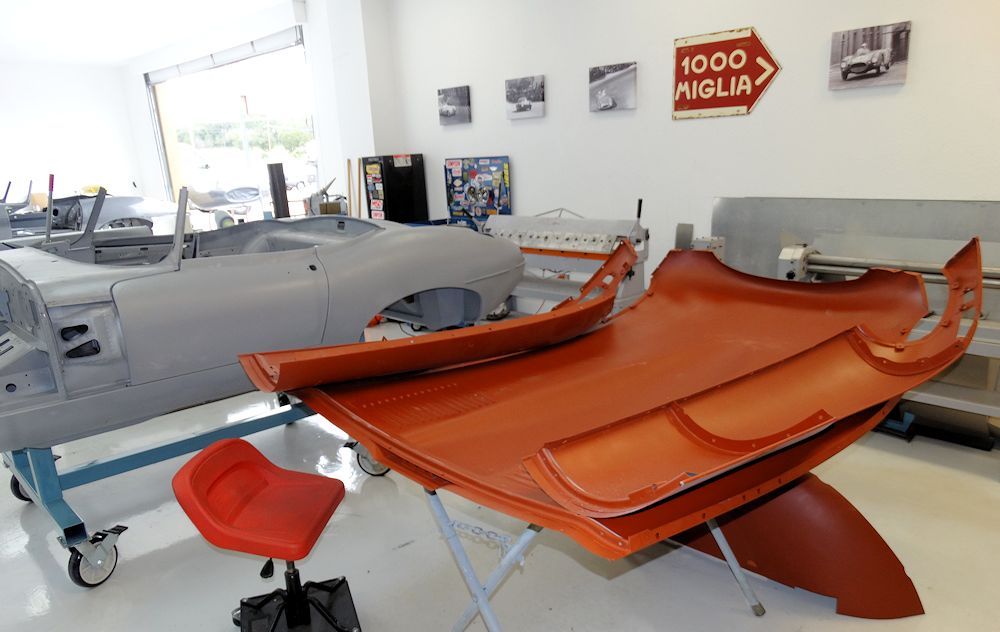
Convertible top complete
April 24, 2024
April 24, 2024
April 24, 2024
April 24, 2024
April 24, 2024
April 24, 2024
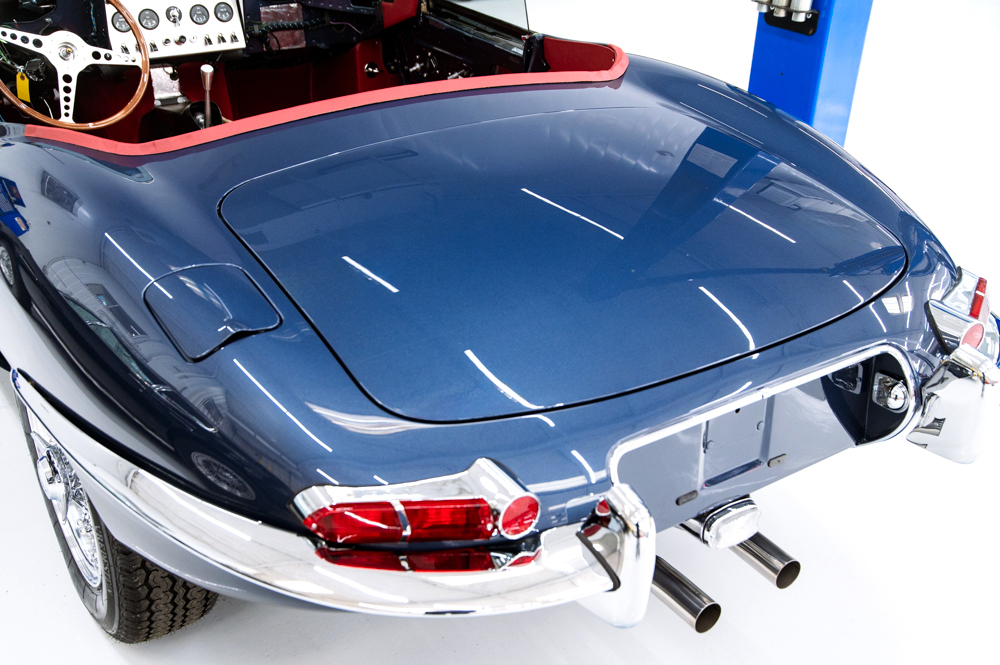
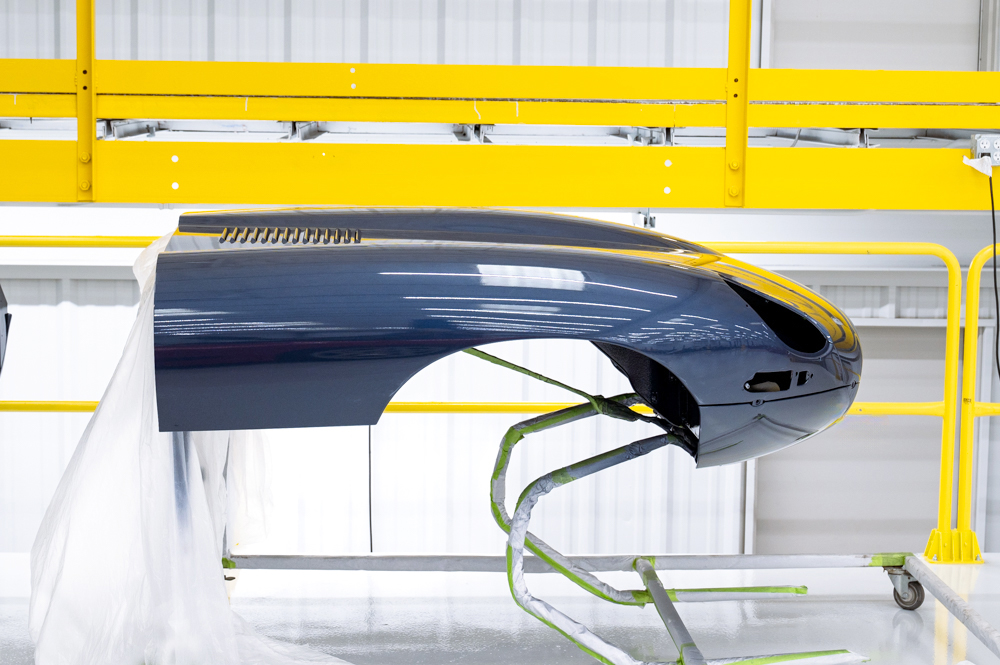
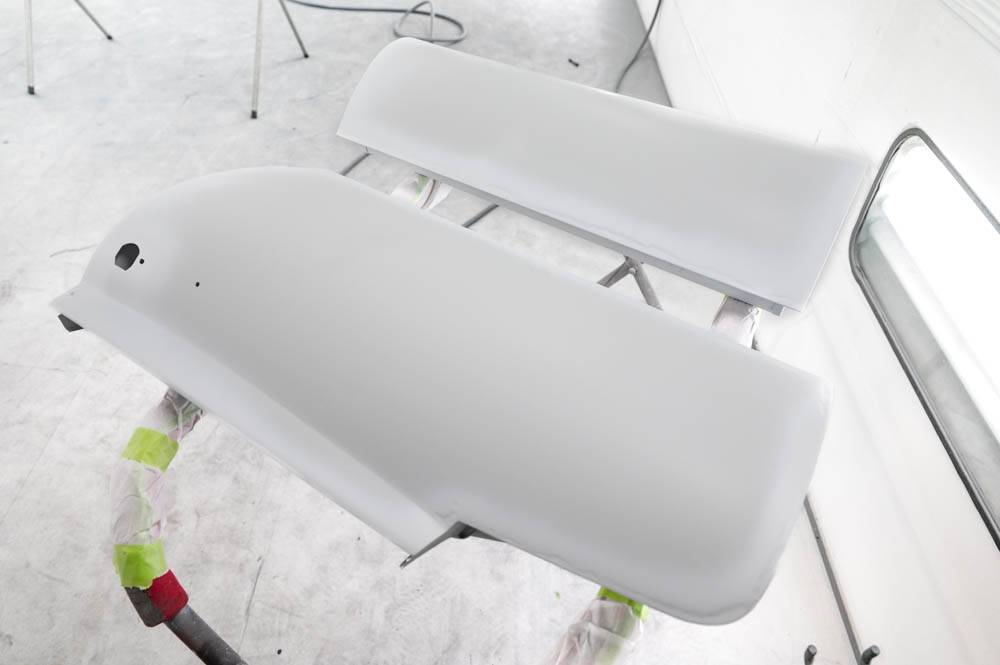
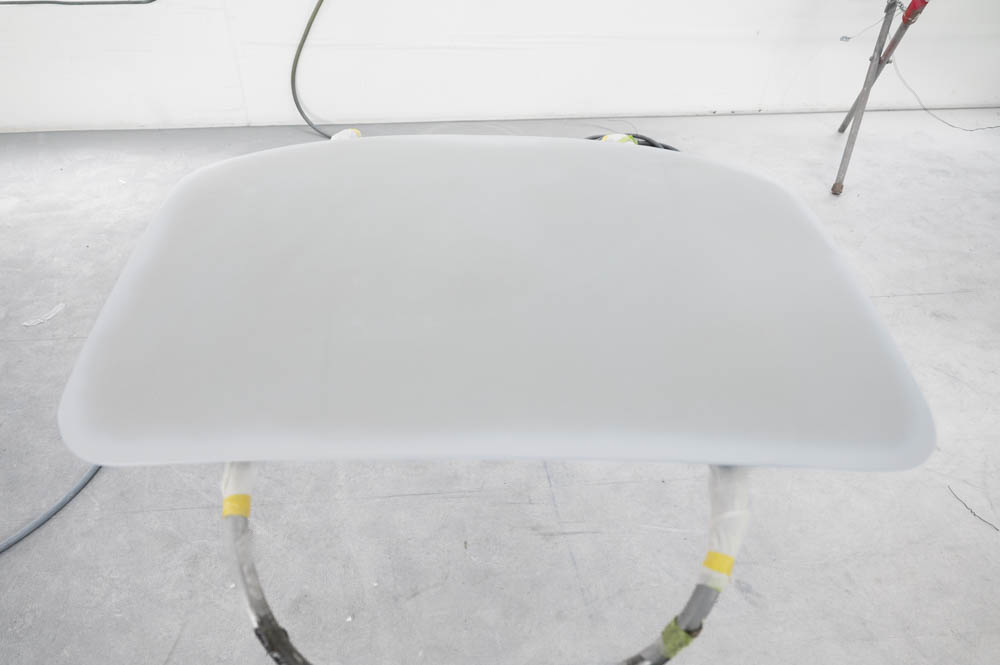
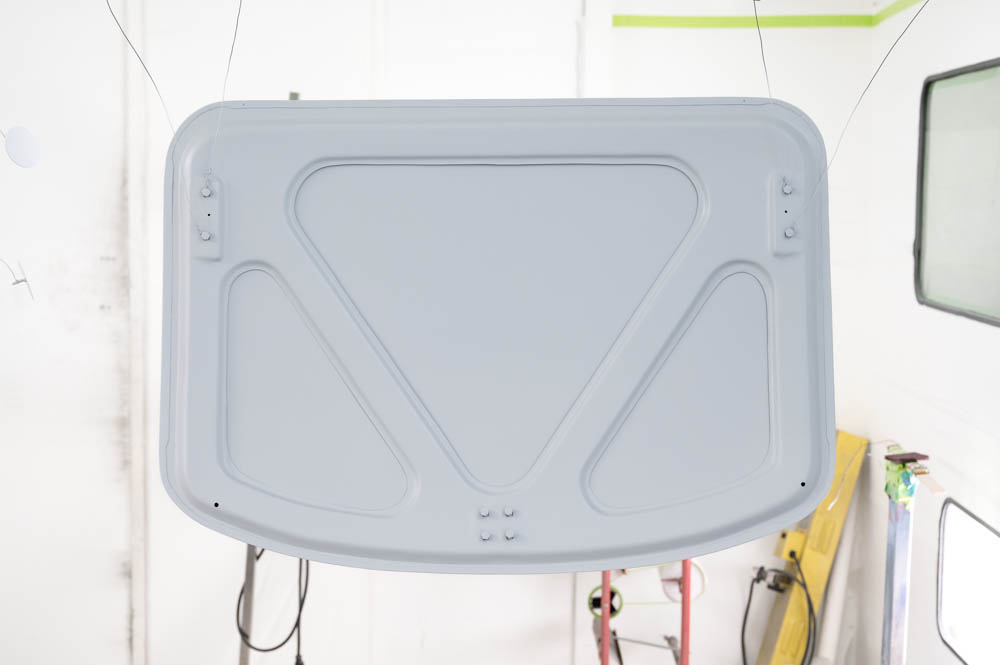
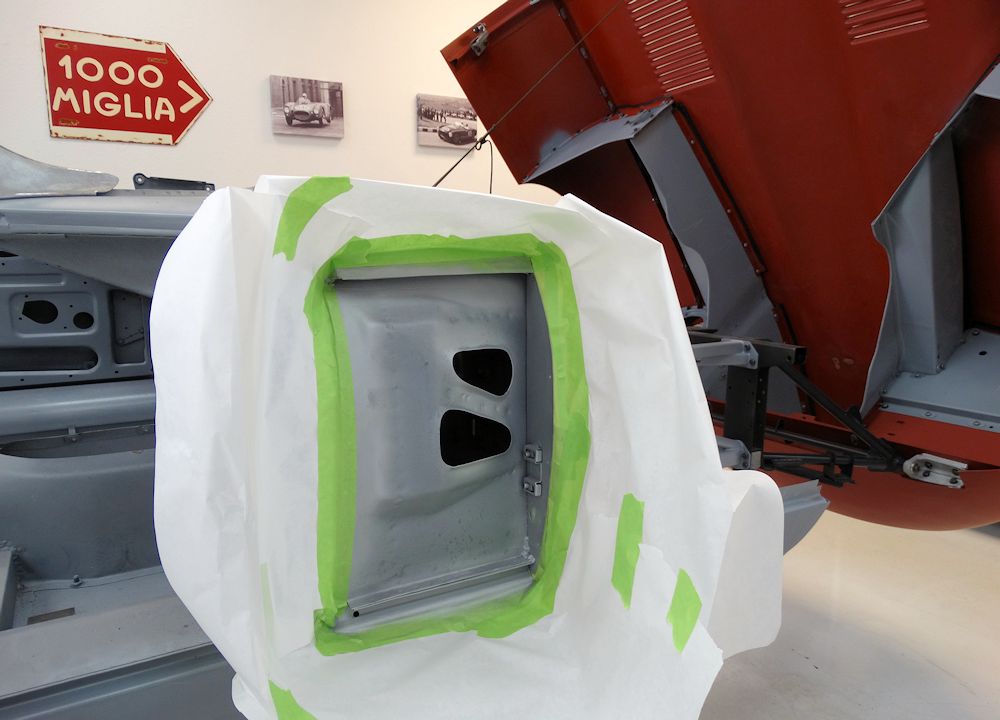
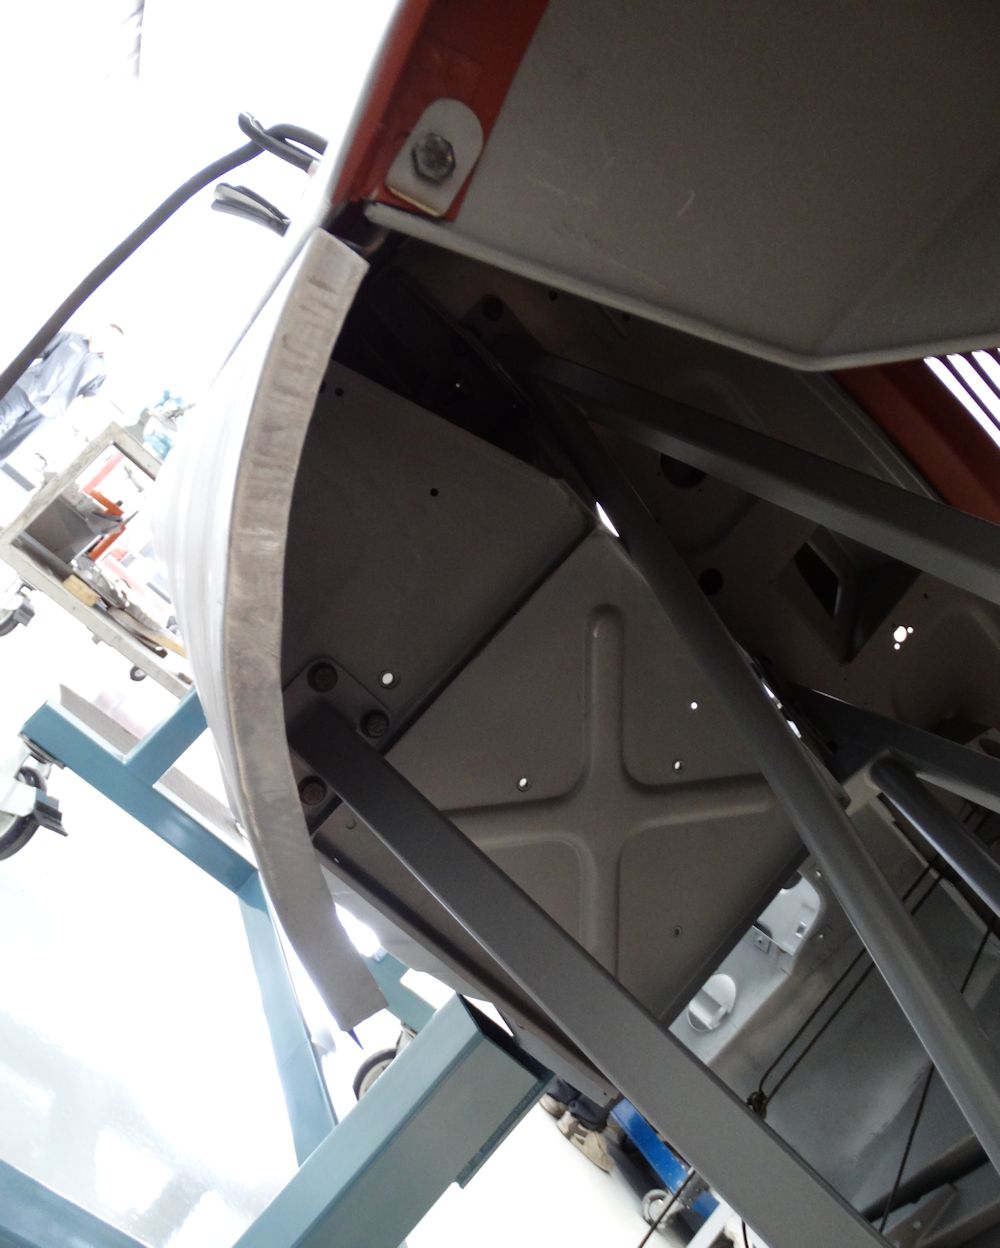
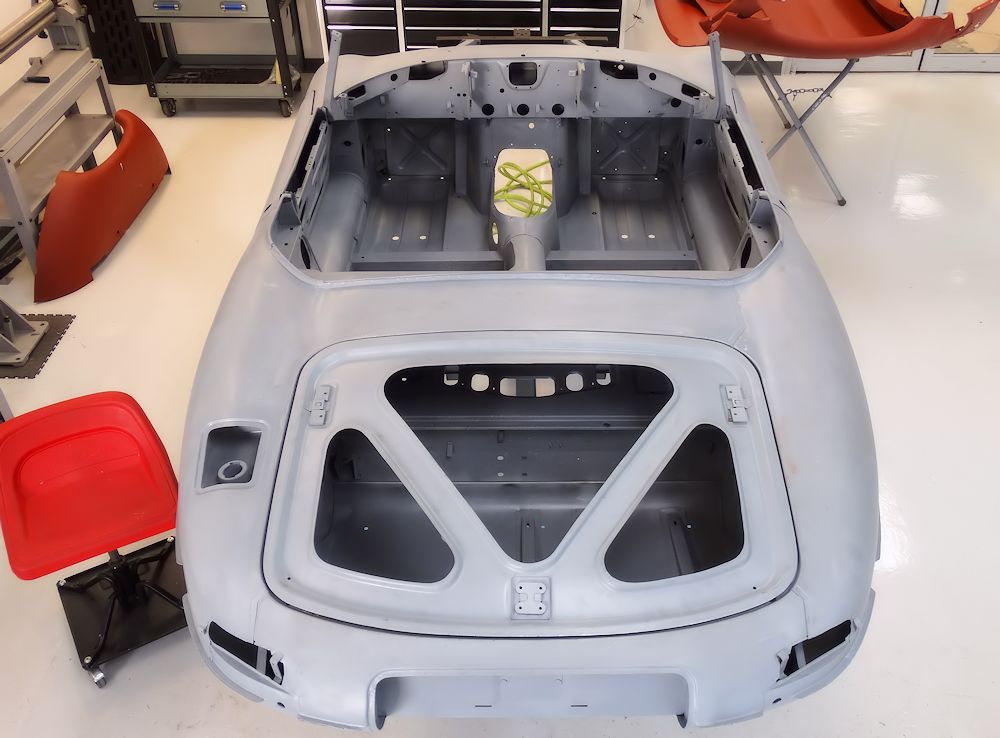
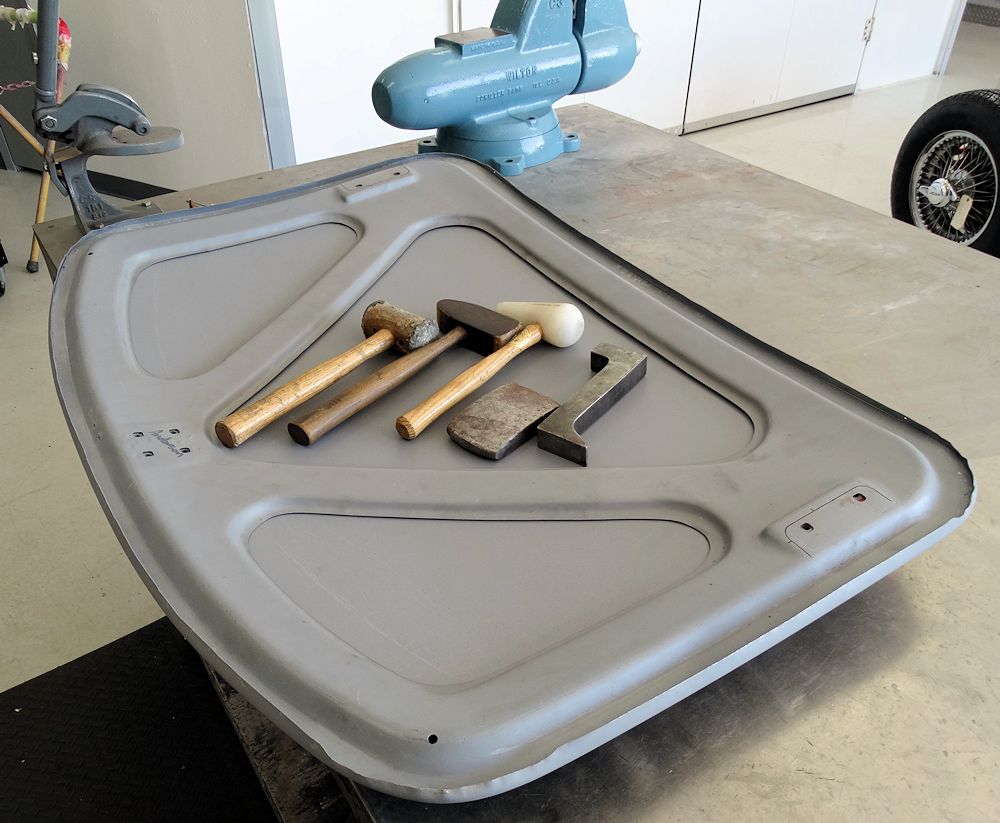
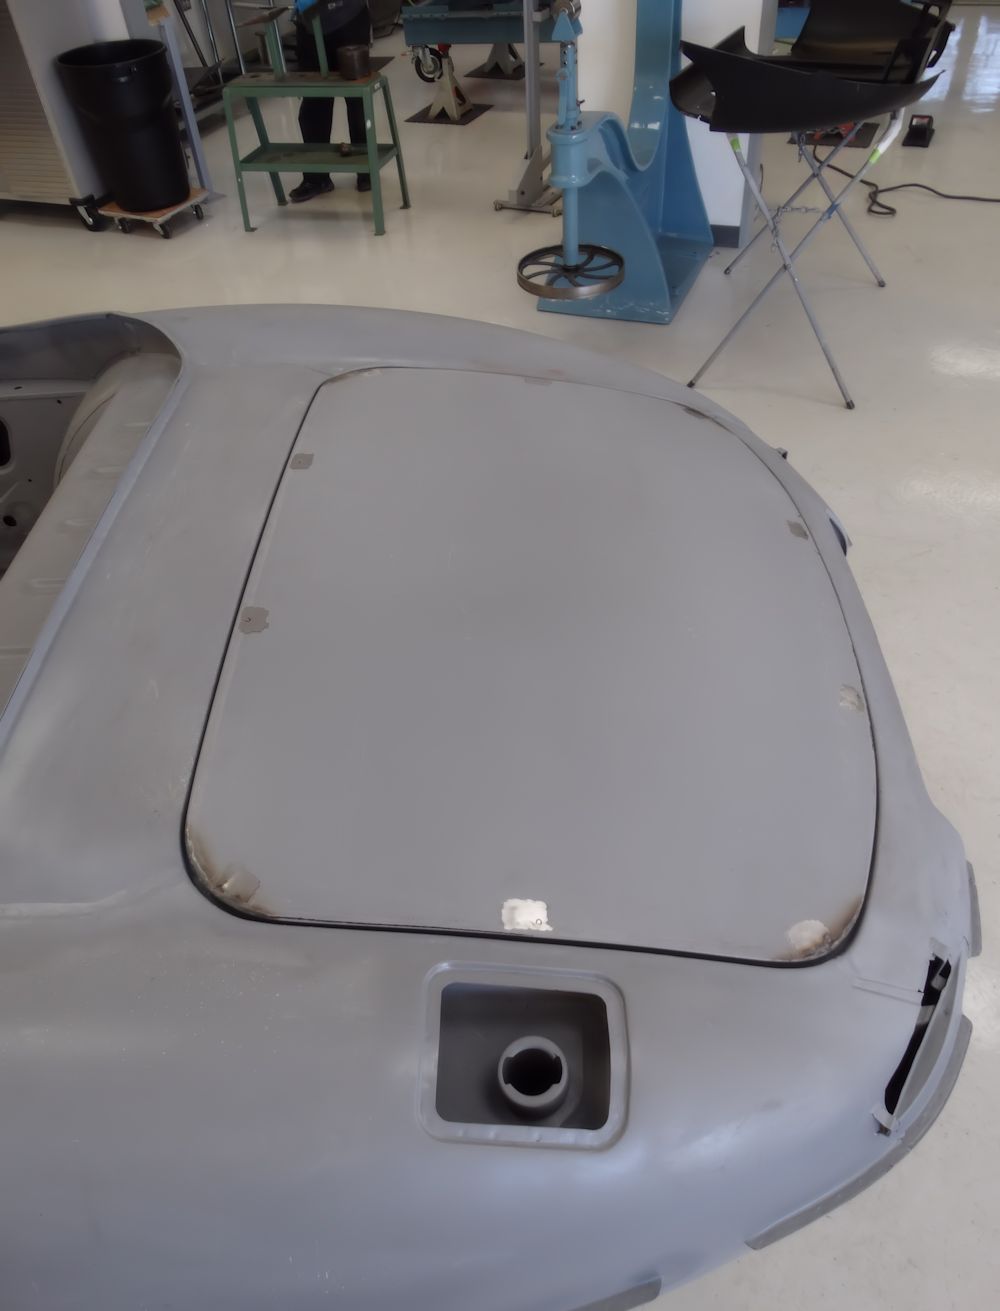
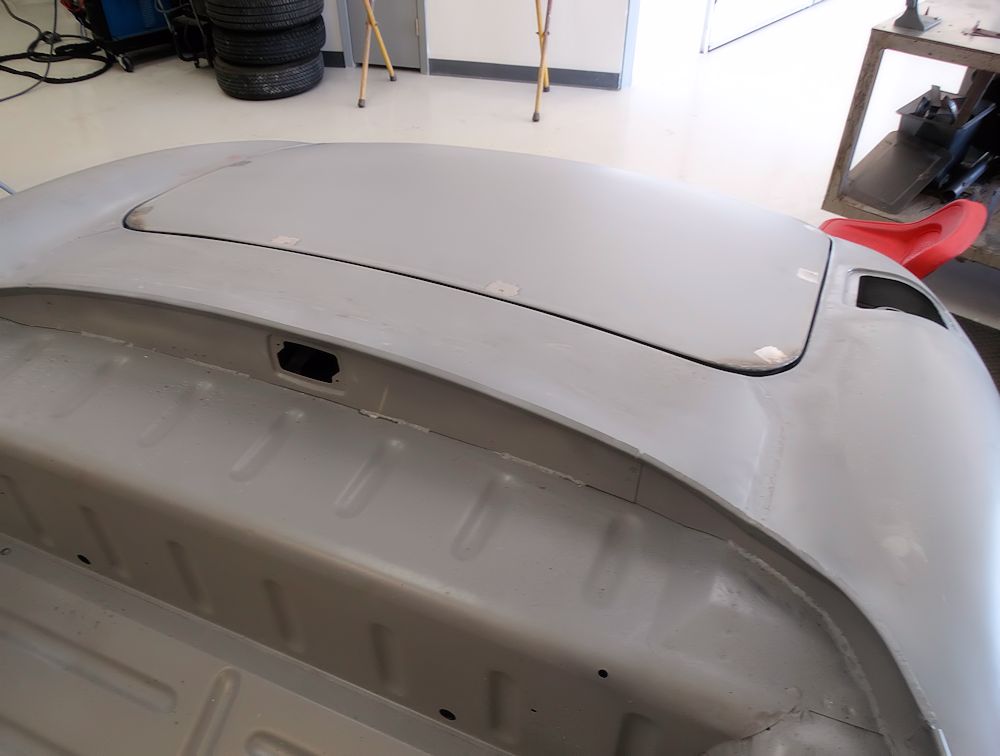
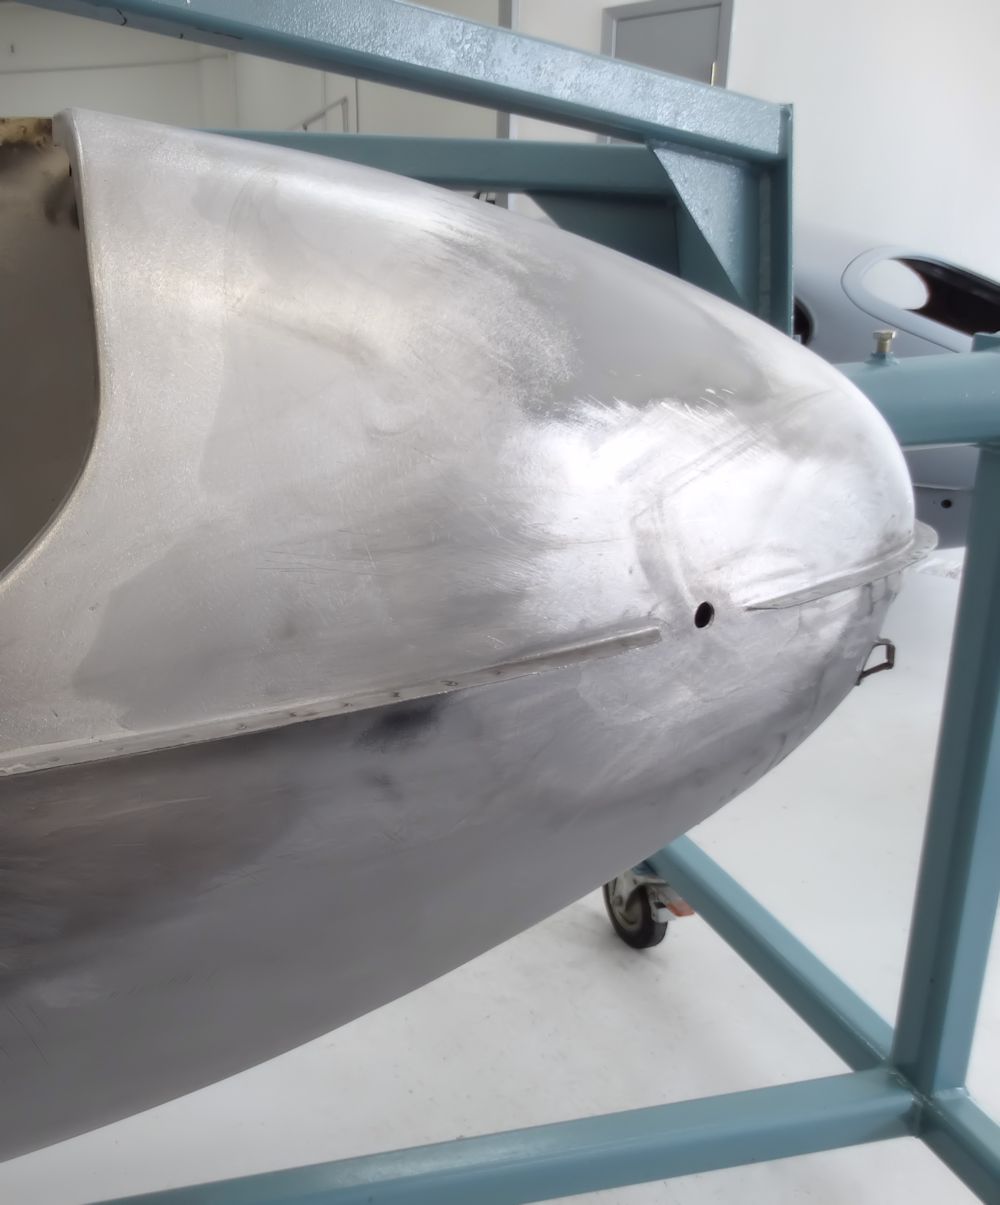
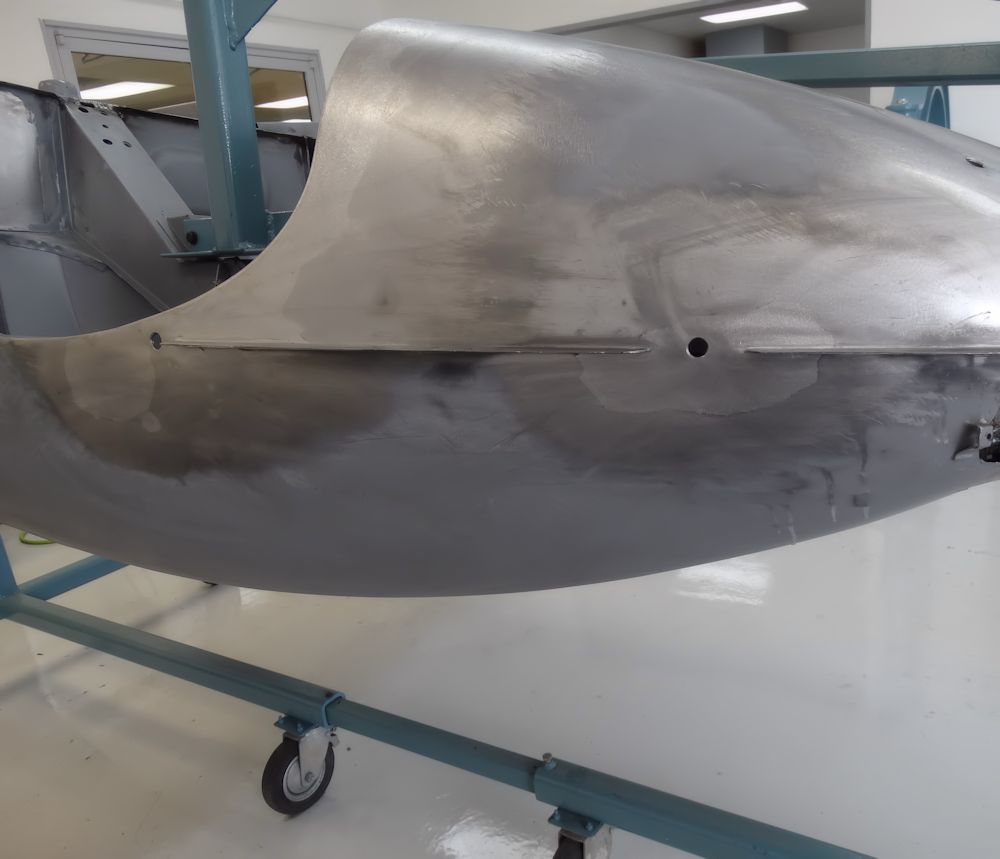
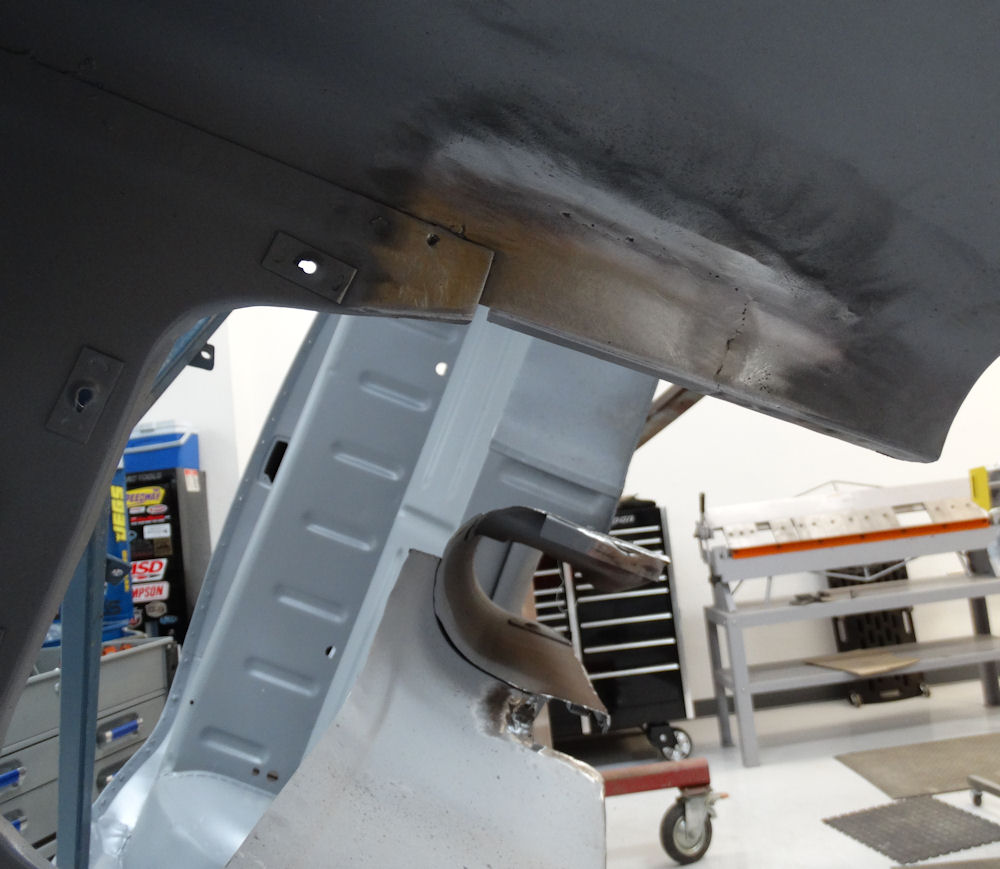
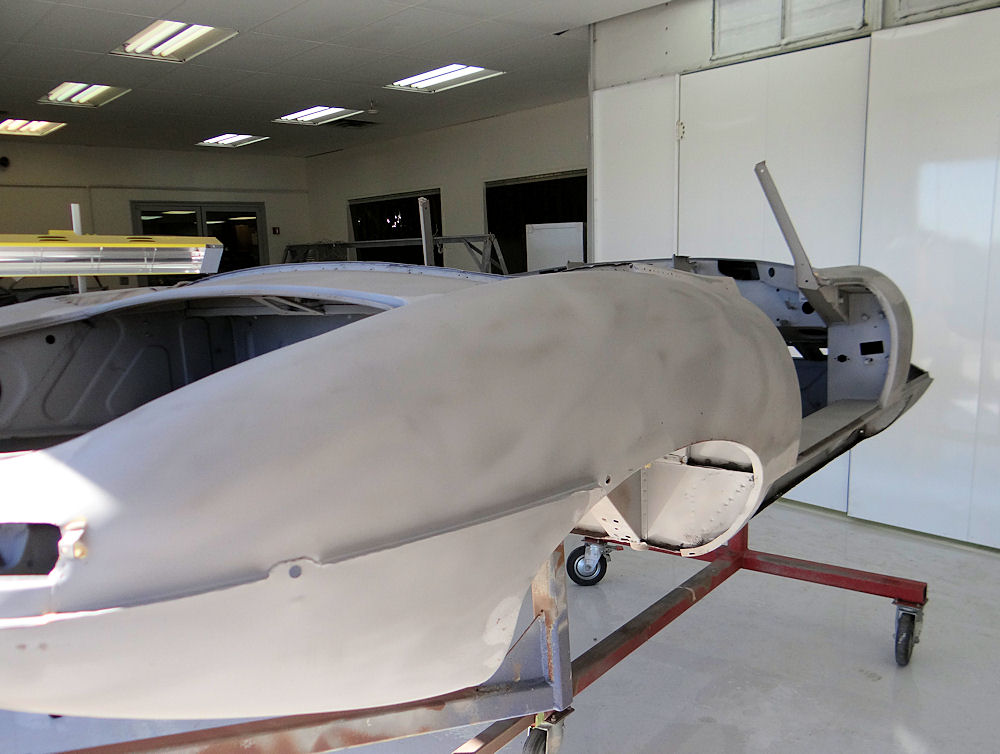
Bonnet installed
April 24, 2024
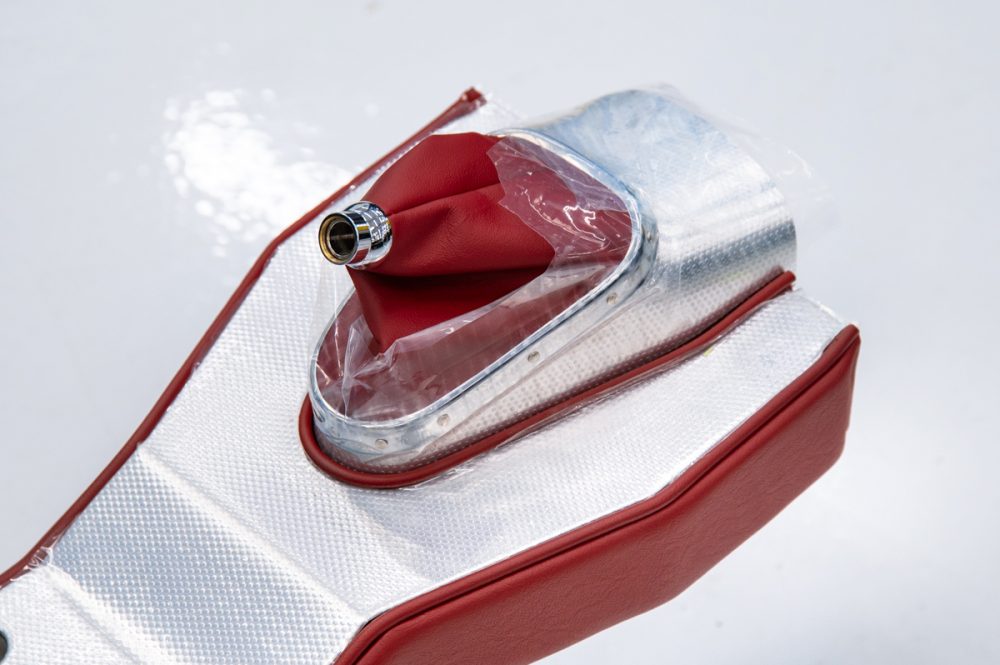
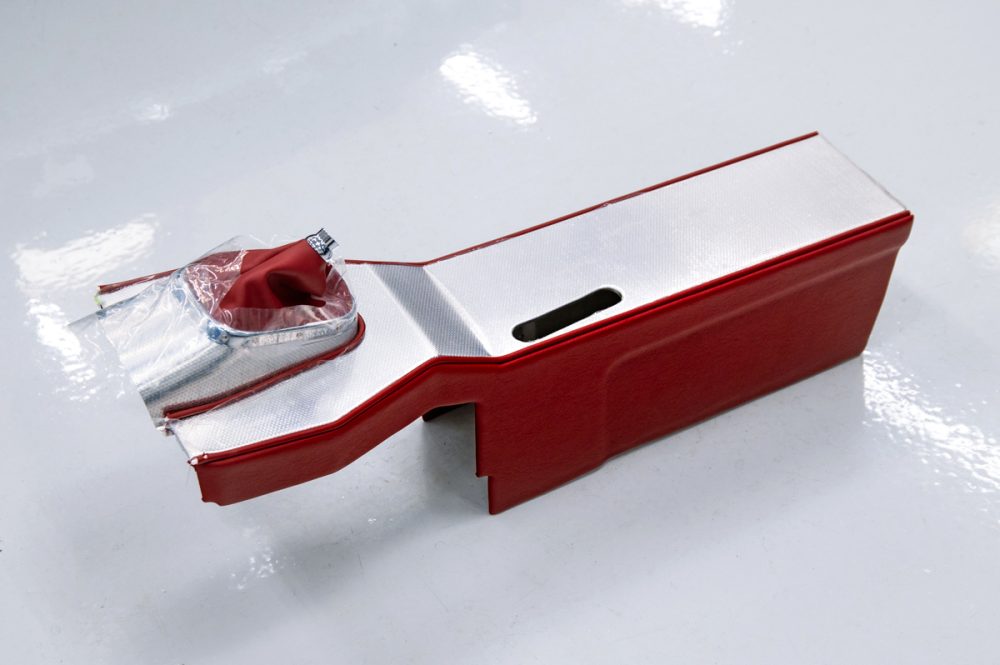
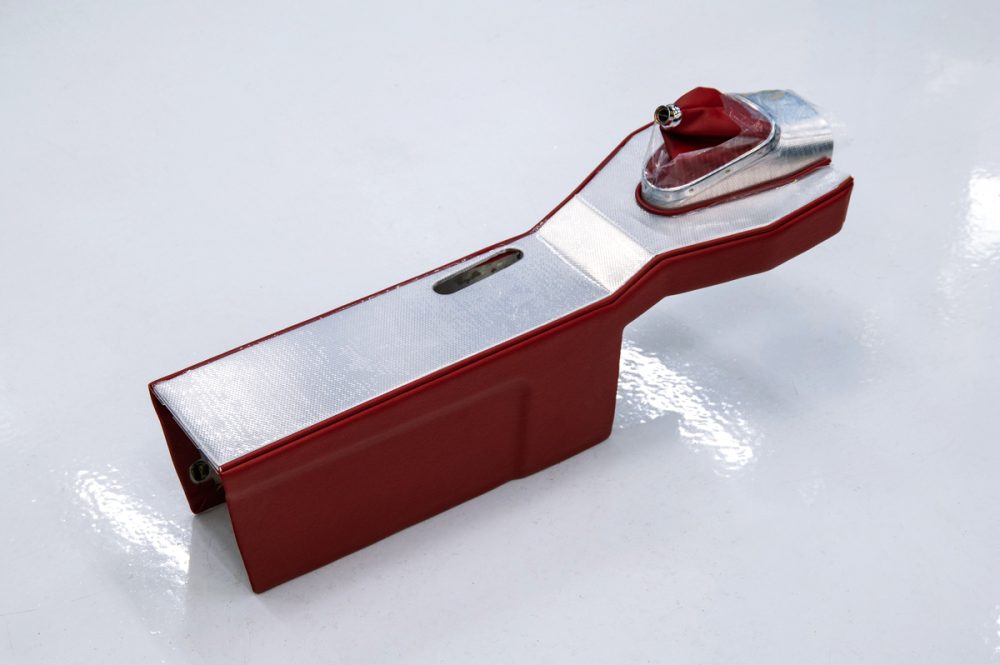
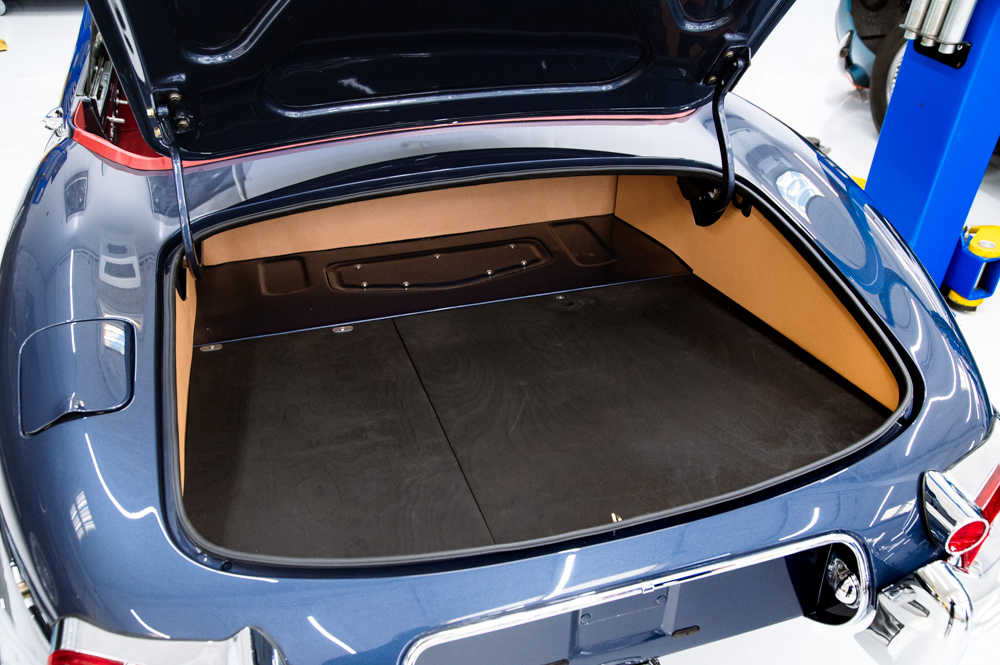
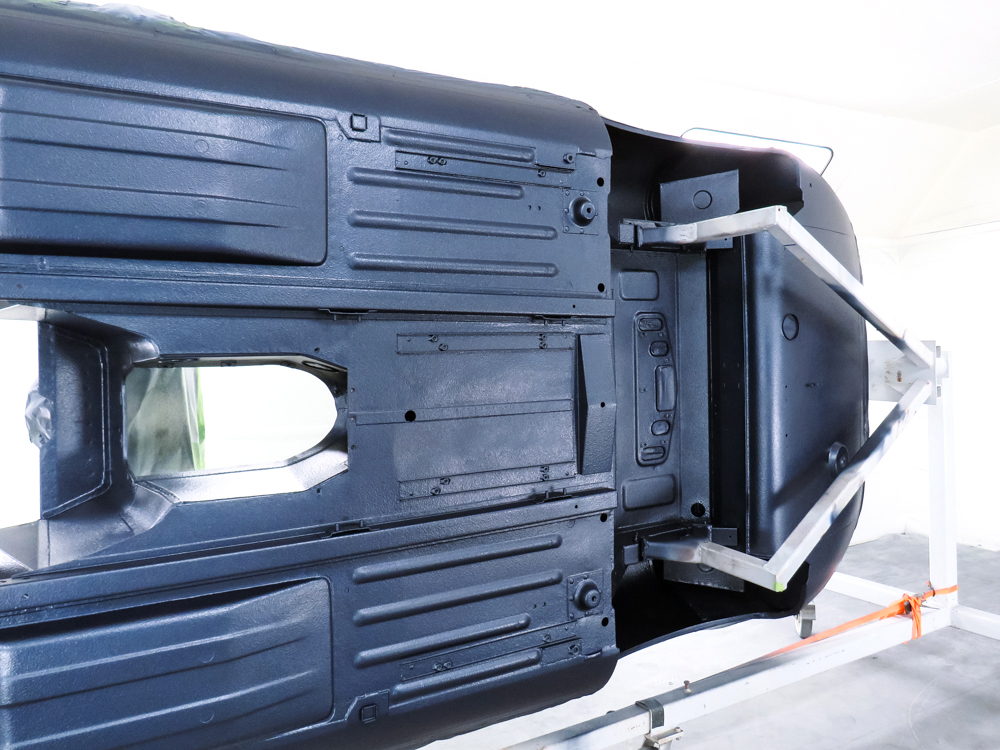
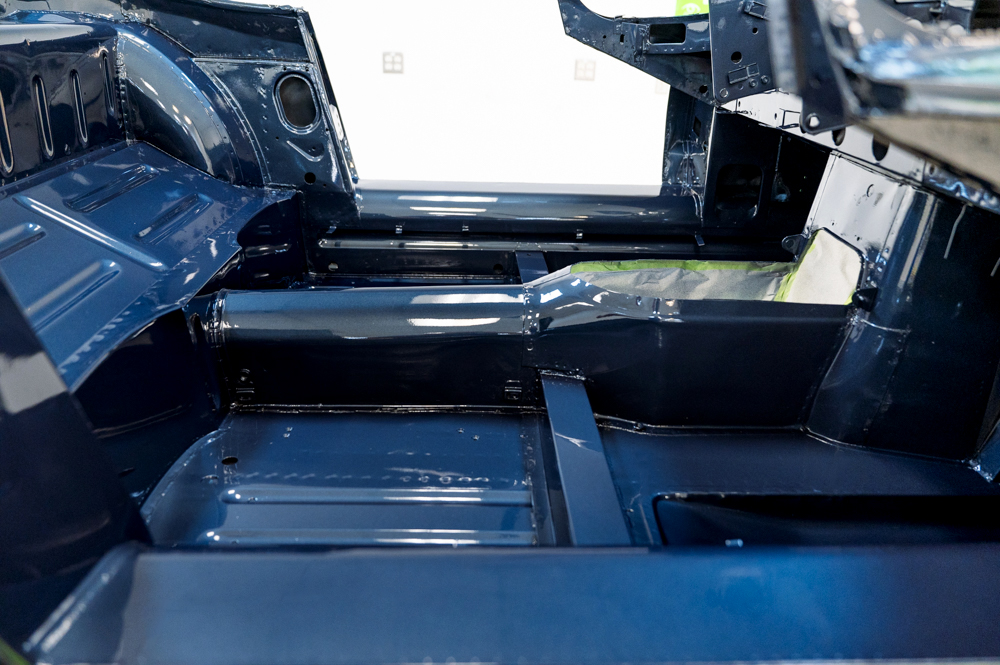
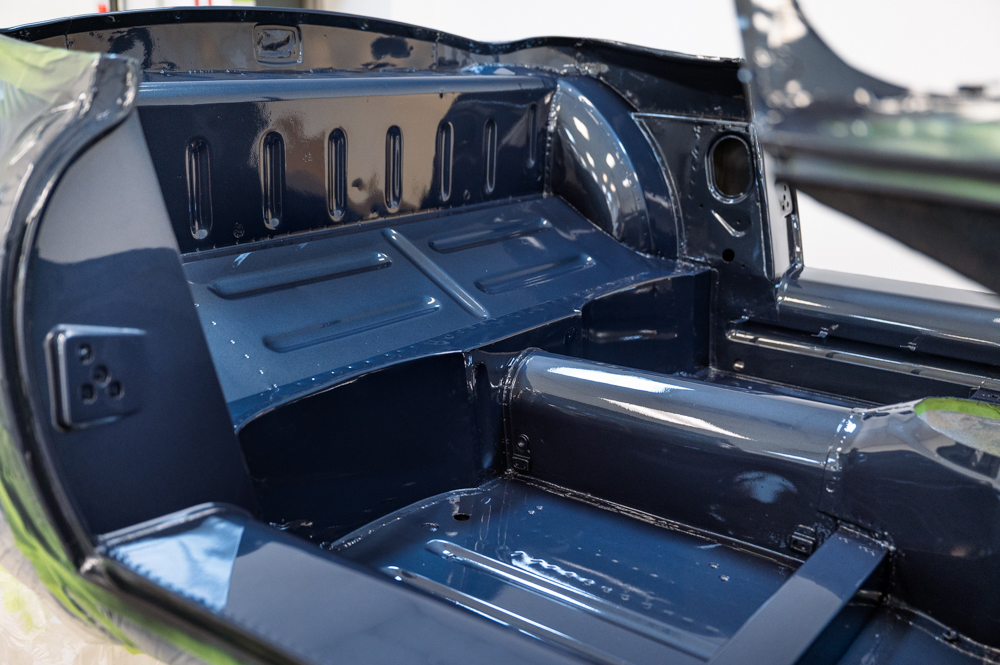
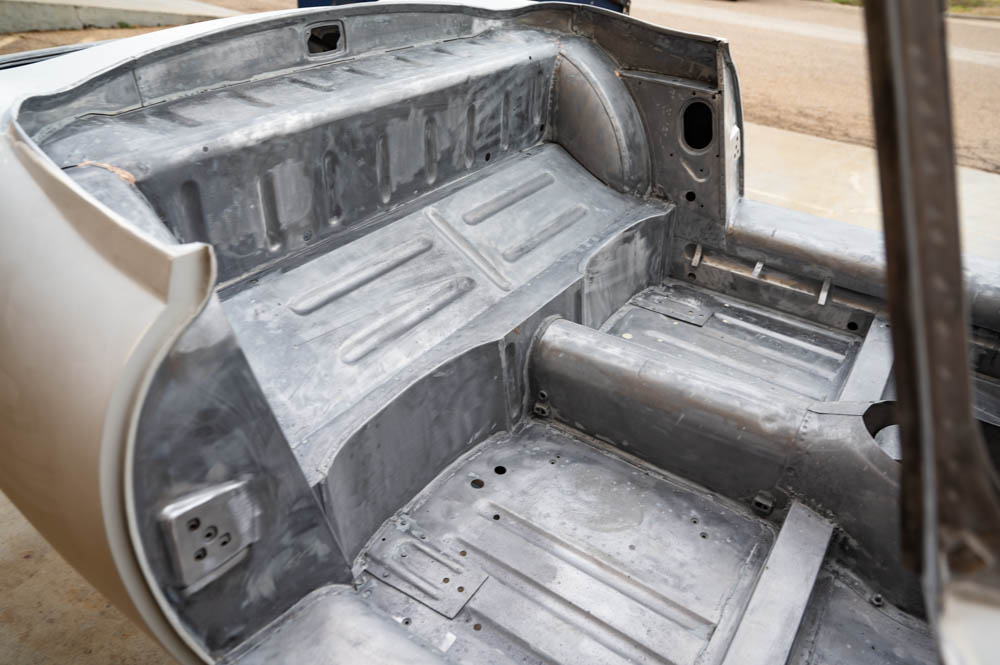
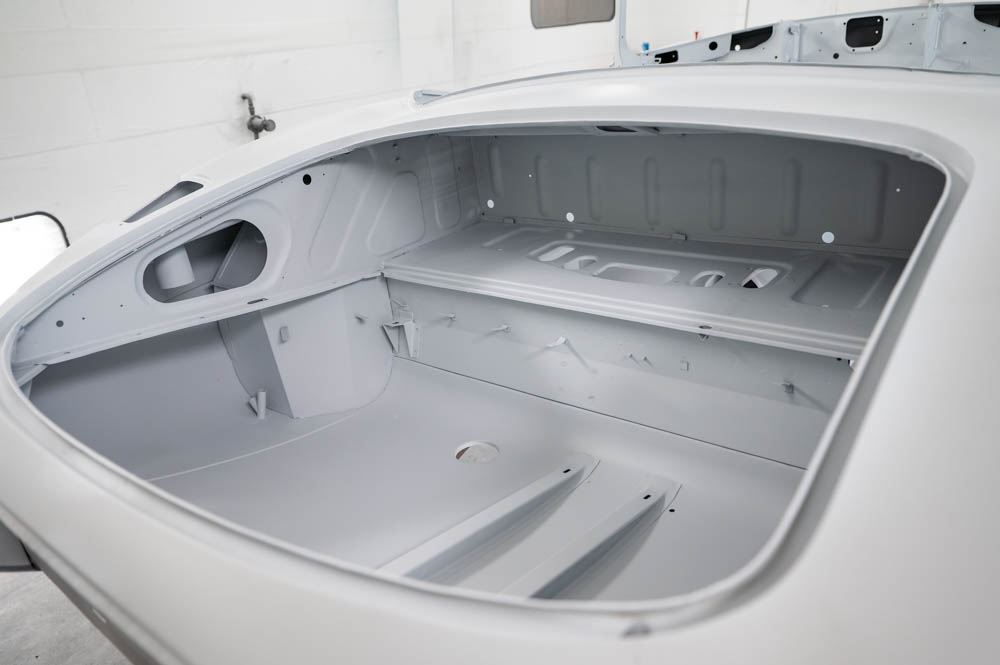
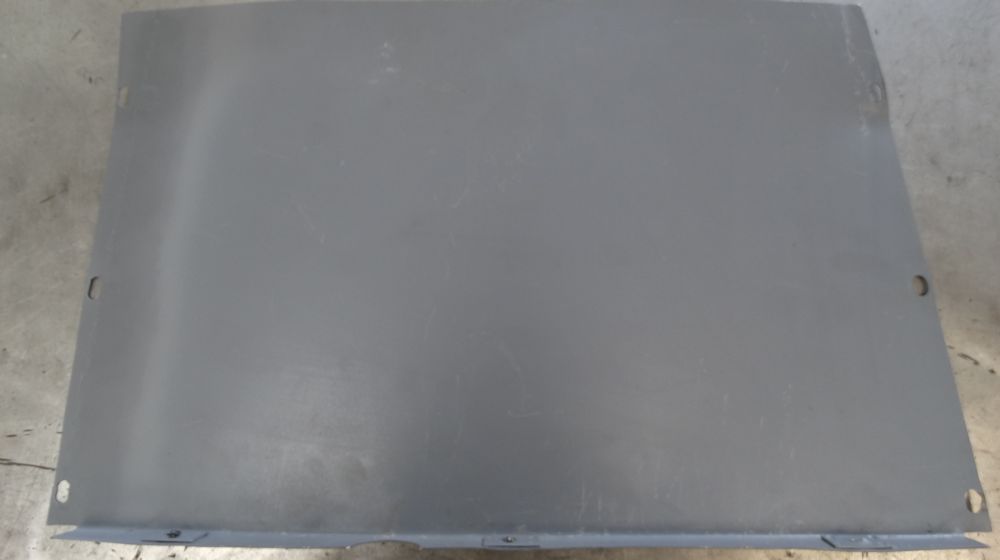
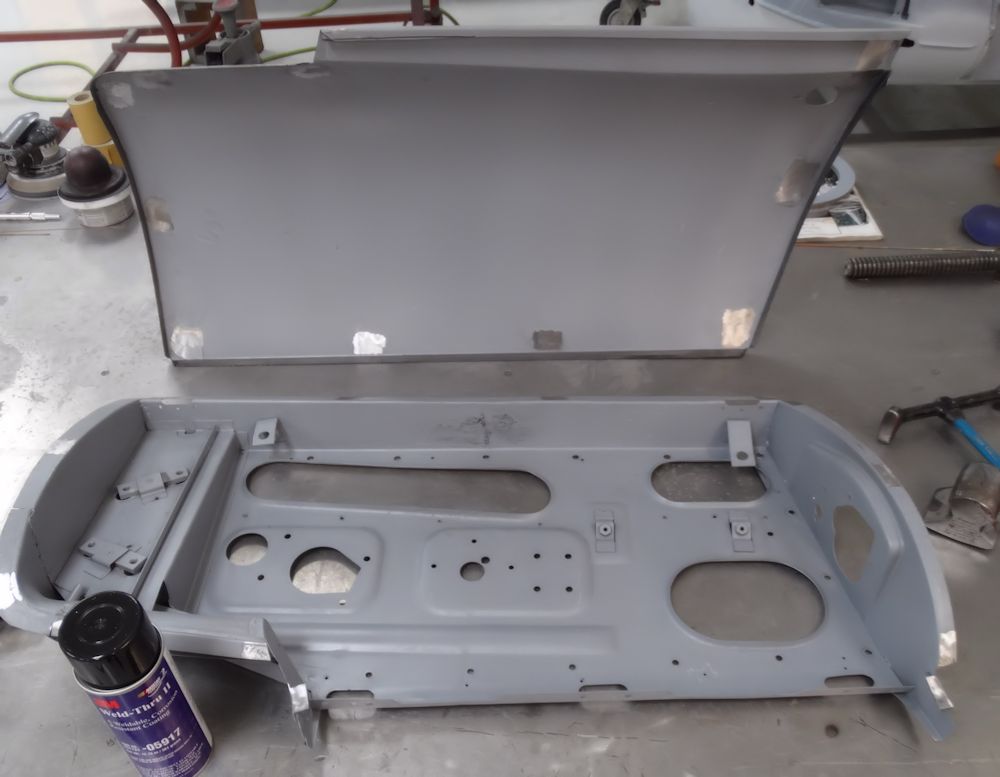
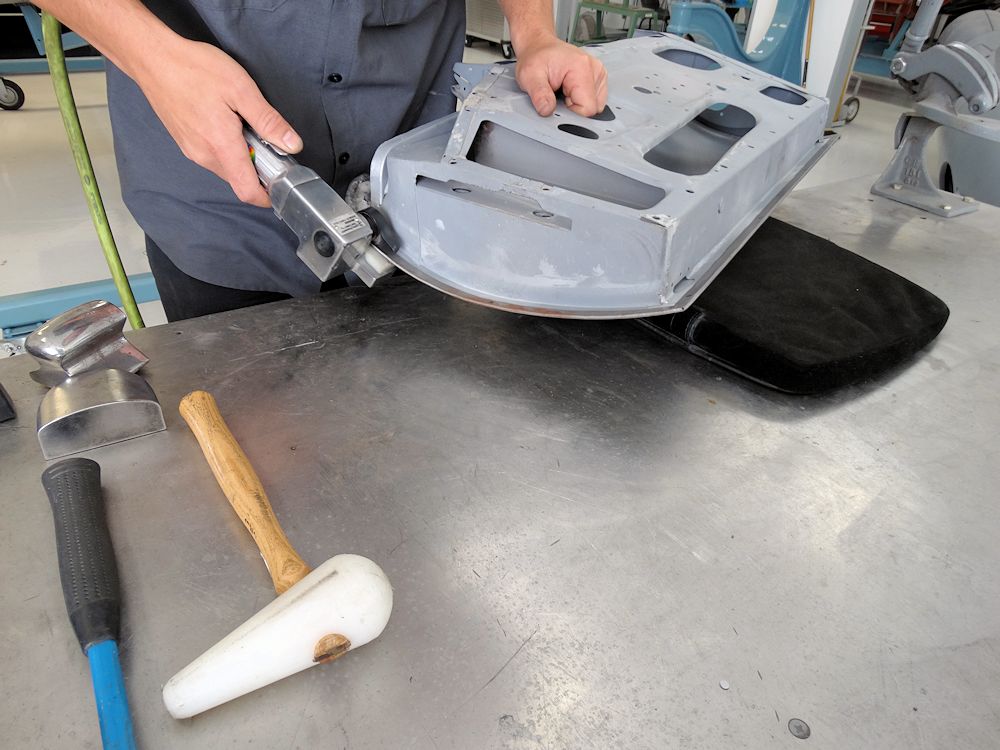
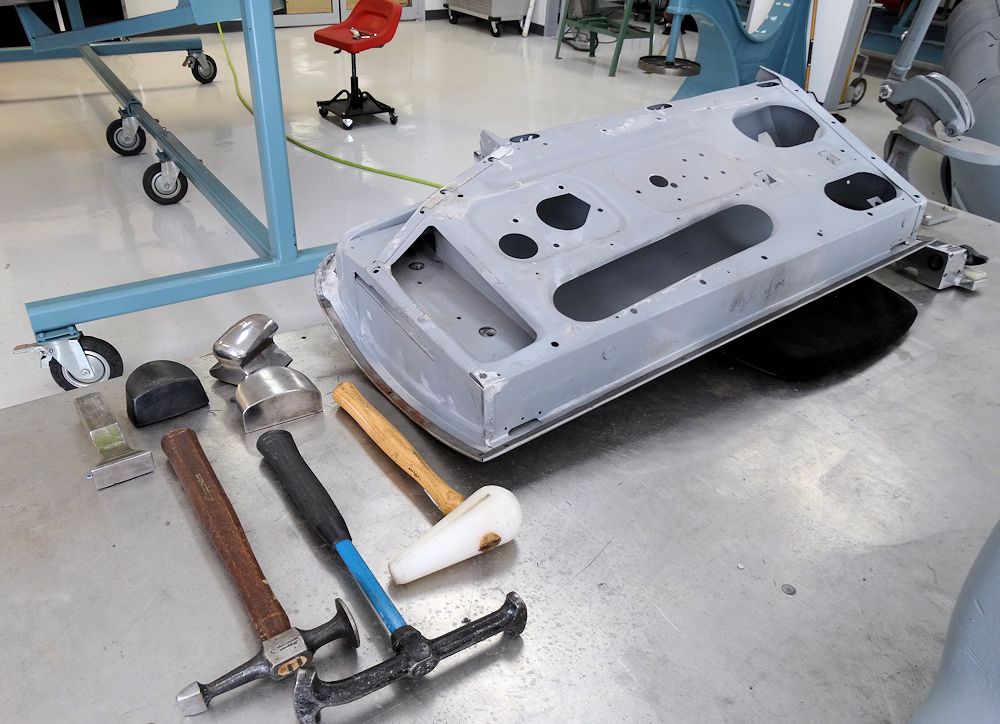
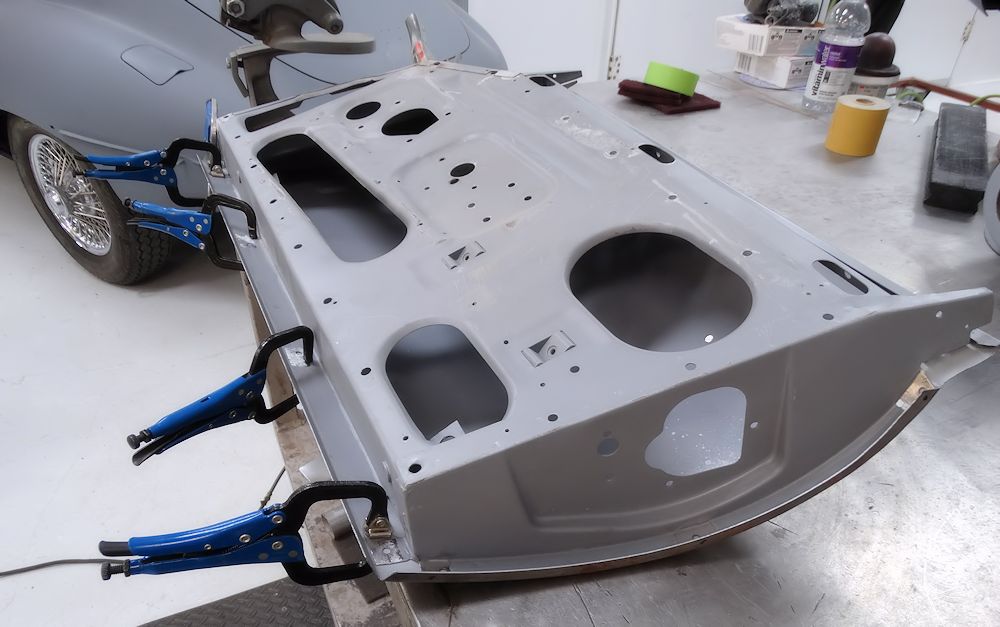
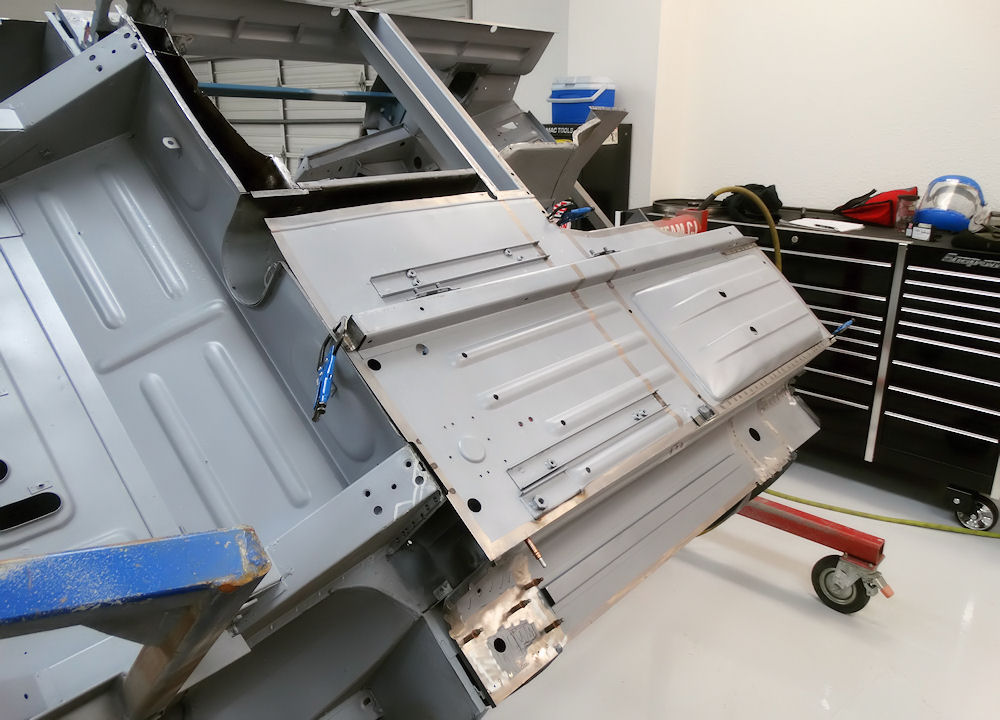
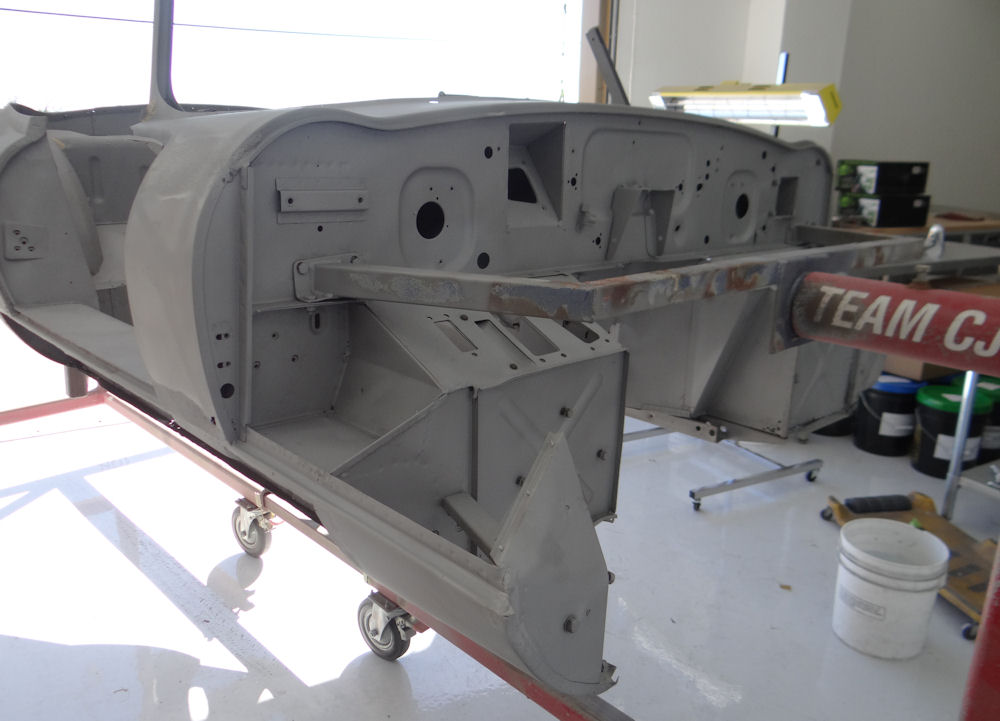
Boot boards installed
February 22, 2024
February 22, 2024
February 22, 2024
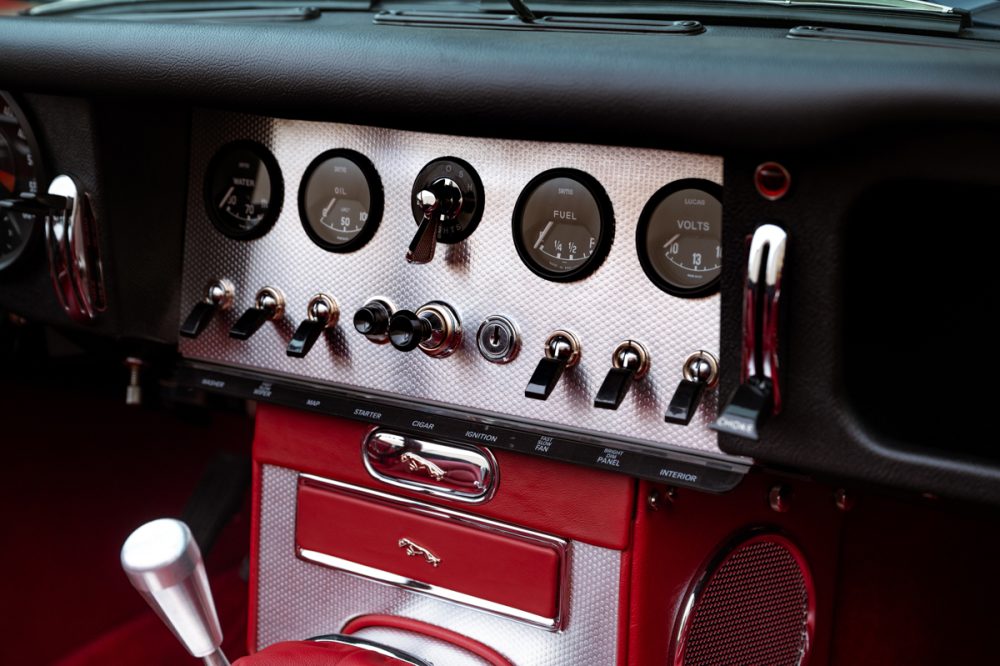
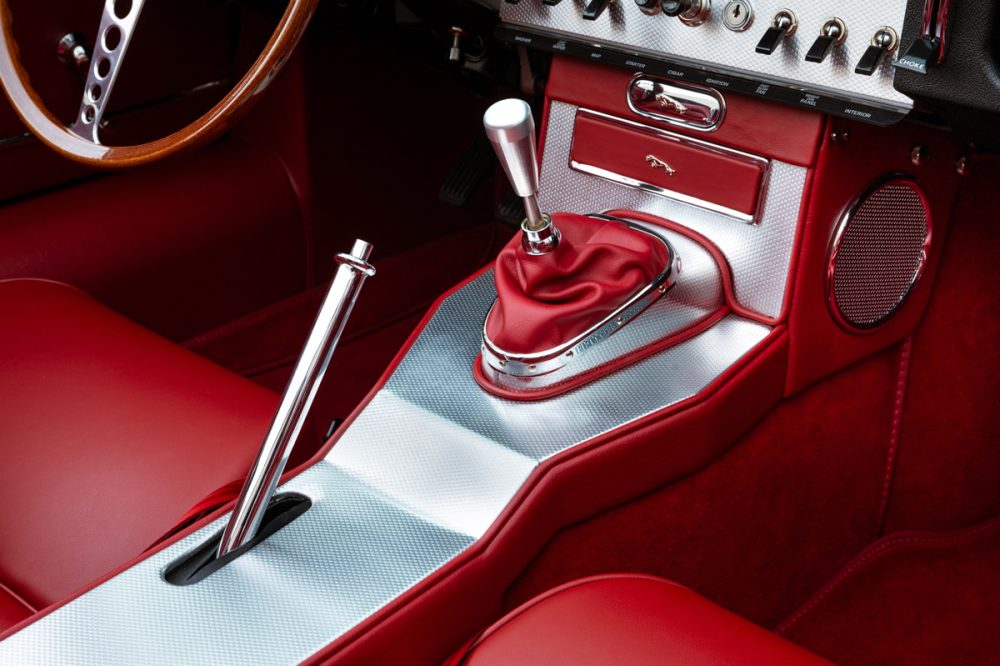
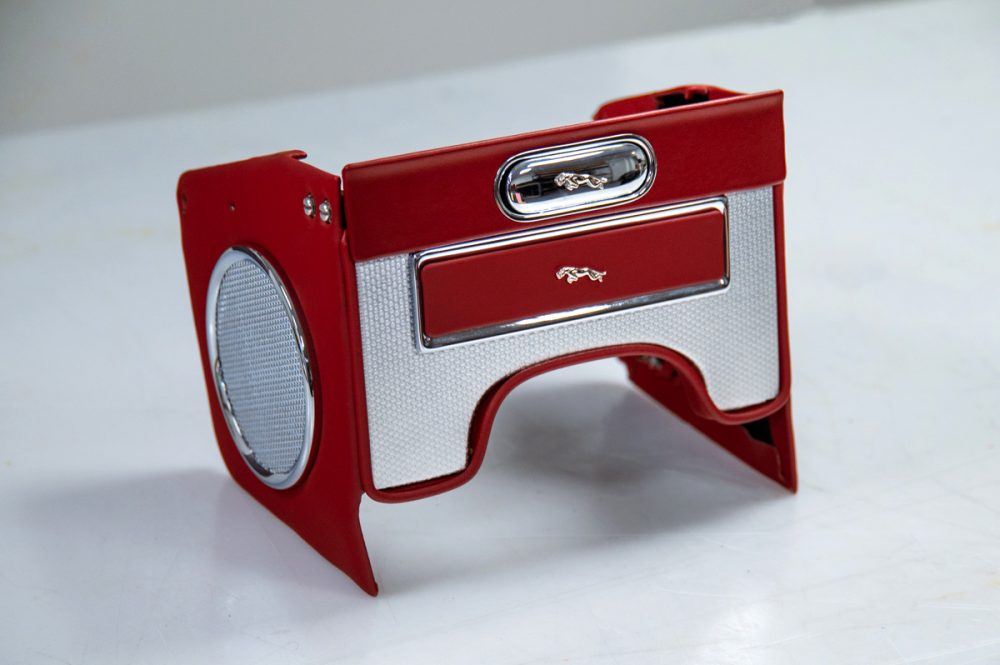
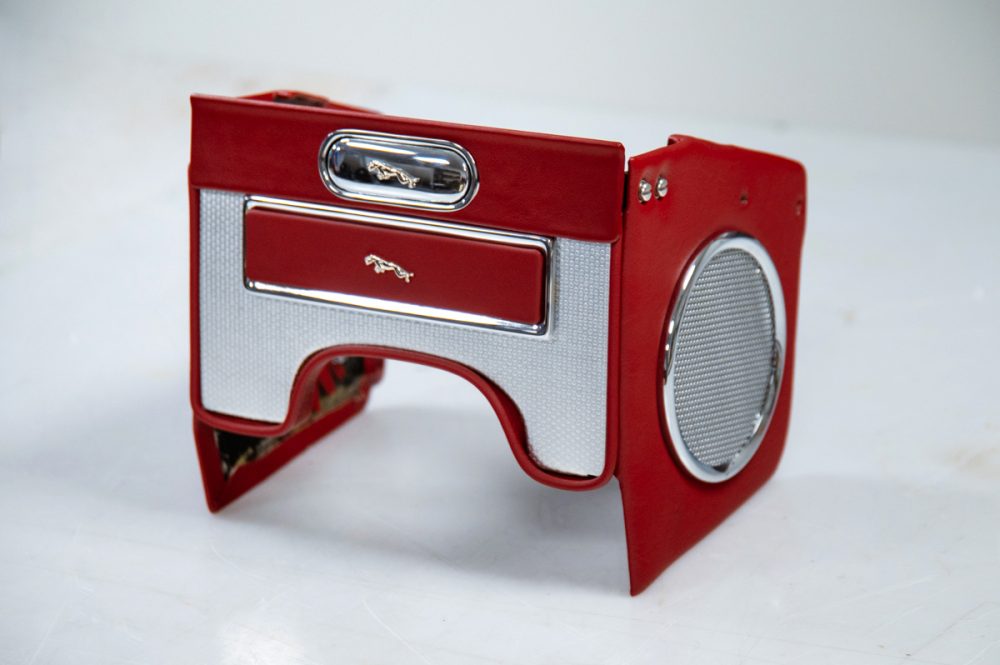
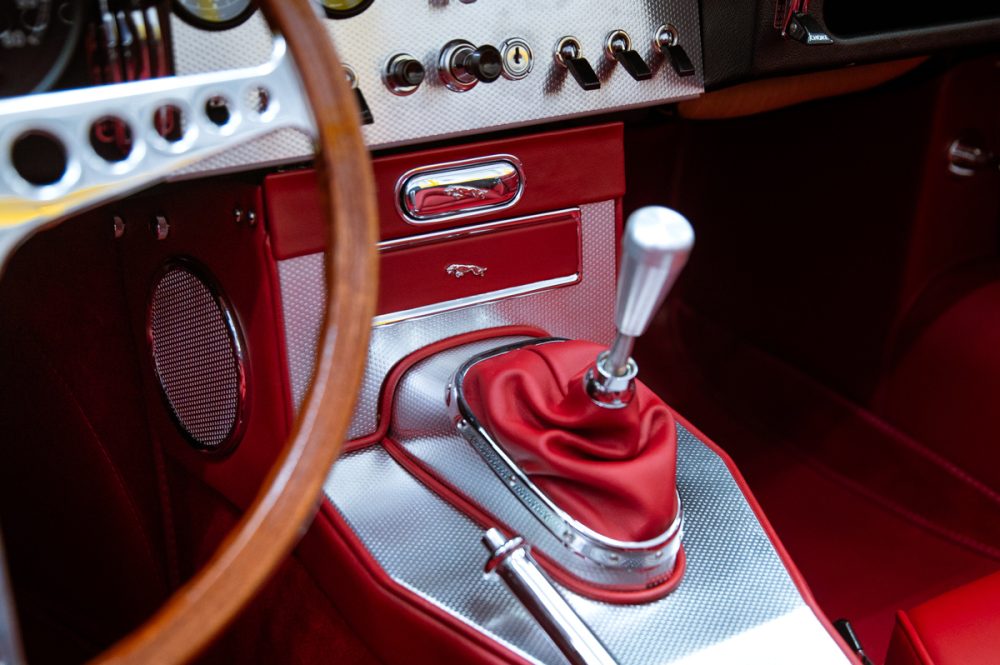
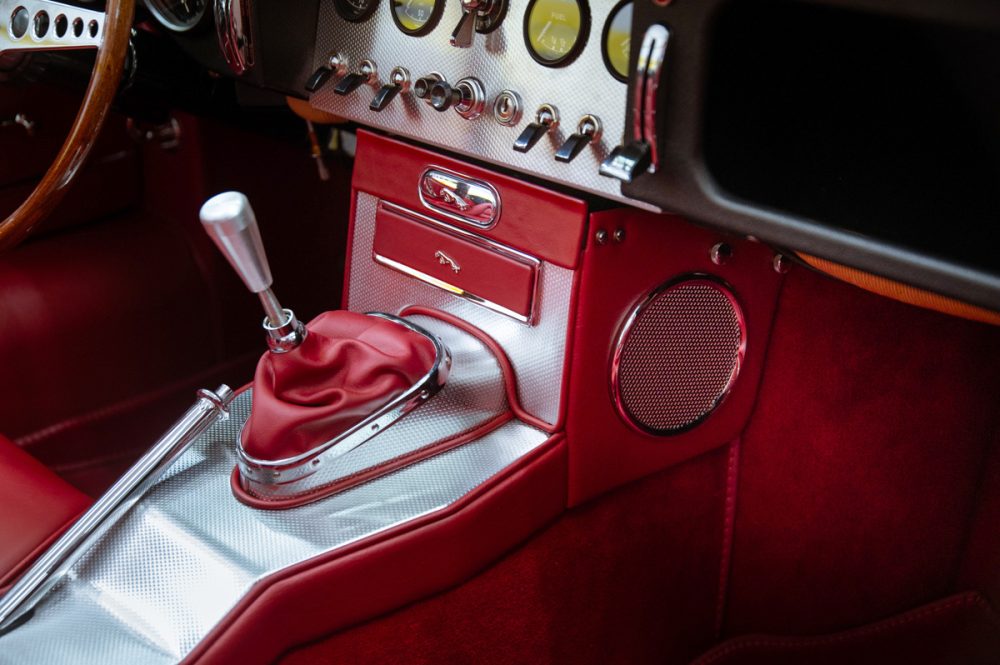
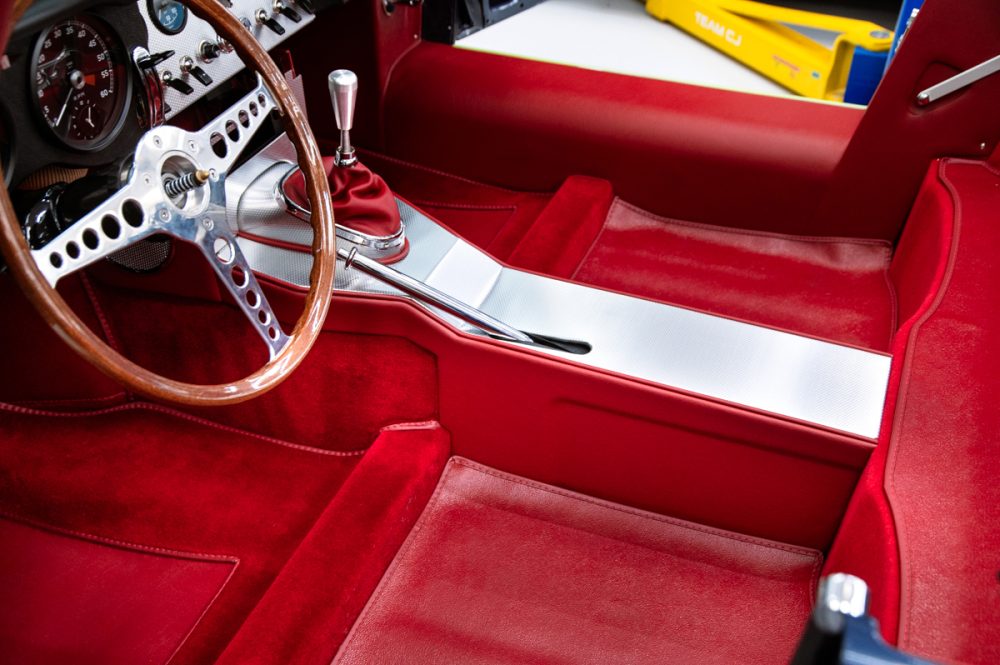
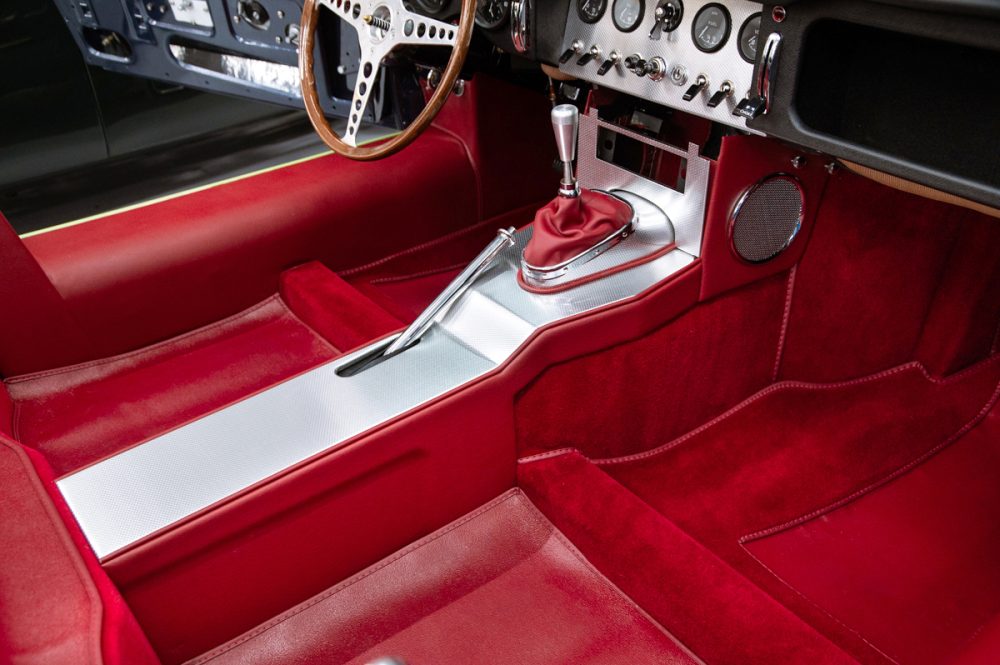
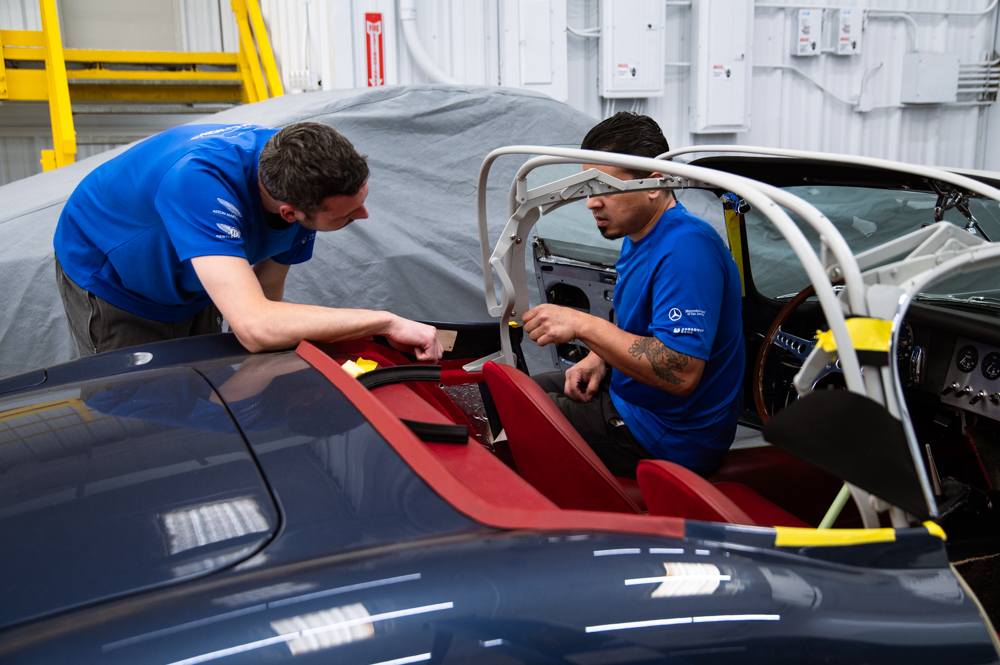
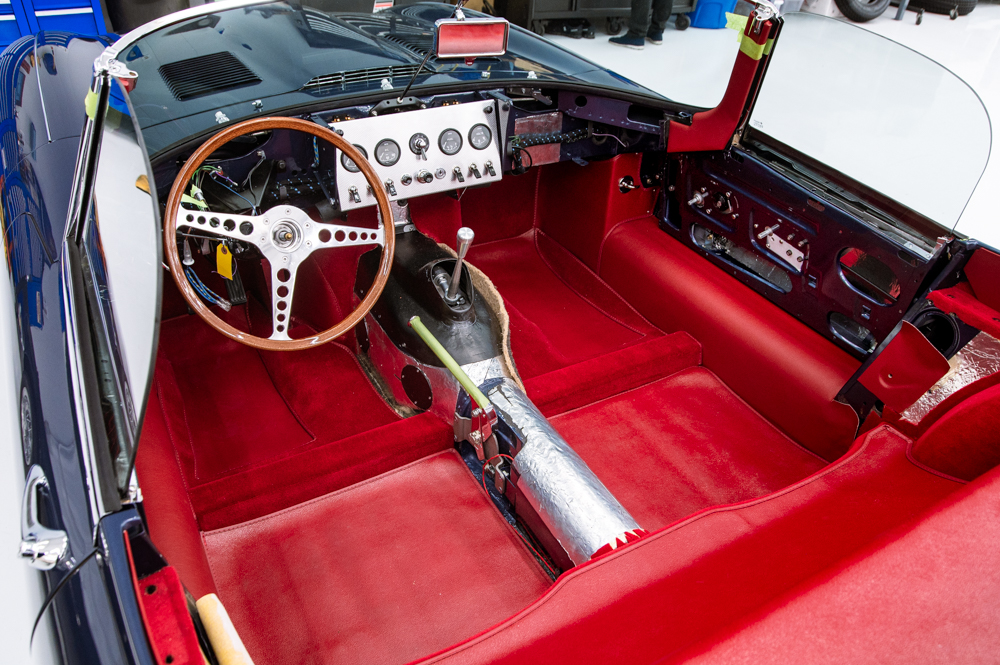
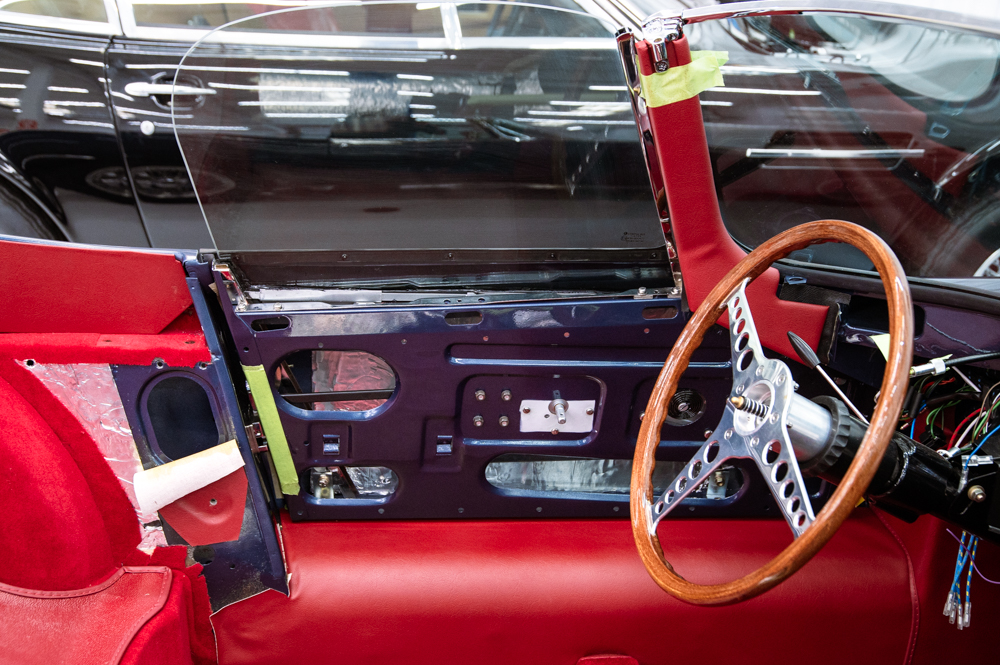
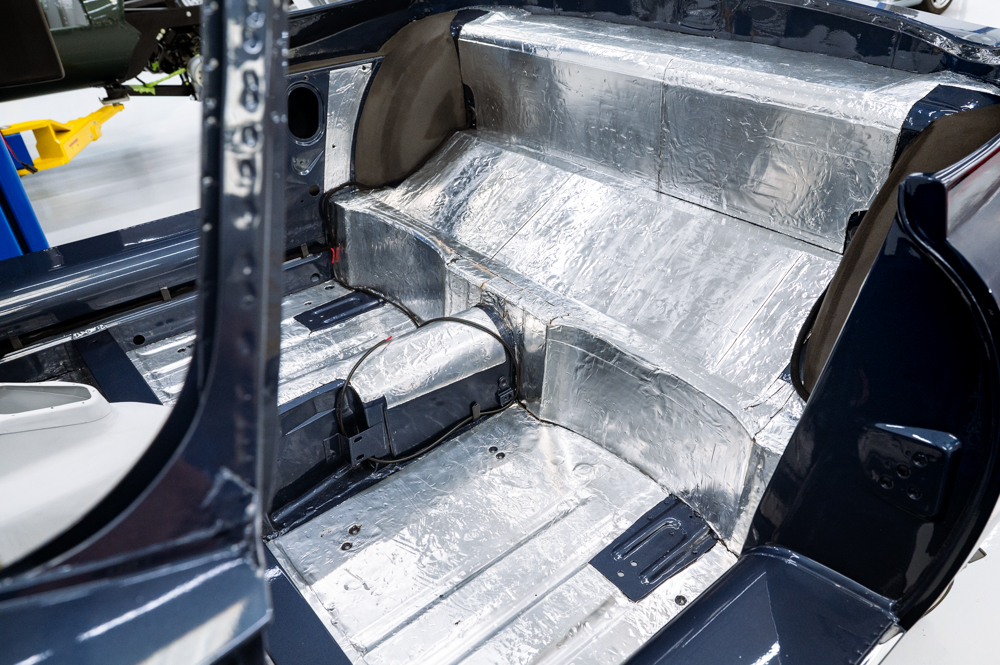
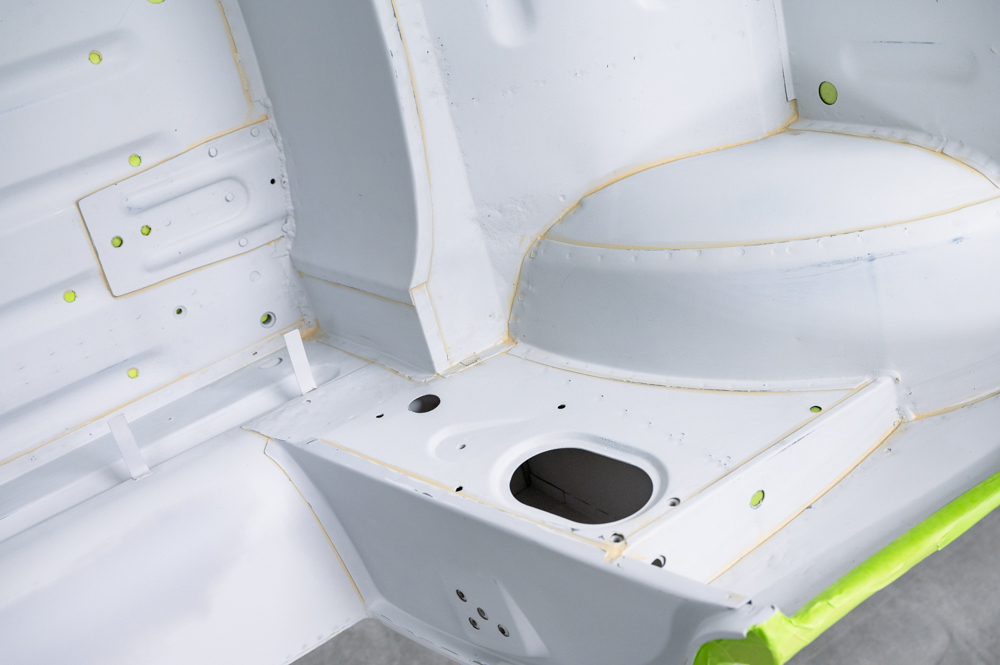
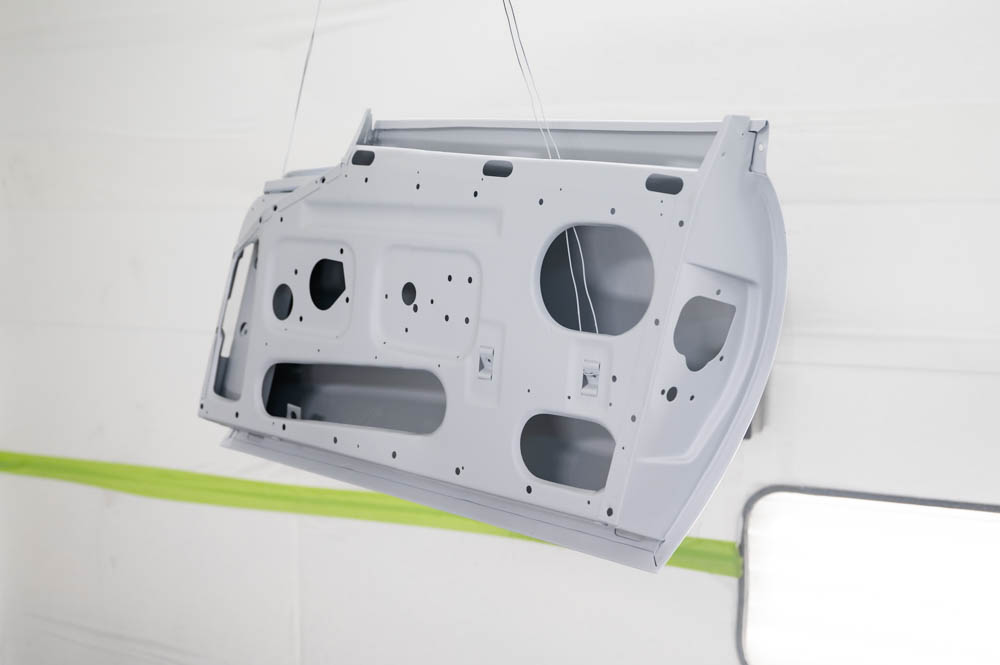
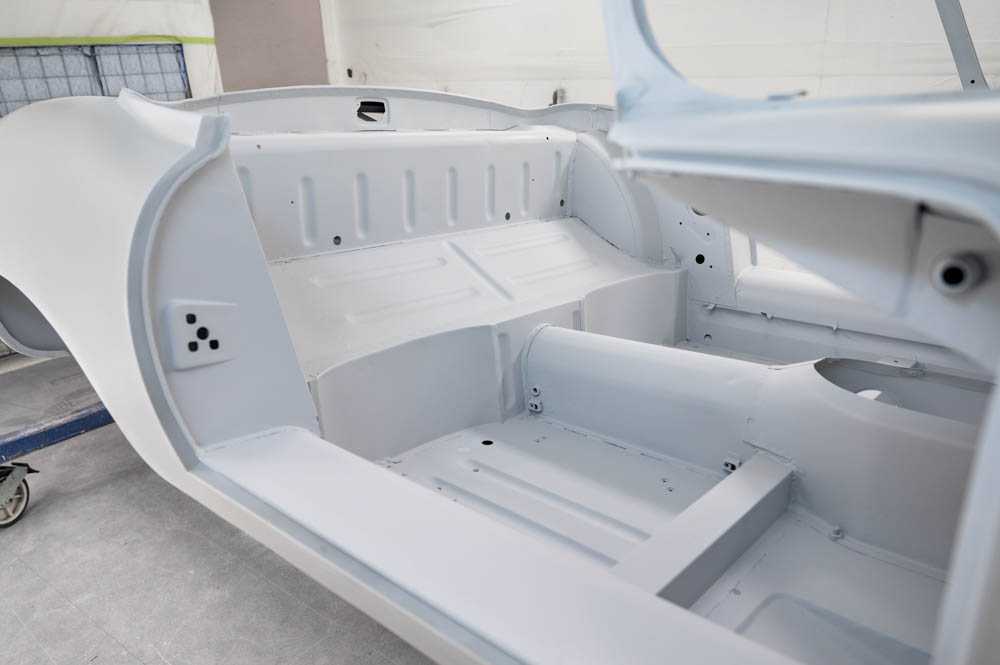
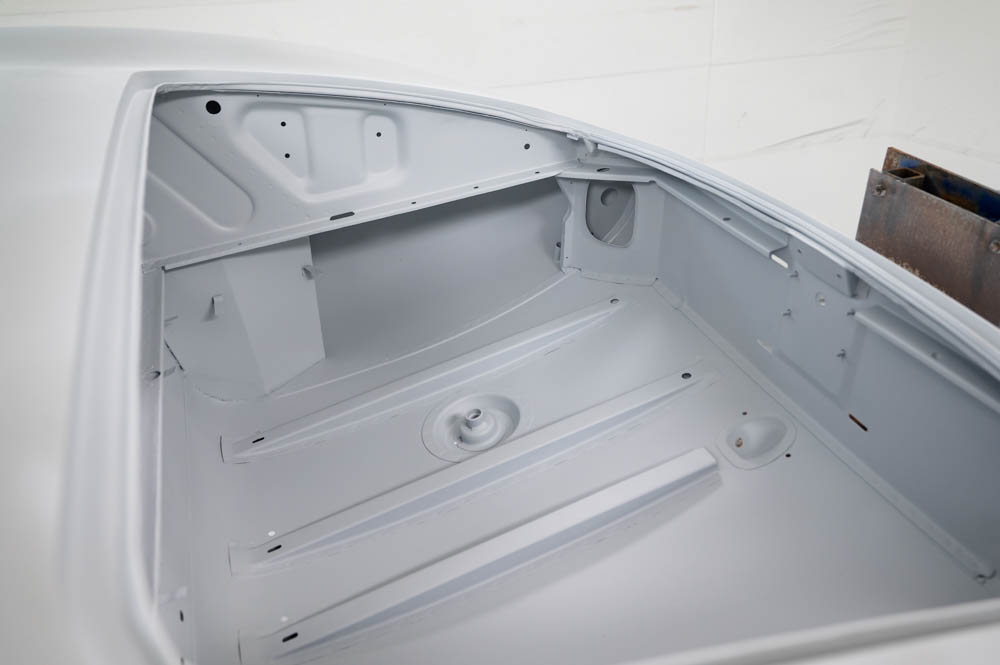
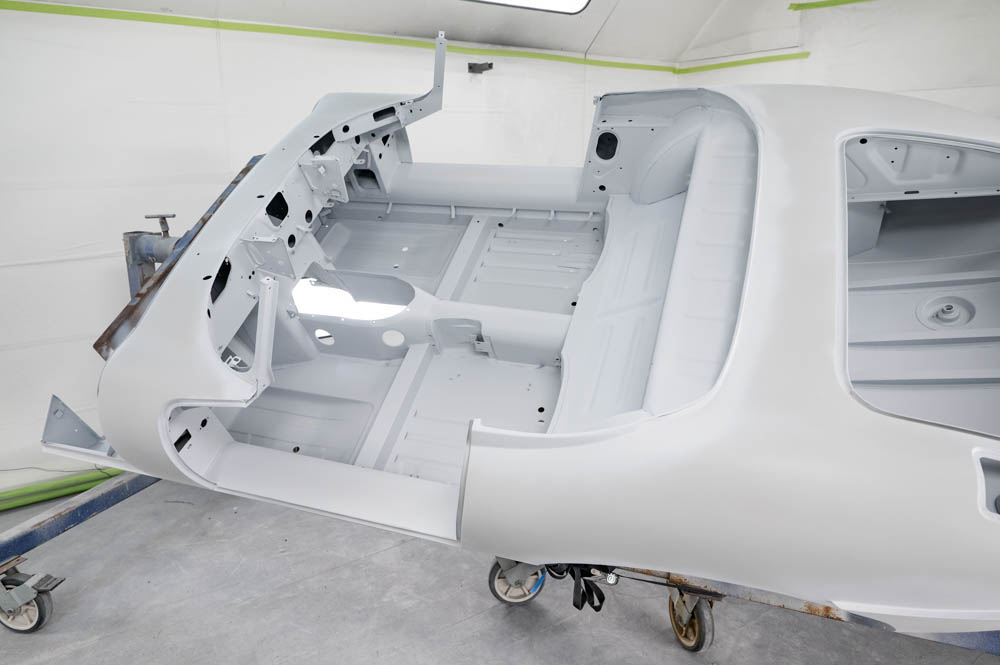
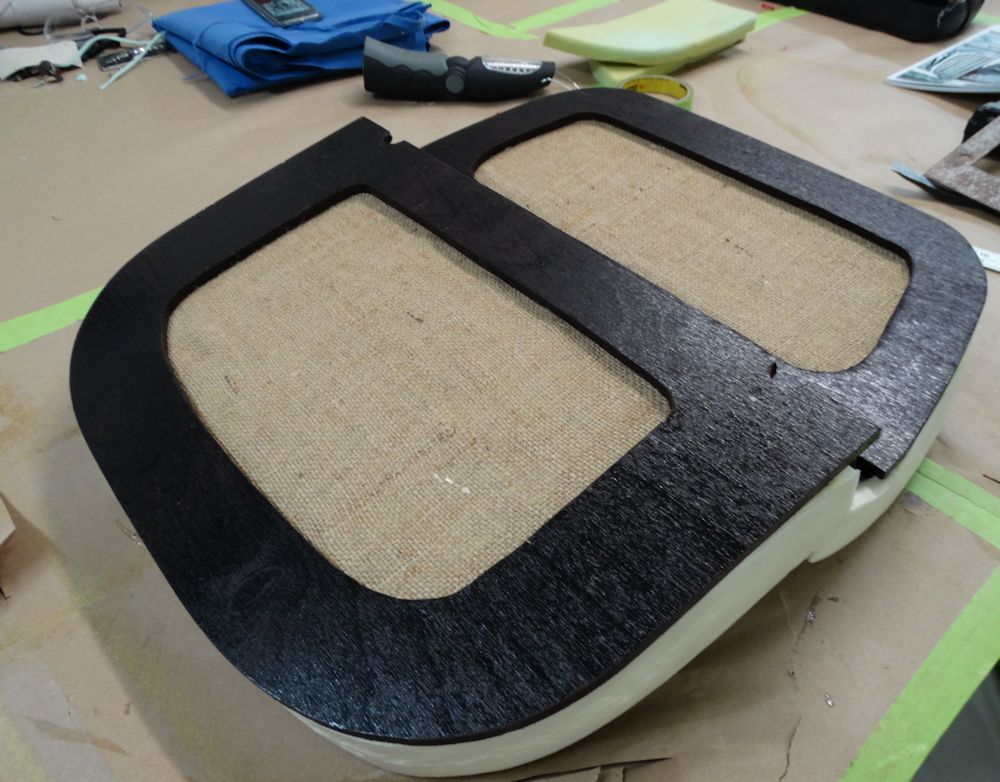
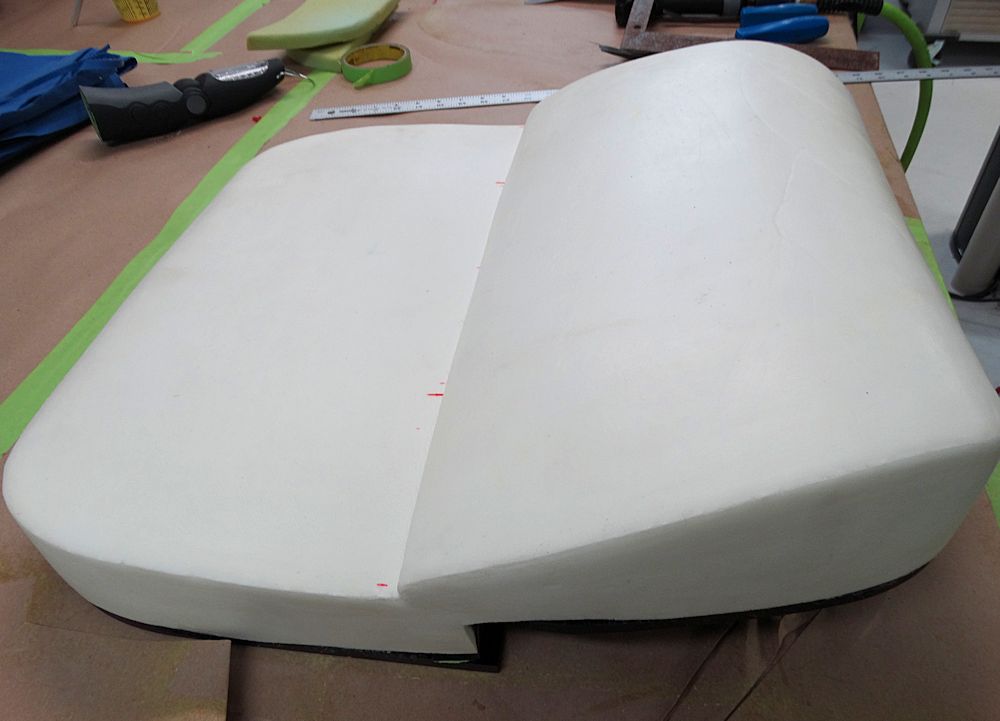
Significant progress on the interior
February 22, 2024
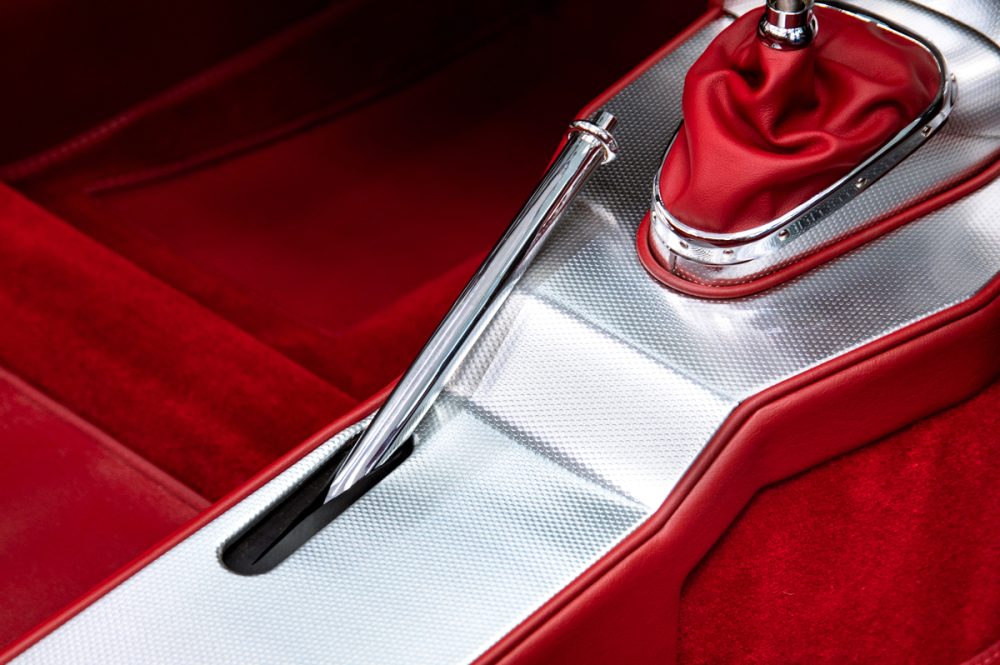
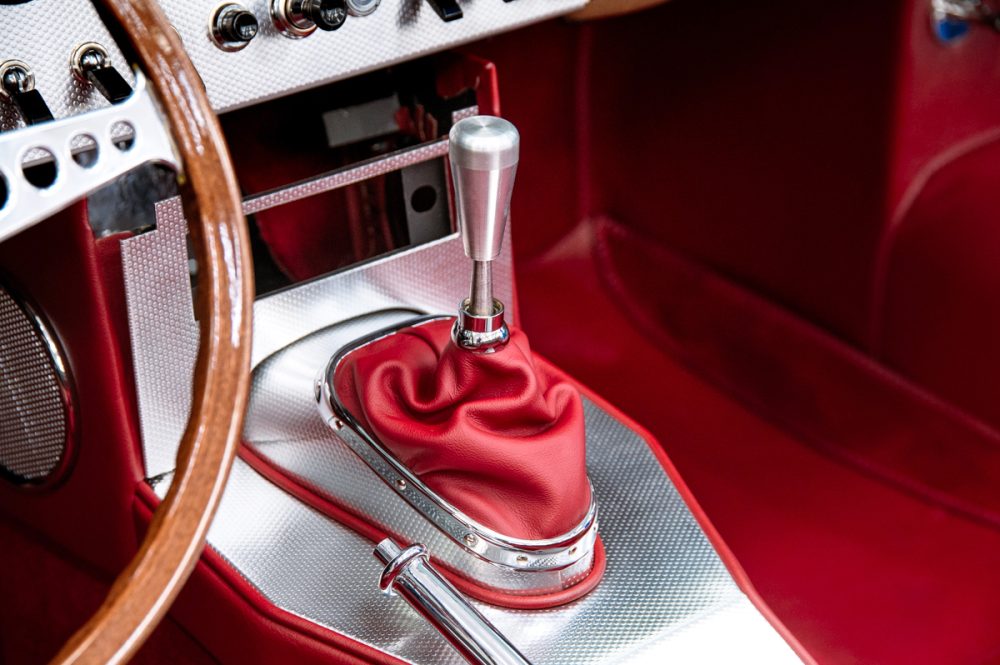
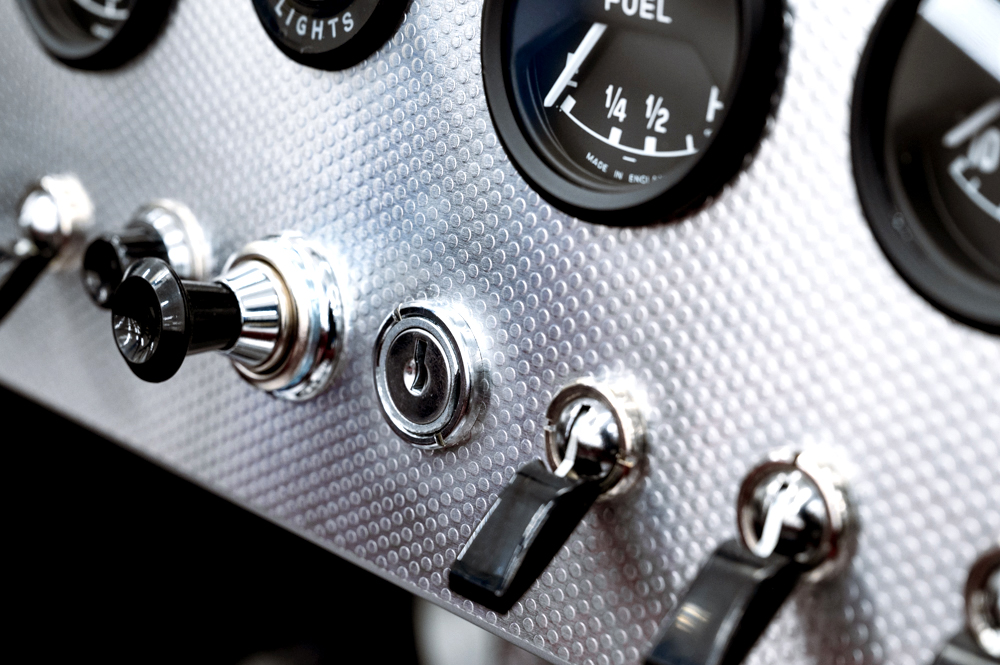
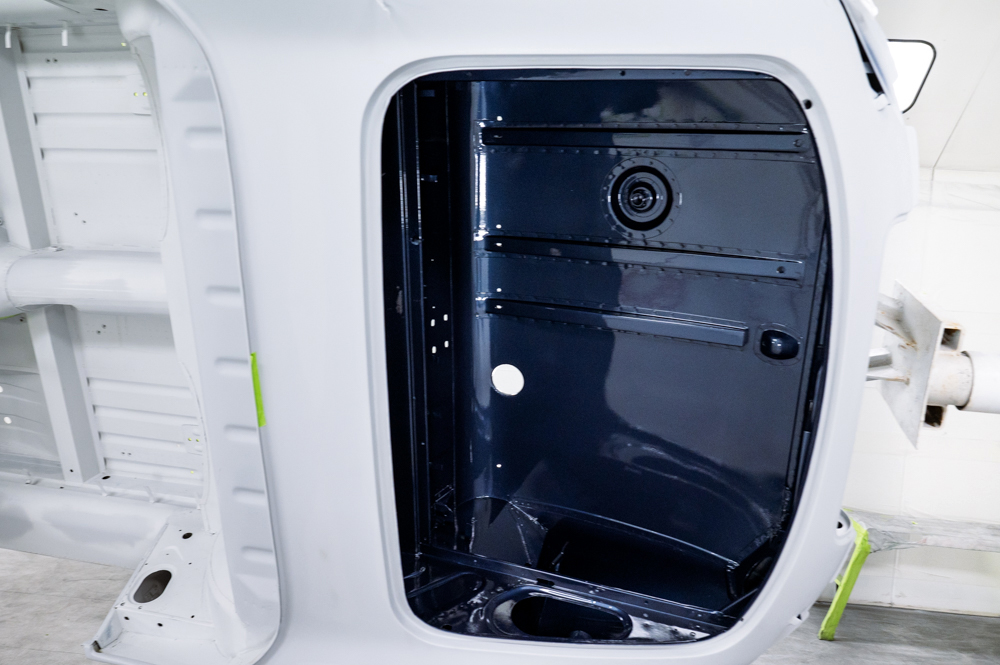
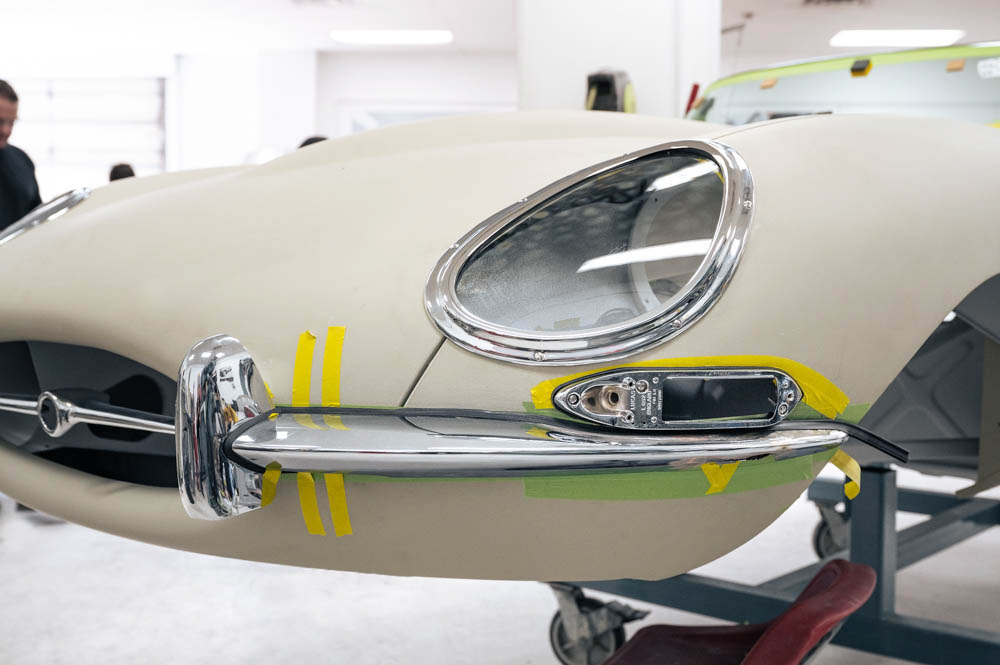
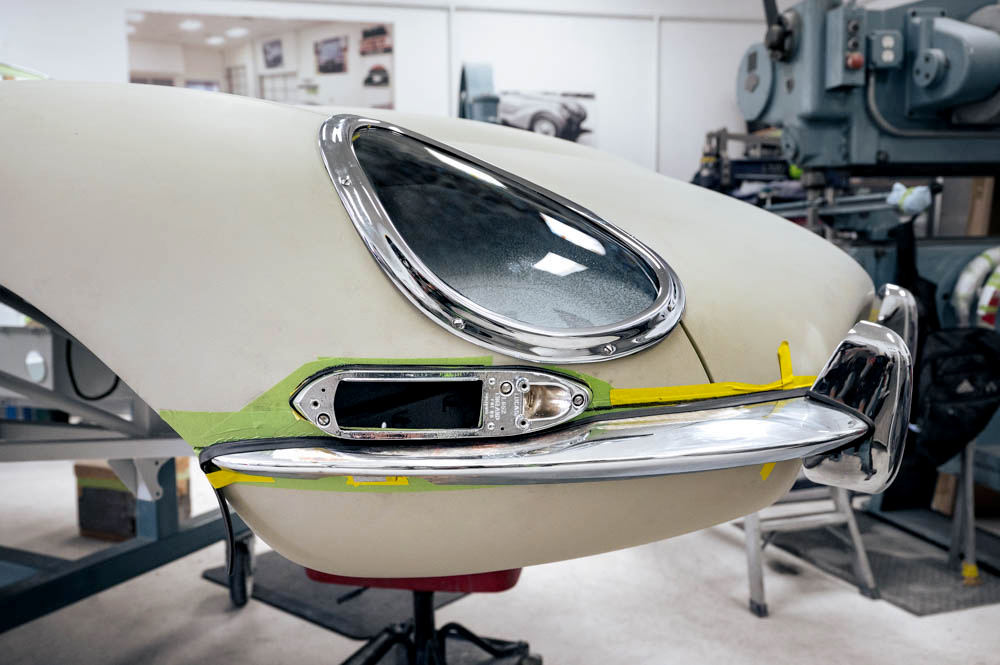
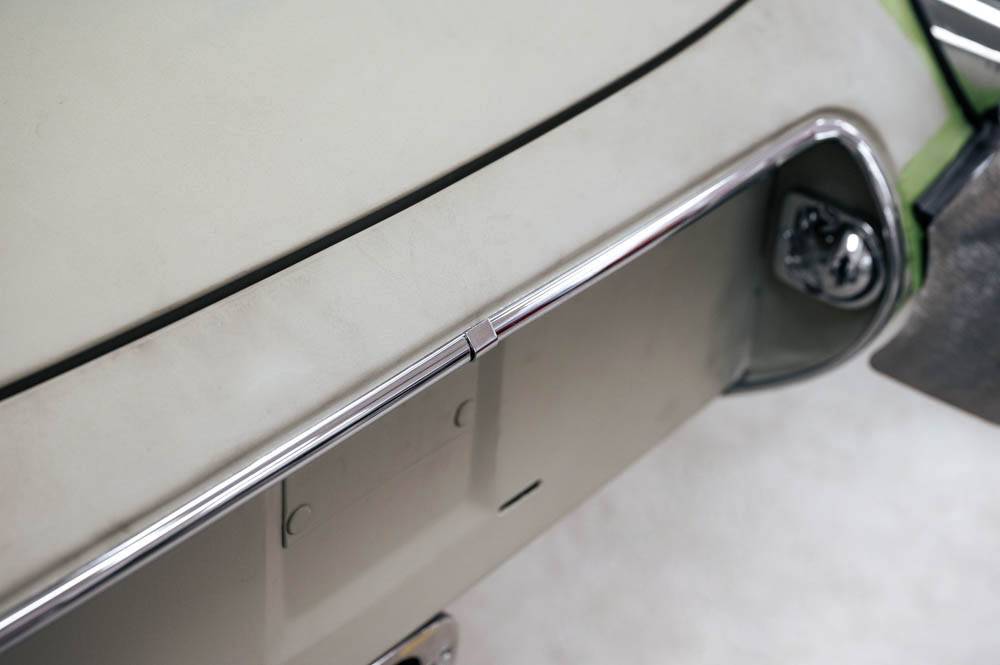
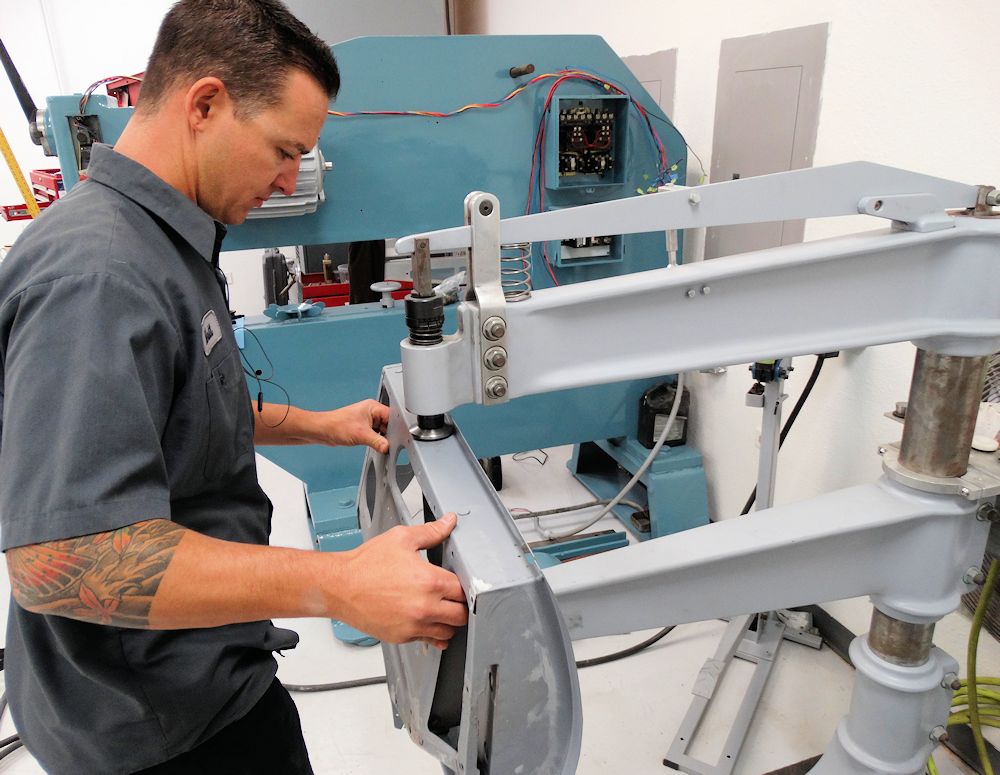
Chrome fitting
February 22, 2024
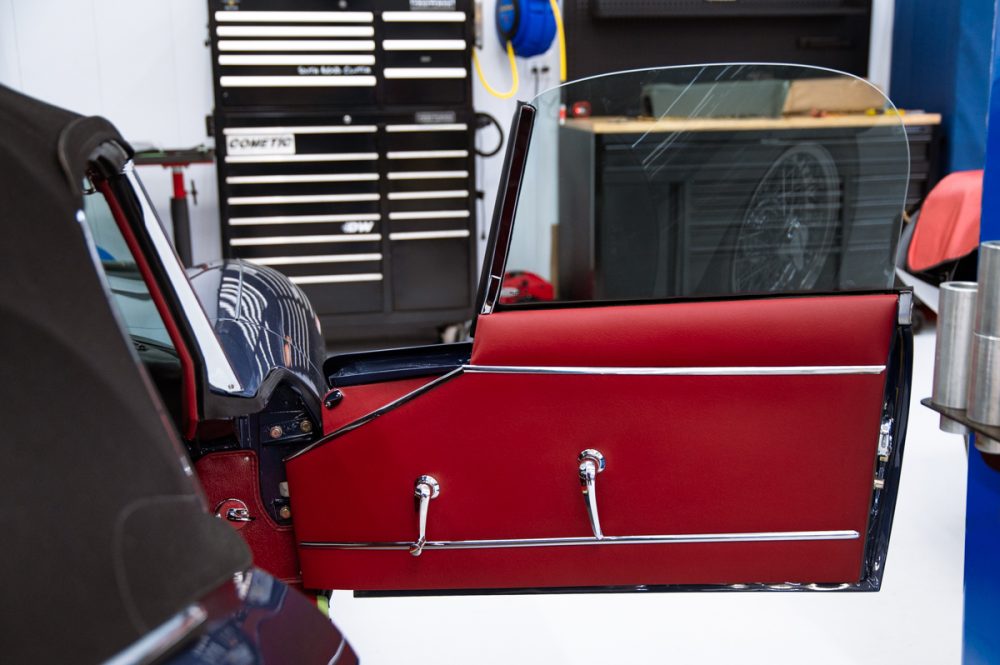
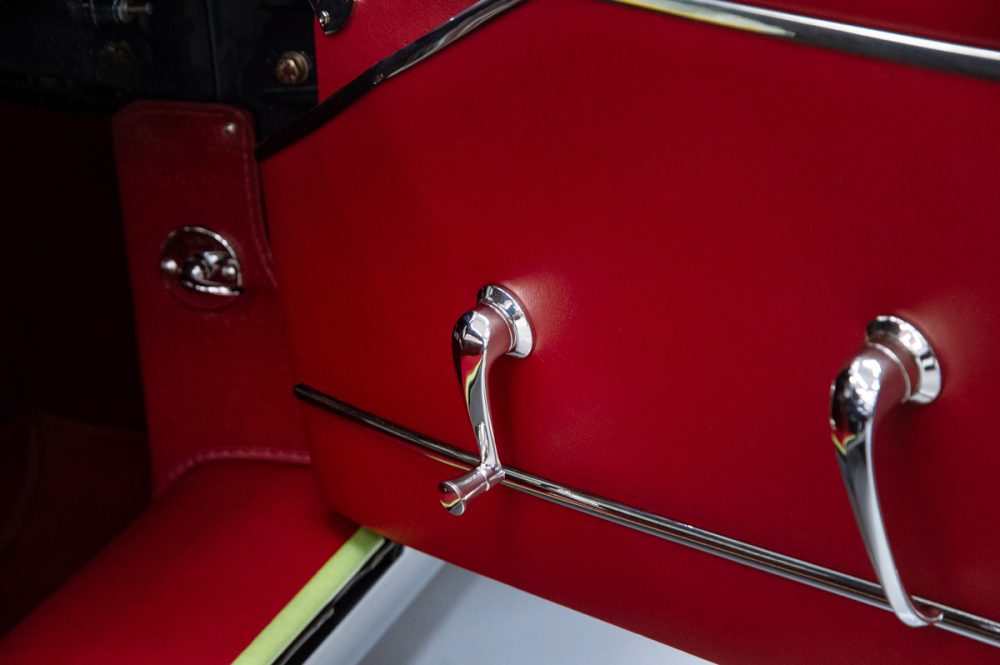
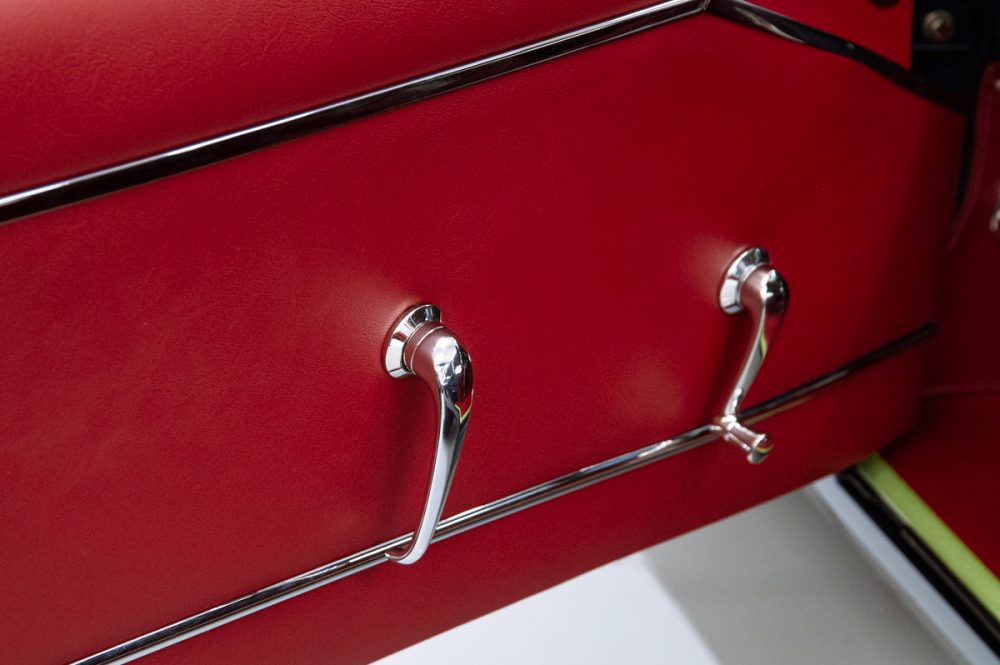
Door latches are set and aligned
February 22, 2024
February 22, 2024
February 22, 2024
January 29, 2024
January 29, 2024
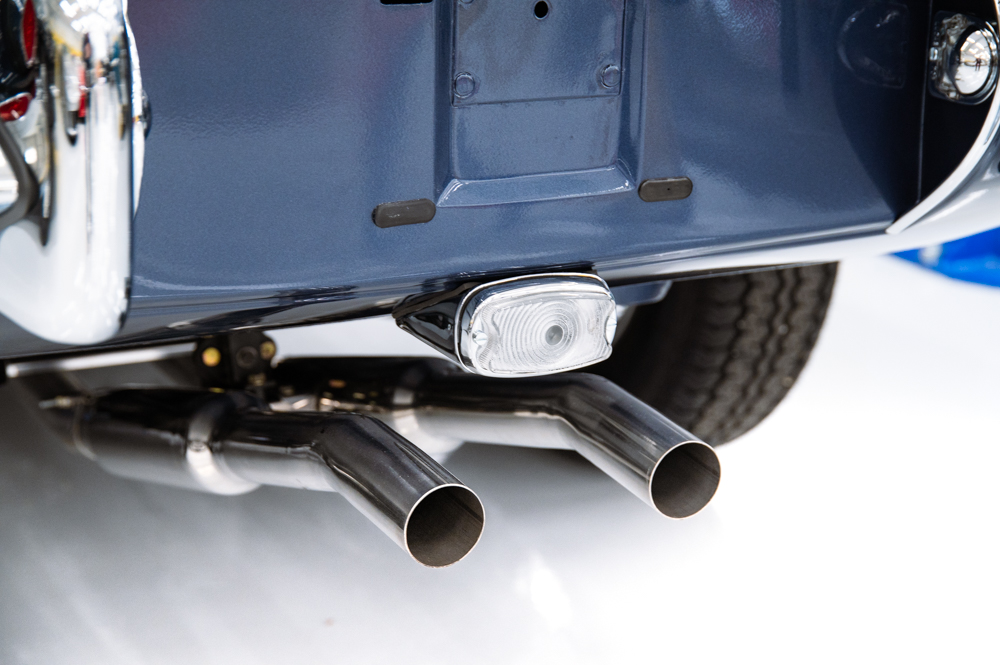
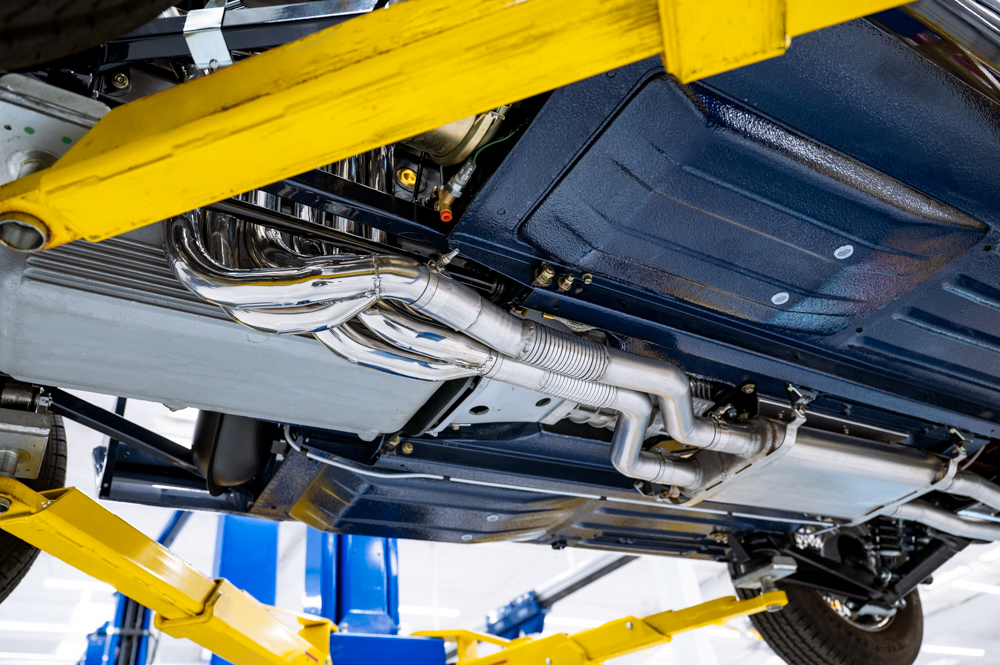
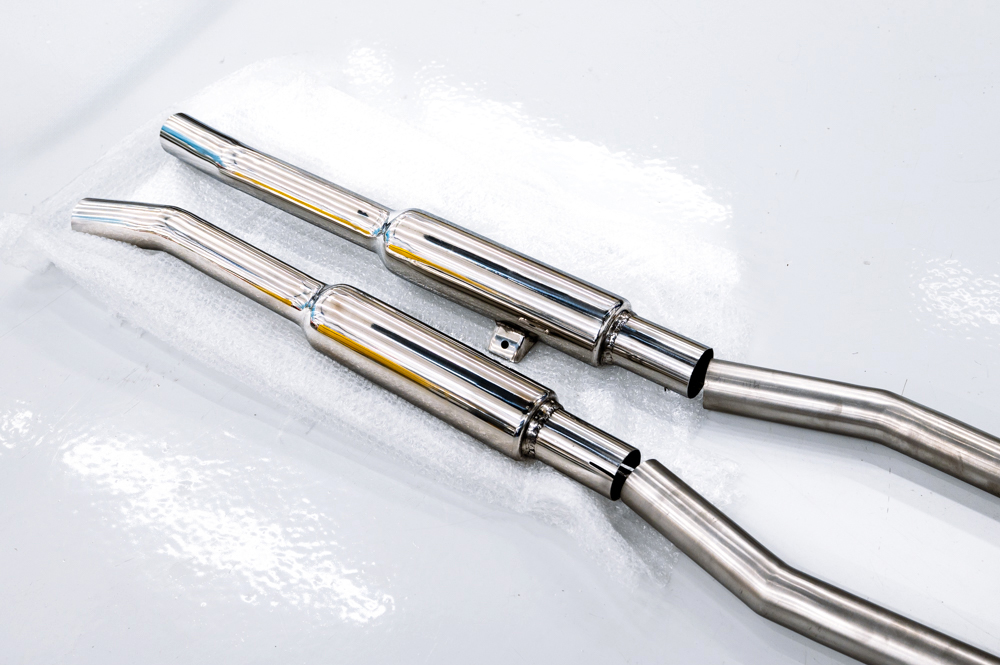
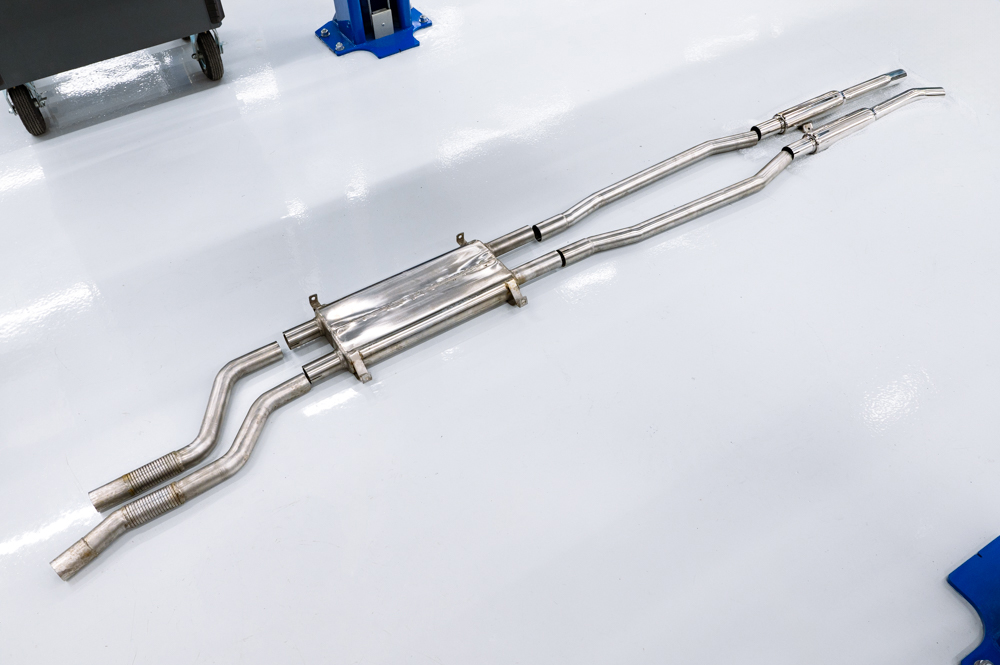
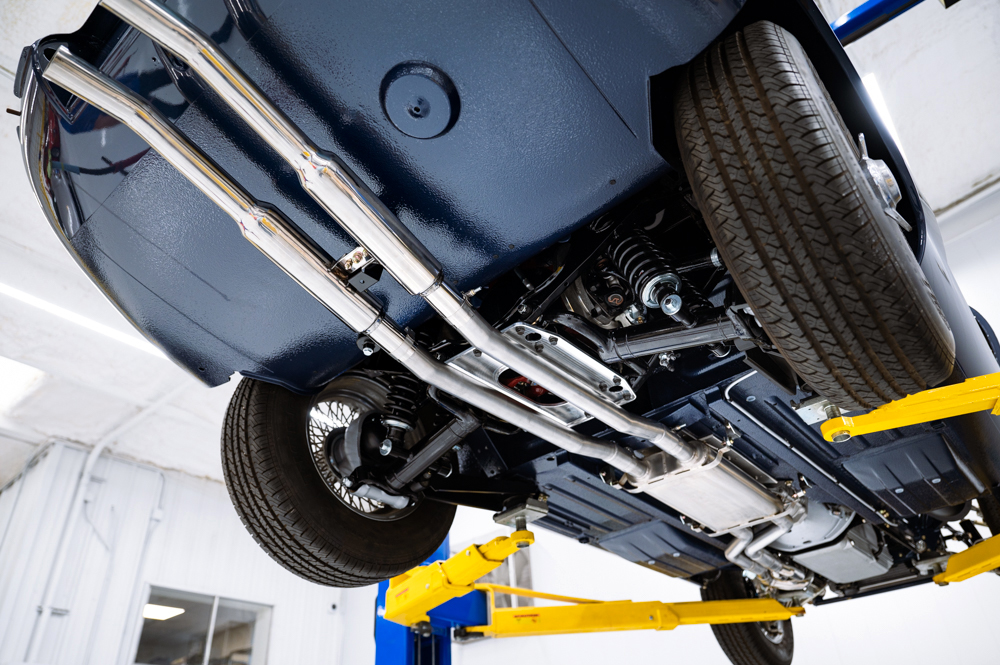
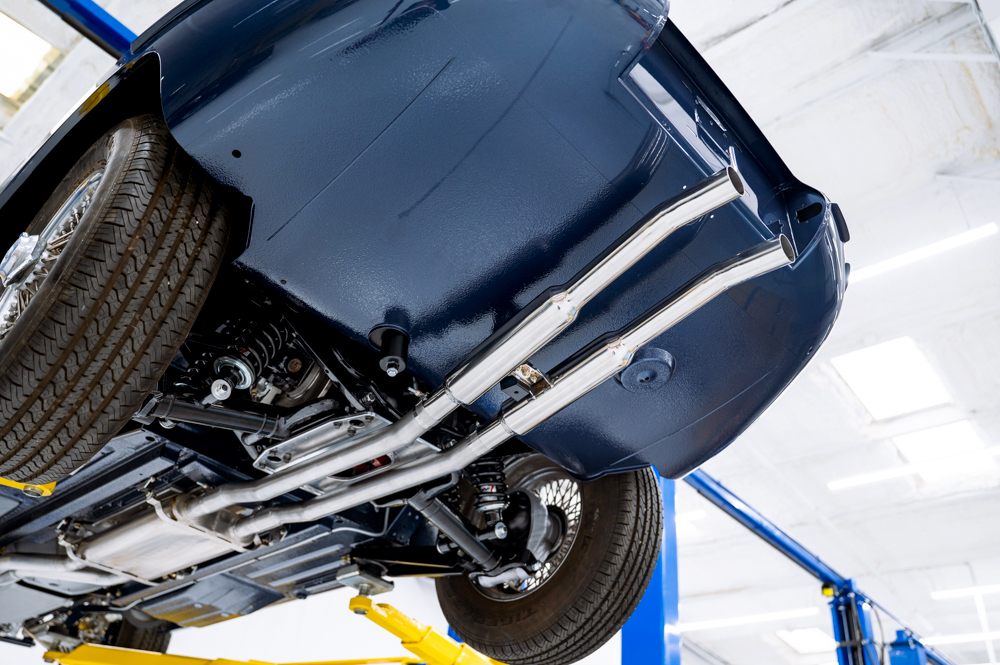
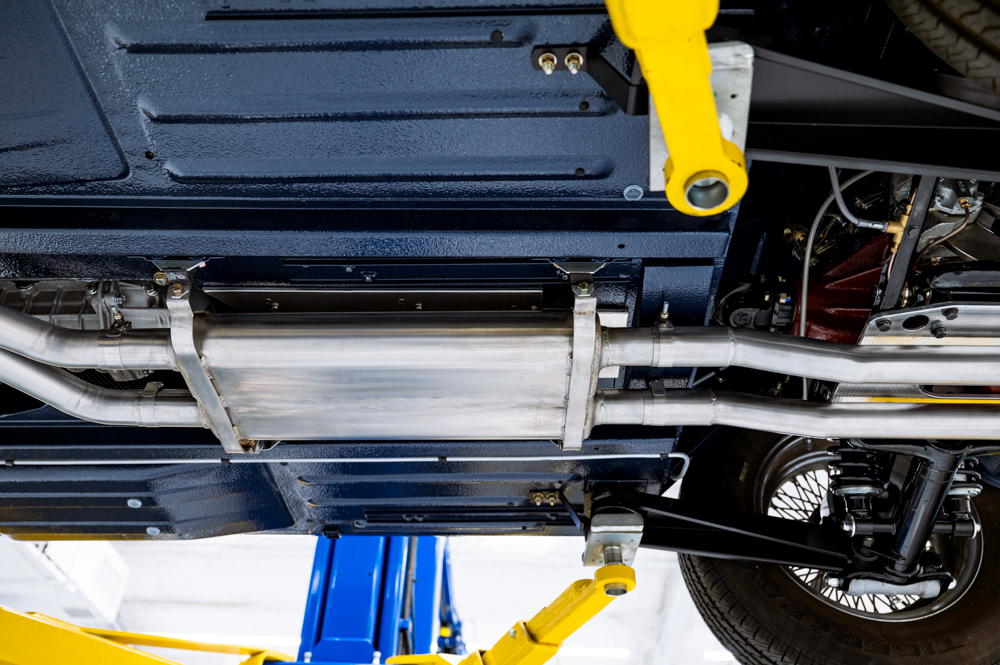
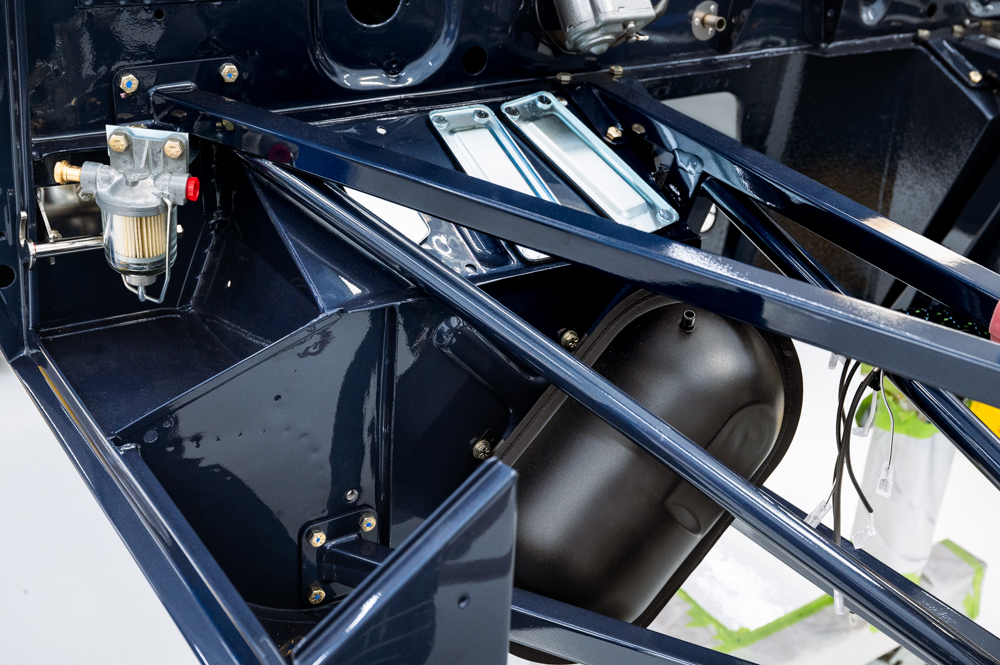
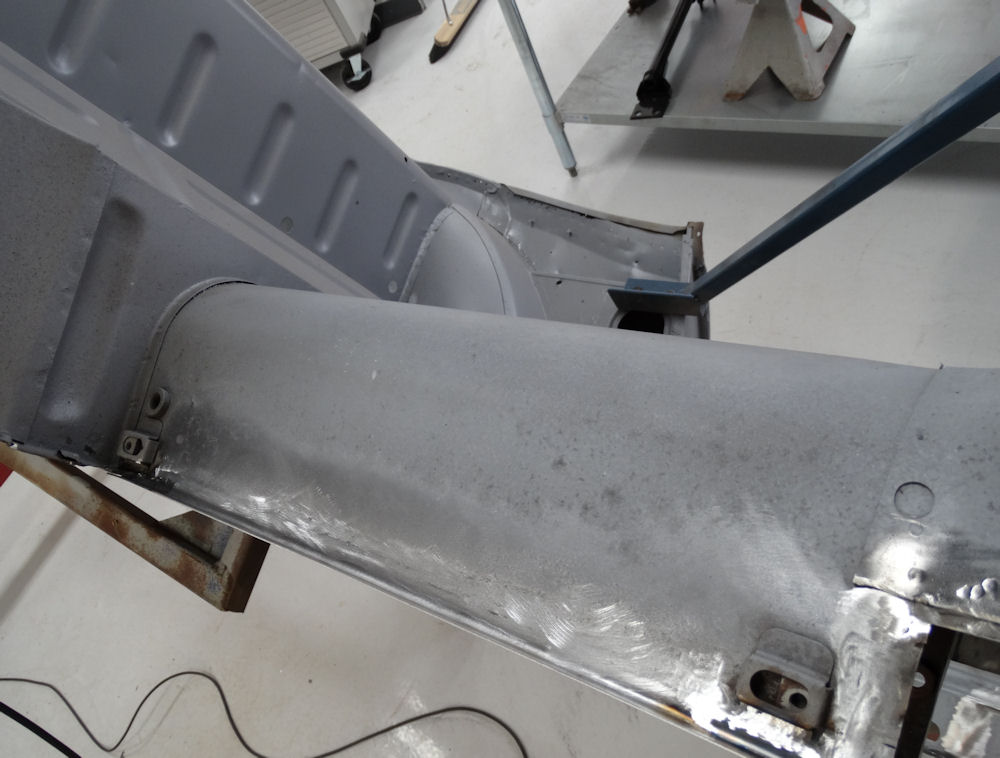
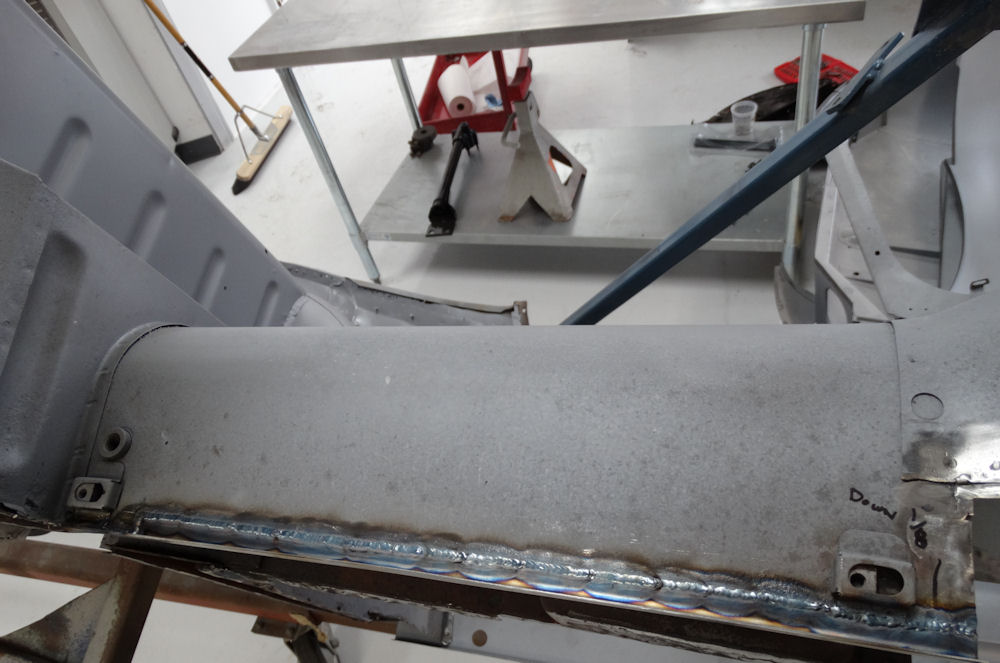
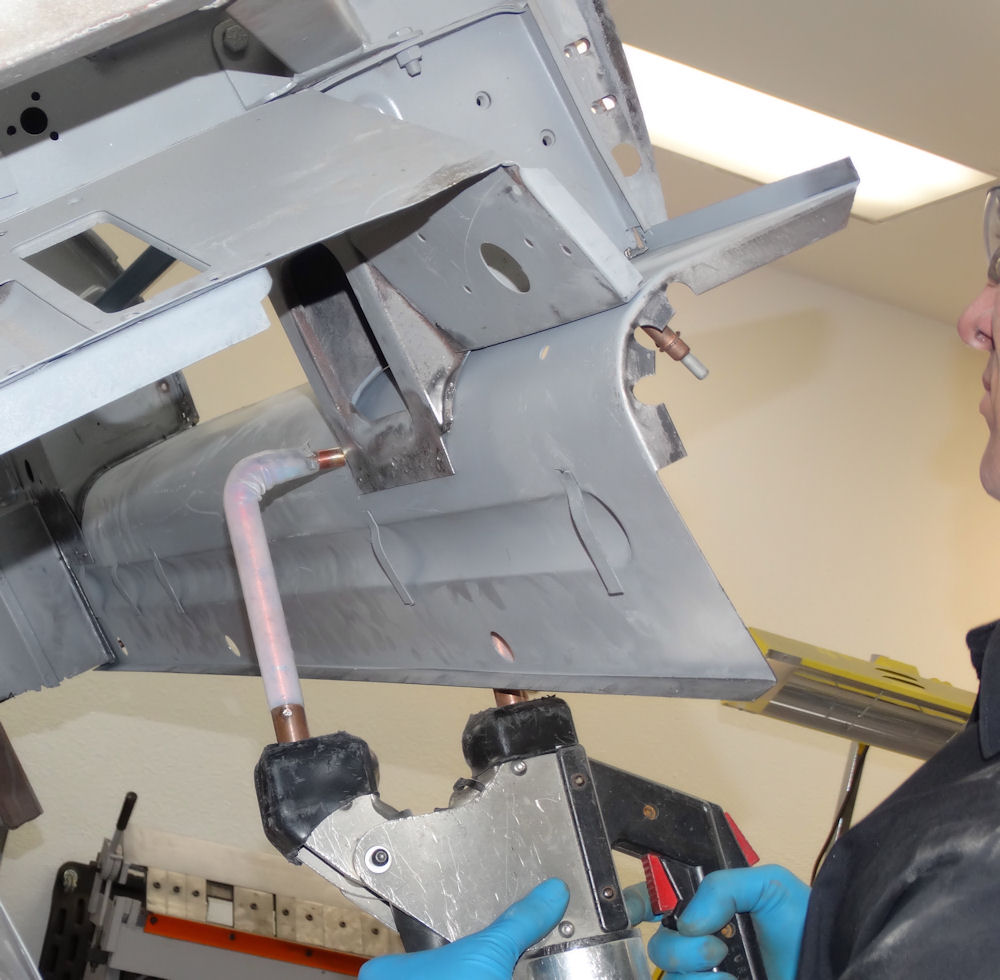
Exhaust fit and installed
January 29, 2024
January 29, 2024
January 29, 2024
January 17, 2024
January 17, 2024
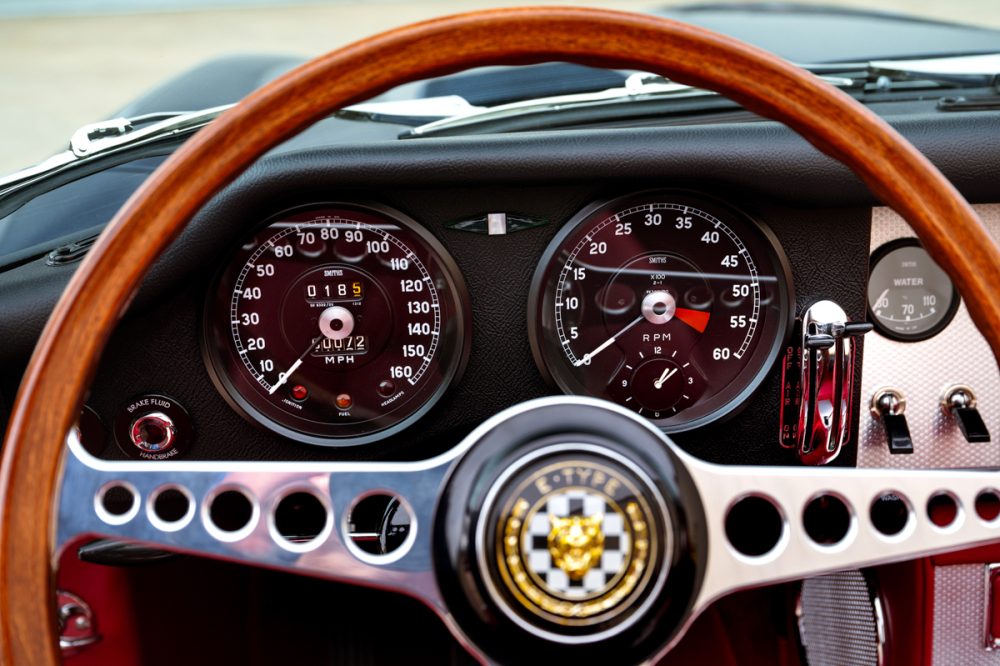
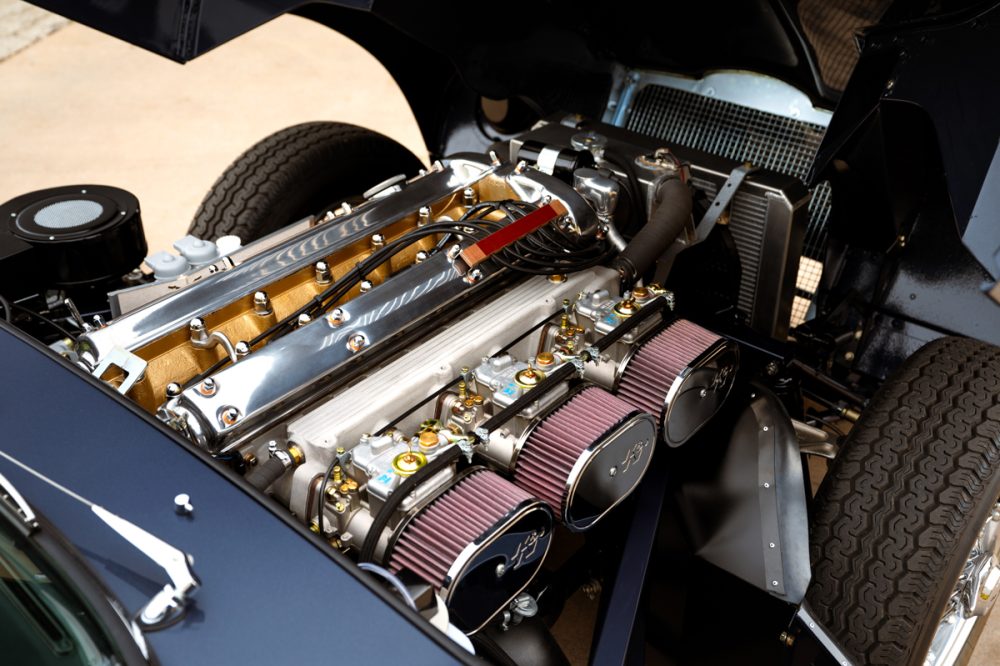
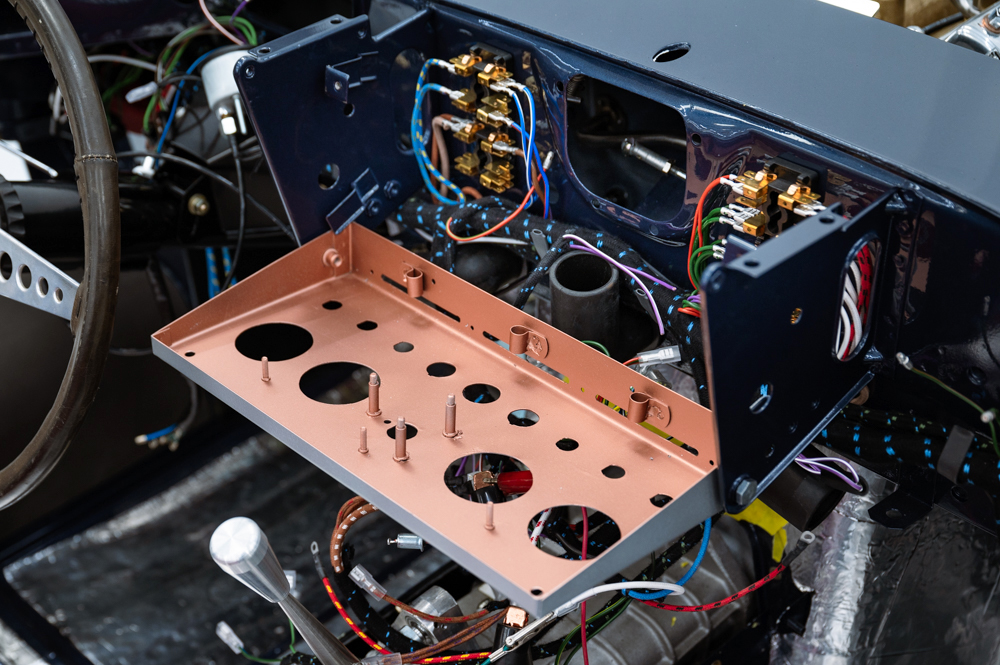
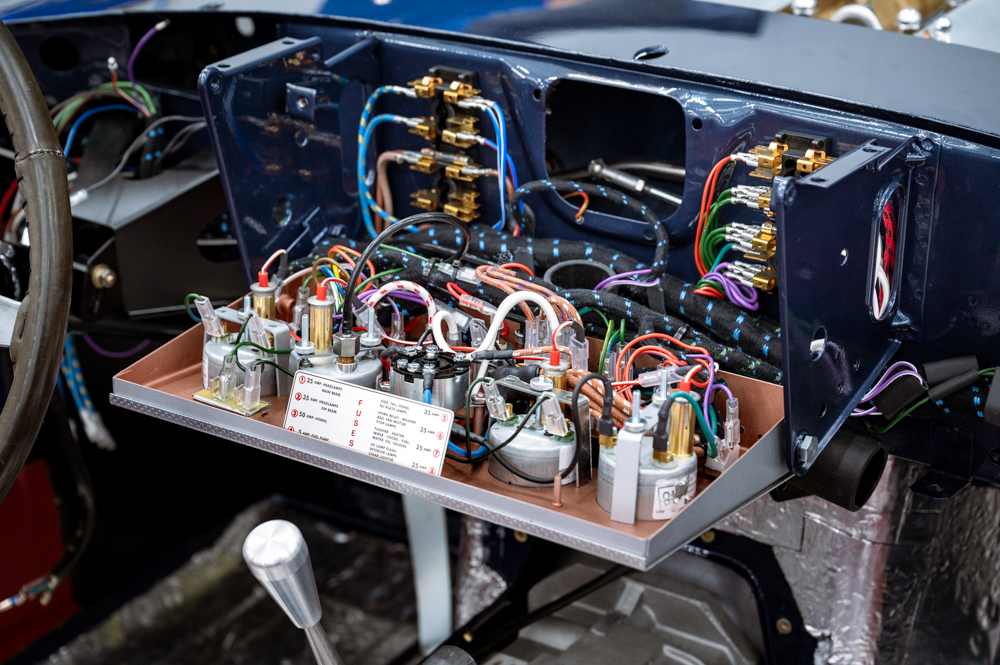
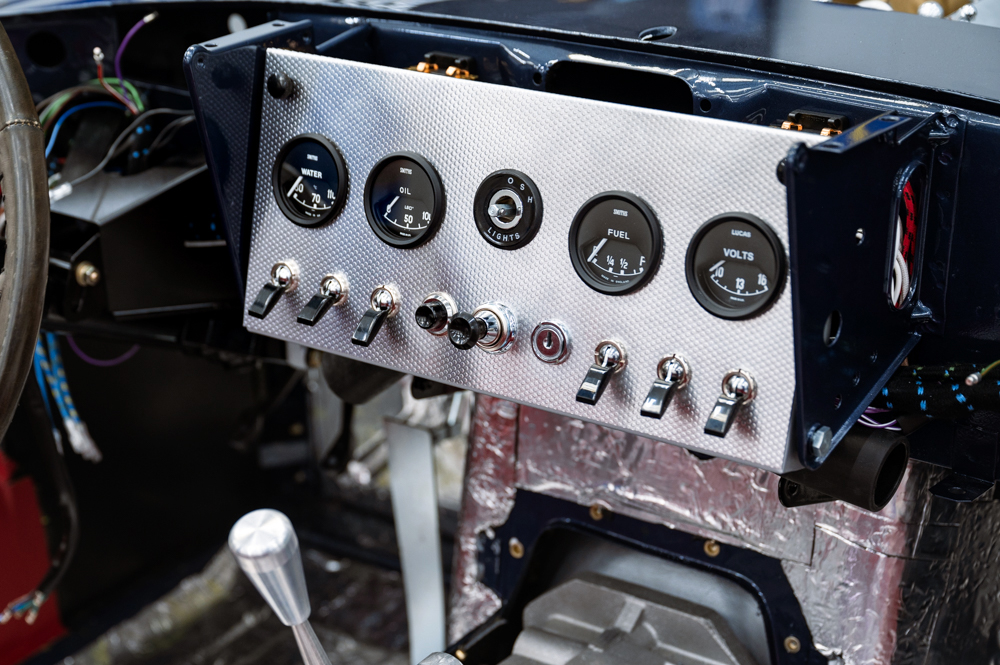
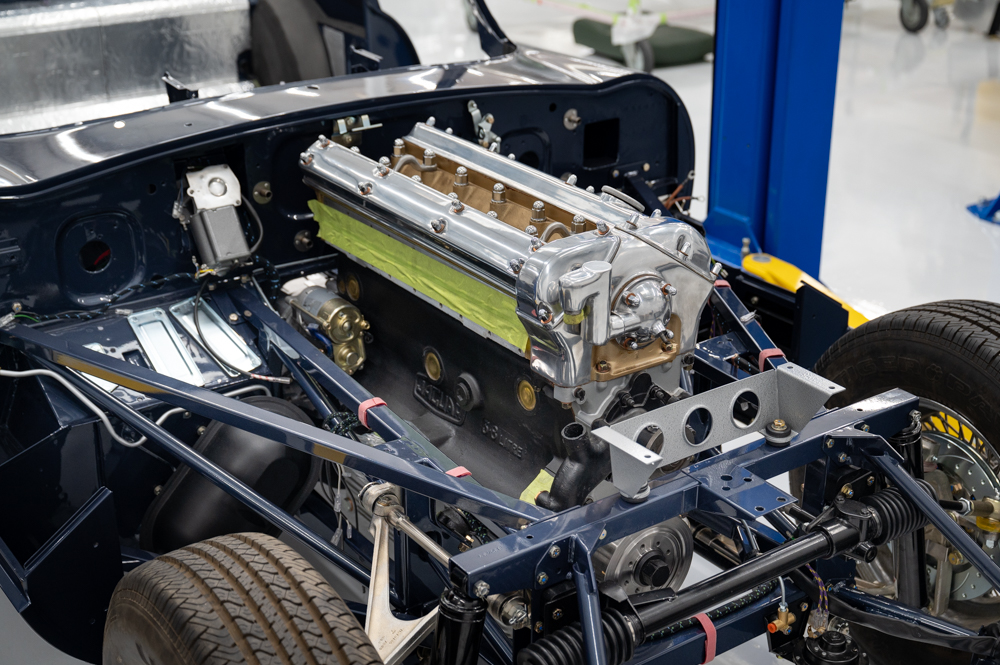
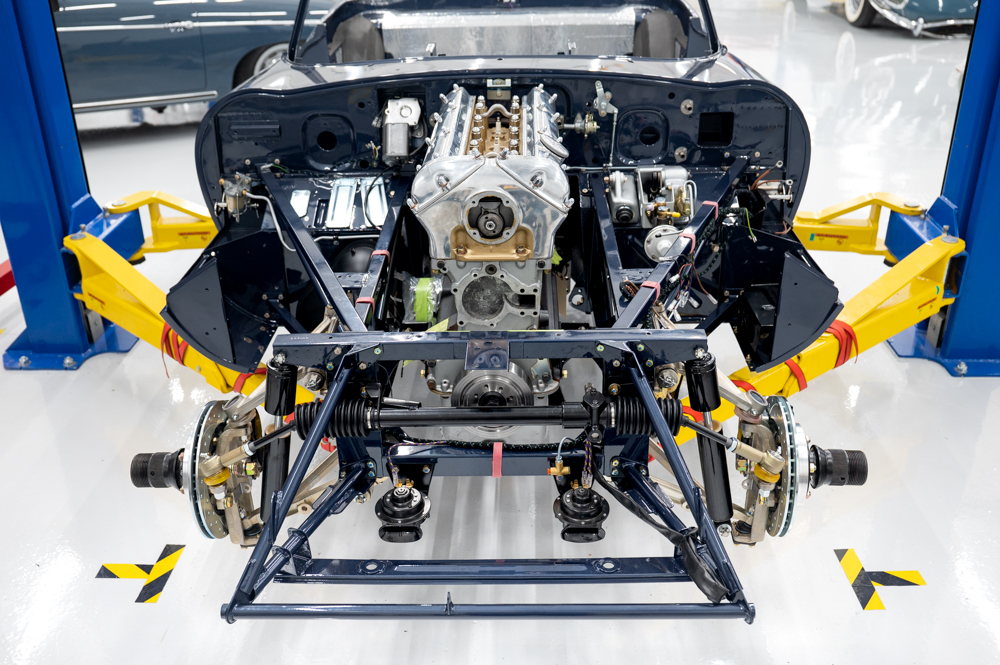
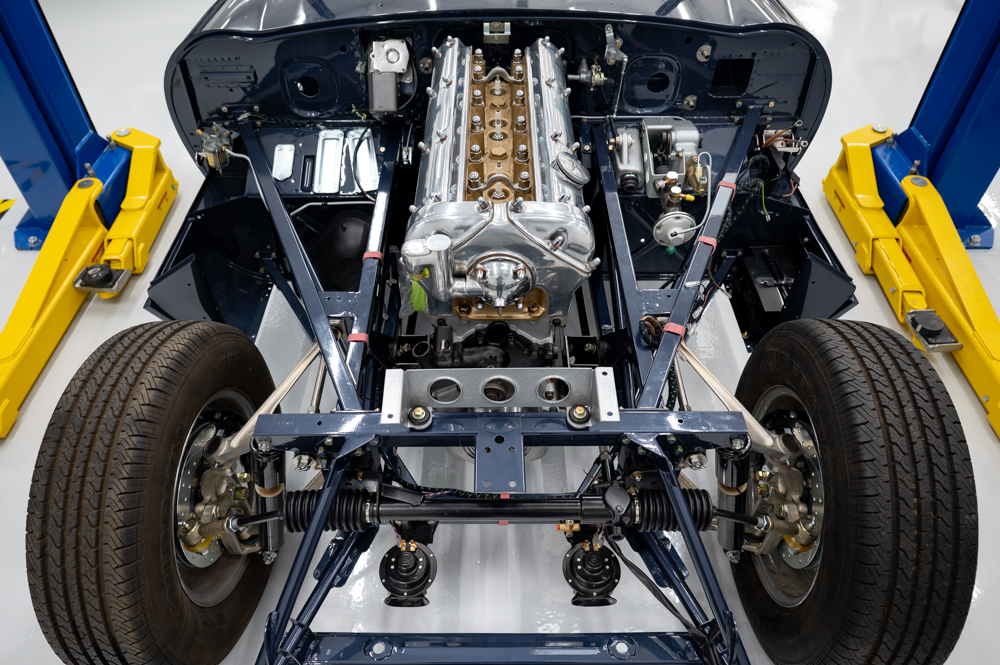
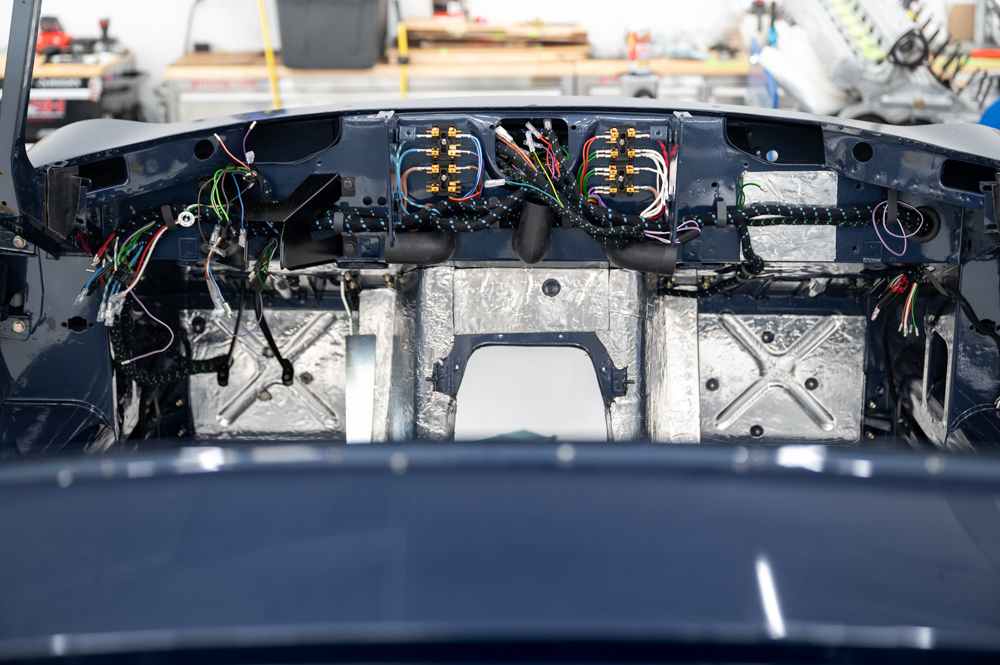
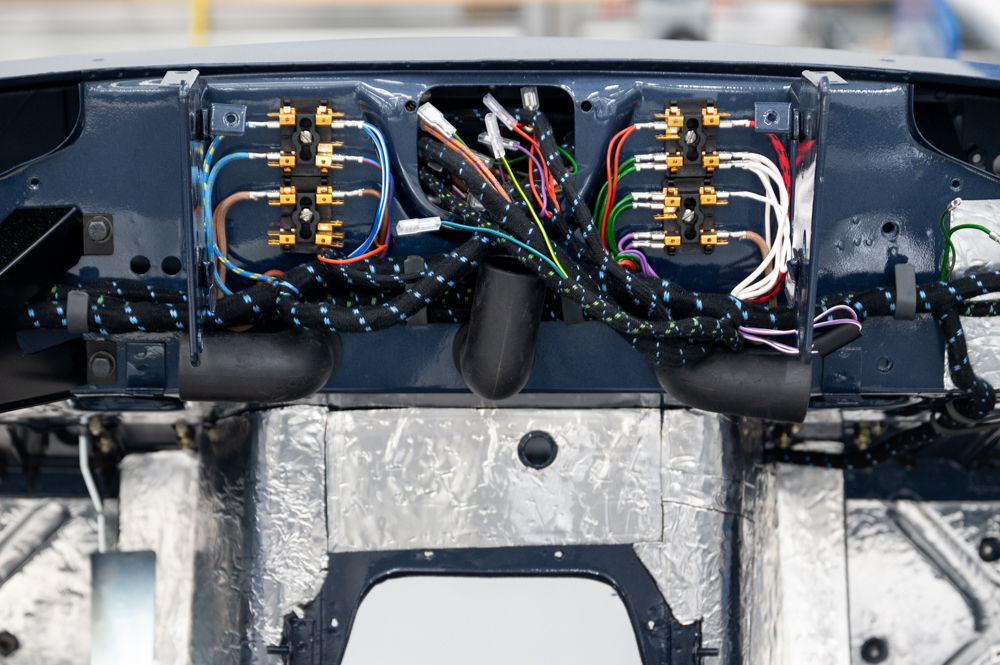
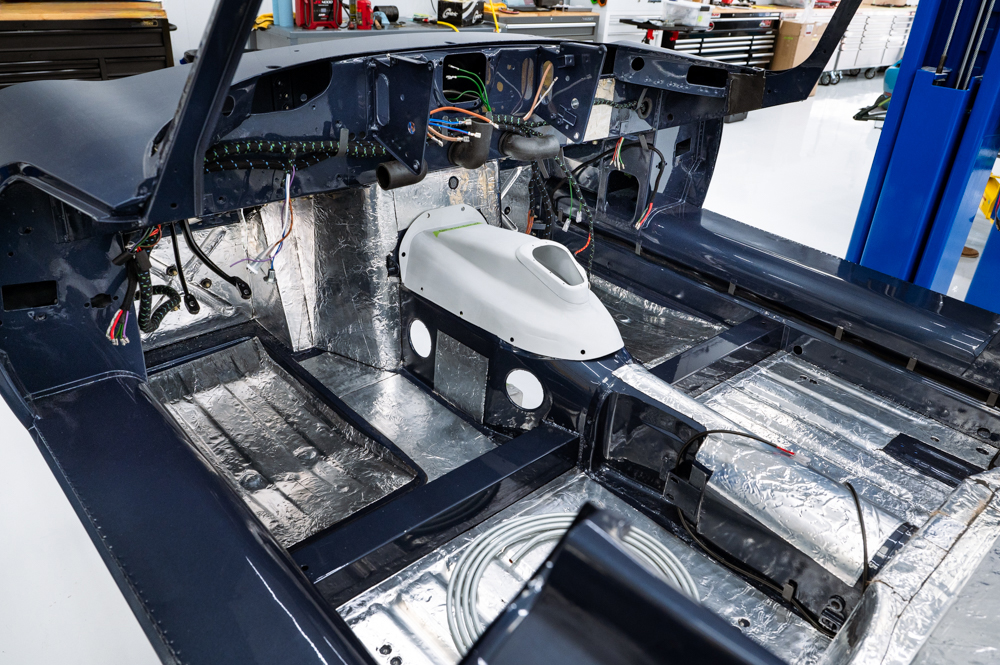
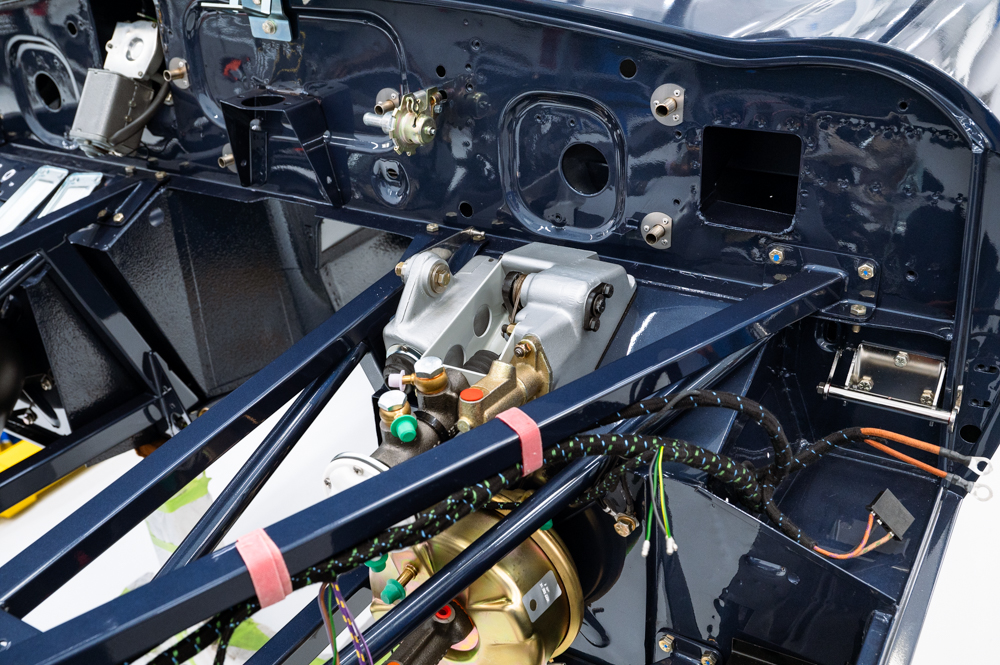
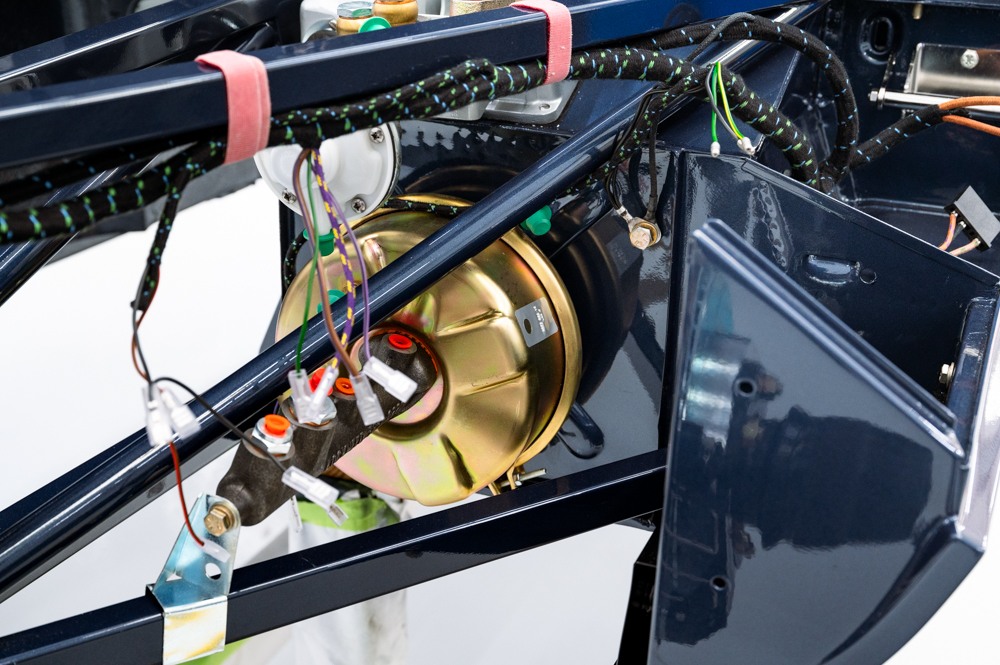
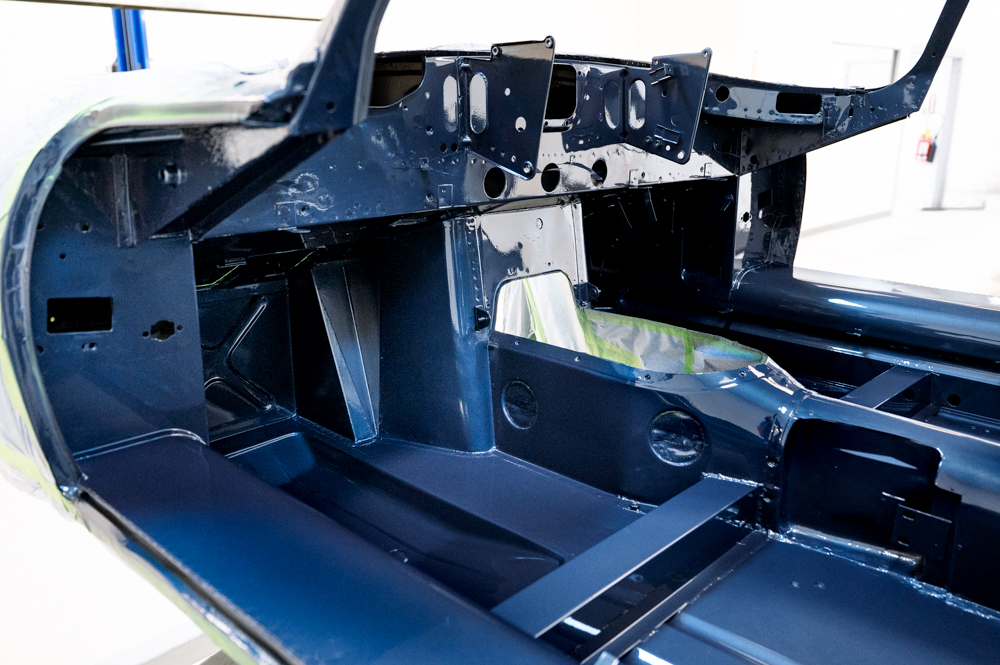
Engine dressing and center dash complete.
January 17, 2024
January 17, 2024
January 17, 2024
January 17, 2024
January 17, 2024
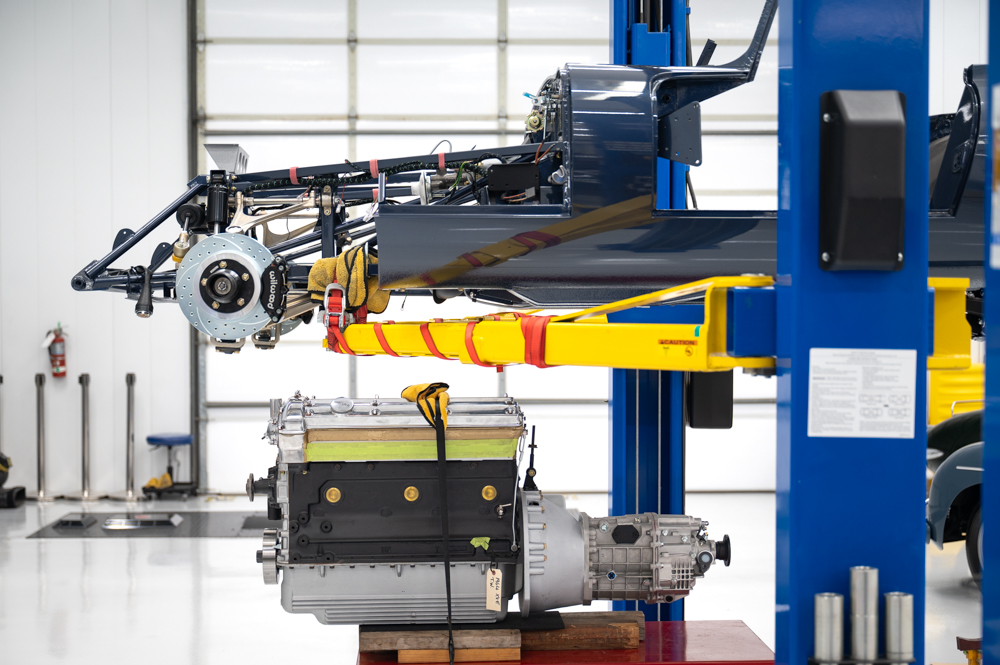
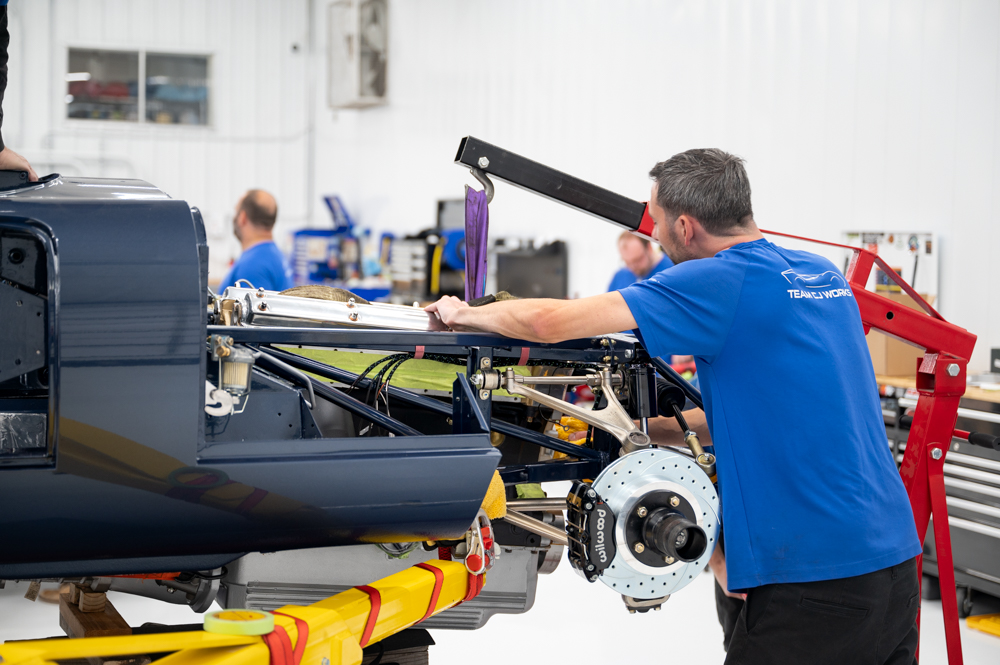
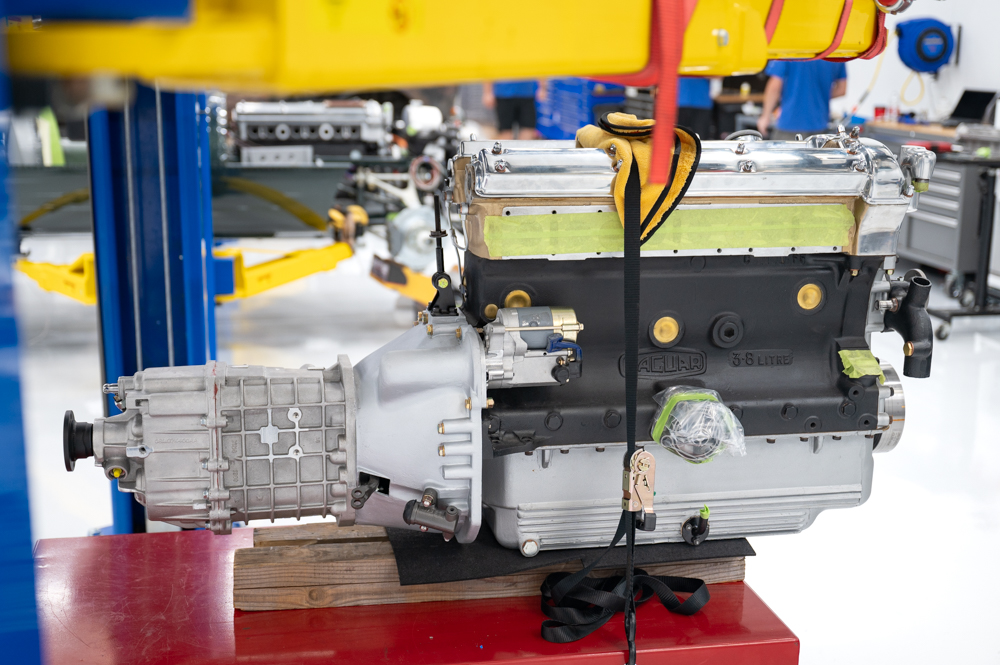
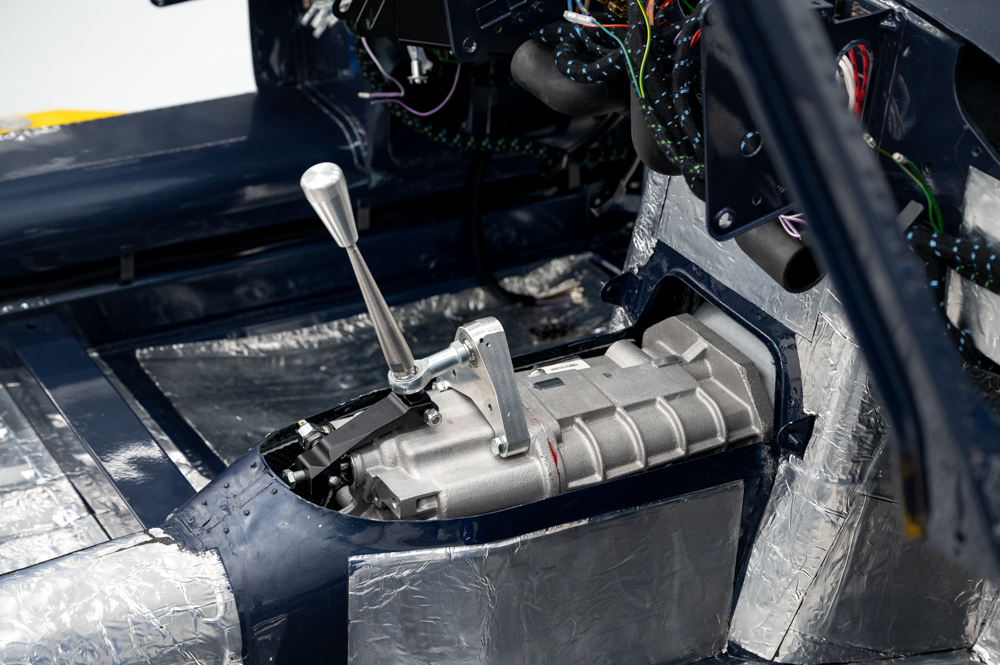
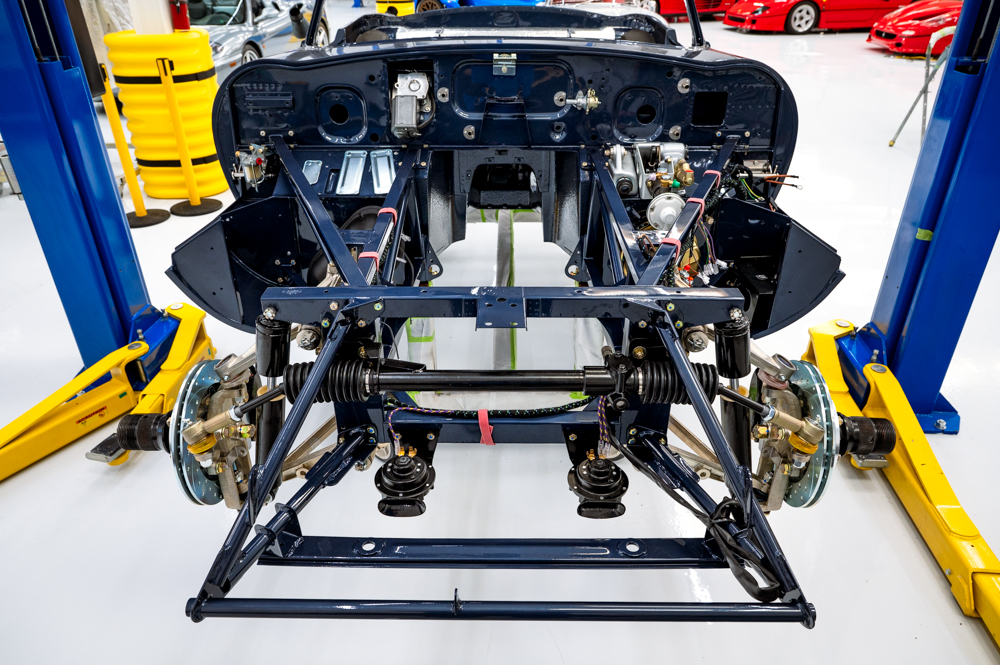
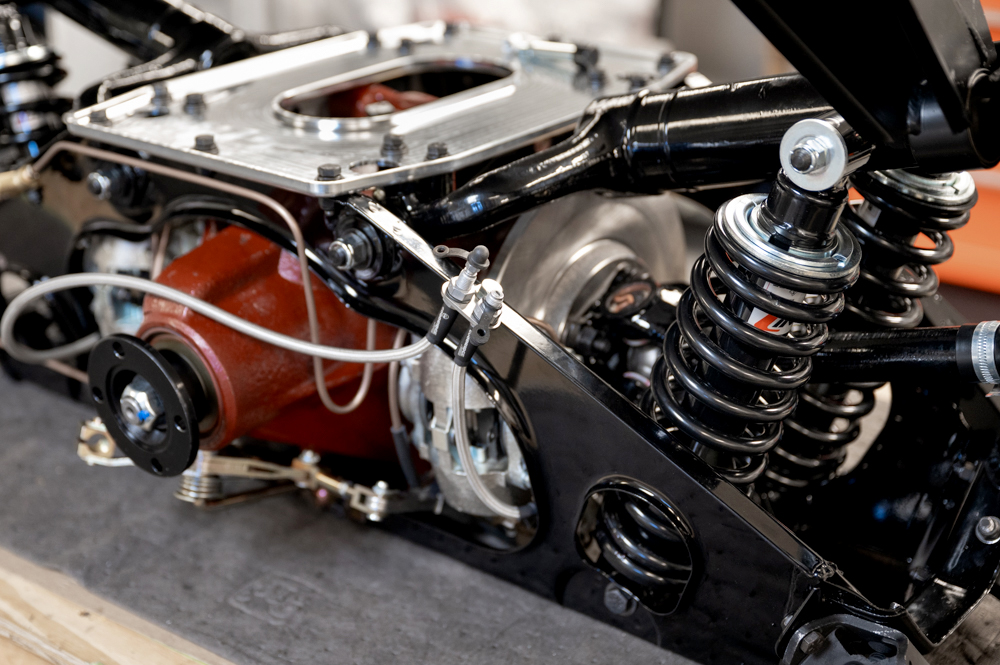
Engine and transmission installed.
January 17, 2024
January 17, 2024
December 1, 2023
December 1, 2023
December 1, 2023
December 1, 2023
December 1, 2023
December 1, 2023
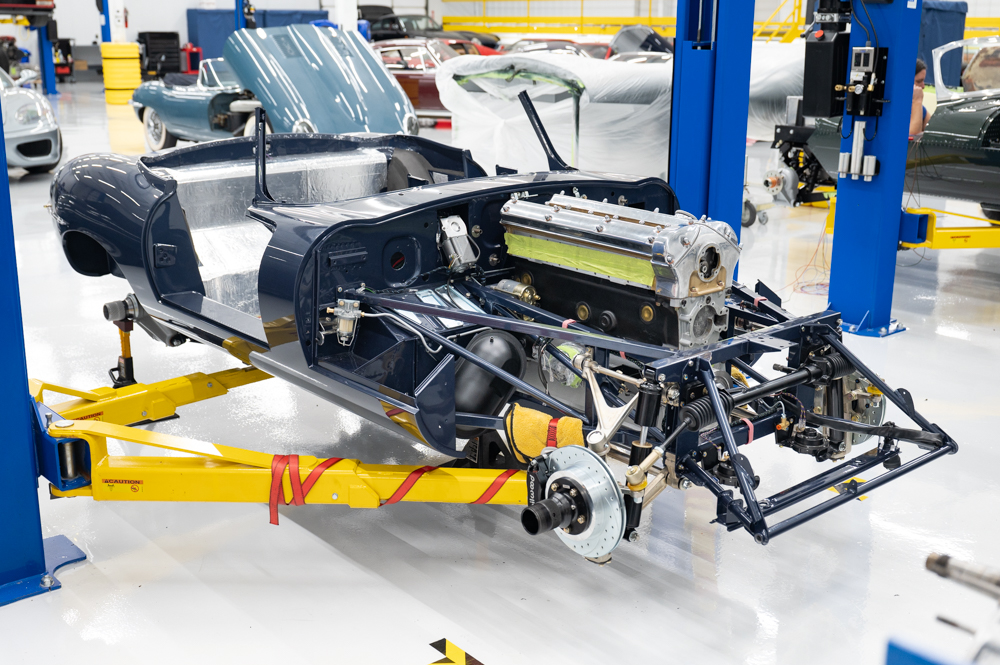
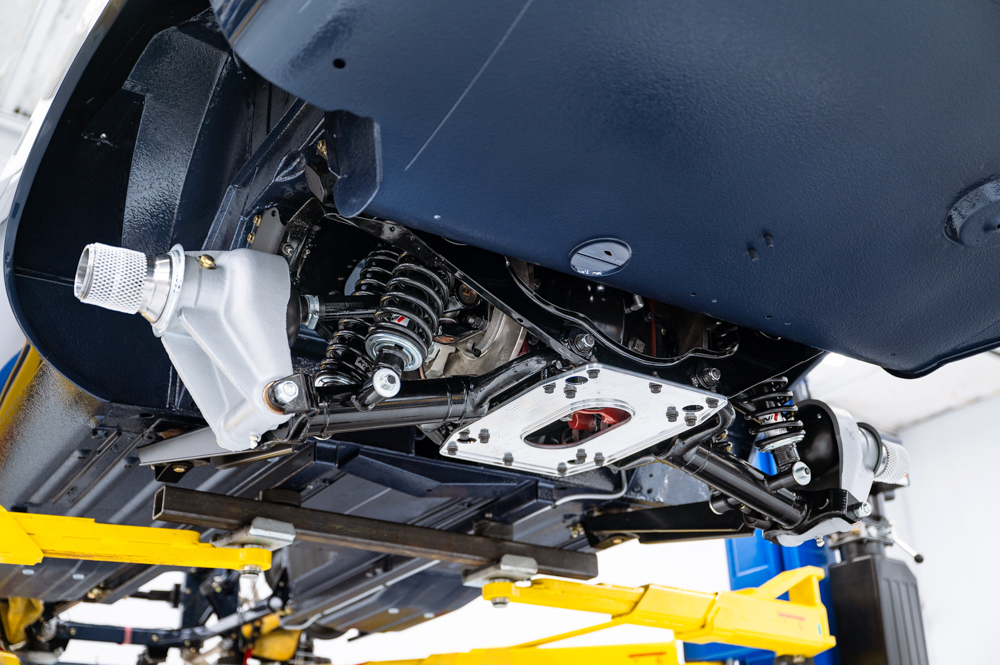
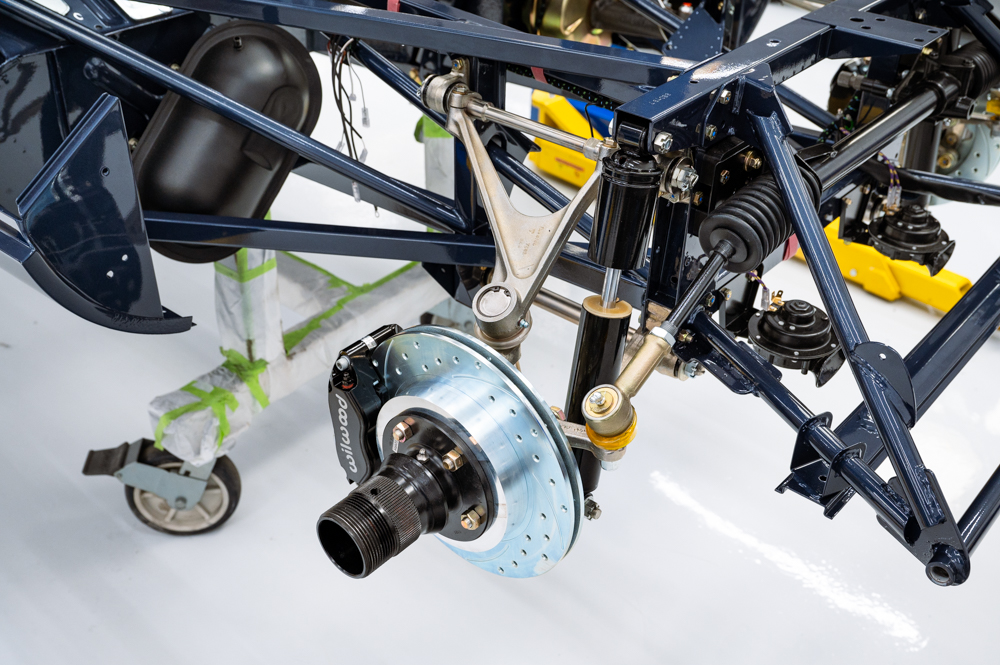
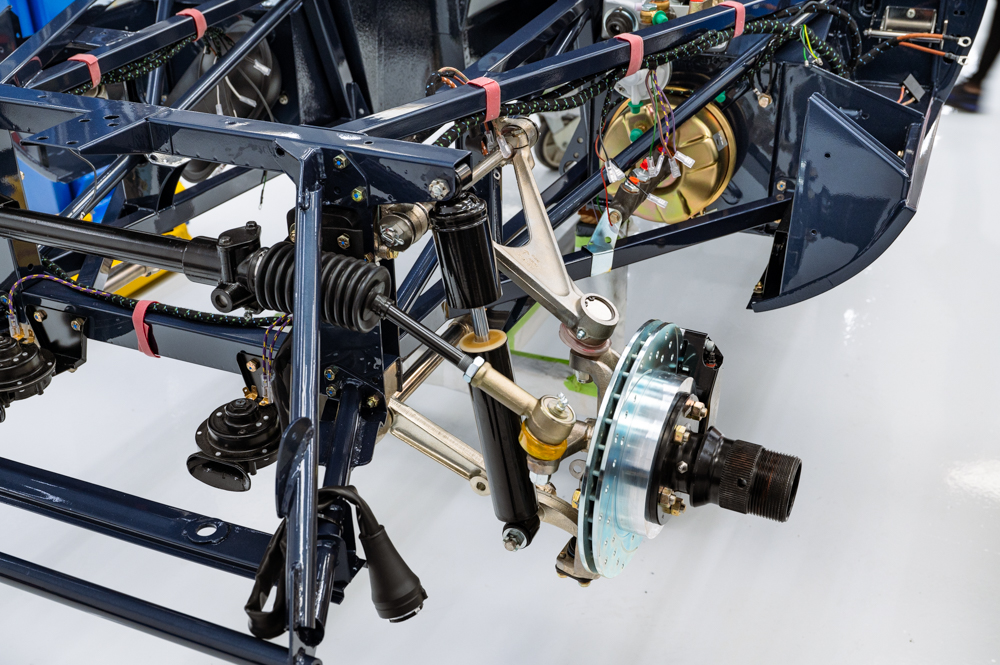
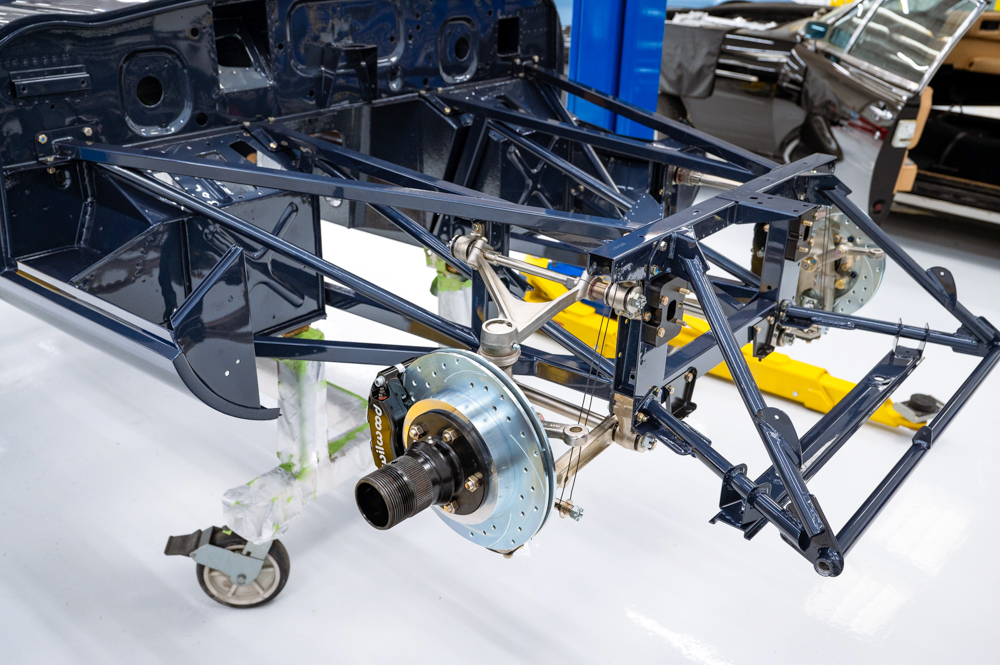
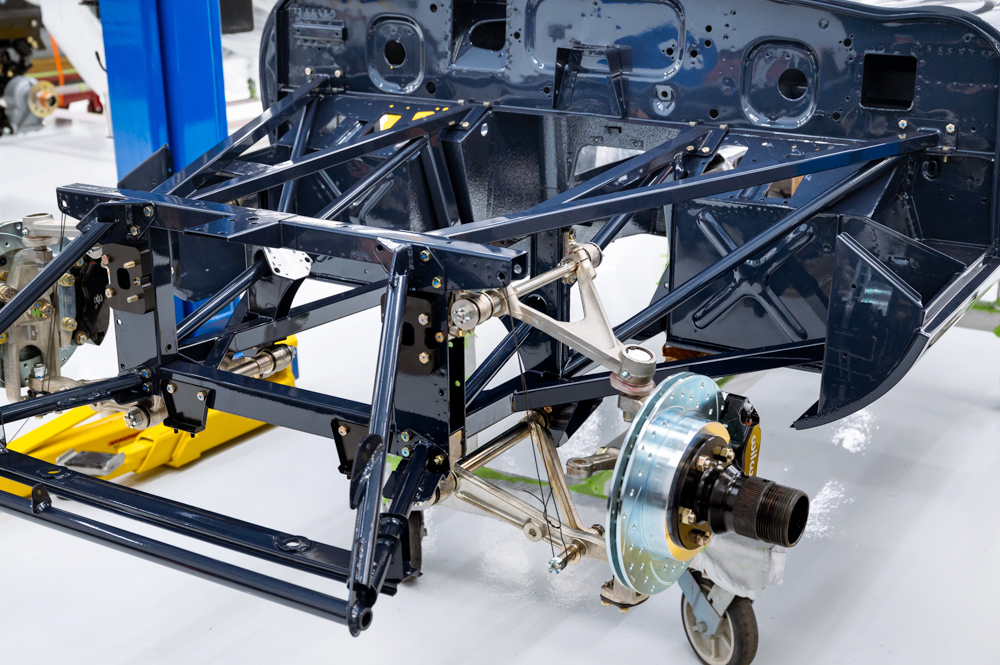
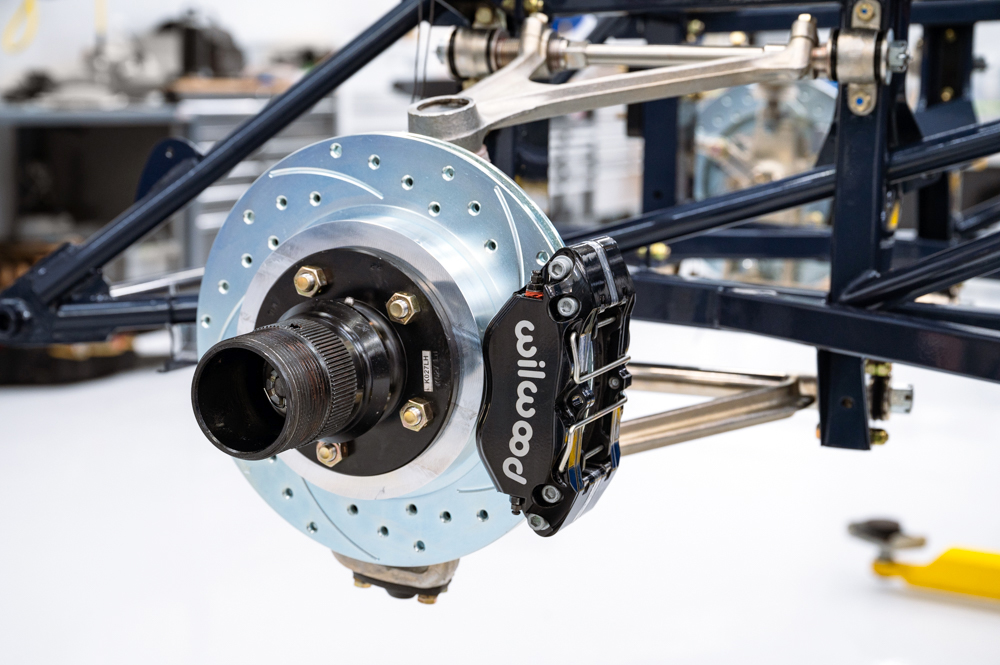
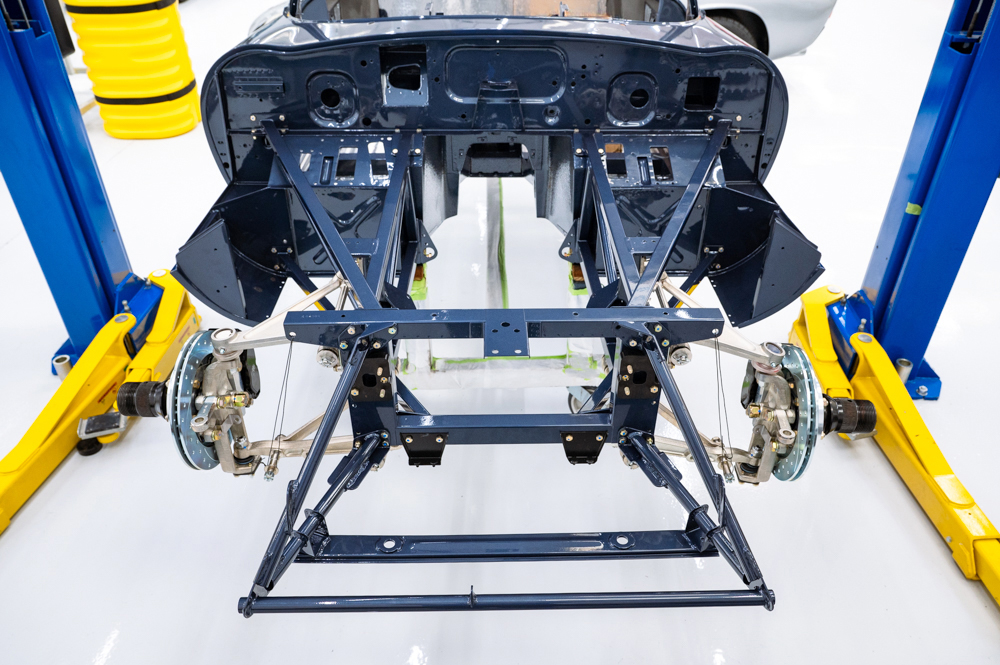
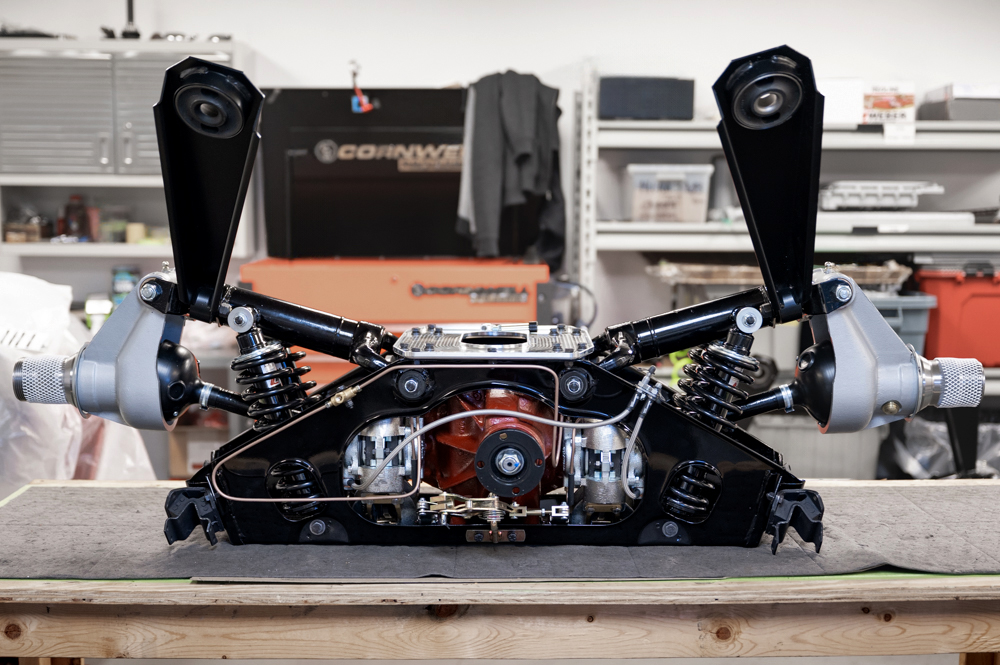
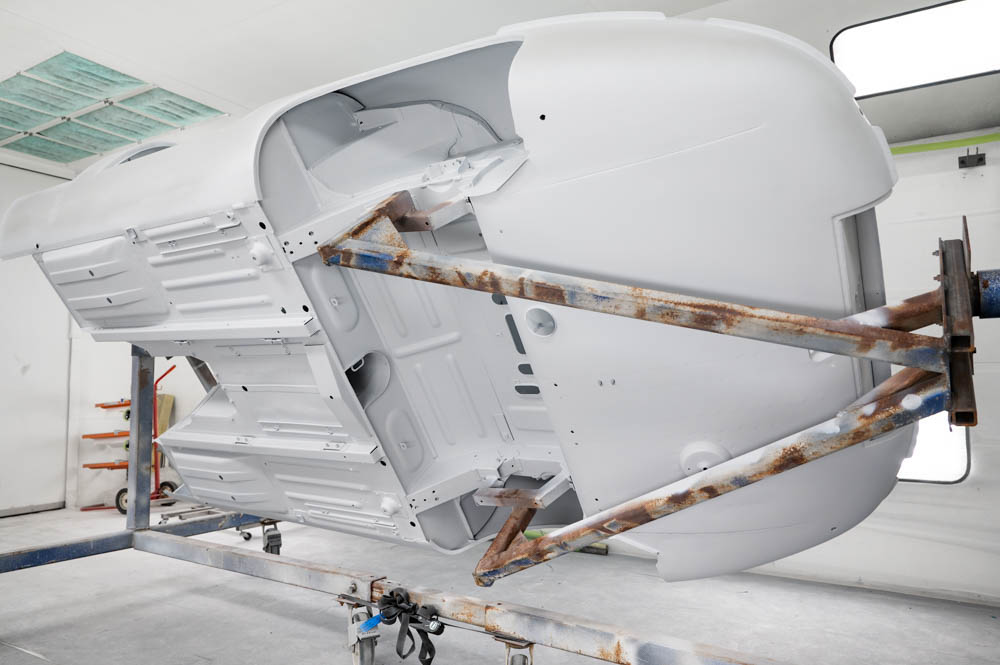
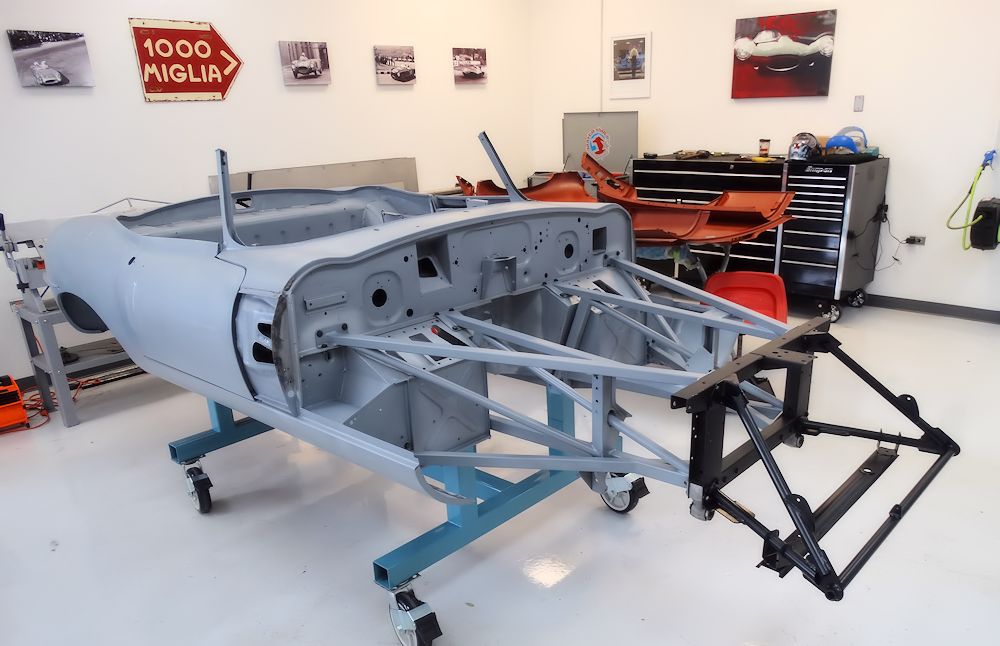
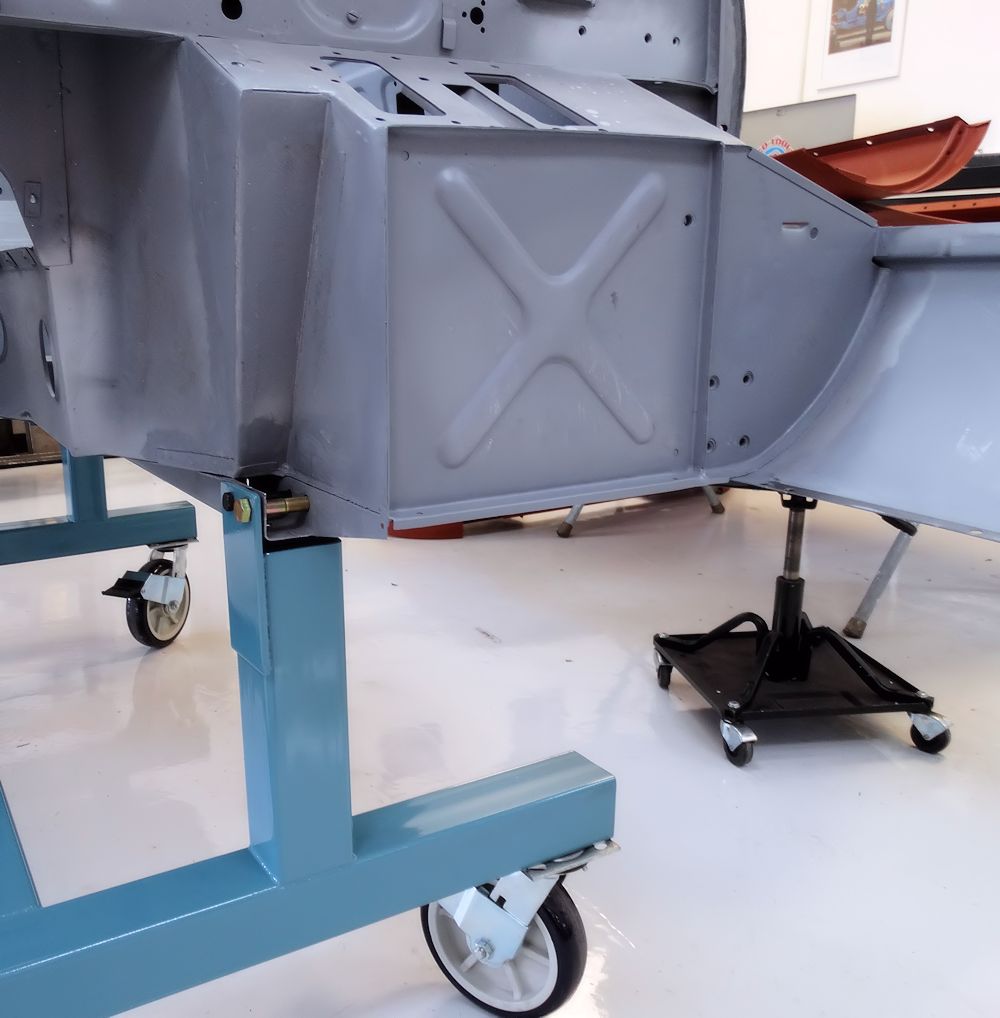
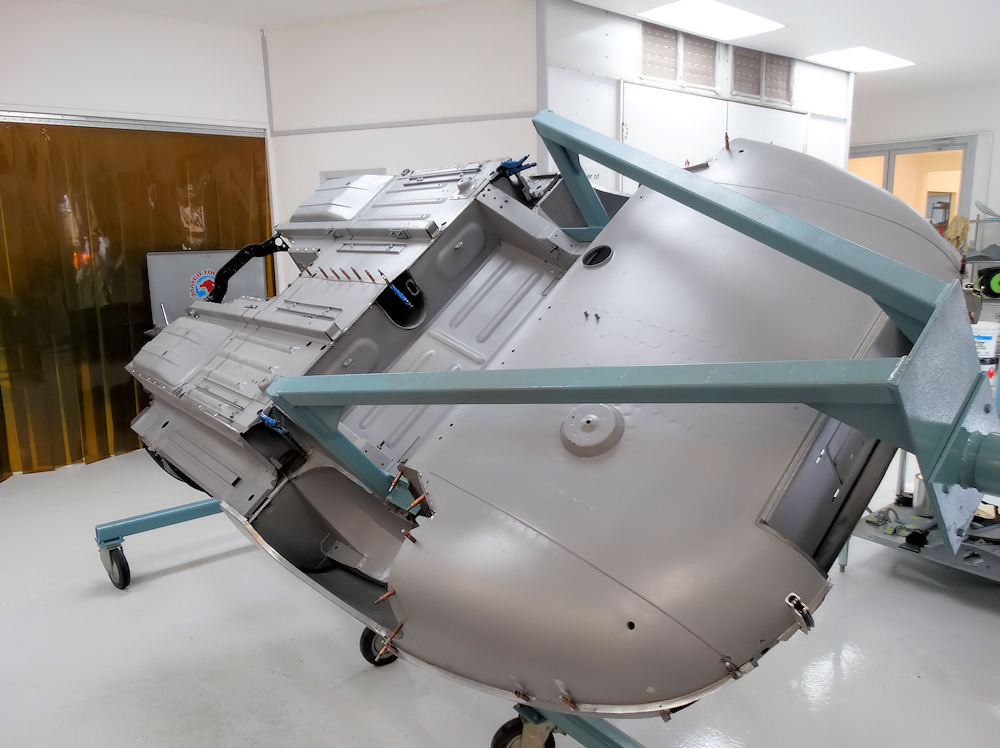
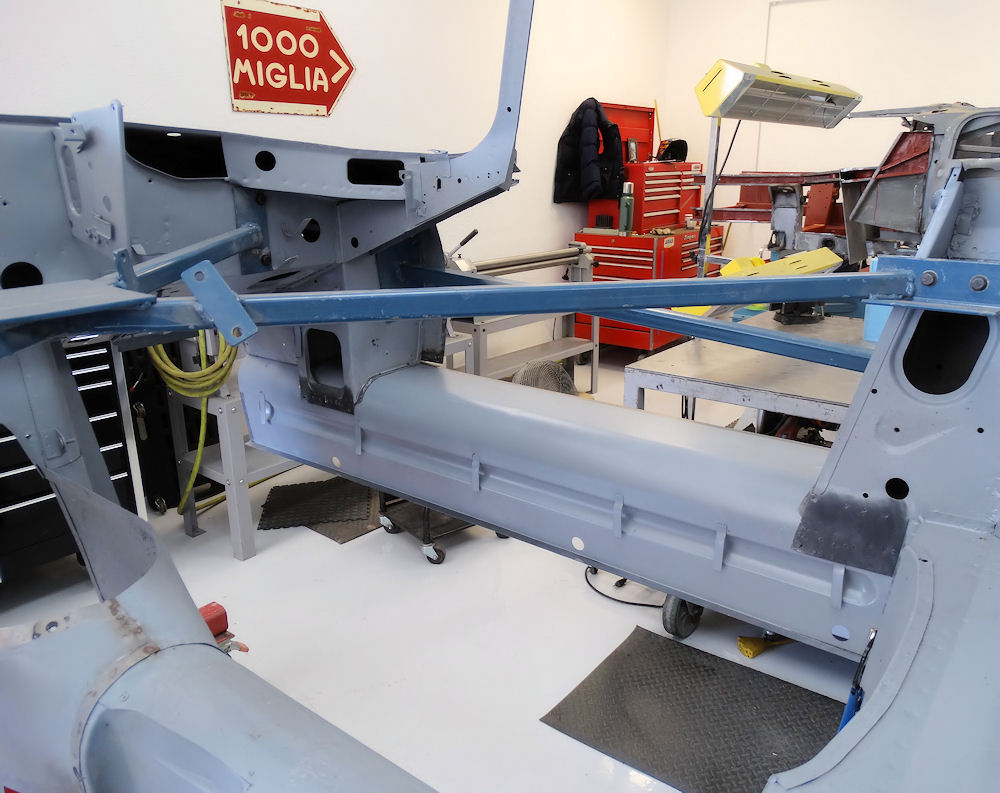
Sitting on it's own suspension
with temporary wheels.
December 1, 2023
December 1, 2023
November 28, 2023
November 28, 2023
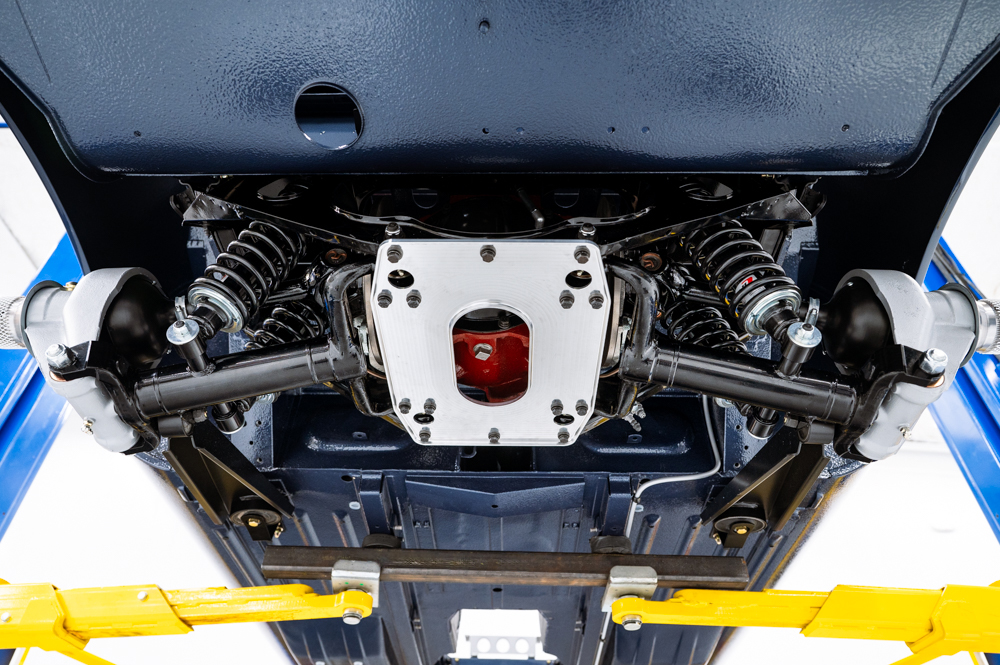
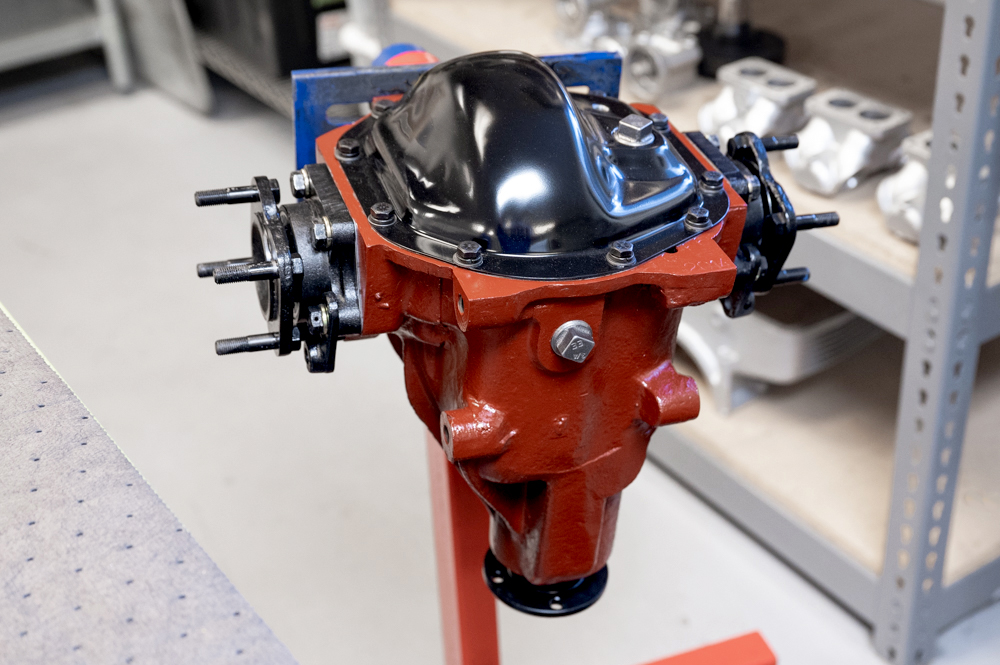
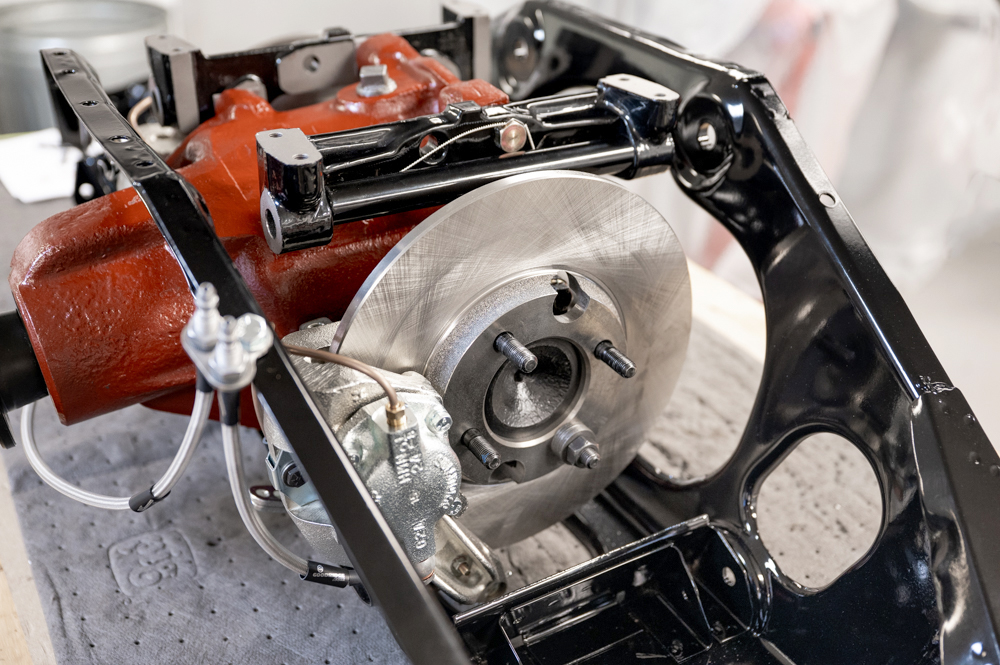
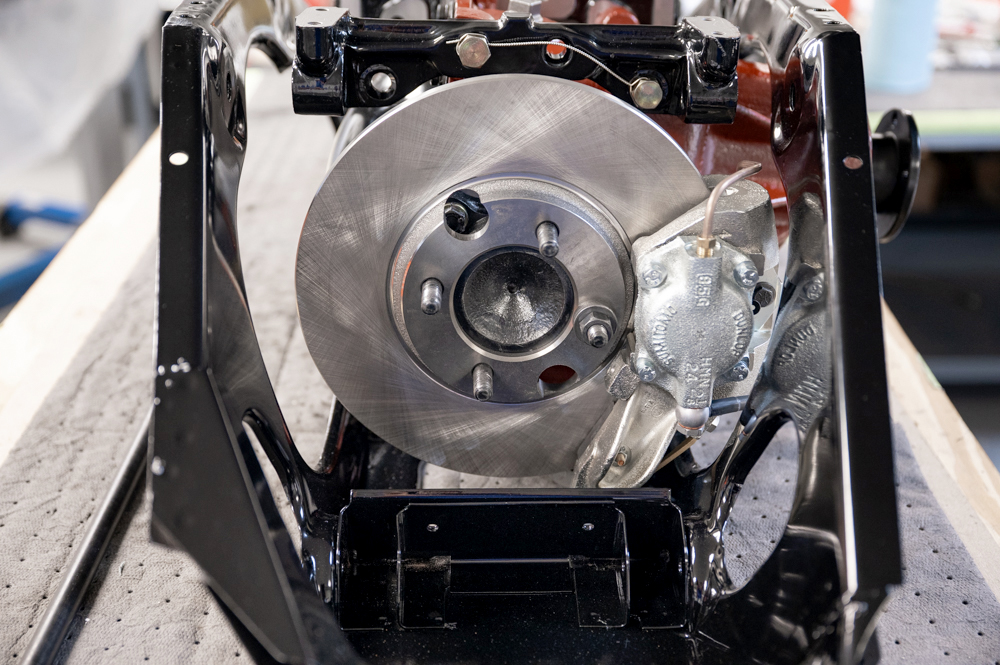
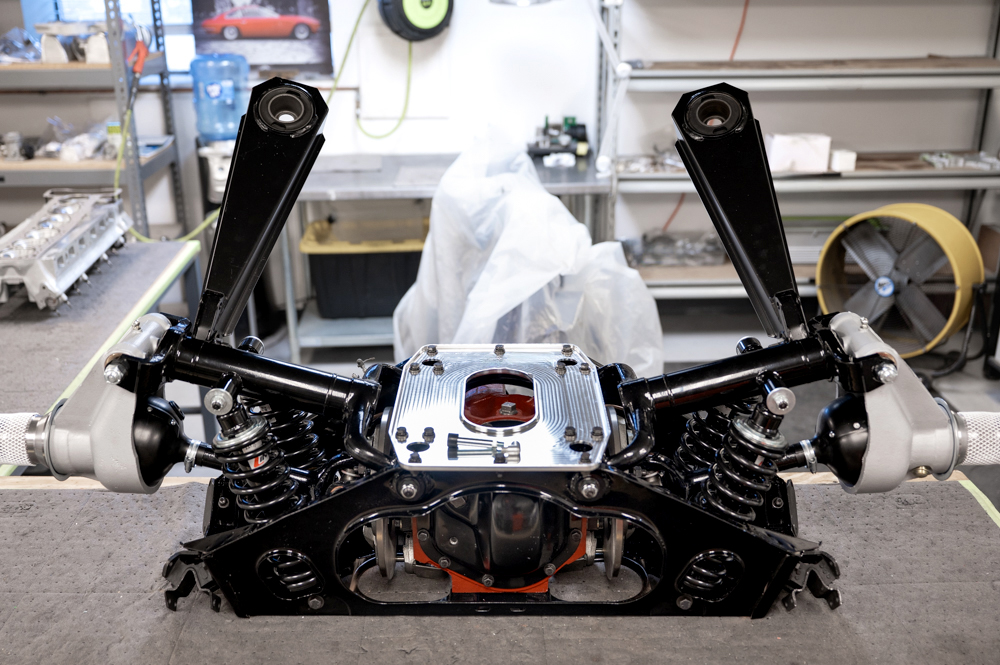
IRS is installed
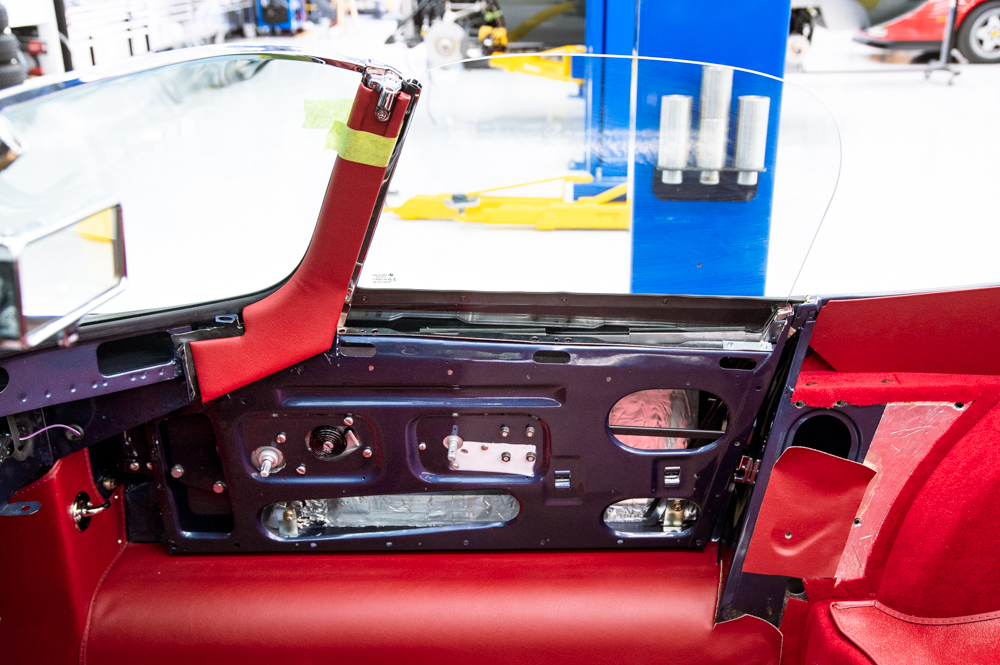
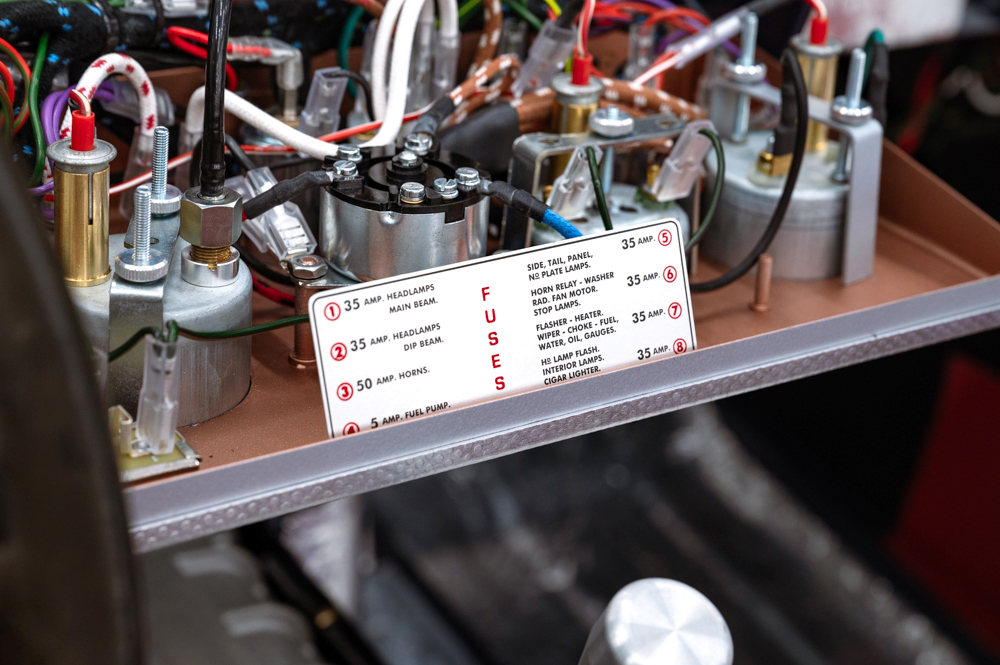
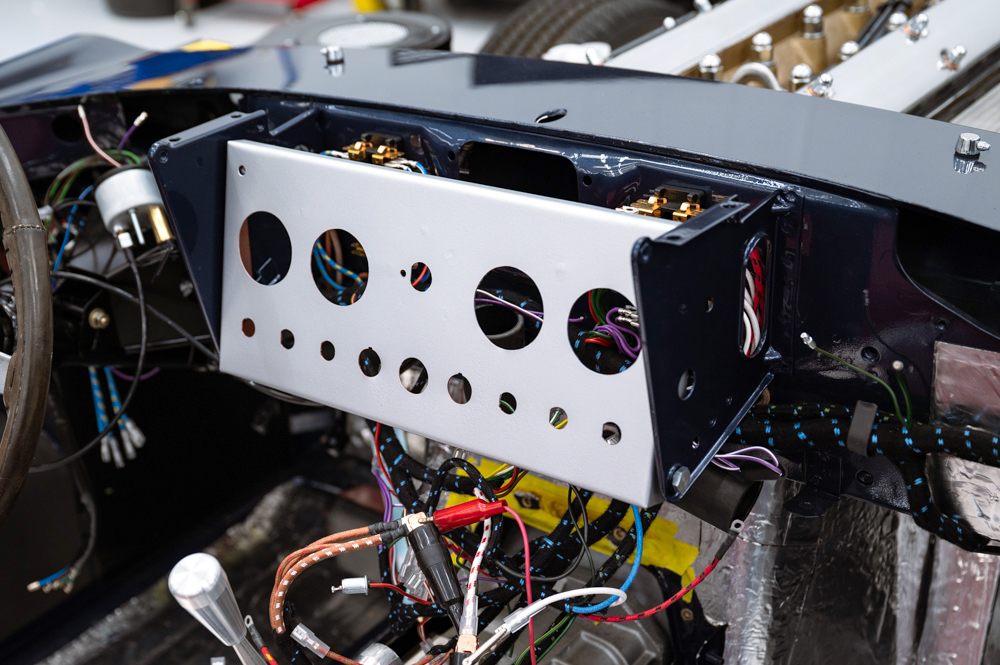
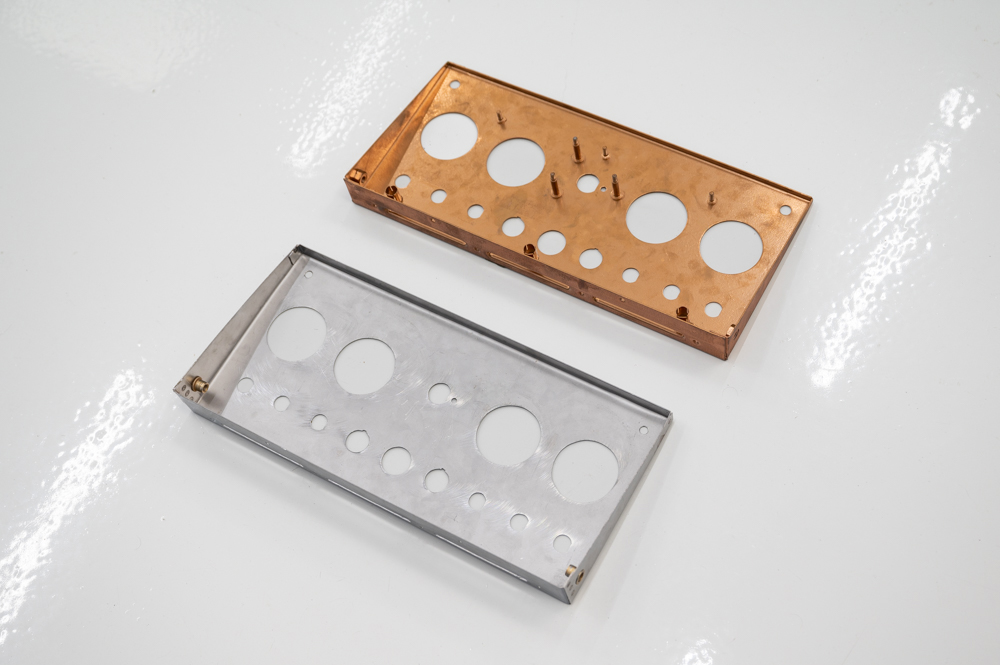
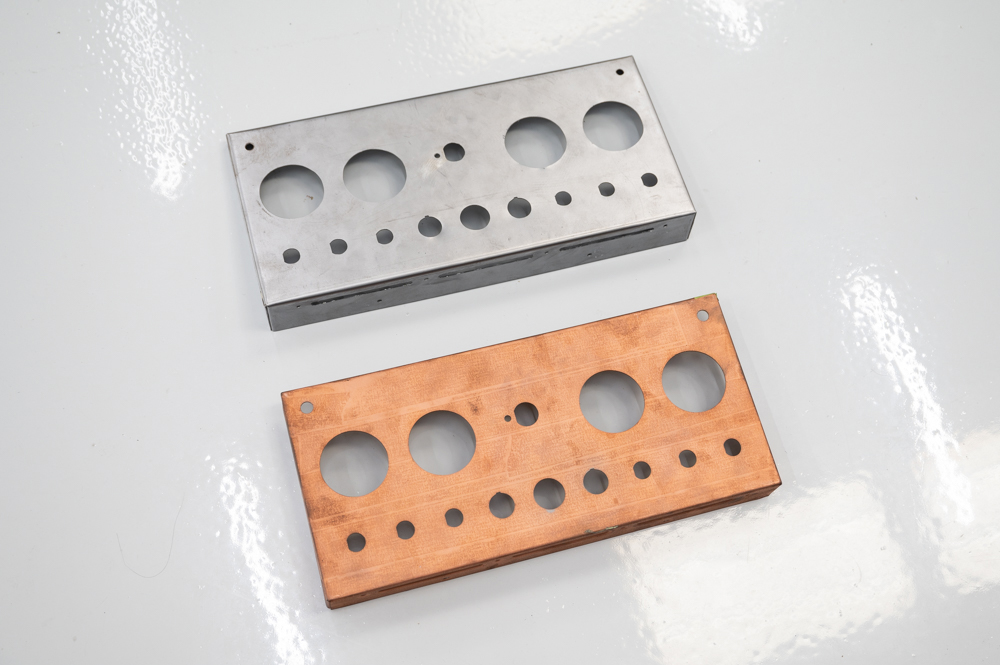
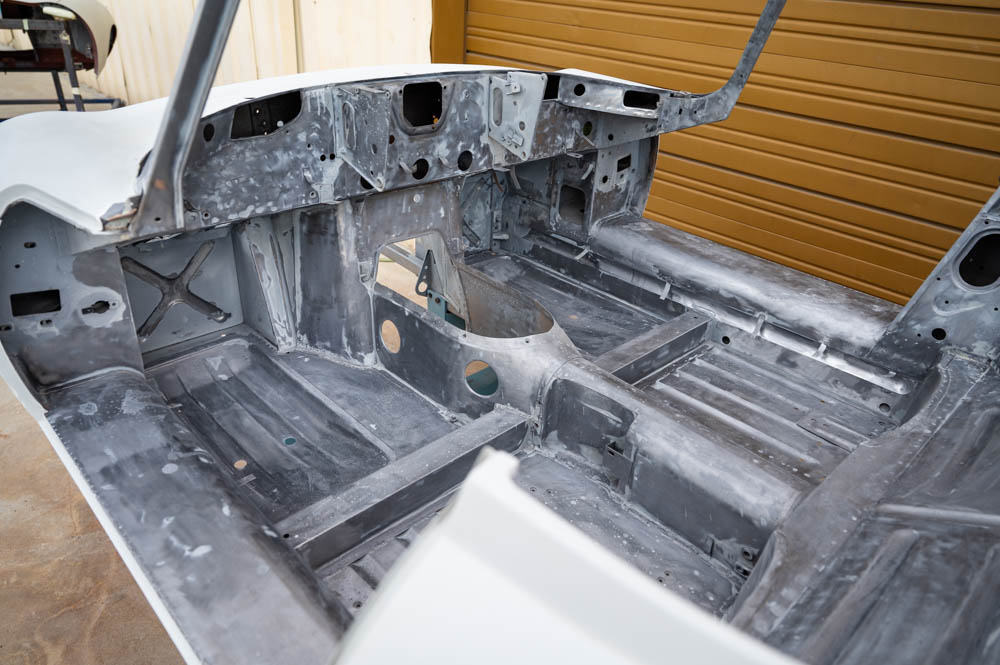
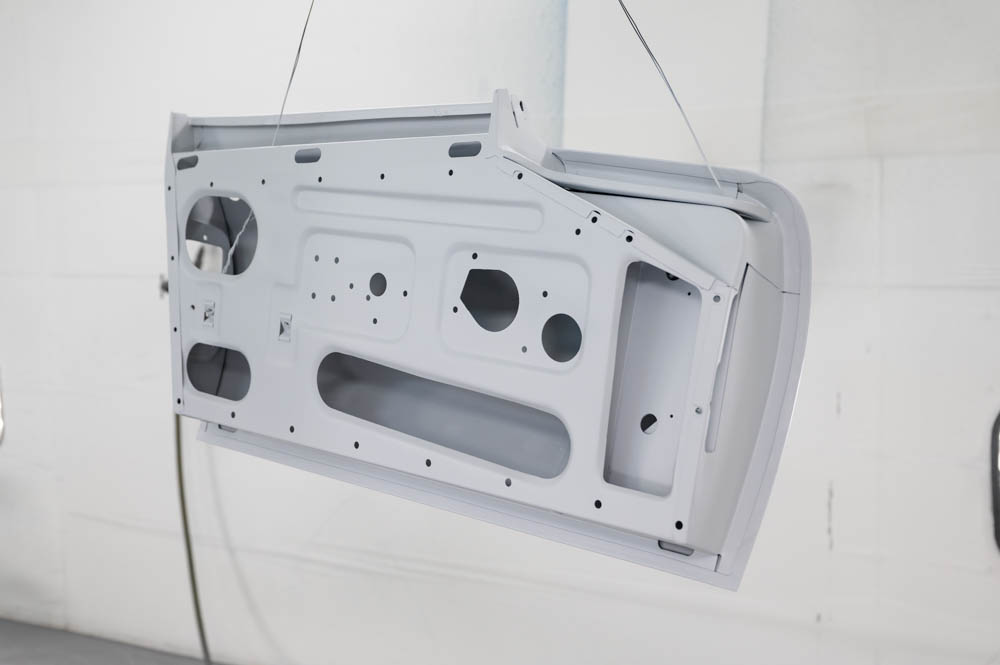
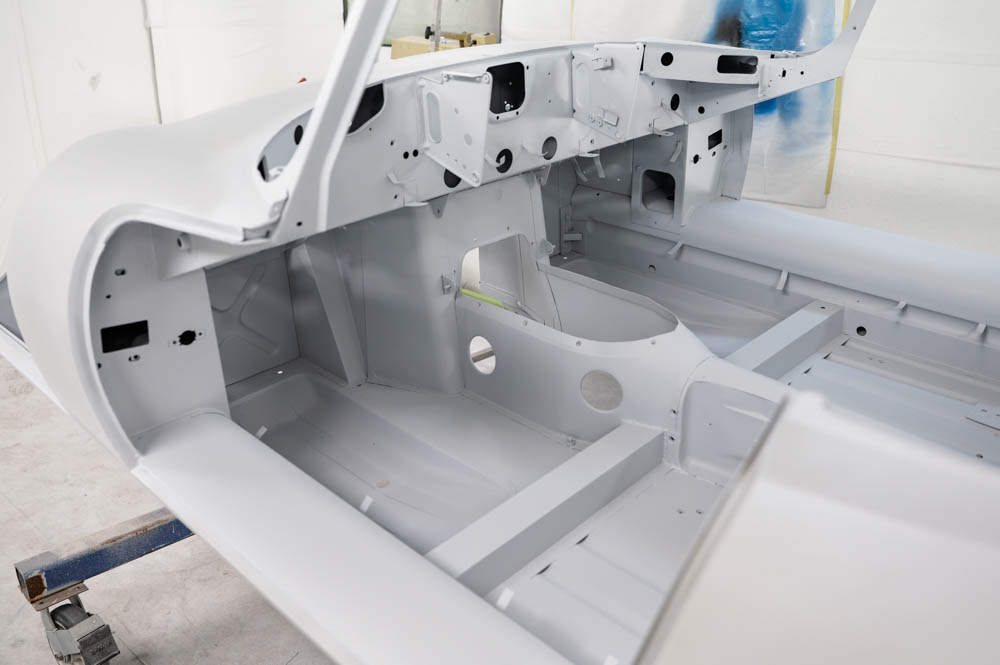
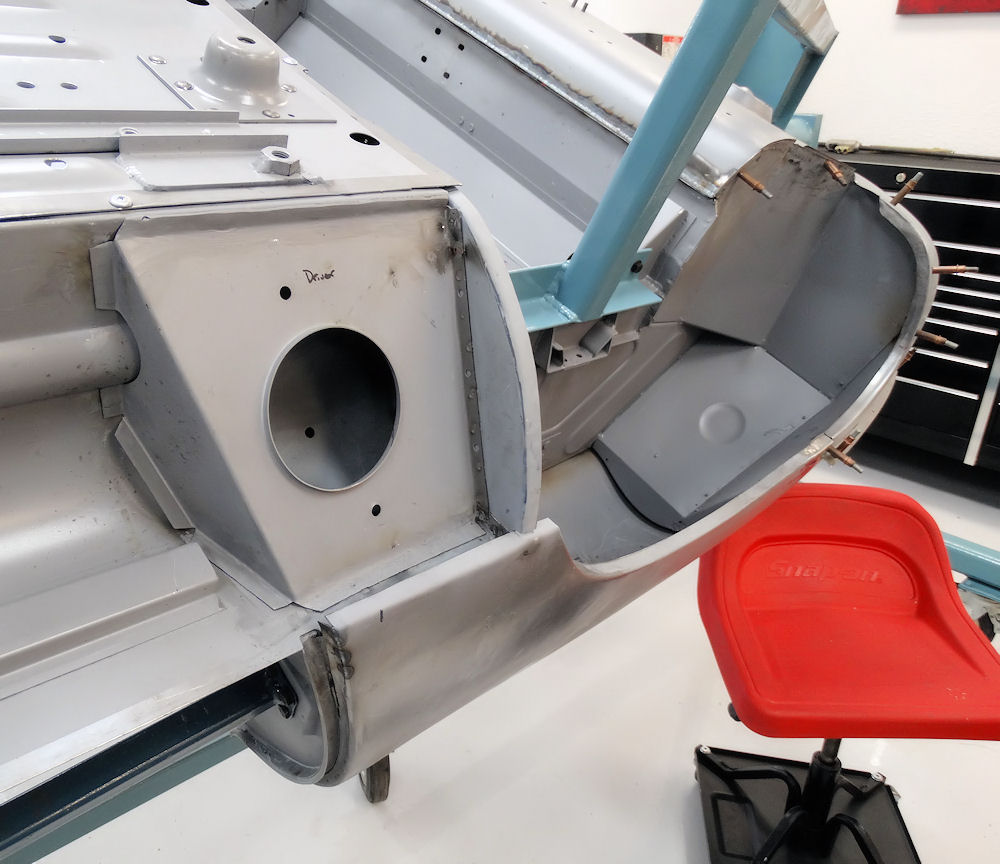
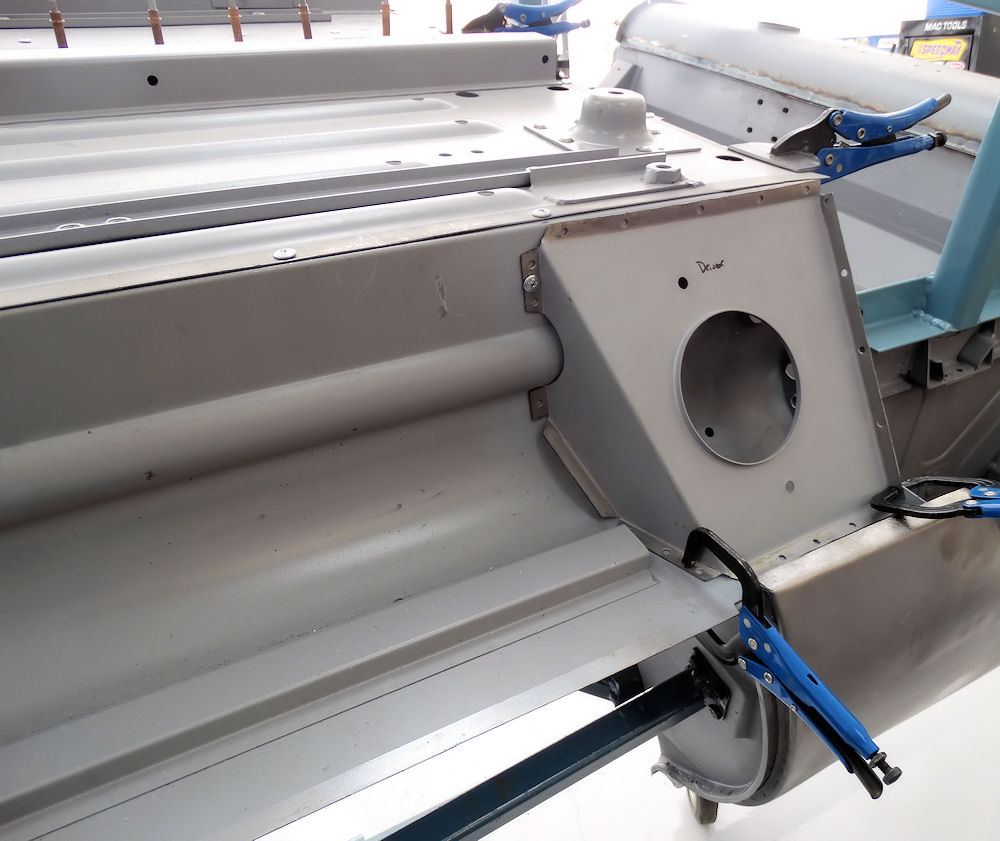
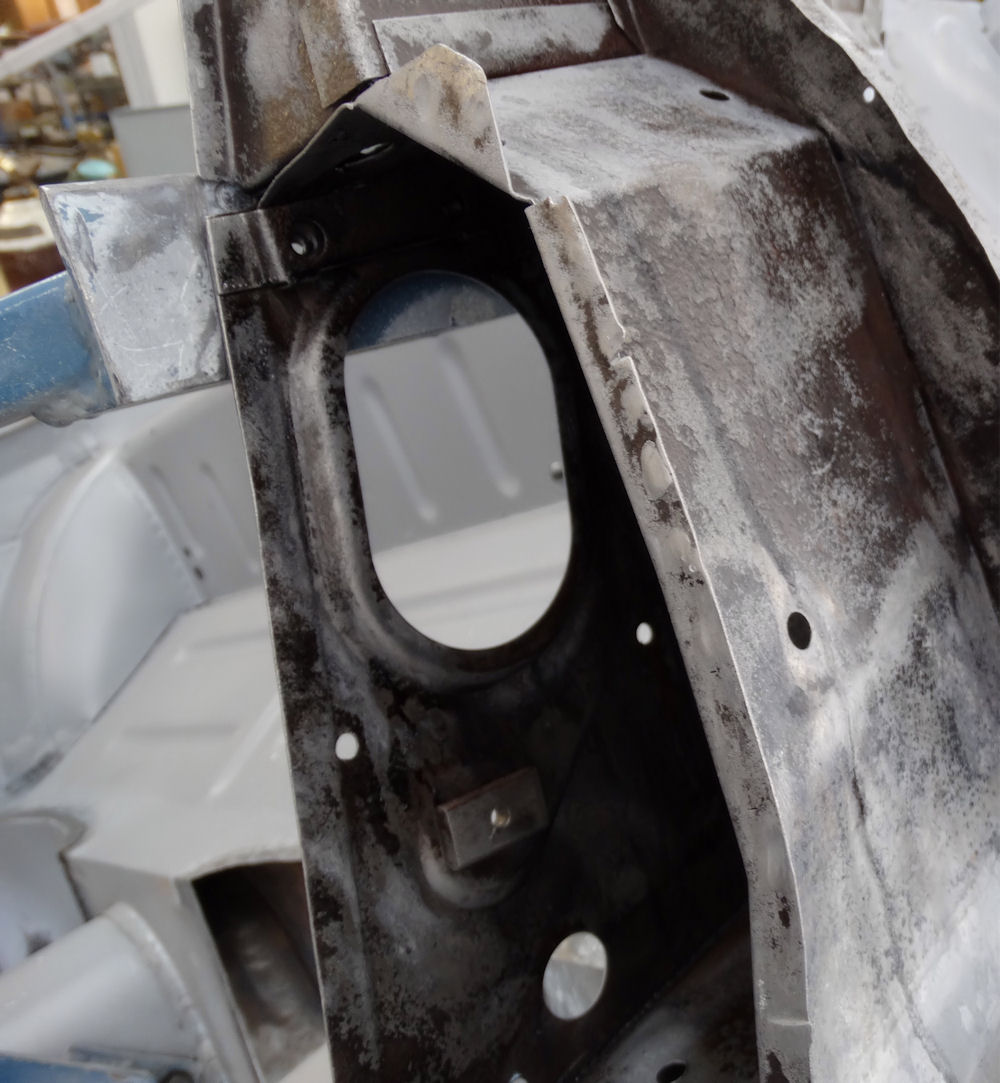
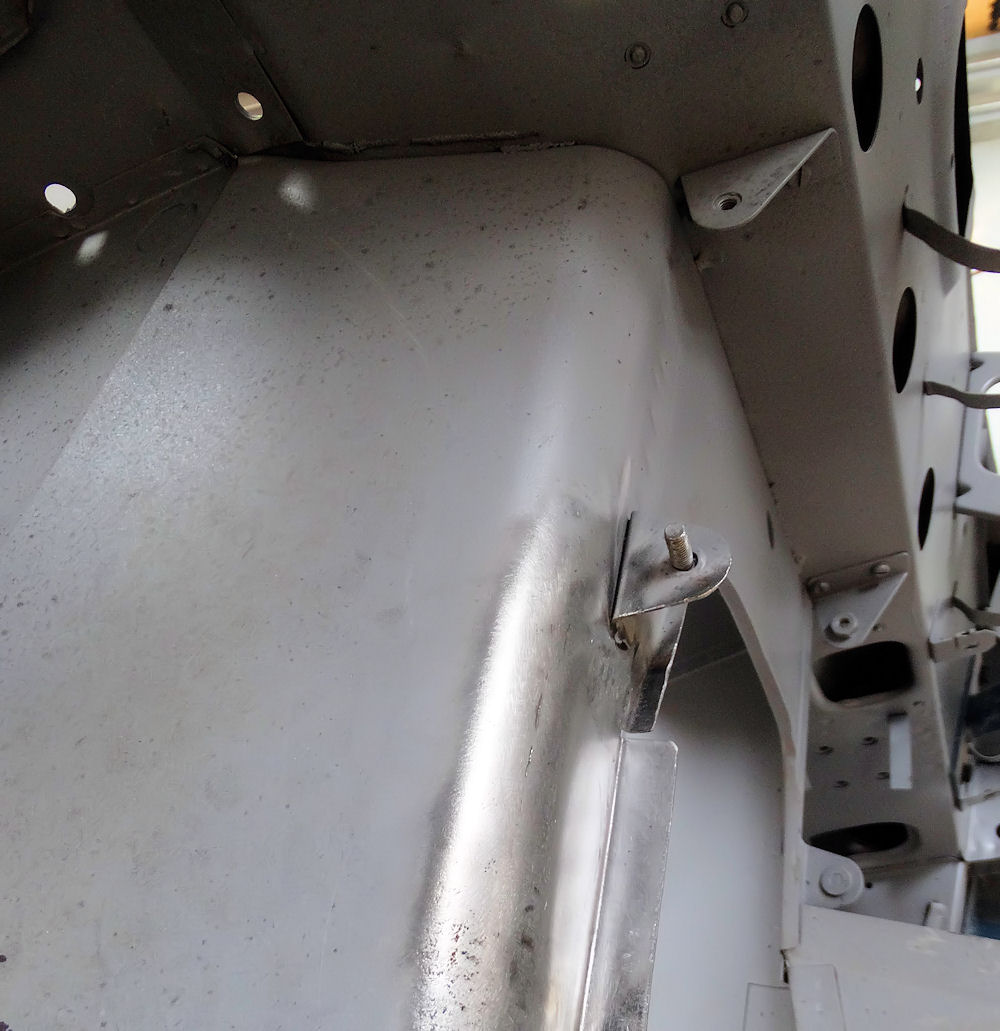
Center dash panel
November 28, 2023
November 28, 2023
November 28, 2023
November 28, 2023
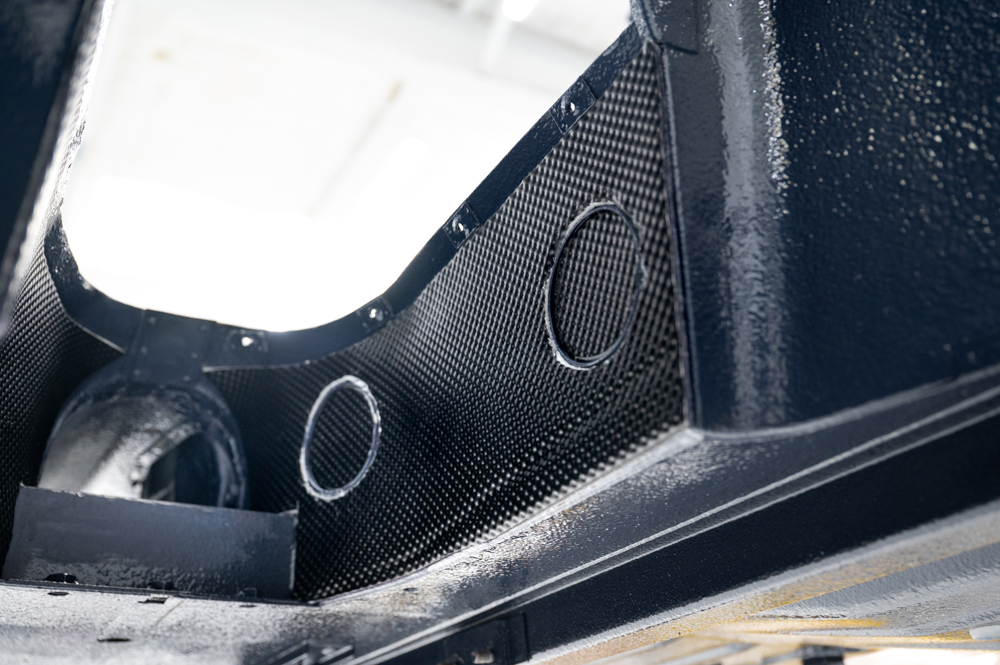
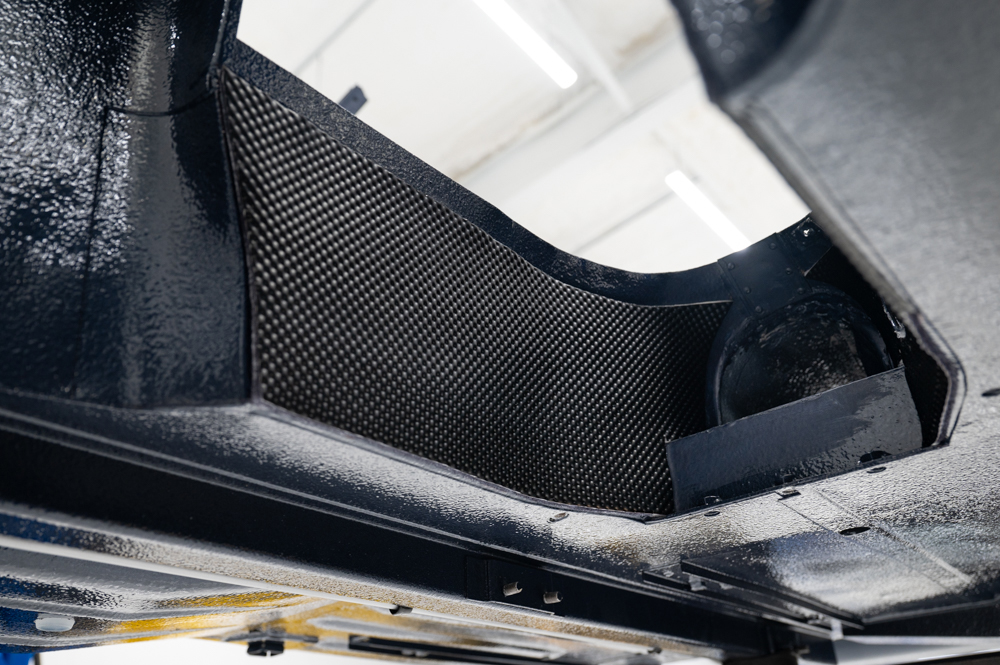
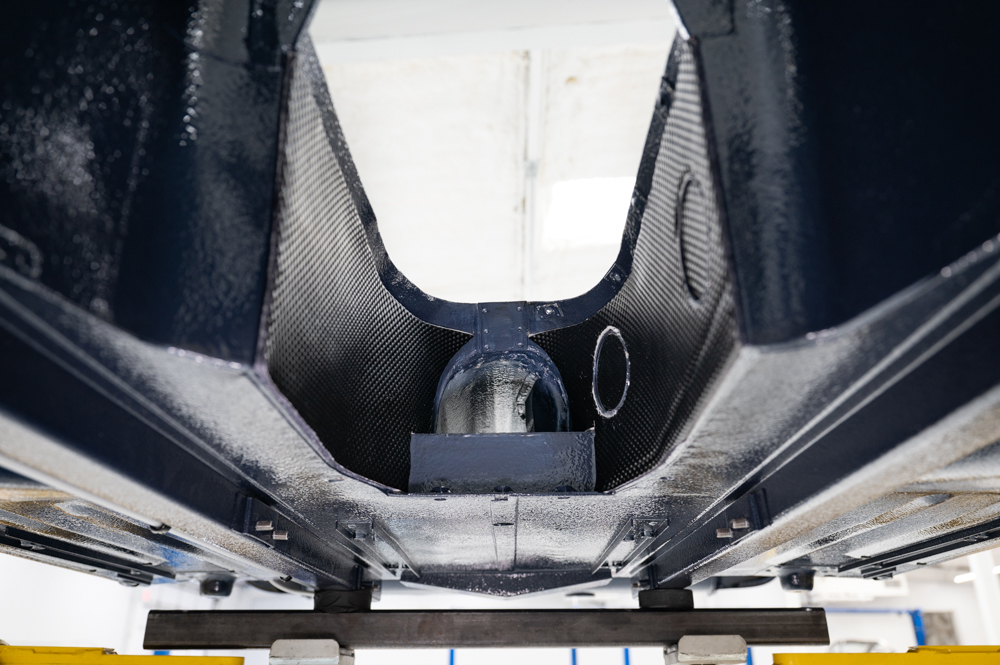
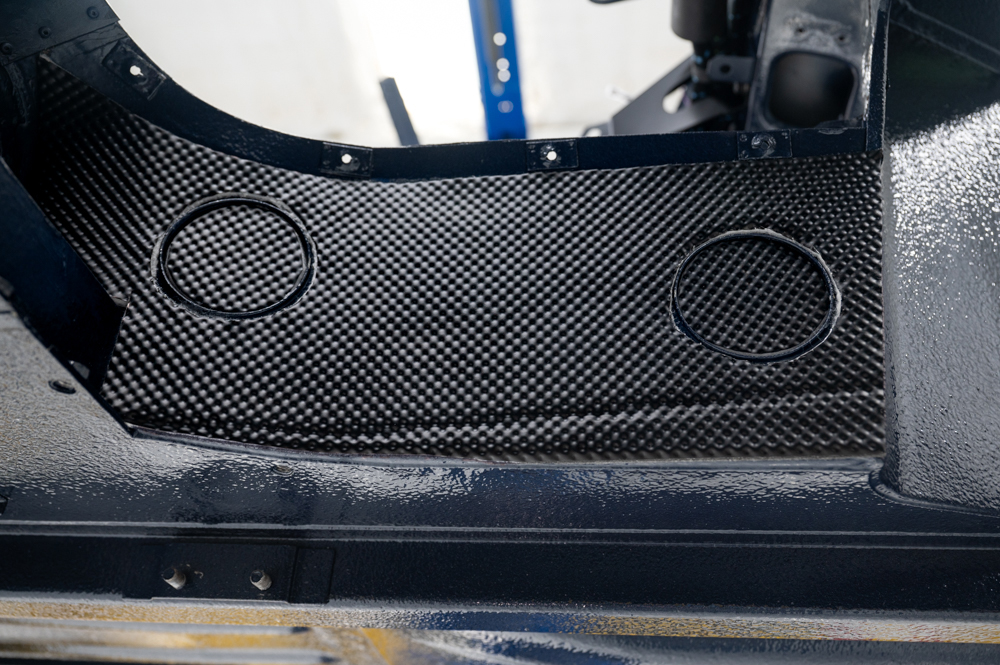
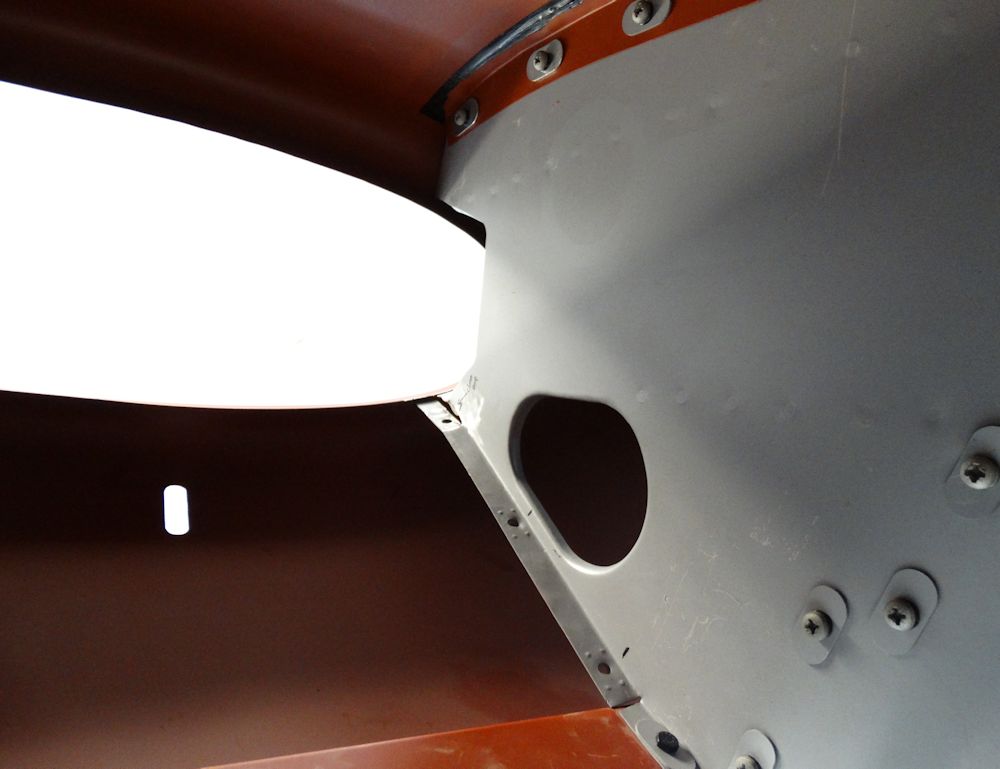
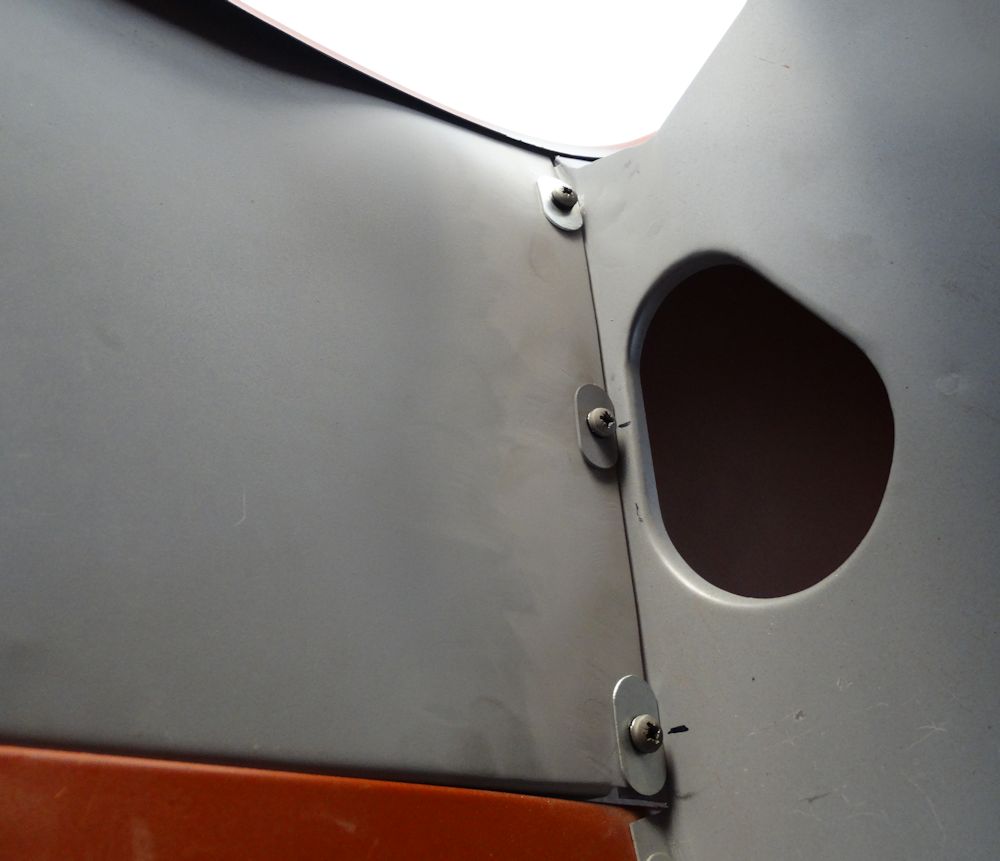
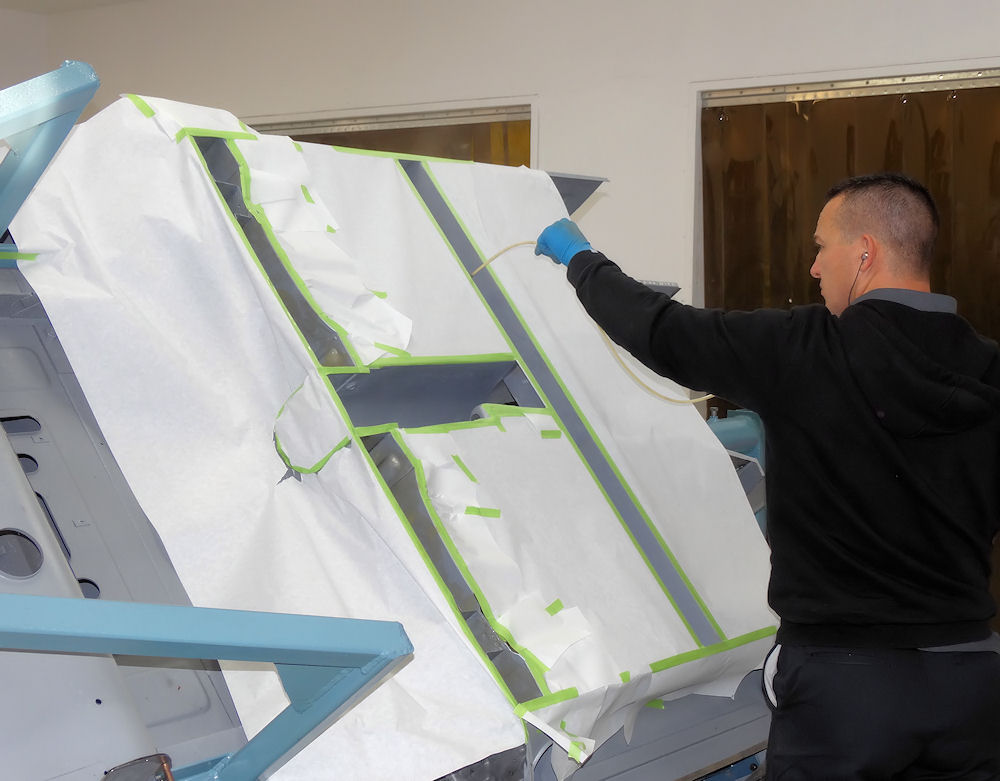
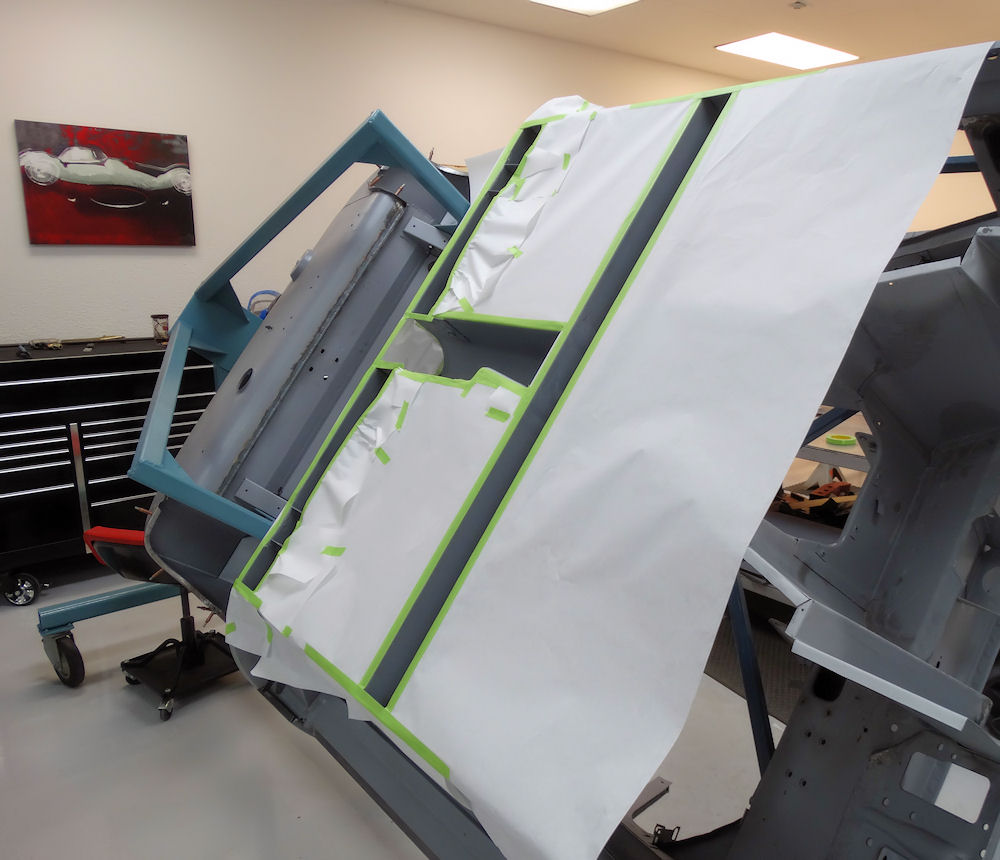
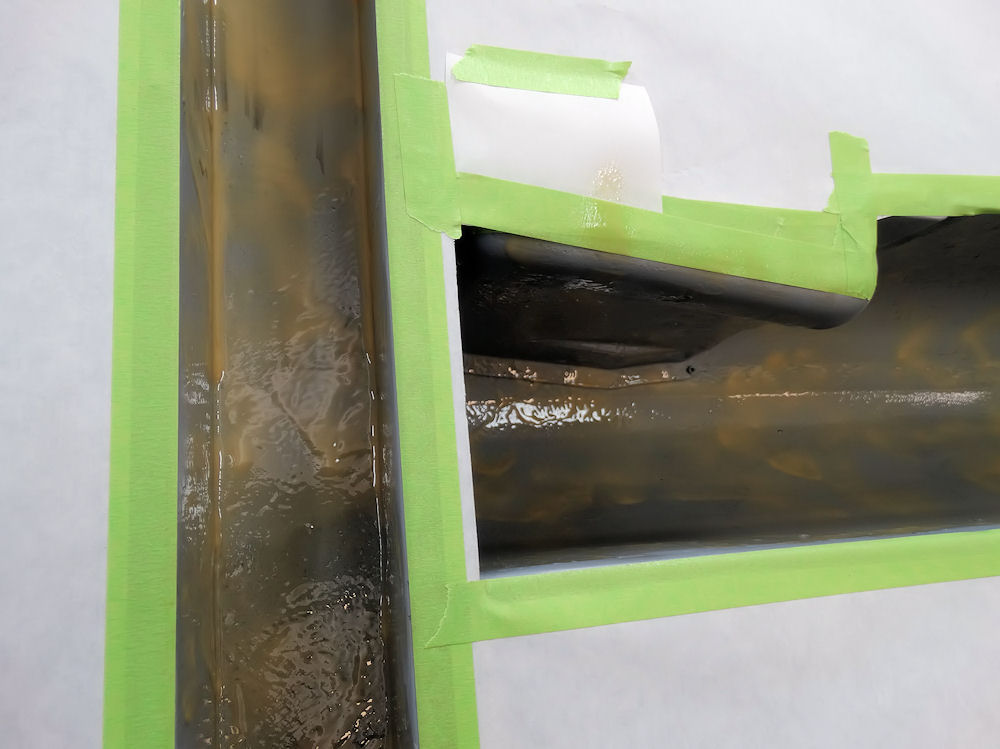
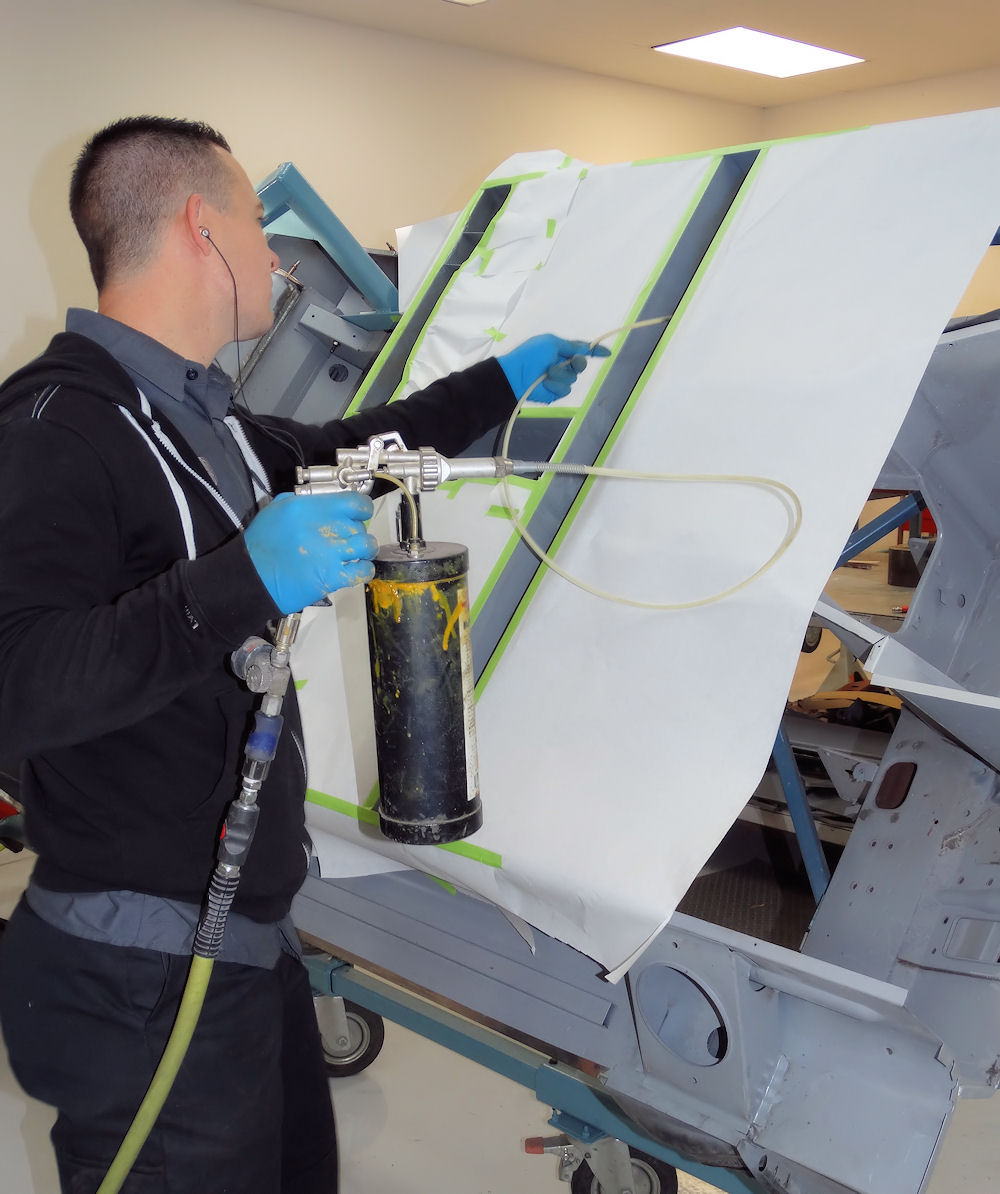
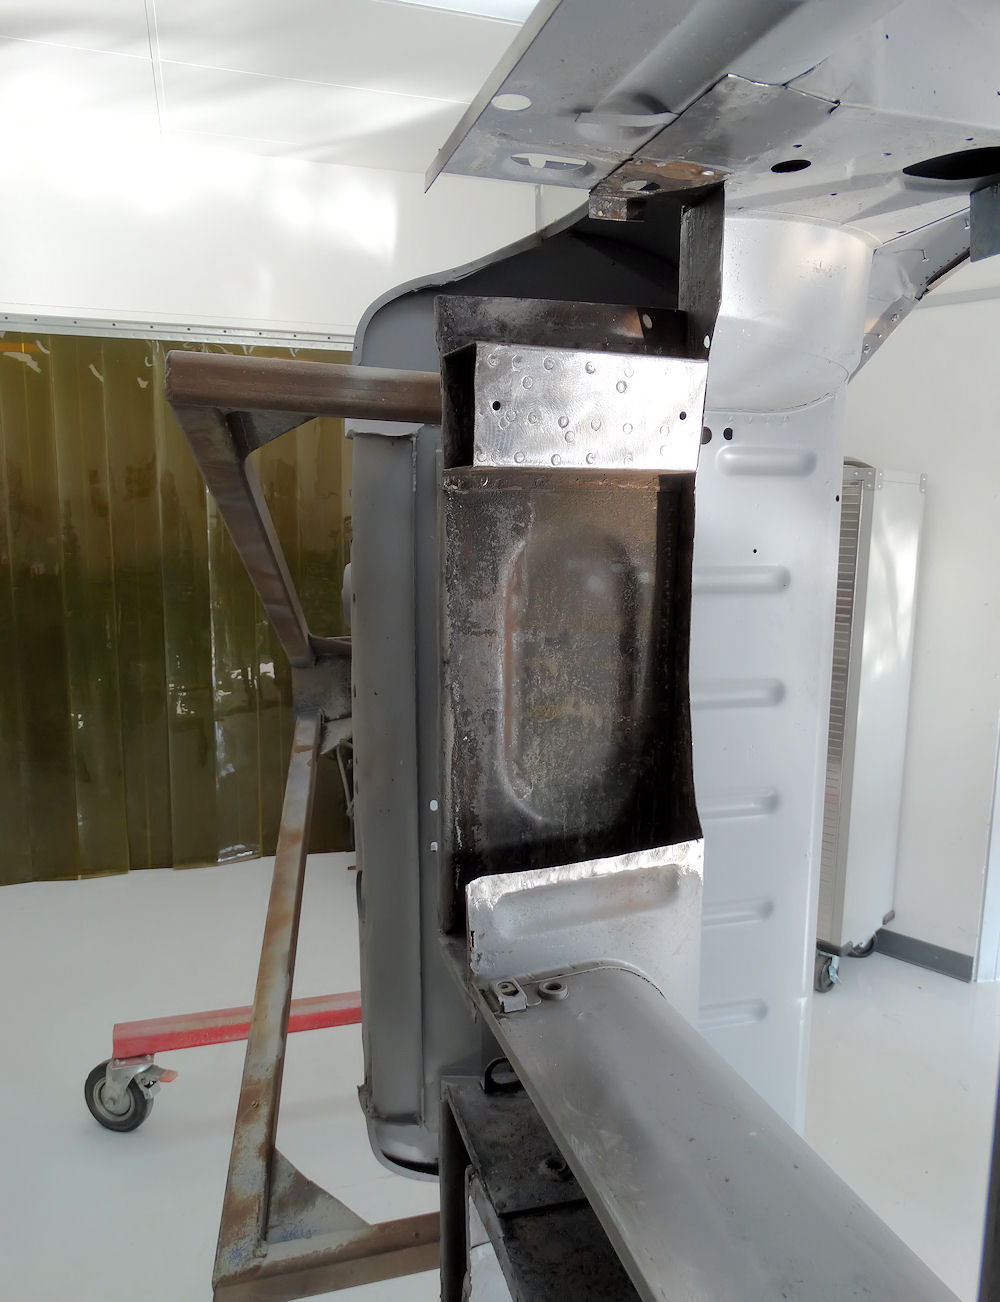
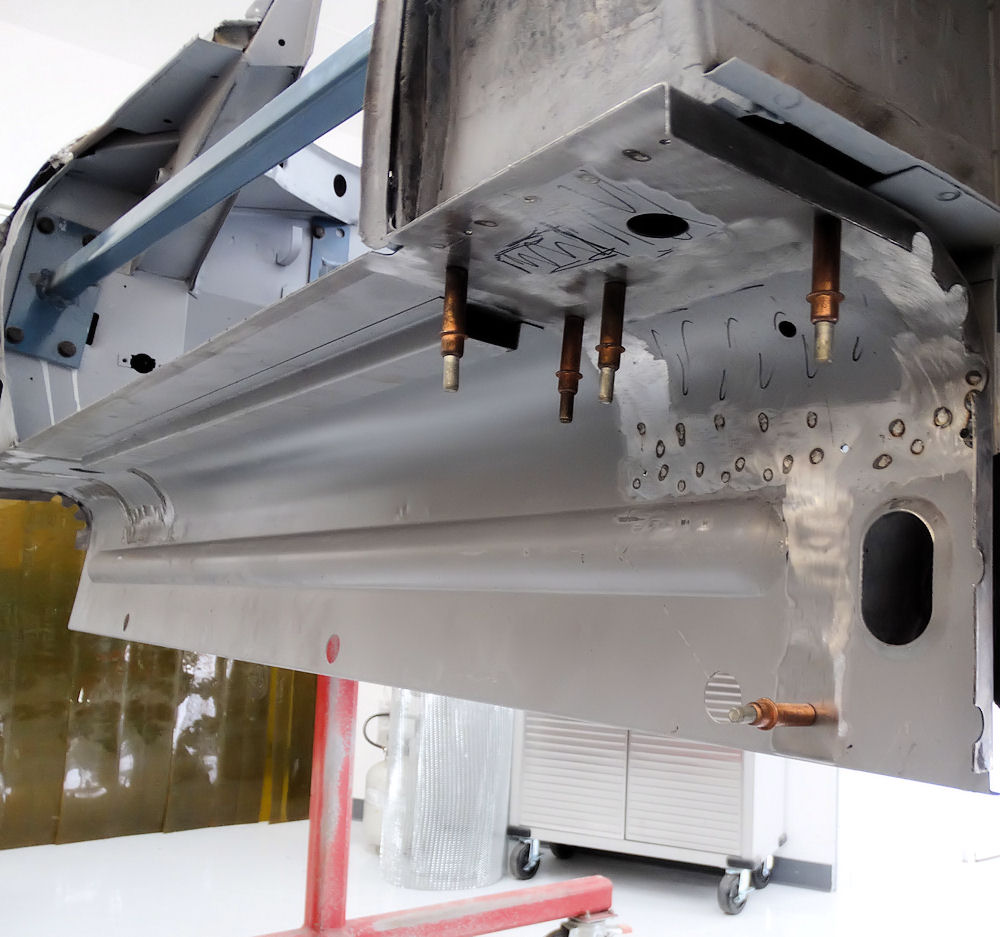
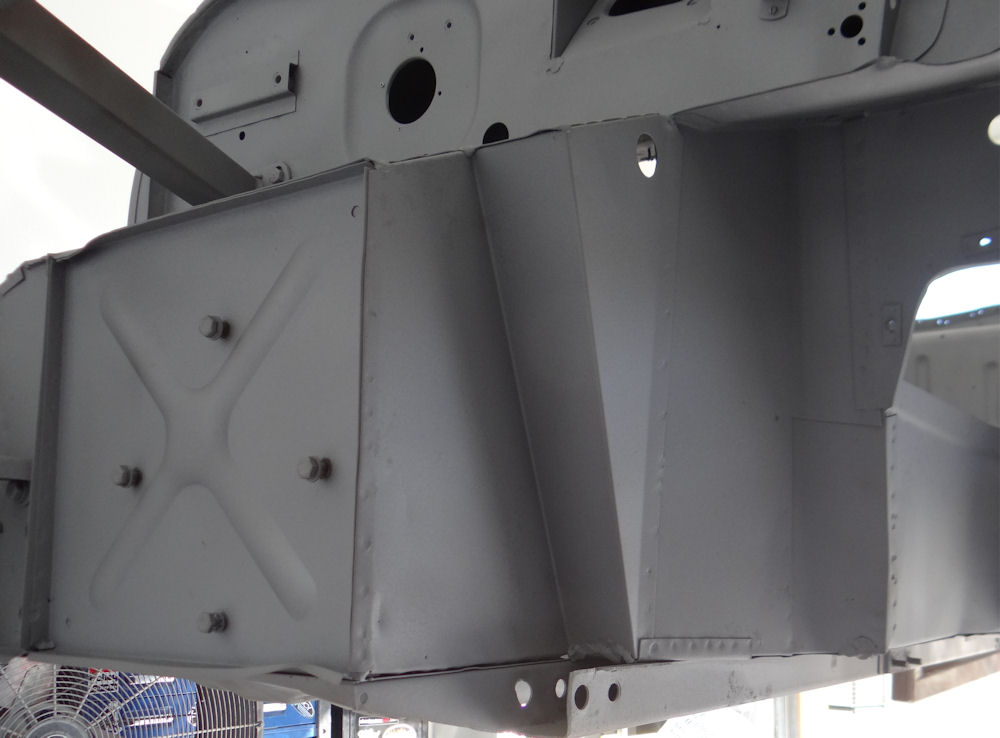
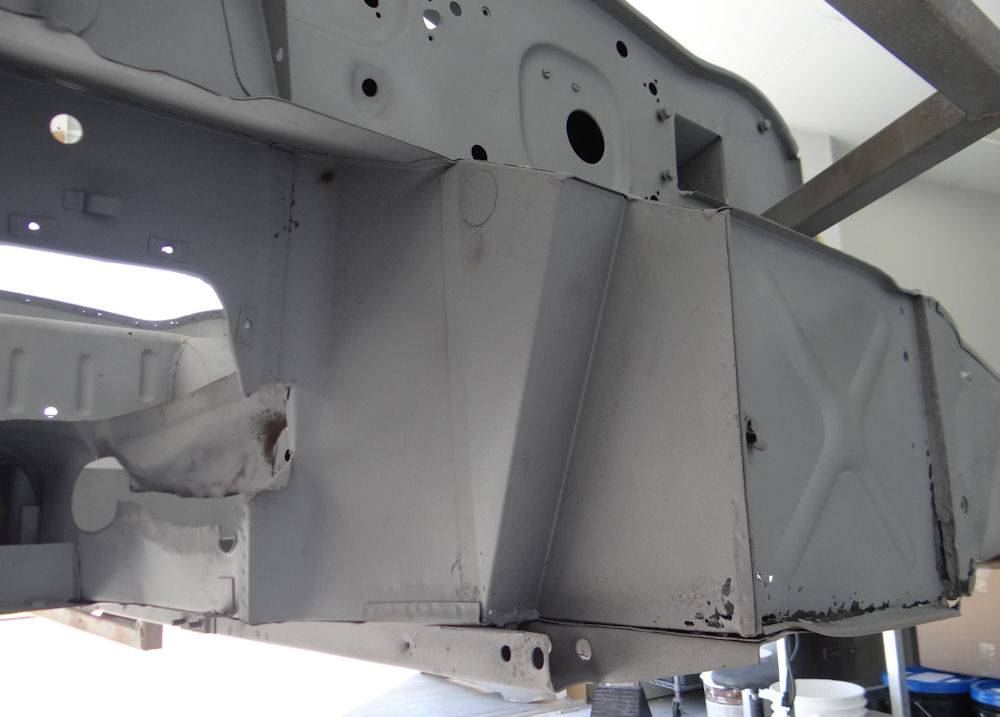
Heat trans tunnel shield
November 6, 2023
November 6, 2023
November 28, 2023
November 6, 2023
November 6, 2023
November 6, 2023
November 6, 2023
November 6, 2023
October 23, 2023
October 23, 2023
November 6, 2023
October 23, 2023
October 23, 2023
October 23, 2023
October 20, 2023
October 20, 2023
October 23, 2023
October 20, 2023
October 20, 2023
October 20, 2023
October 20, 2023
October 20, 2023
October 20, 2023
October 20, 2023
October 20, 2023
October 6, 2023
October 6, 2023
October 6, 2023
September 18, 2023
September 18, 2023
October 6, 2023
September 18, 2023
September 18, 2023
September 18, 2023
September 18, 2023
September 18, 2023
September 18, 2023
April 5, 2023
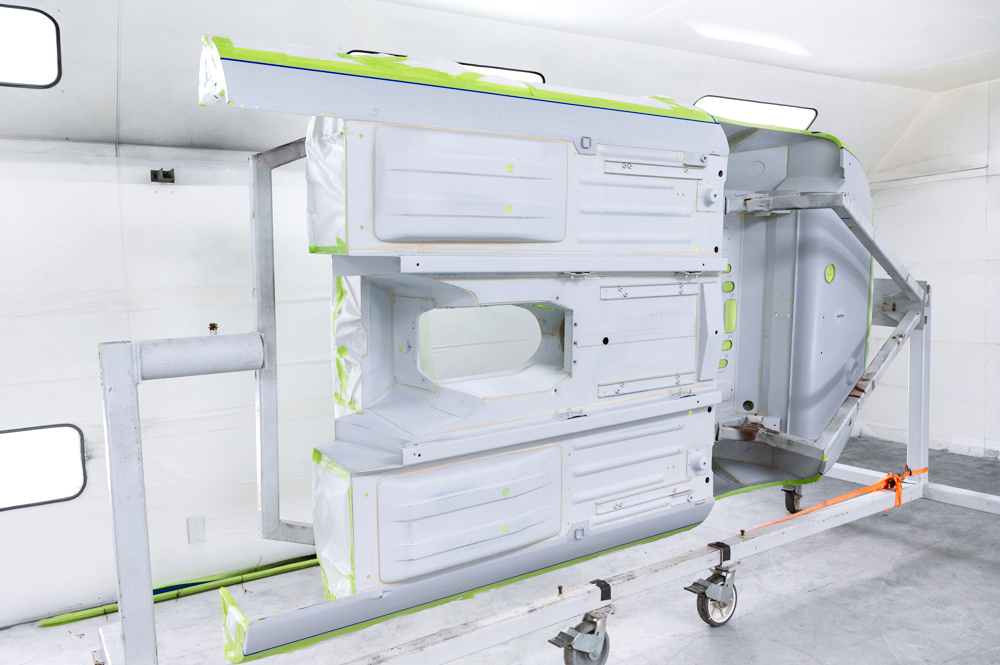
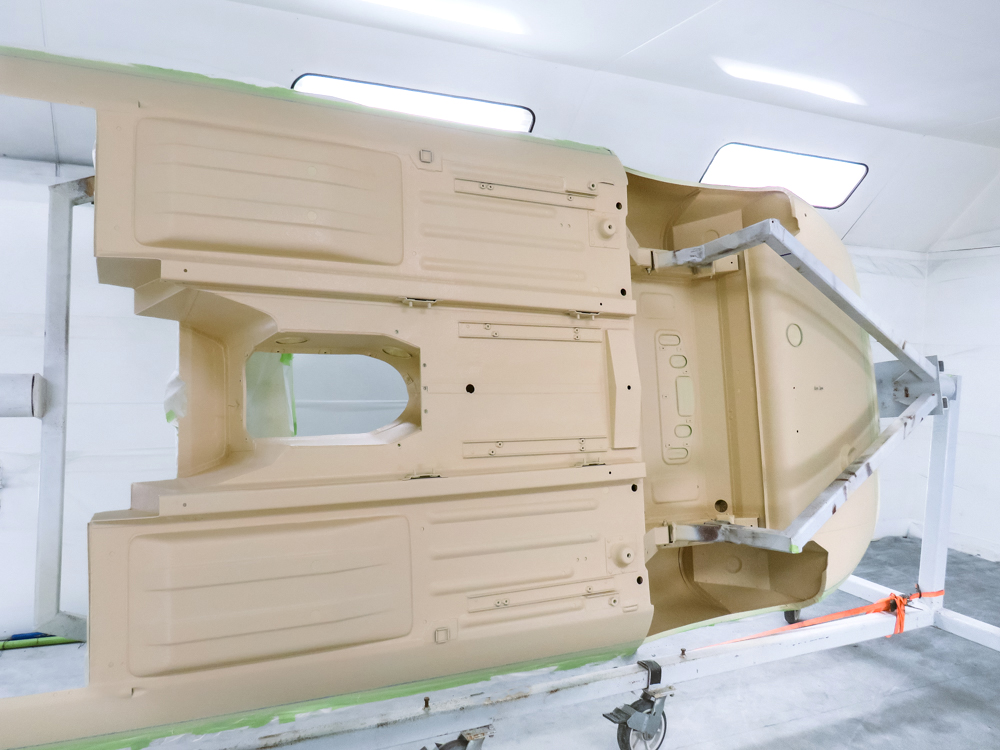
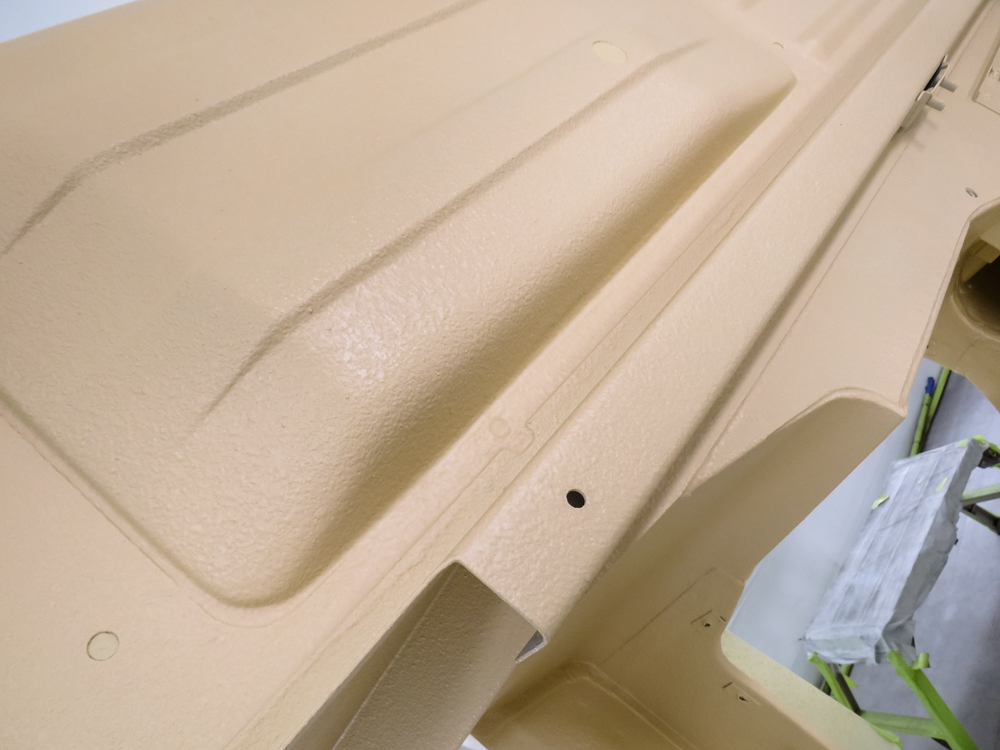
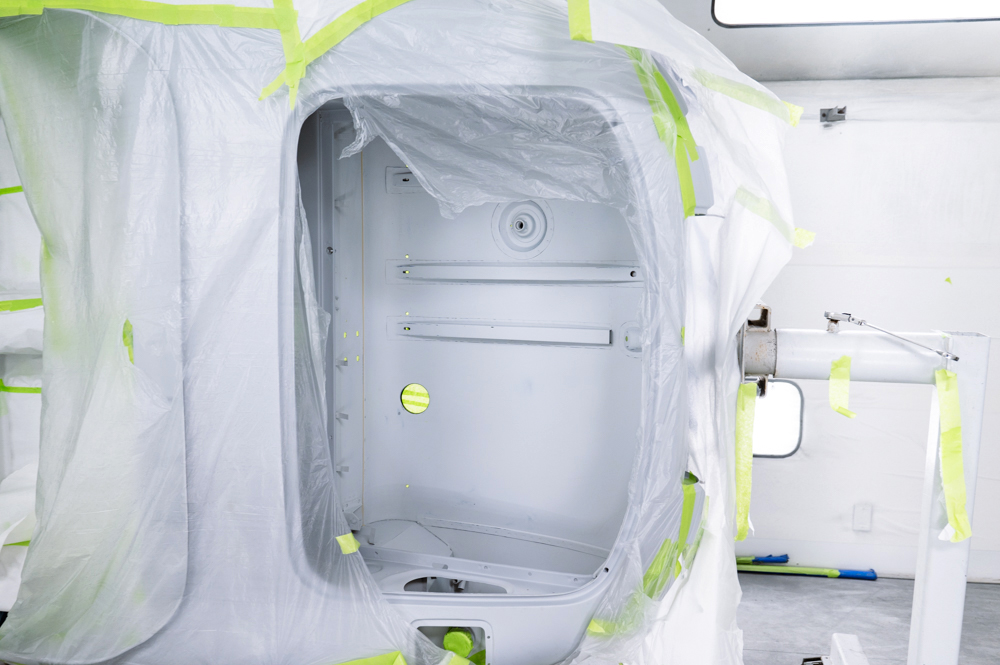
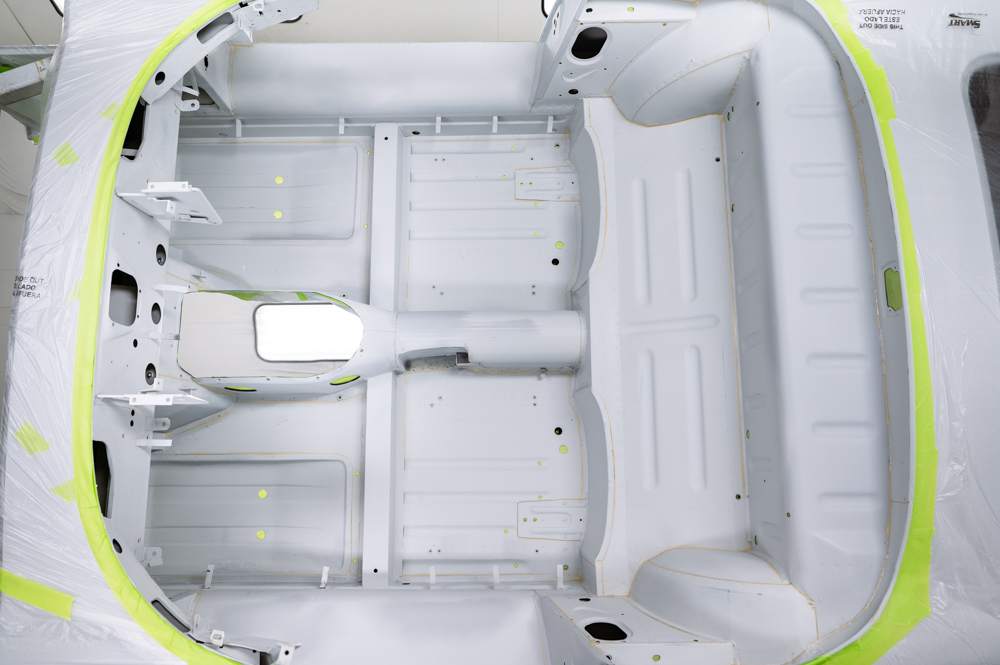
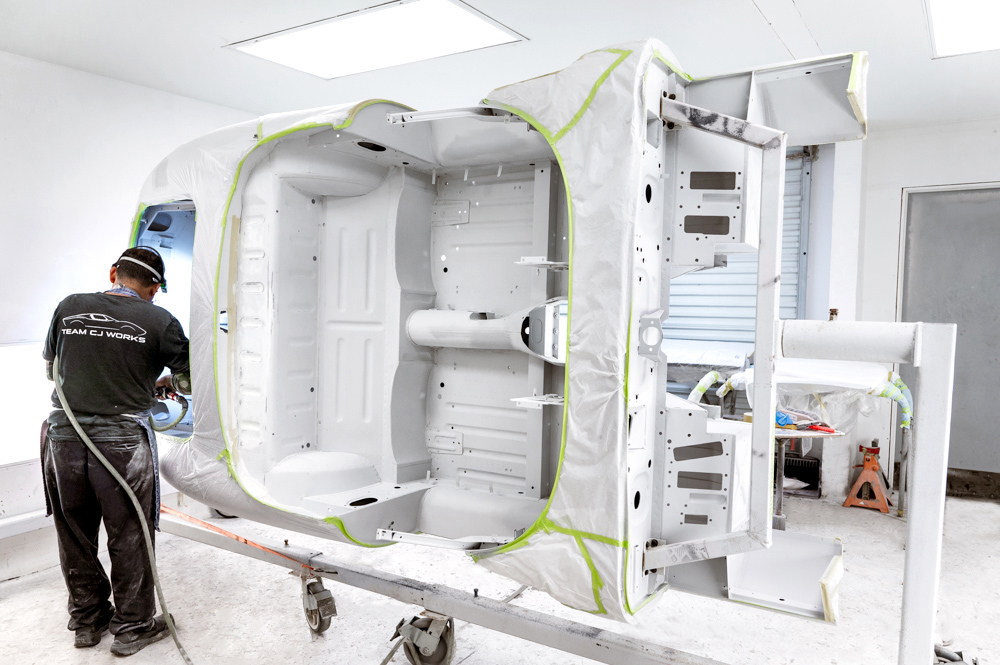
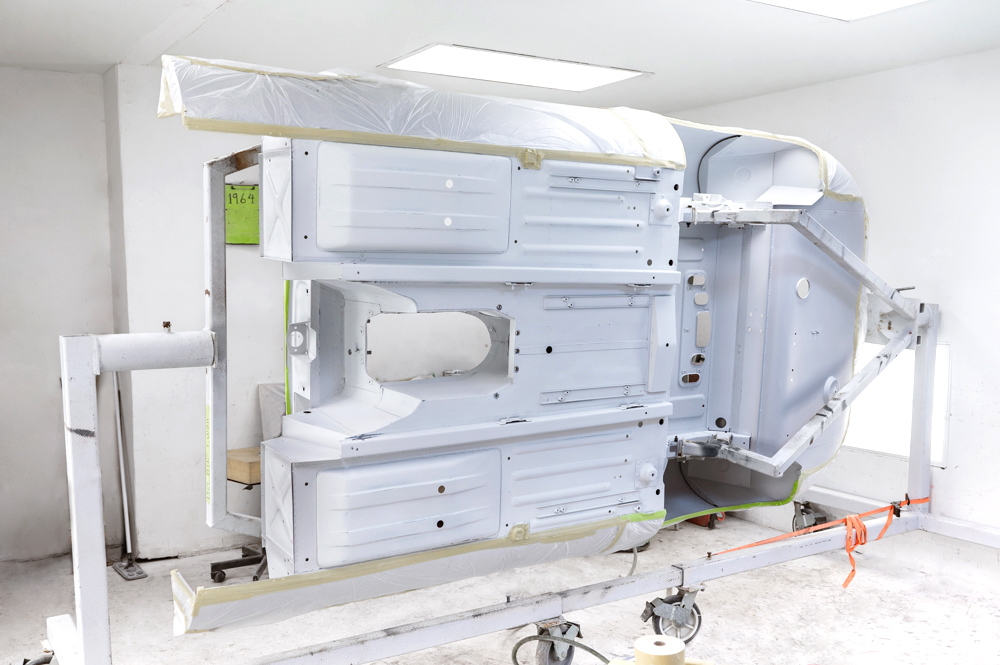
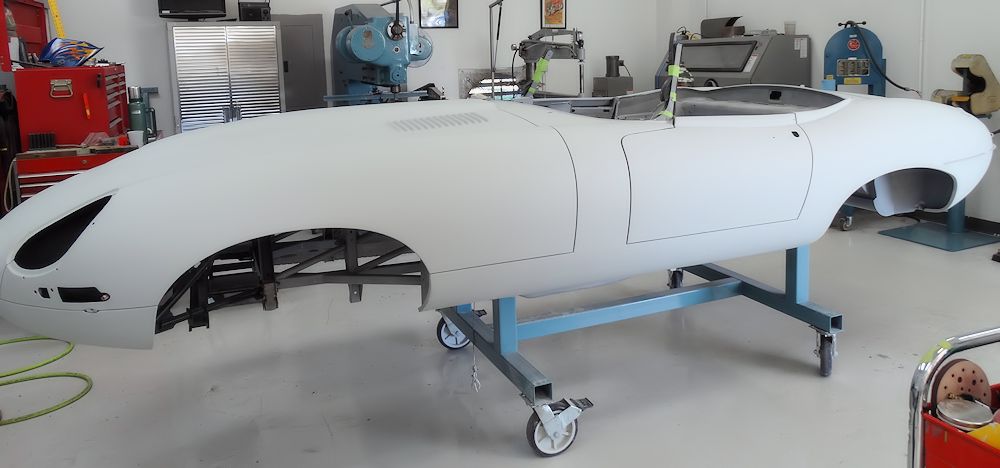
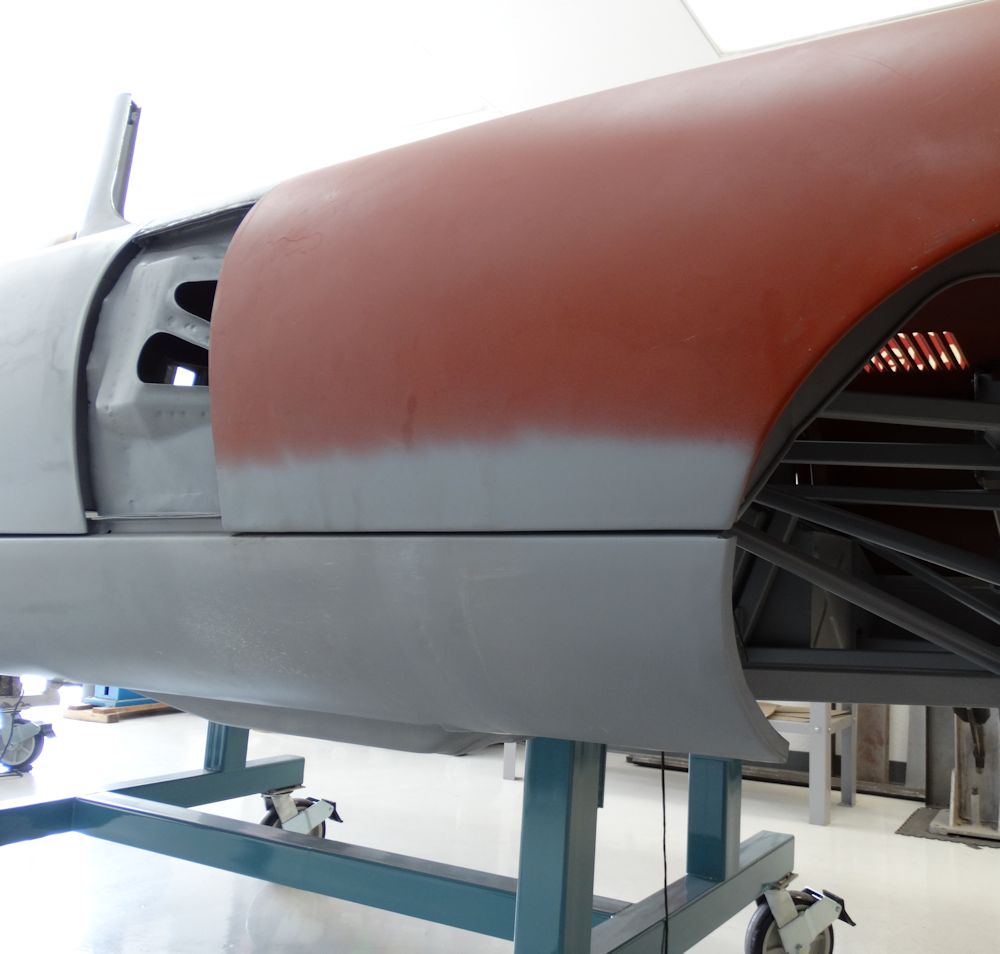
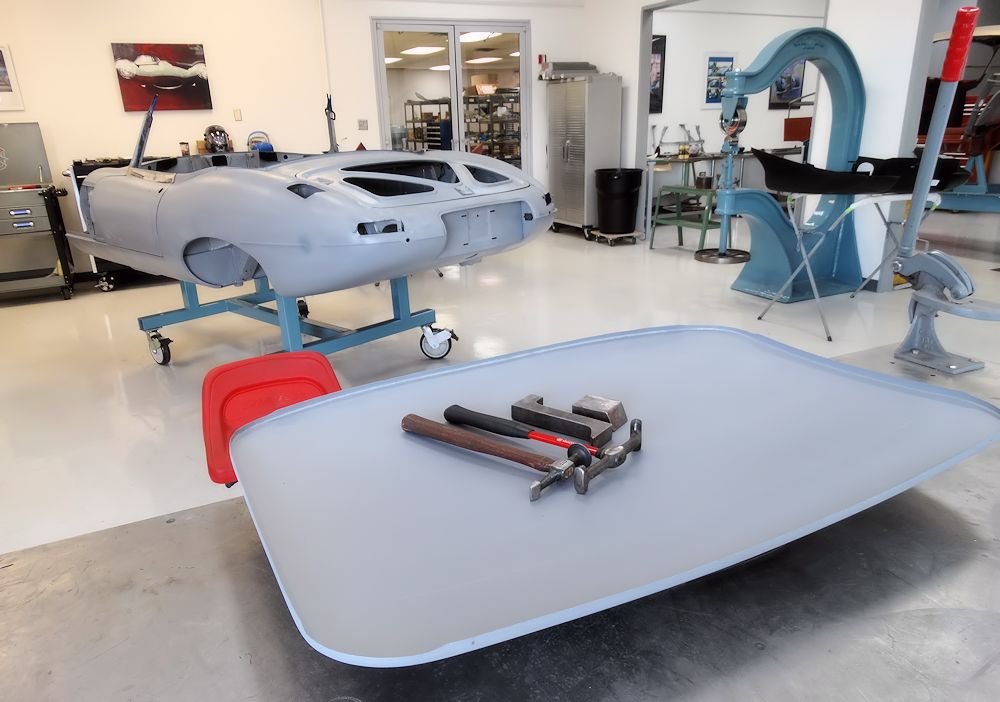
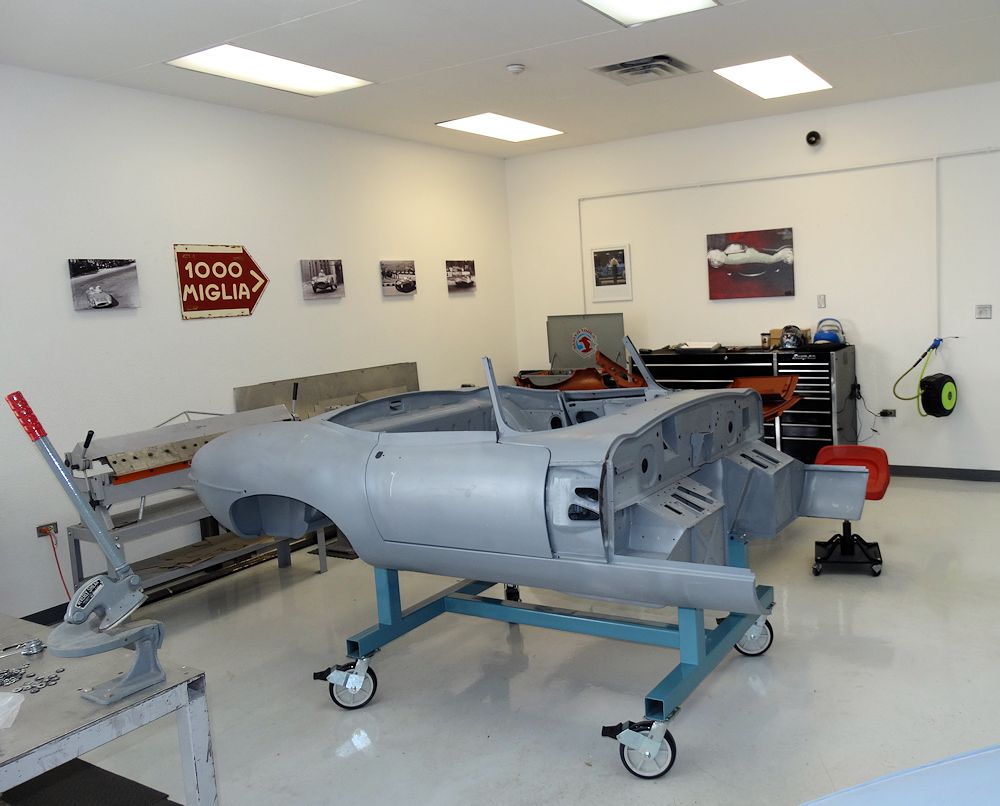
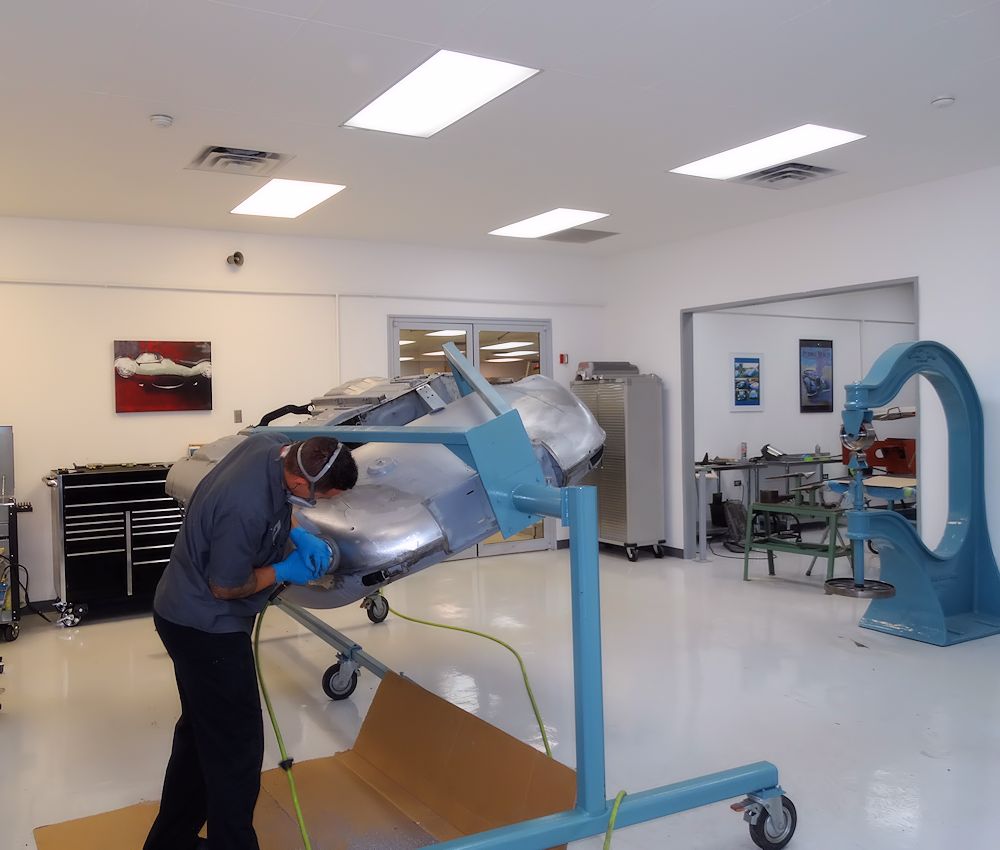
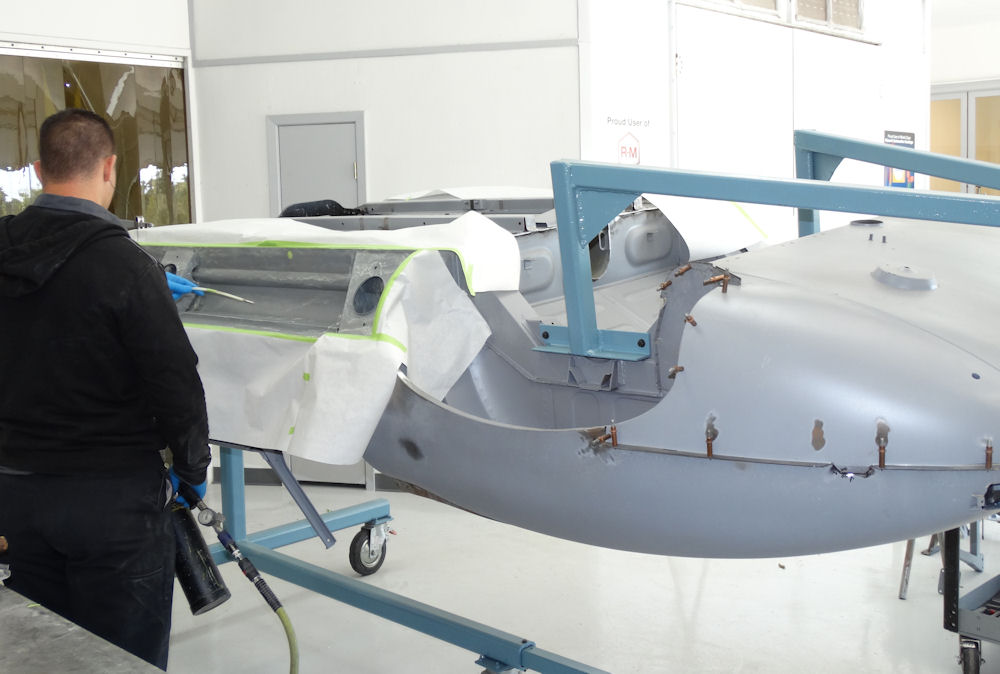
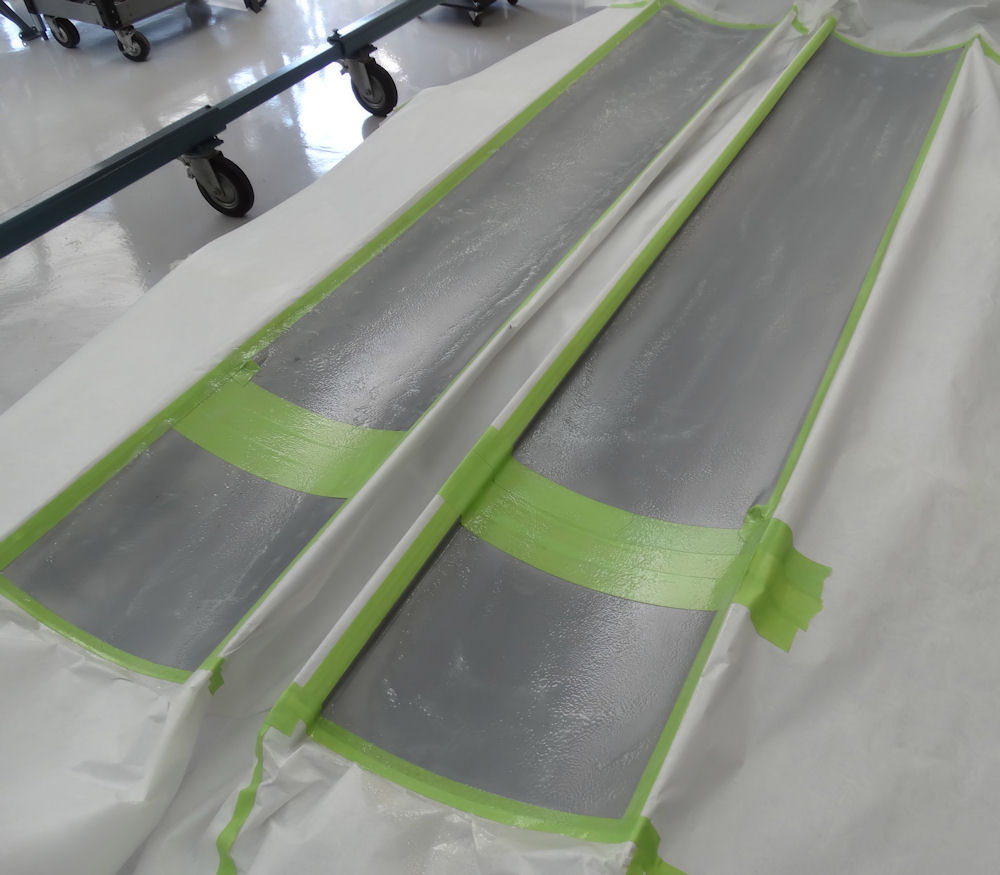
Getting ready for paint
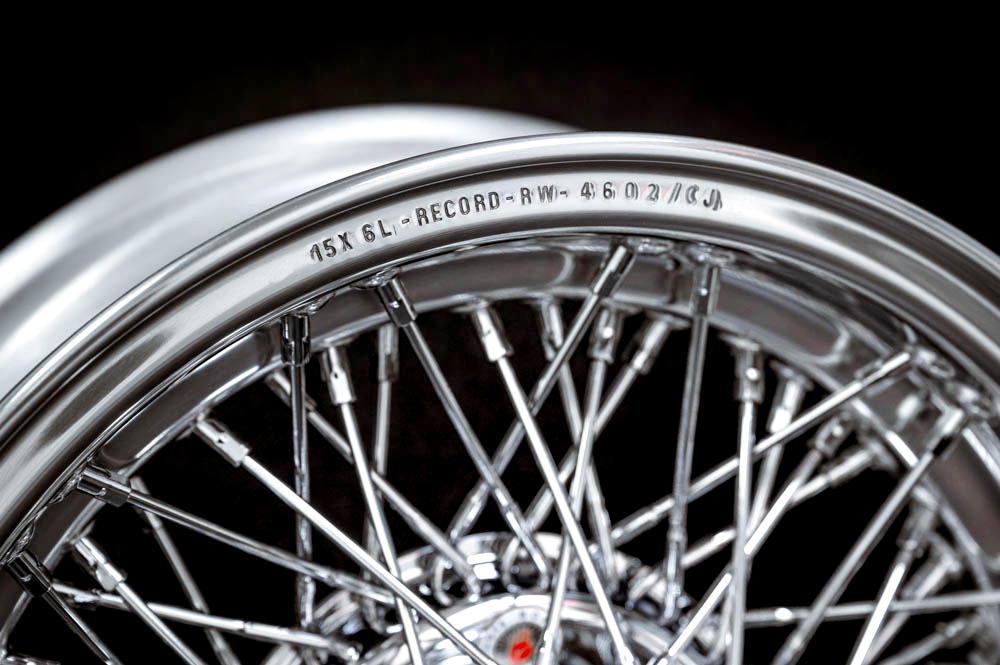
CJ Borrani wire wheels
January 23, 2023
CJ Borrani wire wheels
April 5, 2023
January 23, 2023
January 23, 2023
January 23, 2023
January 13, 2022
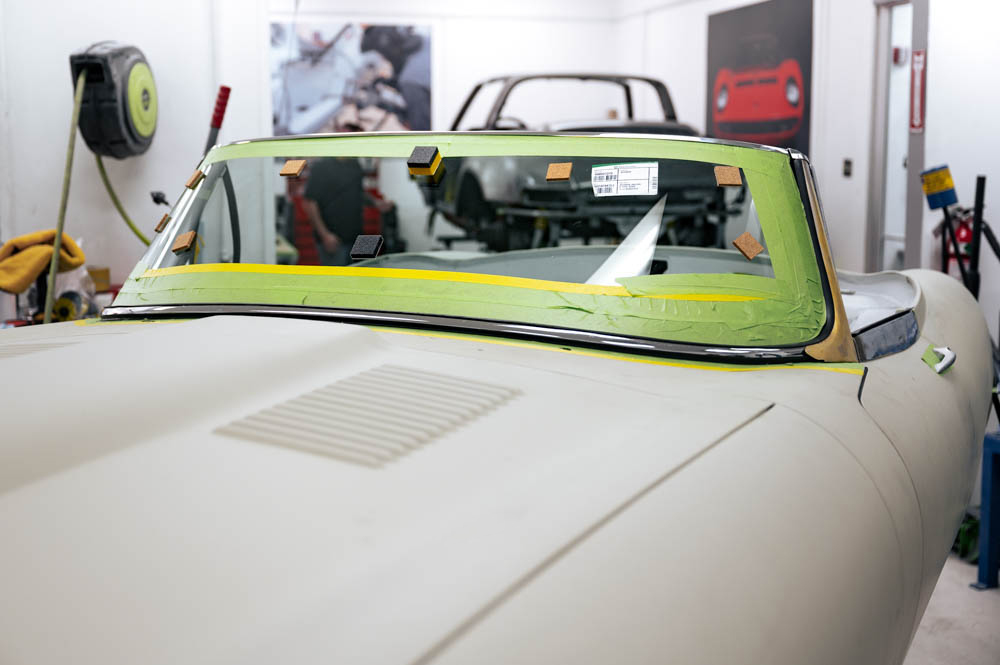
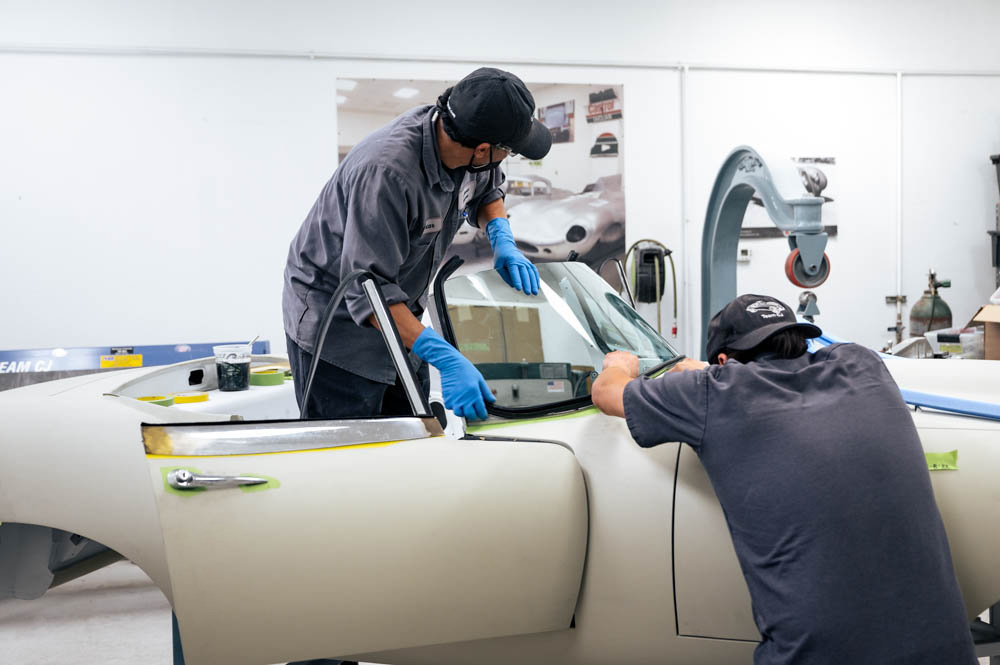
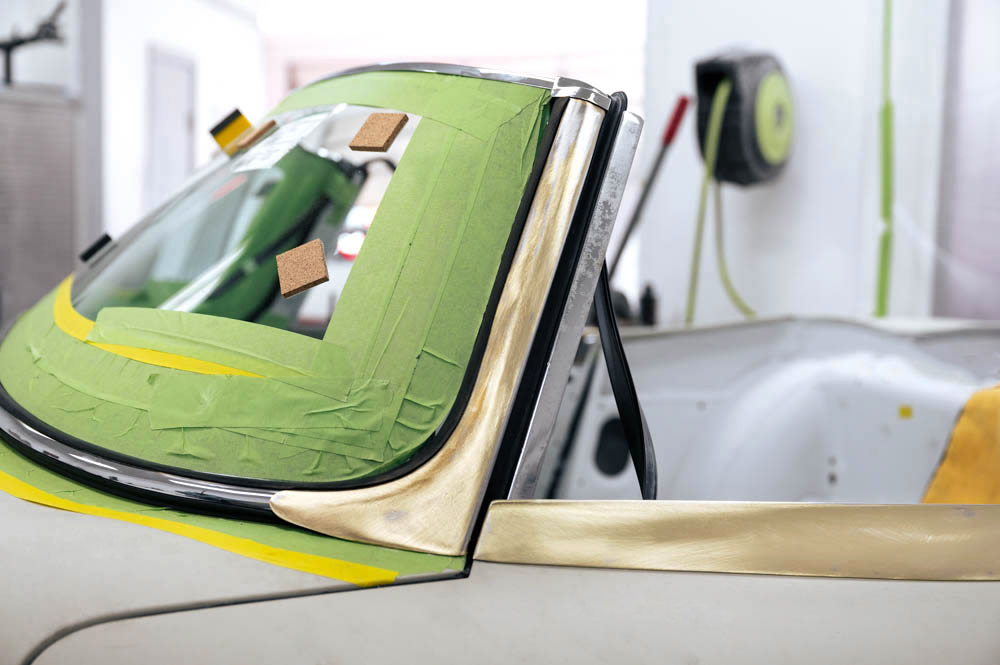
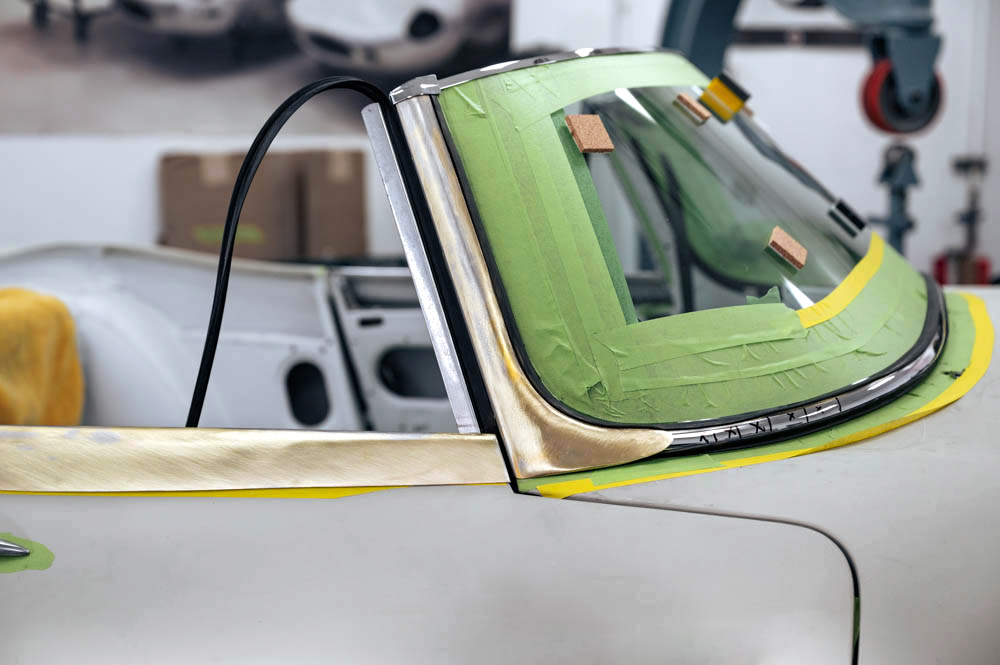
Chrome and windscreen trial fit
January 23, 2023
January 13, 2022
January 13, 2022
January 13, 2022
January 13, 2022
January 13, 2022
January 13, 2022
January 13, 2022
January 13, 2022
January 13, 2022
January 13, 2022
January 13, 2022
January 13, 2022
January 13, 2022
November 15, 2022
November 15, 2022
November 15, 2022
January 13, 2022
November 15, 2022
November 15, 2022
November 15, 2022
November 15, 2022
November 15, 2022
November 15, 2022
November 15, 2022
November 15, 2022
November 15, 2022
November 15, 2022
November 15, 2022
November 15, 2022
November 15, 2022
November 15, 2022
November 15, 2022
November 15, 2022
November 15, 2022
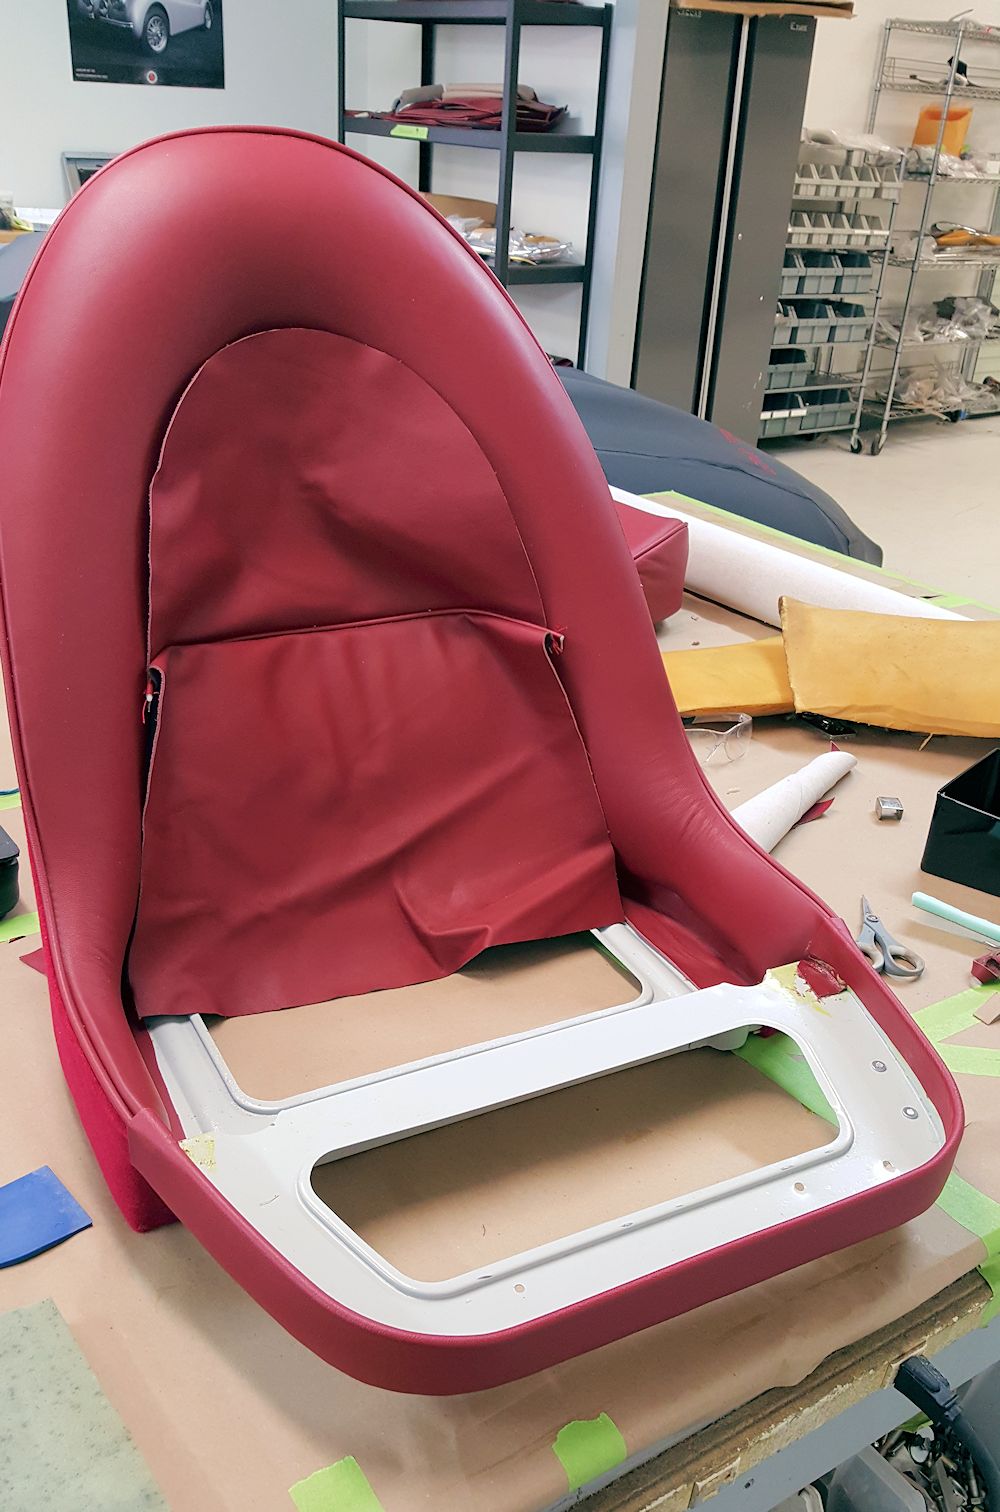
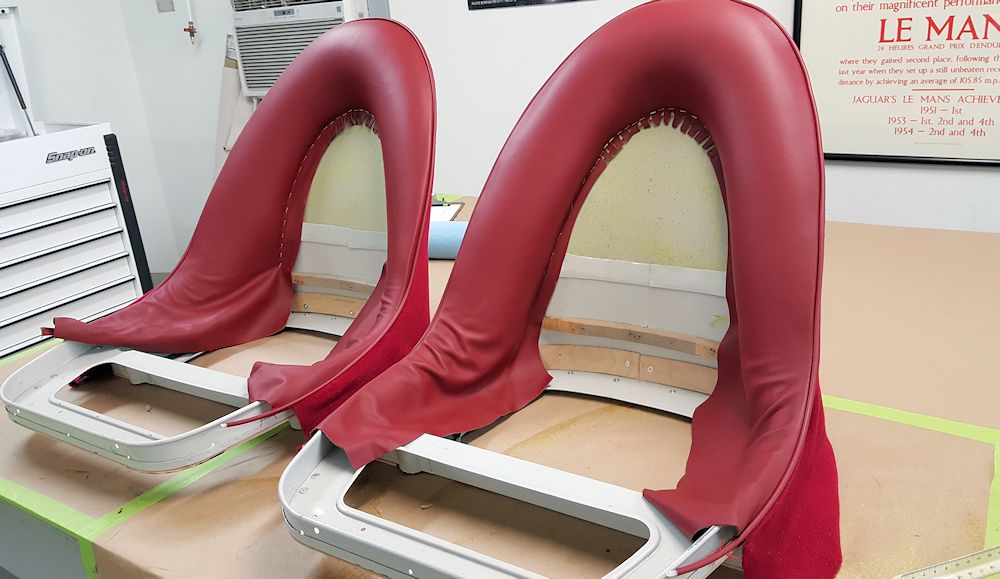
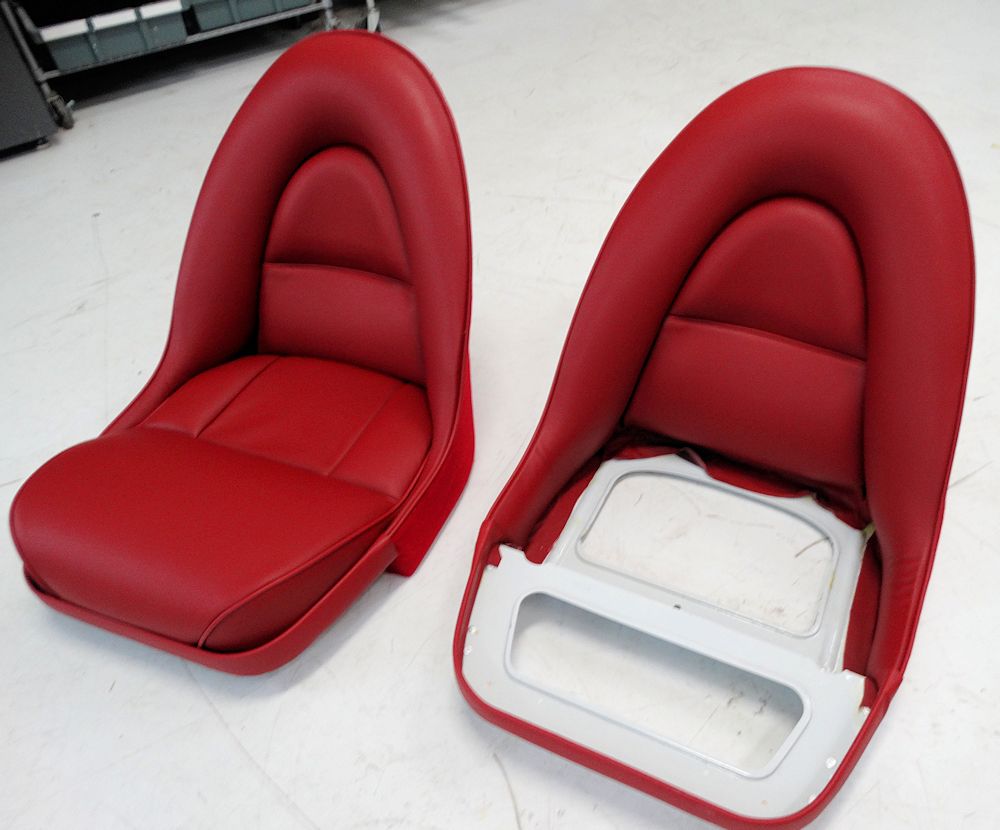
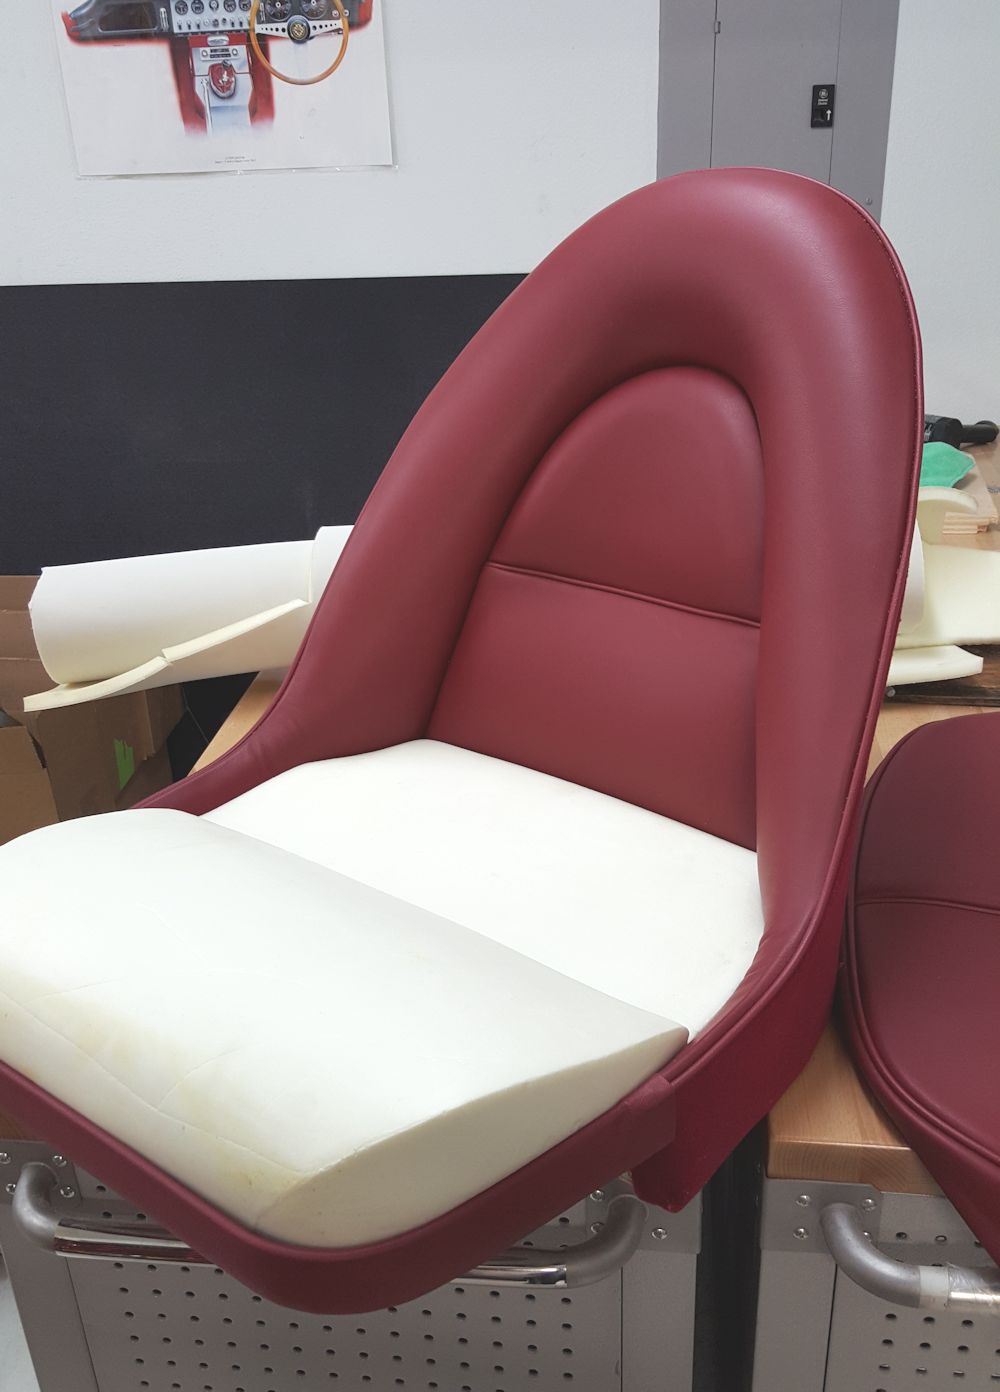
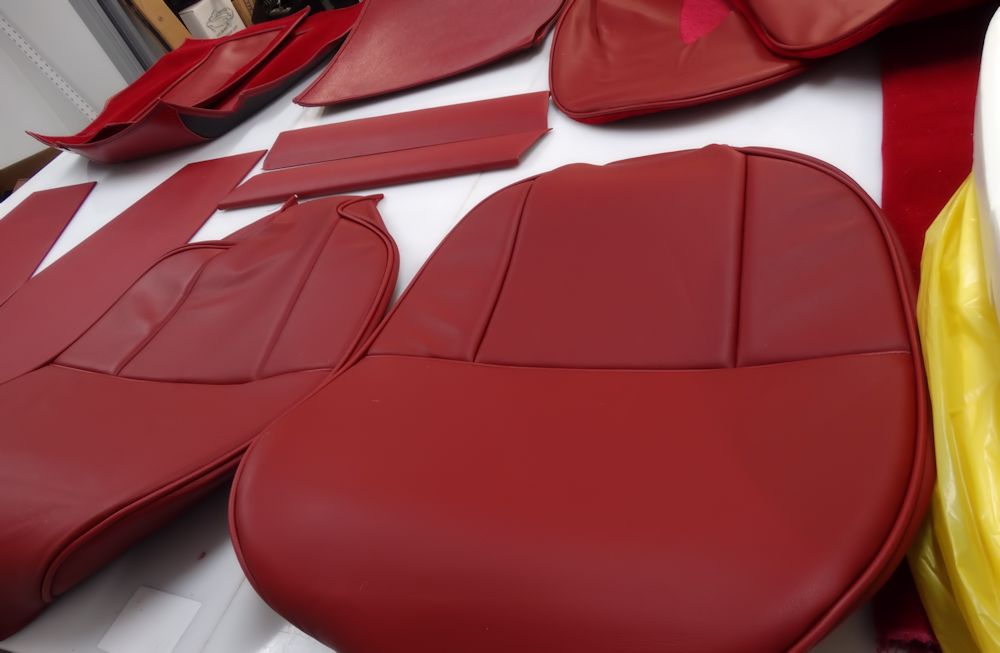
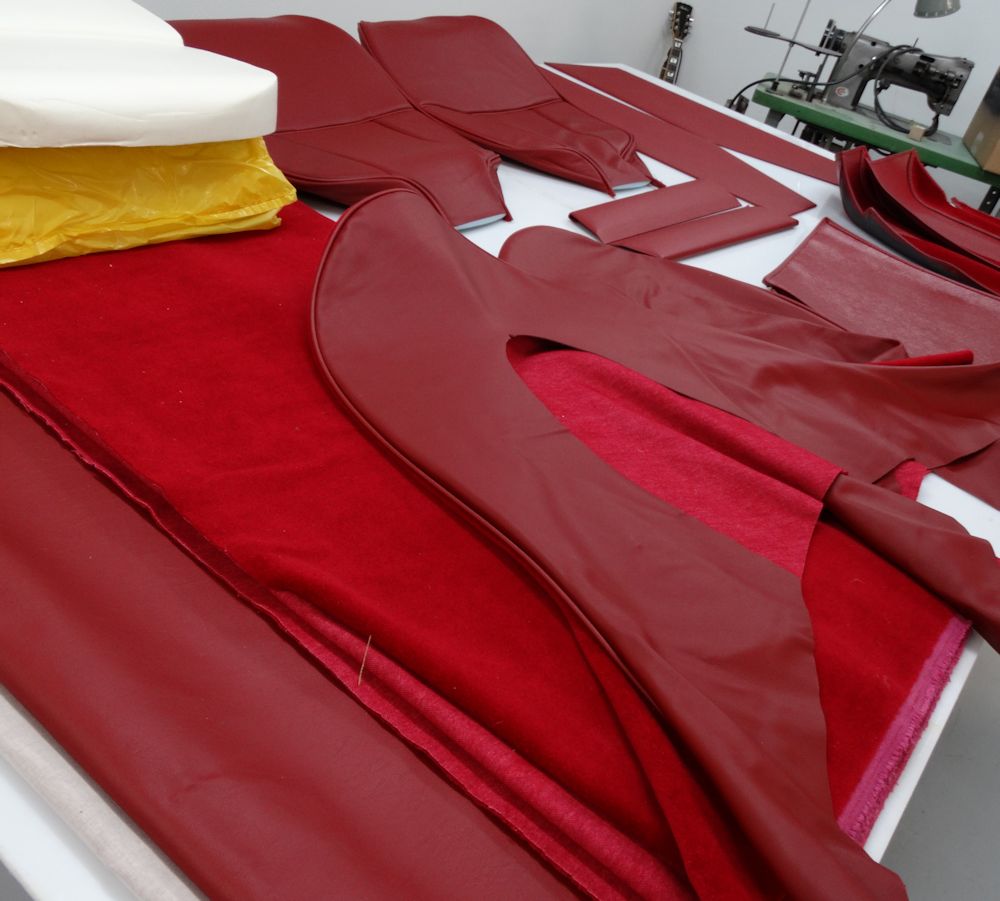
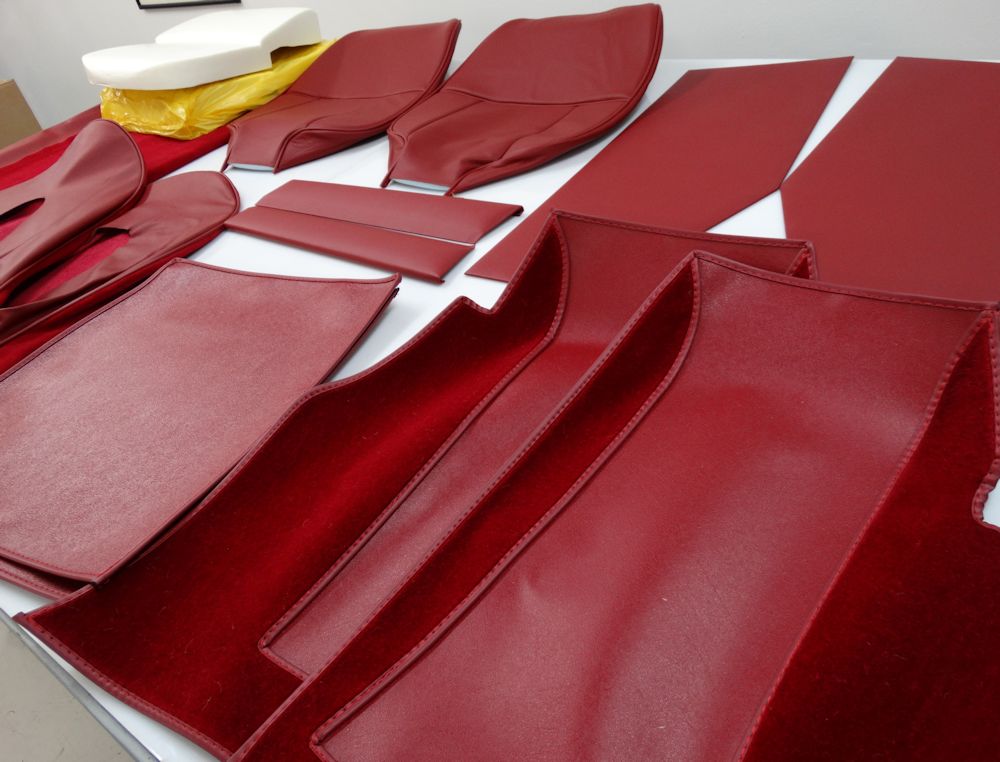
Trimming the seats in sumptuous, deep red, Suffolk & Turley hides...
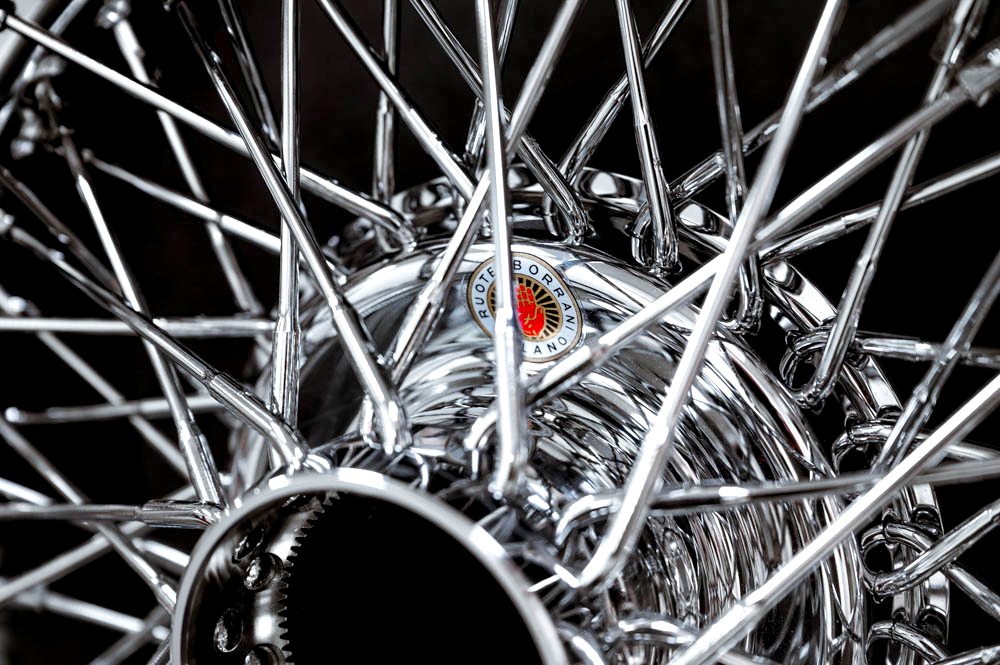
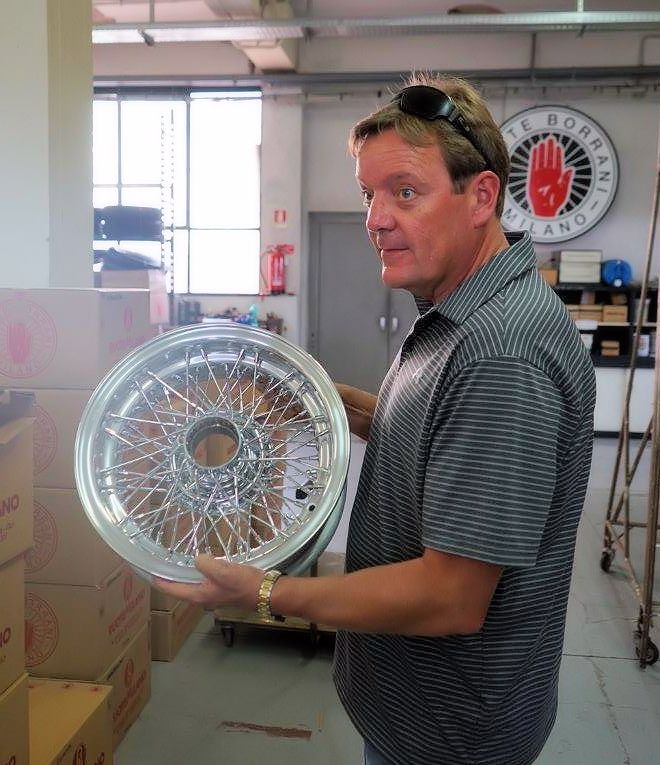
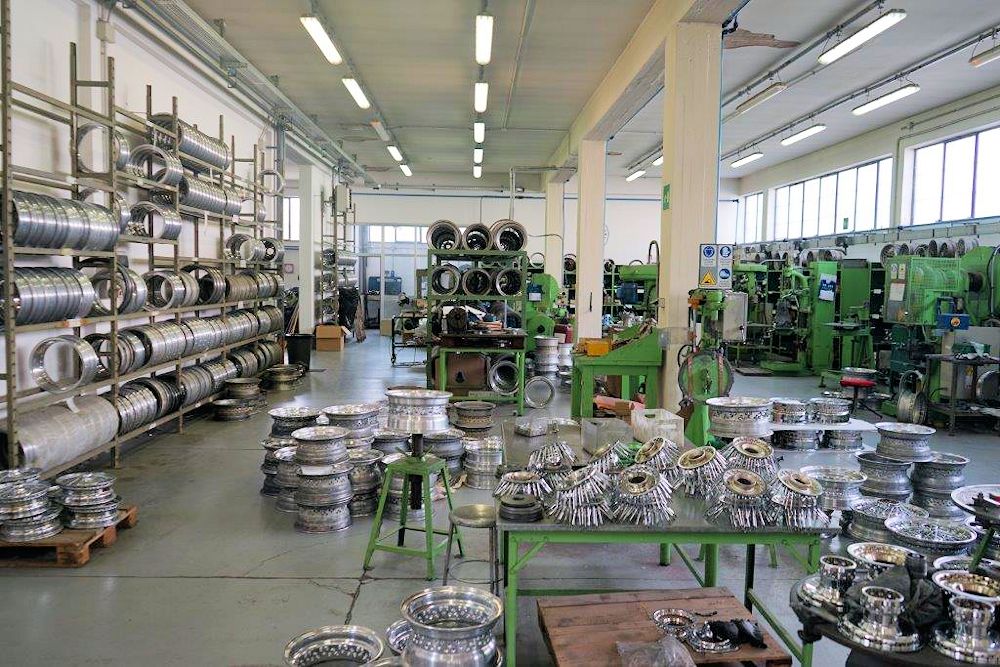
Yours truly doing a bit of Quality Control at the
Borrani factory in Milan
Exclusive Team CJ Borrani wheel in production
Visiting the Borrani factory in Milan last week!
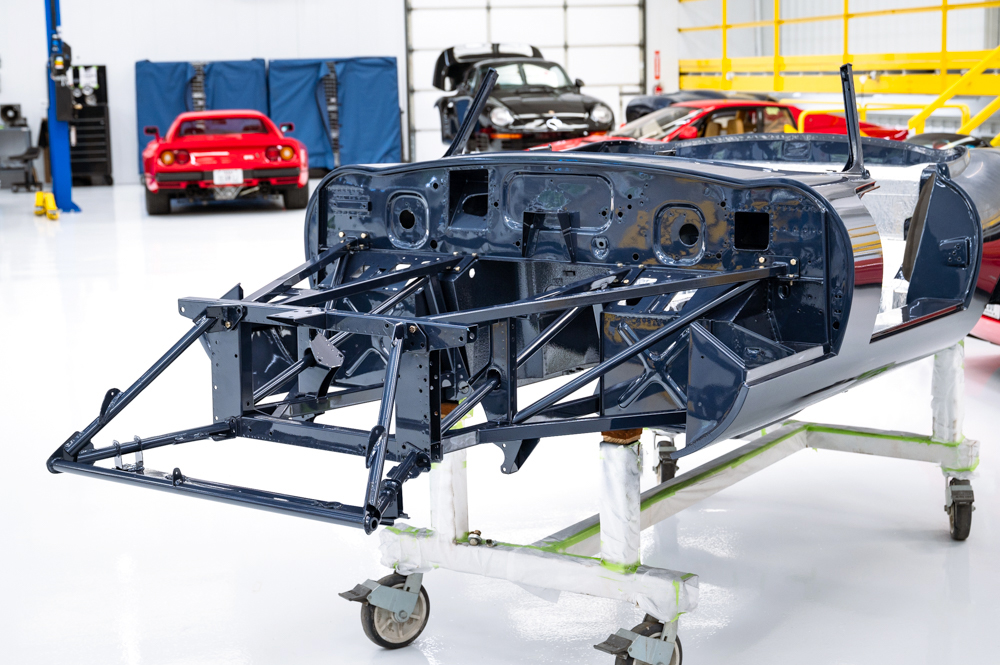
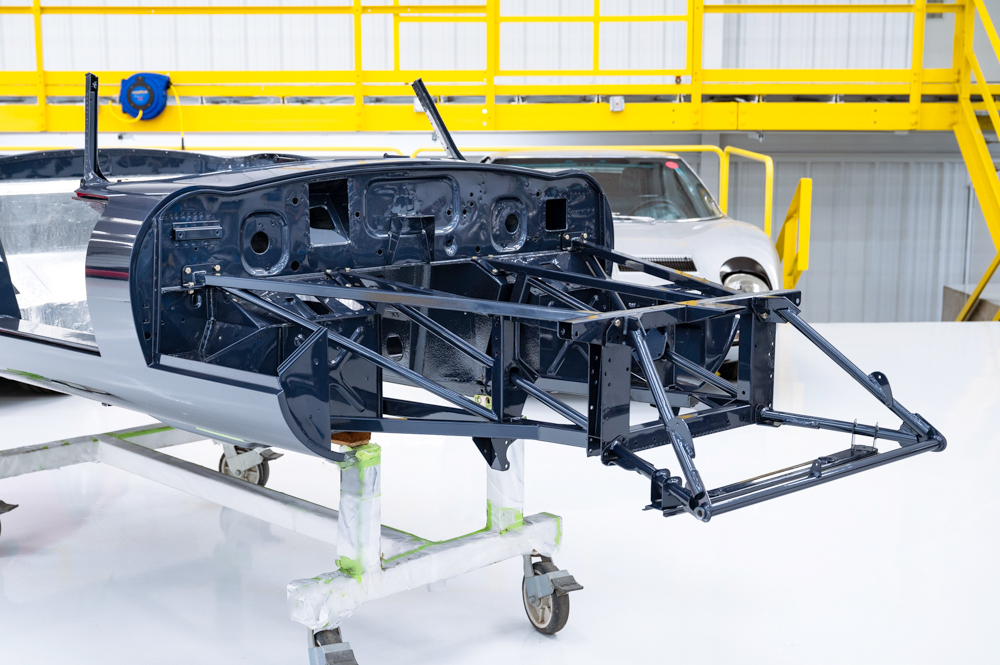
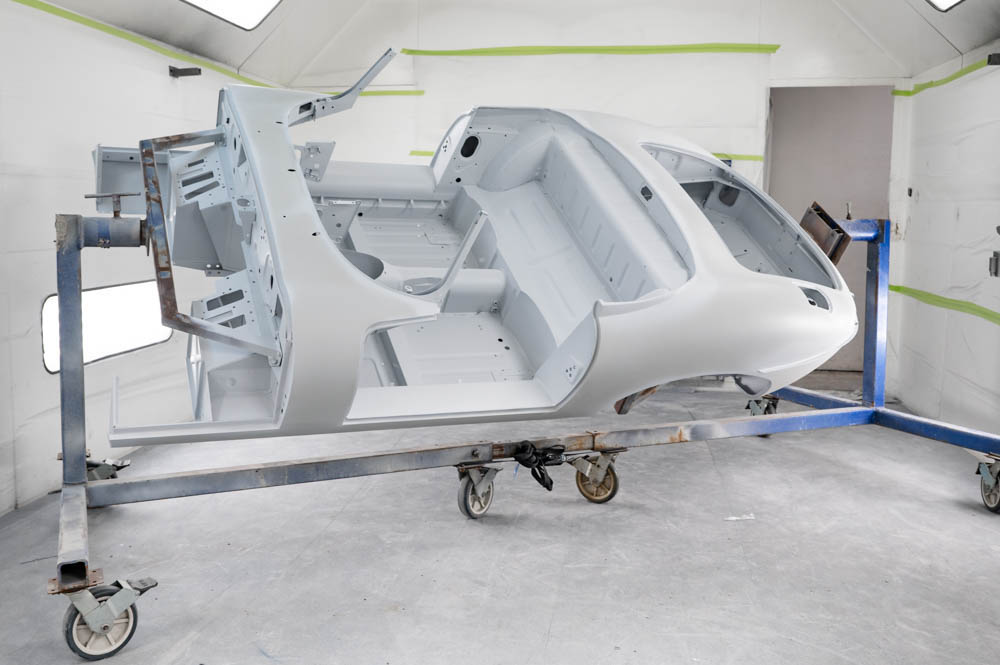
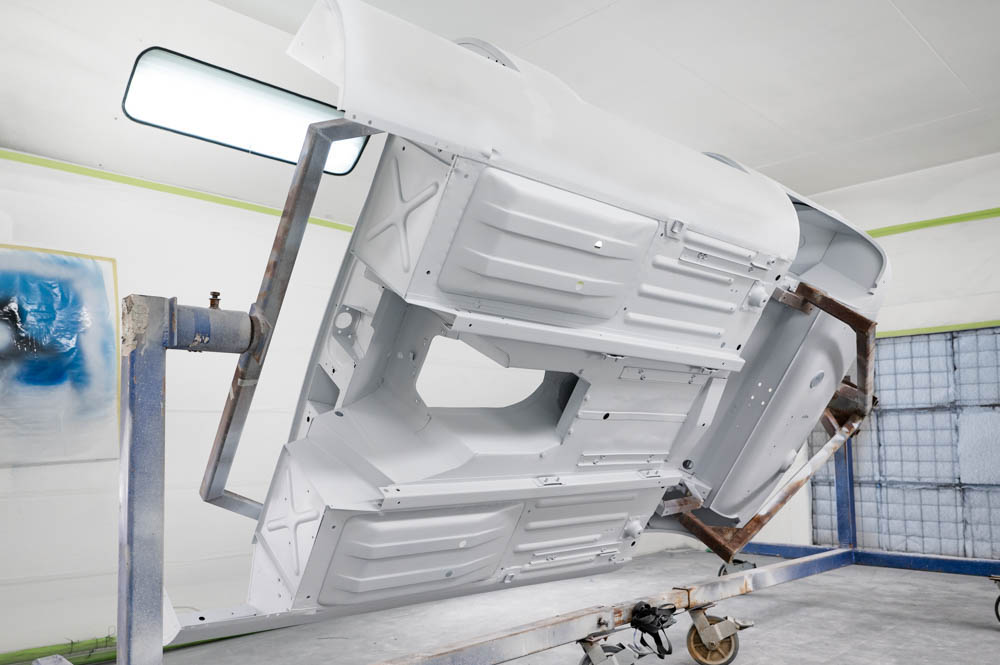
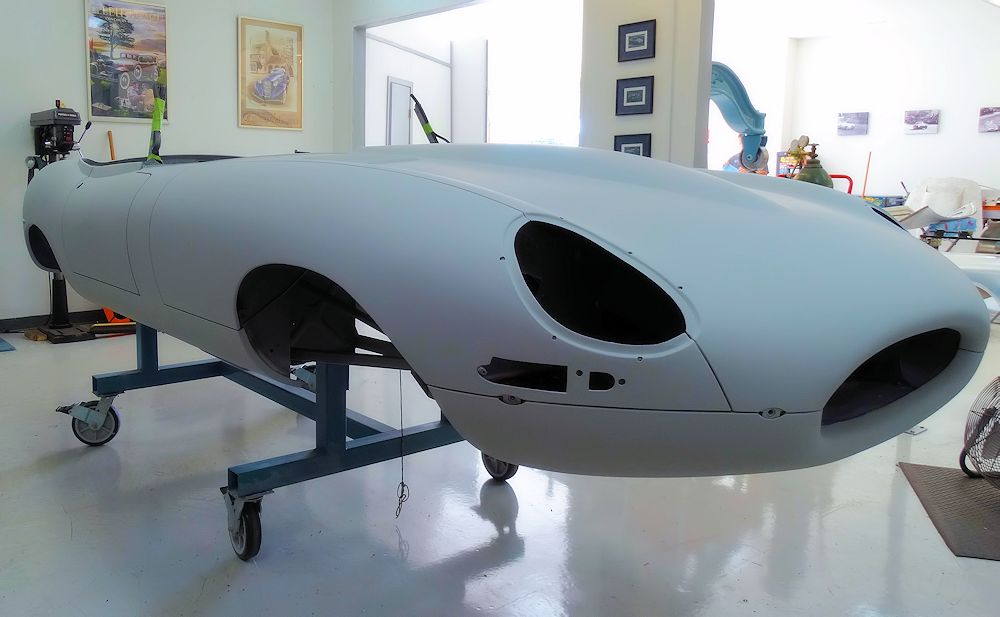
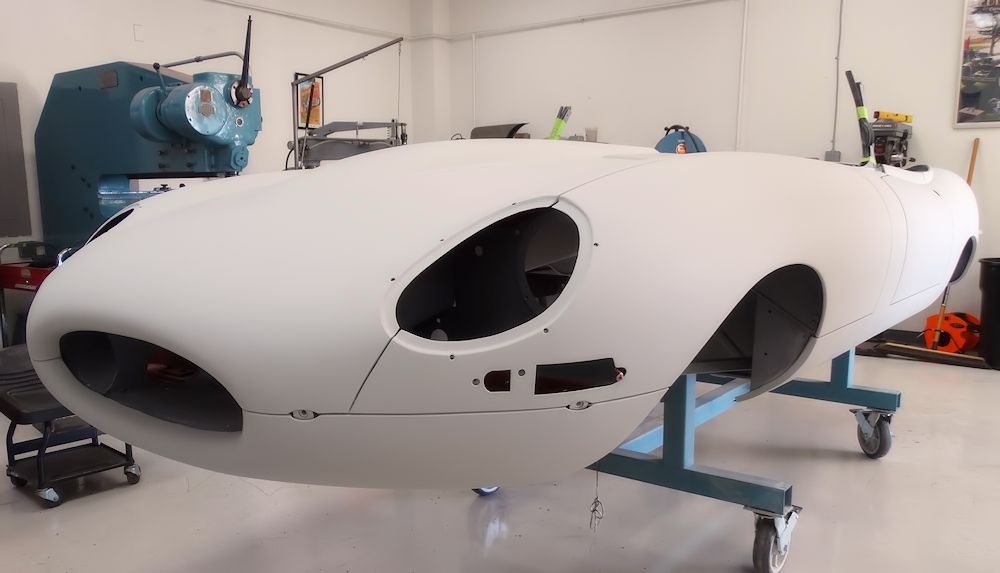
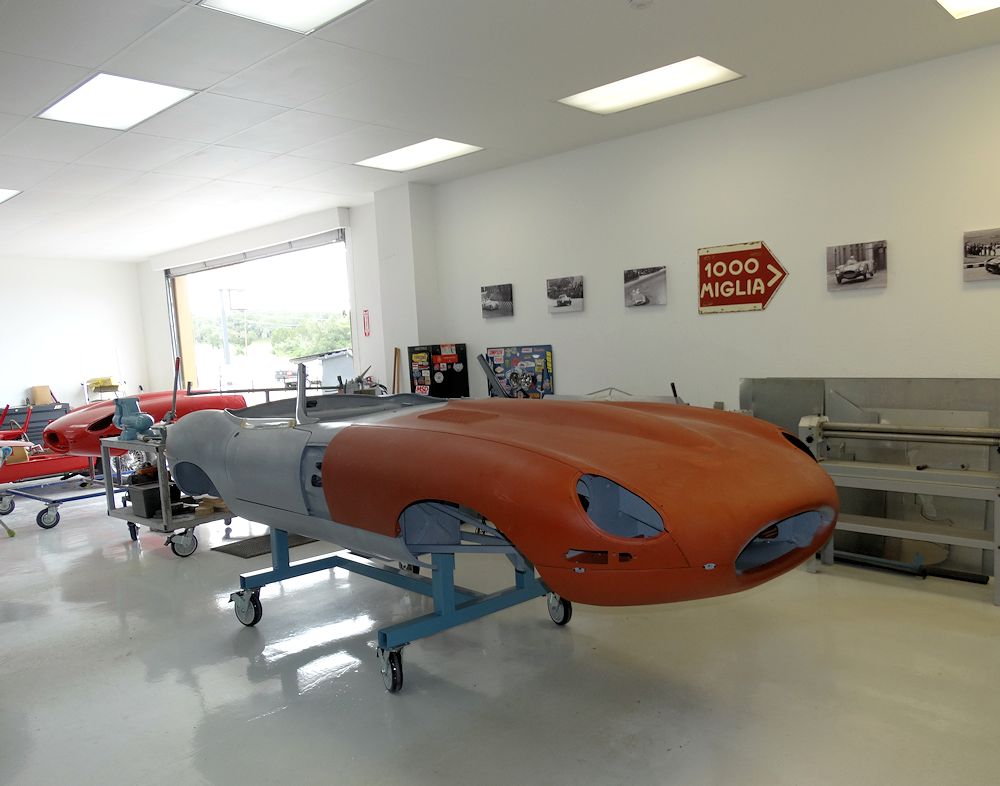
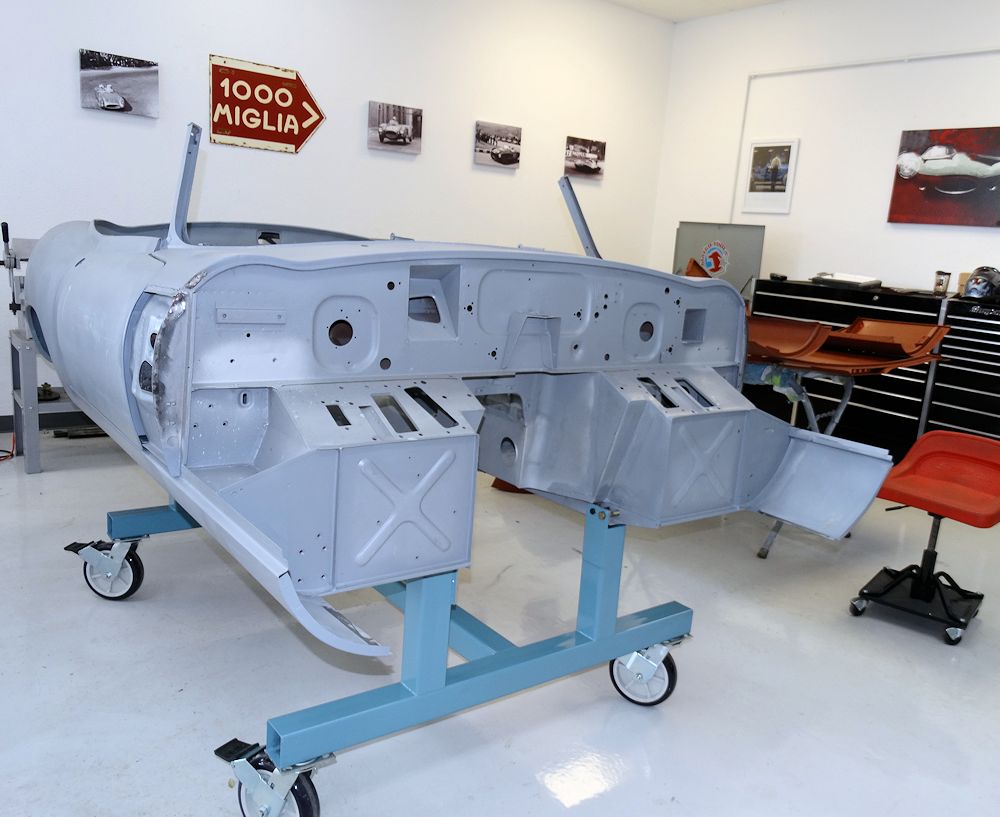
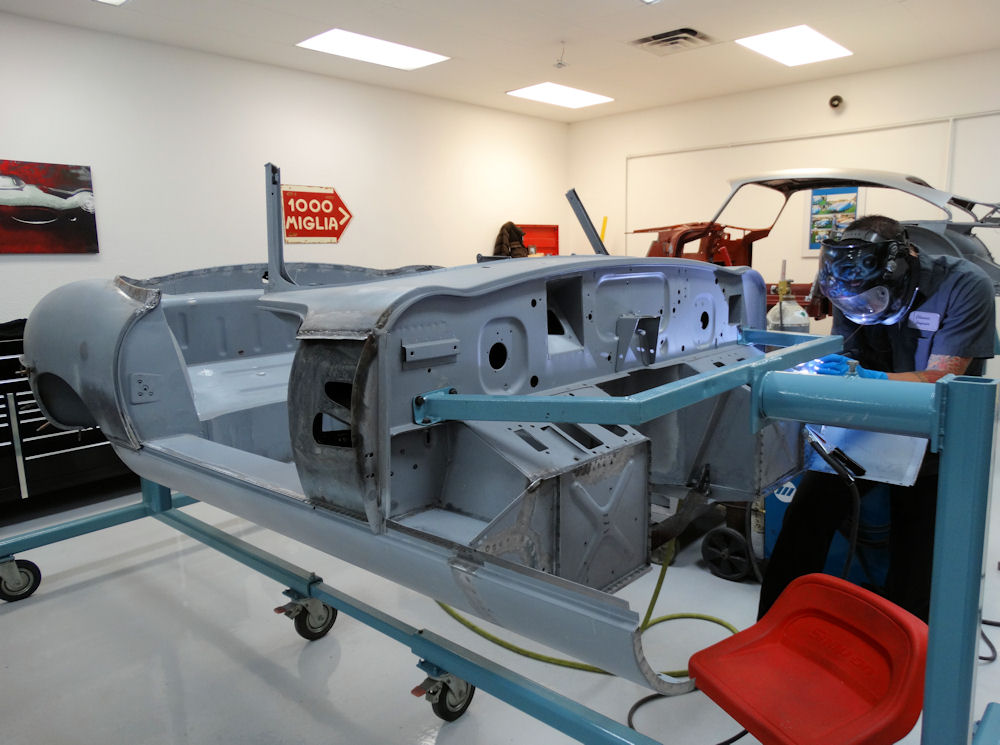
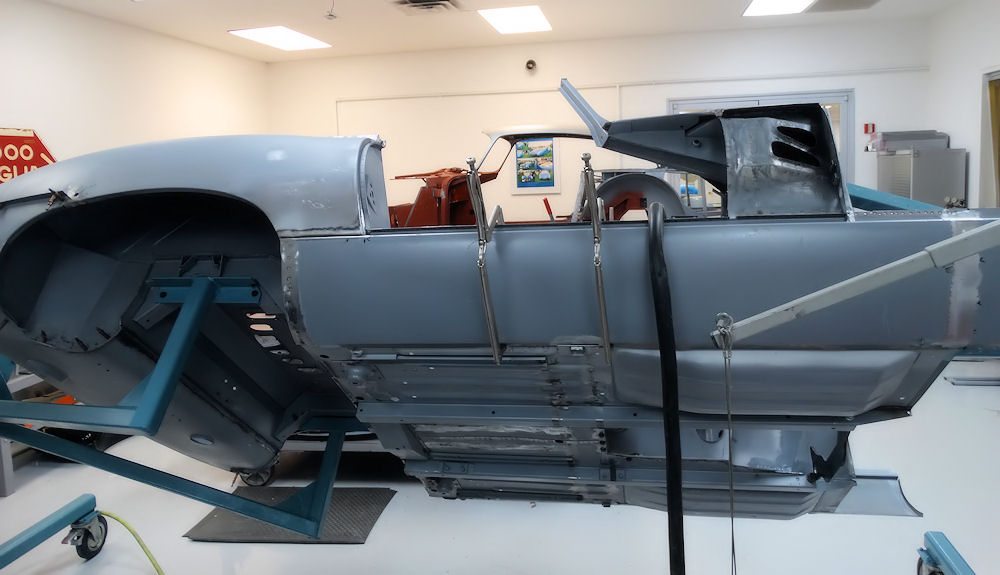
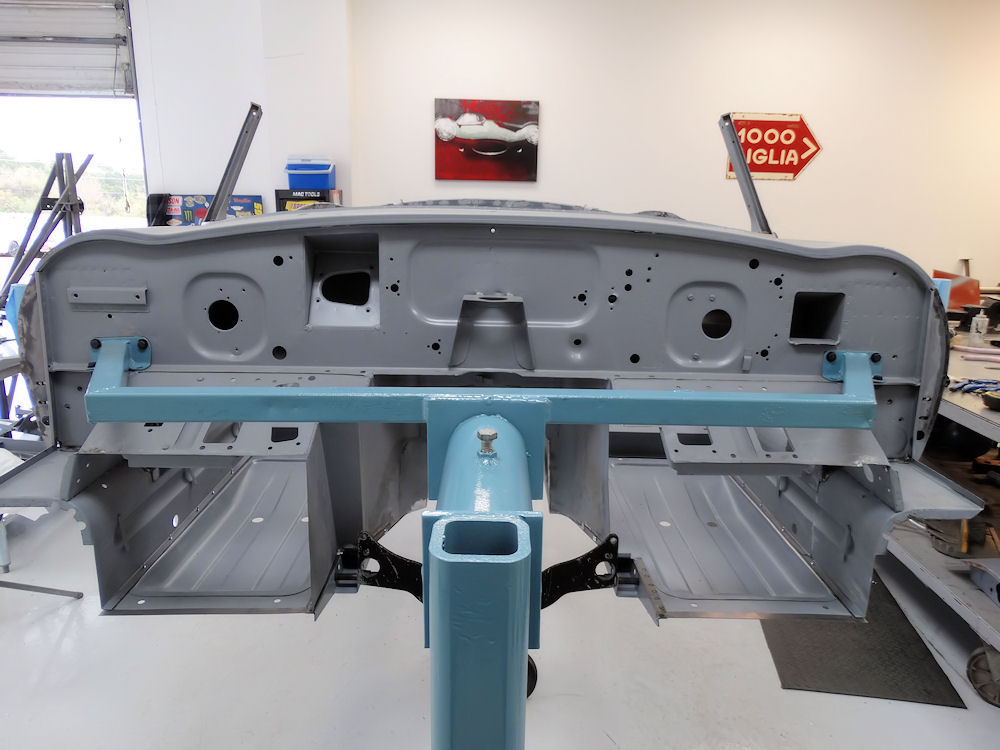
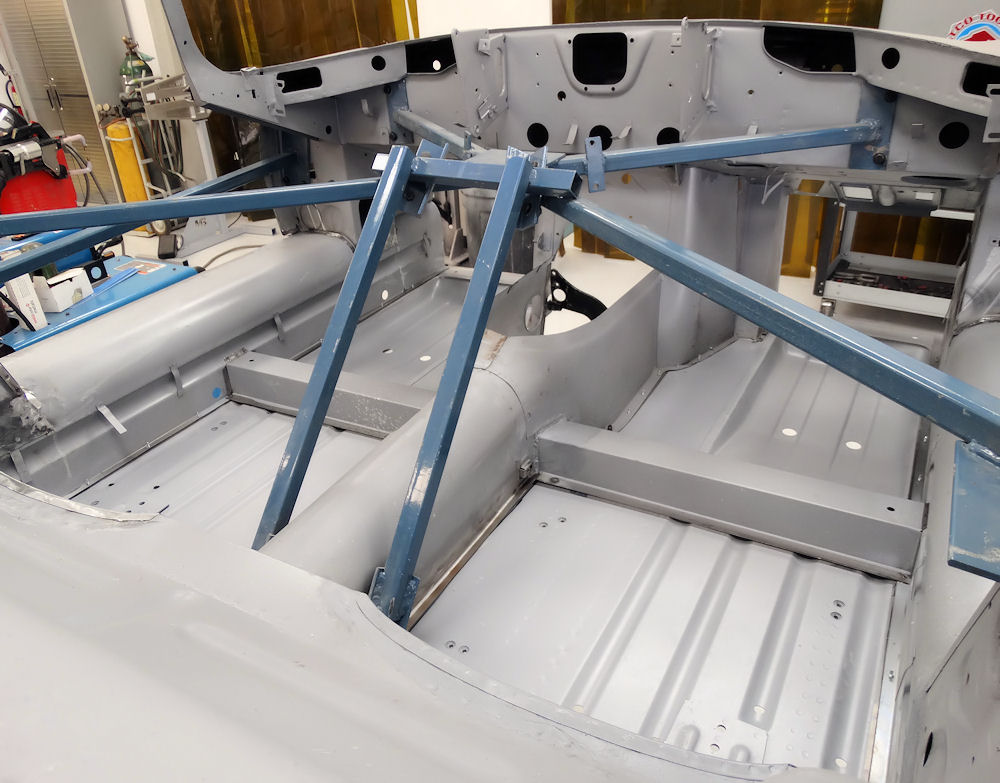
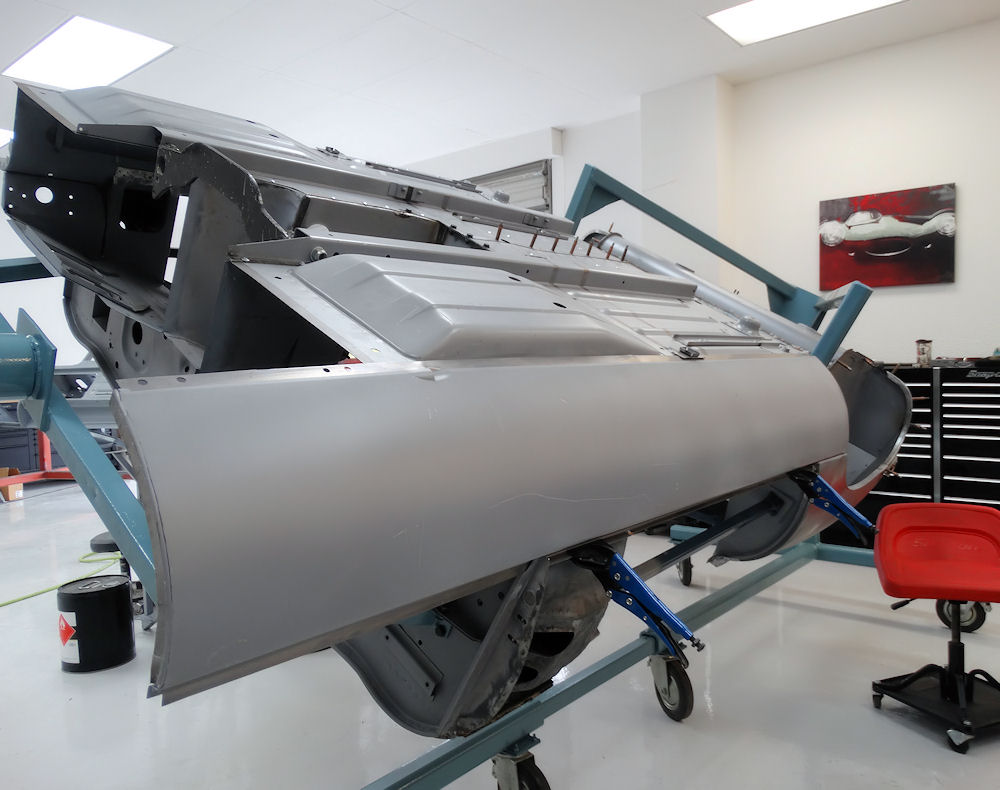
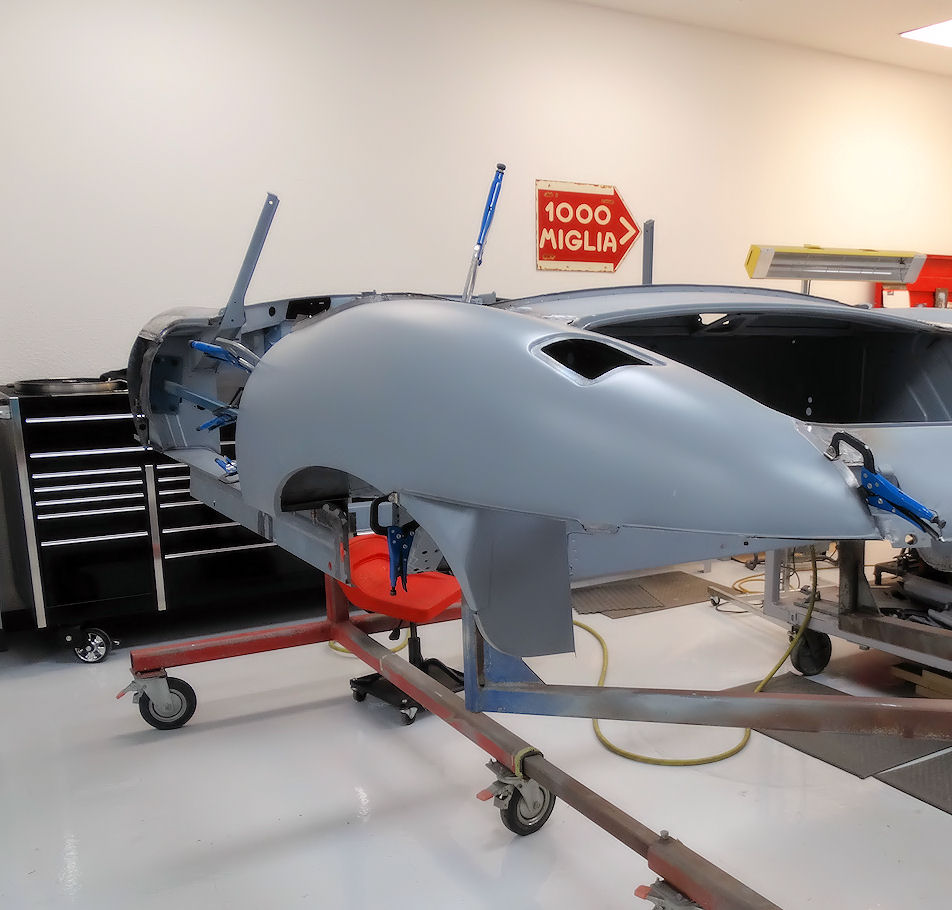
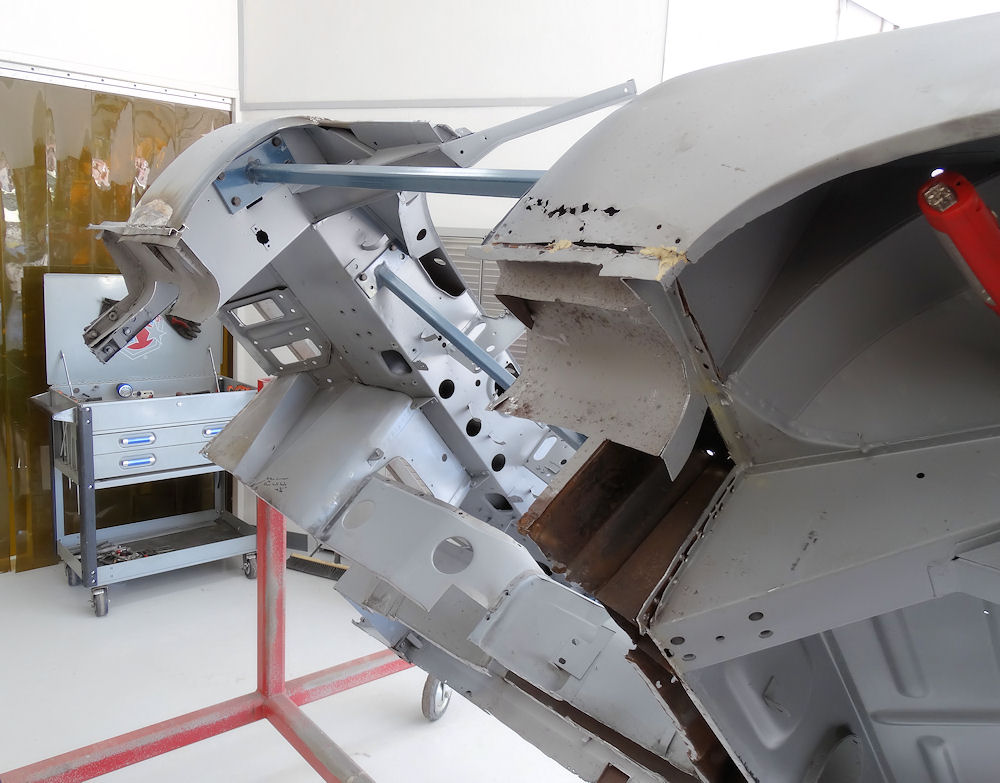
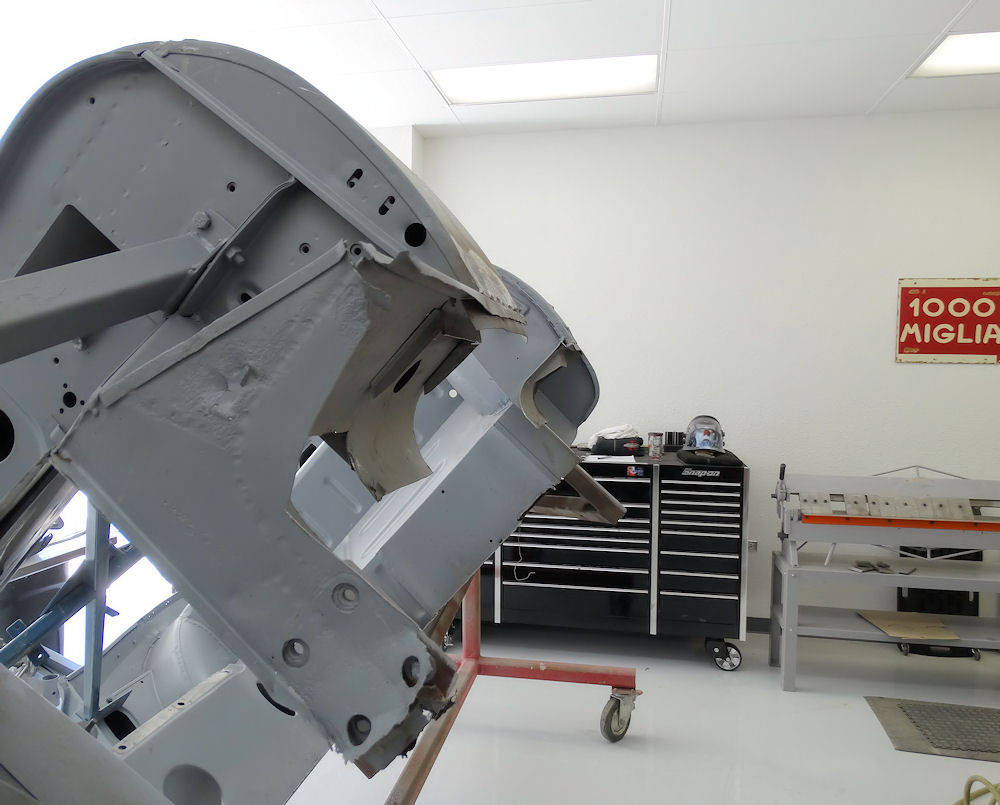
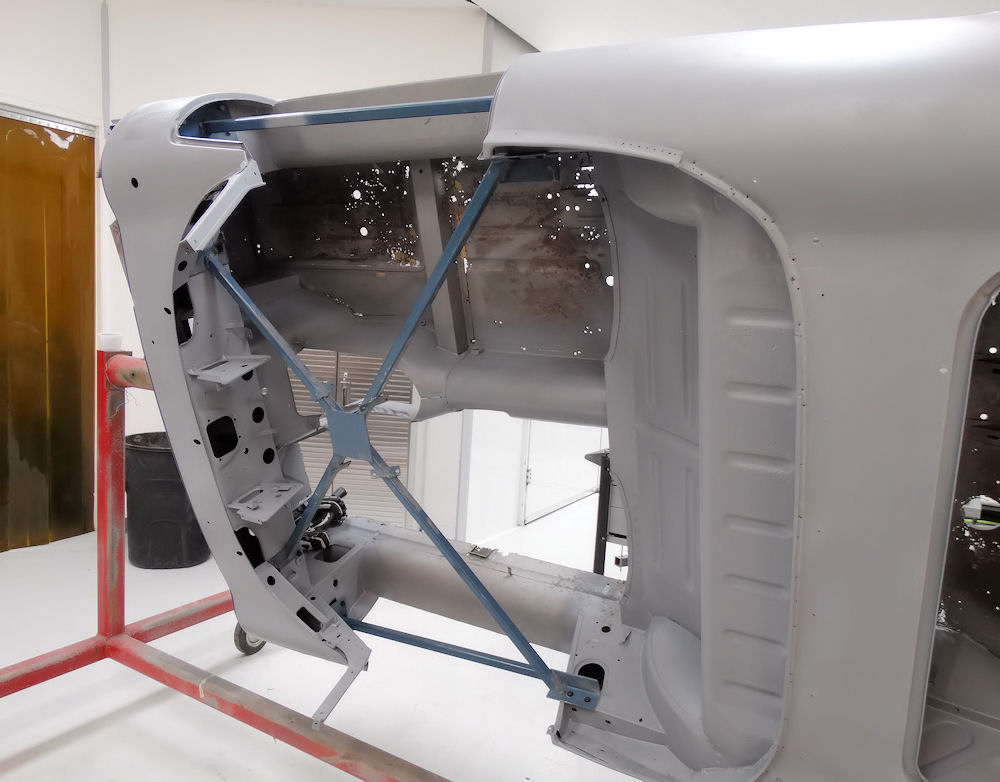
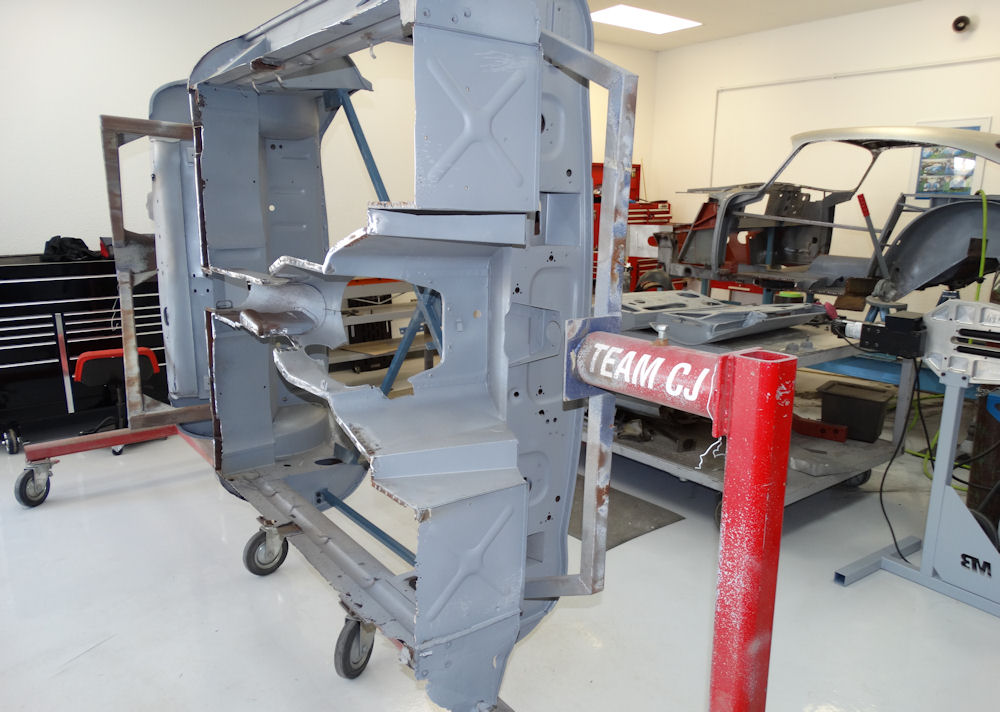
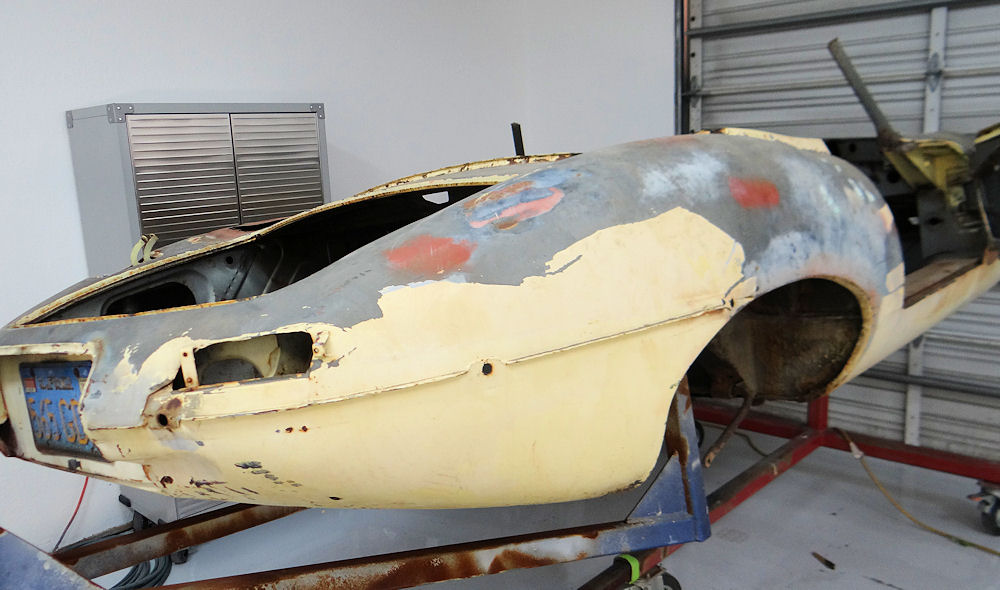
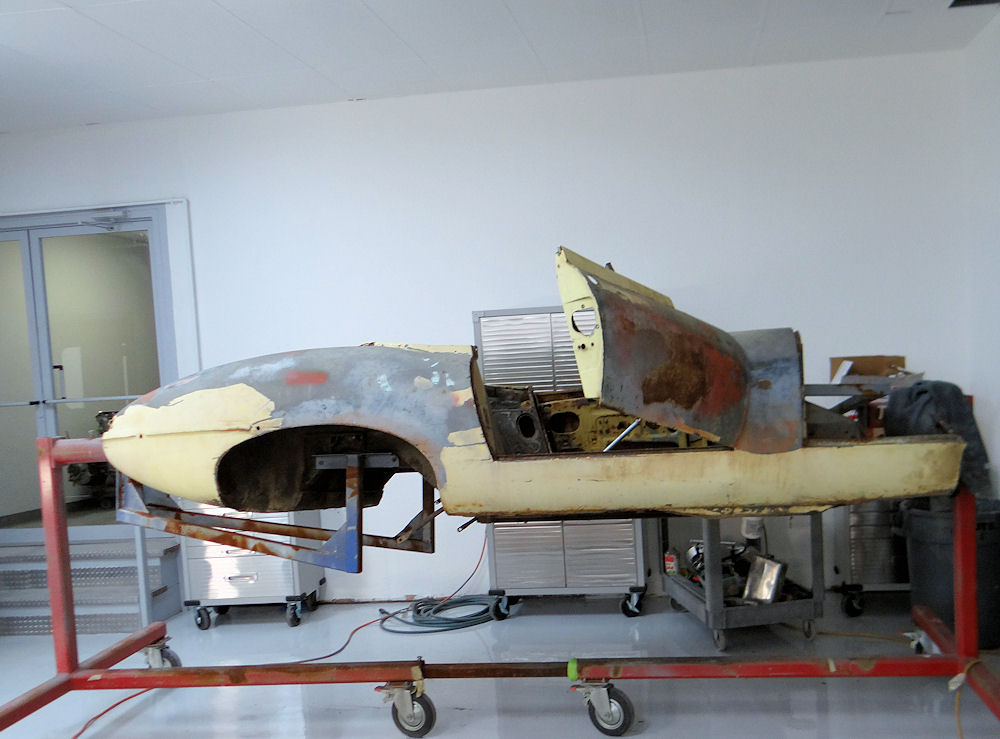
Basically a "new" E Type body
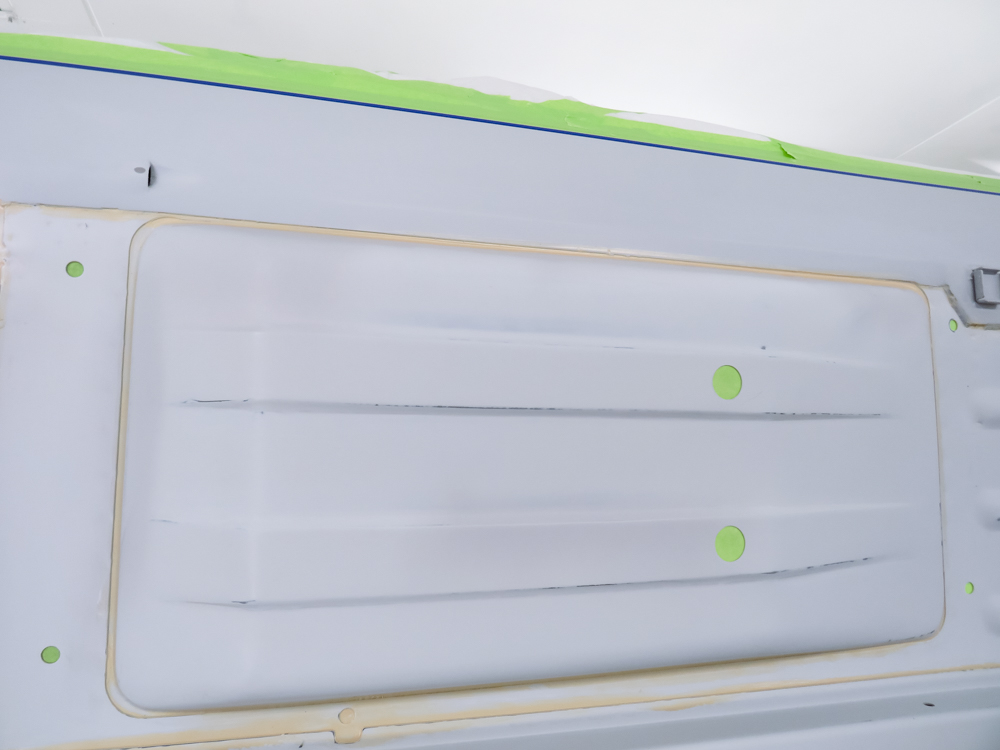
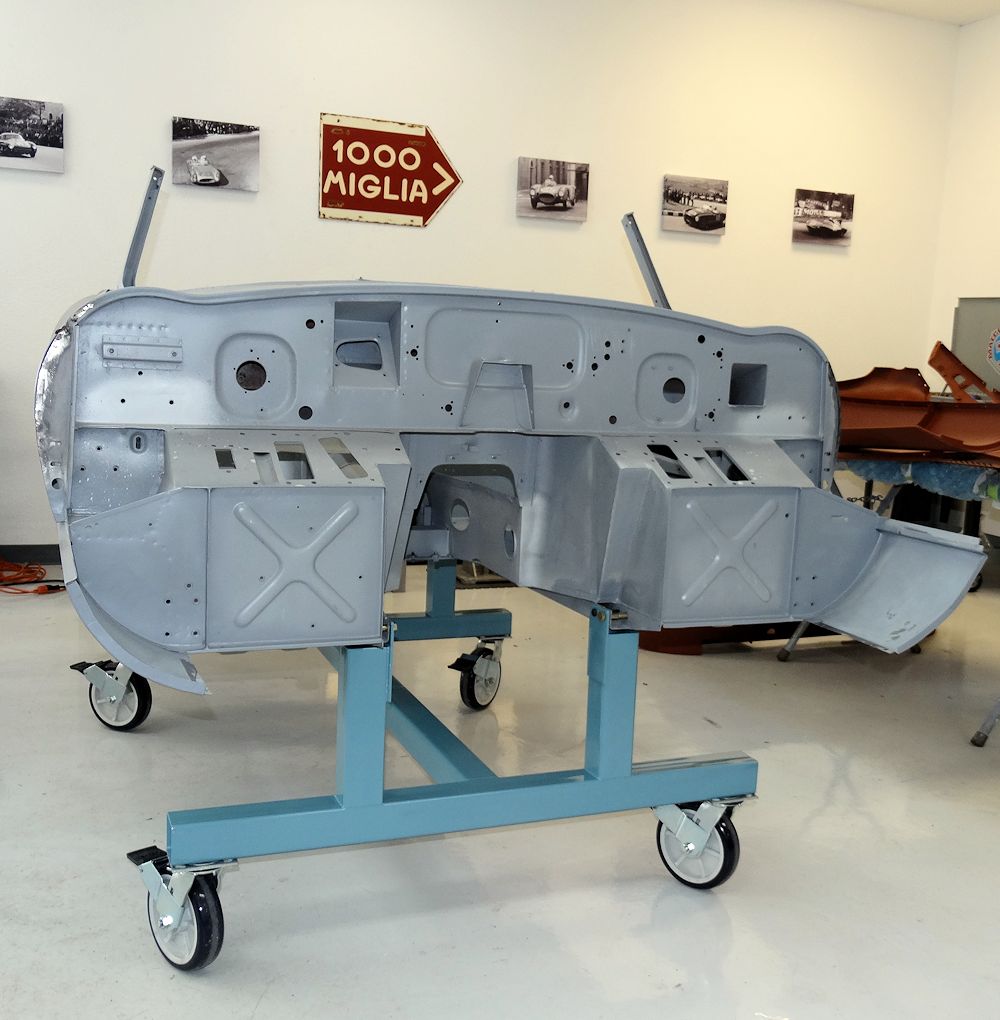
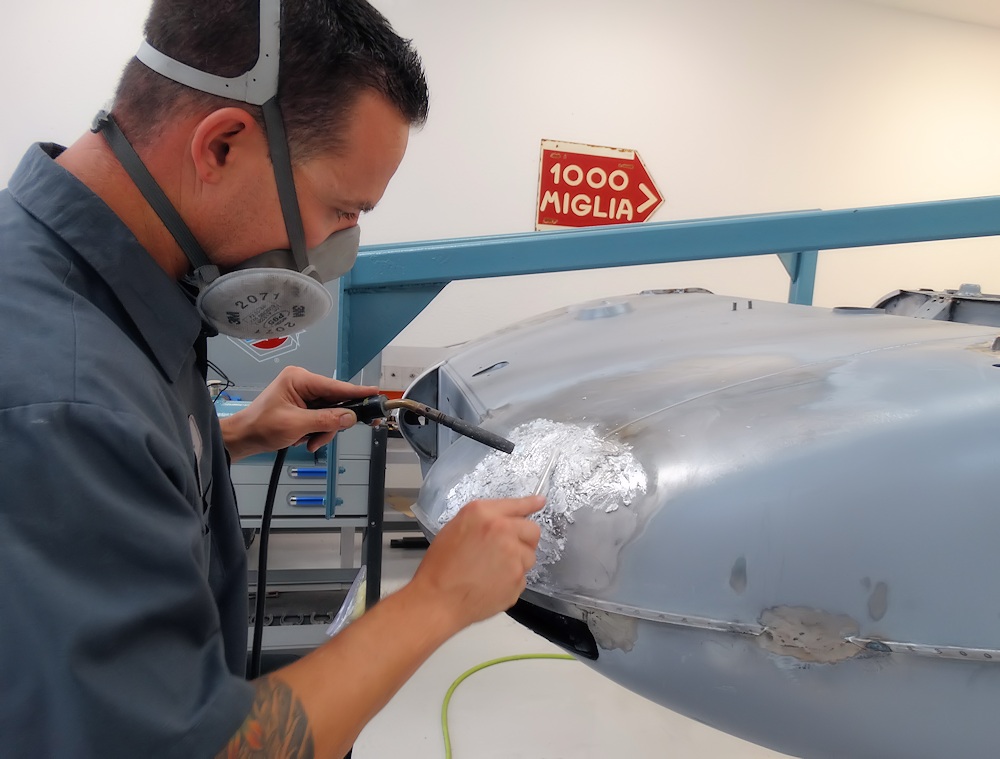
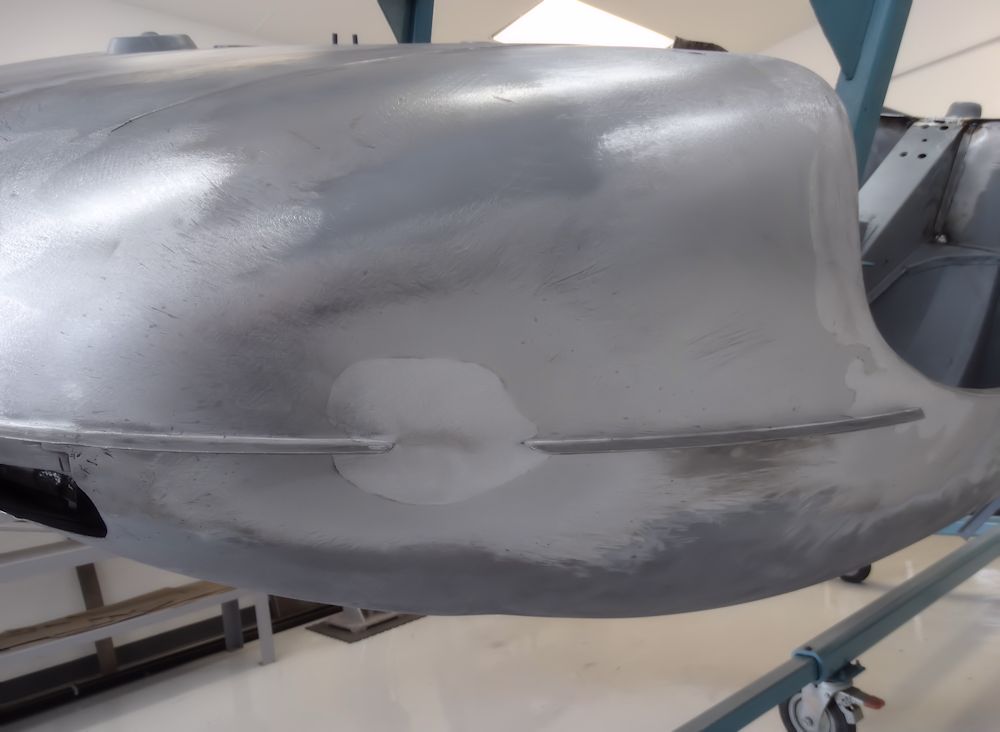
The high build primer will be painstakingly blocked
until all panels are perfectly straight
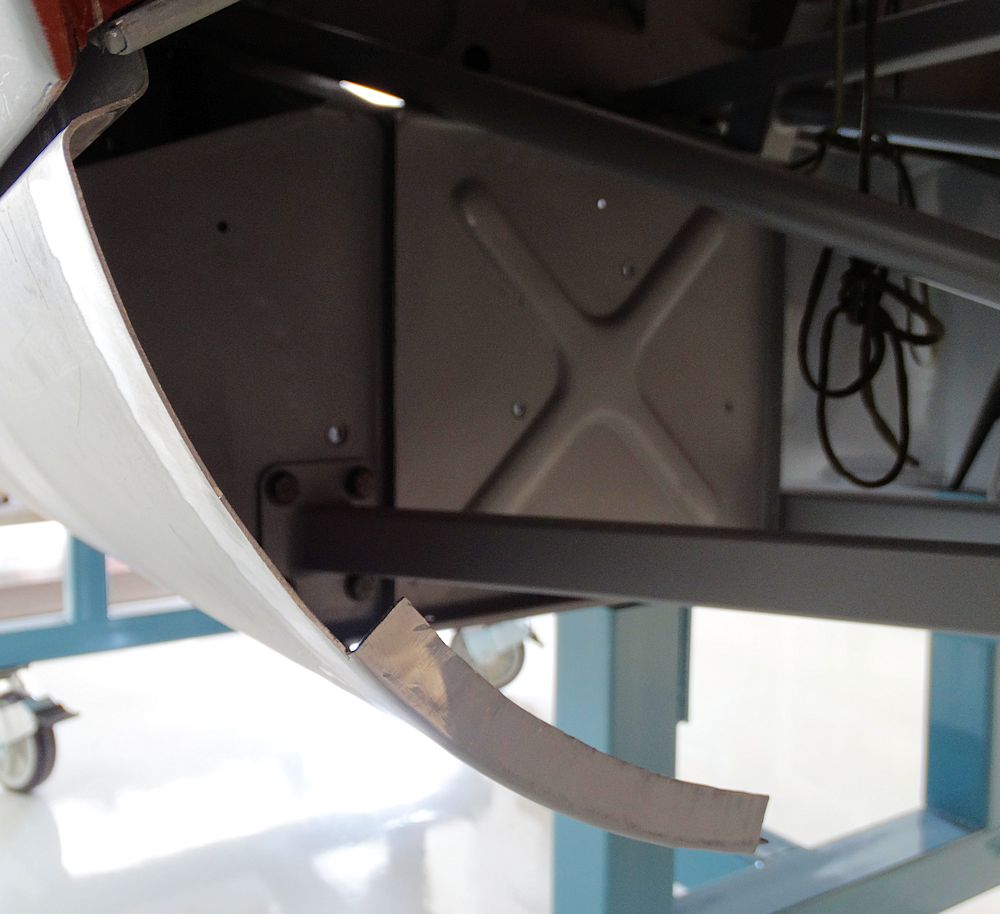
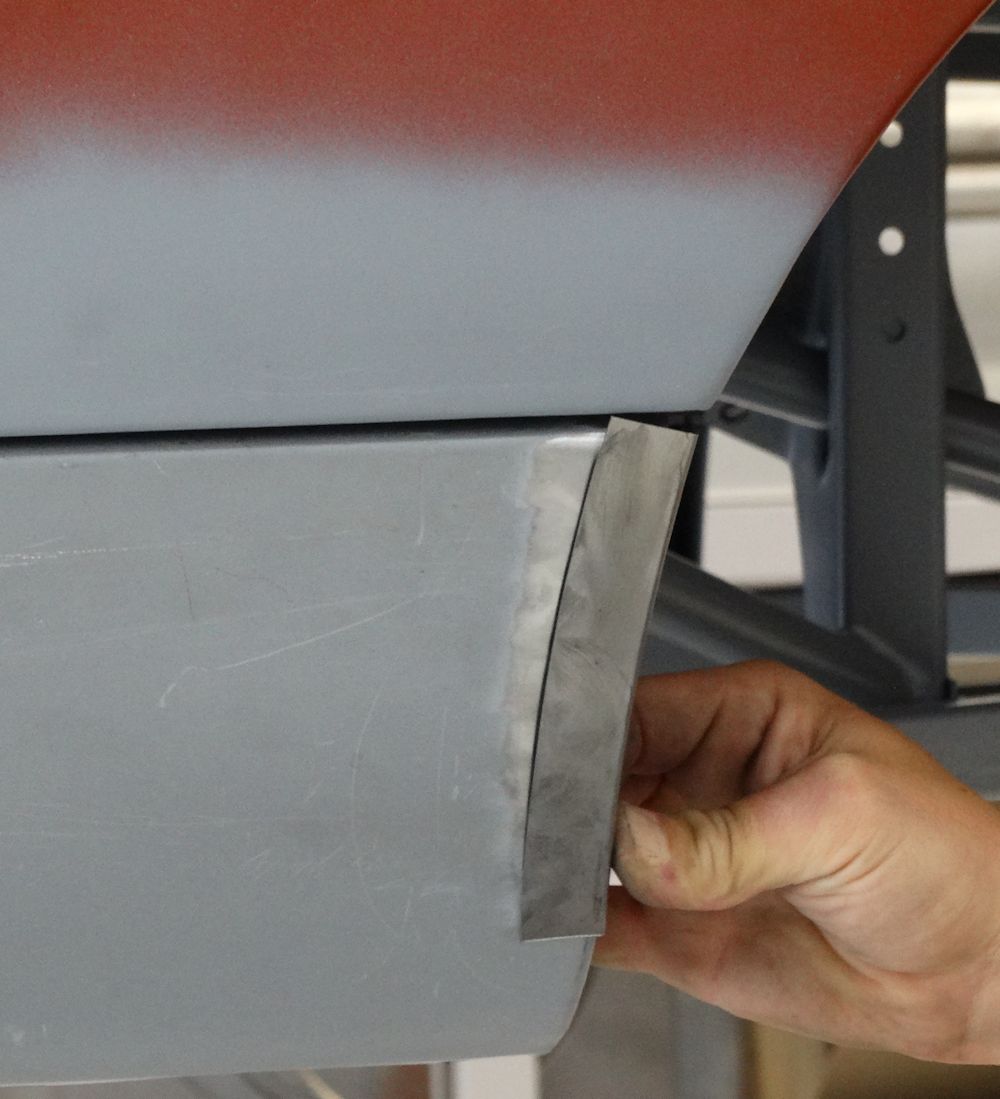
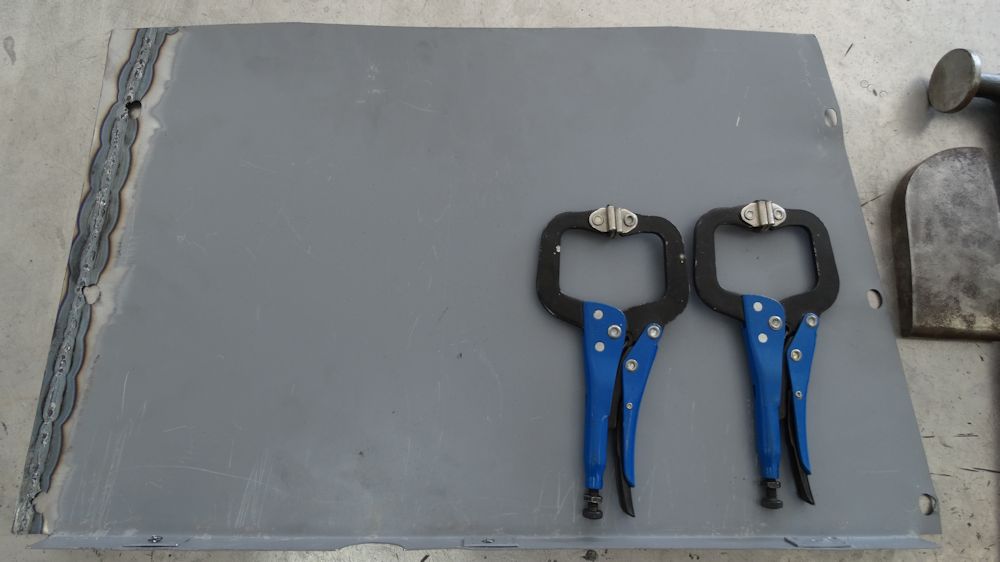
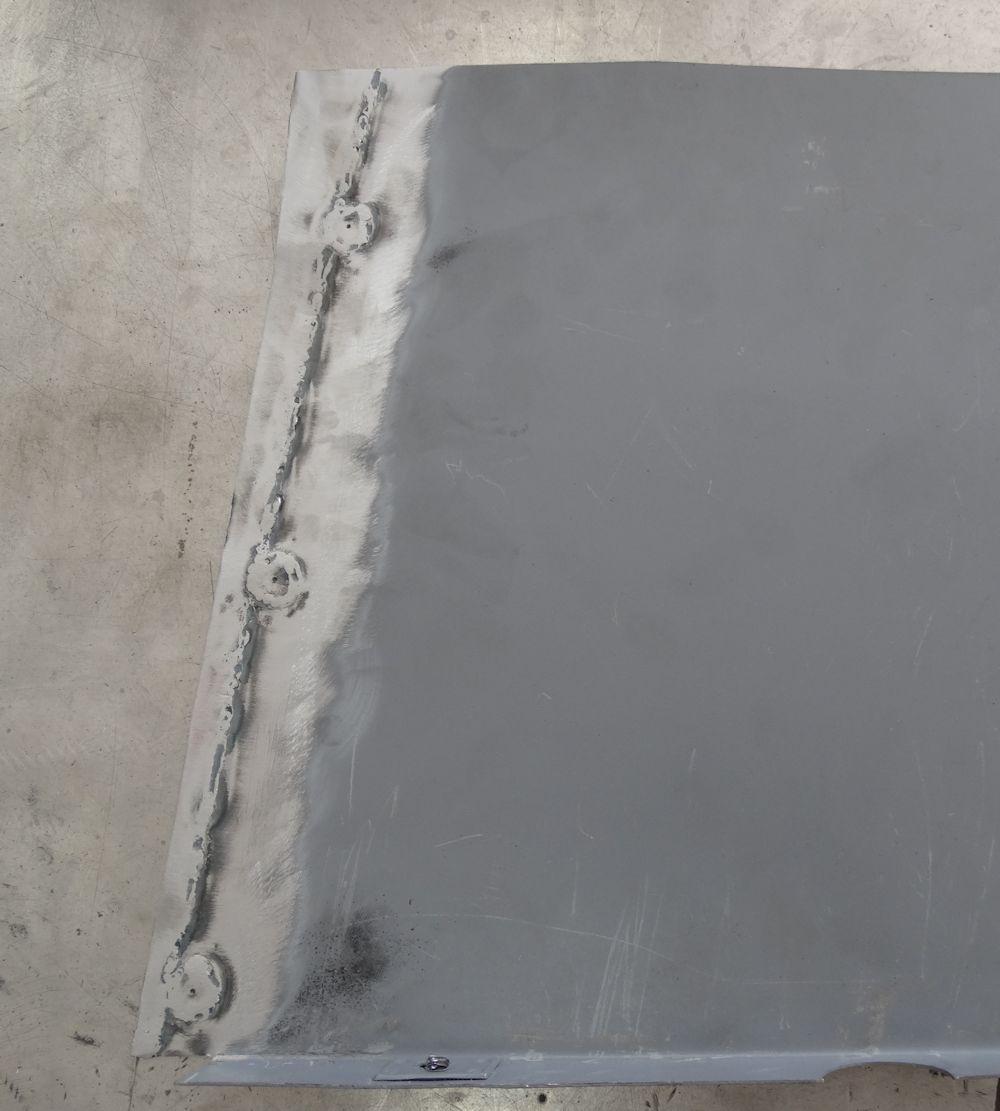
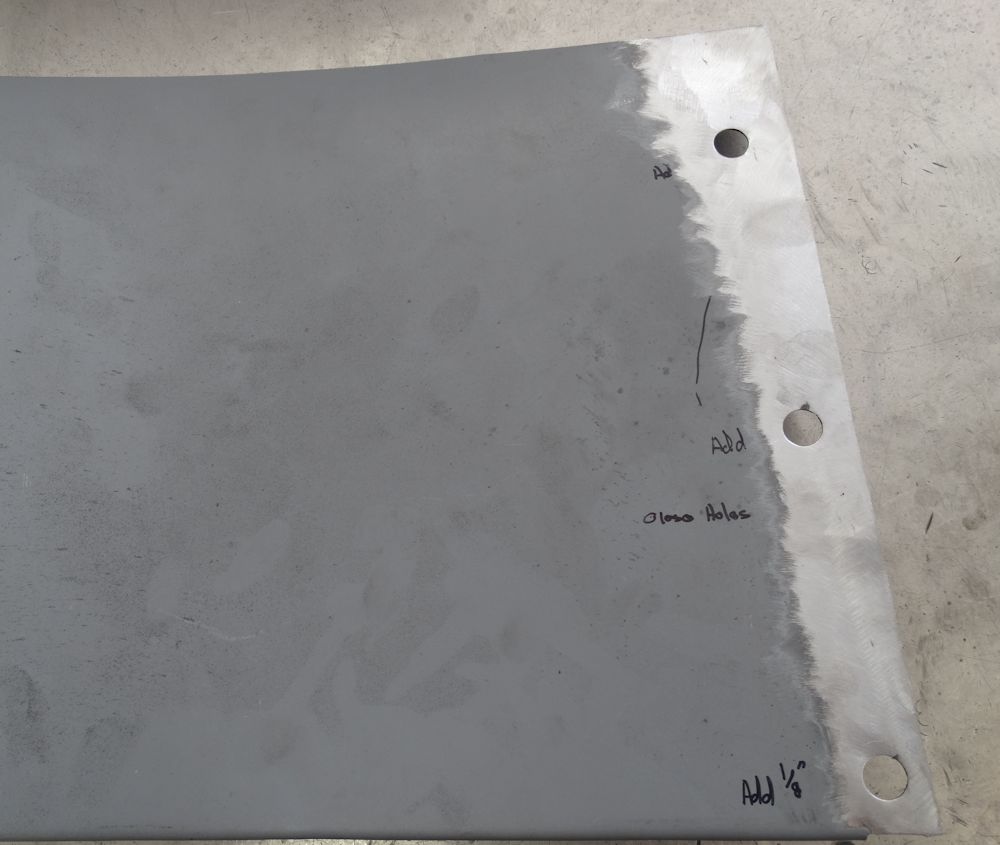
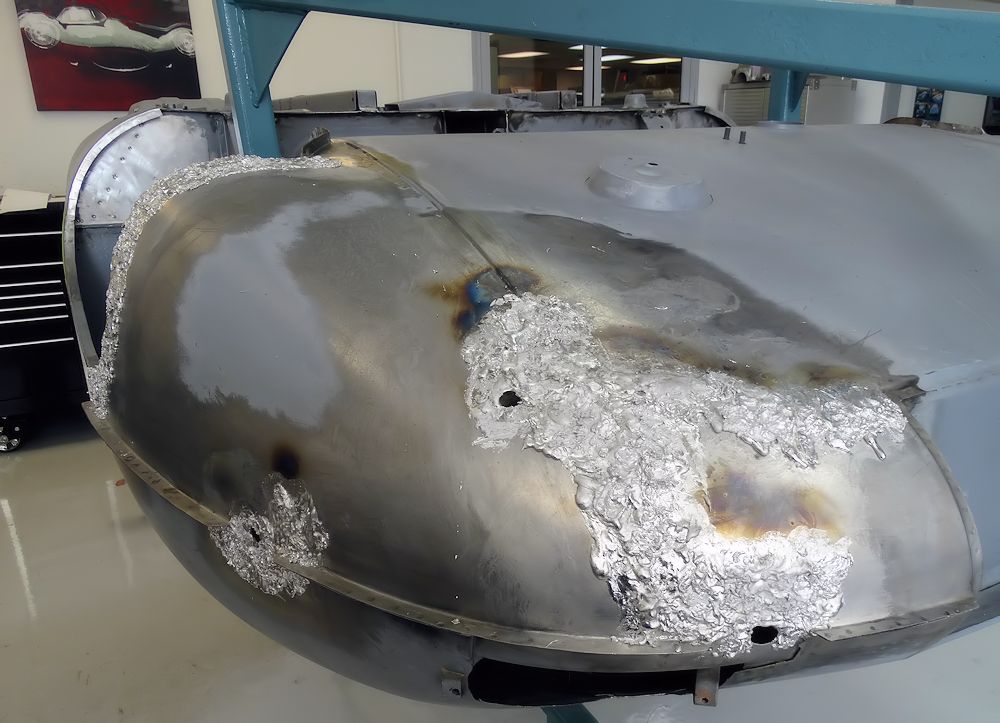
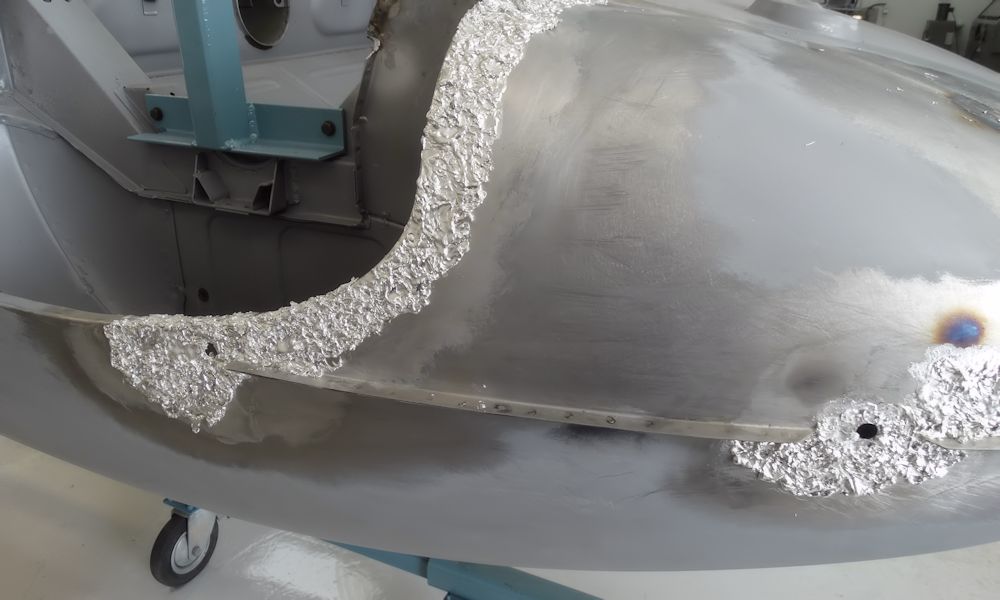
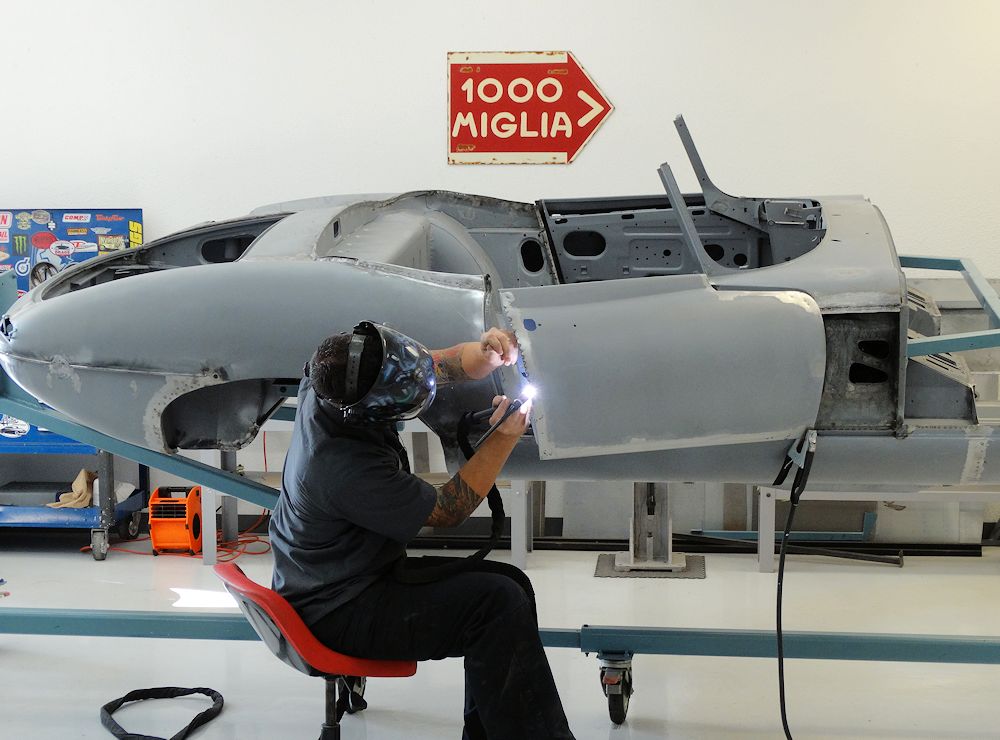
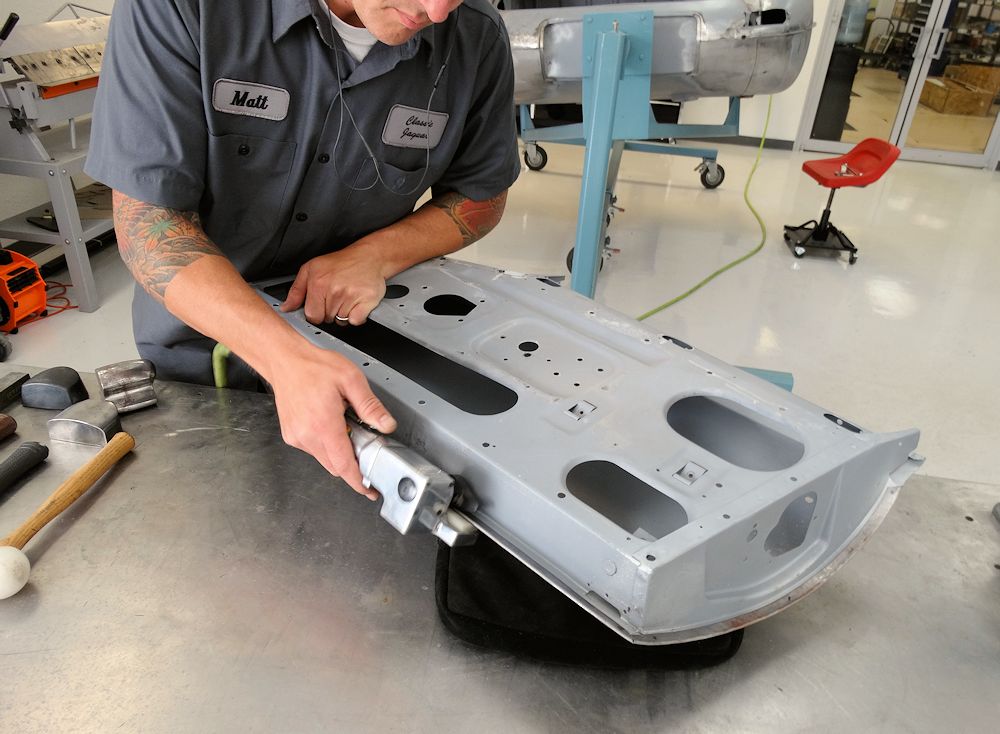
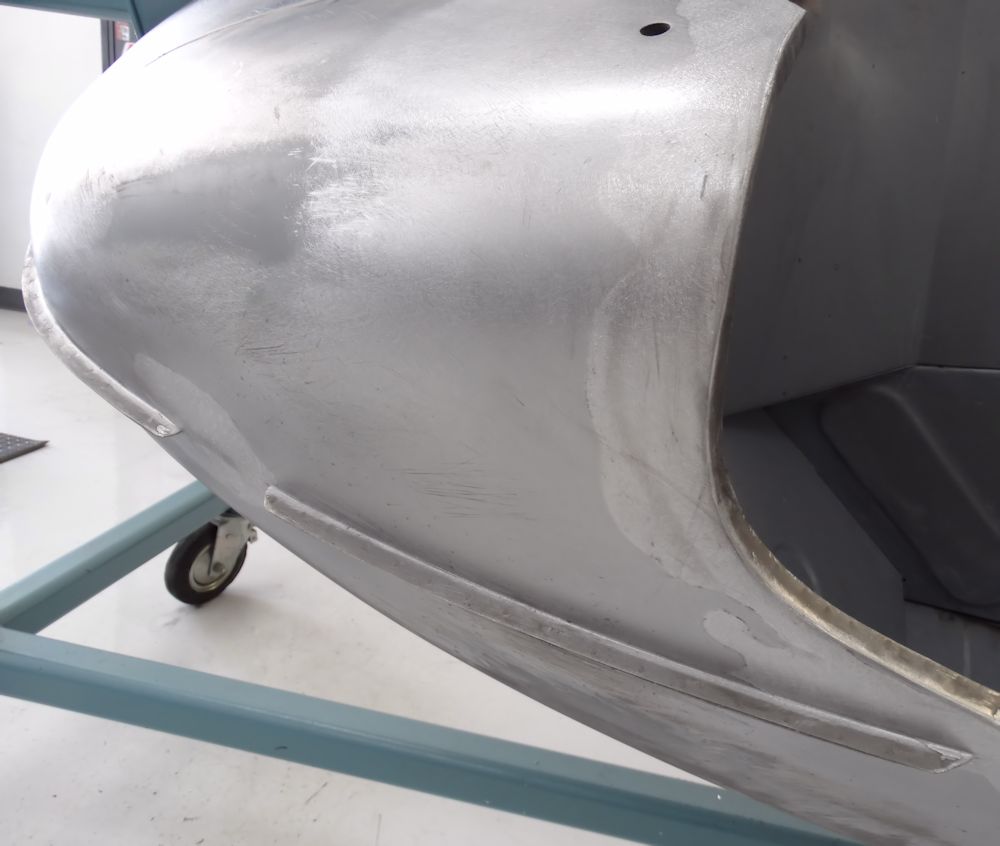
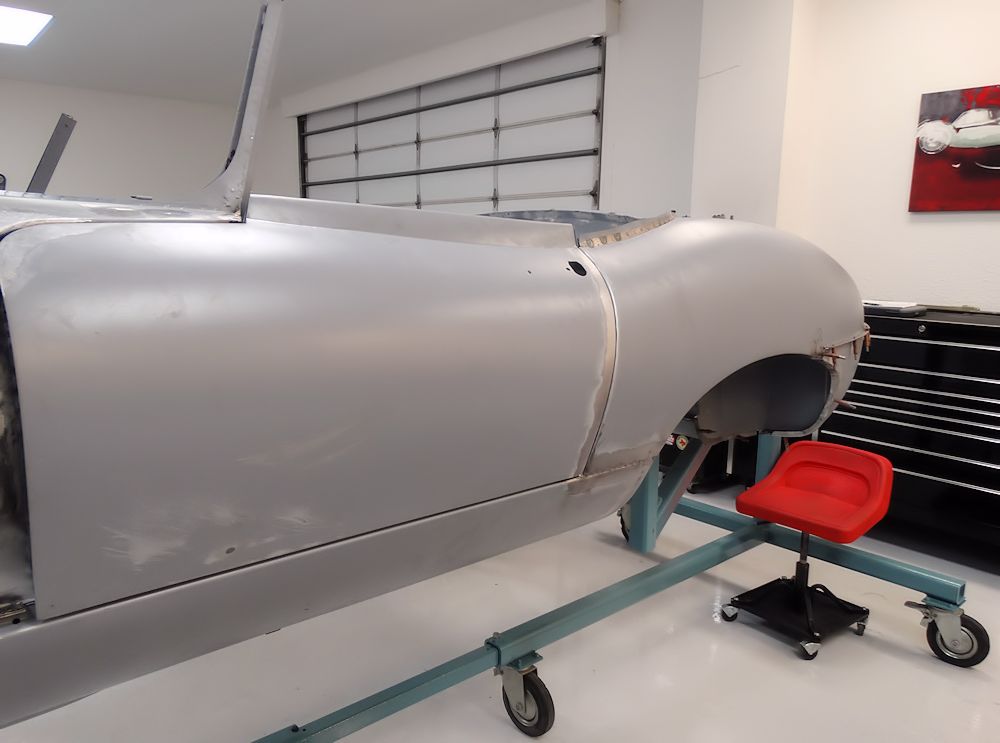
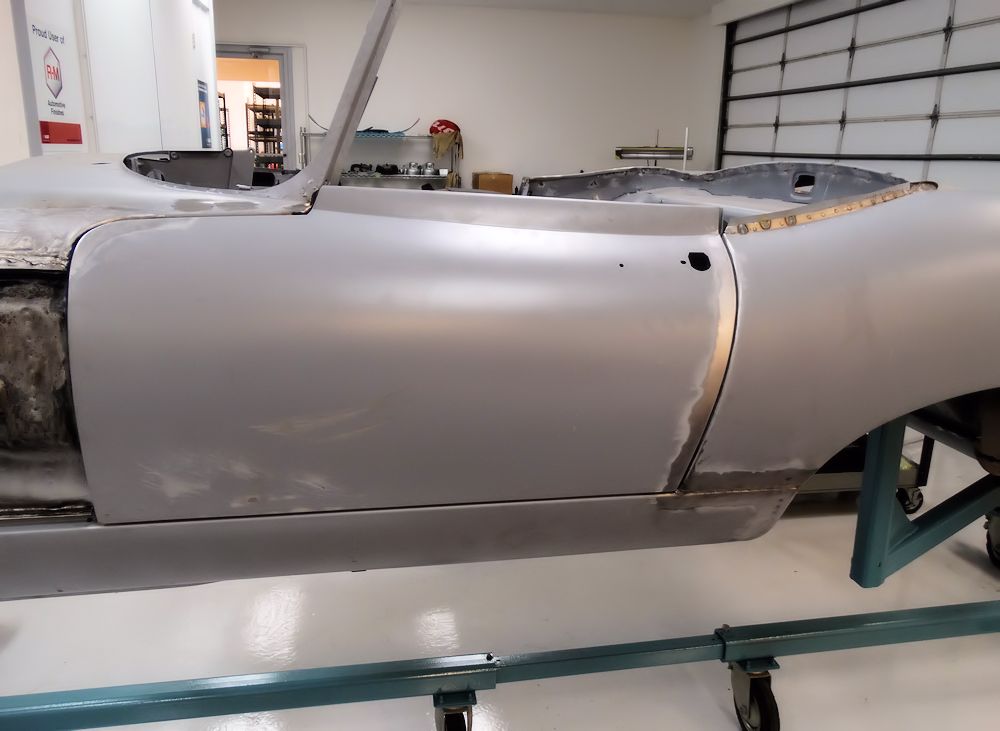
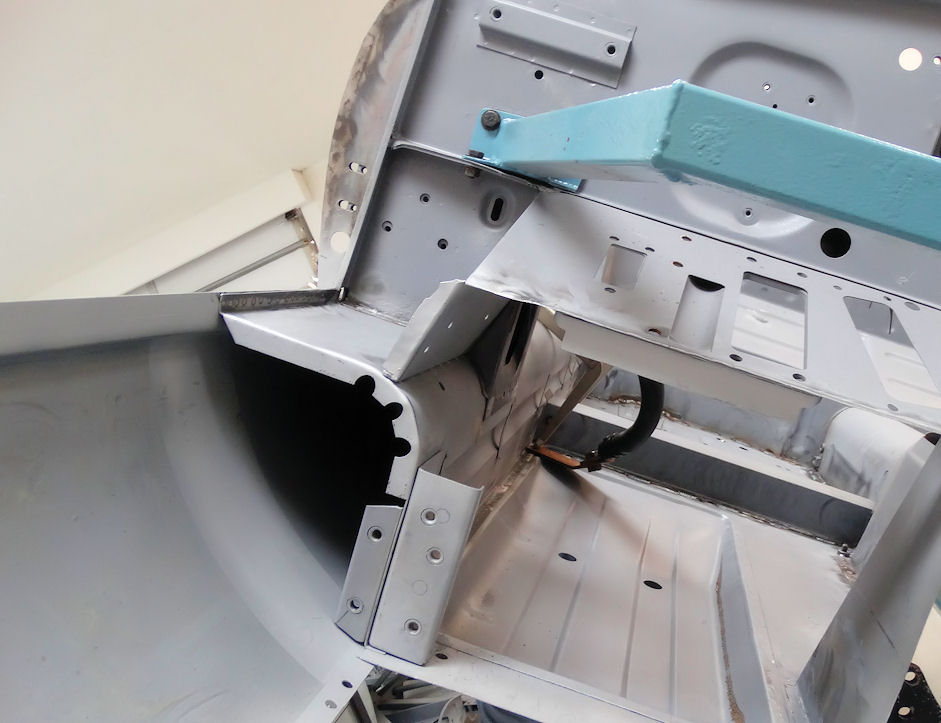
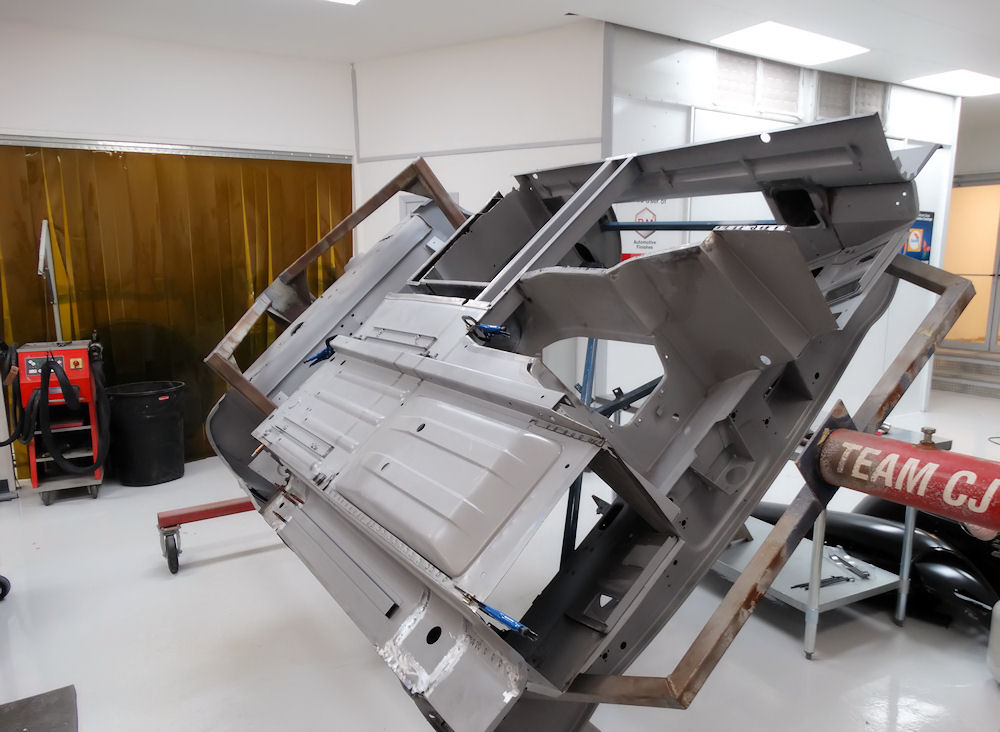
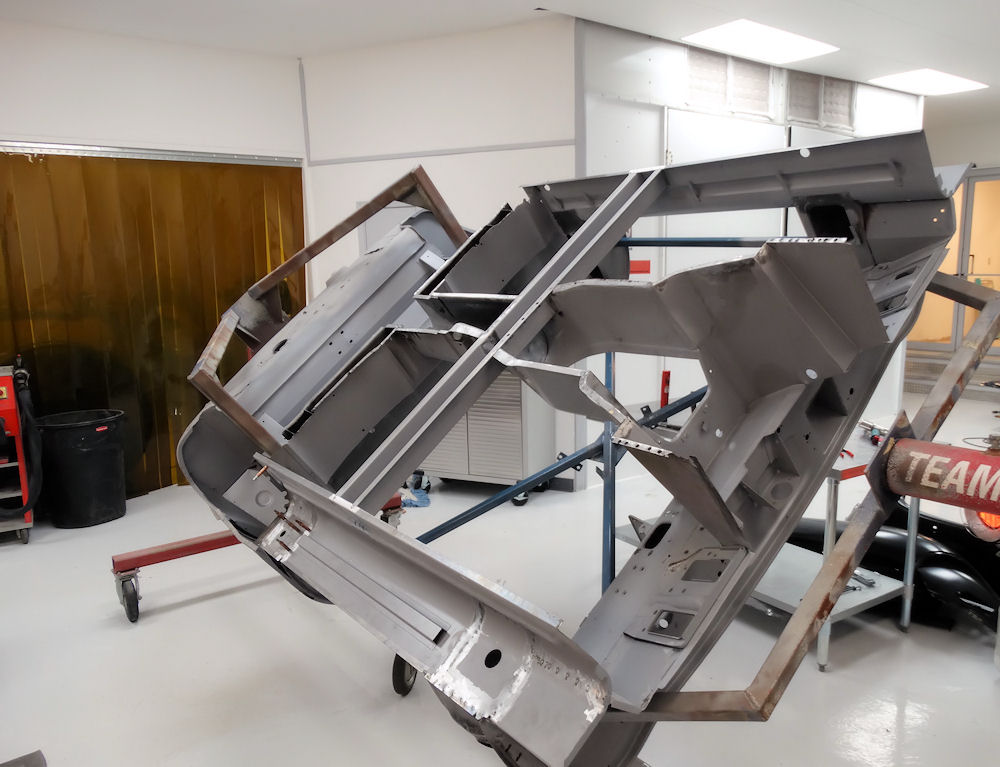
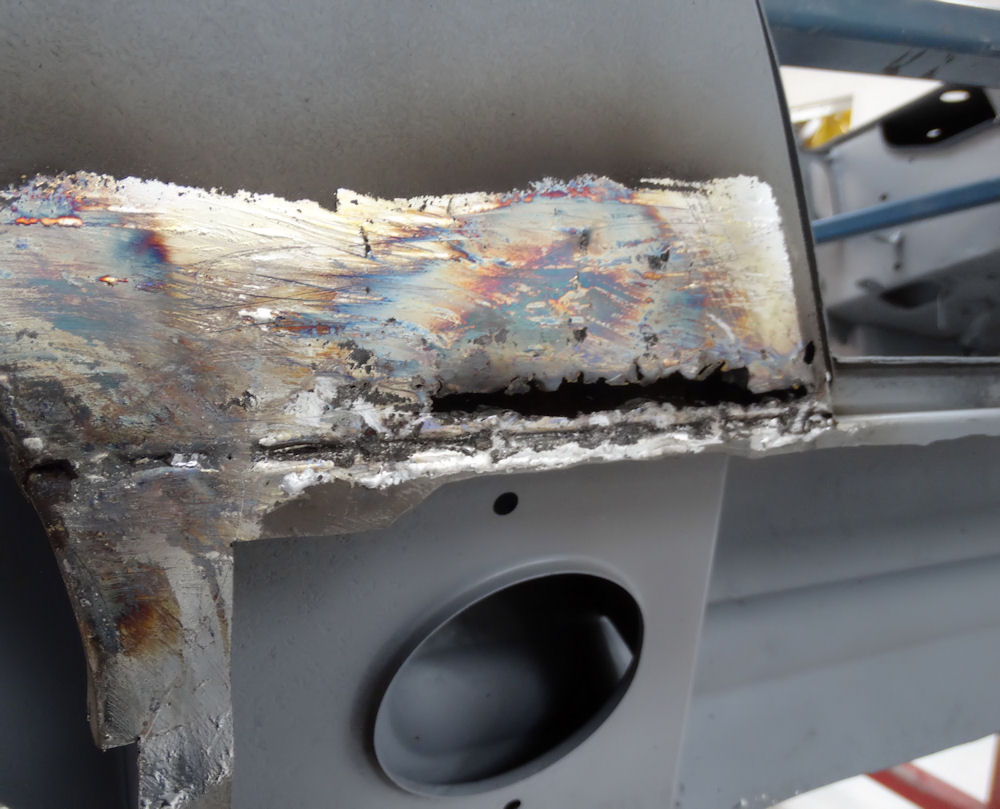
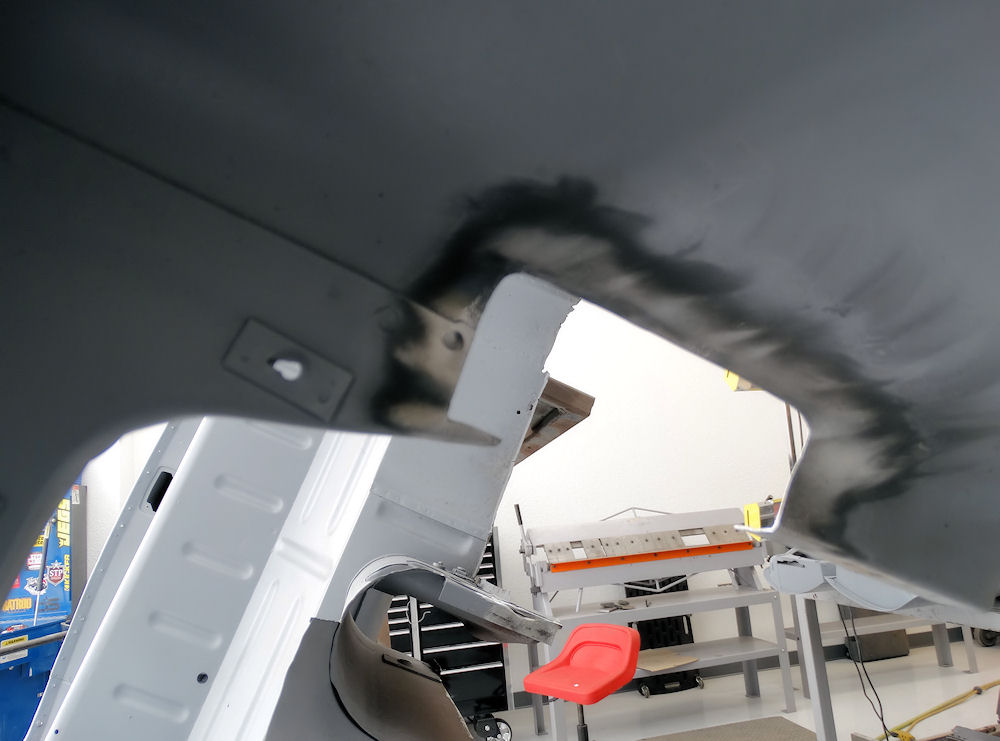
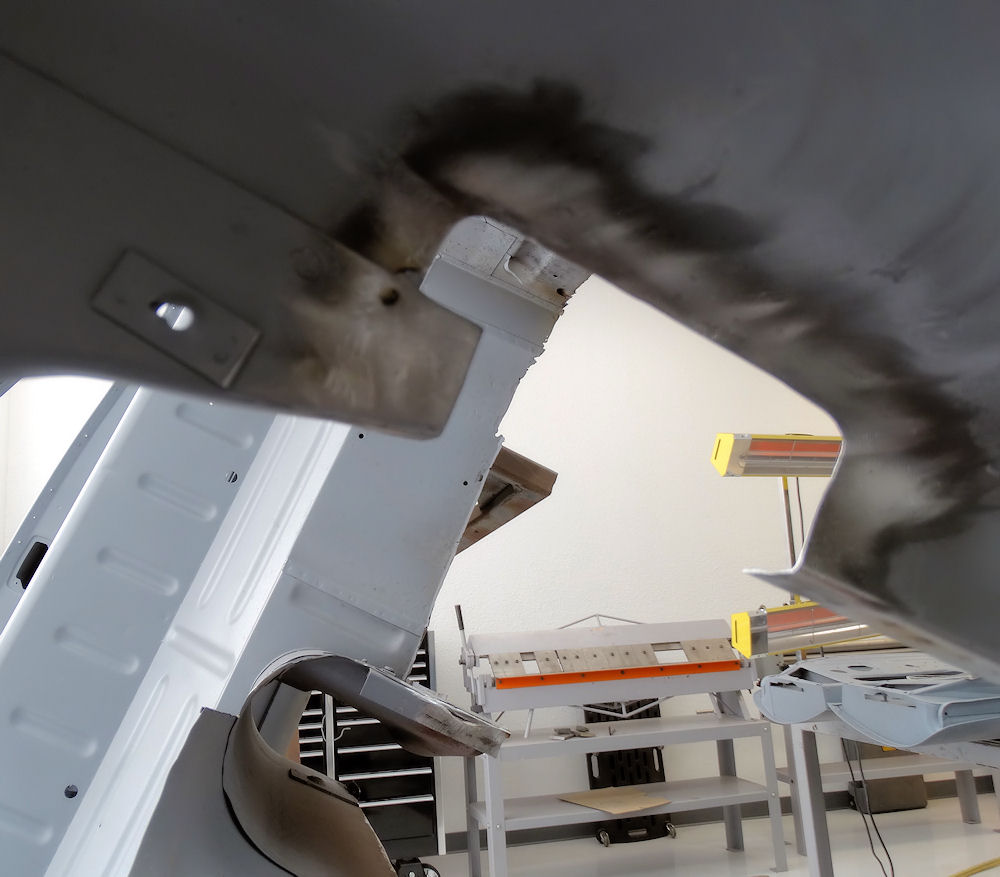
All sheet metal repairs have now been completed
and the car is ready for a final push towards paint
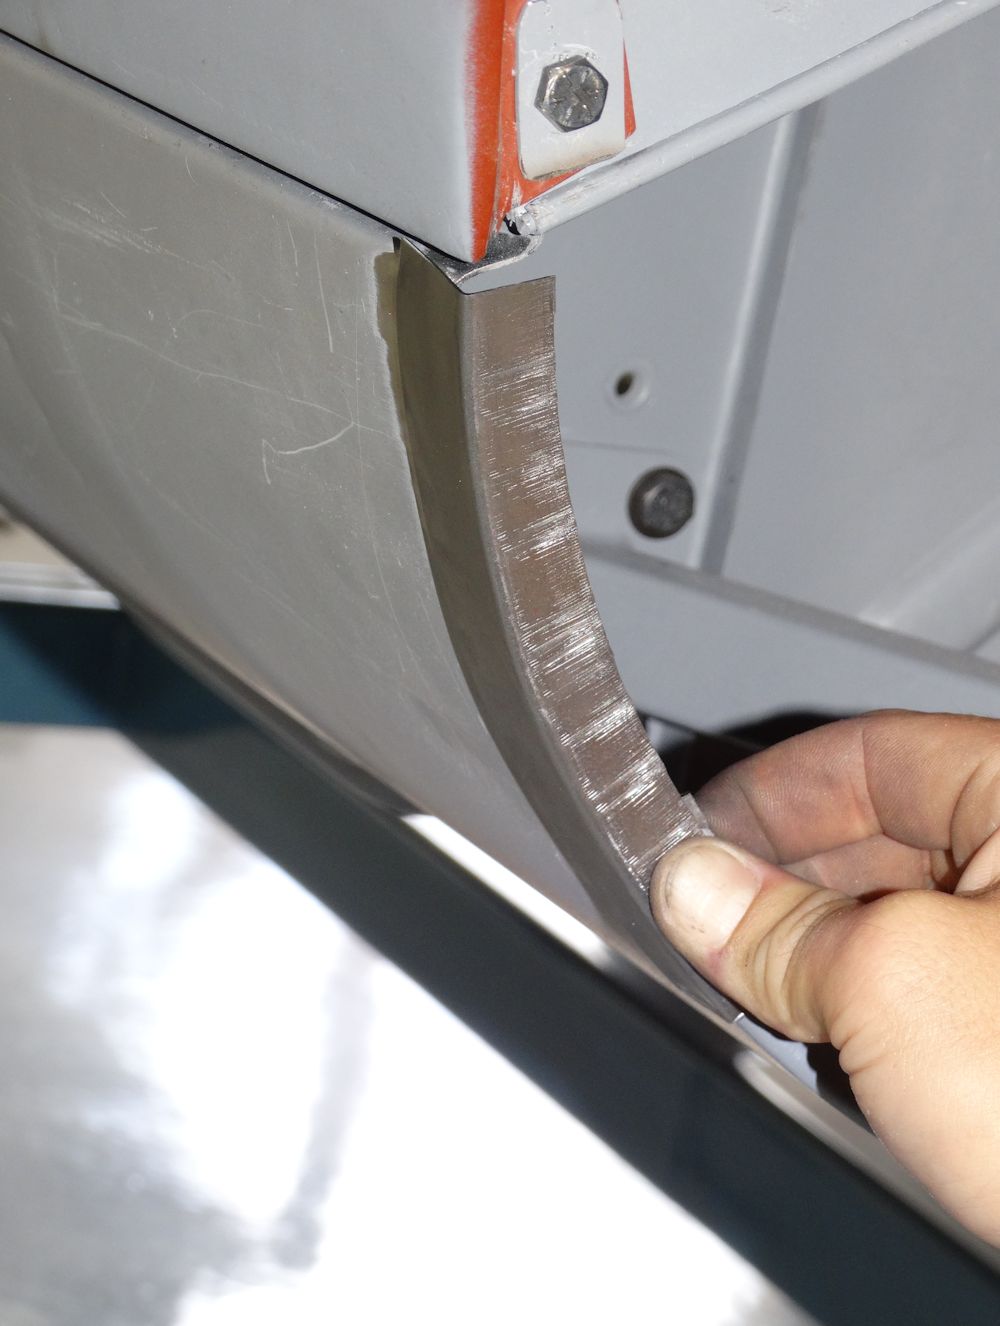
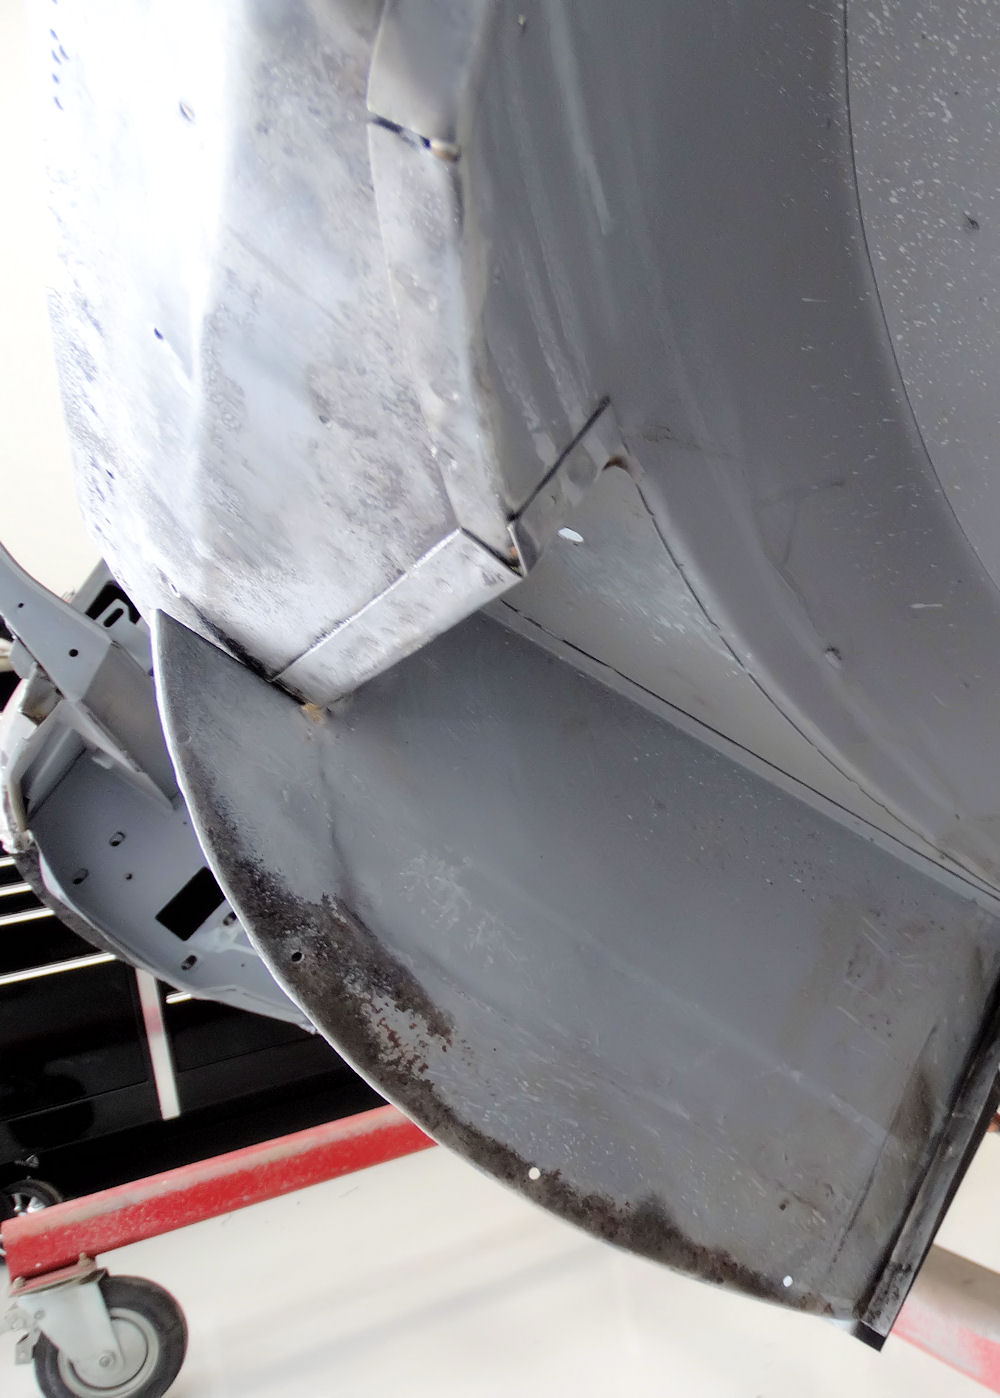
Modifying new outer sills to match contour
of wheel arch
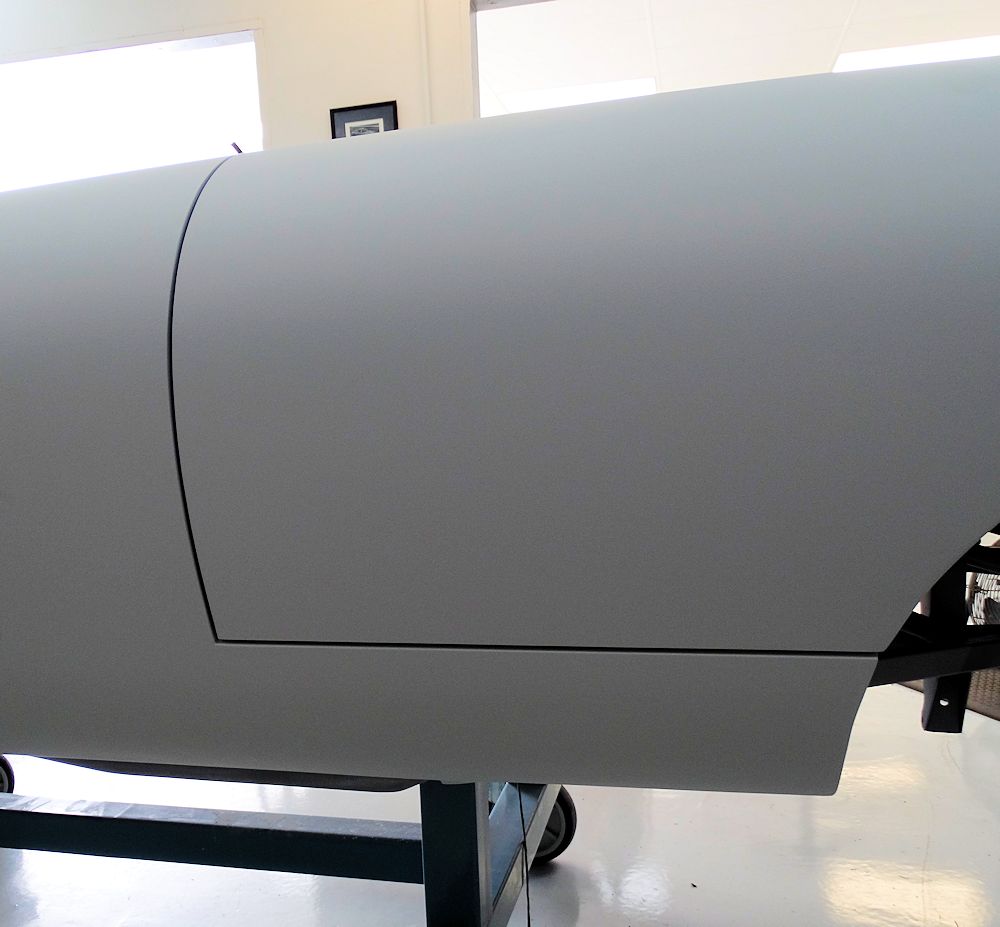
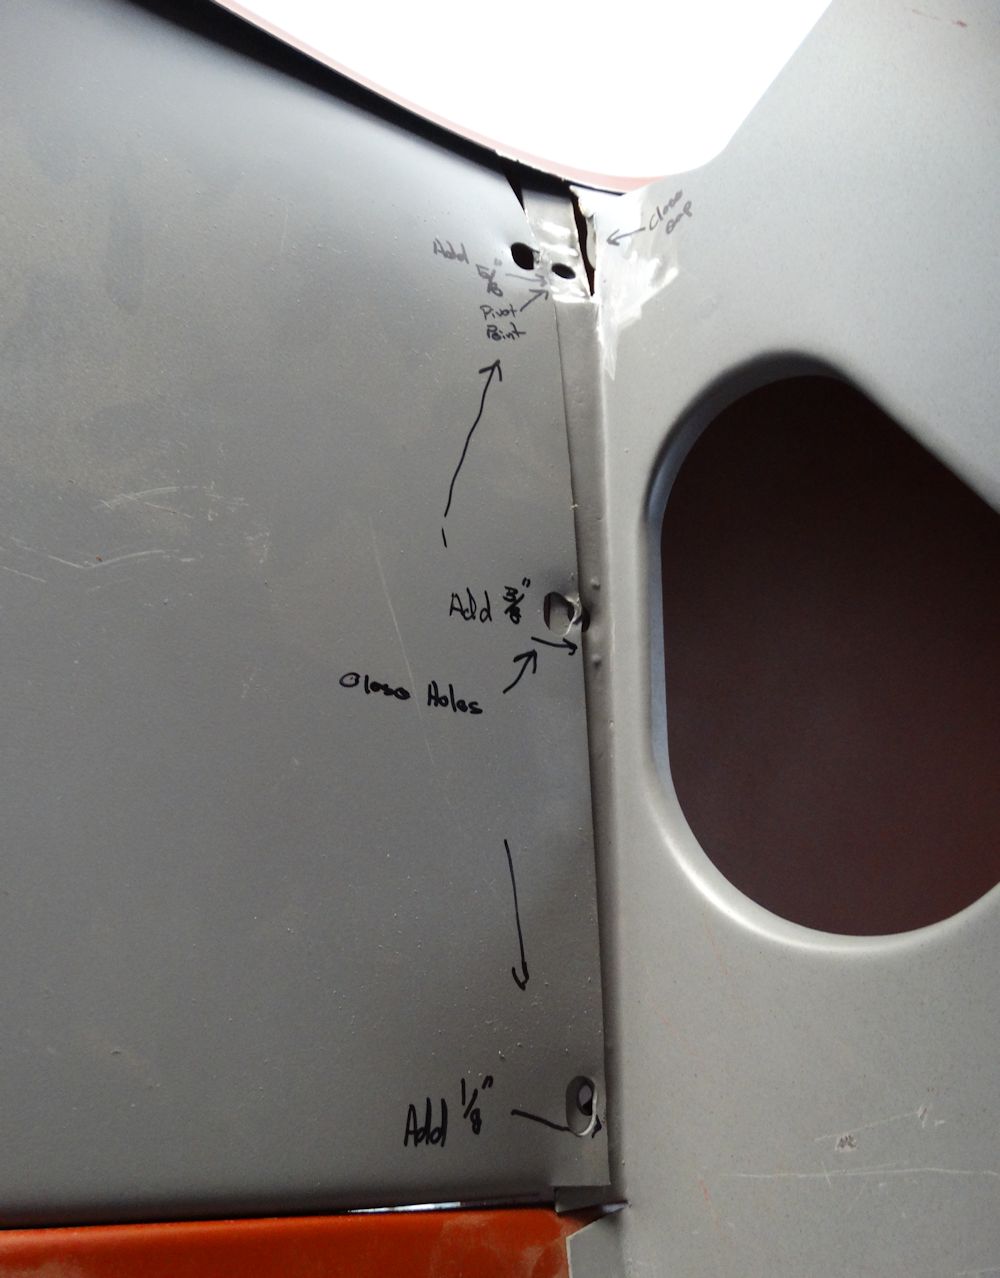
Panel gaps are shaping up nicely
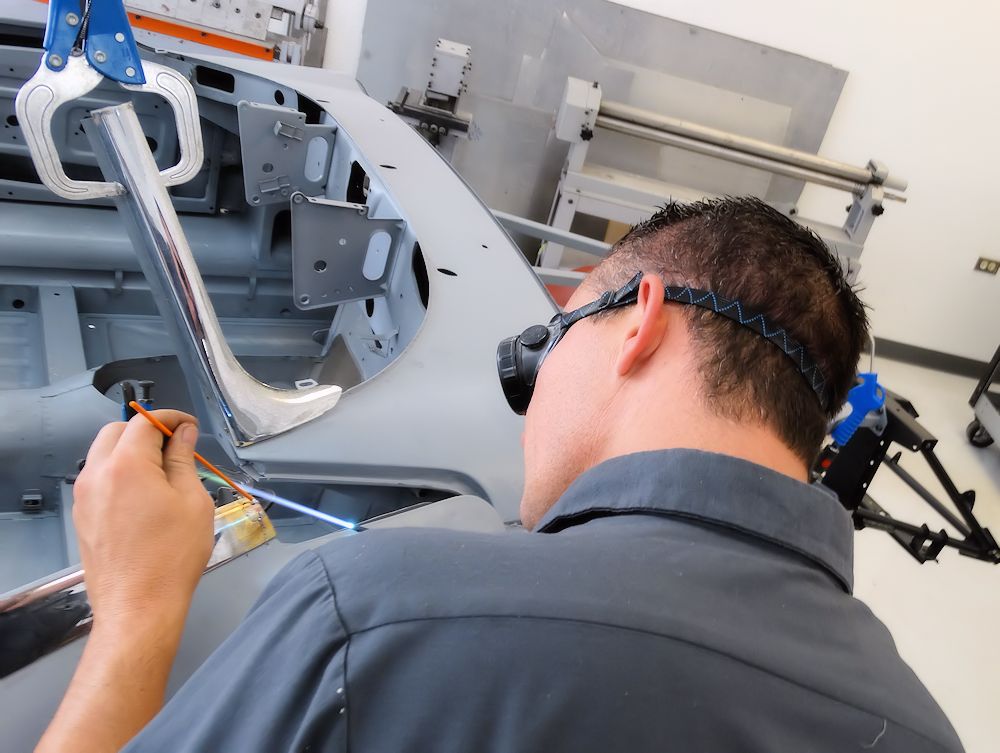
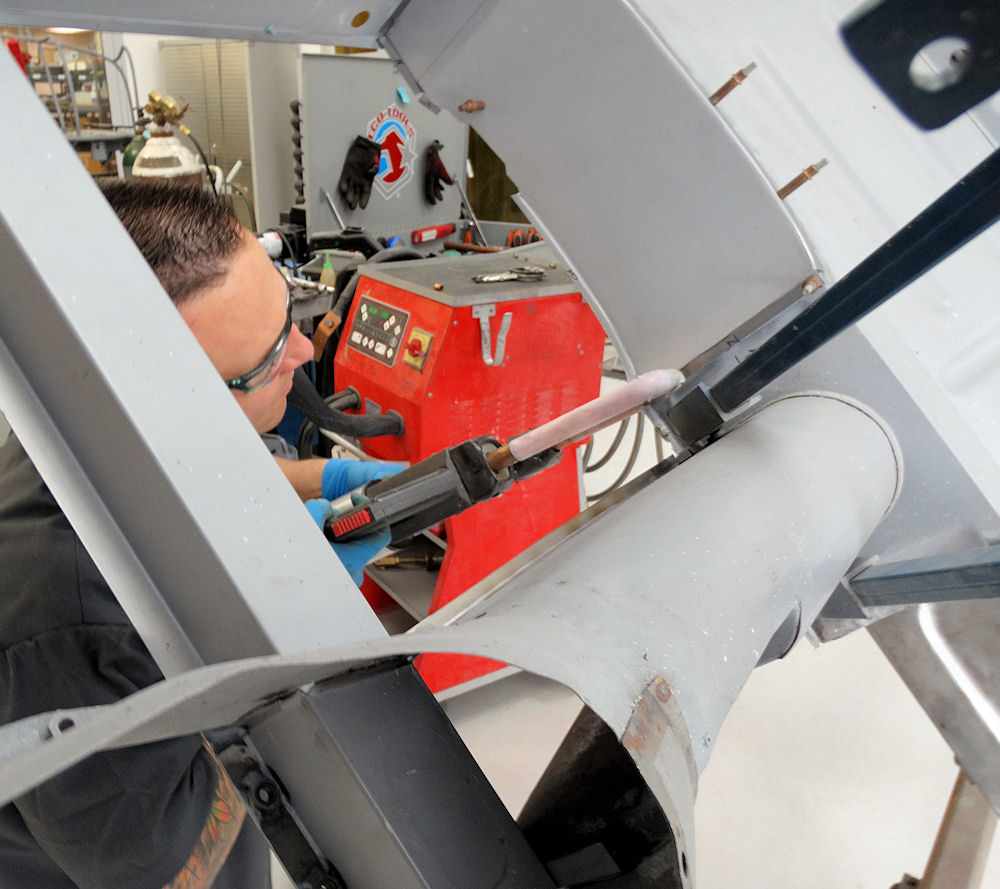
Matt fabricating a panel for the front arch
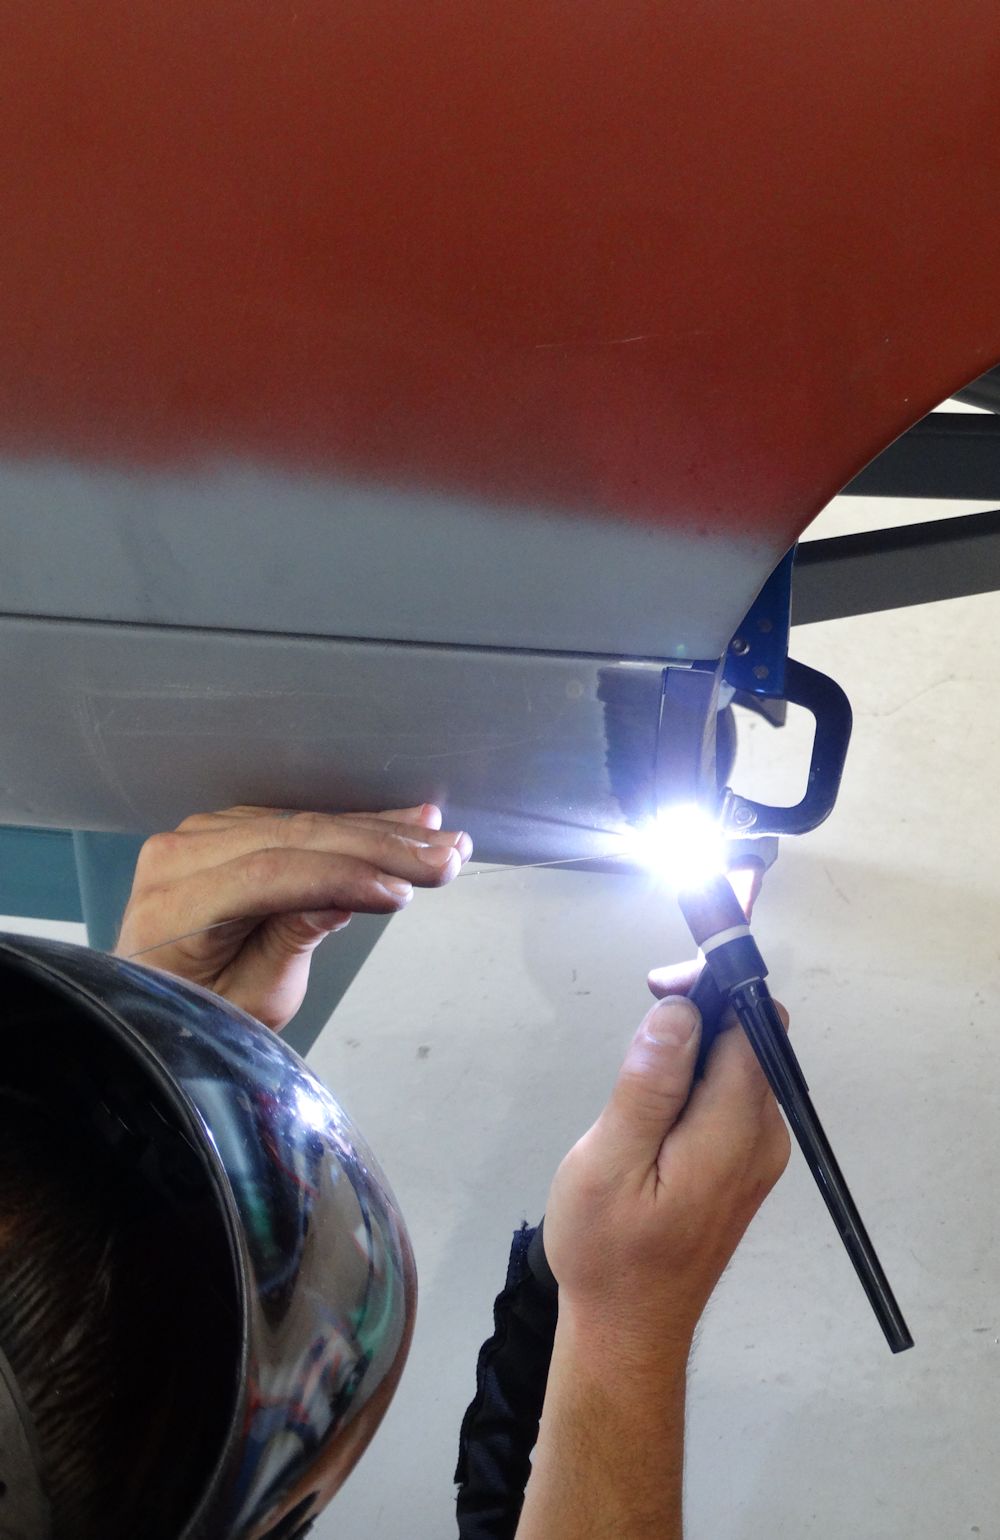
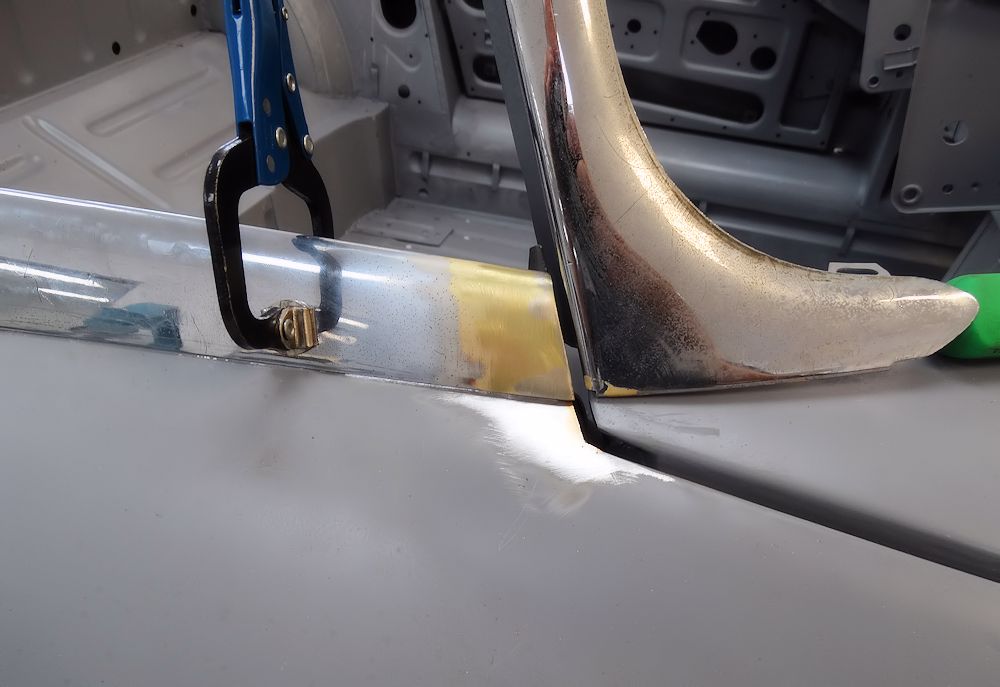
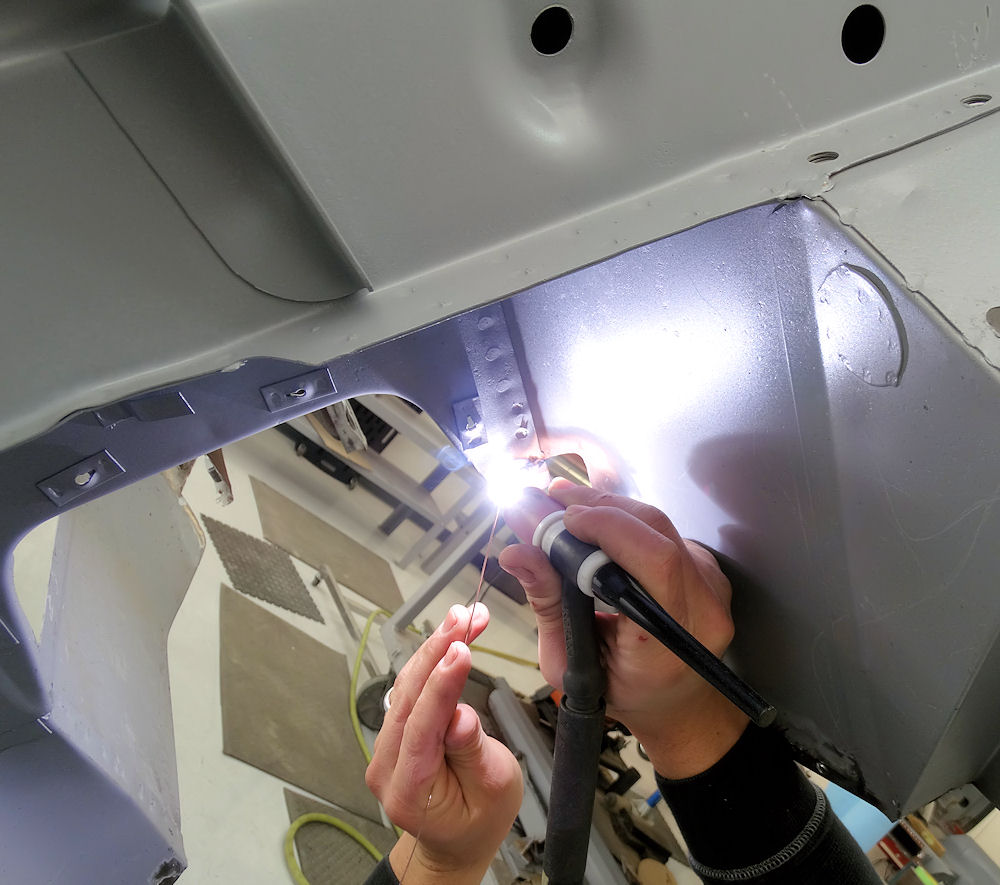
TIG welding the new panel in place
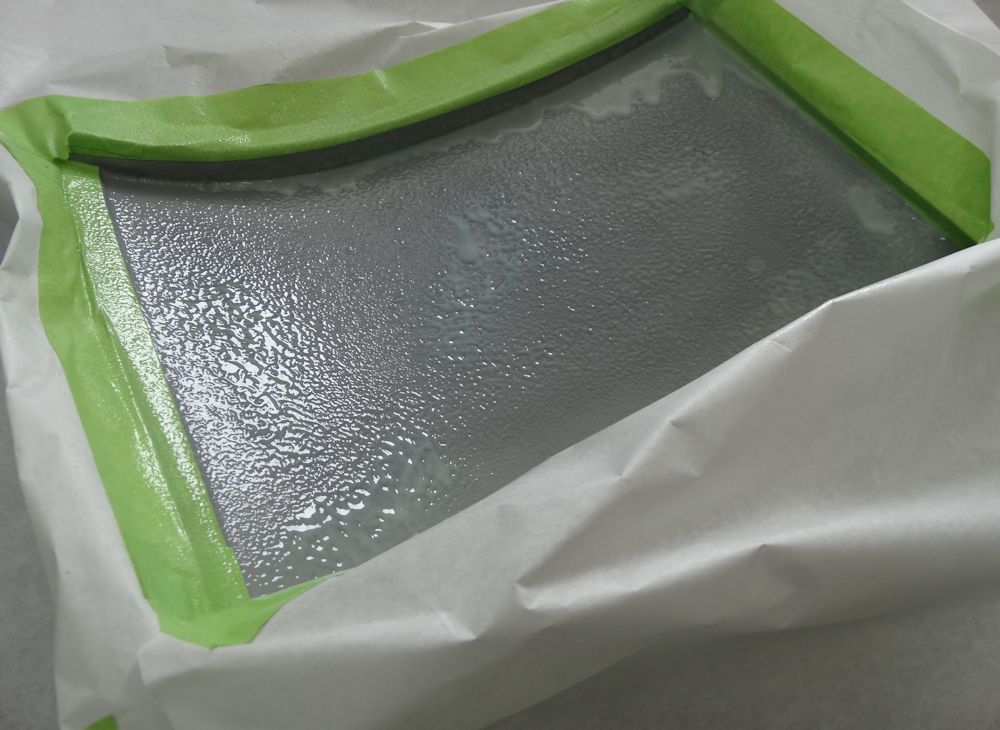
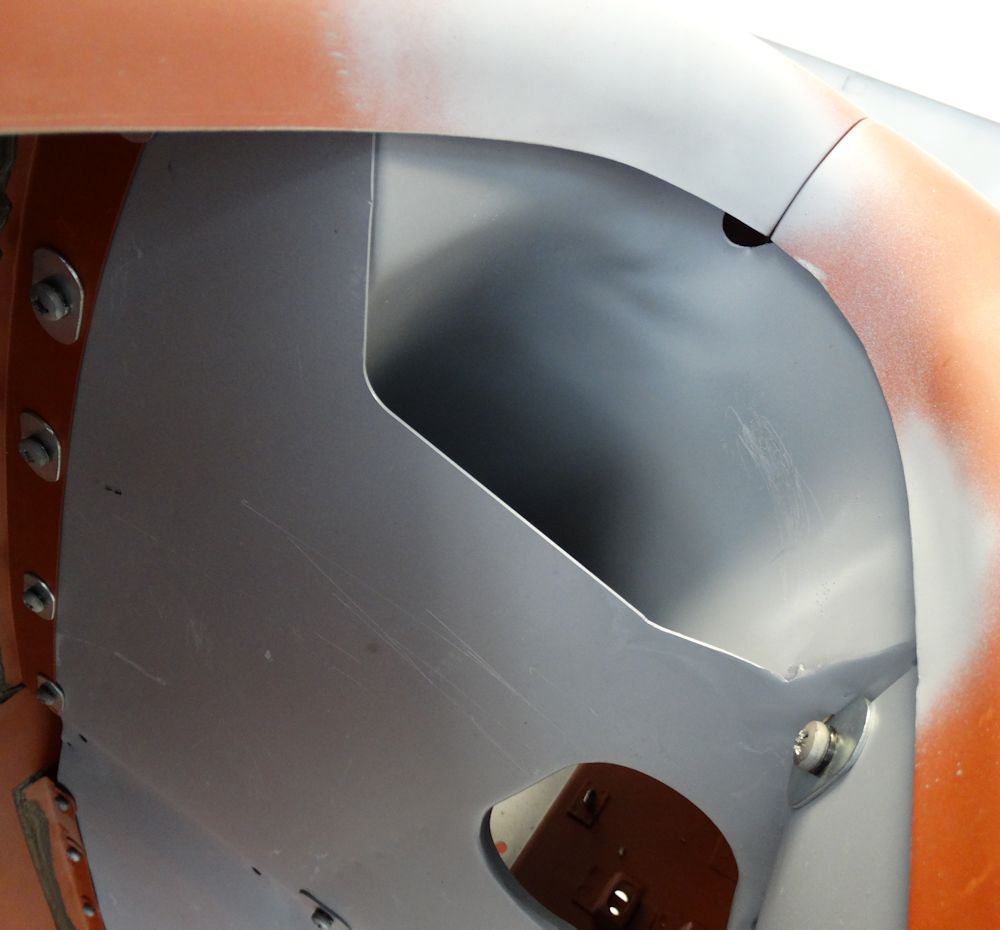
Wurth Body Wax applied to inner cowl
side panel
Sill now matches contour of wing and wheel arch
Seams are then TIG welded
Tack welding new panel in place
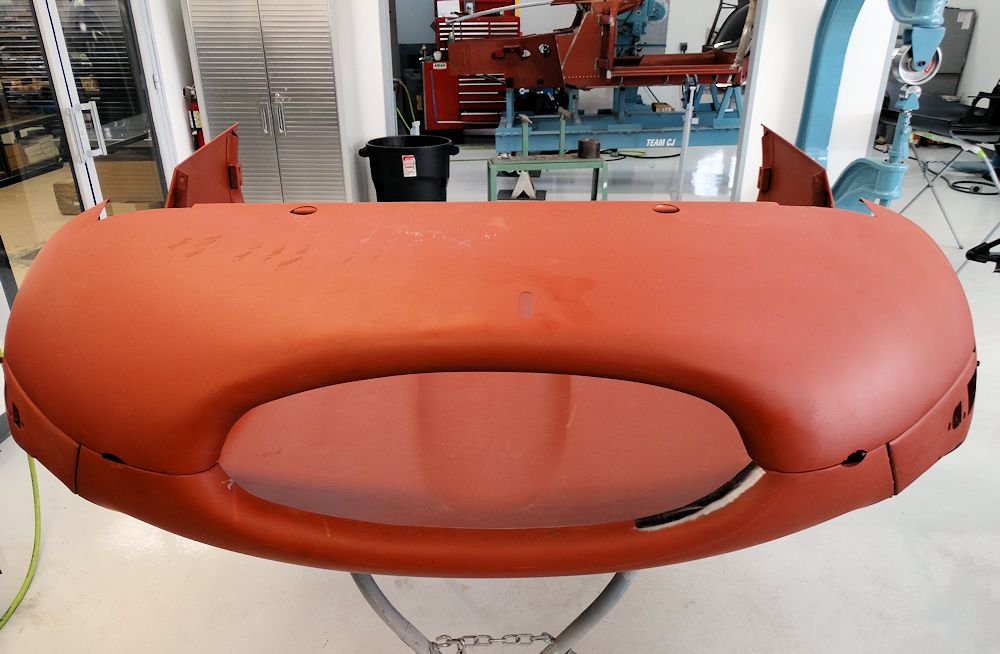
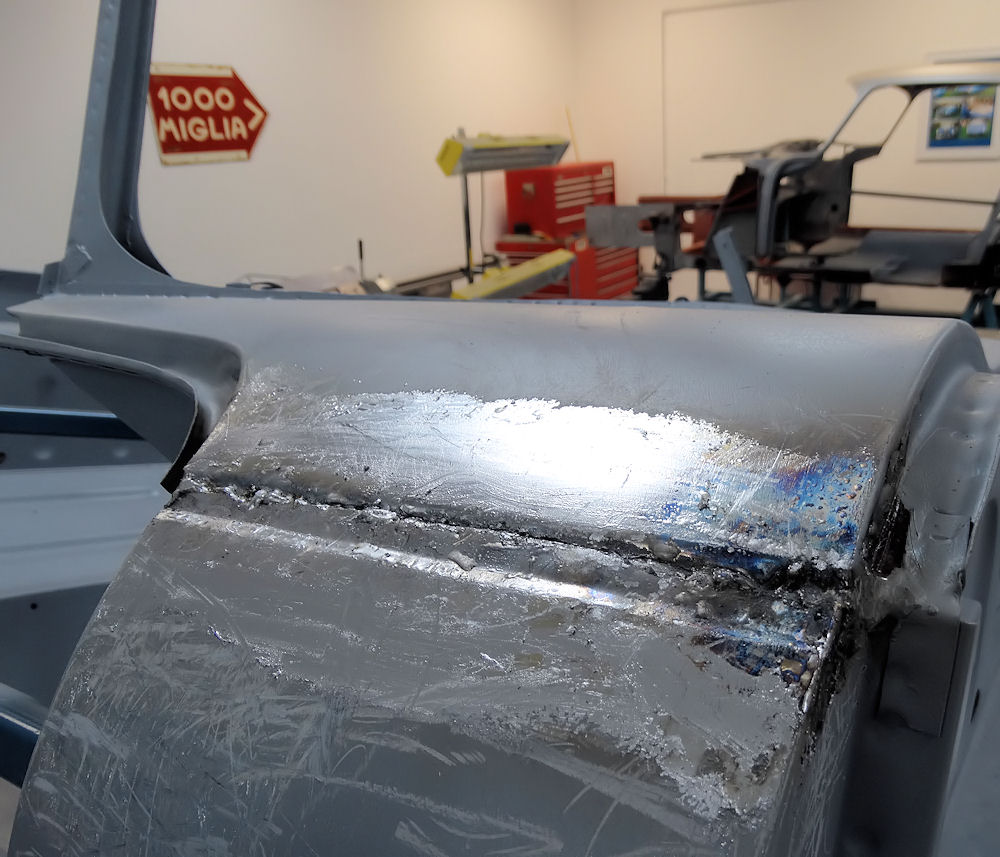
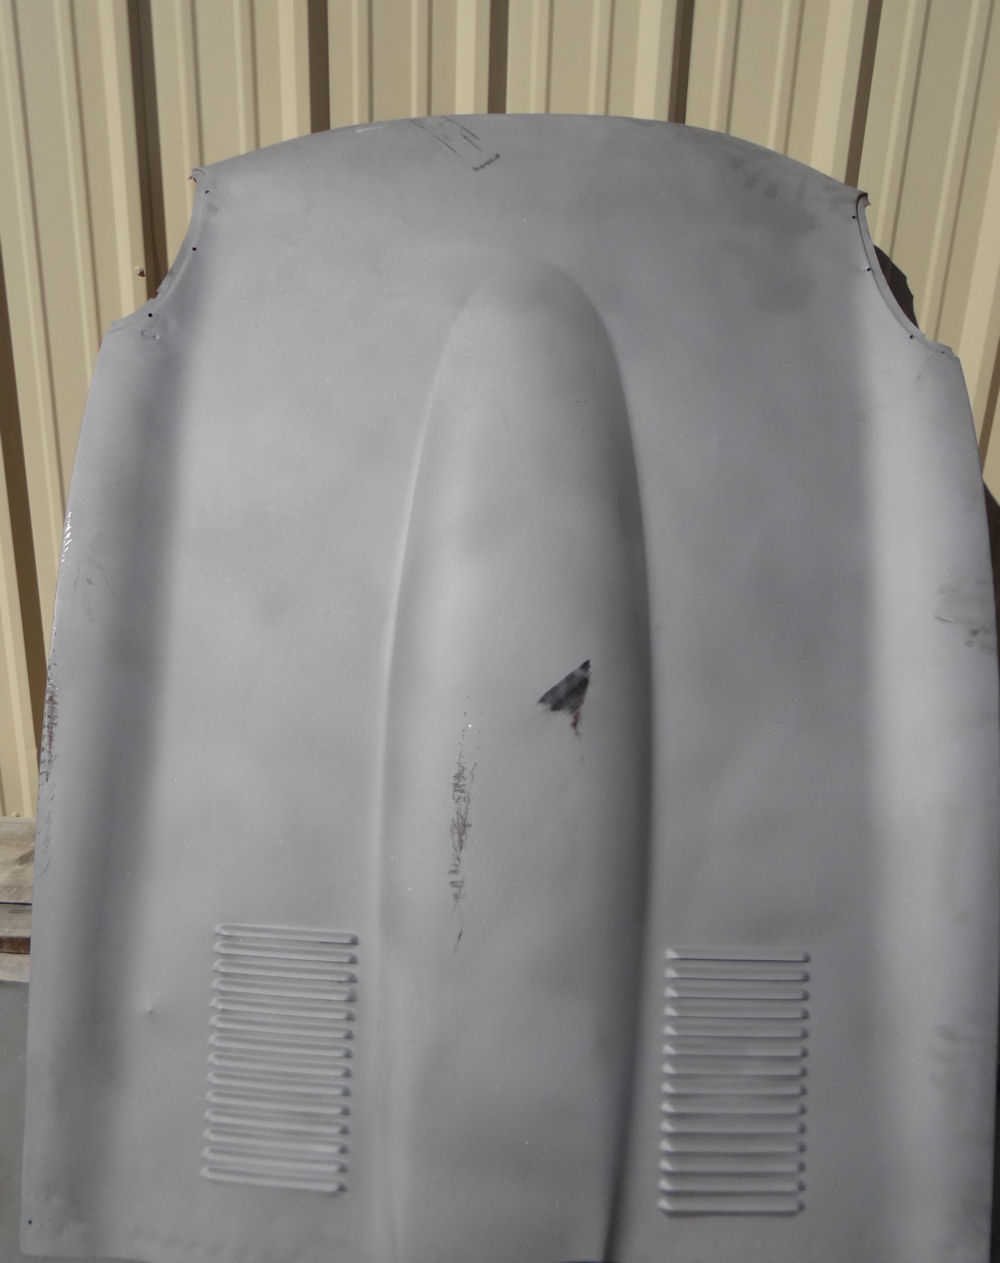
New bonnet has been disassembled, blasted to bare
metal, and sealed in epoxy primer
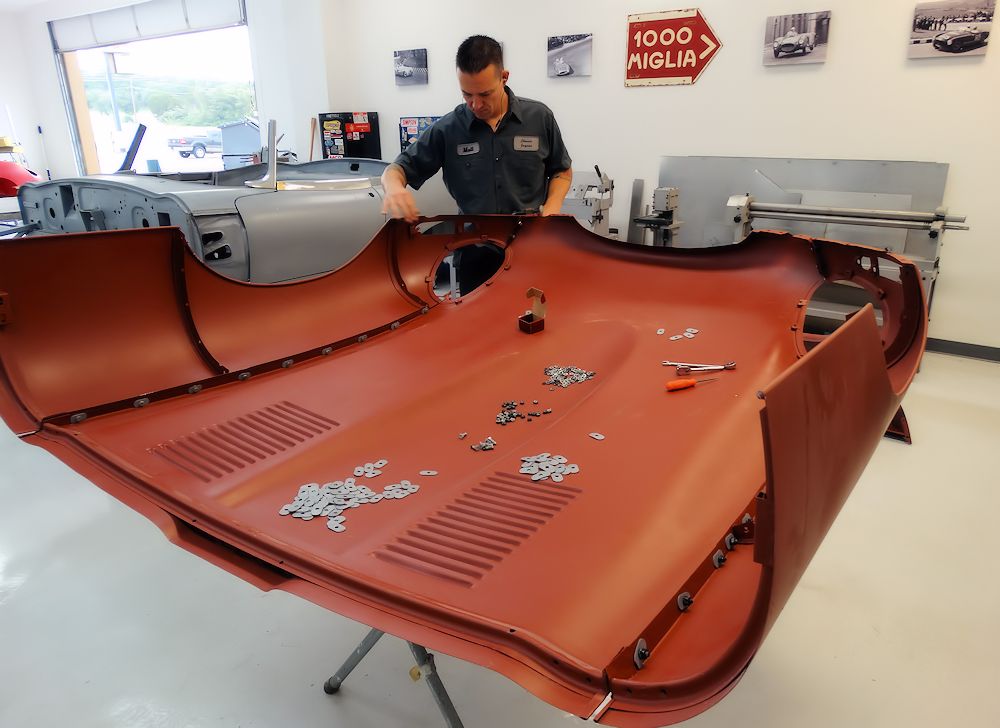
The following sequence of photos show Matt assembling your new bonnet and modifying the bonnet mouth, and the lower bonnet mouth tray, for a perfect fit.
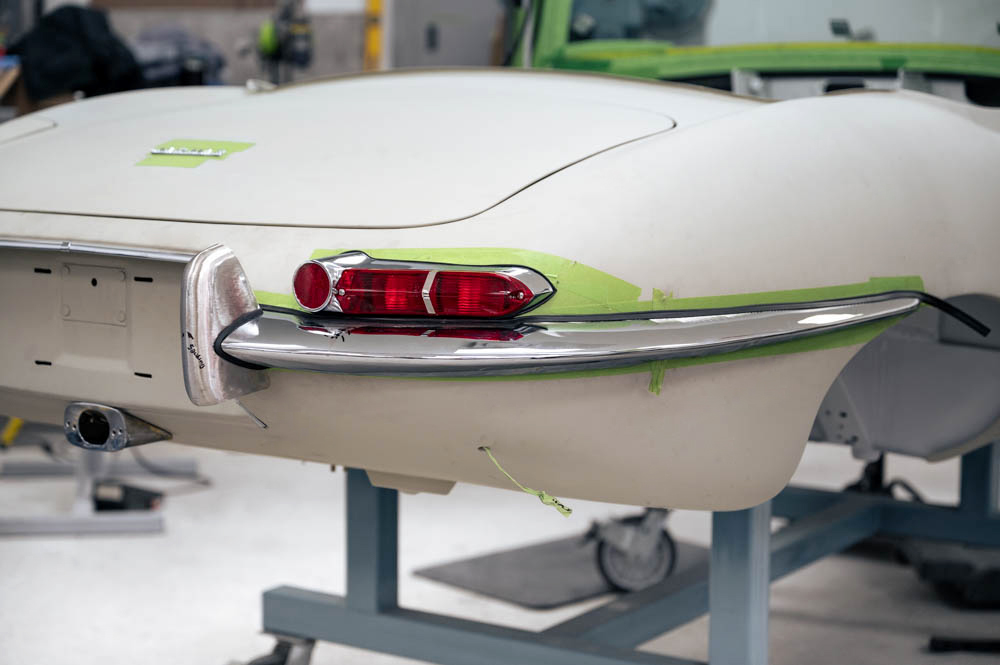
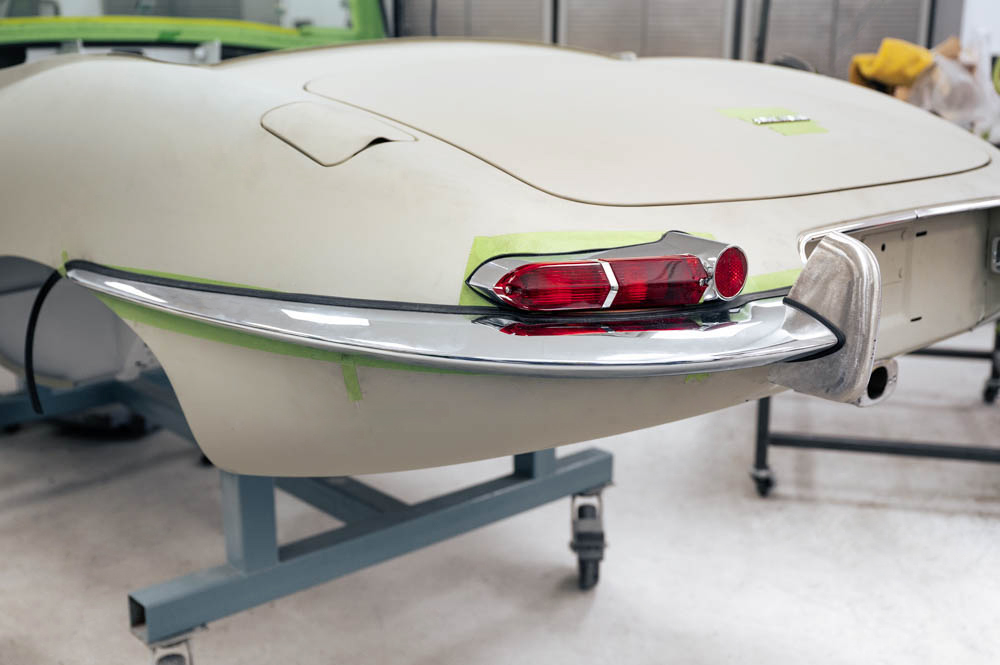
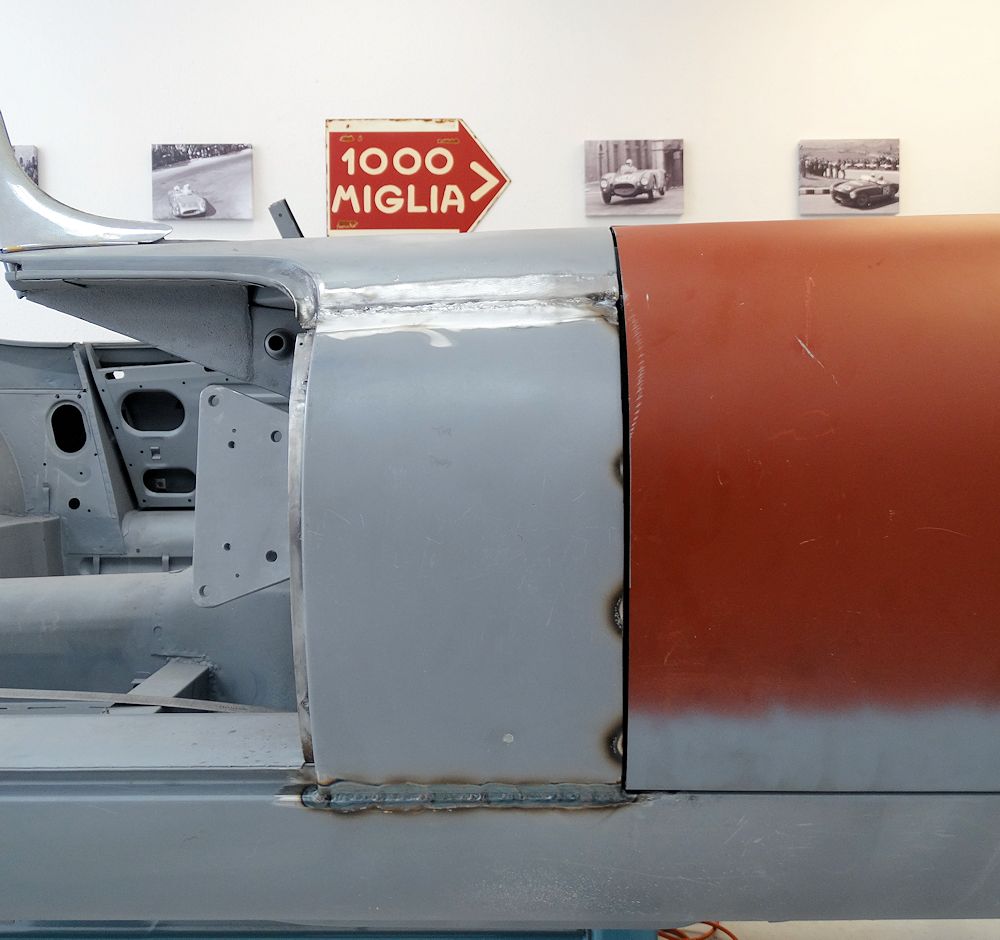
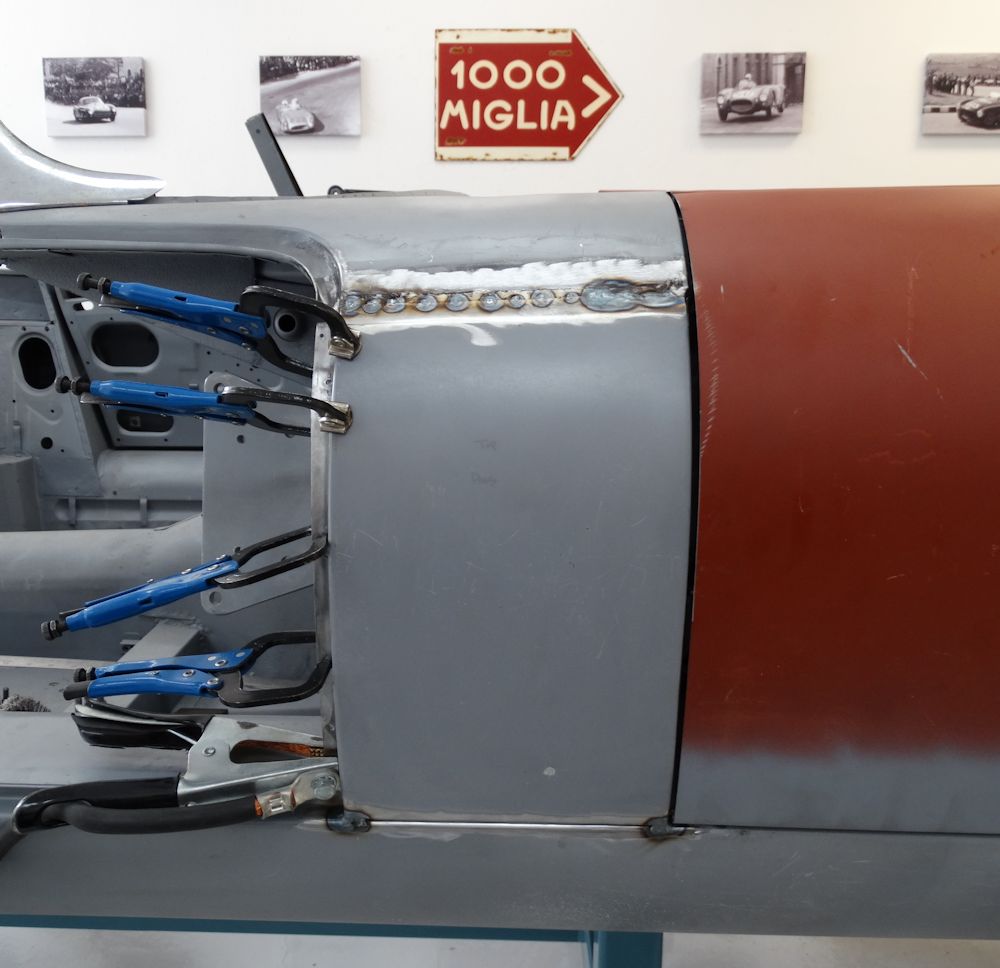
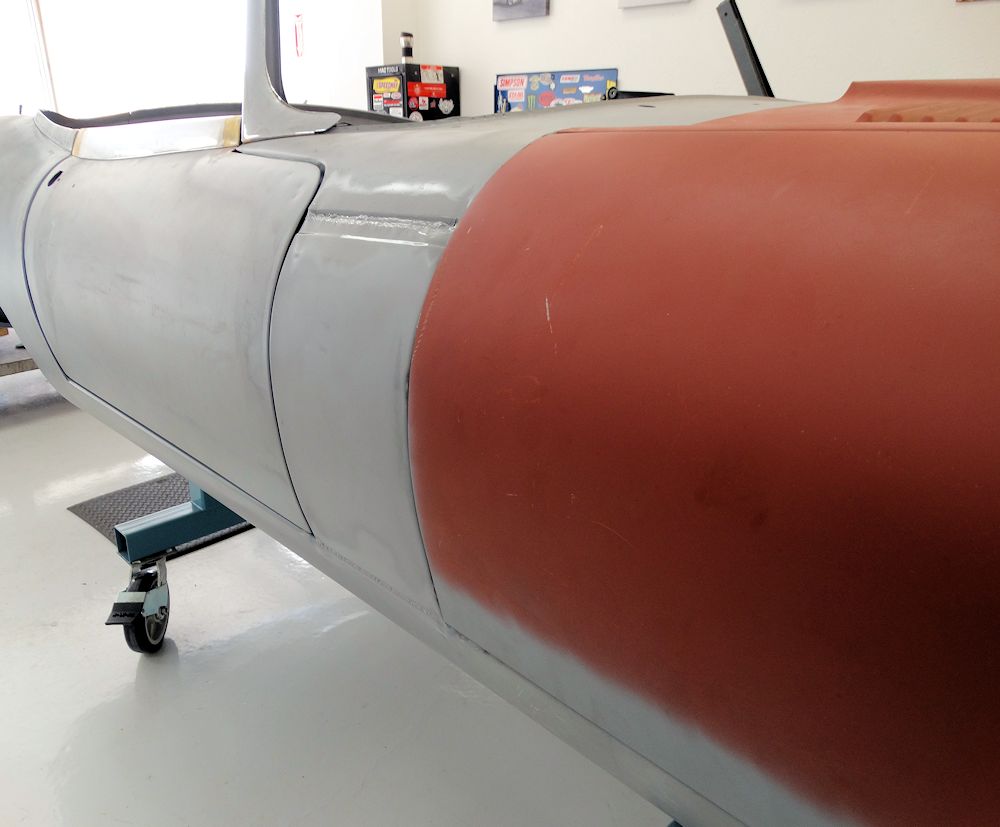
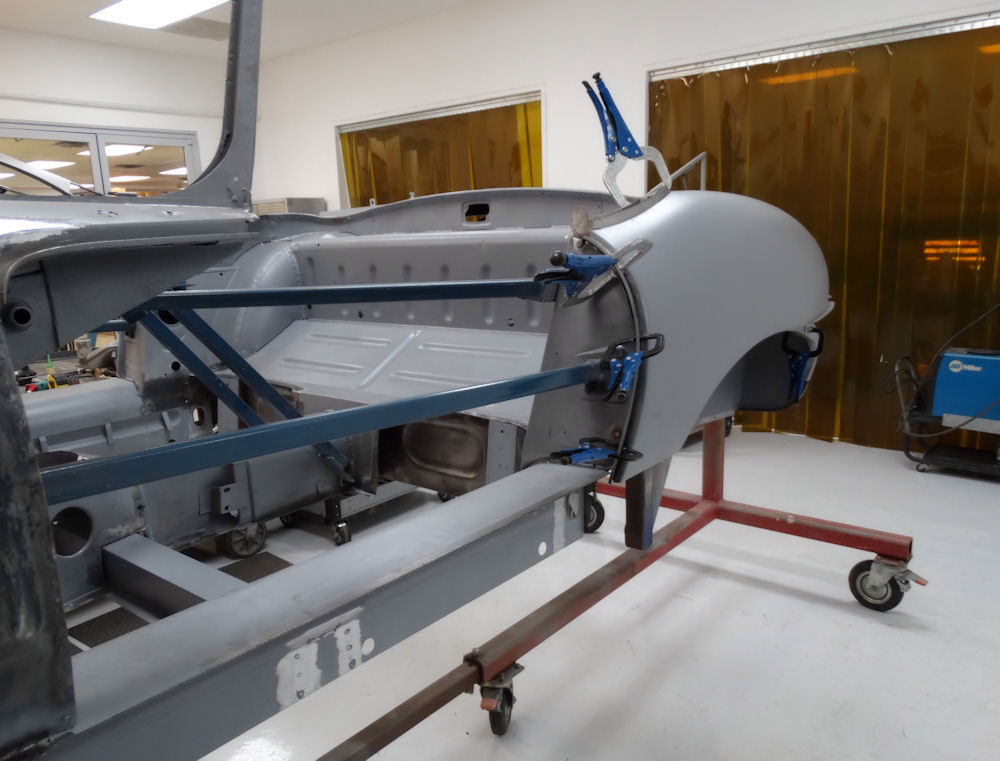
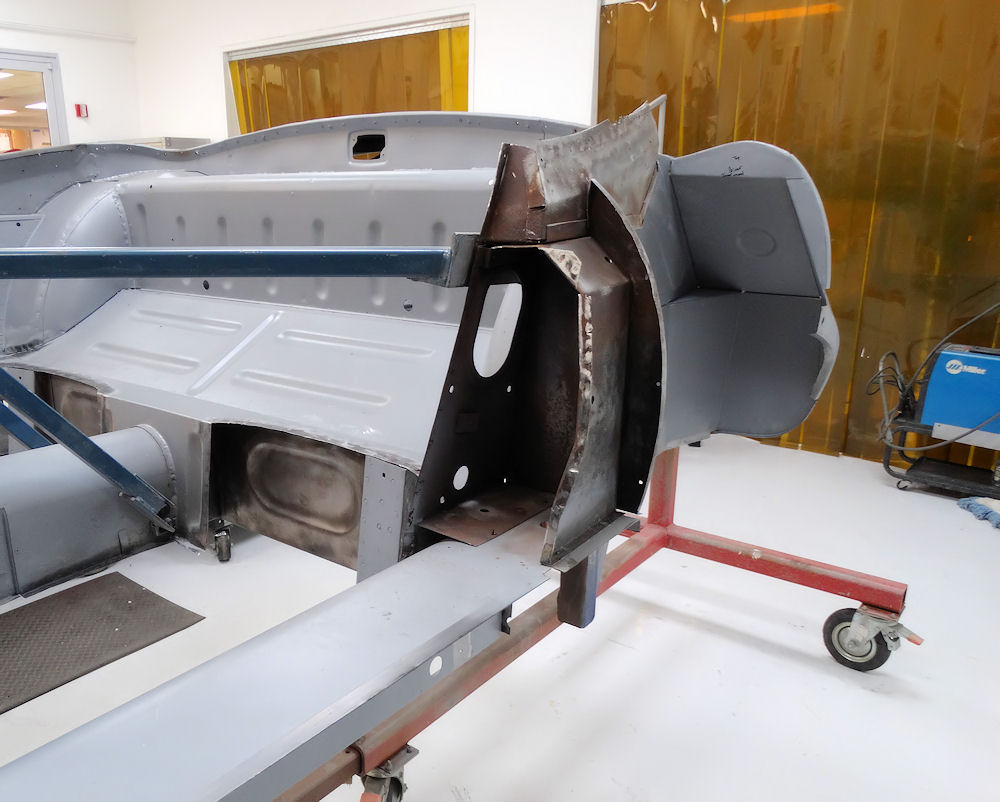
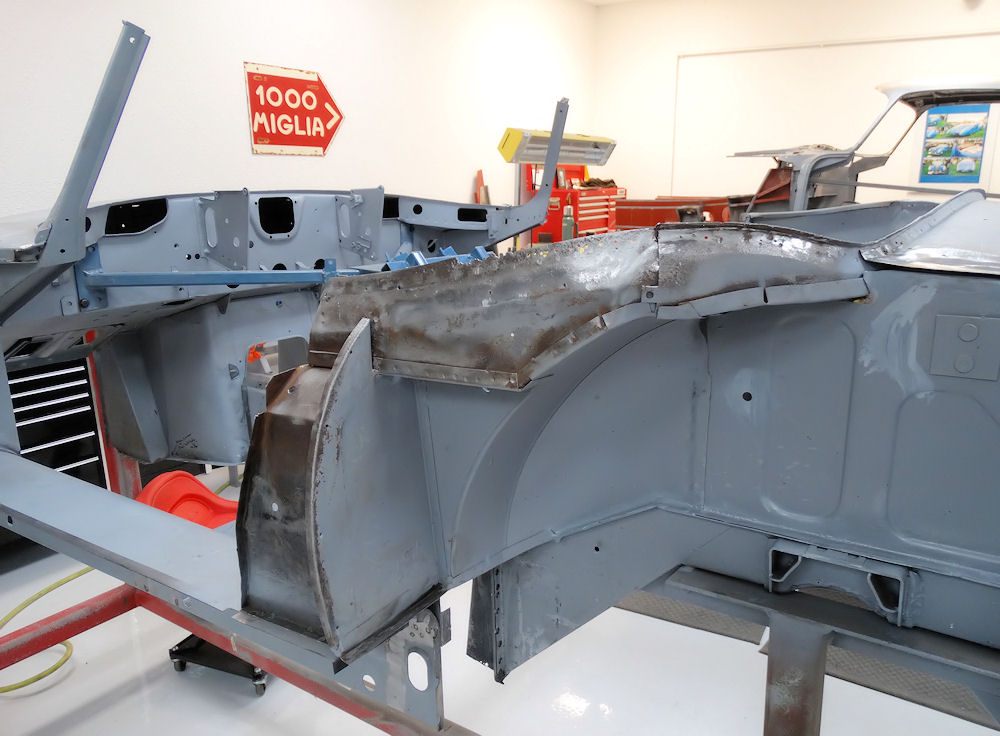
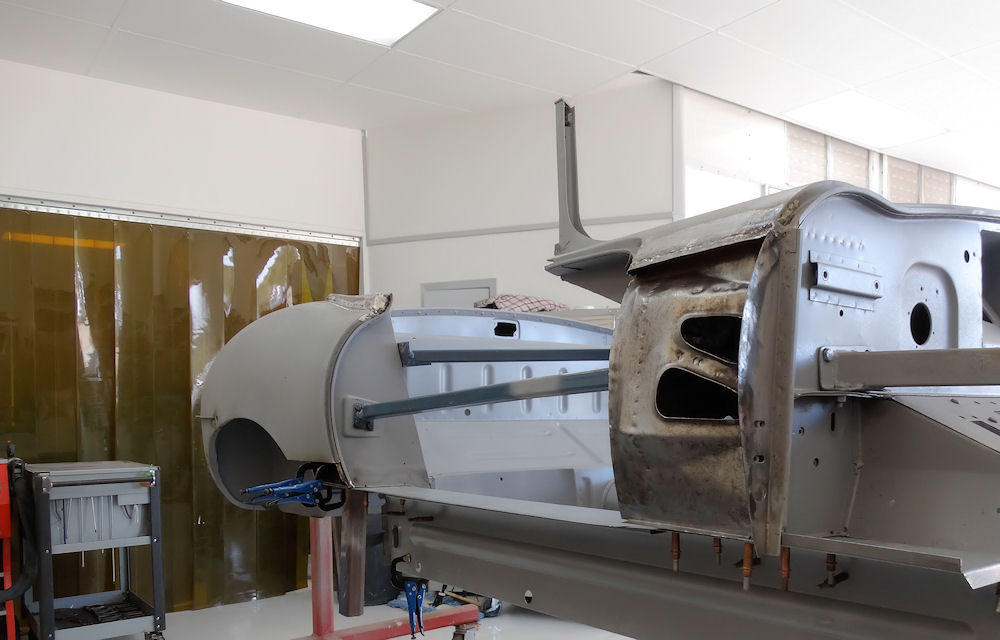
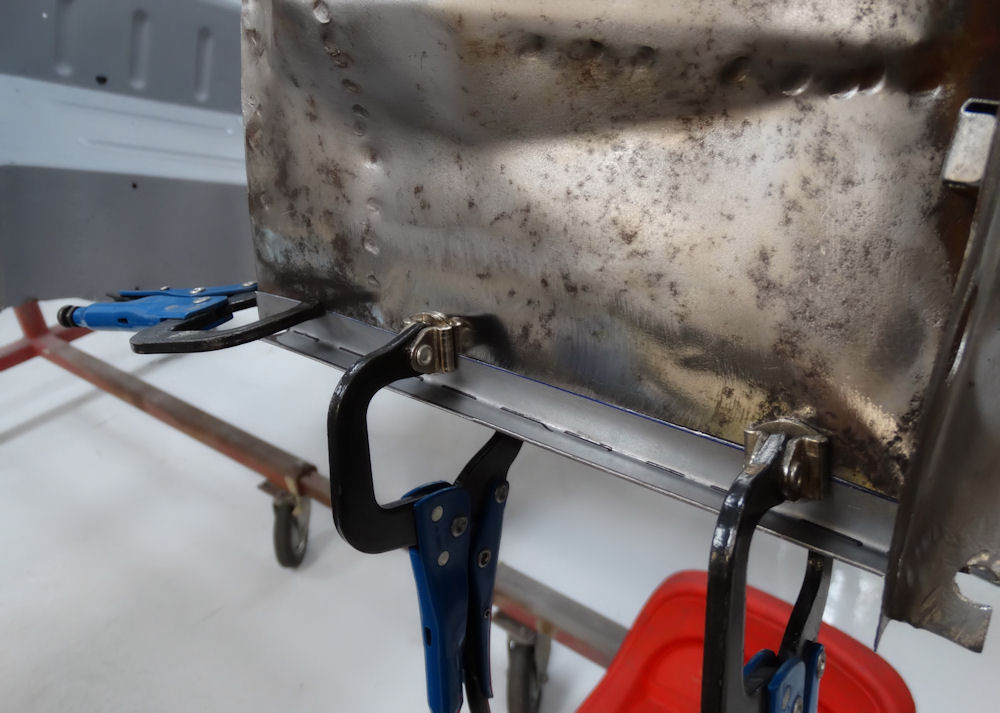
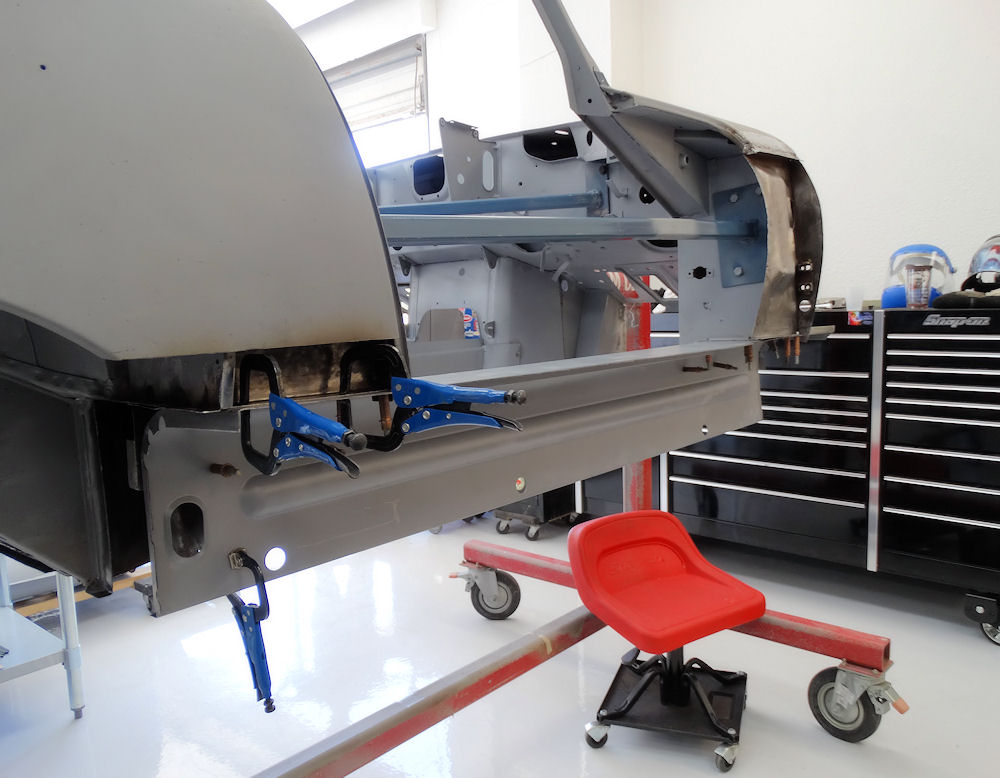
Right side of car now virtually complete
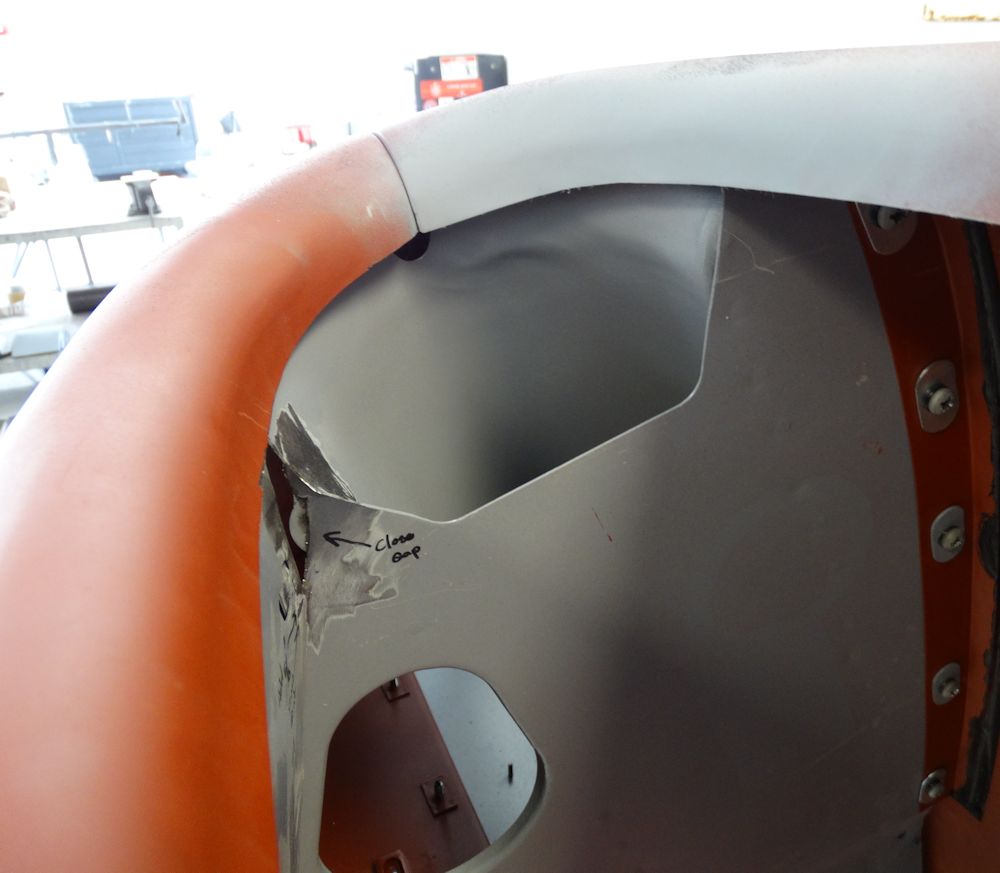
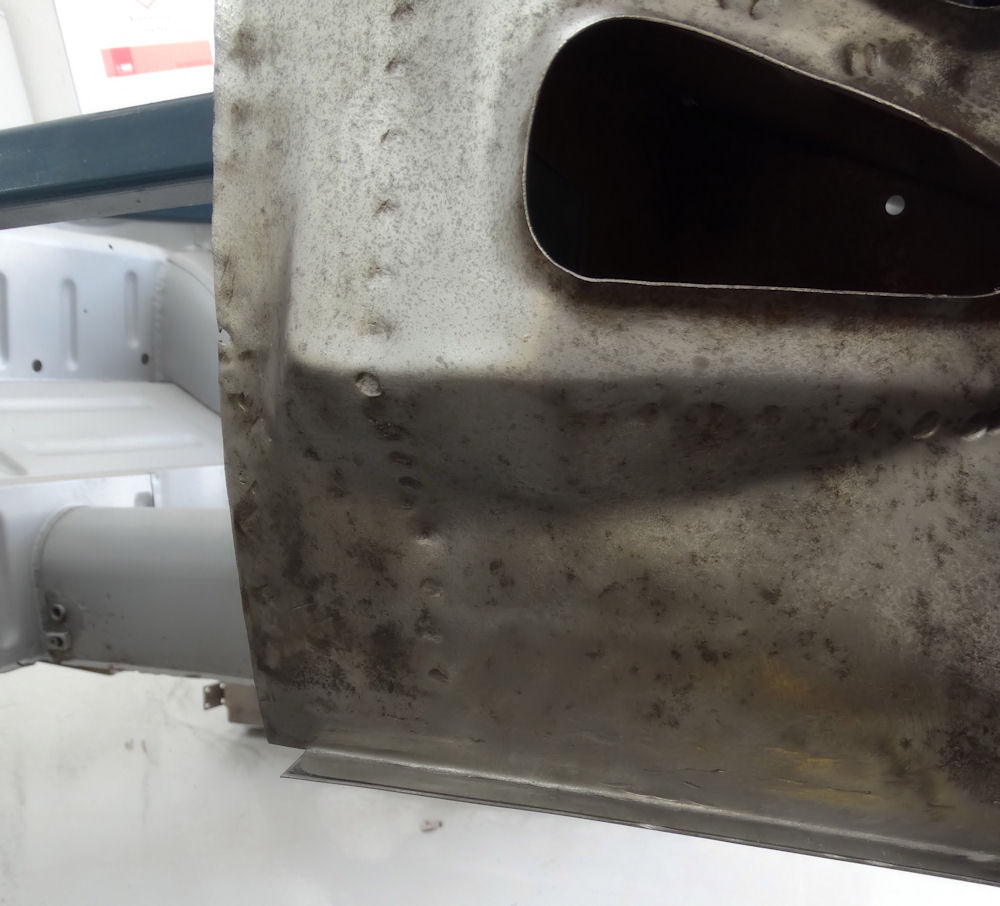
More modifications required to air intakes
Corrected result worth the effort
Bonnet mouth needed some minor modification so
the upper and lower panels could meet up properly
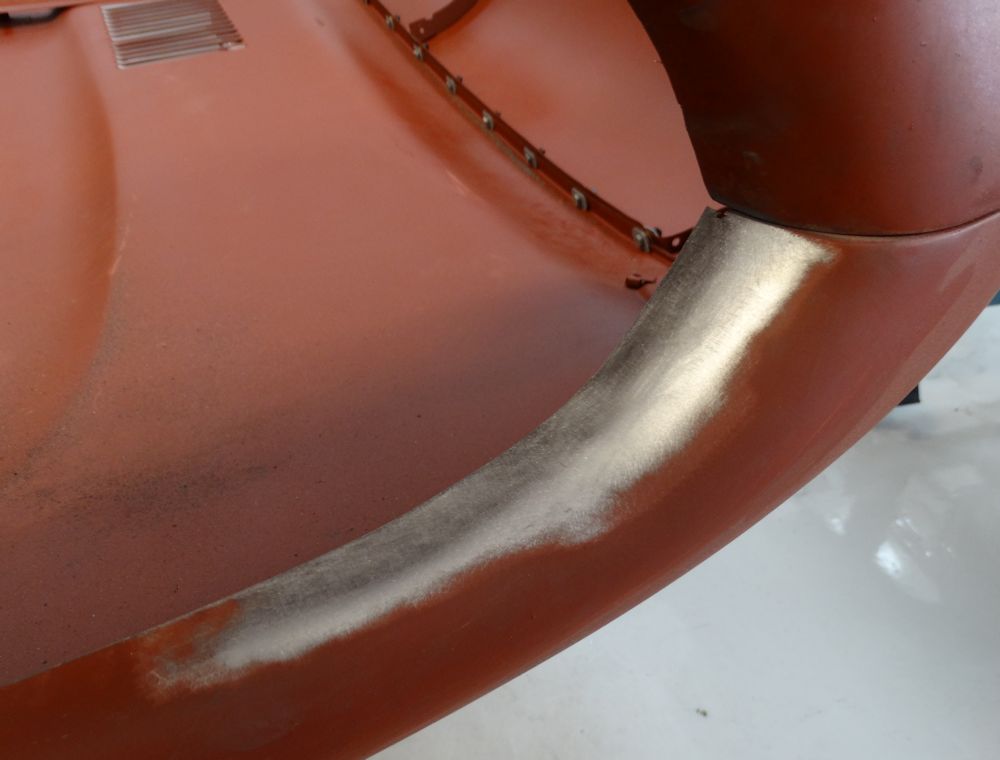
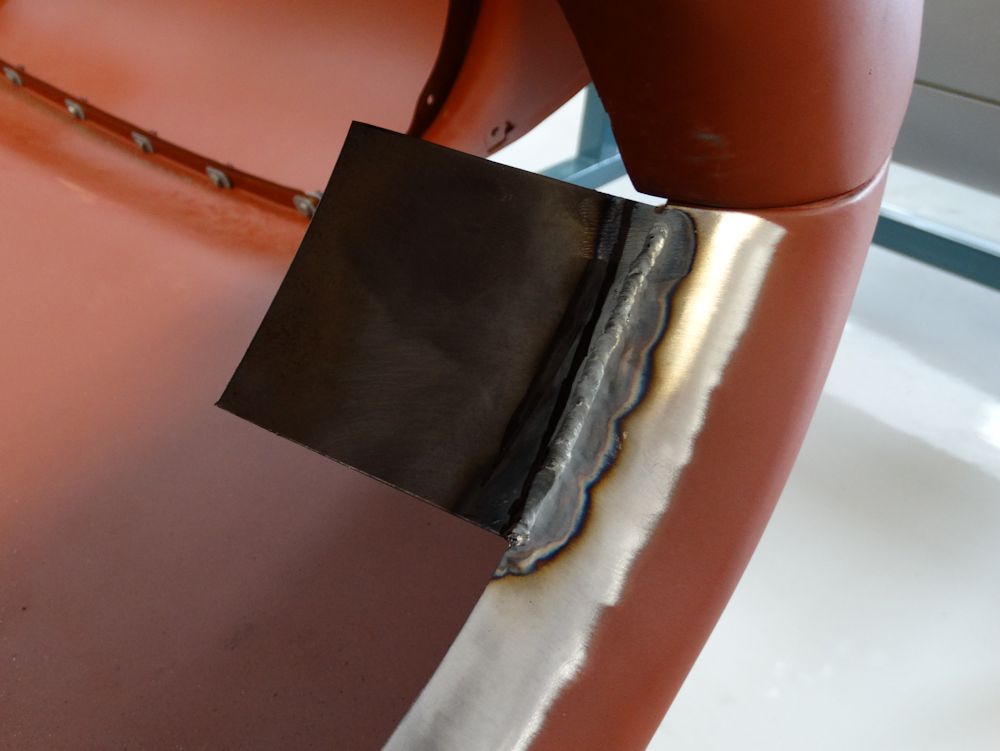
Matt welded new sheet metal to both sides
of the tray, to increase the width
Lower bonnet mouth tray fits poorly
Modification needed to the flange upon which
tray sits
Tray now ready to install
Time to start fitting the bonnet to the car
With all mods completed, the tray now fits
perfectly
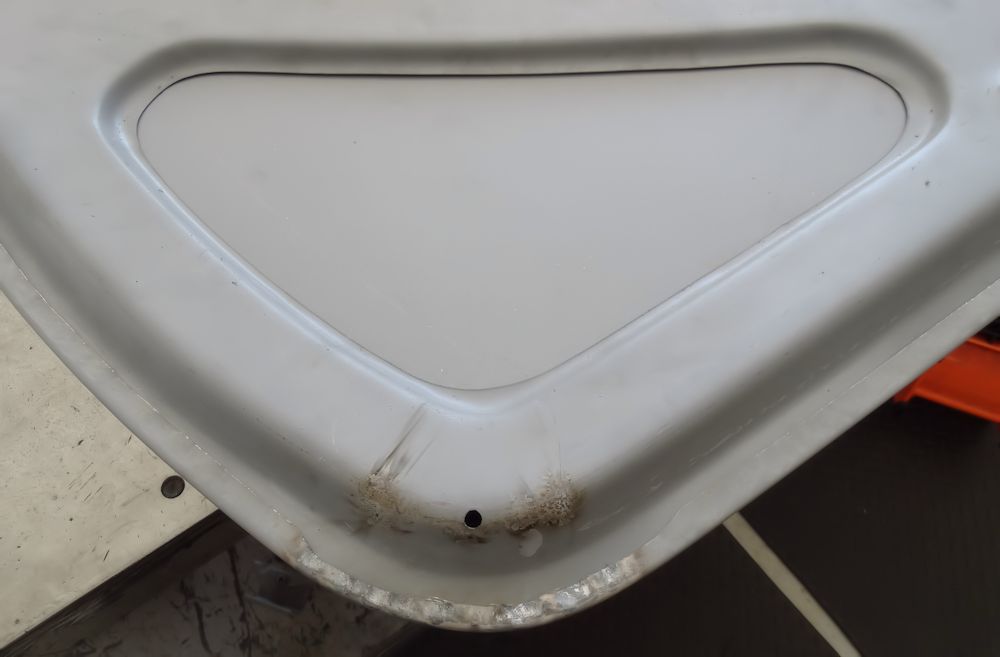
Unusual view of a boot lid skeleton
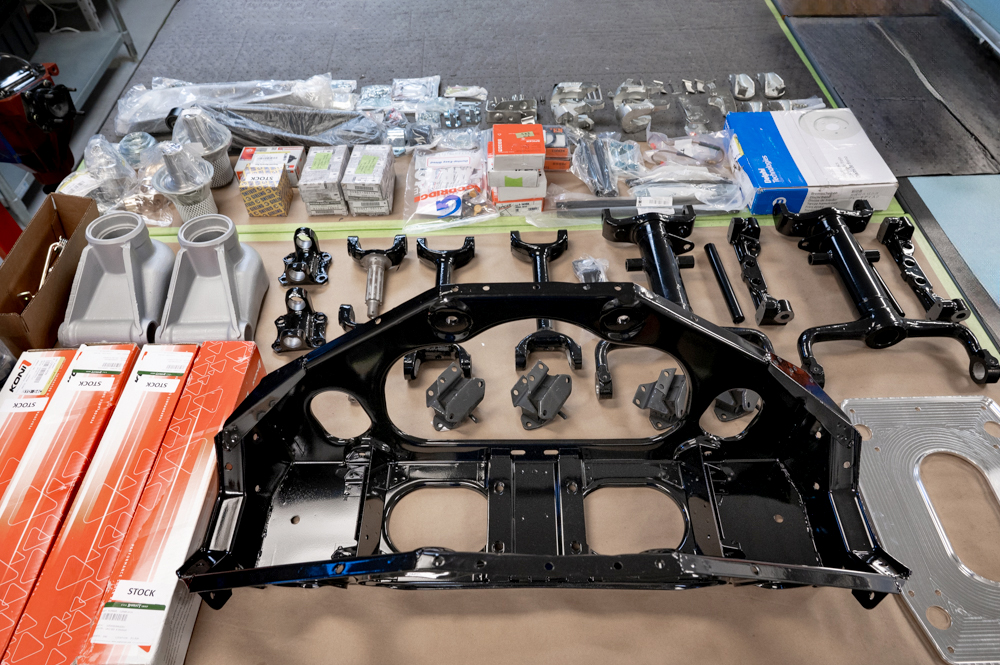
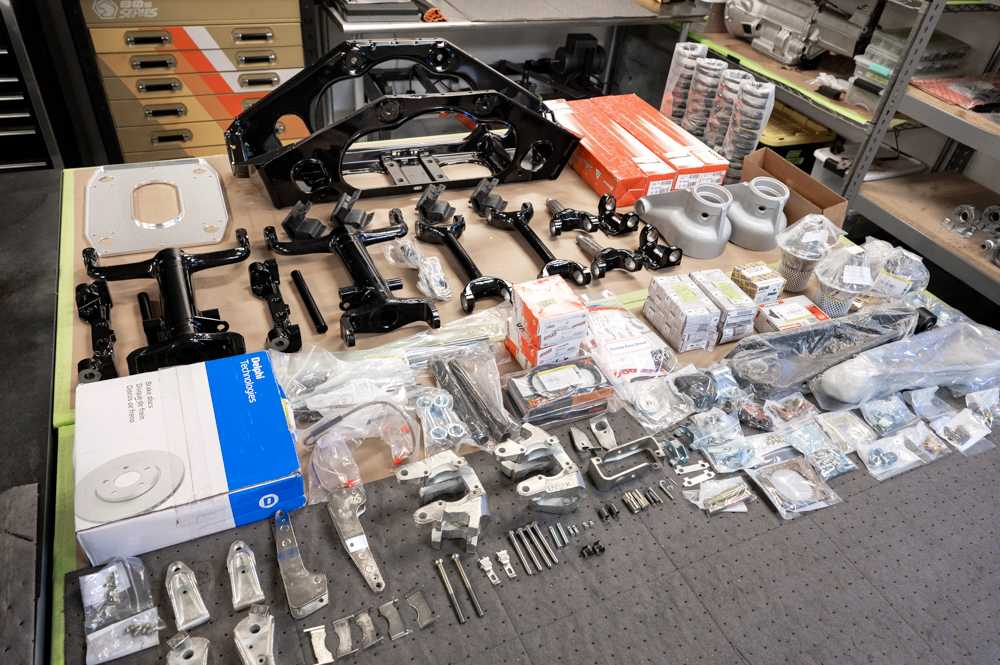
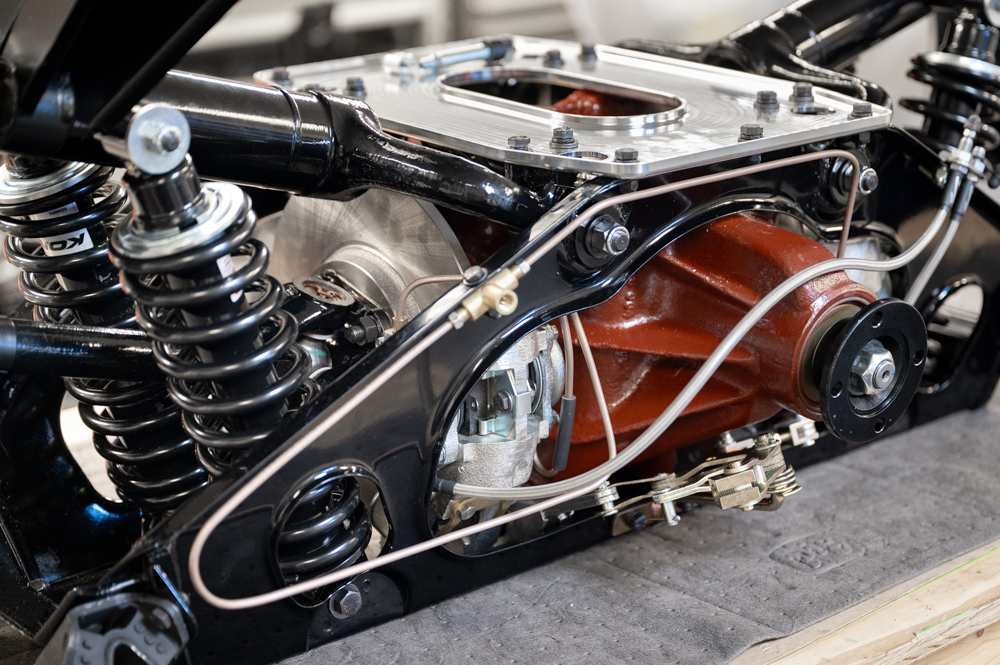
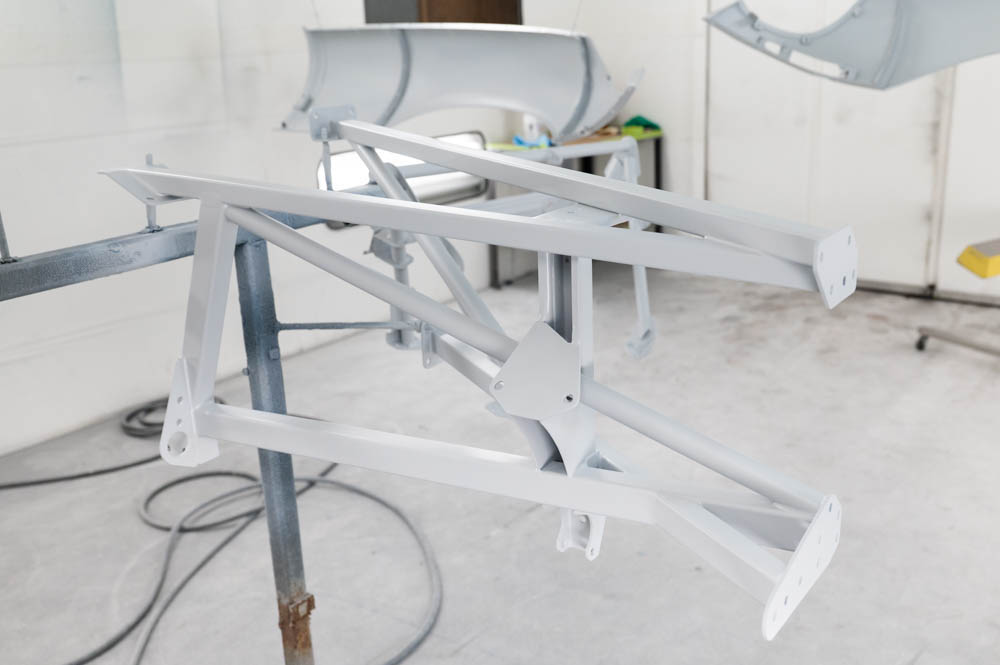
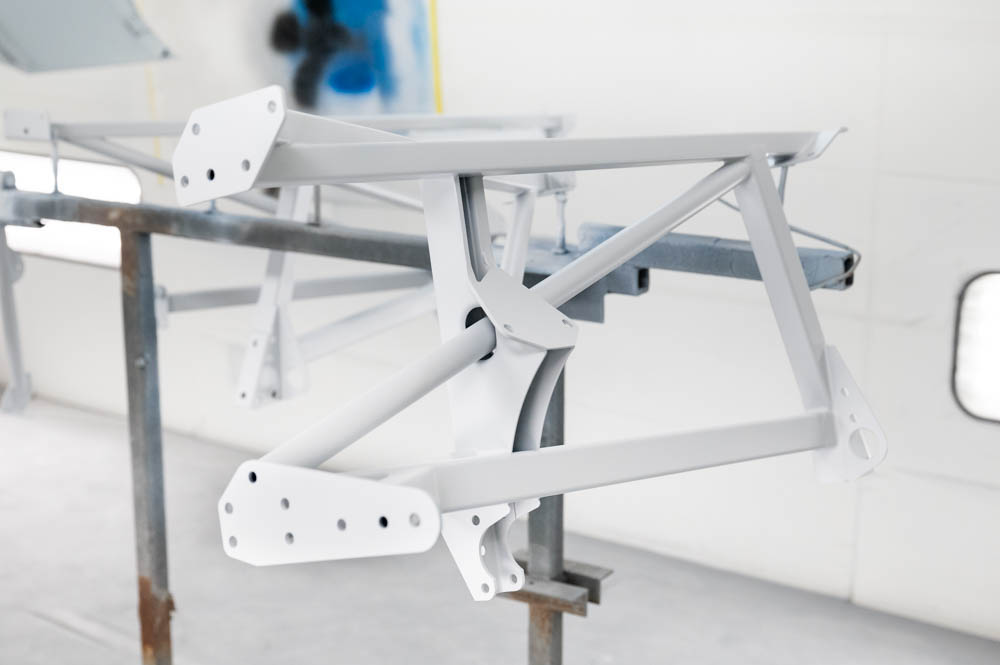
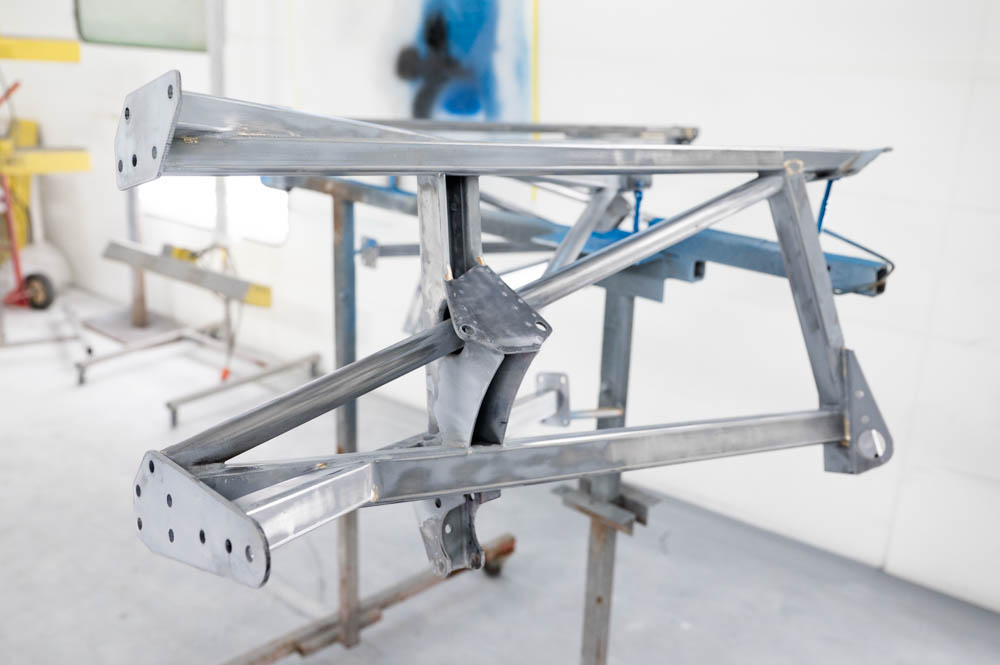
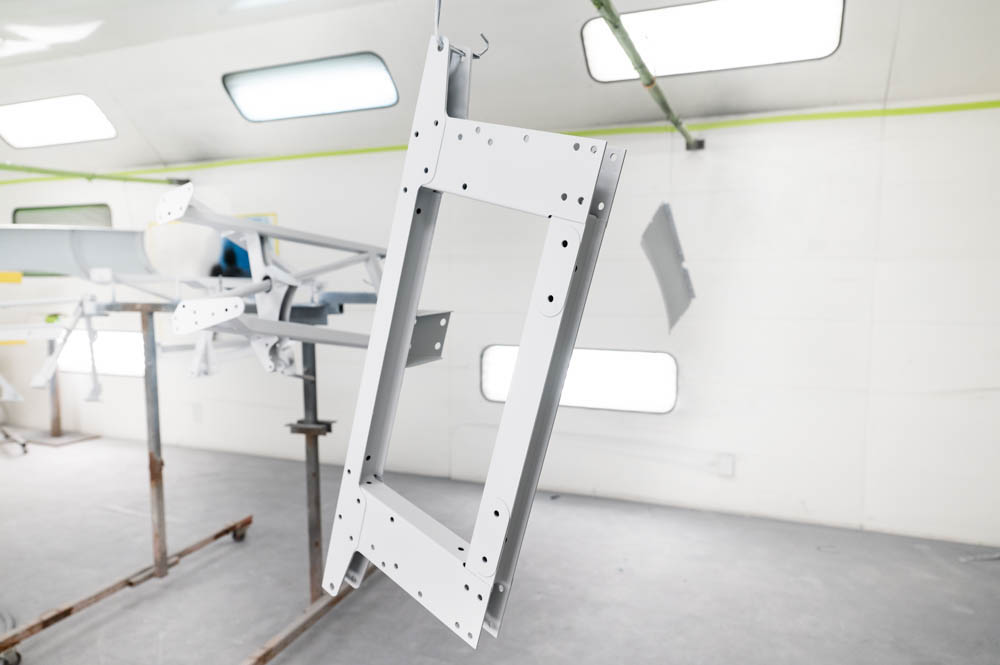
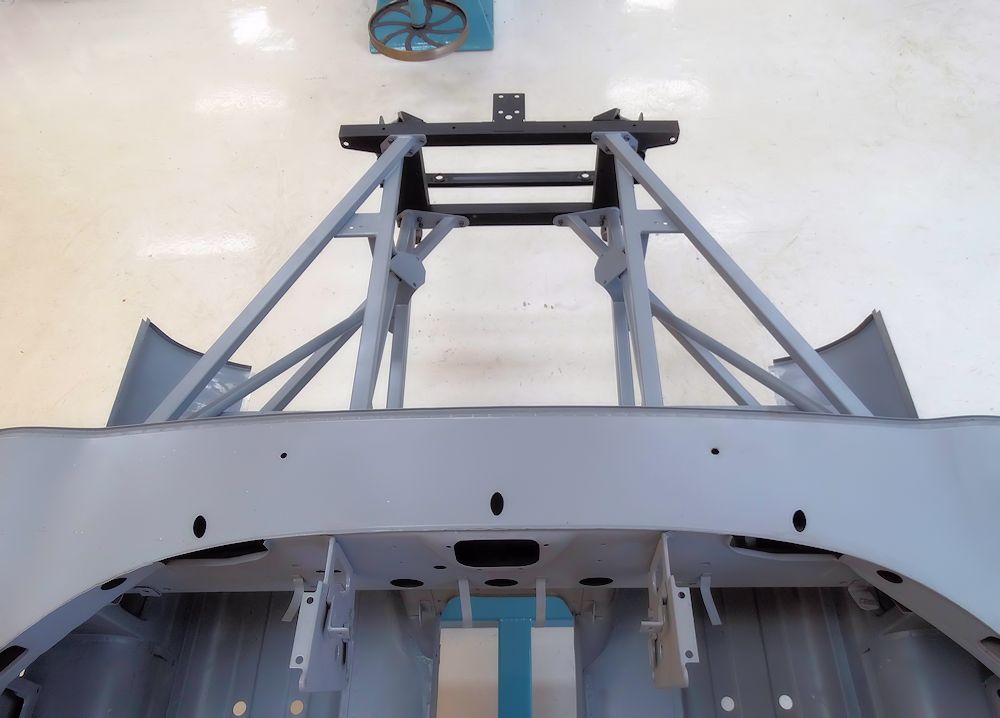
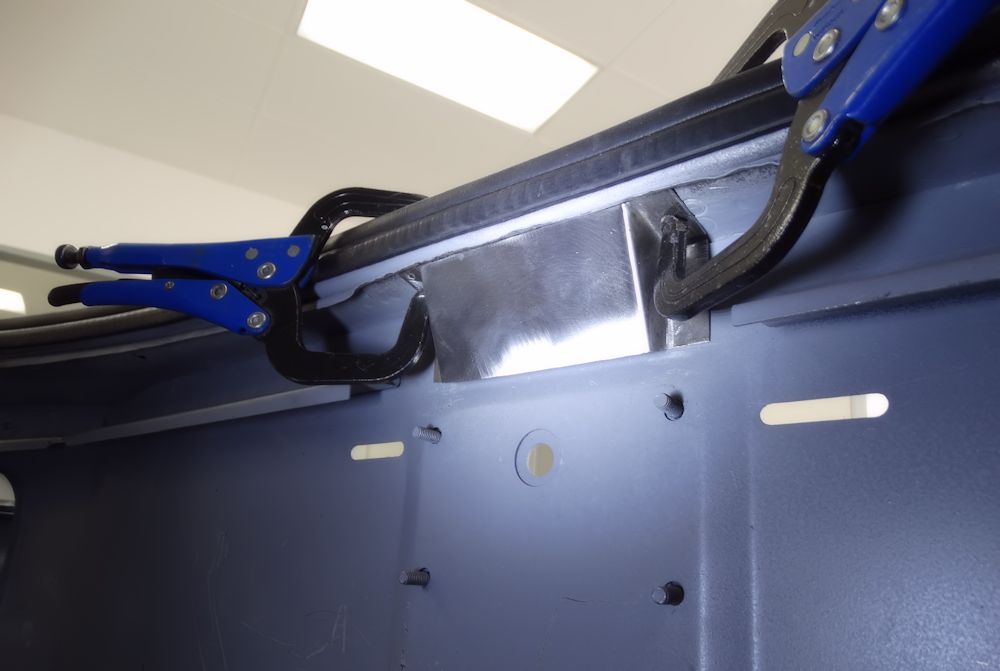
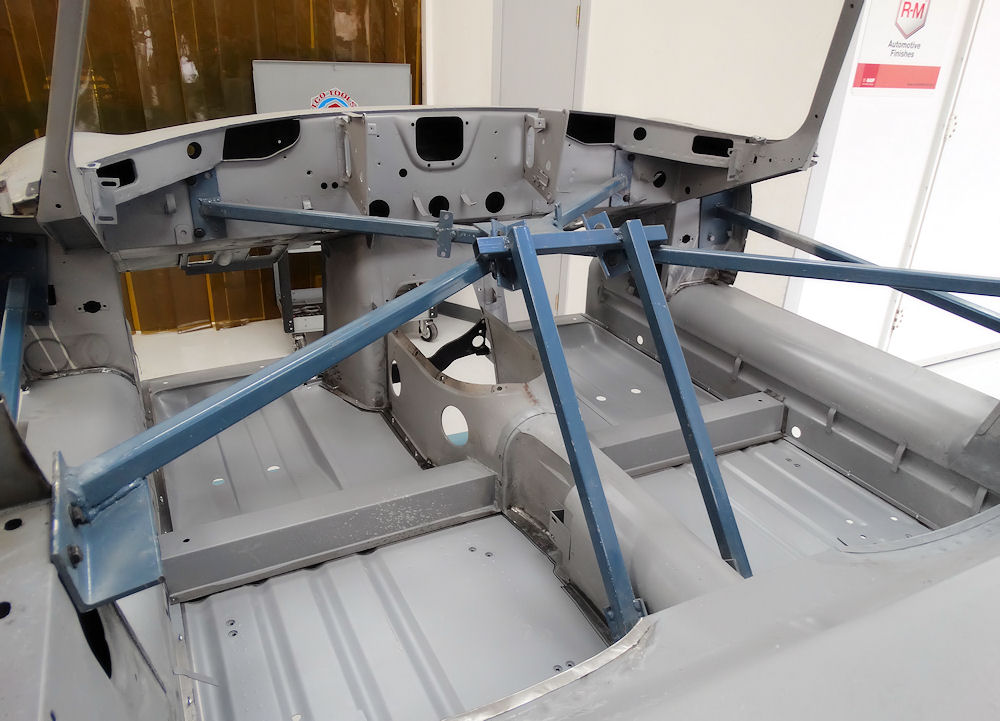
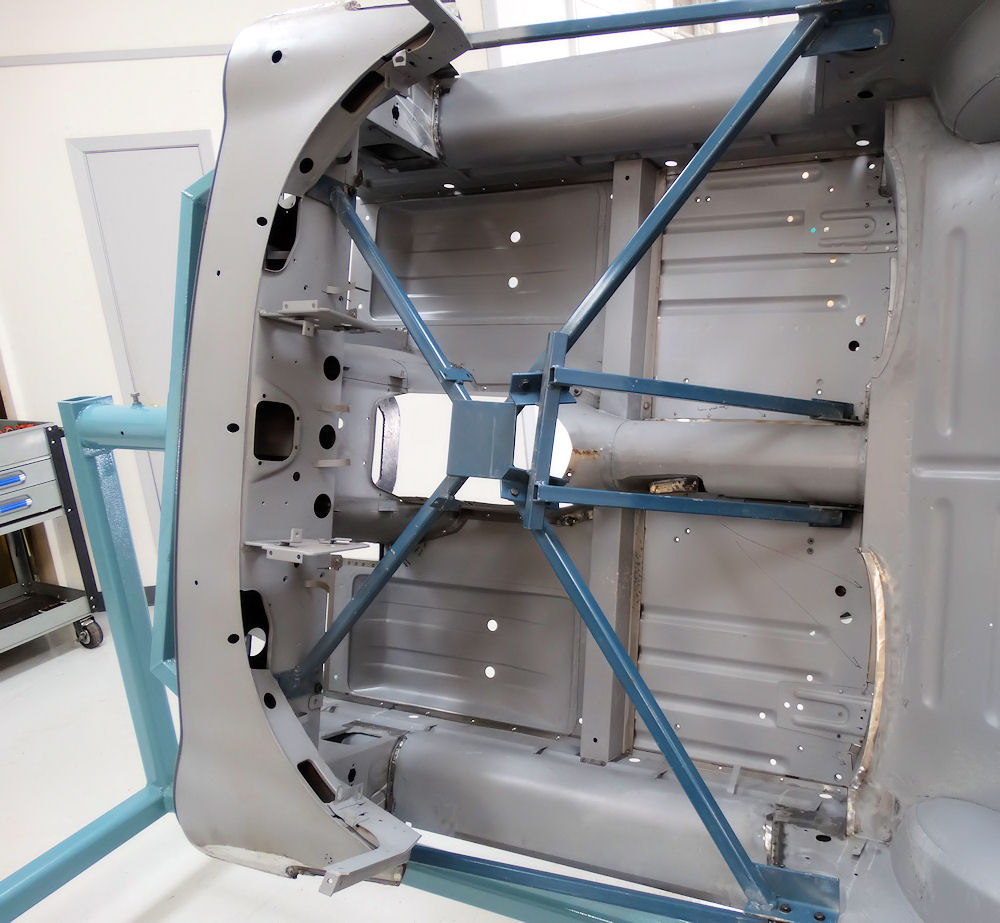
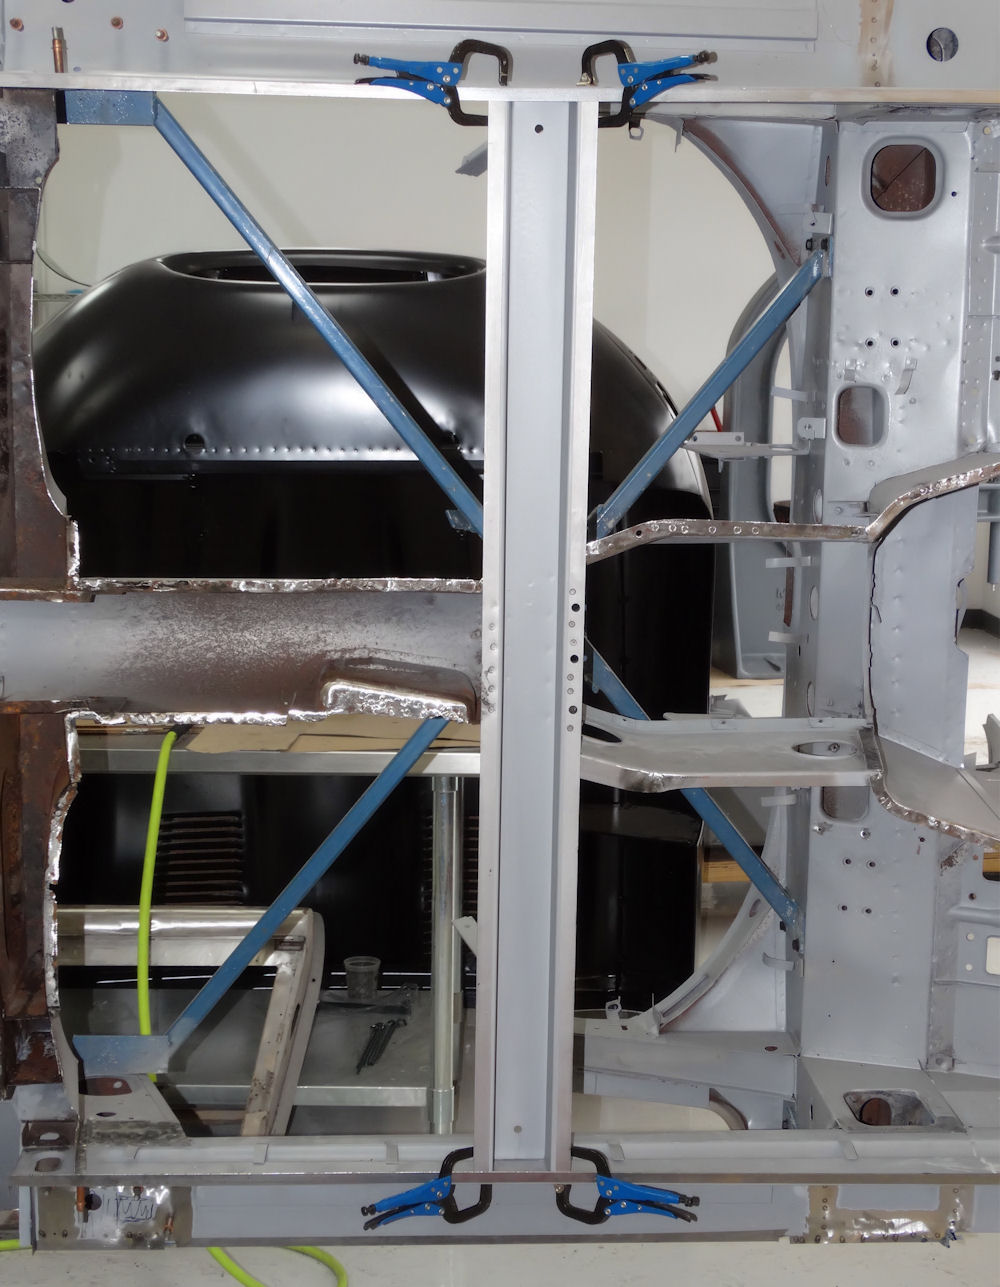
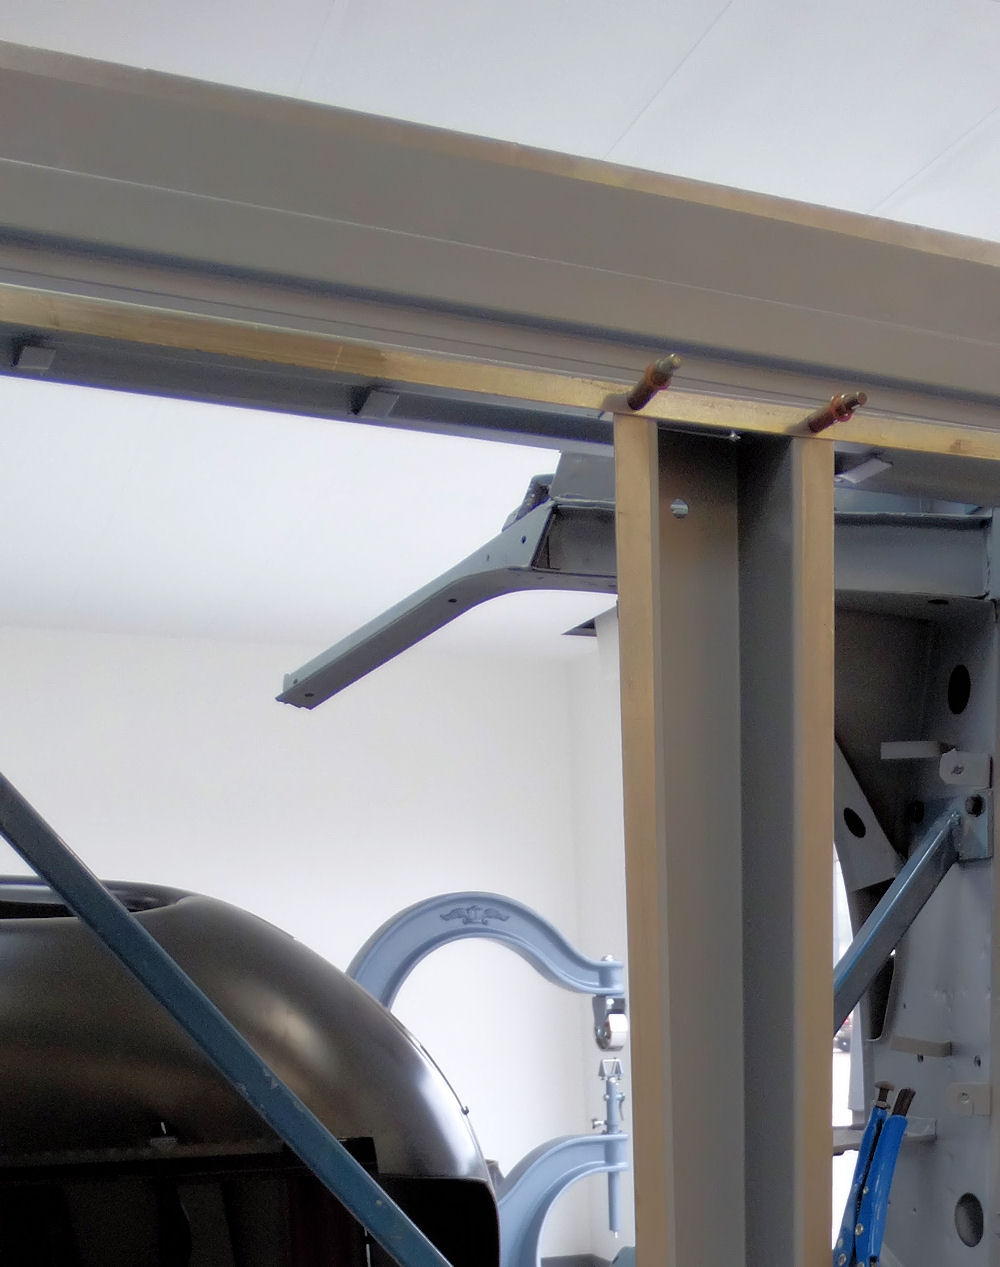
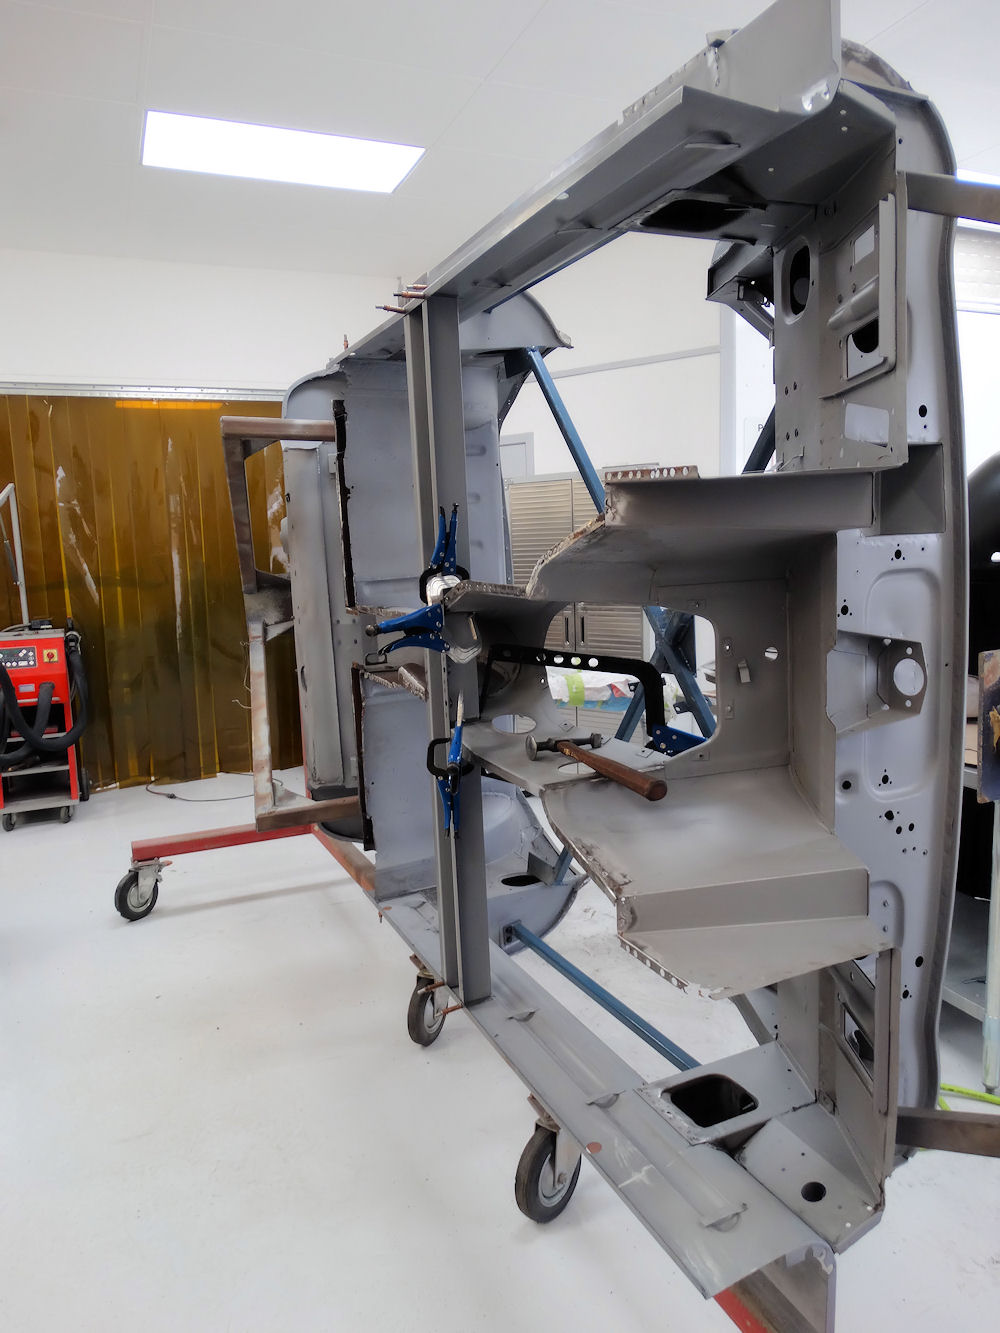
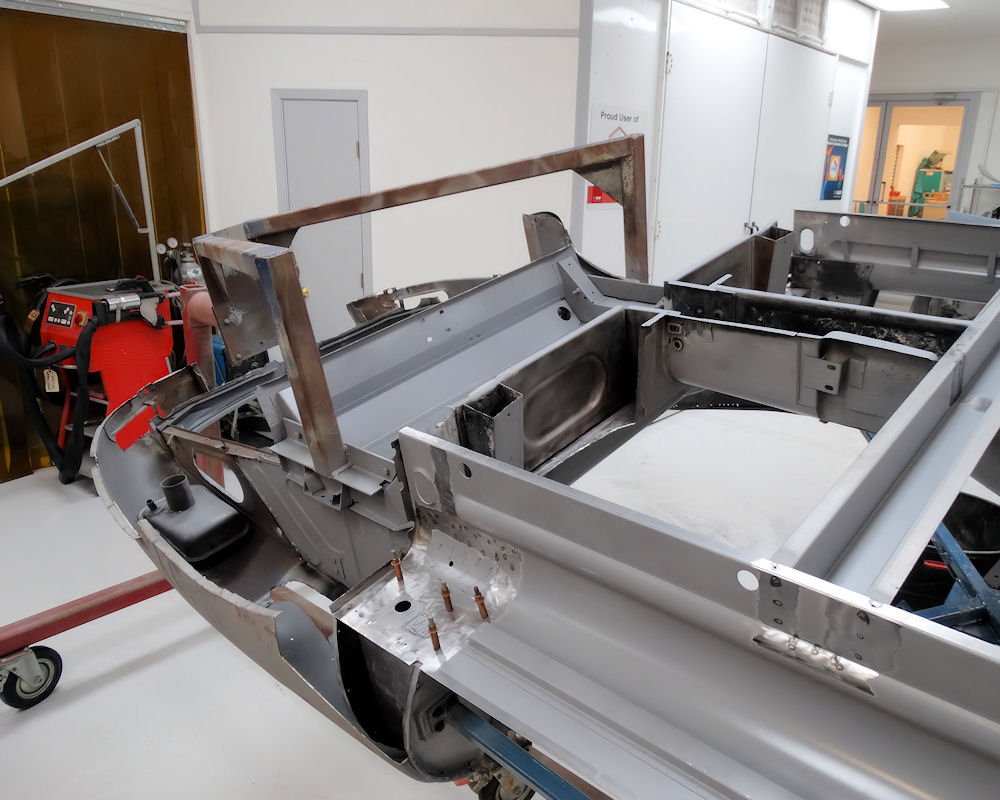
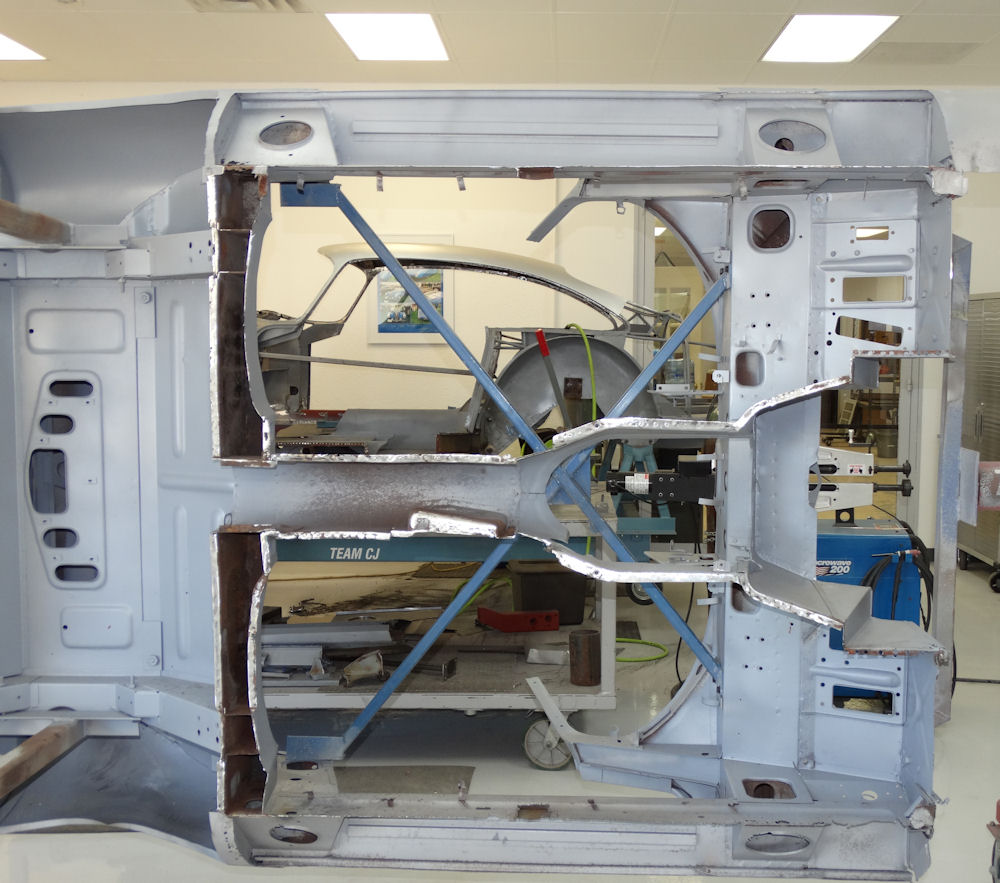
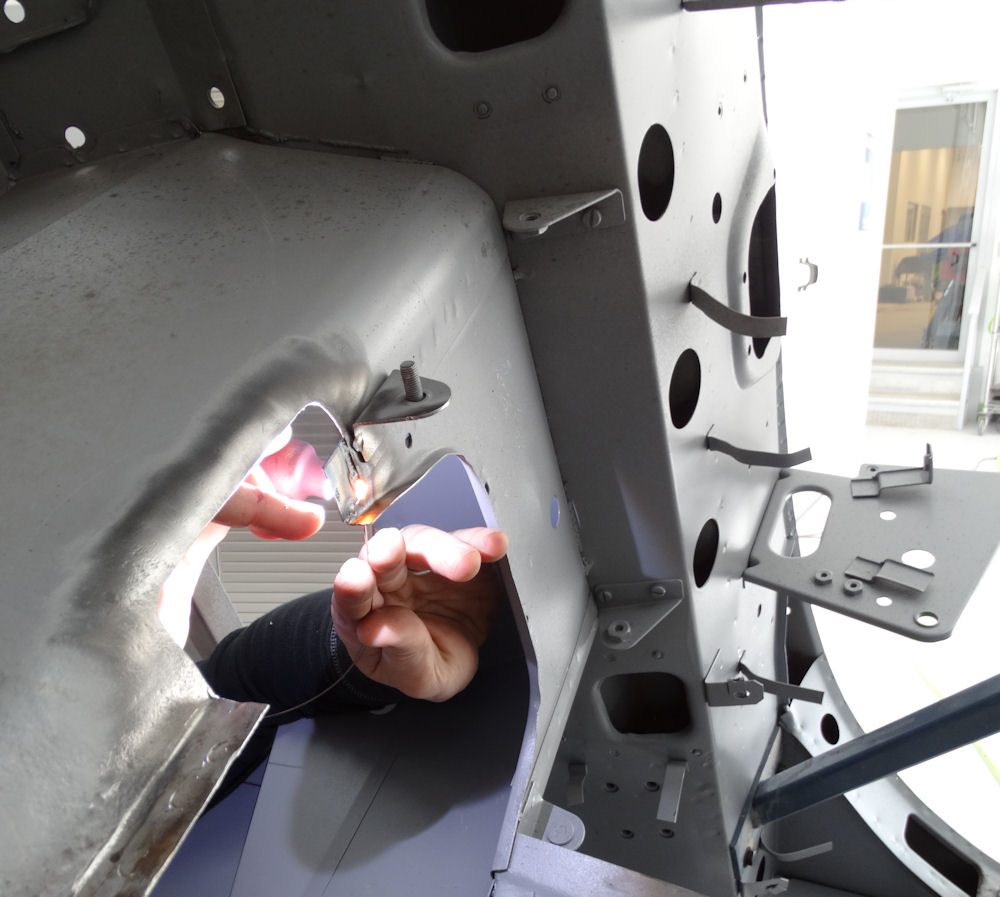
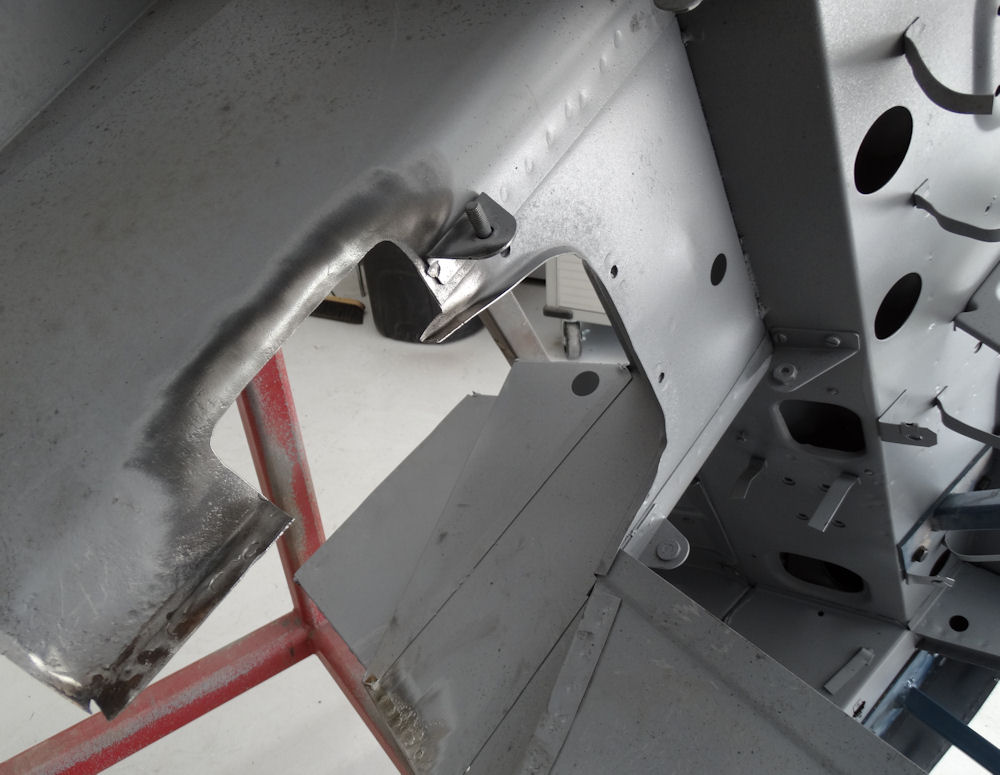
New engine frames now installed
Installing engine frames, modifying door top chrome, skinning the boot lid, fabricating a new boot latch bracket..
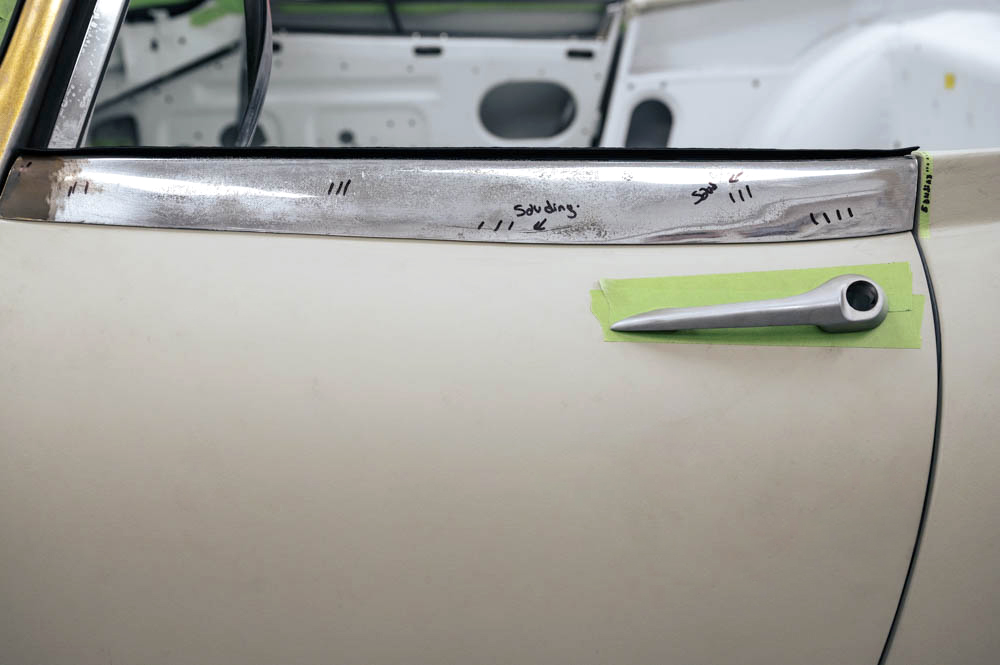
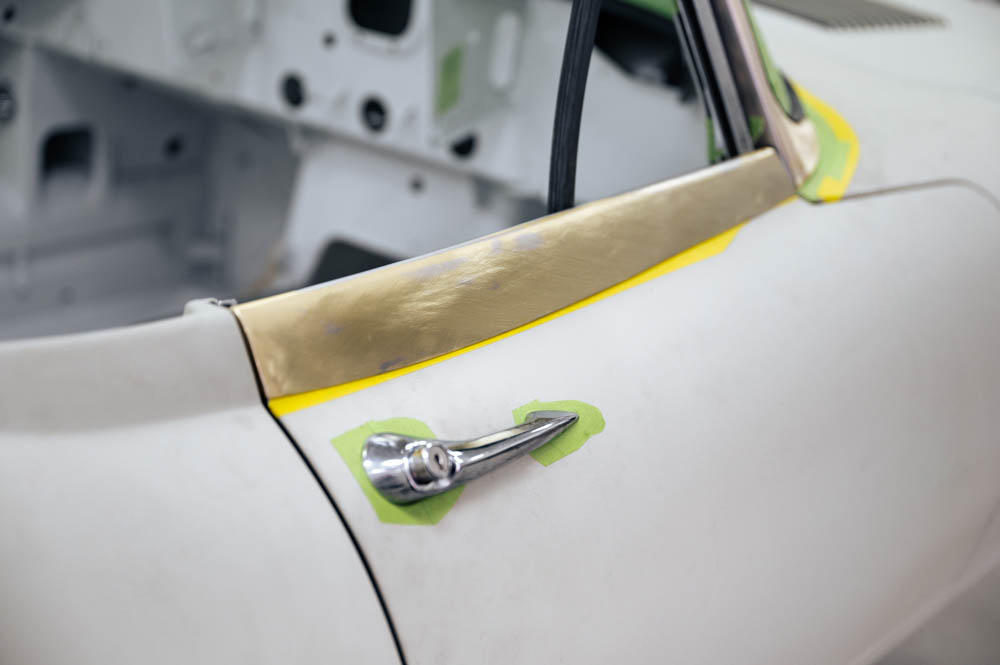
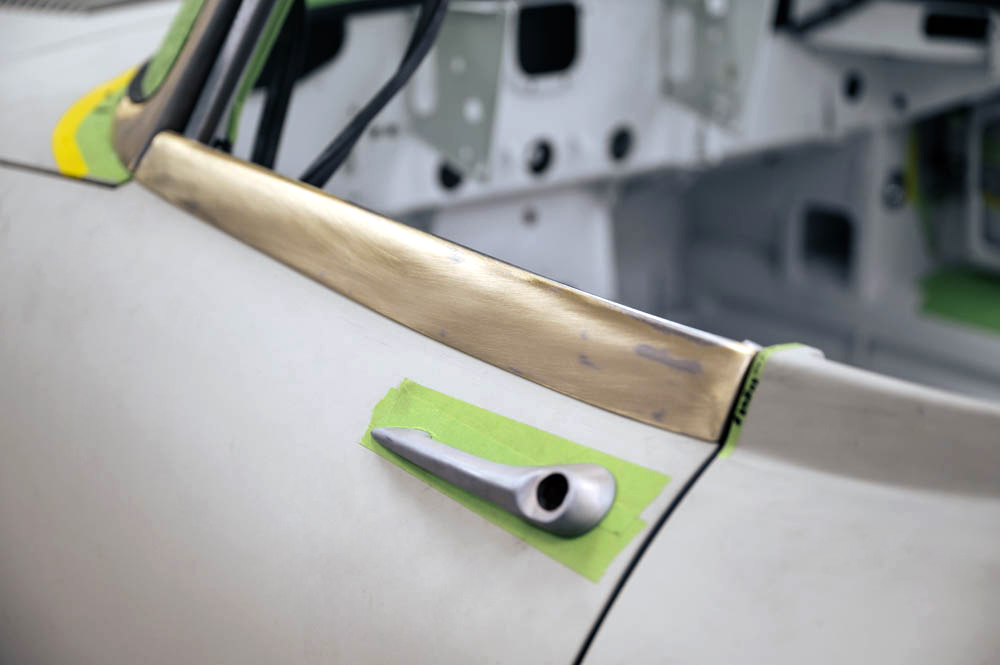
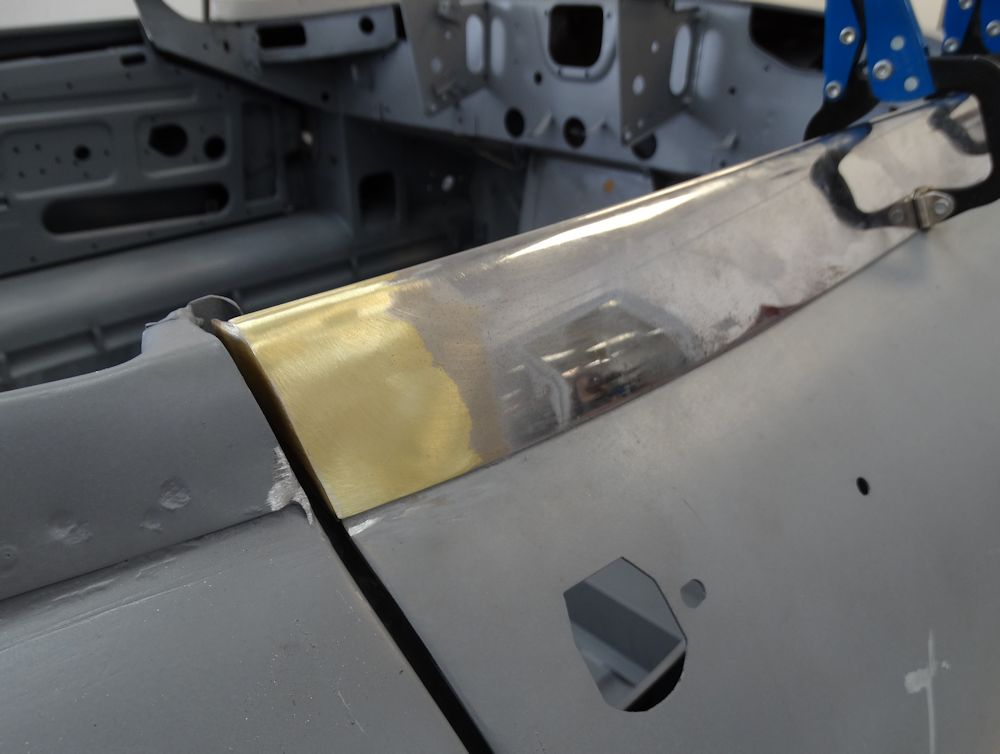
Matt modifying door top chrome finishers
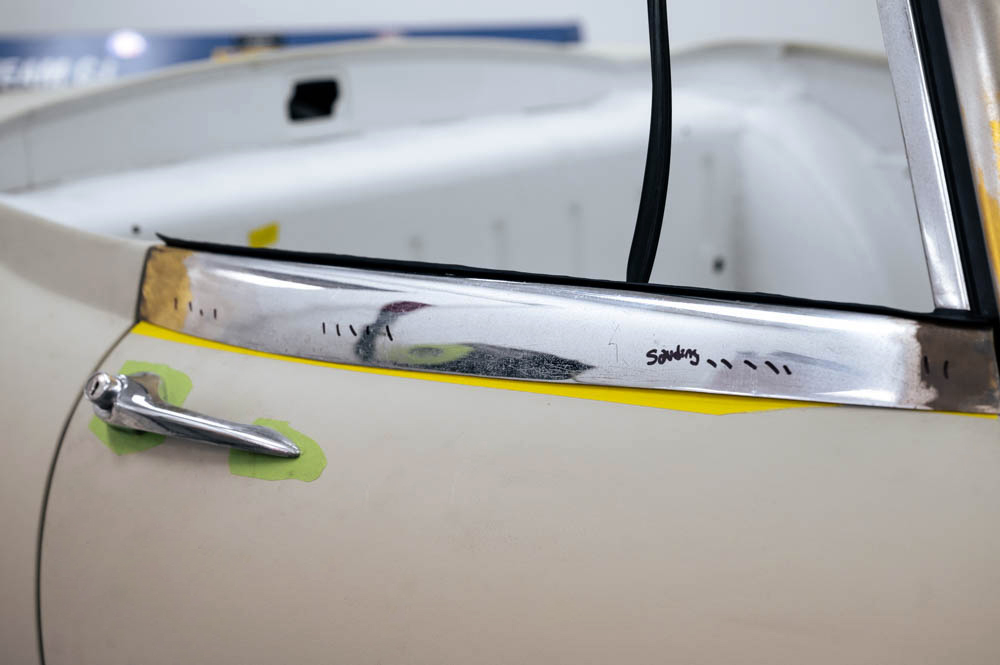
Fit will be perfected once we have lead loaded
the welded seams at each corner
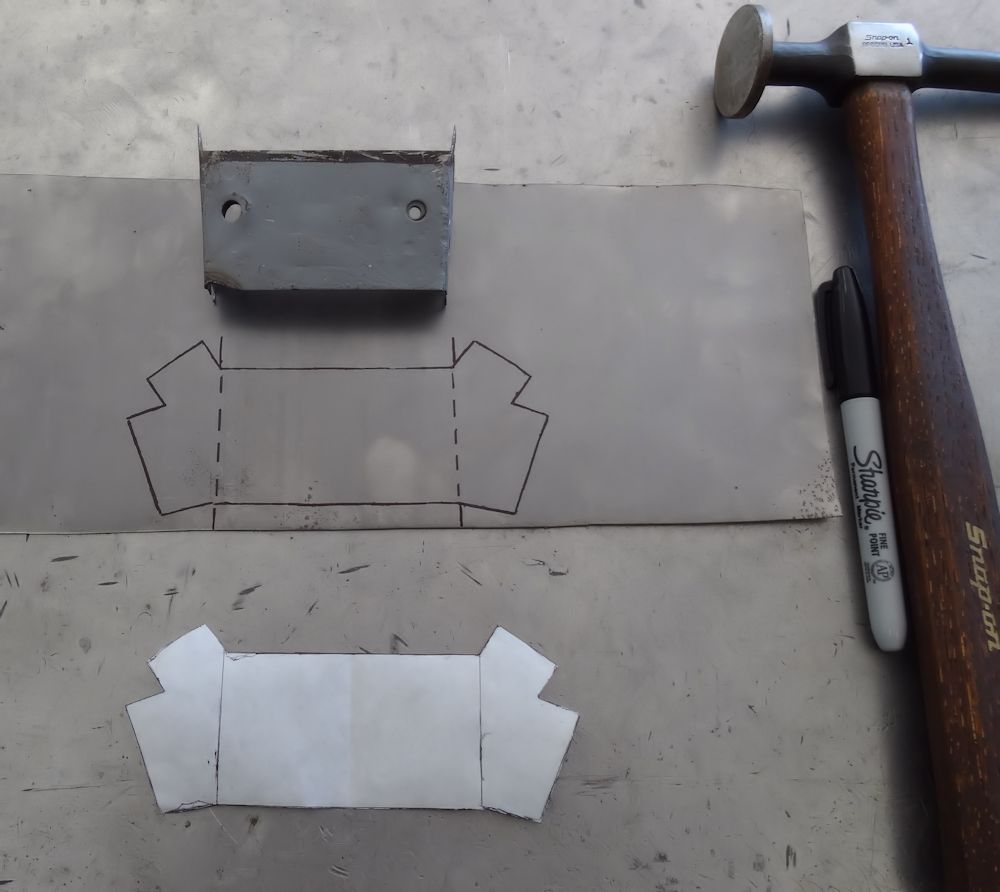
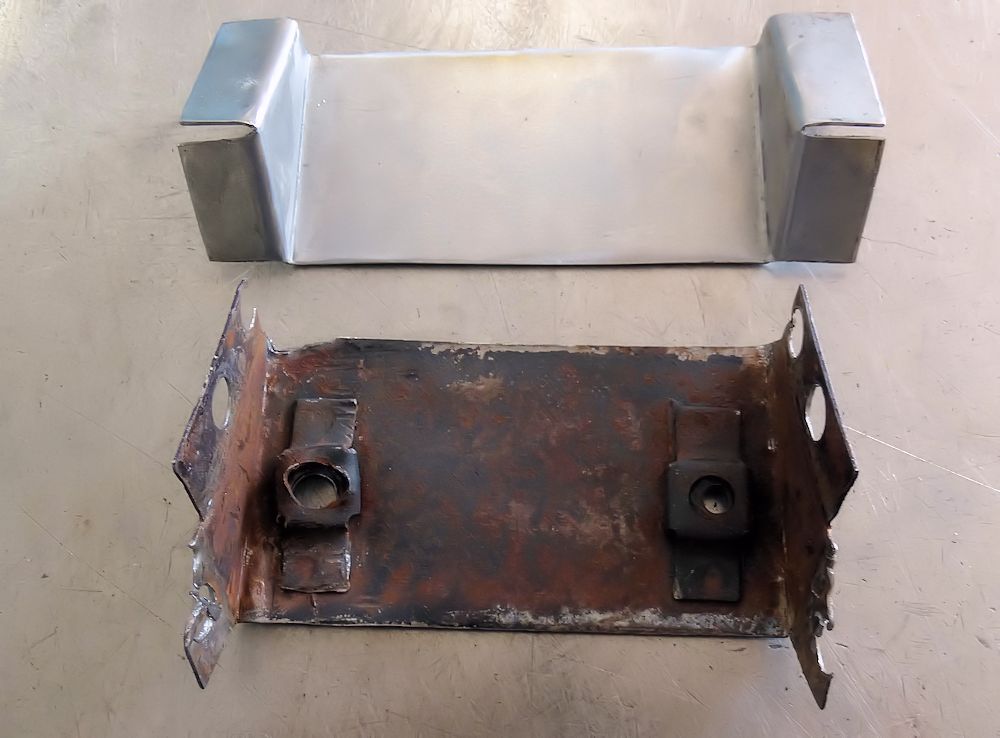
Fabricating a new boot lid latch bracket
Template transferred to new sheet metal
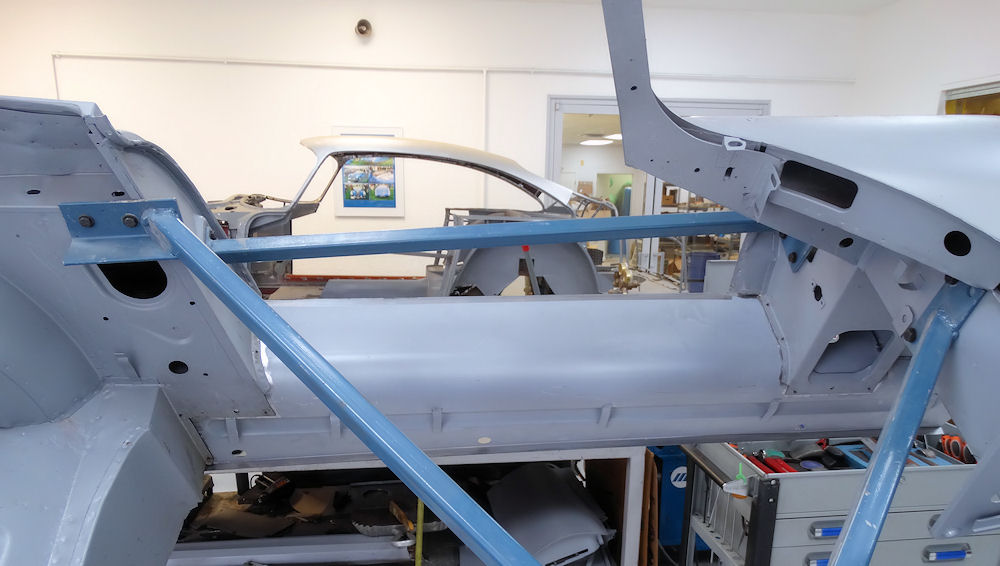
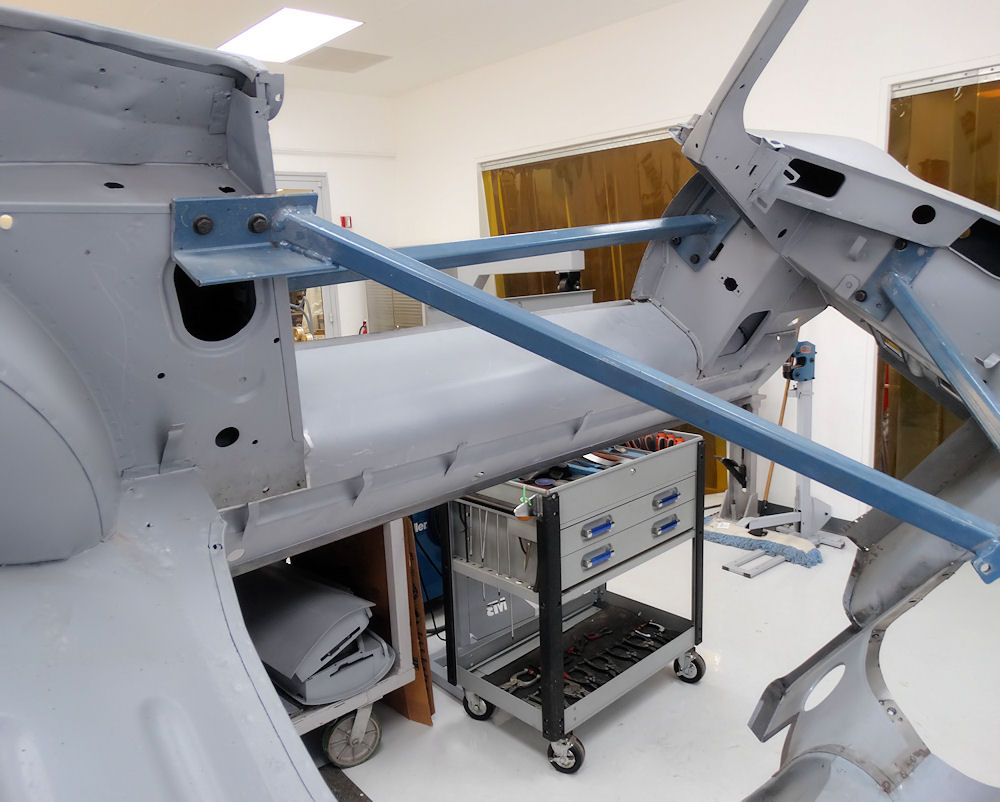
Always a good sign whenever a body shell
is removed from the rotisserie!
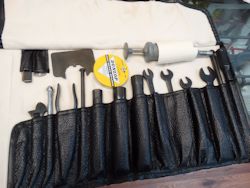
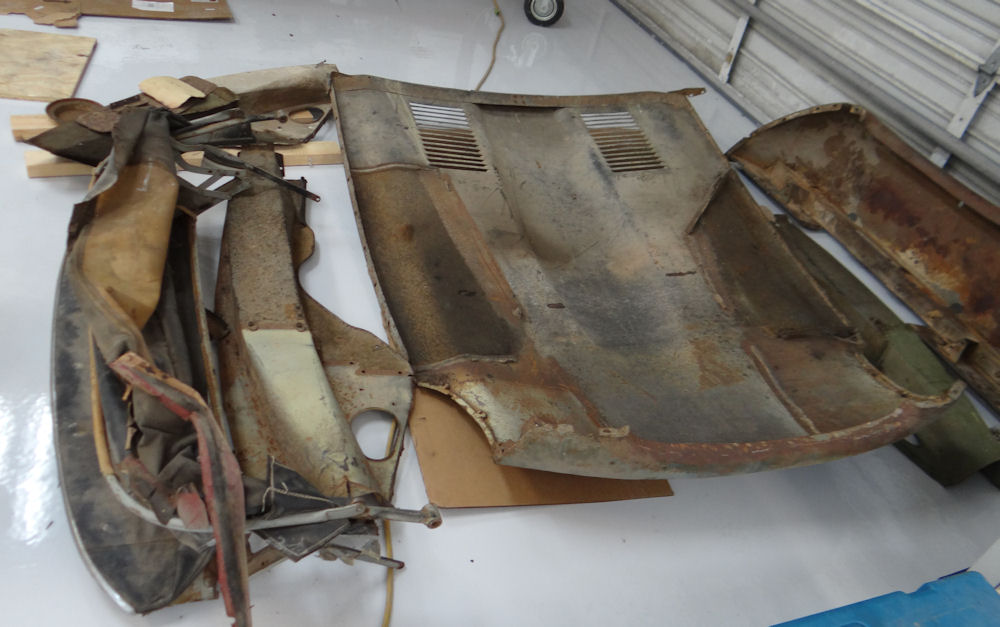
As nice an original tool kit as you are ever likely to see..
Trial fitting new bracket in position
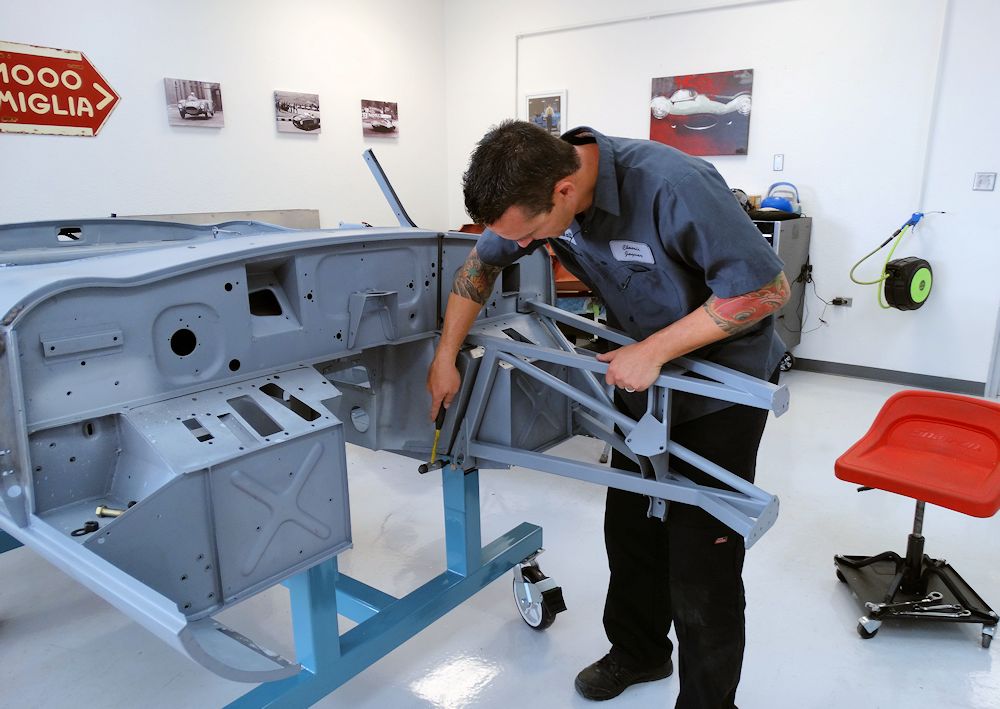
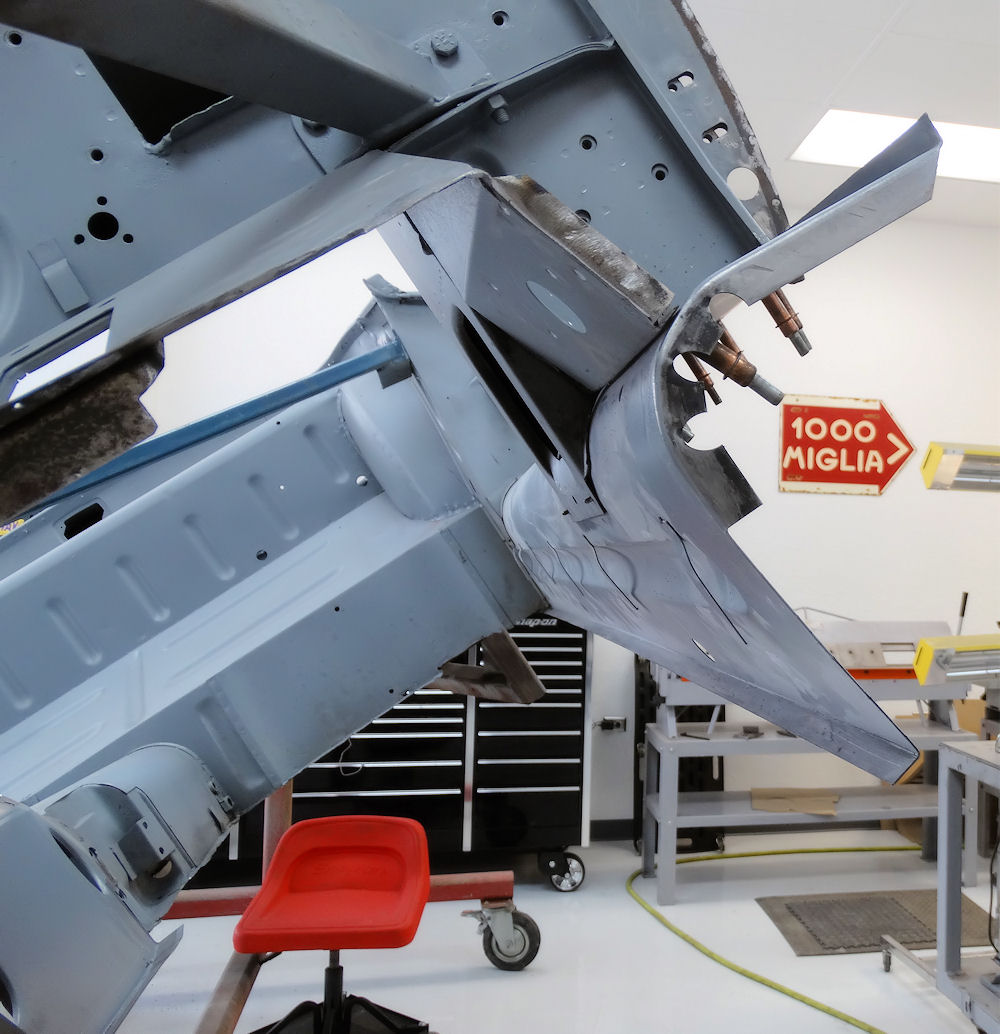
We are now ready to install the new engine frames
Matt installing the first of the new side frames
Lower frame mounting brackets have been replaced
New bonnet has been disassembled, stripped and
primed - assembly next
Beautiful Suffolk & Turley hides...
Preparing to fit the new door skin
Straightening the bottom of the door frame
Welding the rear edge of passenger door earlier
this week, prior to lead loading
Using a special skinning tool to flatten the door
skin edges
Rear edge of skin hammered over first
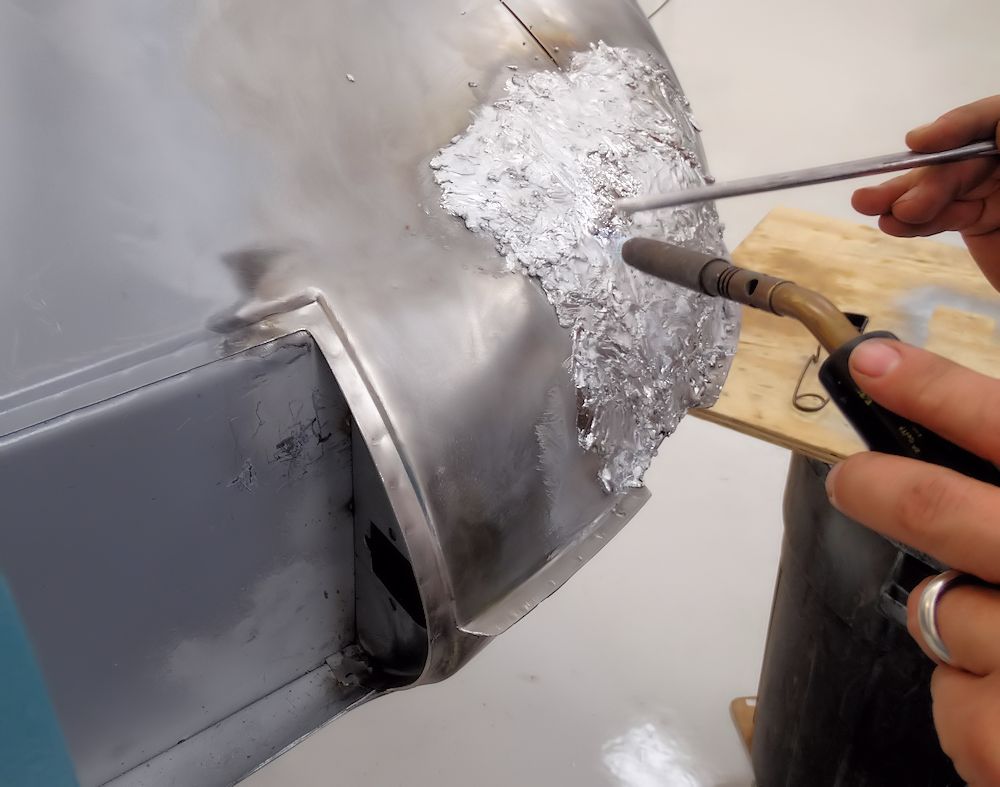
Lead loading underway.
Now much improved
New door required some straightening before it could be used
Contour of the new rear quarter panel matches the
rear edge of the door skin very well
Initial trial fit of door looks good
Wurth Body Wax is applied all all surfaces
Weld zones masked off prior to applying Wax
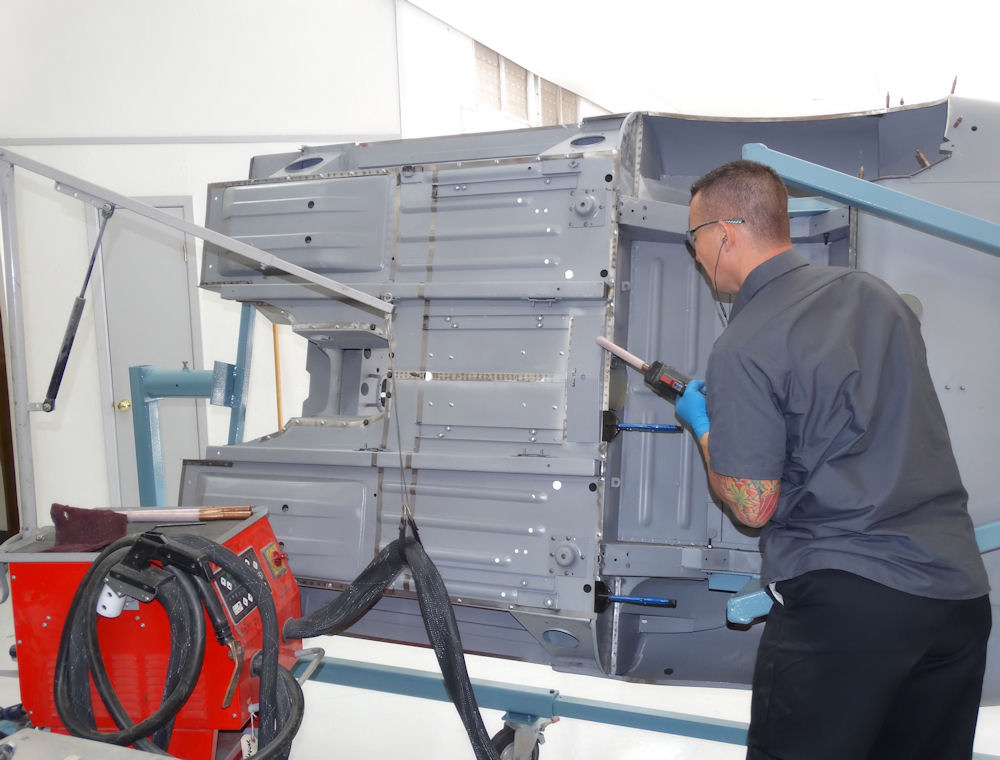
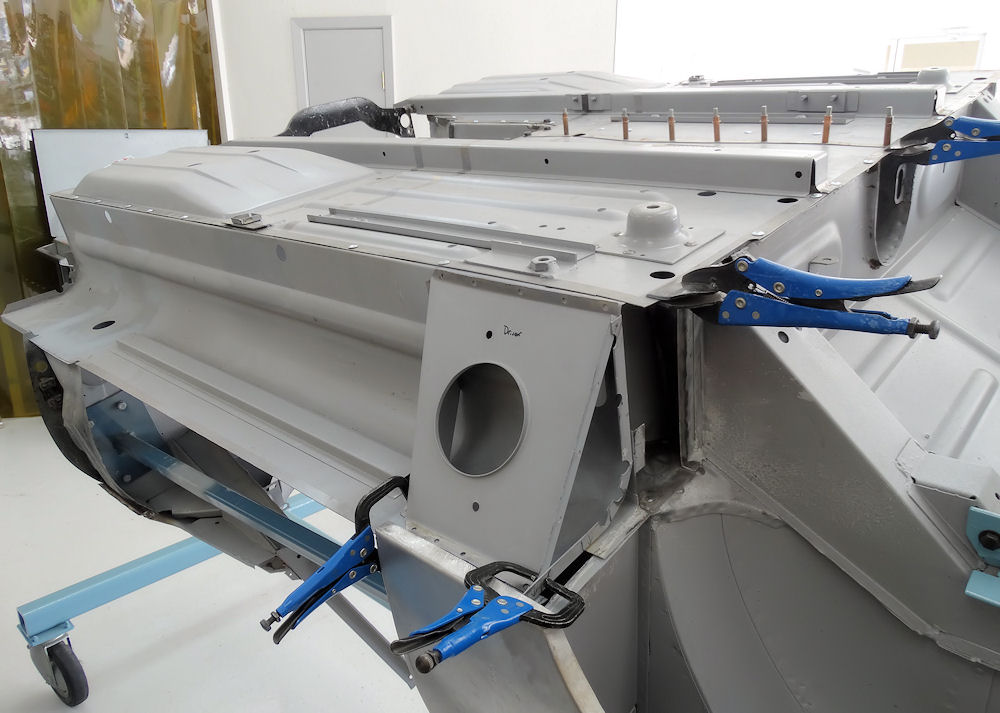
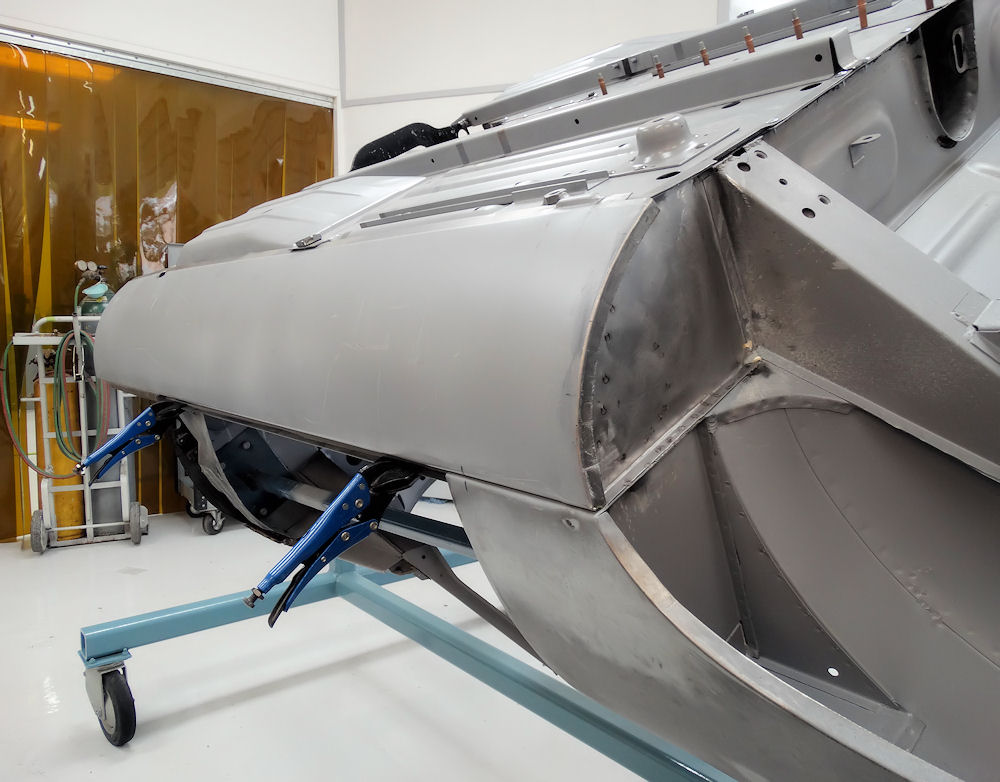
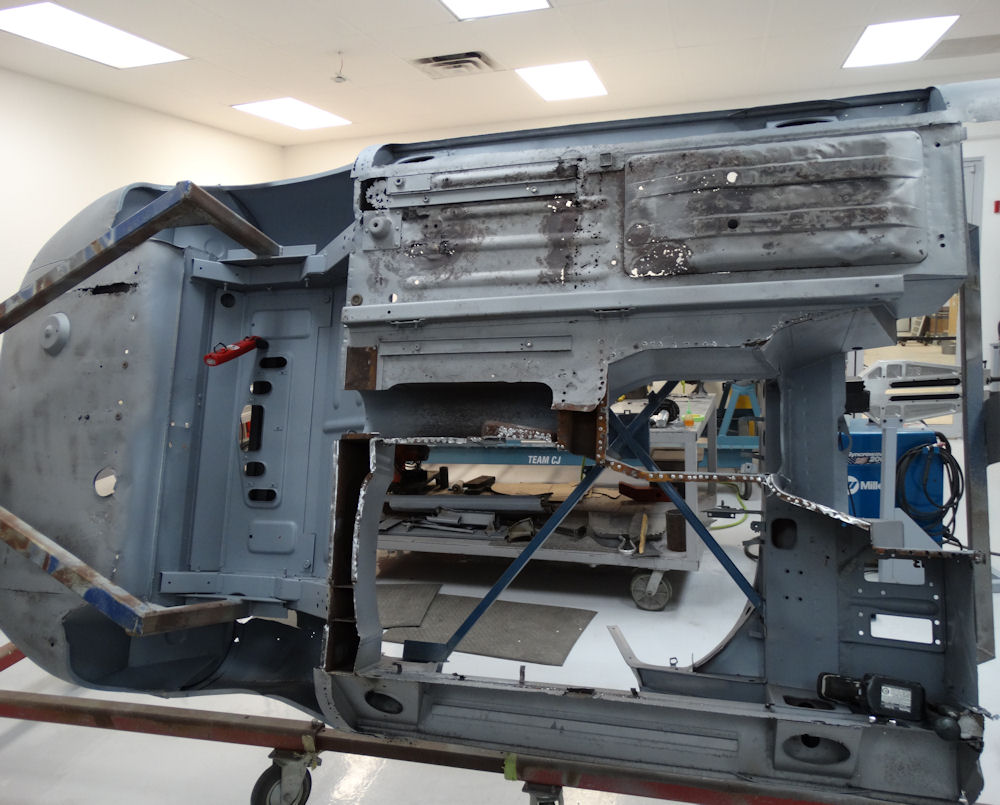
Rust proofing inner sill surfaces and installing new outer sills.
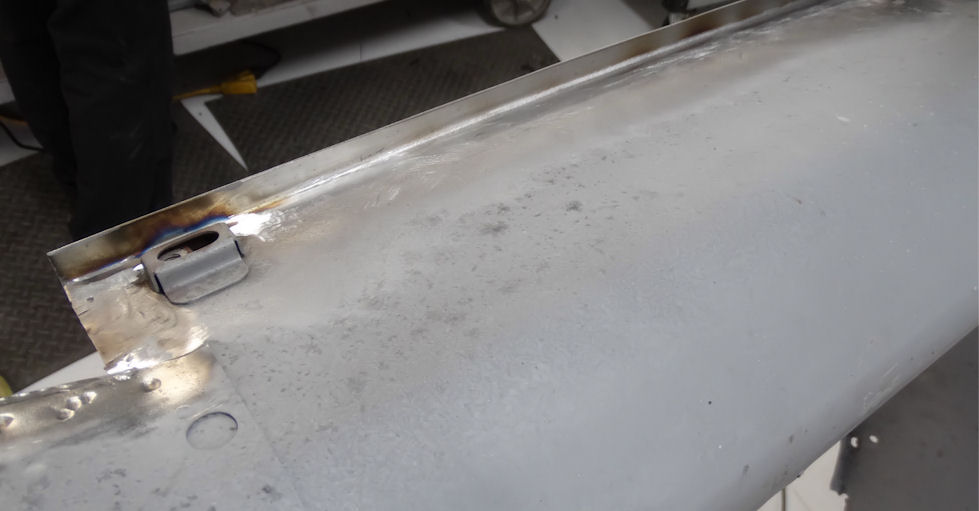
RH outer sill now spot welded in place
New lower engine frame mounting brackets installed
Matt applying the wax to inner surfaces that will be
enclosed when the new floors are installed
The following sequence of photos show Matt rust proofing the inner box sections with Body Wax, then spot welding the new floors in place.
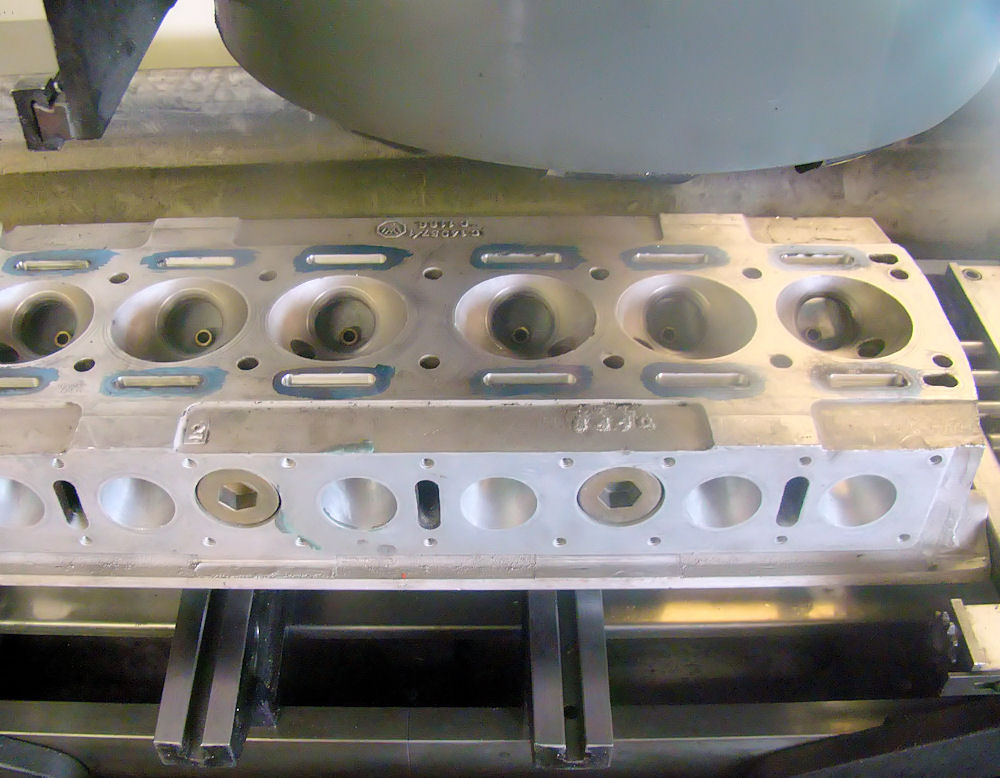
Cylinder head machine work completed, trial fitting new floors and outer sills.
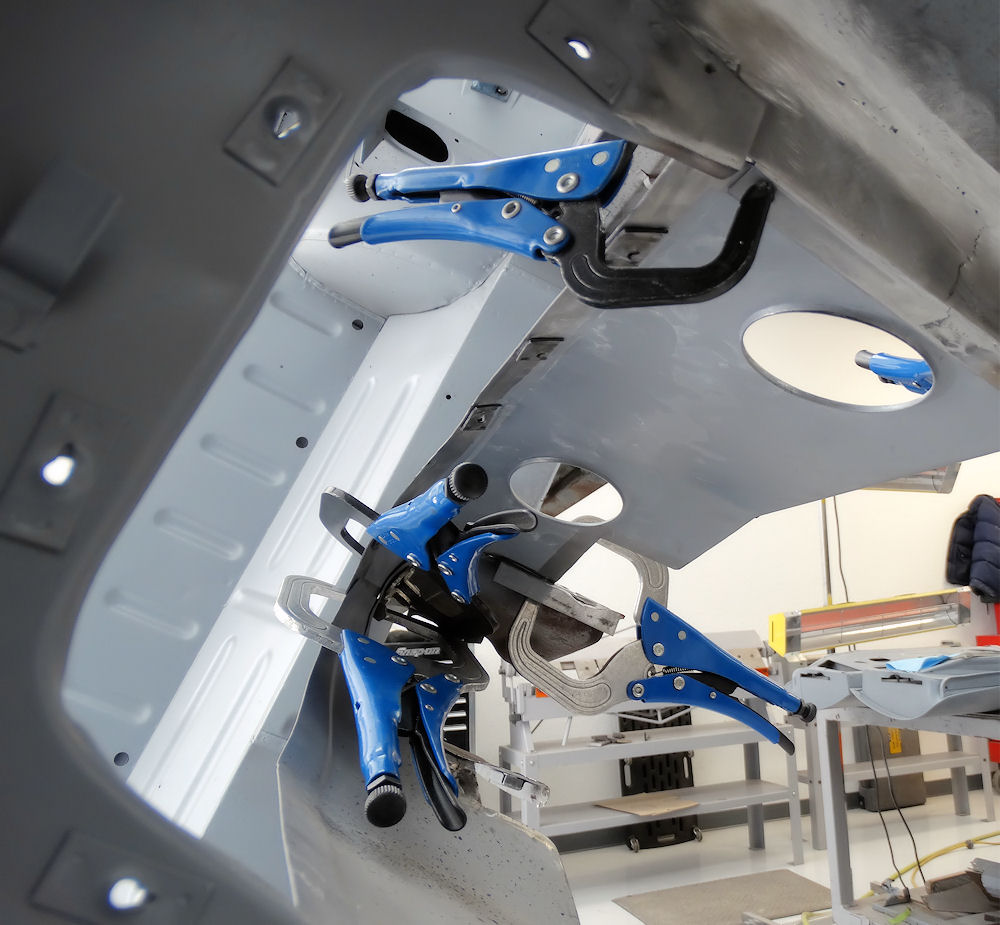
Spot welding the floors in place
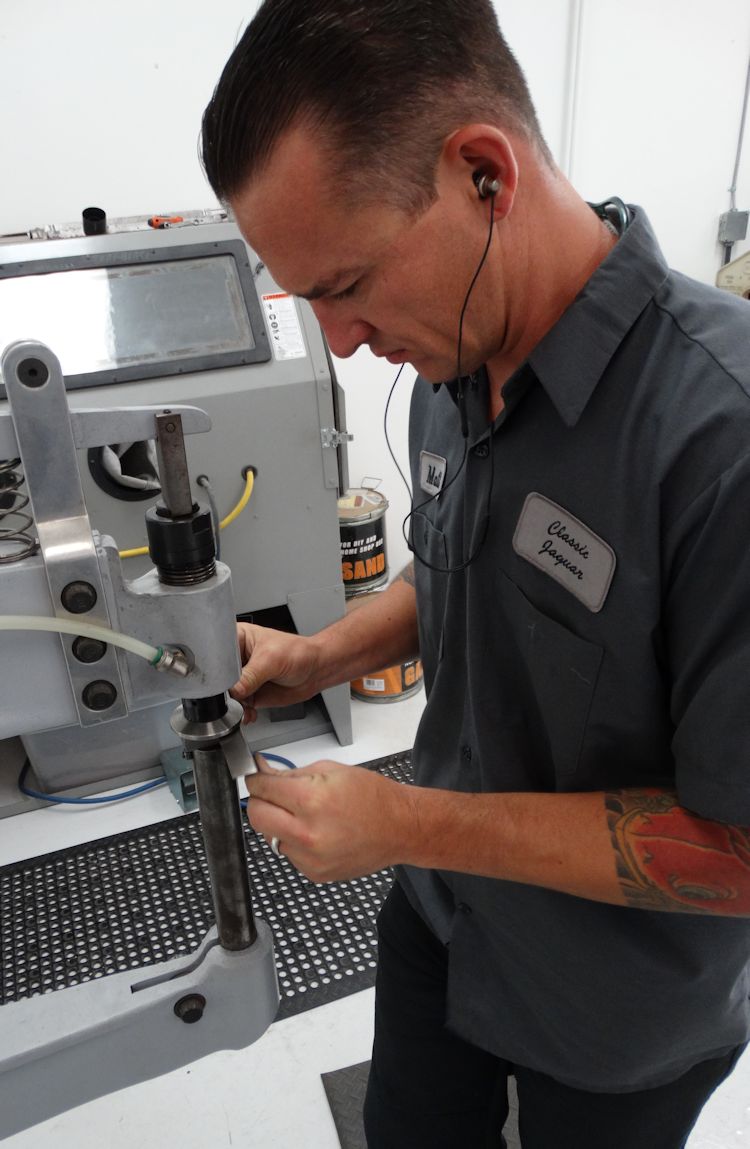
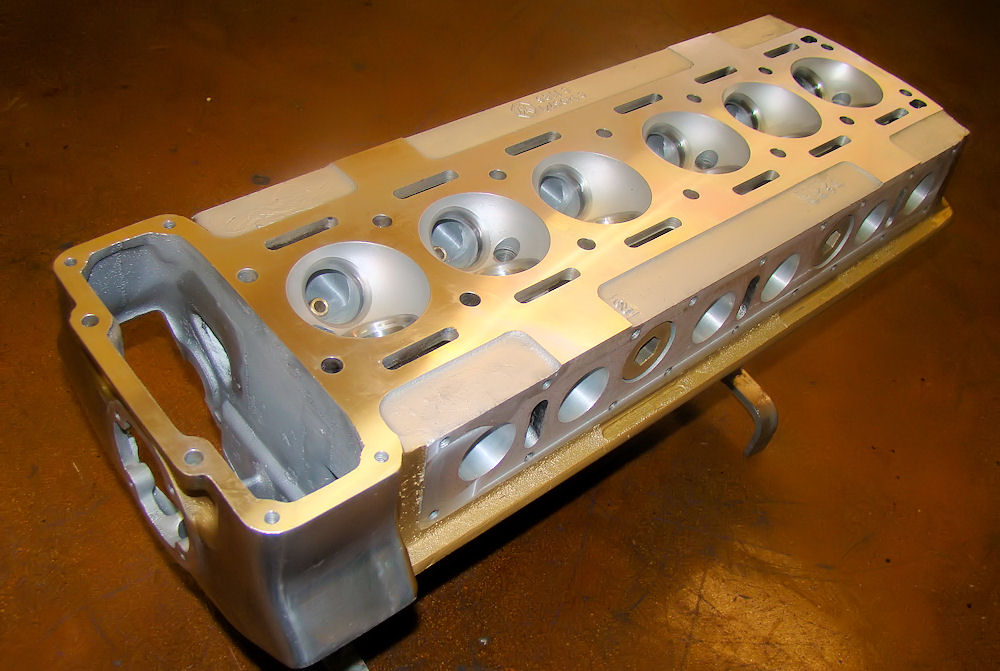
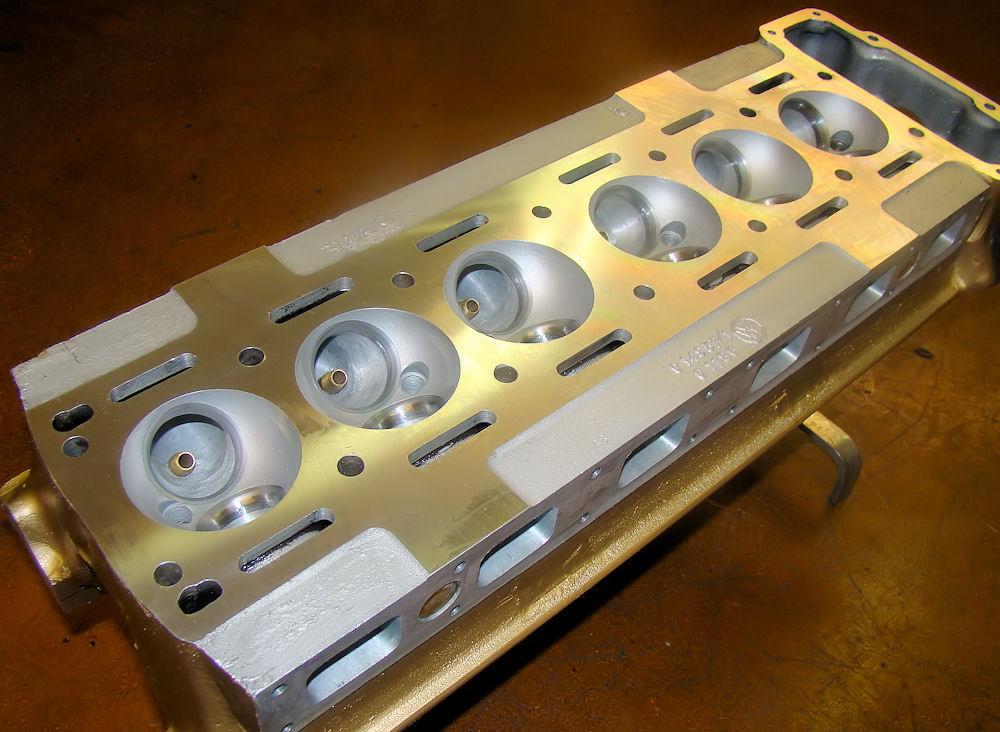
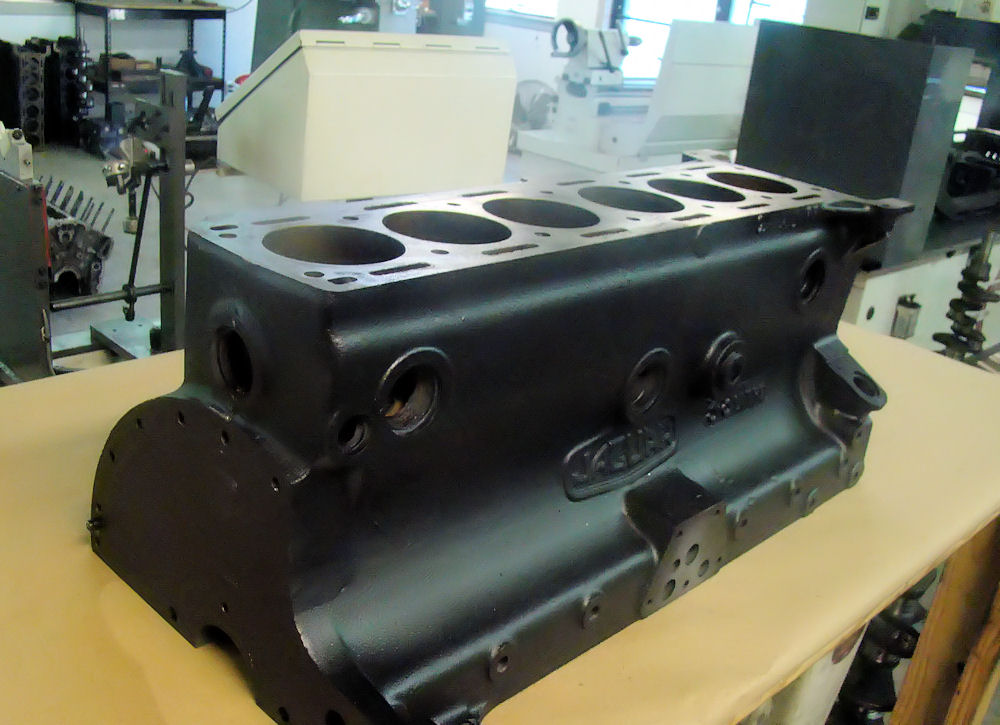
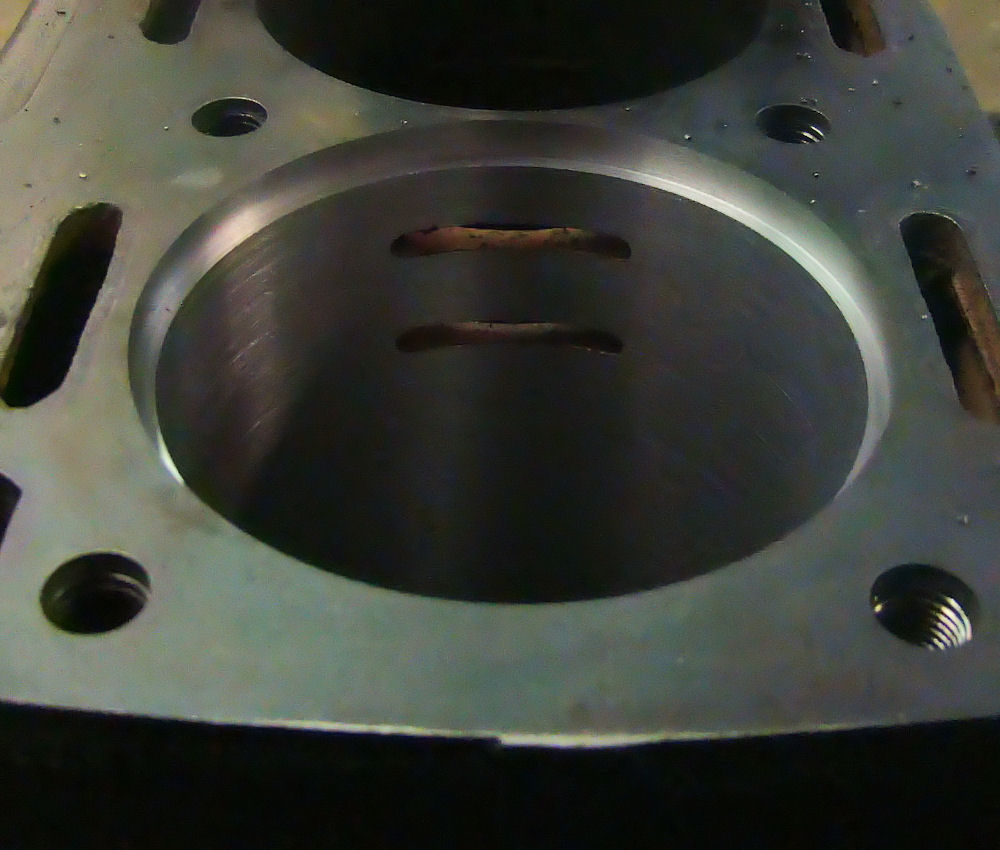
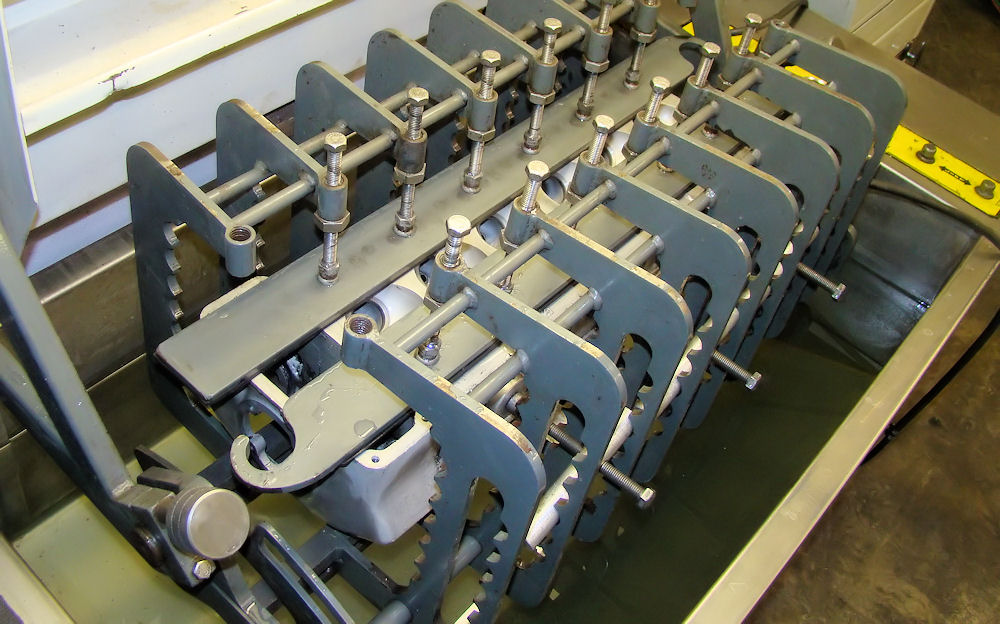
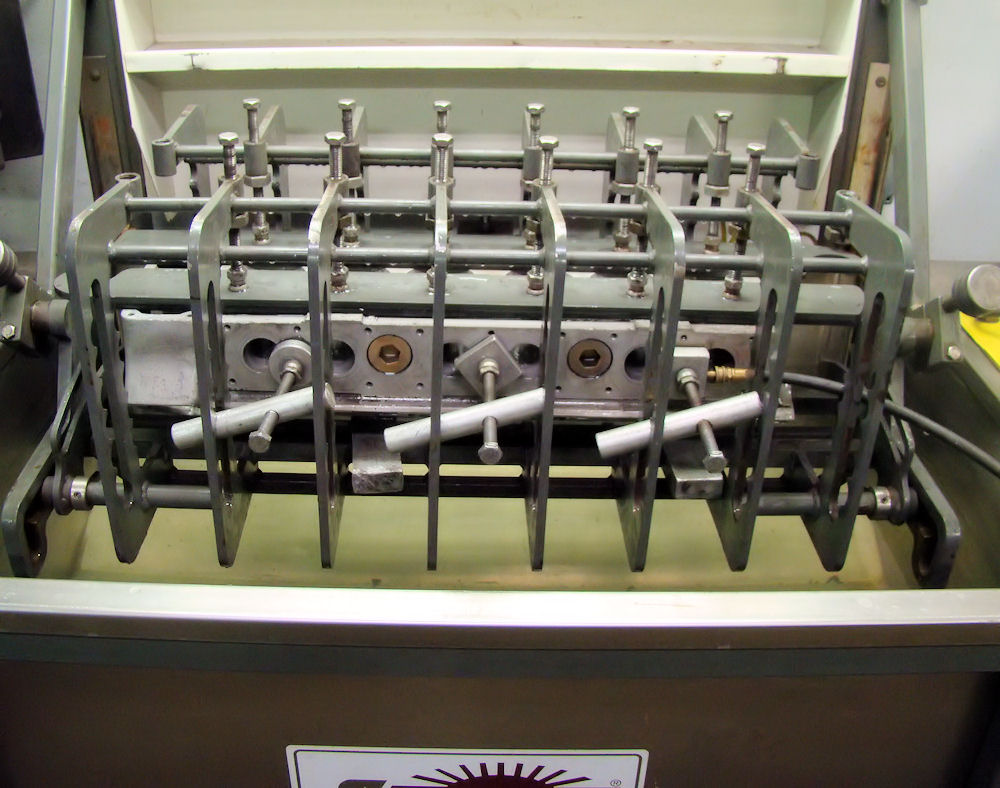
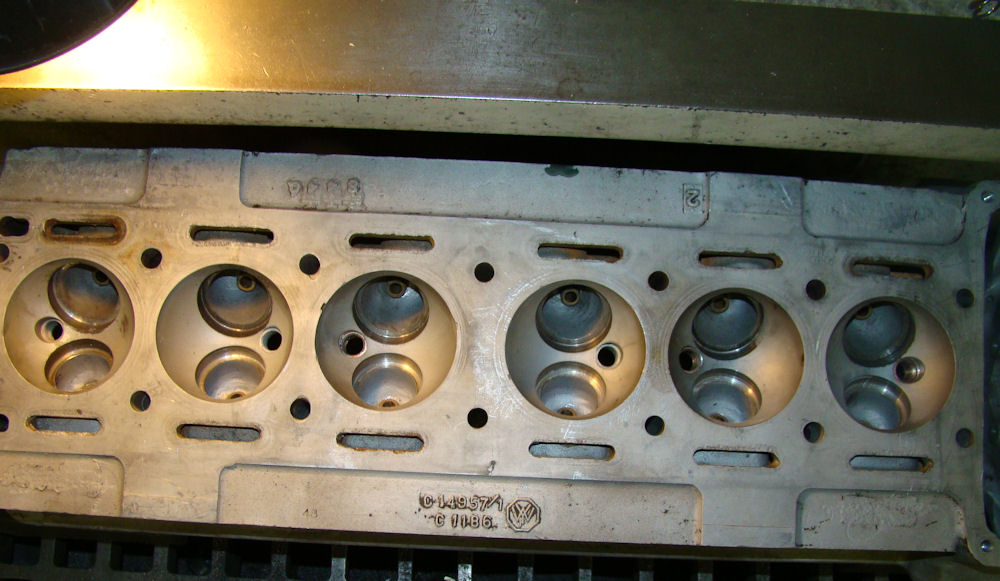
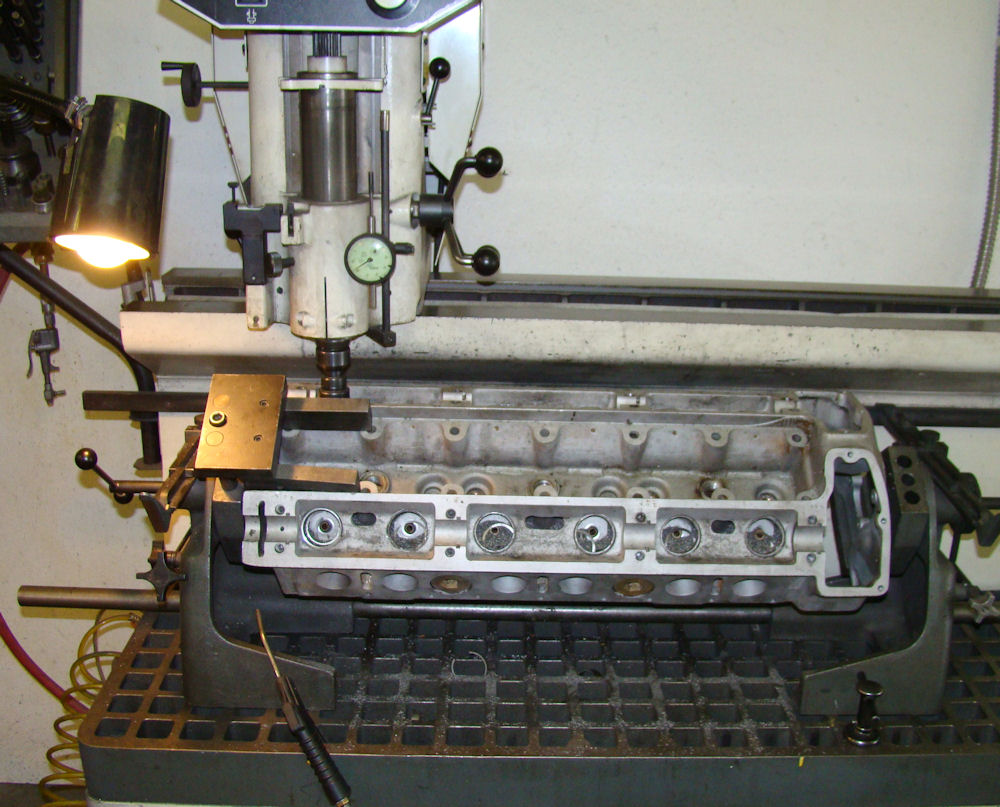
Cylinder head machine work has now been completed
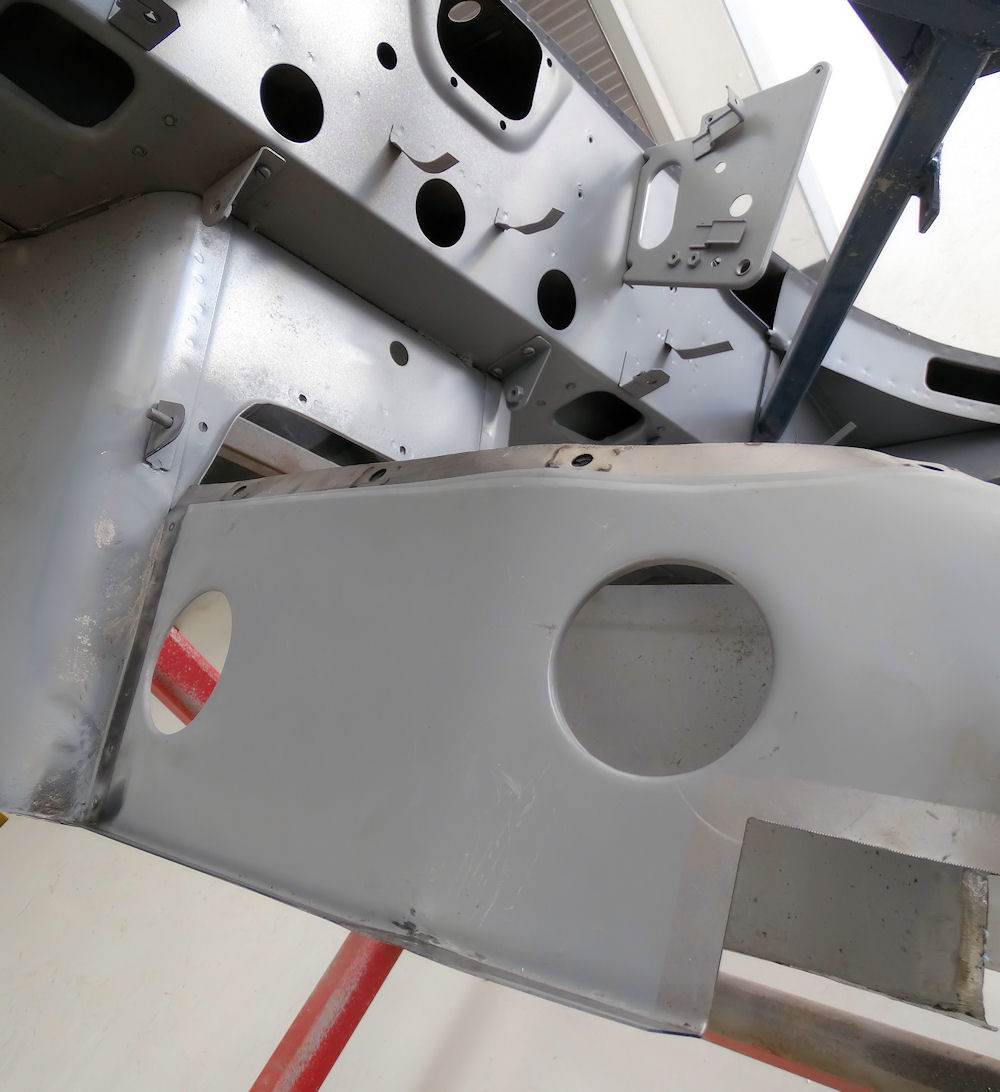
Trial fitting boot floor and main floors
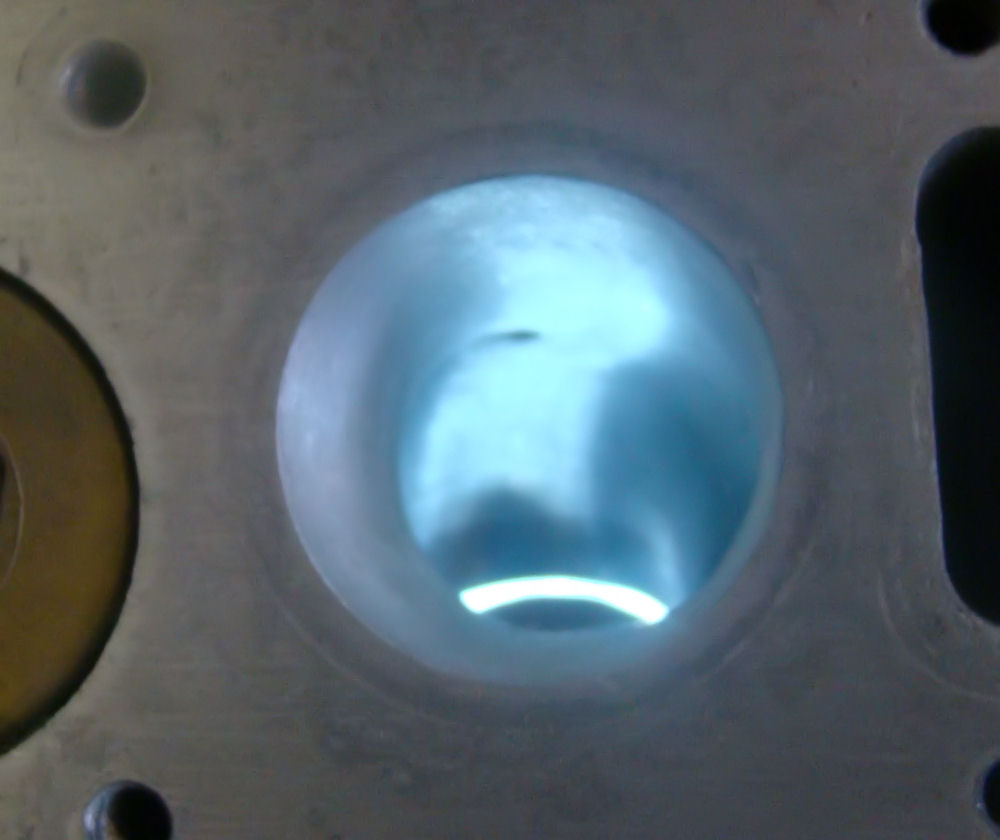
Multi-angle valve job visible in this photo
Fit of floors is checked and re-checked numerous times
before we commit to welding them in place
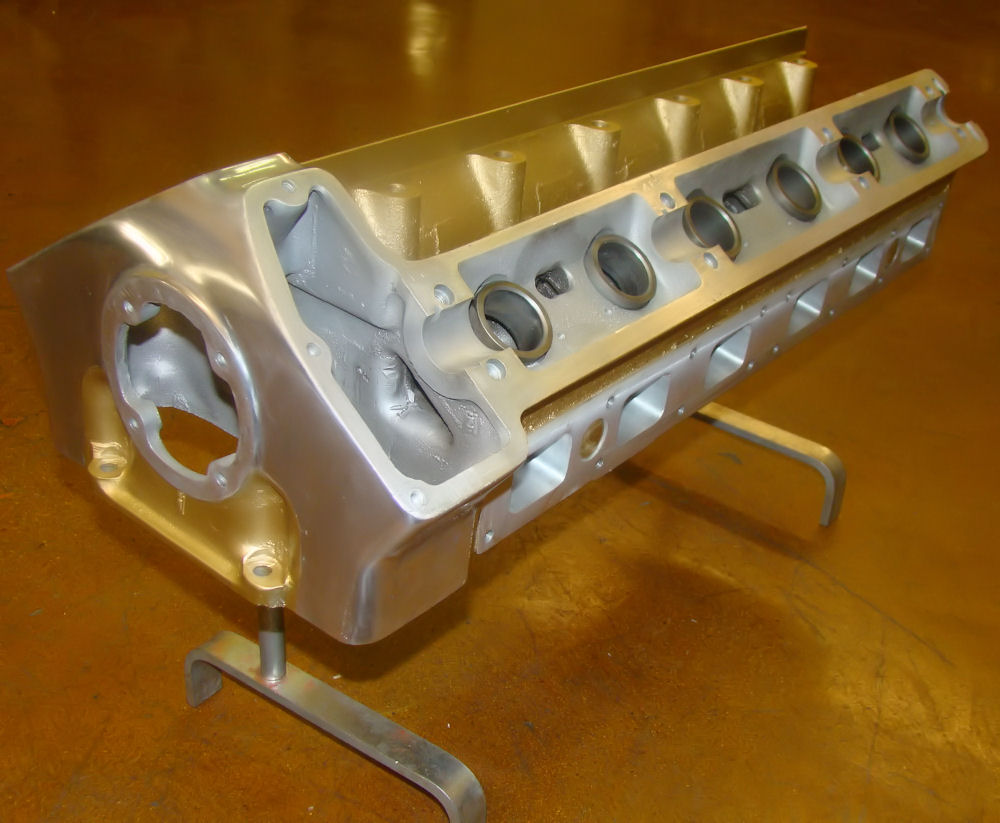
Block completely stripped and cleaned
Trial fitting new outer sills
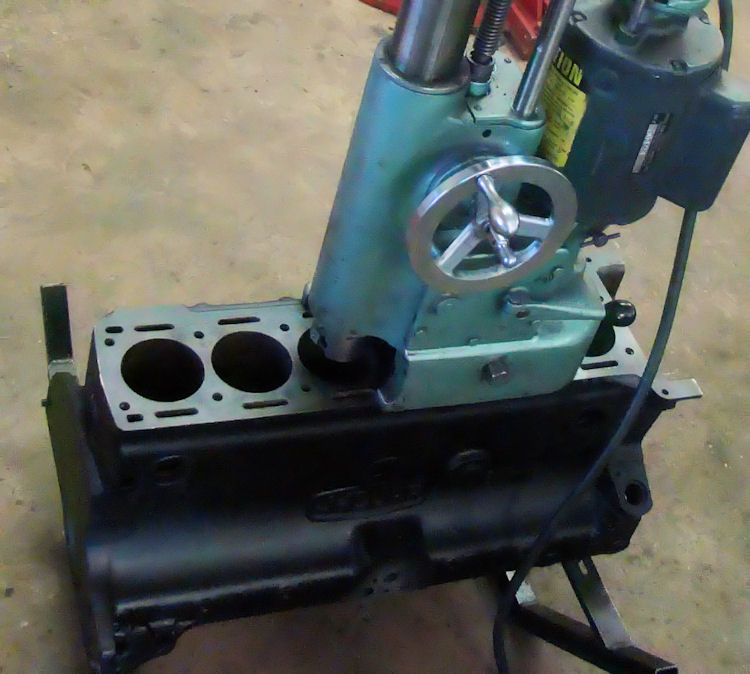
Machining the block to accept the new top hat liners
Machining out old cylinder liners
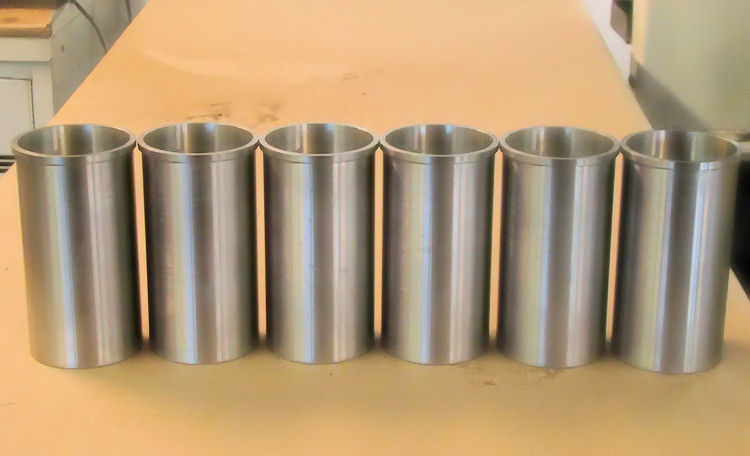
New custom top hat liners
Port work in progress (exhaust)
Port work in progress (intake)
Surfacing the cylinder head
Cylinder head water jackets reshaped after welding
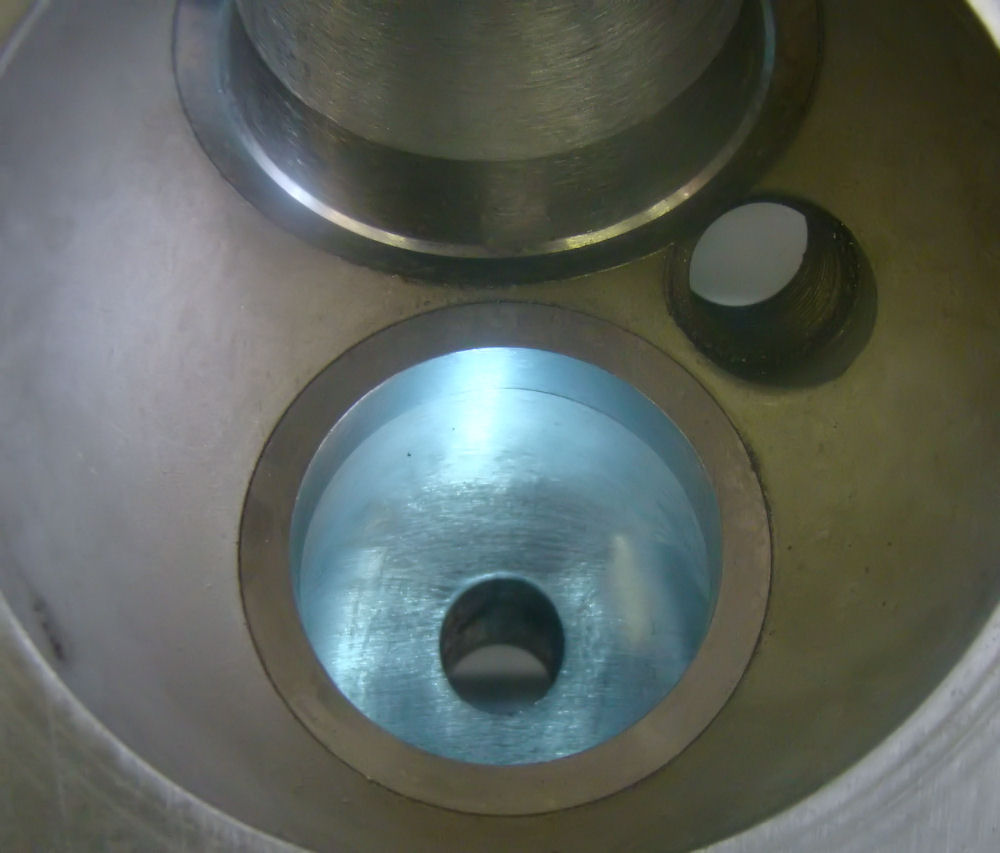
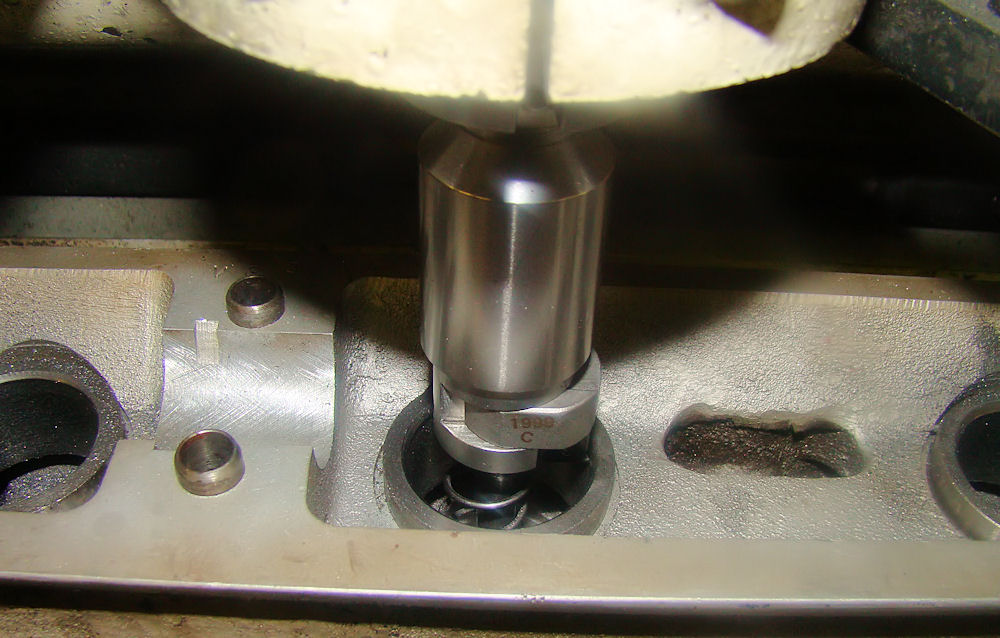
Installing and honing valve guides
A view from above
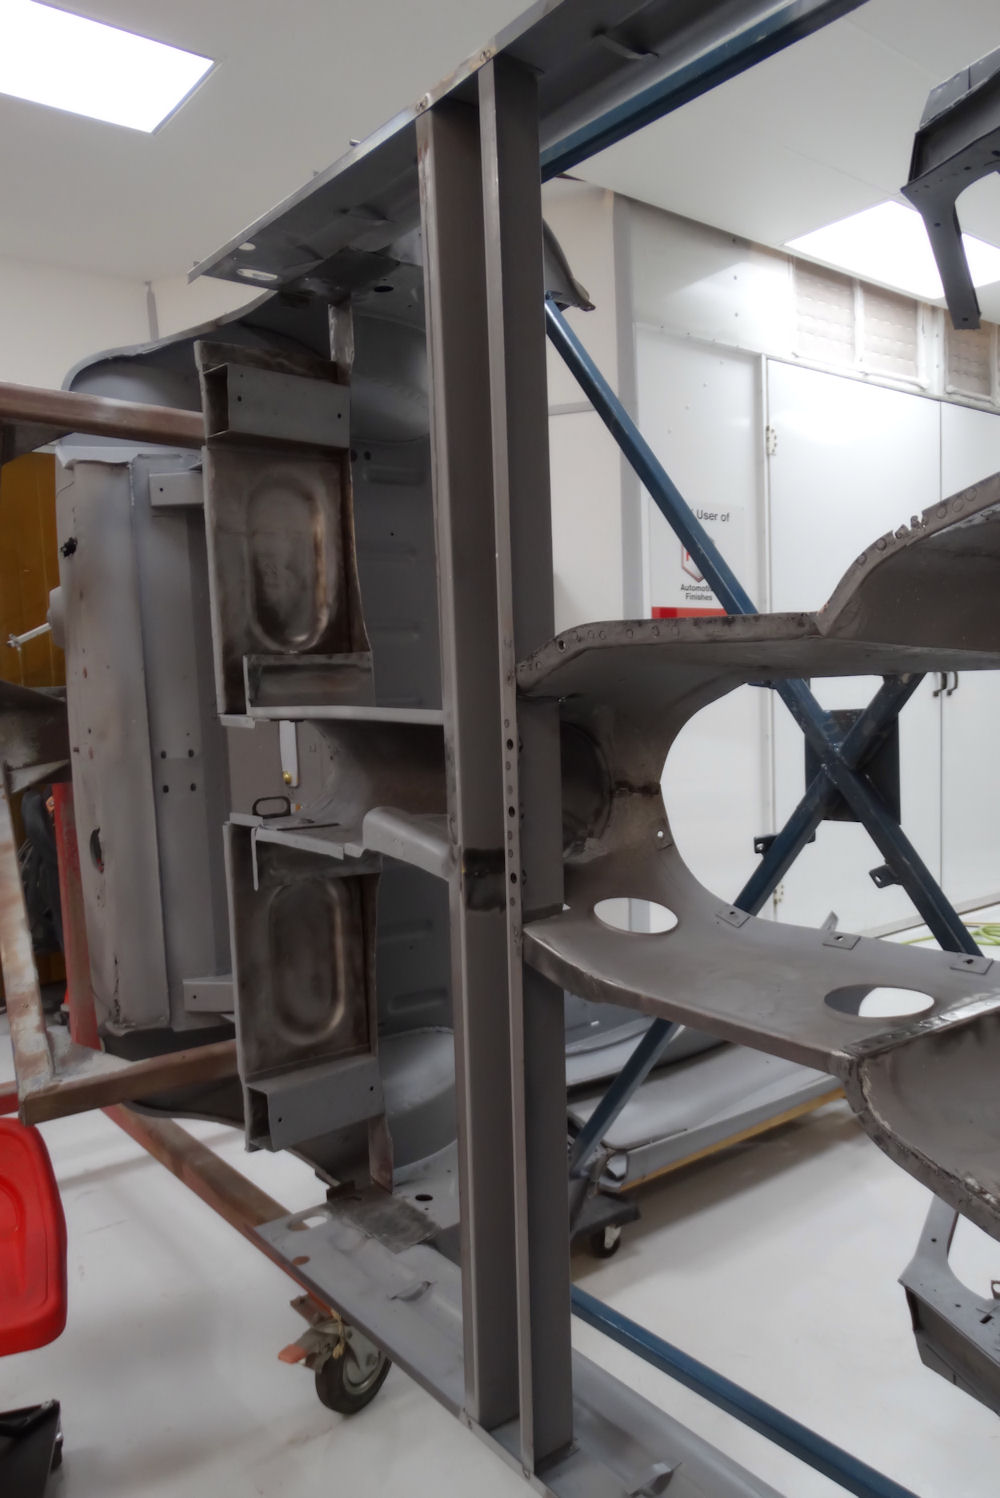
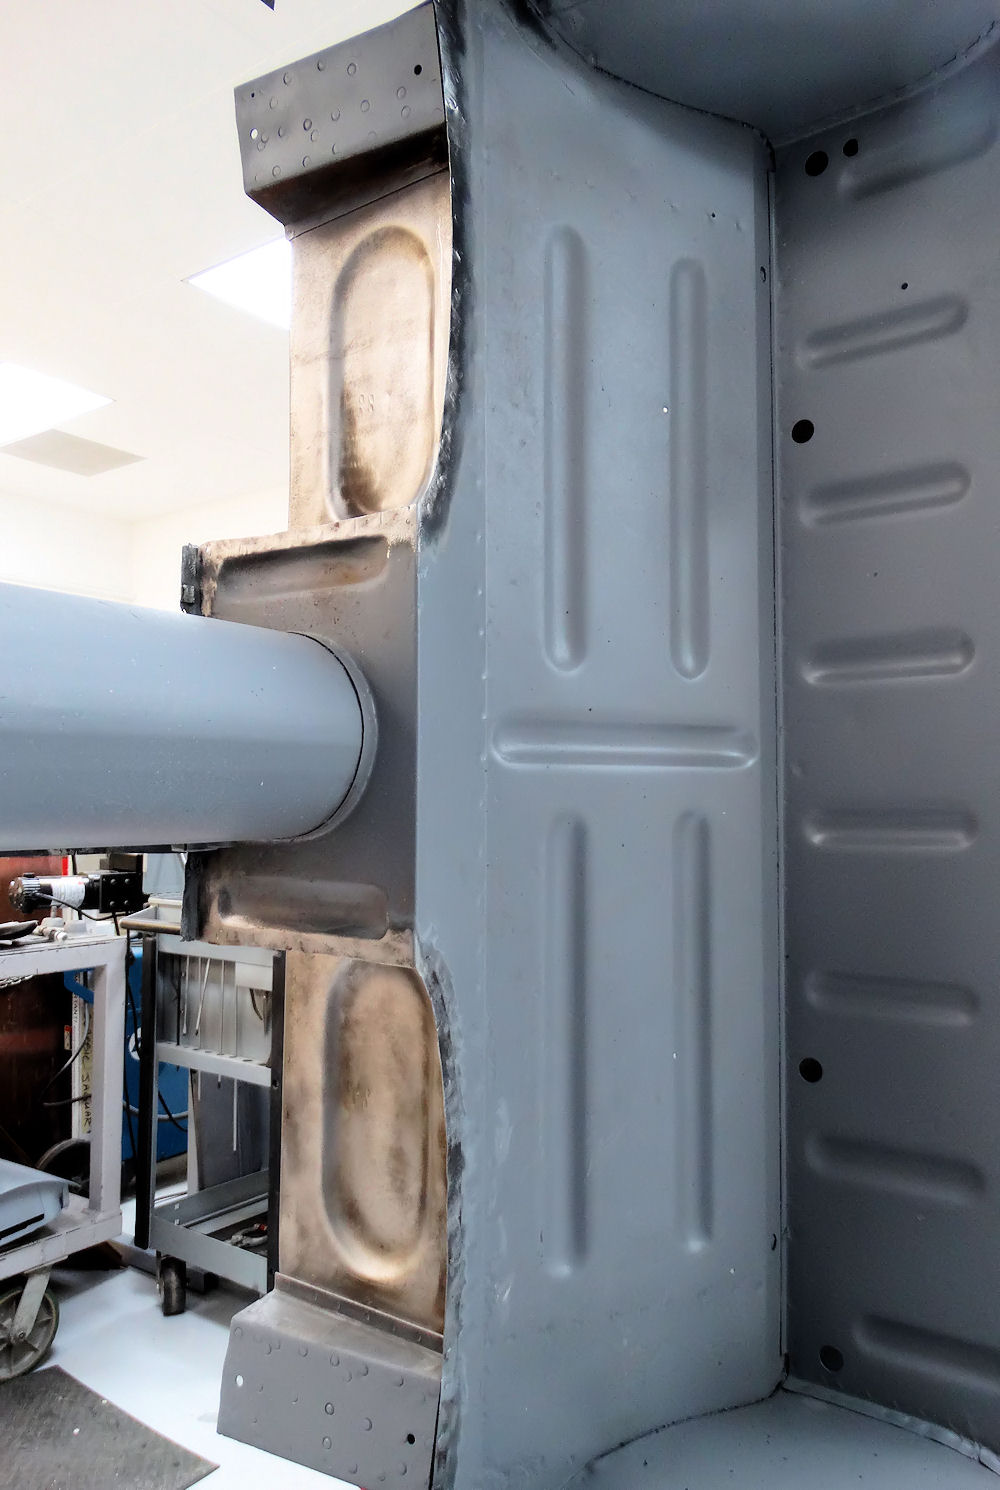
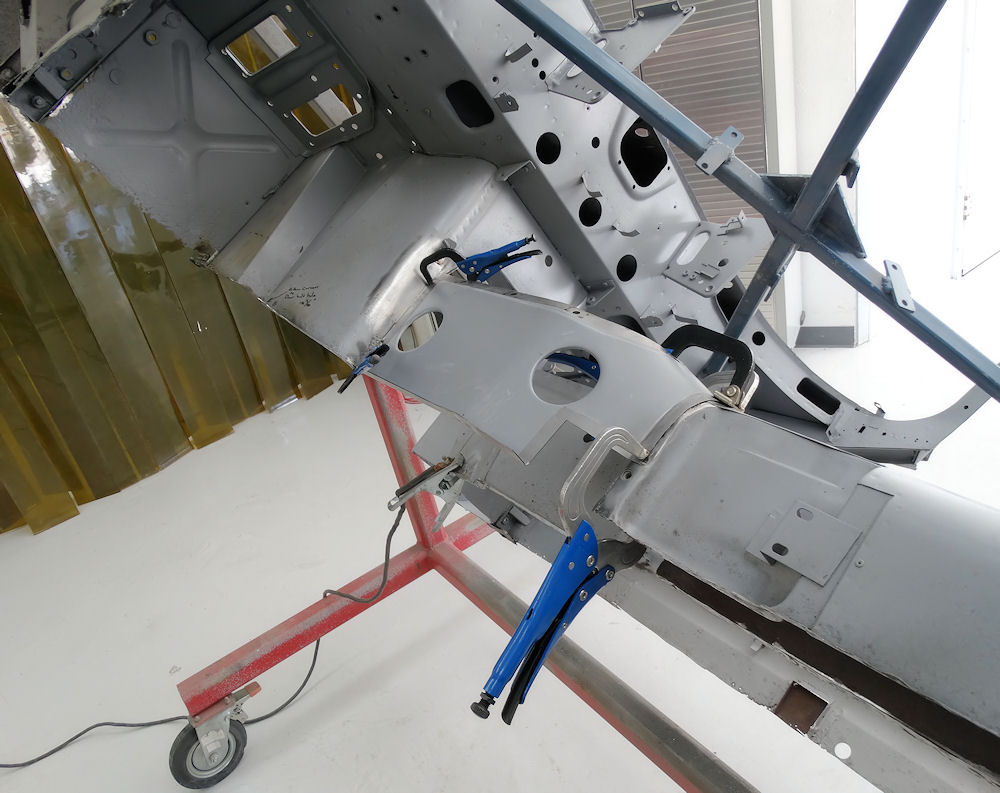
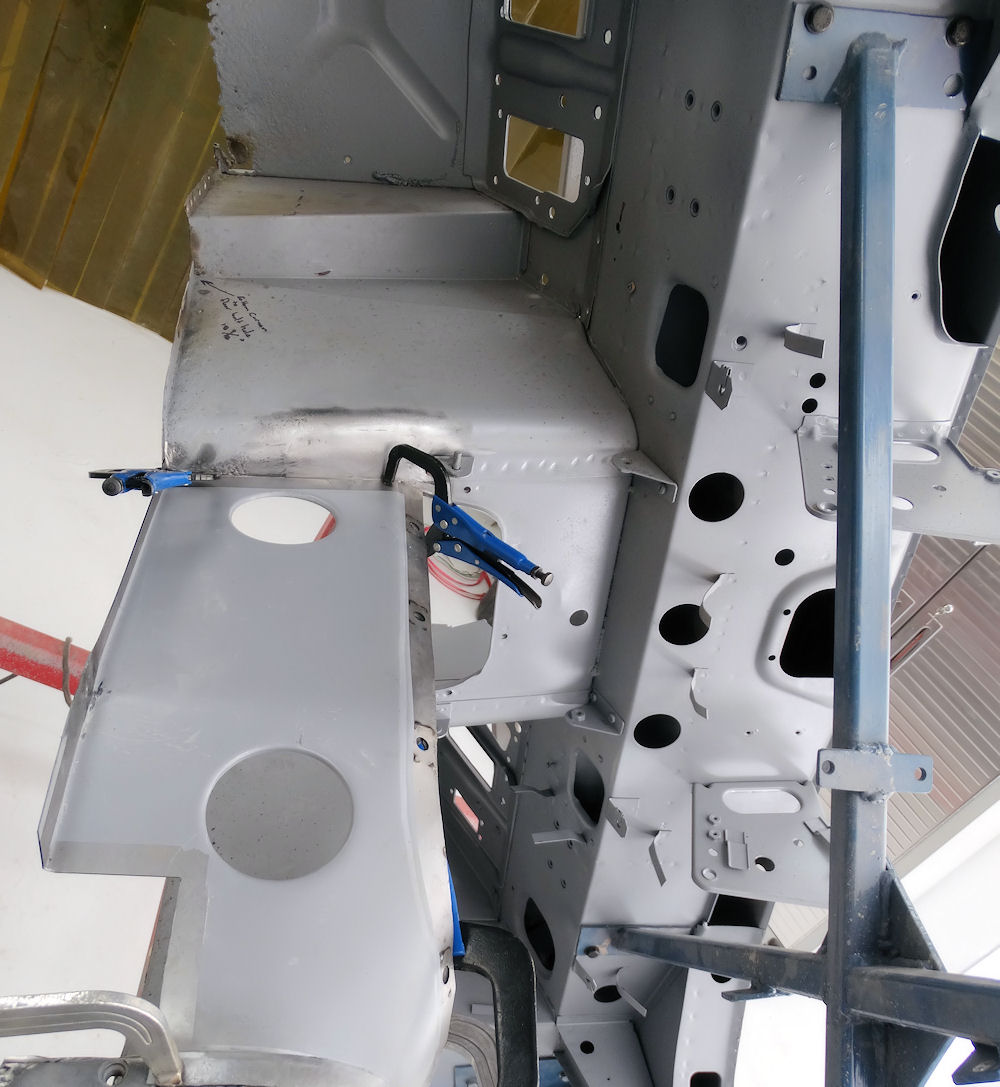
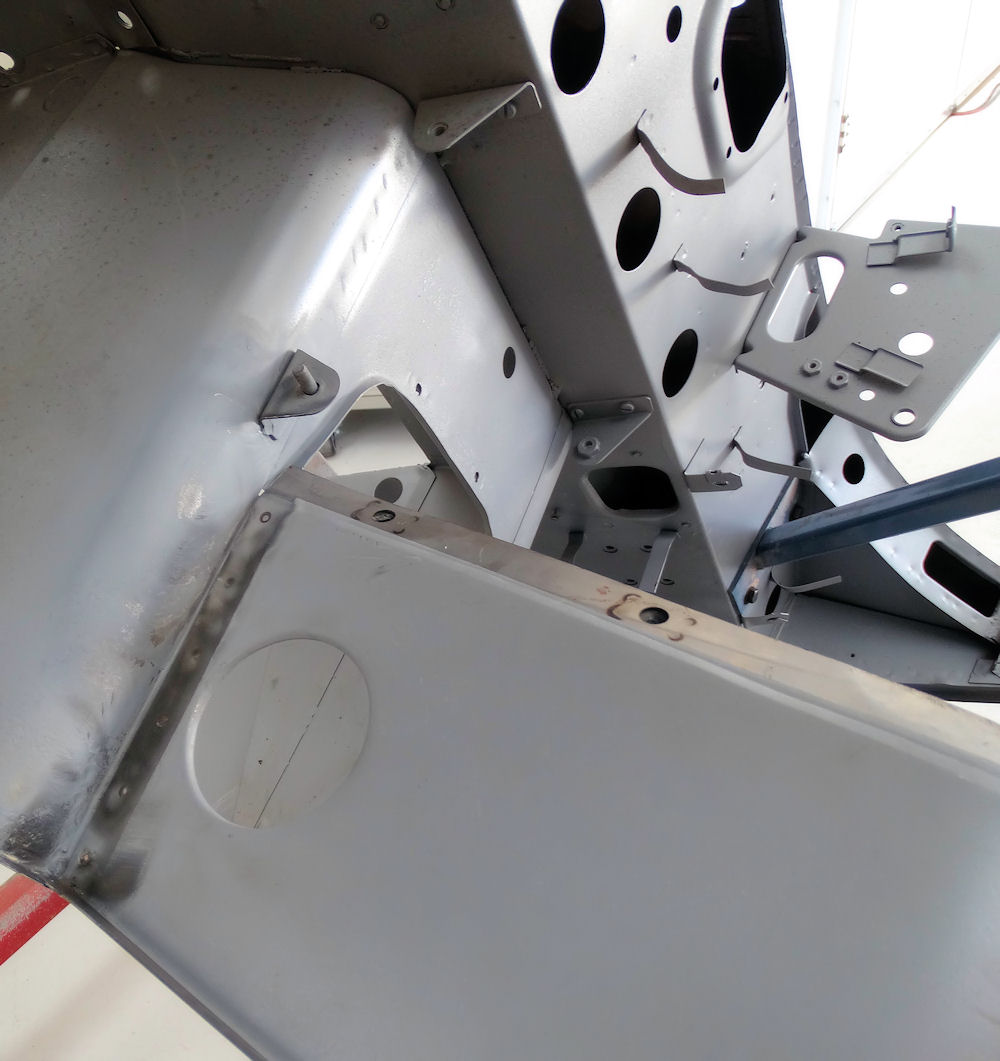
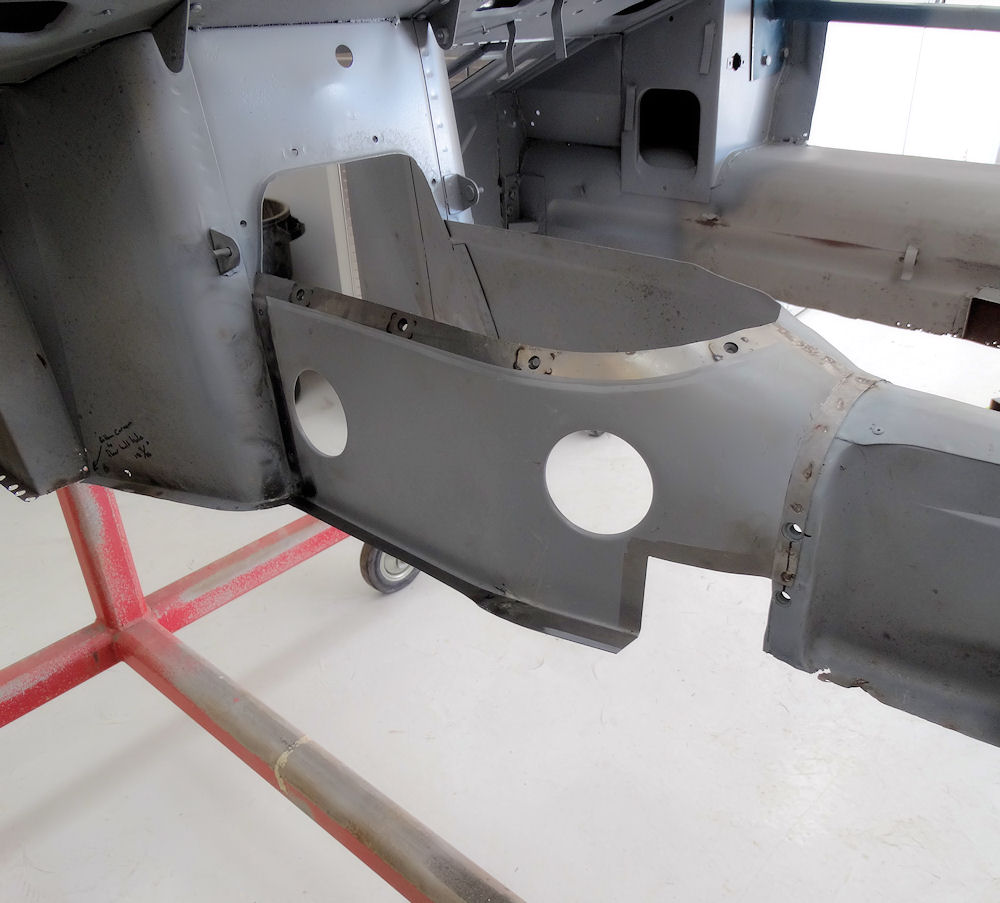
Trial fitting floor cross member
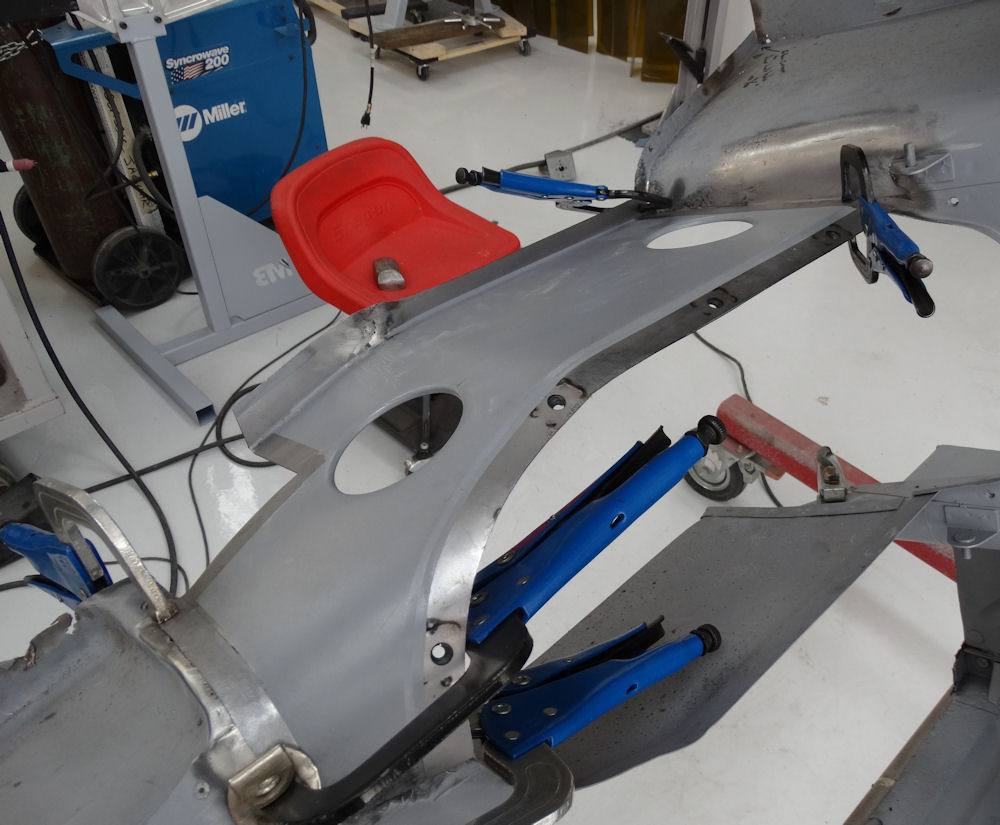
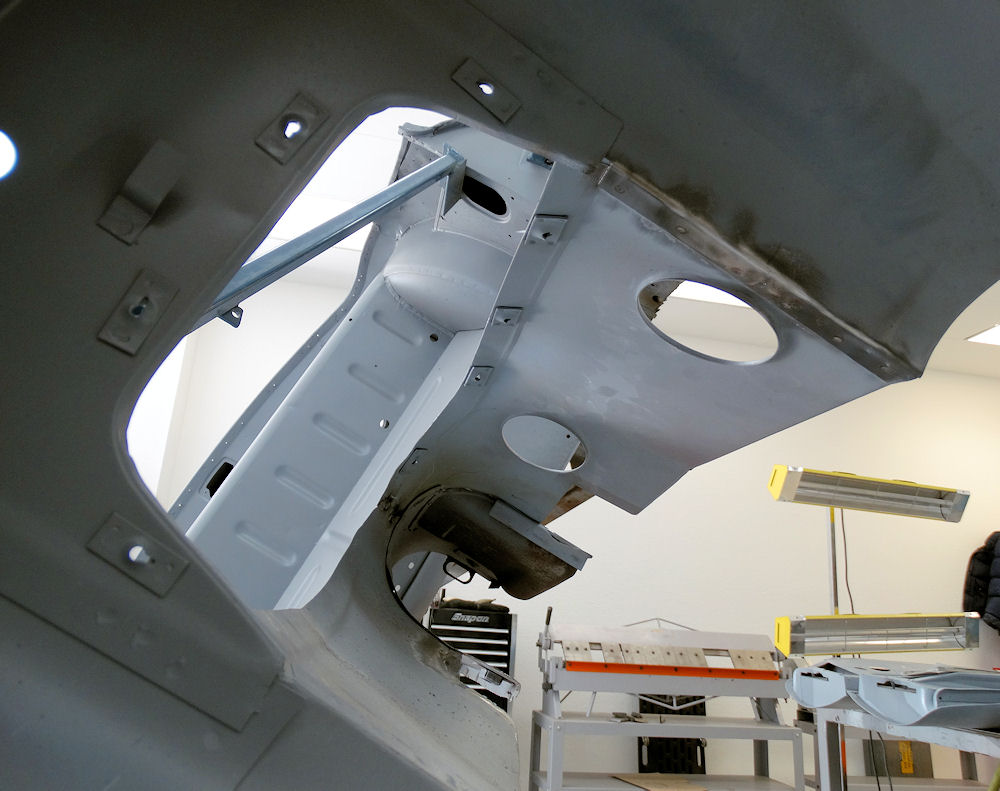
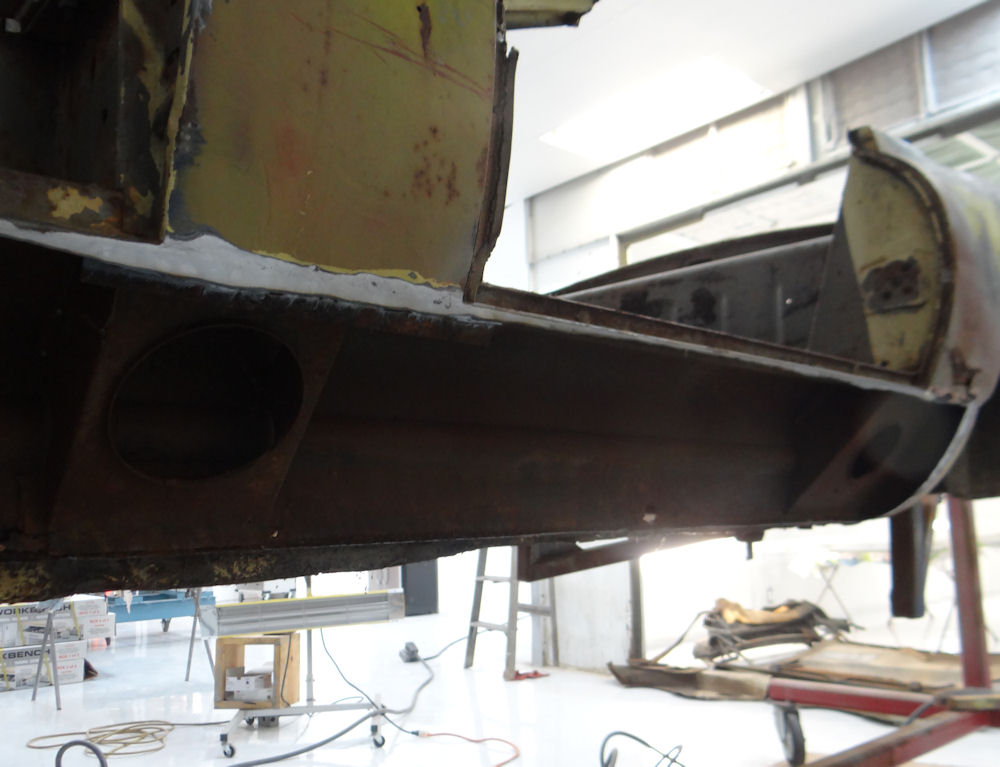
Repairing the drive shaft tunnel
Trial fiting new floors
Rear blukheads will be replaced
Initial trial fit of new left
quarter panel
Old boot floor assembly cut awy
Acid washing inner surfaces of lower rear bulkhead
Acid washing inner surfaces of driver's B pillar
More trial fitting of new left rear quarter panel
Time to spot weld new bulkhead panels in place
This week Matt has been busy installing both inner sills.
Rusty B pillars need to be addressed before we can
install the new LH inner sill
Cleaning out the inside of the LH A pillar
The E Type is keeping some good company
in the Coachworks
Trial fitting LH inner sill
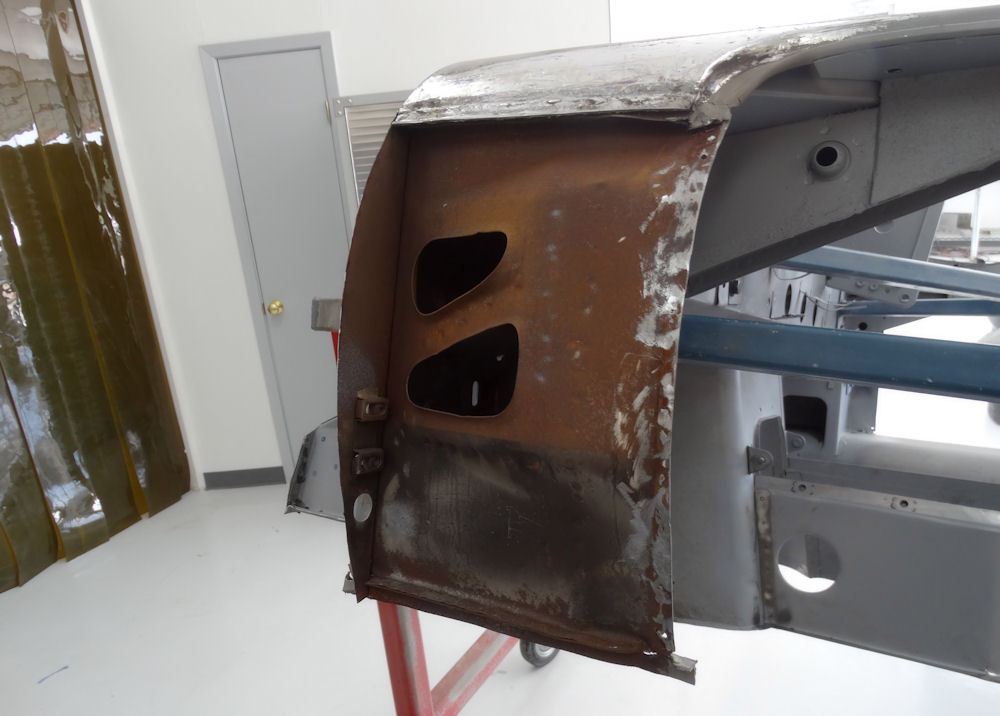
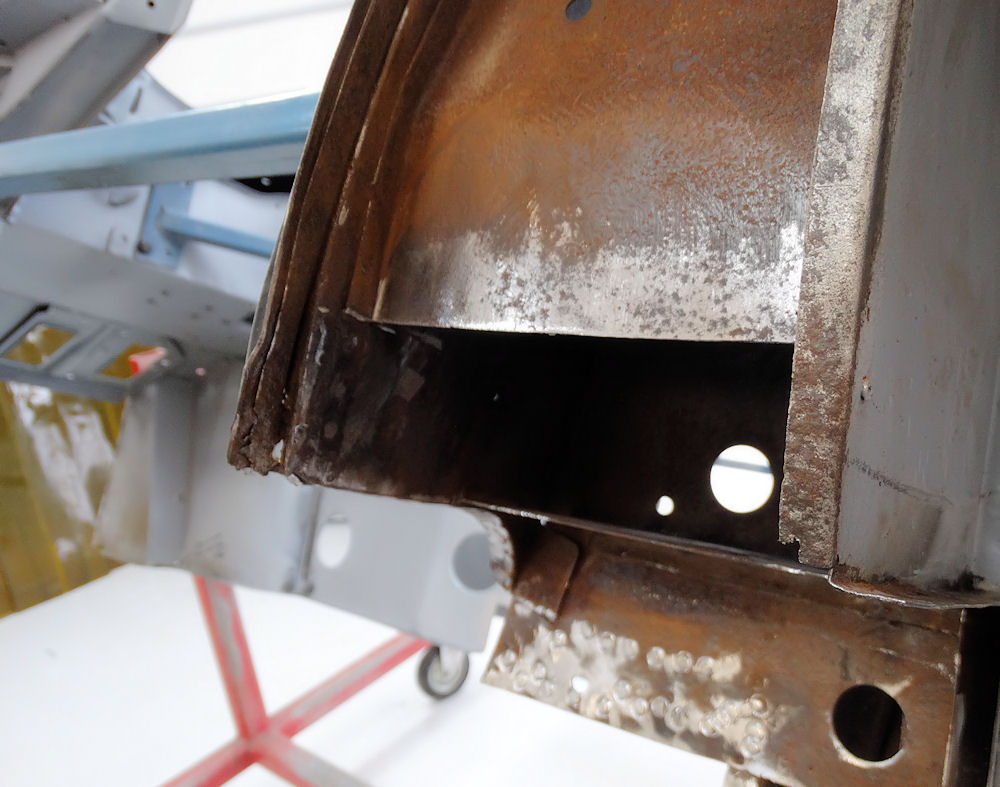
Melting away factory lead from RH cowl panel
Matt starting to spot weld the LH sill in place
This is why we do it - rust lurking beneath
factory lead
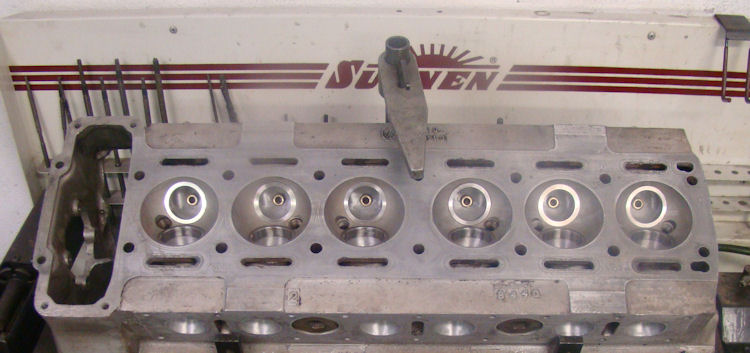
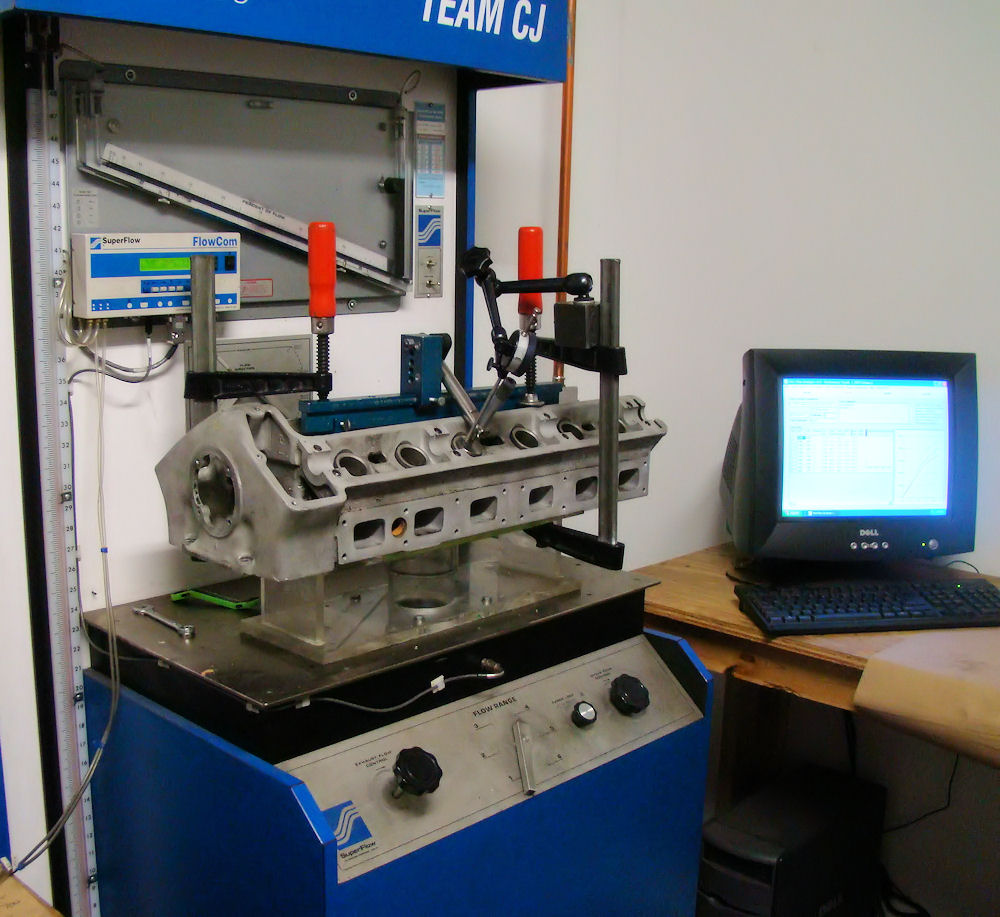
Base line flow test
The first of several pressure testing sessions
Your cylinder head going under the knife in the CJ machine shop.
Head on straightening fixture in oven
Machining out tappet guides, which were well
out of spec
Machining new tappet guides
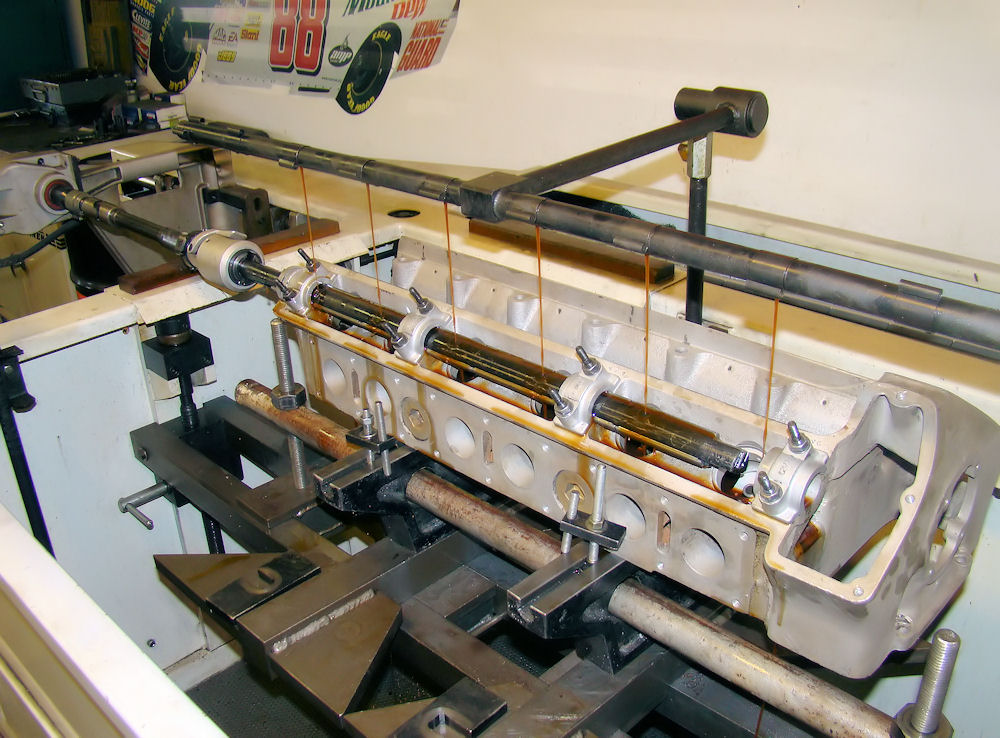
Cam saddles being align honed
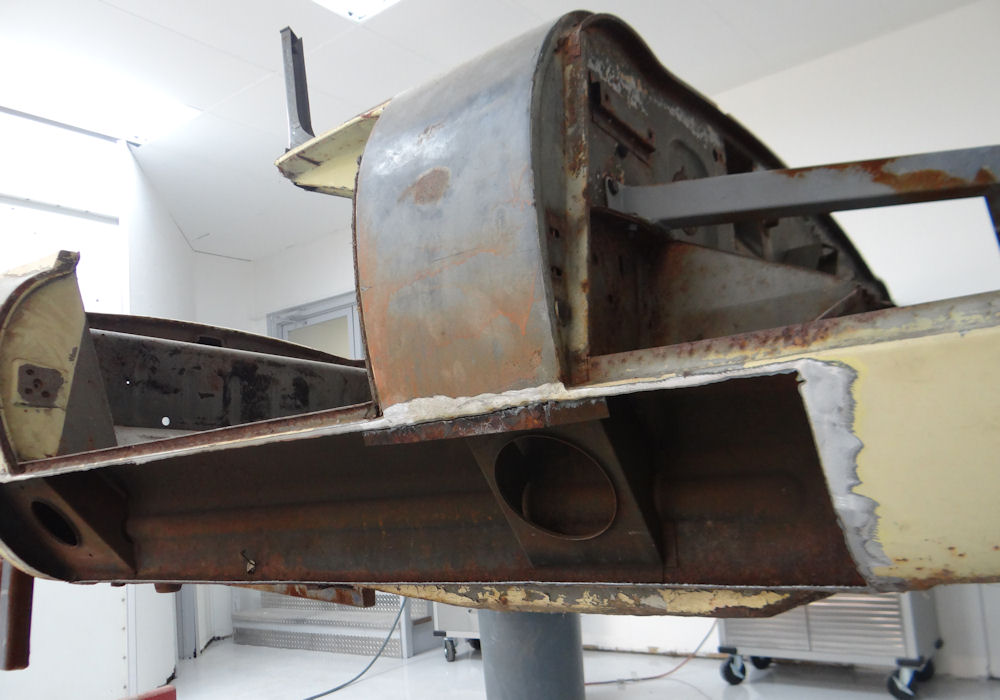
Cutting out the old floors, repairing the transmission tunnel.
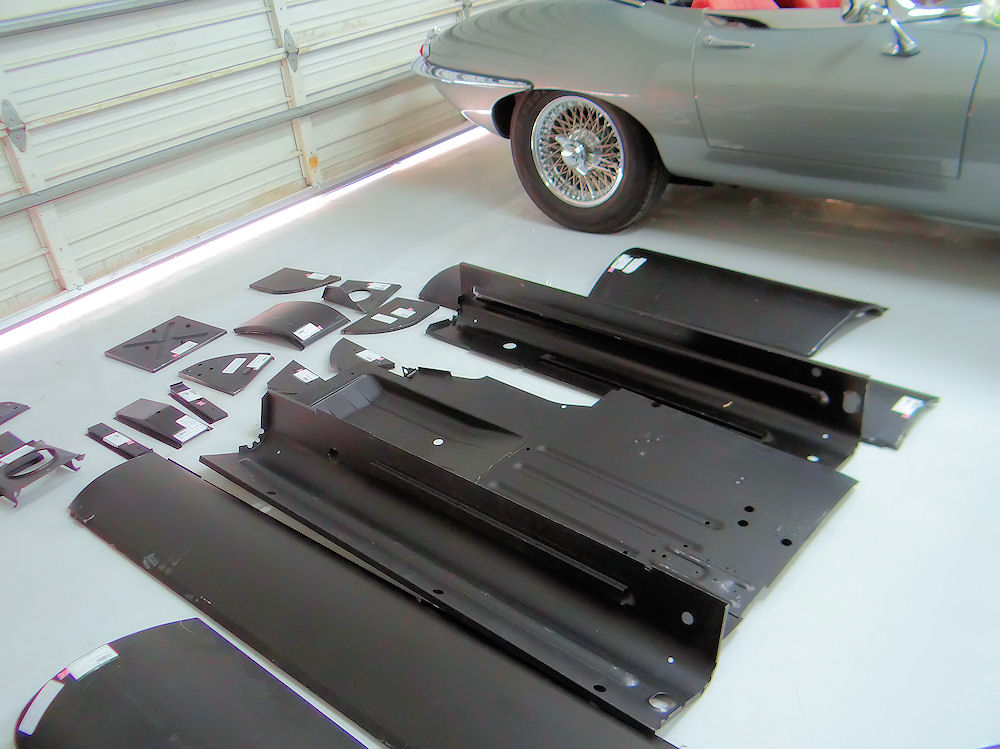
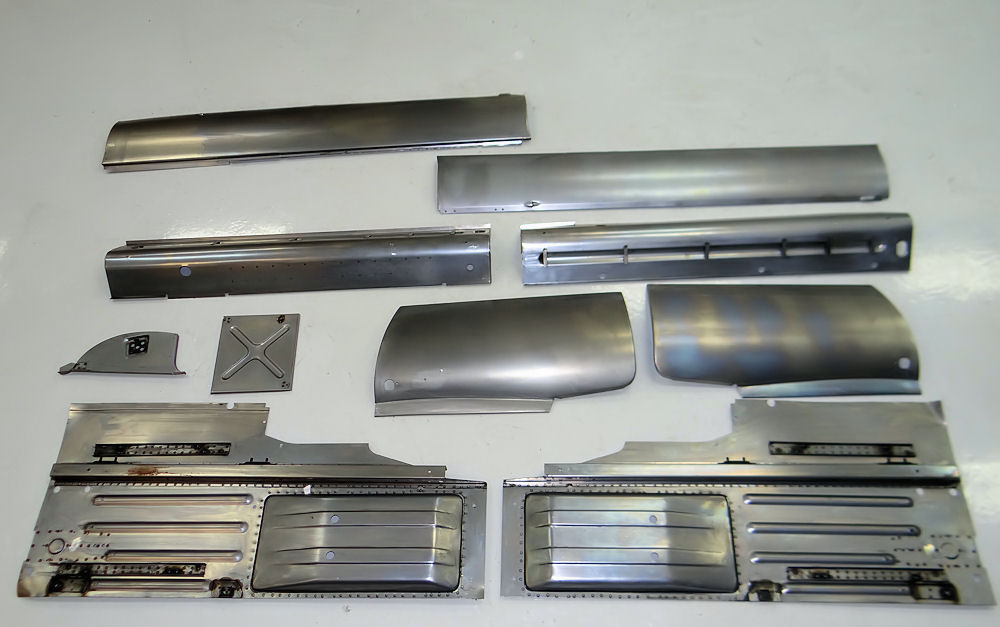
Stripping 'shipping primer' from new body panels.
New left rear quarter will be required
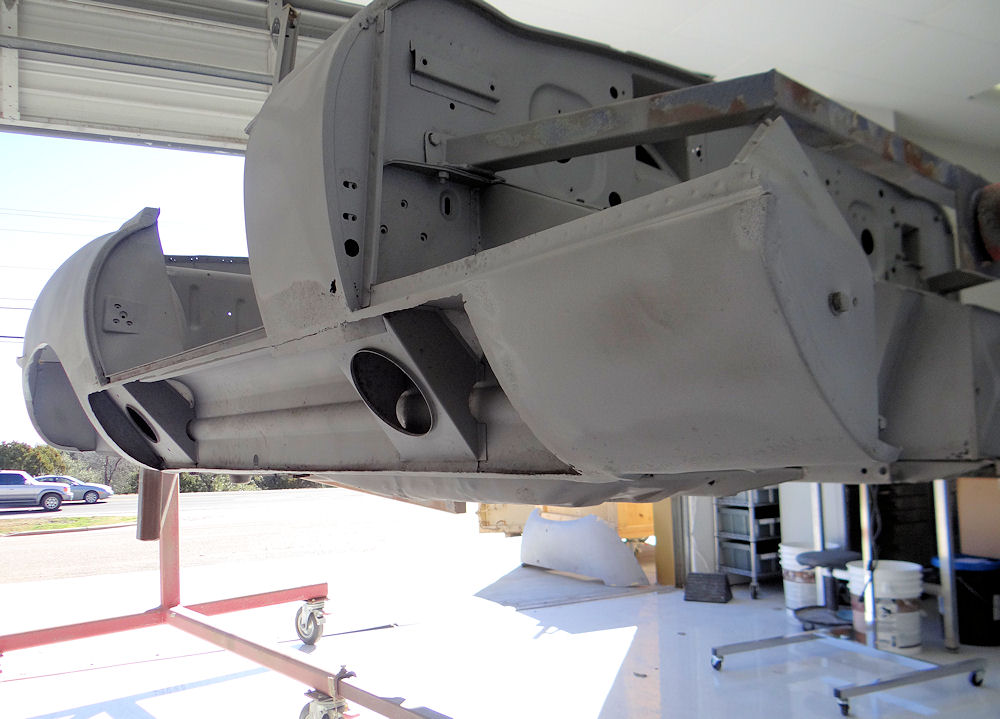
Back from the blasters, everything very much as we expected to see. No nasty surprises!
Bare metal will be sealed with Glasurit epoxy primer
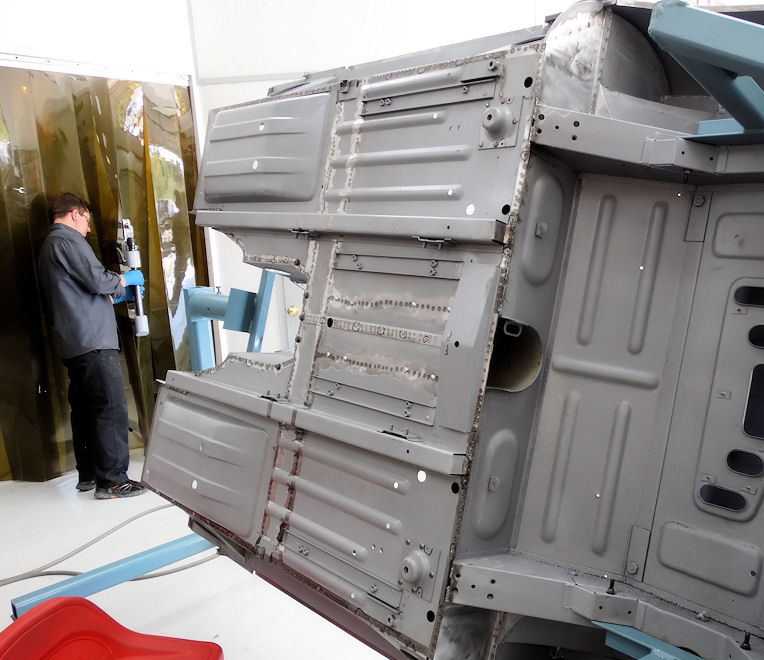
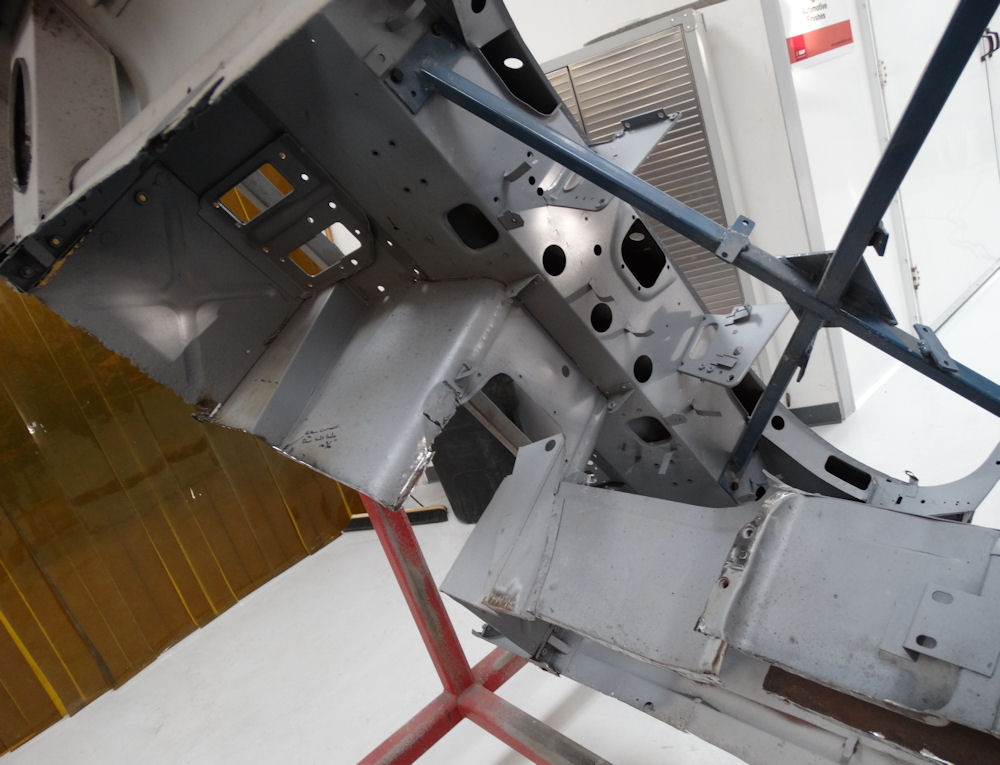
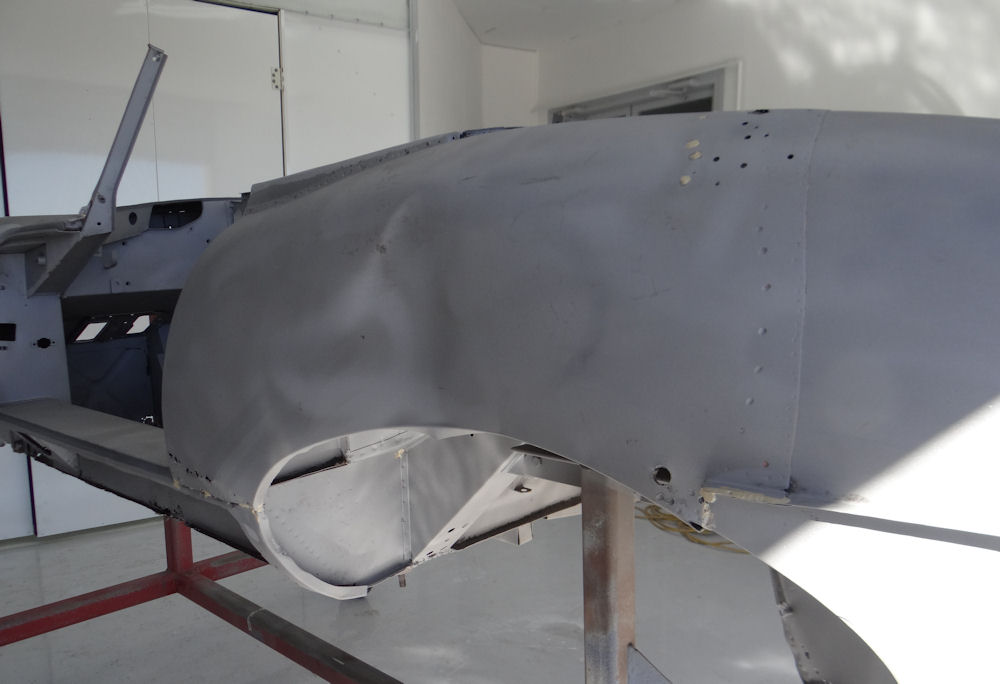
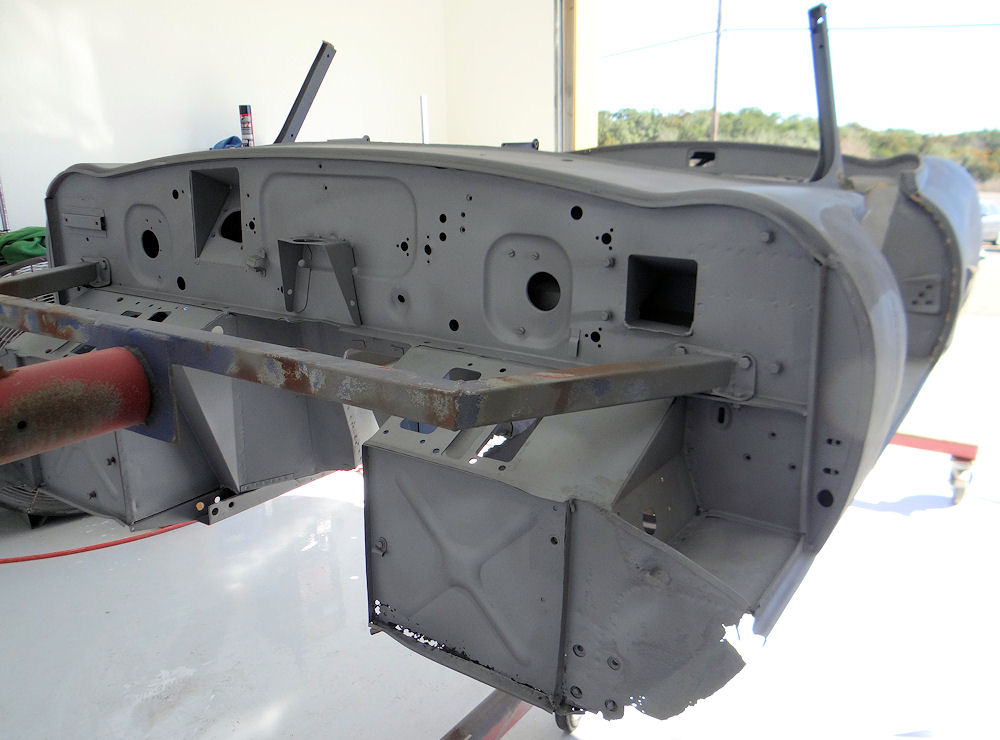
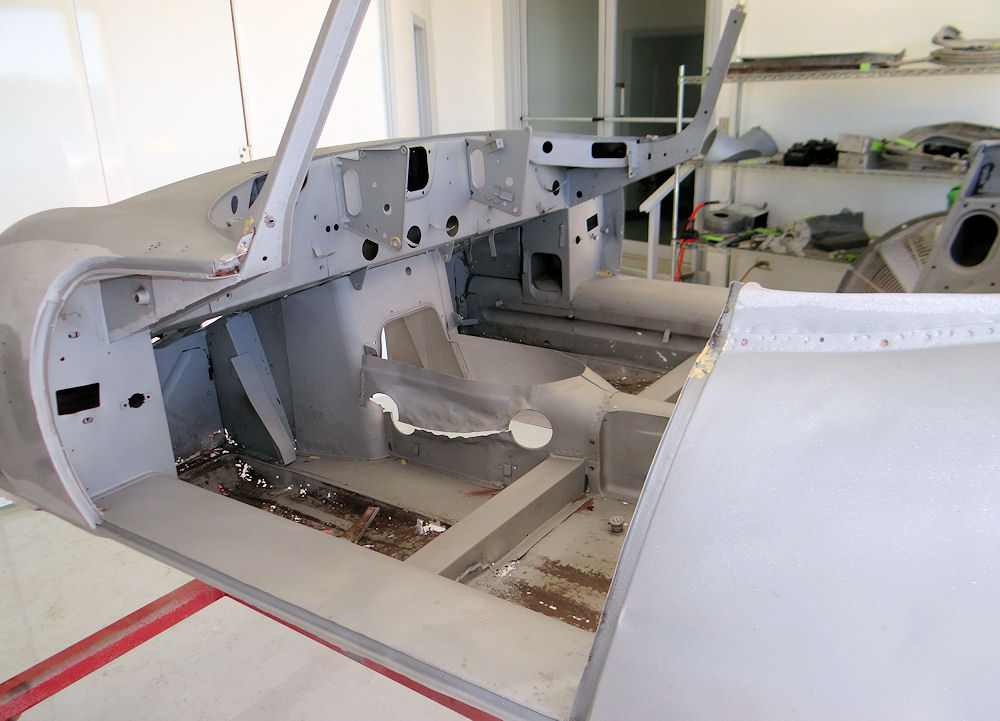
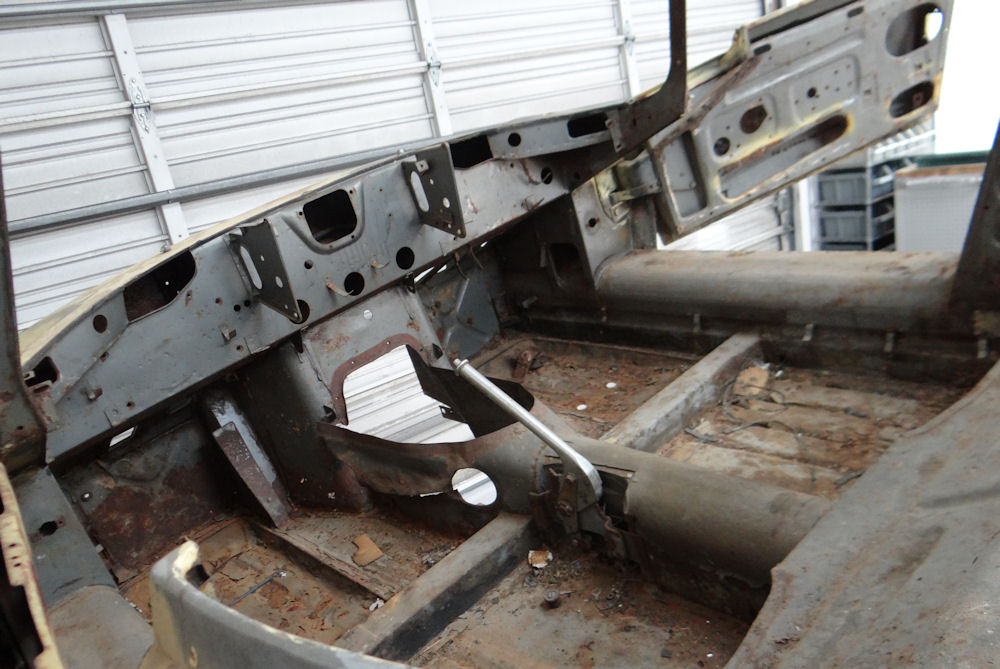
Upper firewall is sound
We plan on using a new bonnet for this
restoration
Outer sills and obviously rusted panels will be cut away
prior to blasting
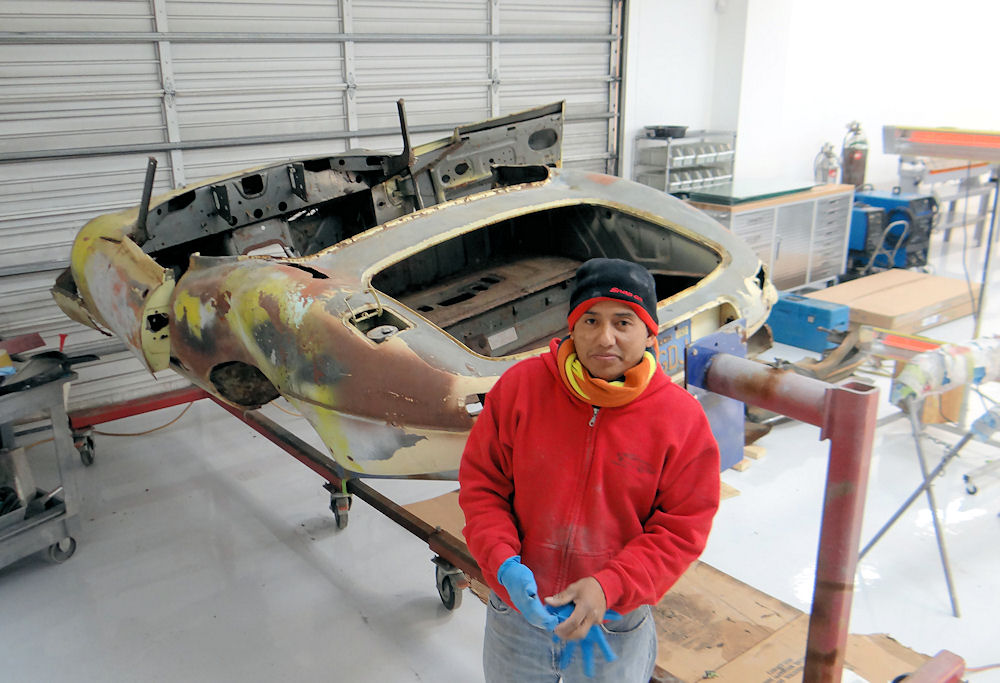
Oscar about to prepare the monocoque for blasting back to
bare metal
Bonnet disassembled for blasting
Original color was Opalescent Silver Grey - still evident
behind the dash
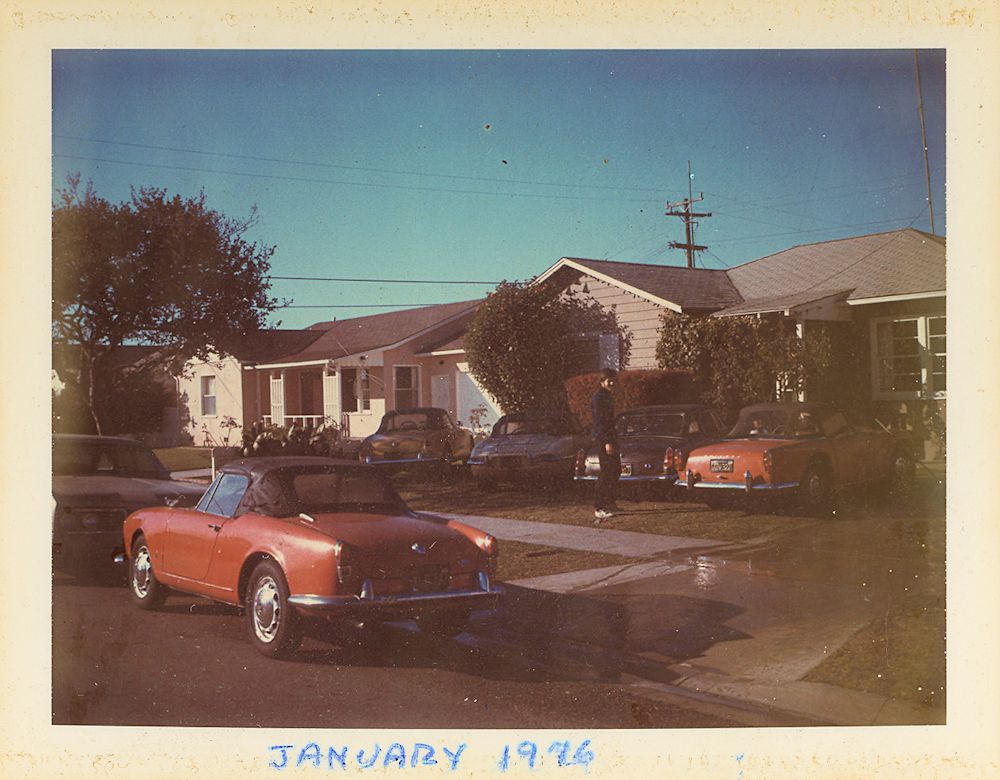
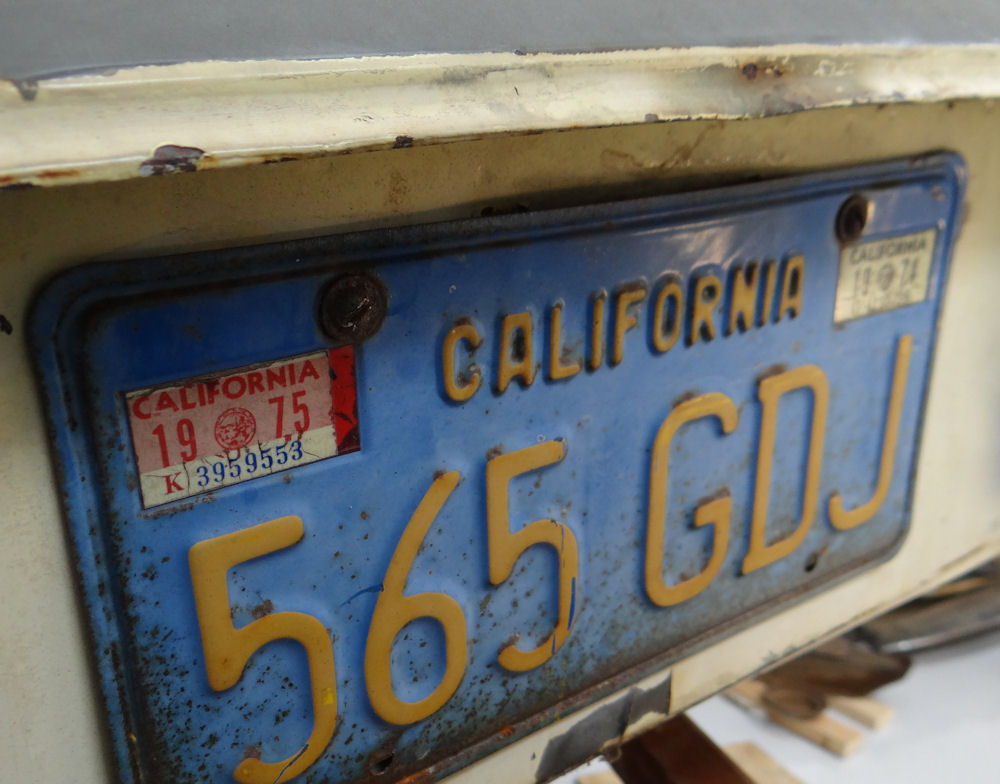
This California roadster has been off the road
since 1975
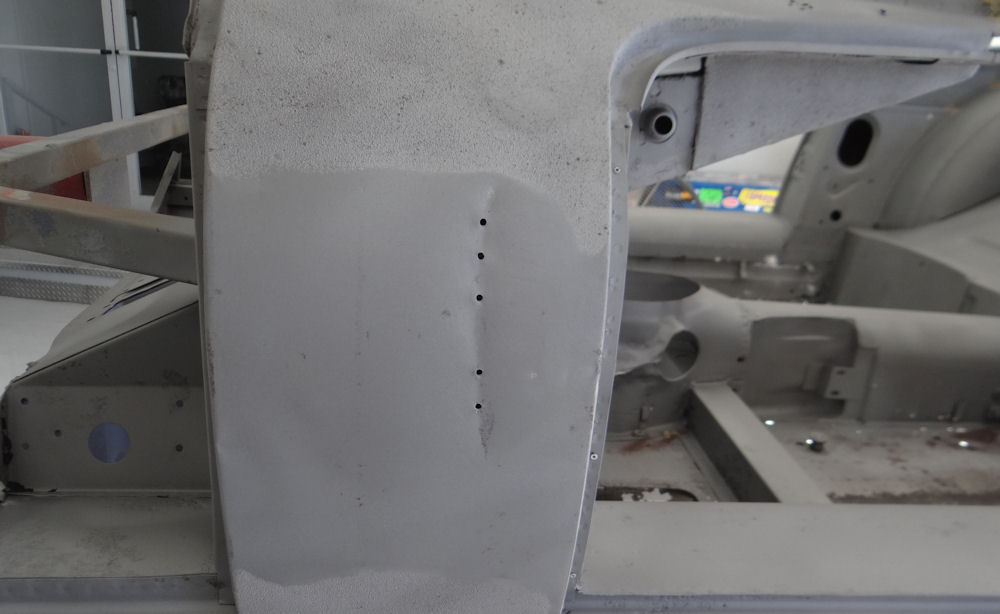
Inner sills are actually quite sound, although they
will be replaced as a matter of course