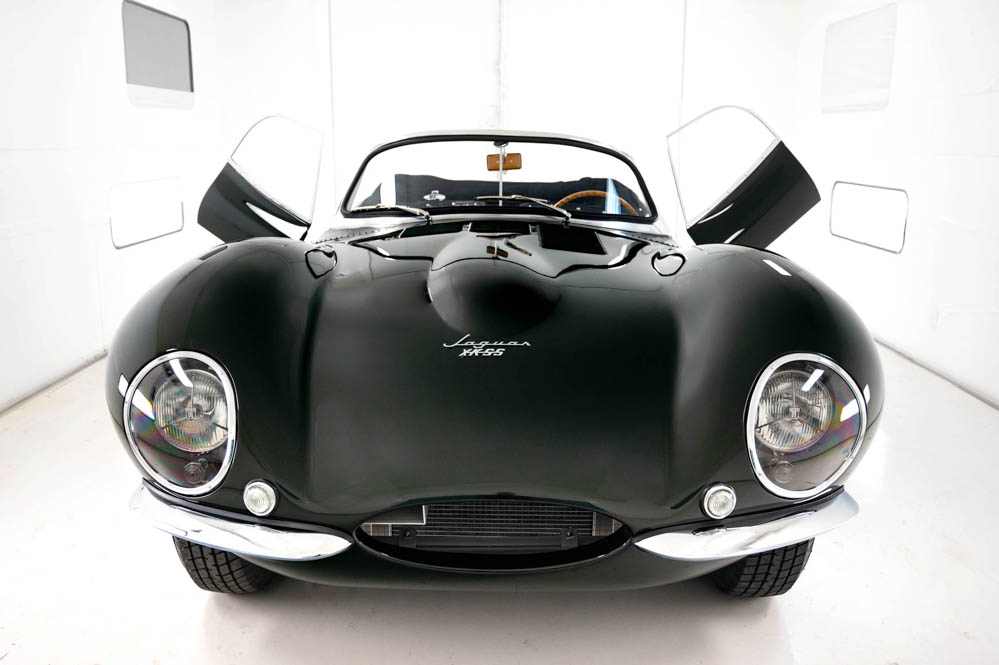
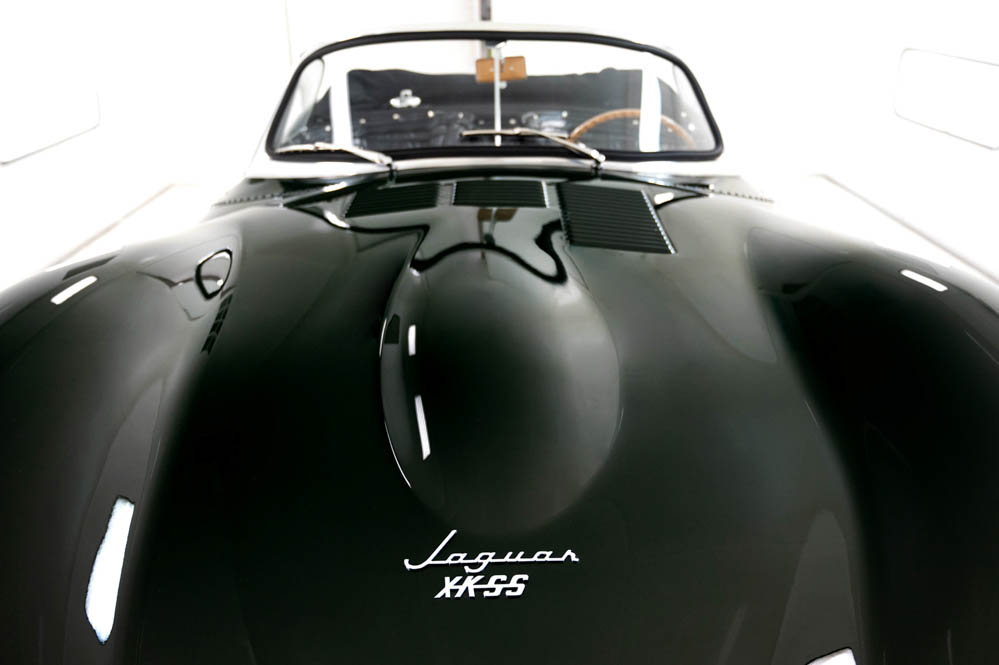
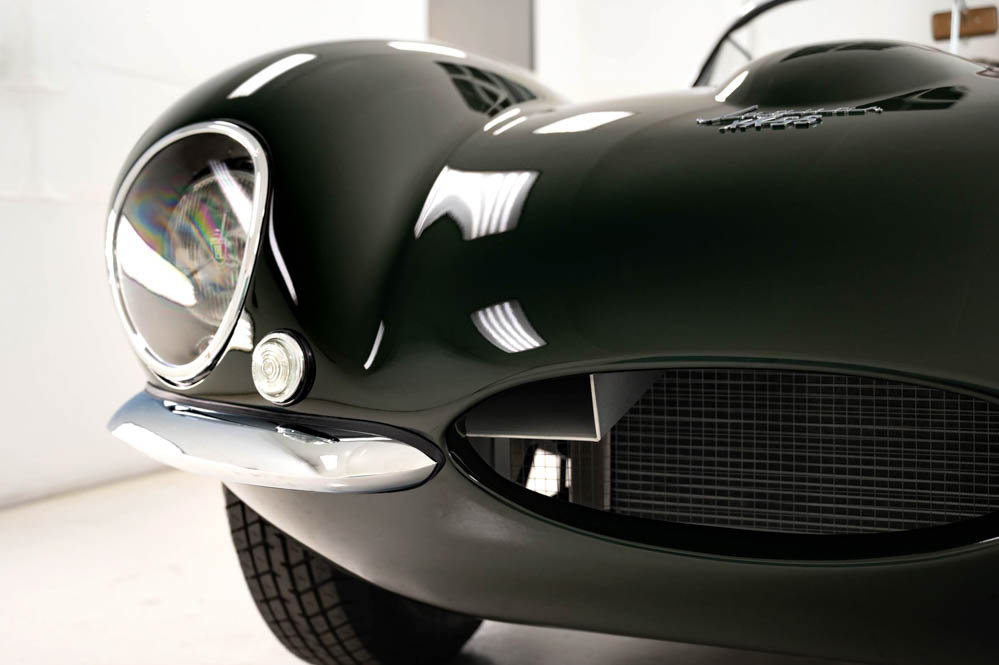
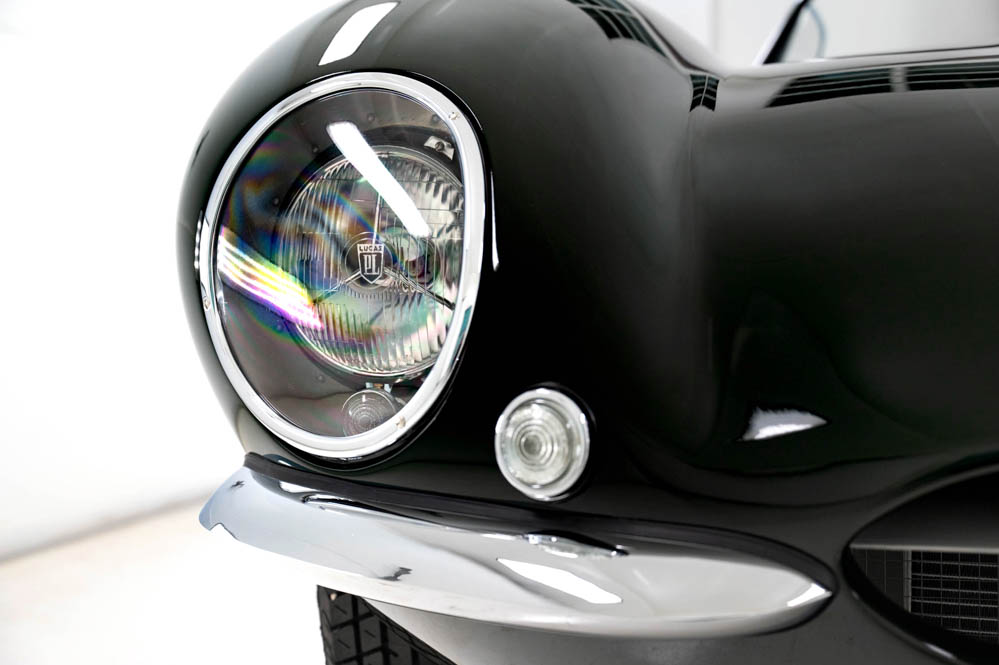
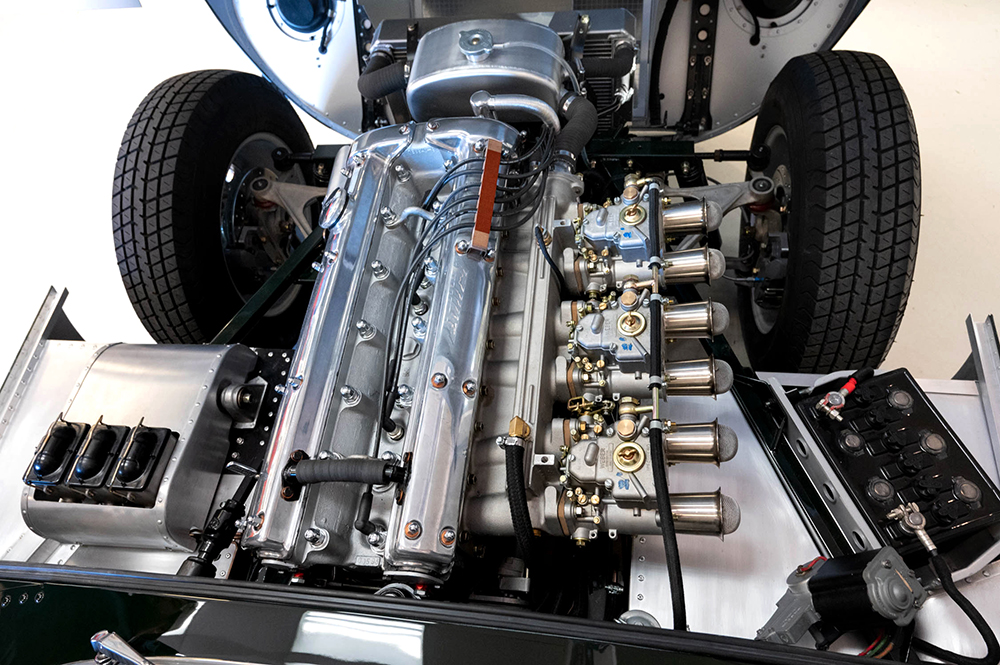
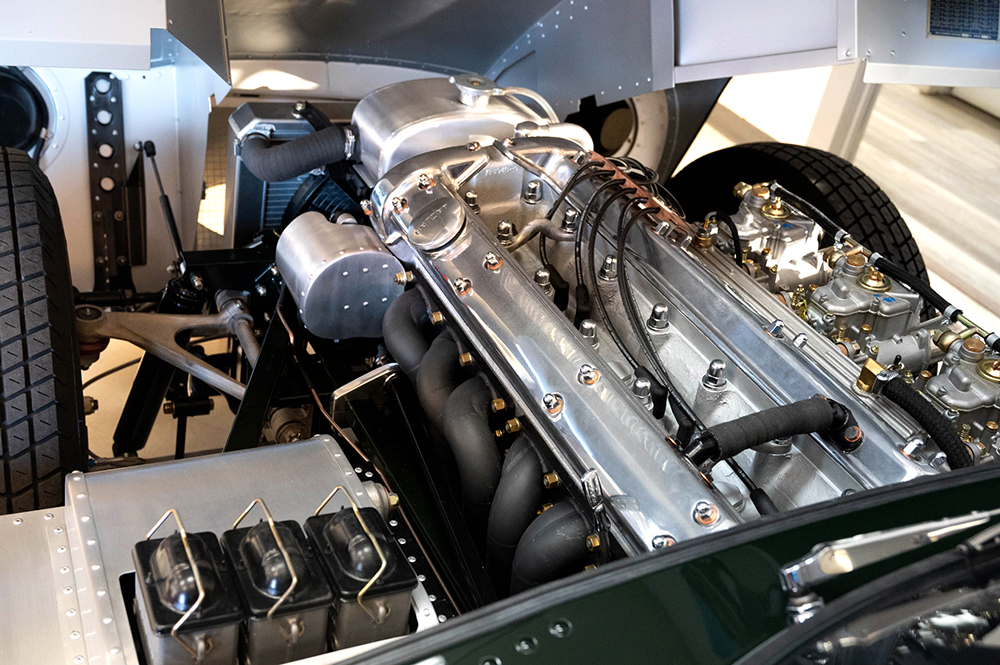
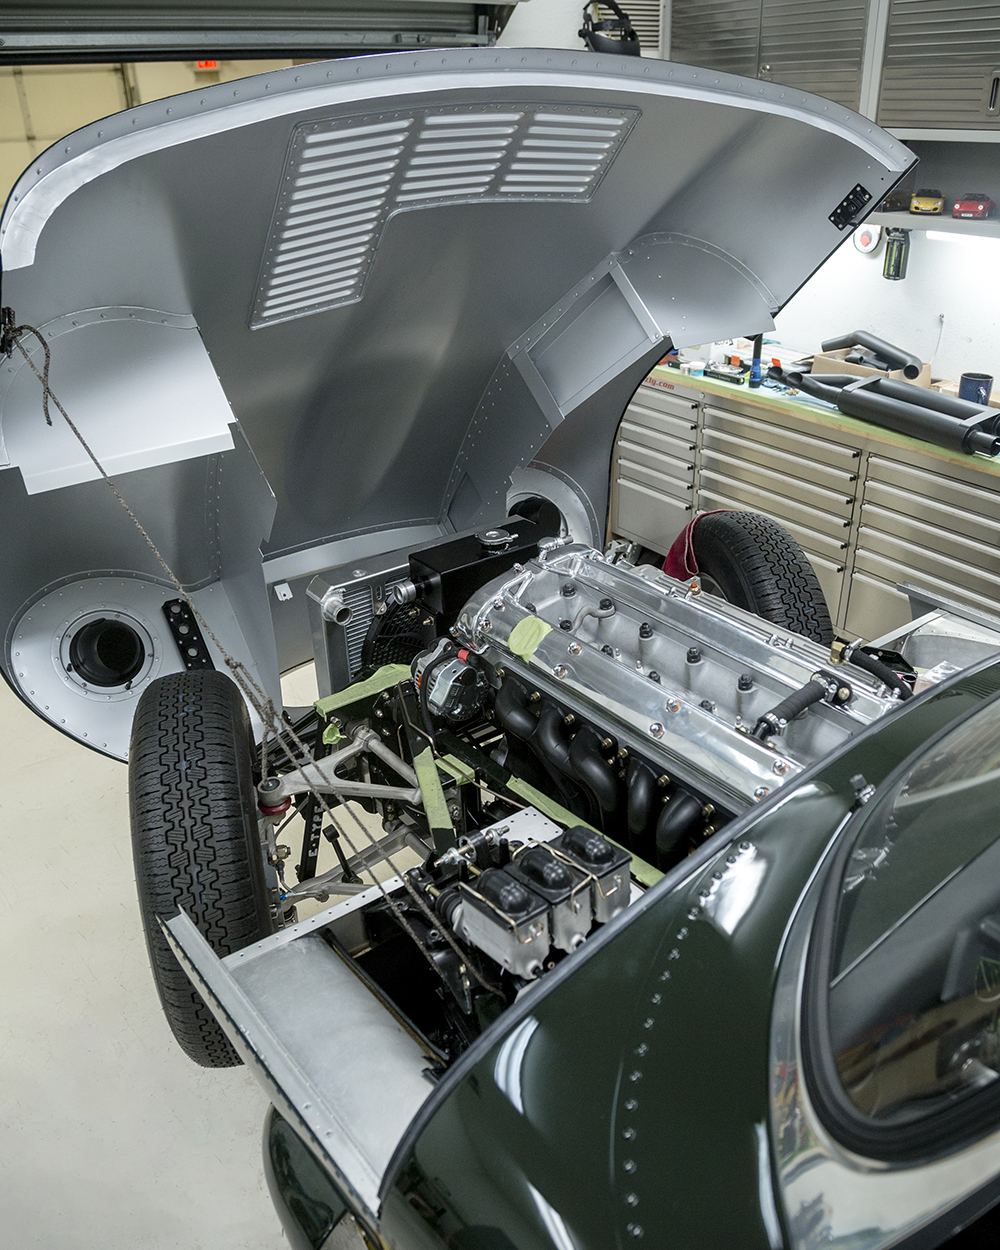
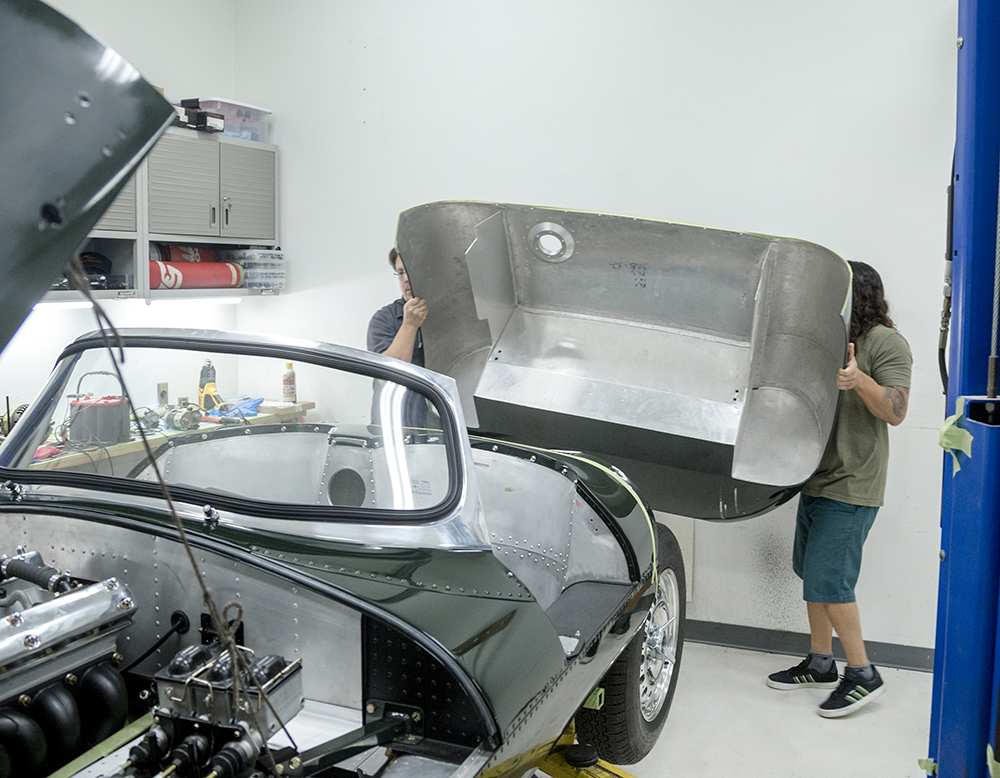
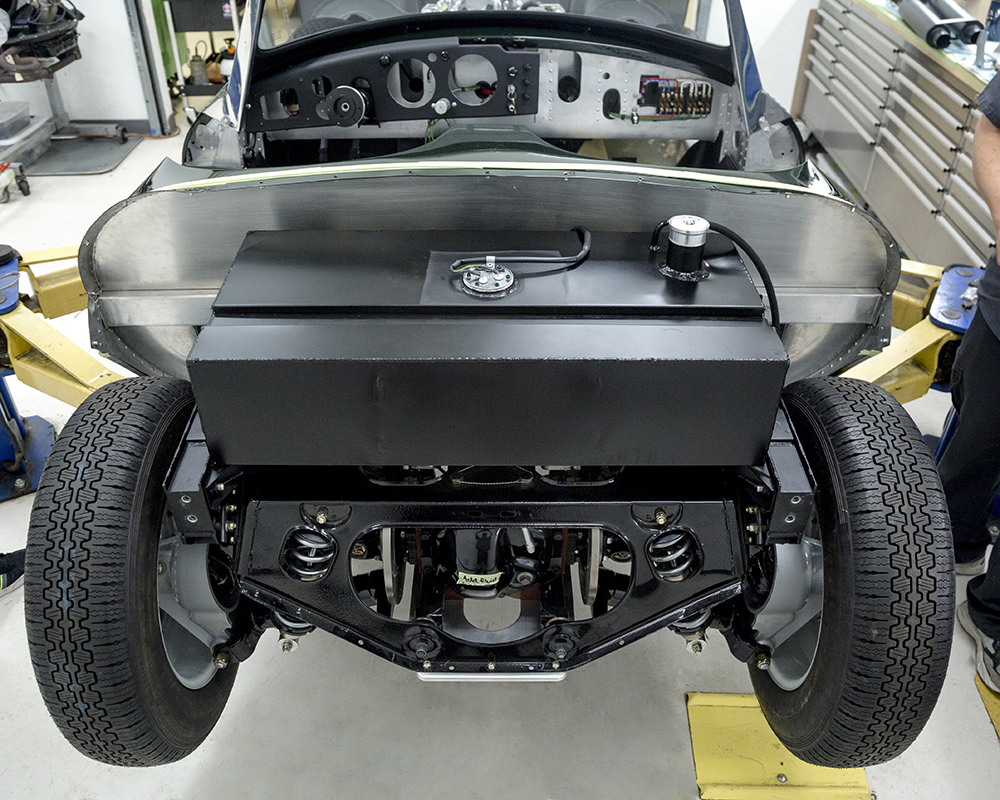
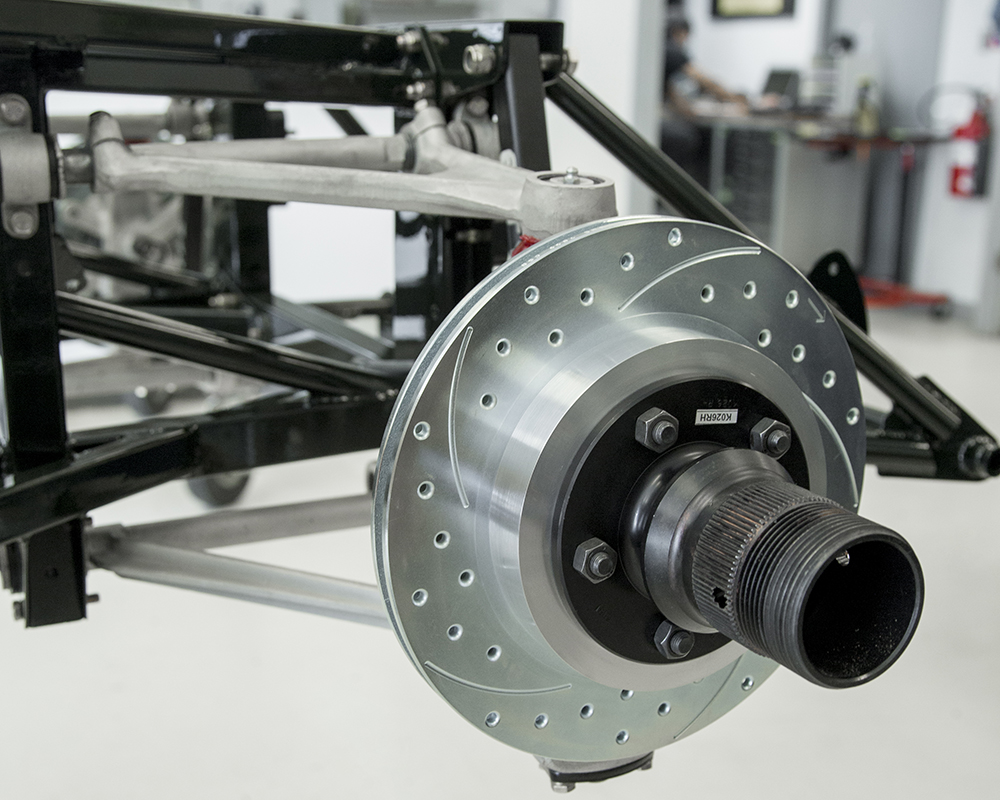
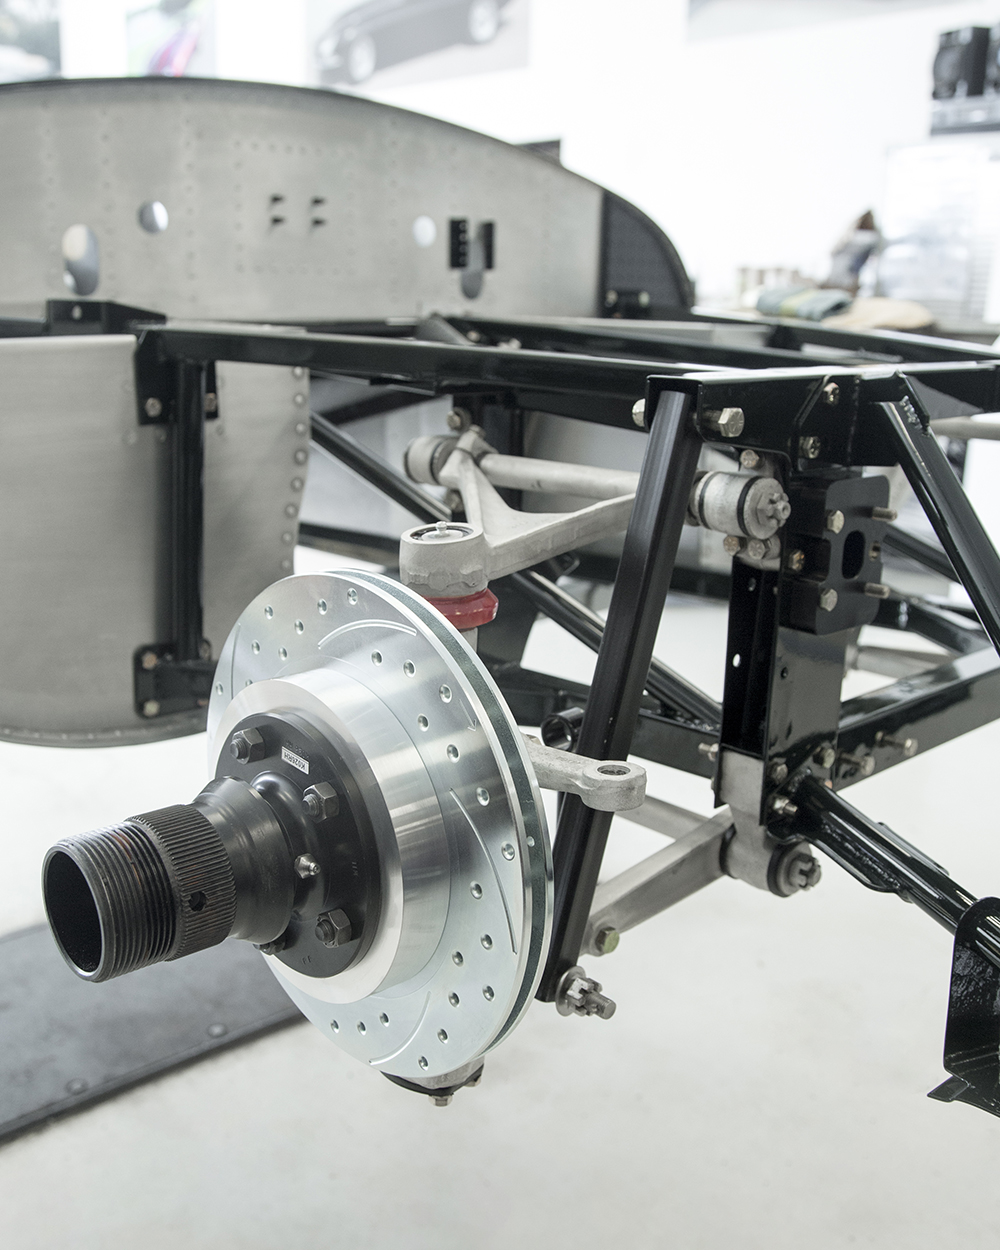
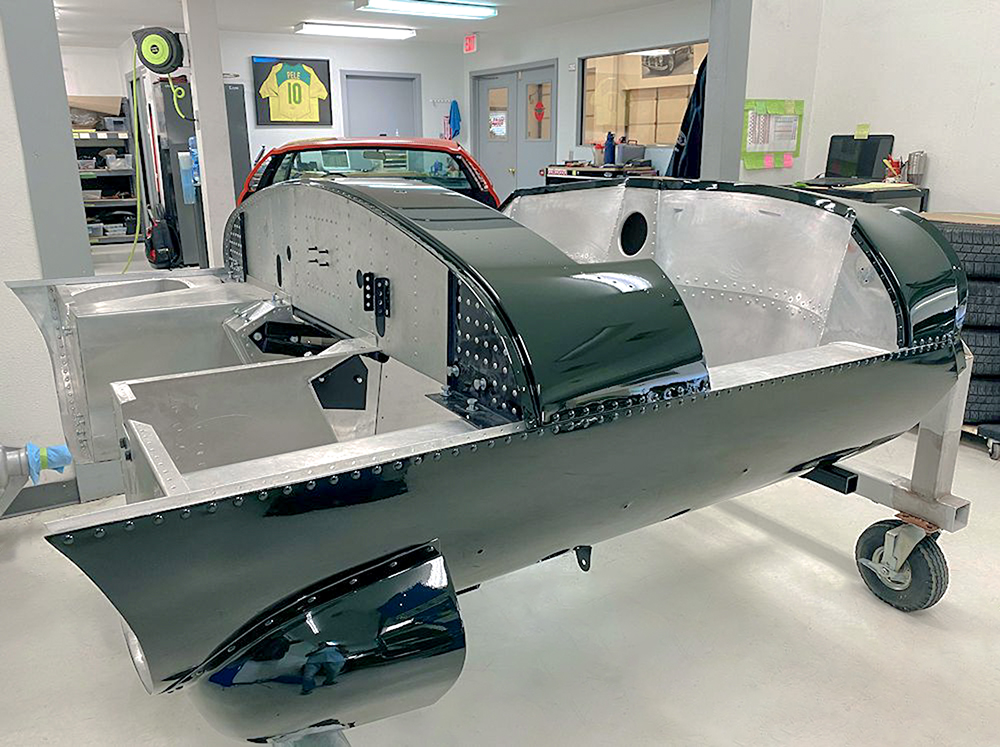
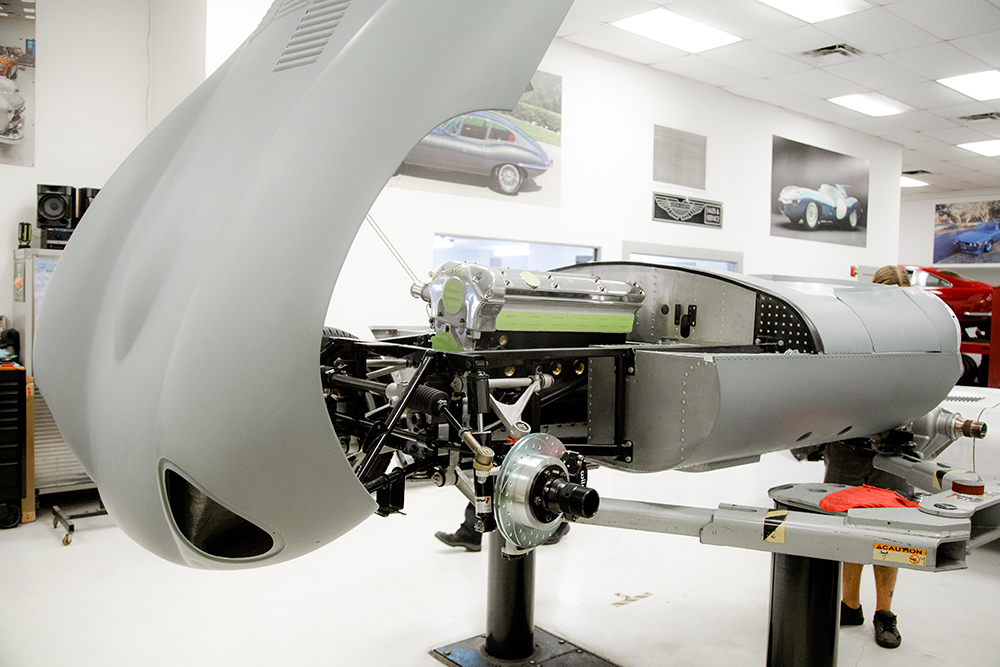
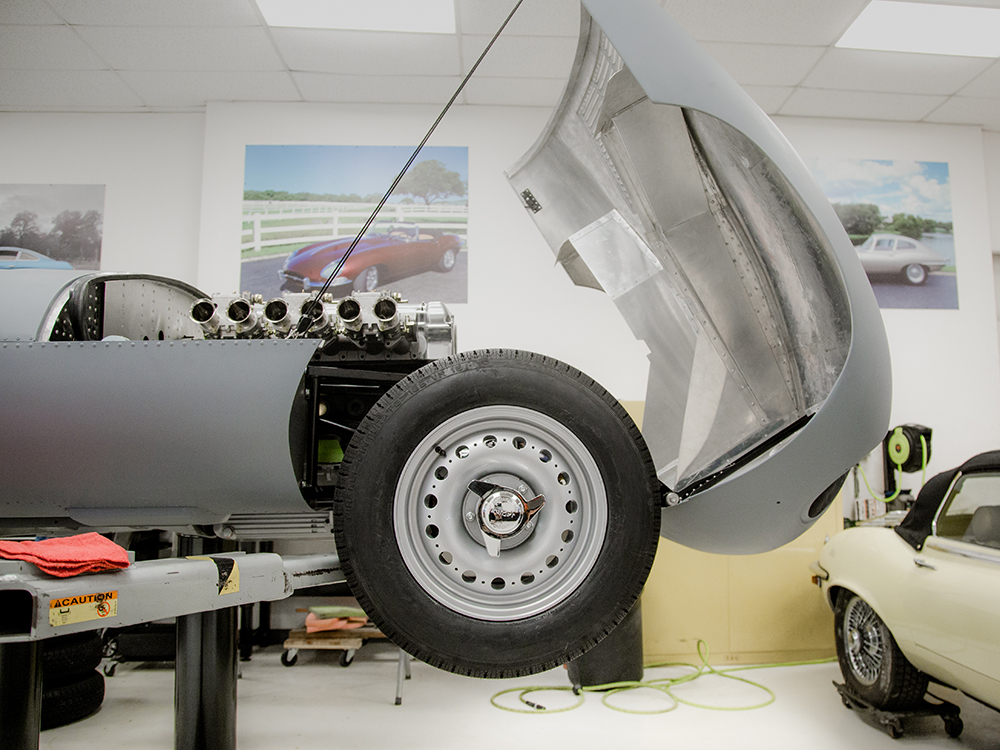
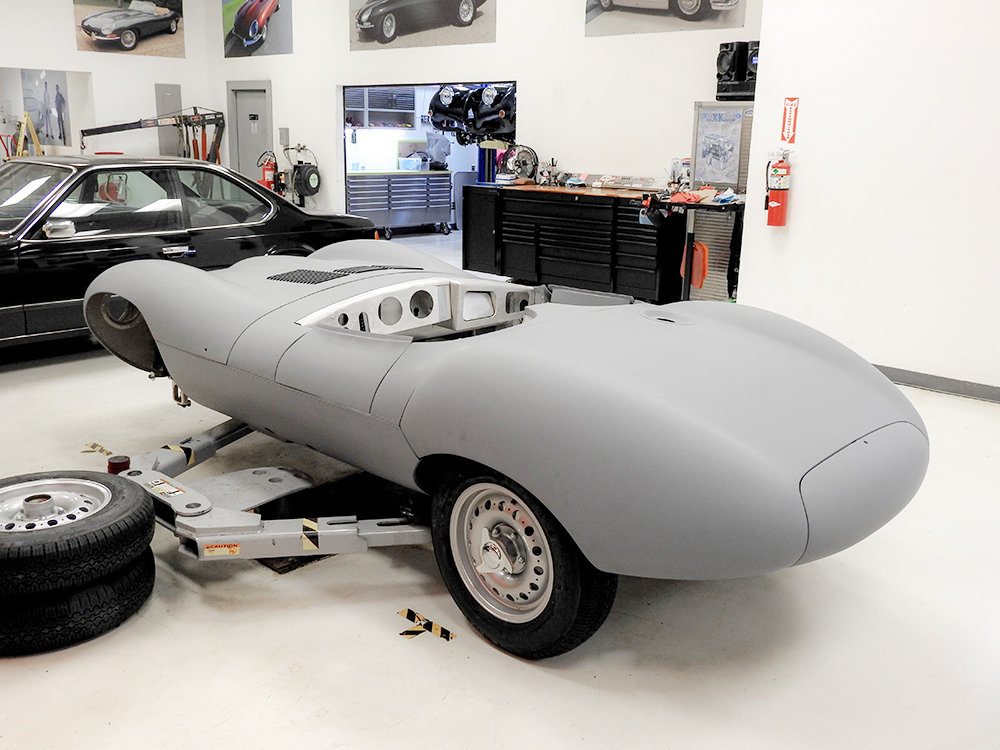
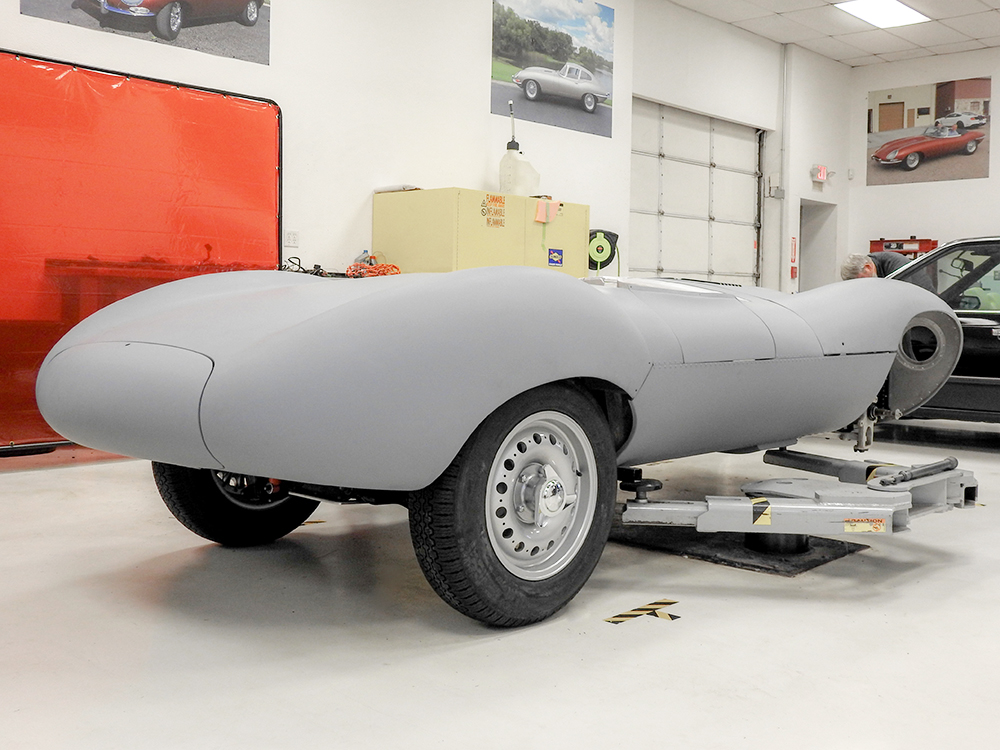
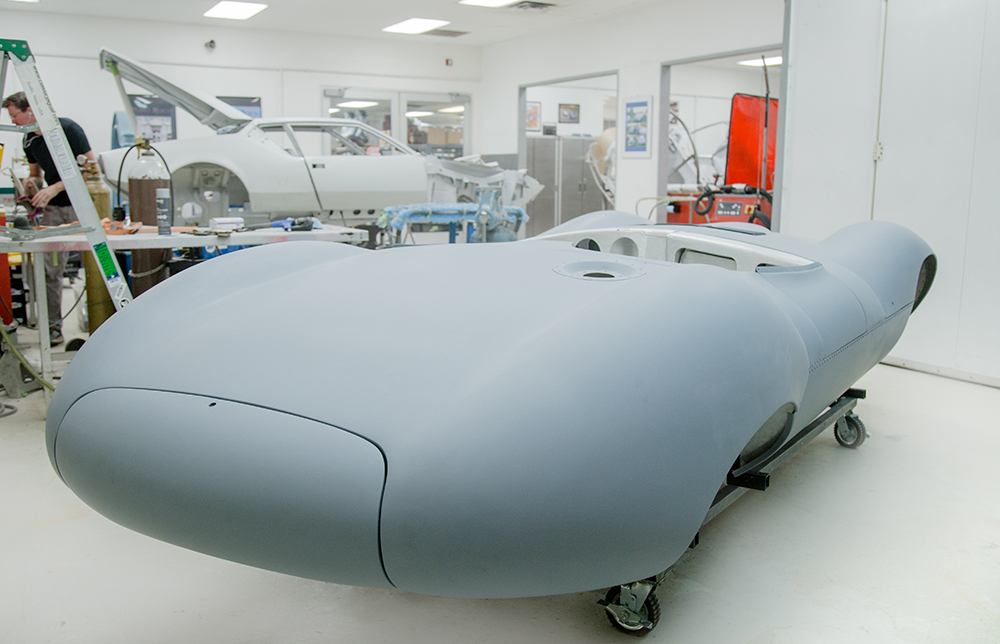
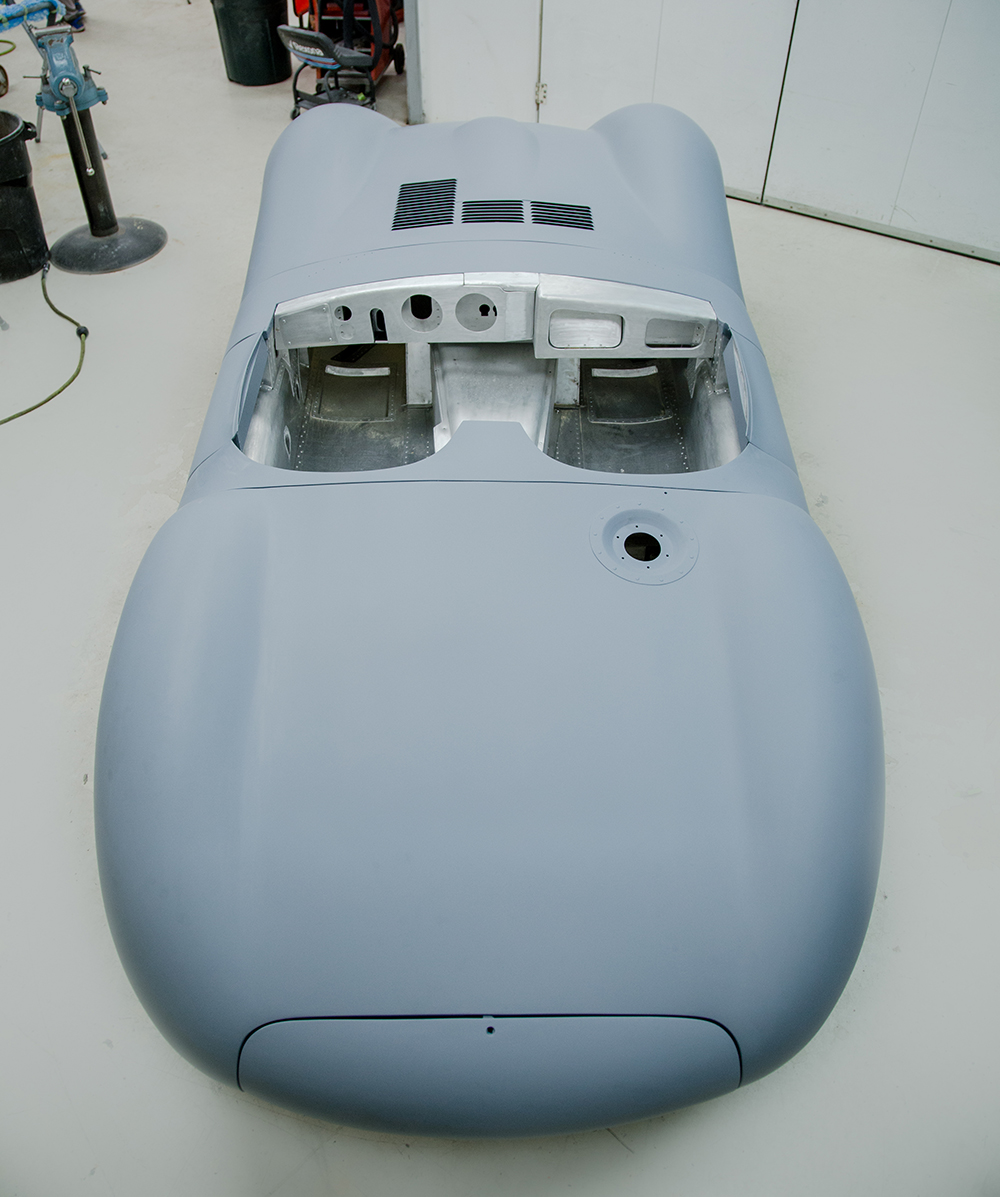
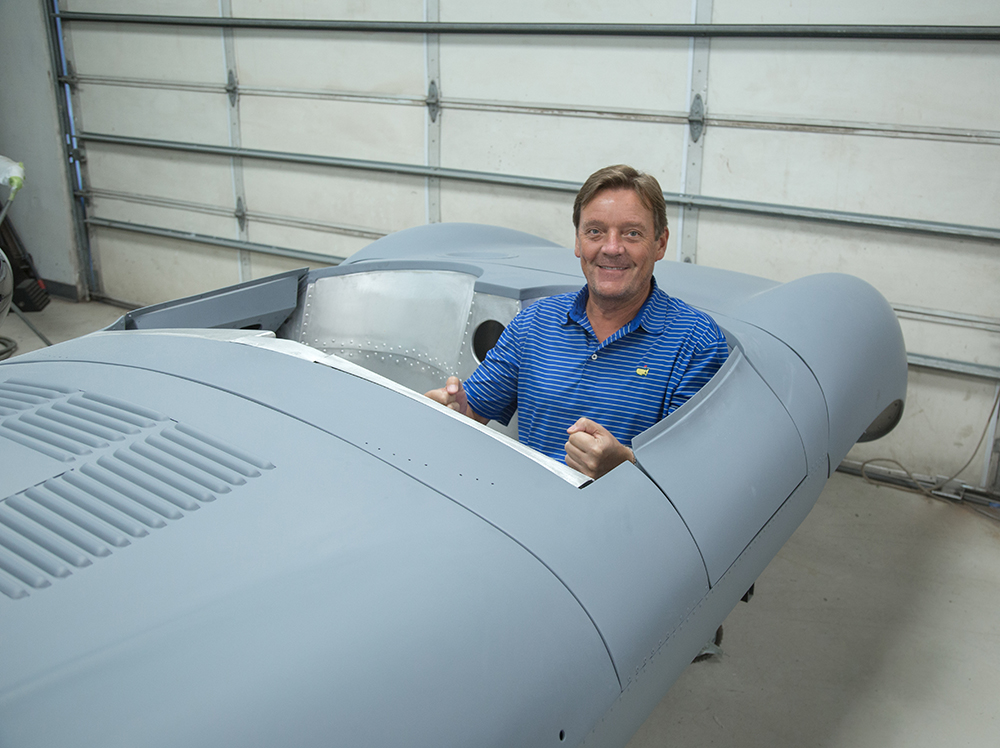
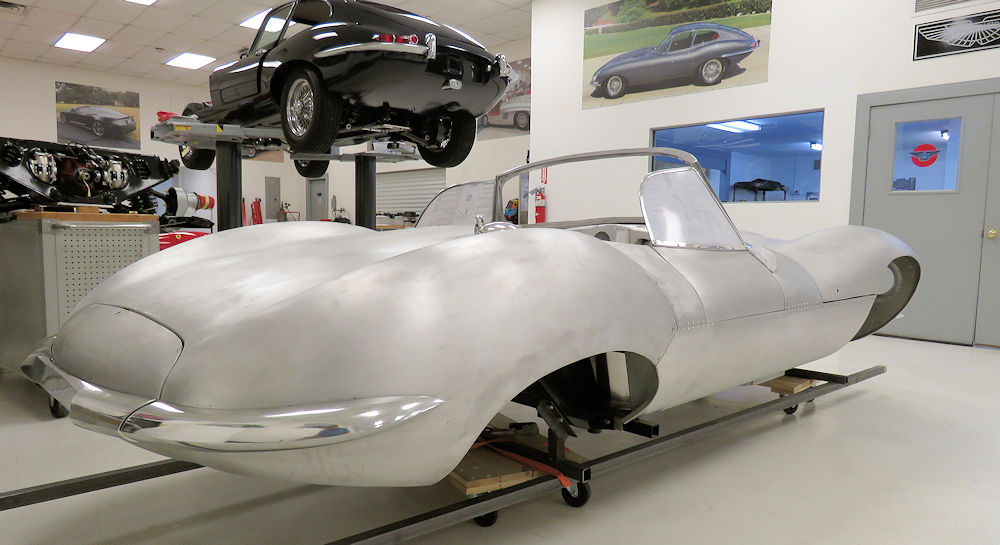
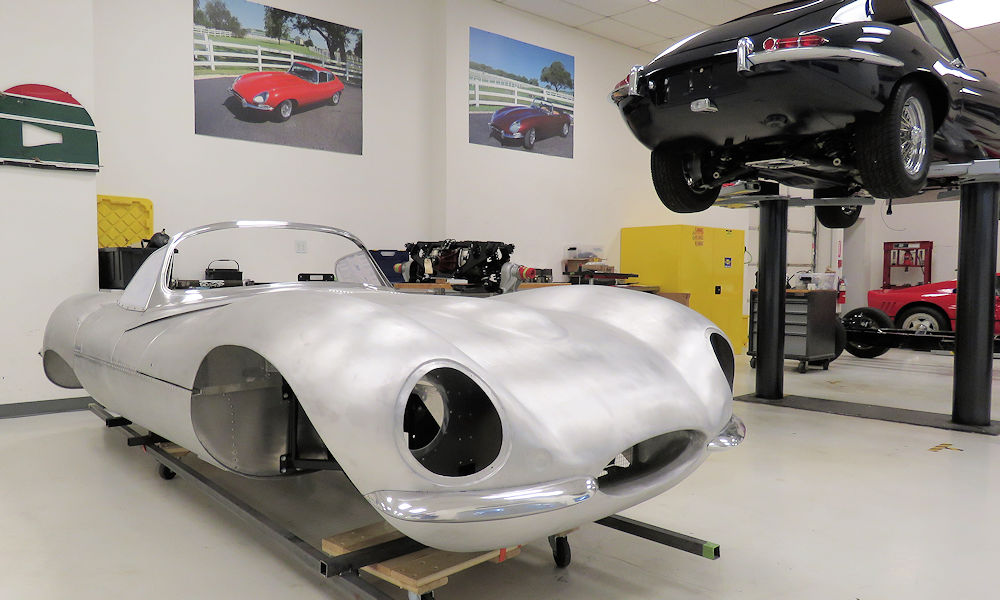
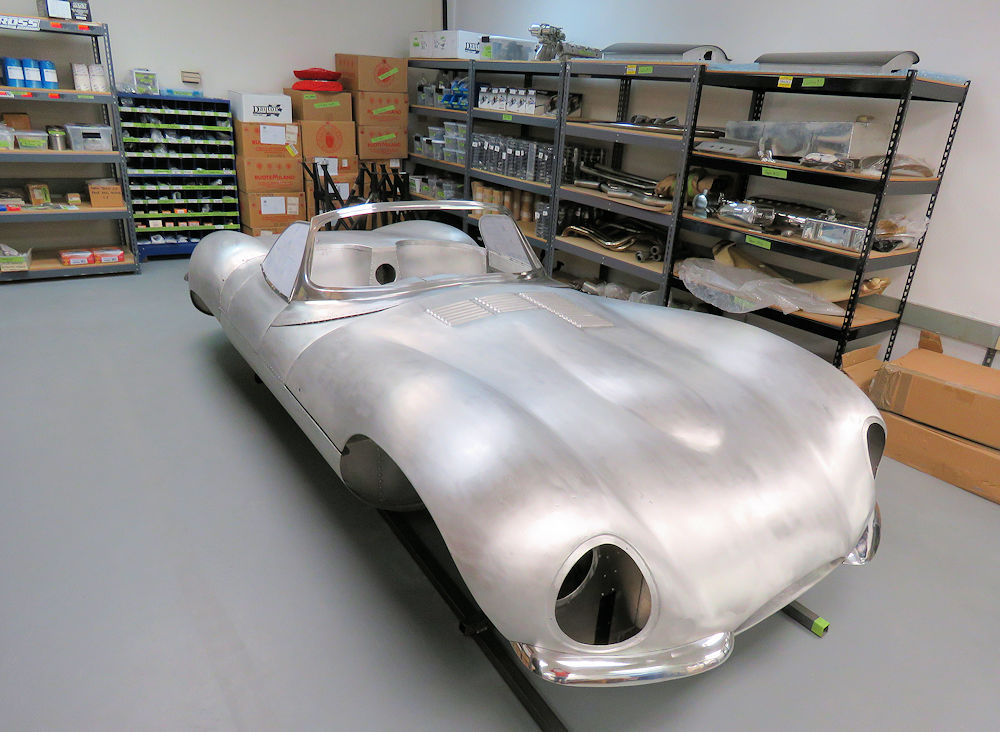
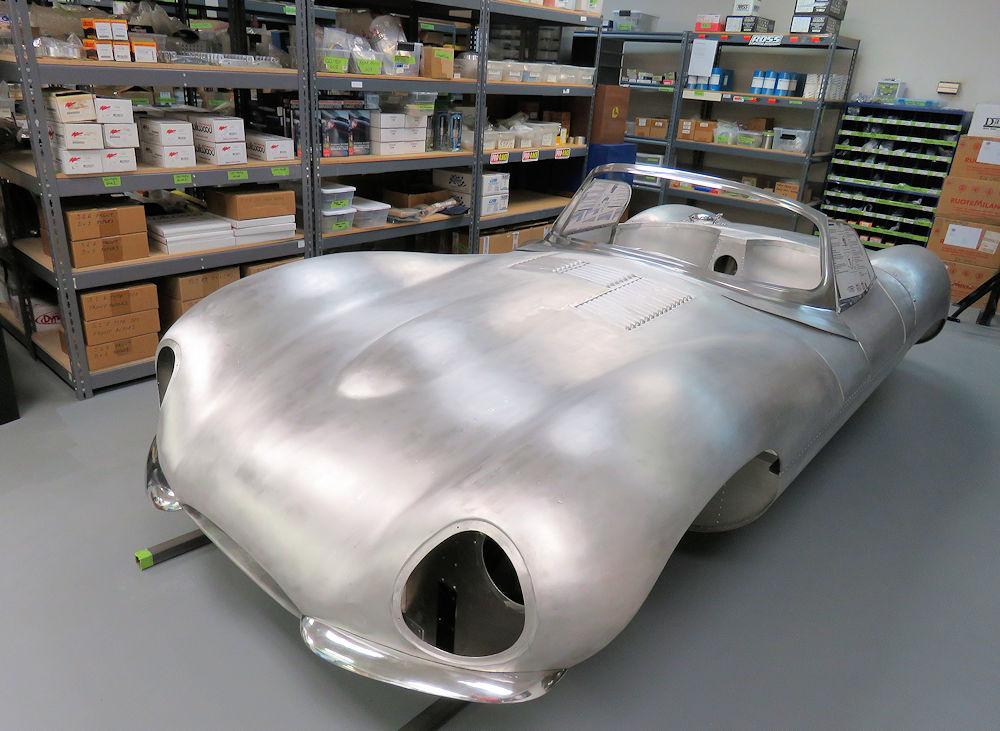
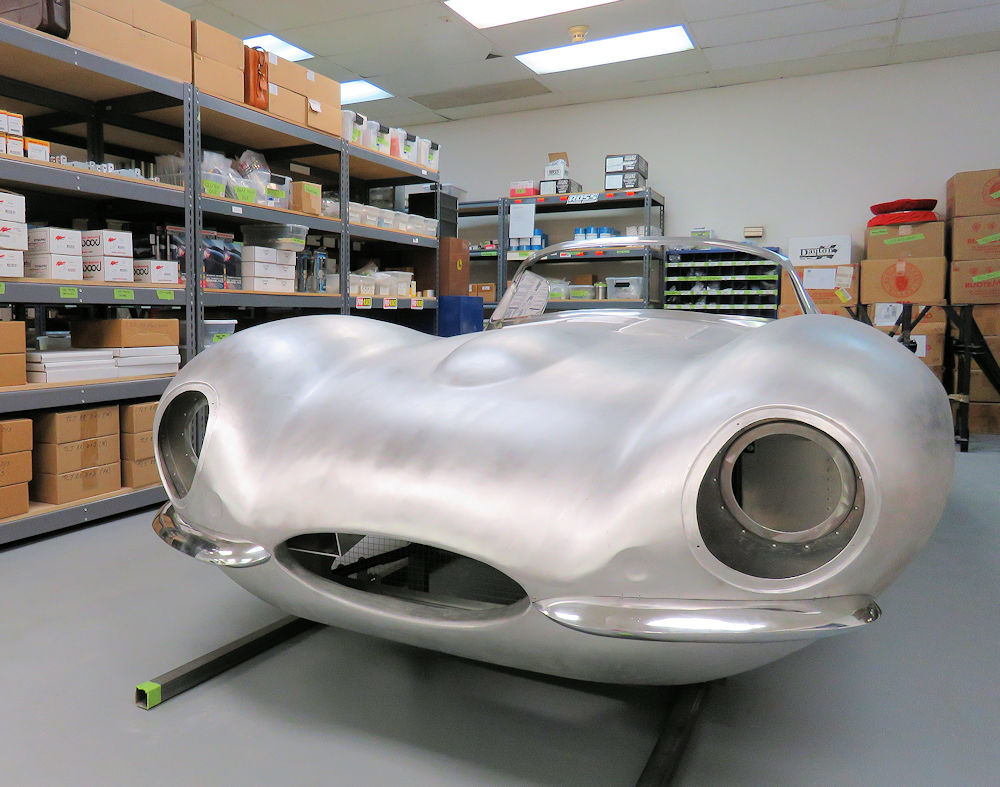
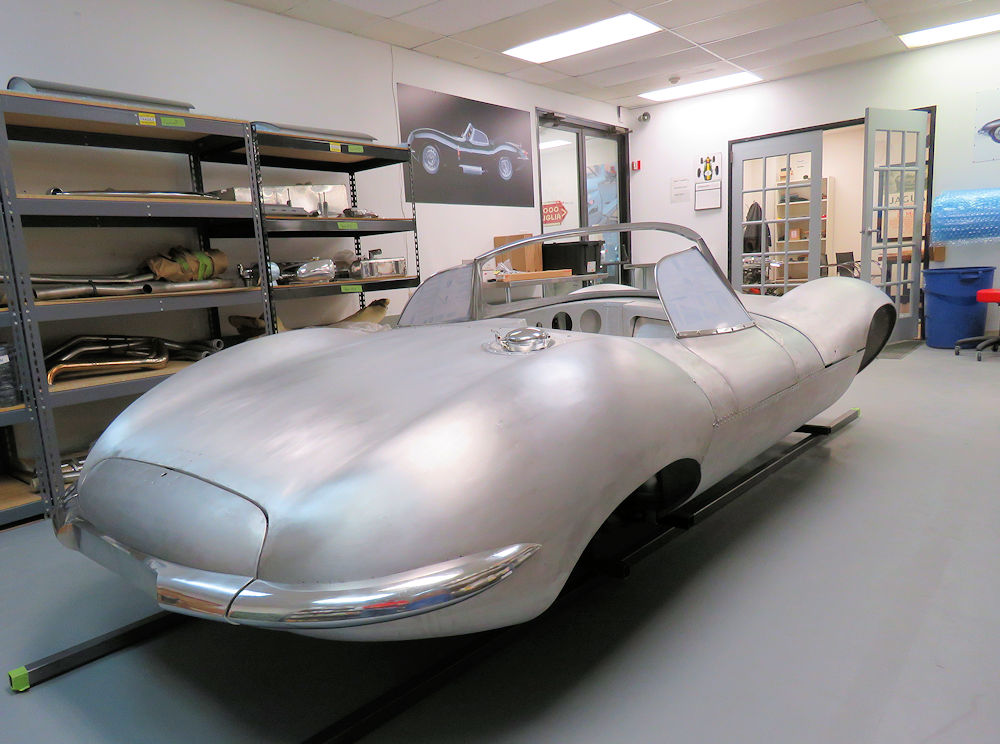
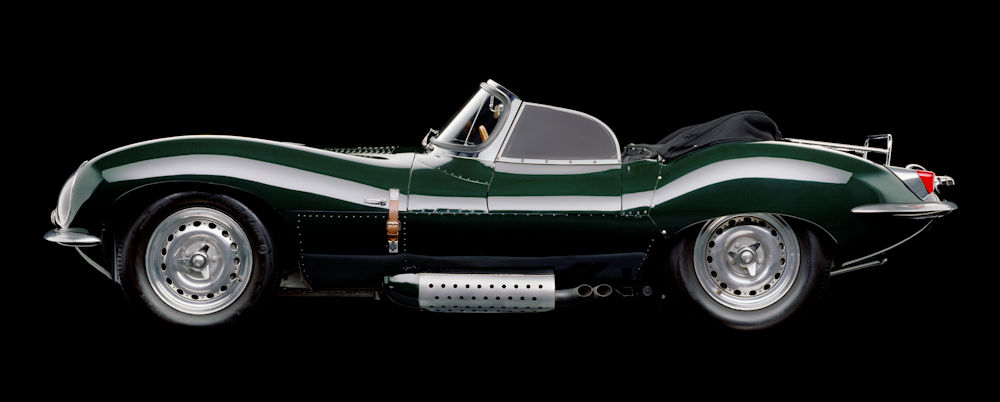
Inspired by the famous Steve McQueen XKSS (pictured) that is now on permanent display at the Petersen Museum in Los Angeles, our Team CJ XKSS will feature an ultra lightweight aluminum body and a 4.7L Stage Two E Type engine. The drive train, including independent front and rear suspension and upgraded steering and brakes, is also derived from a Jaguar E Type.
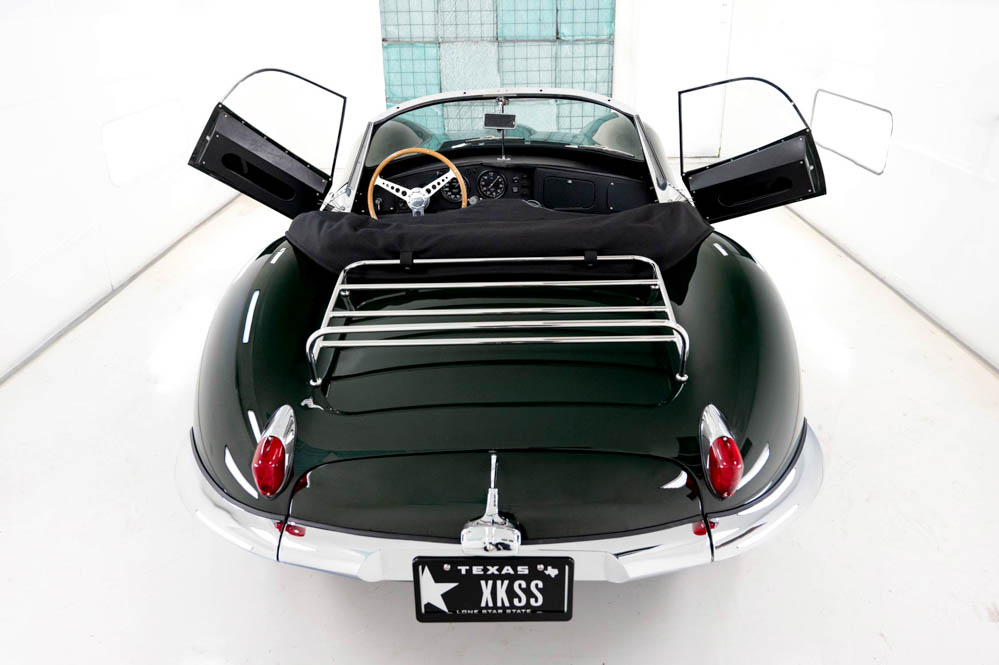
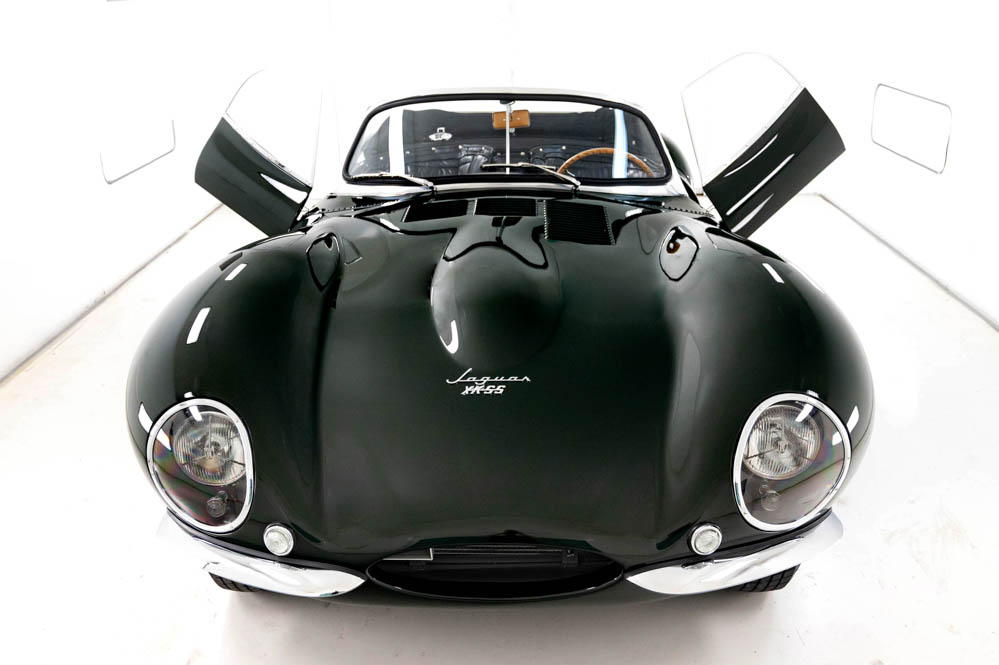
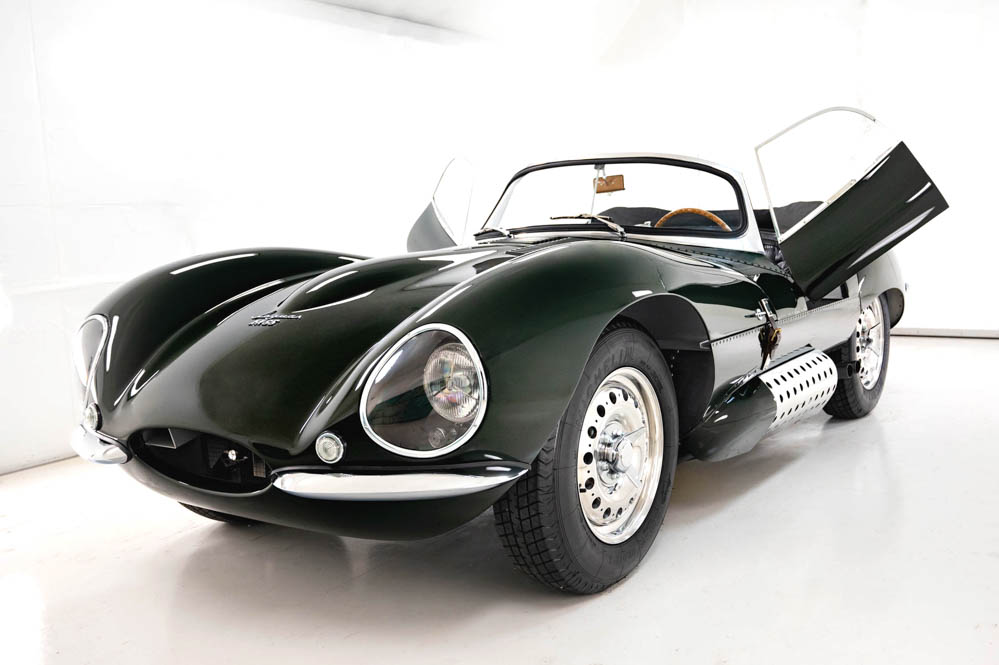
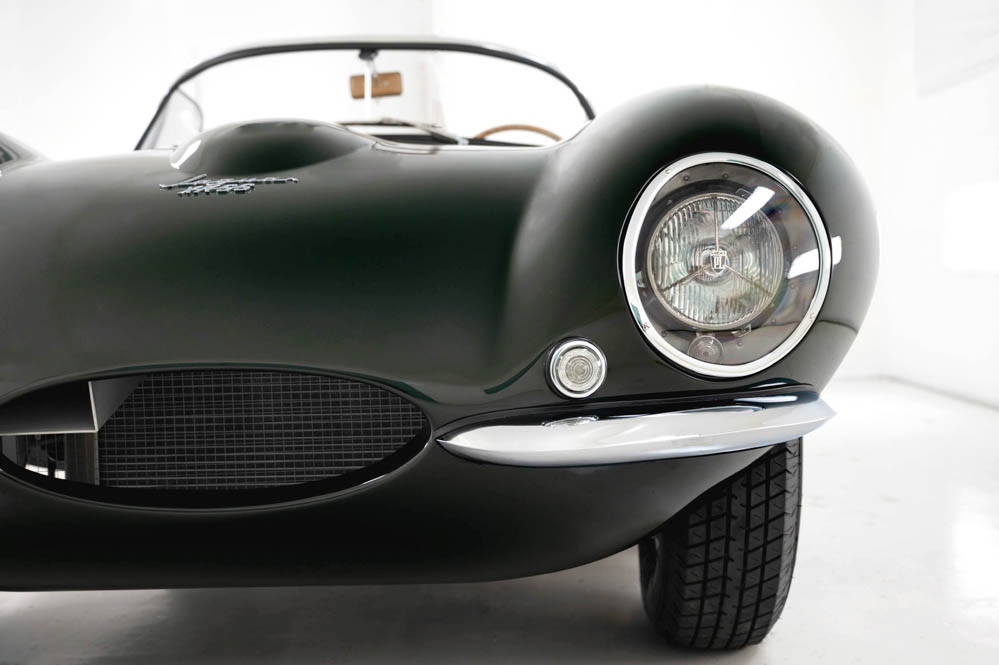
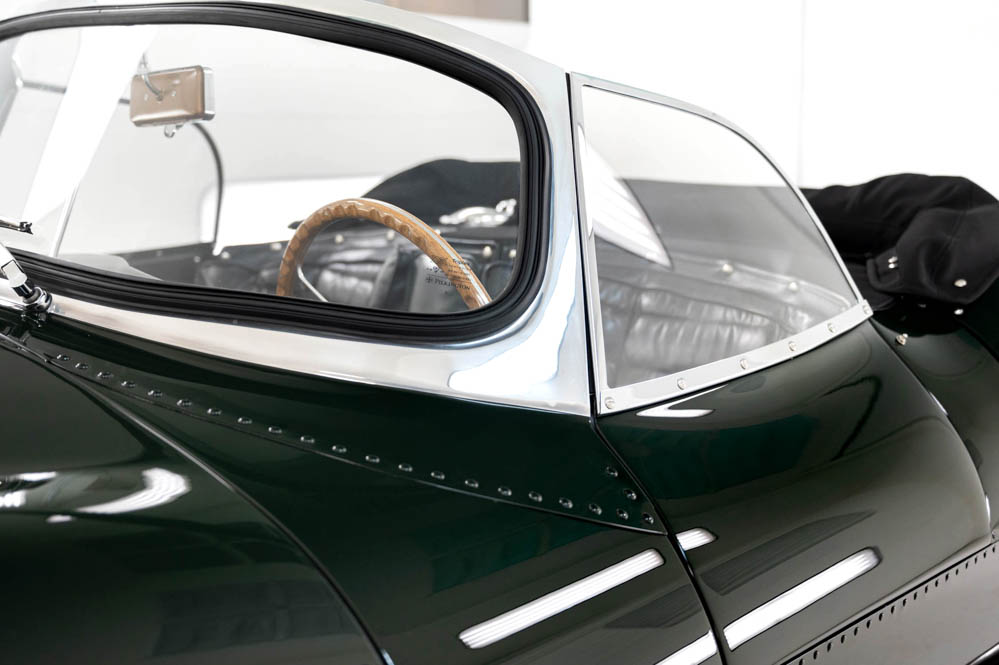
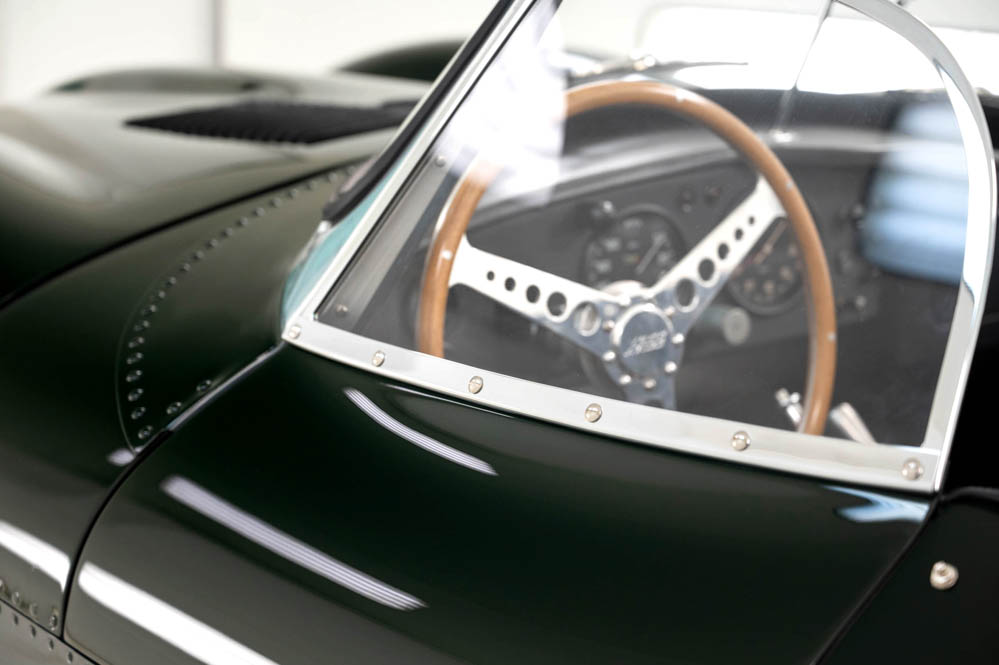
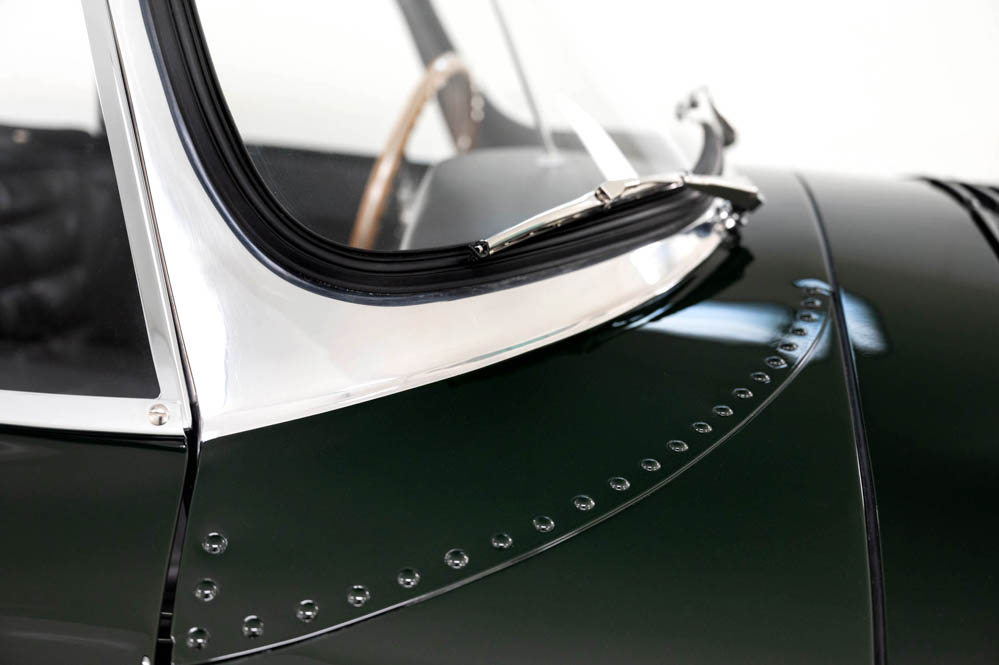
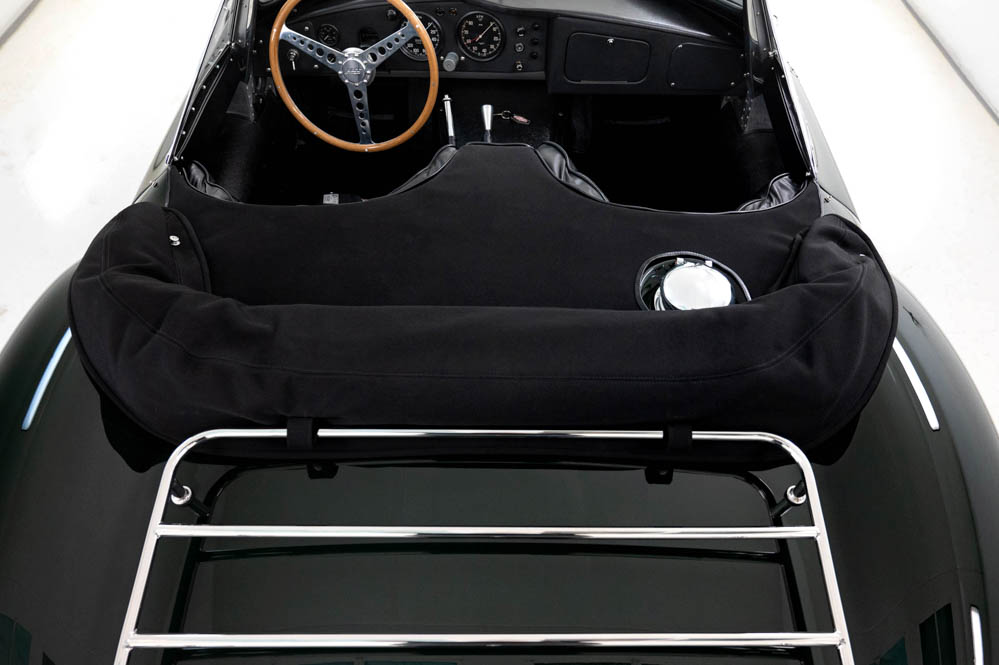
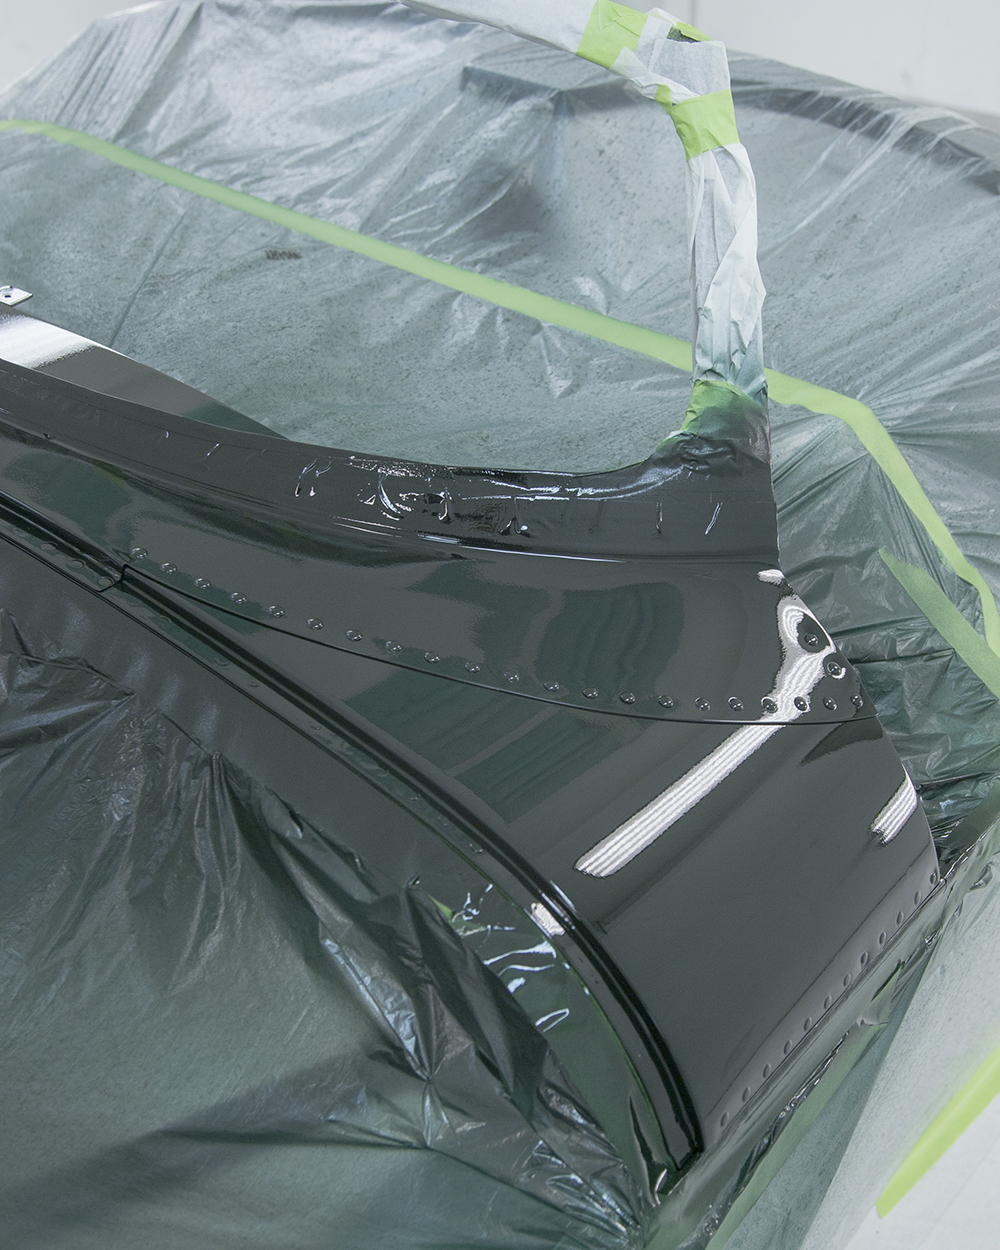
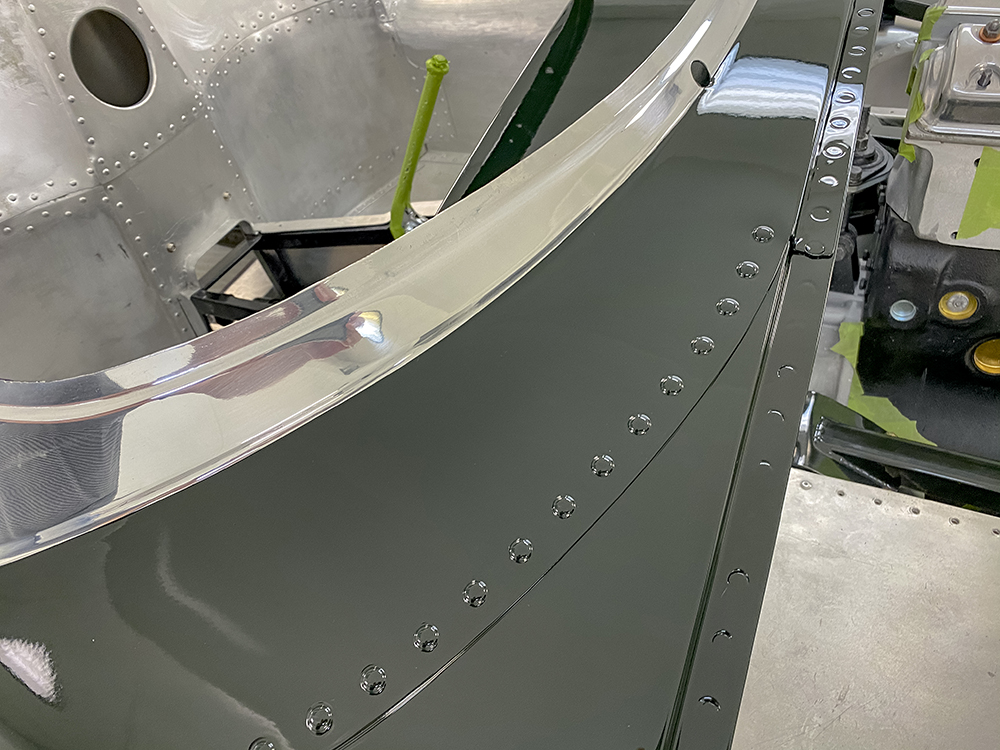
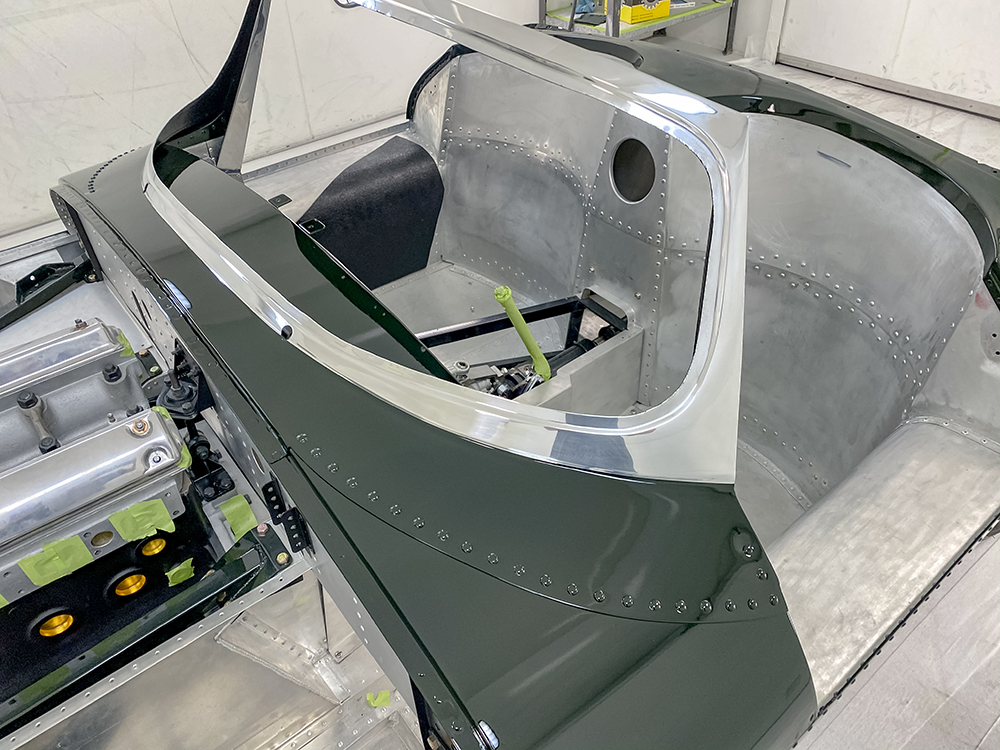
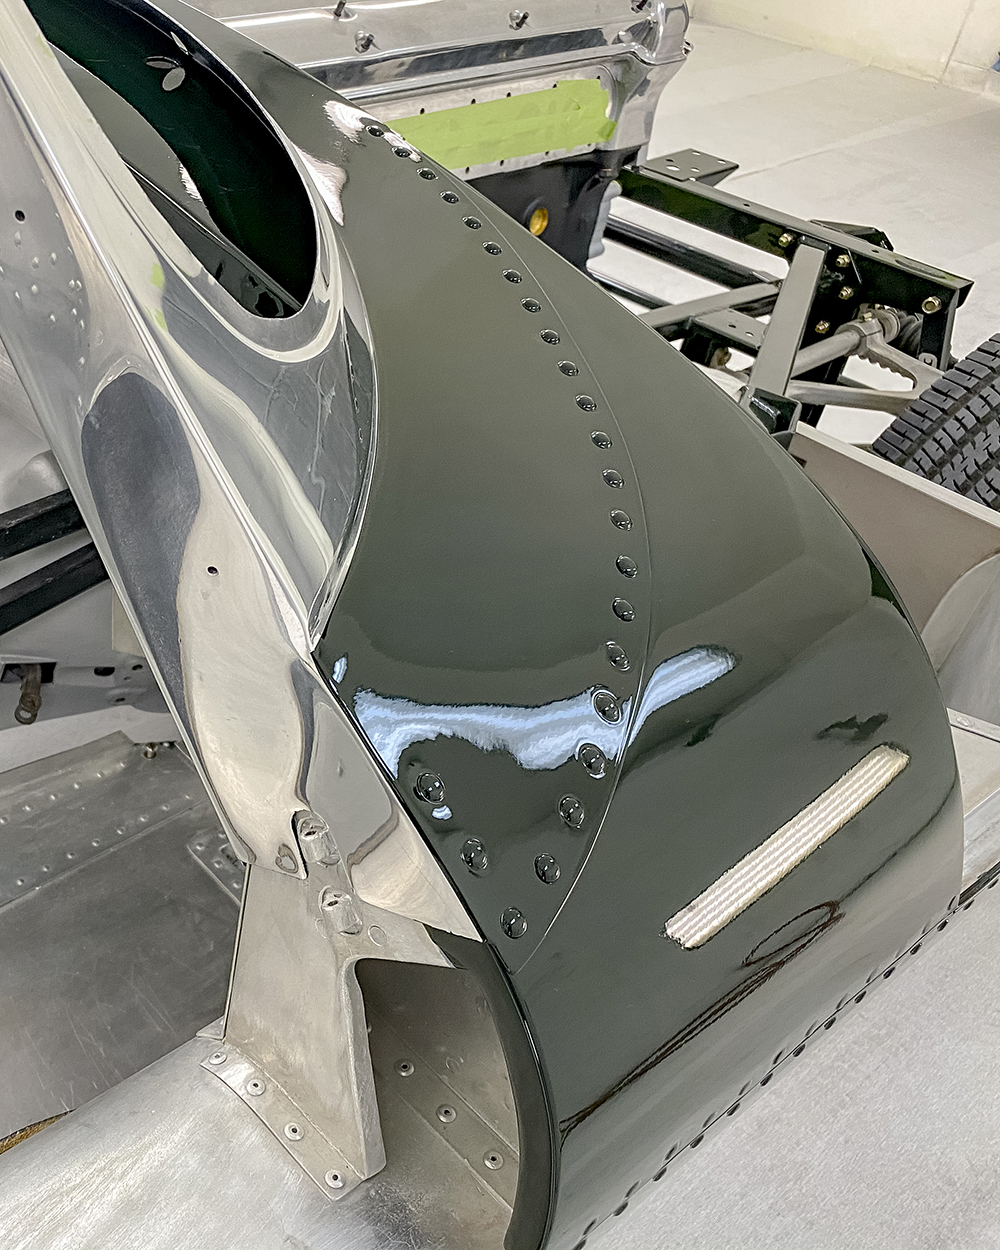
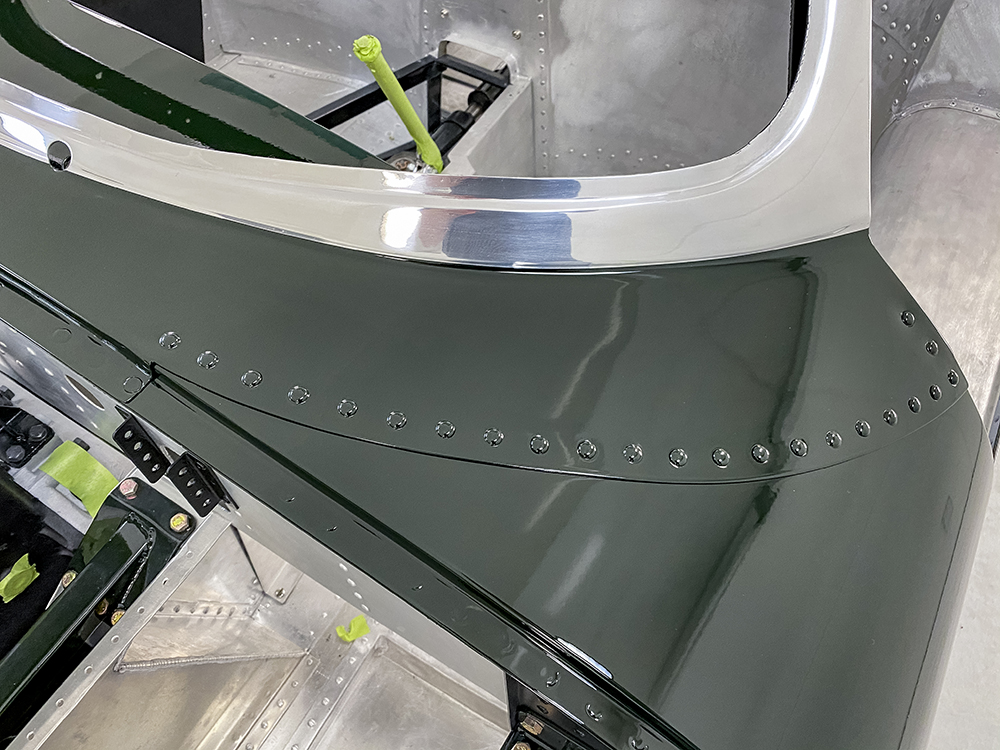
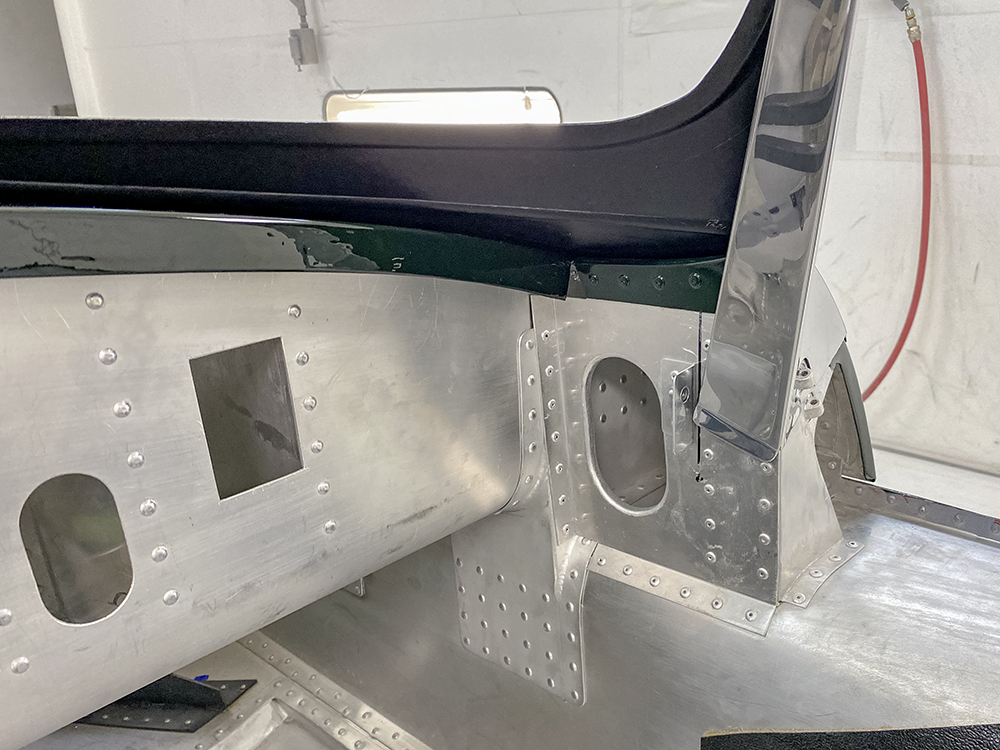
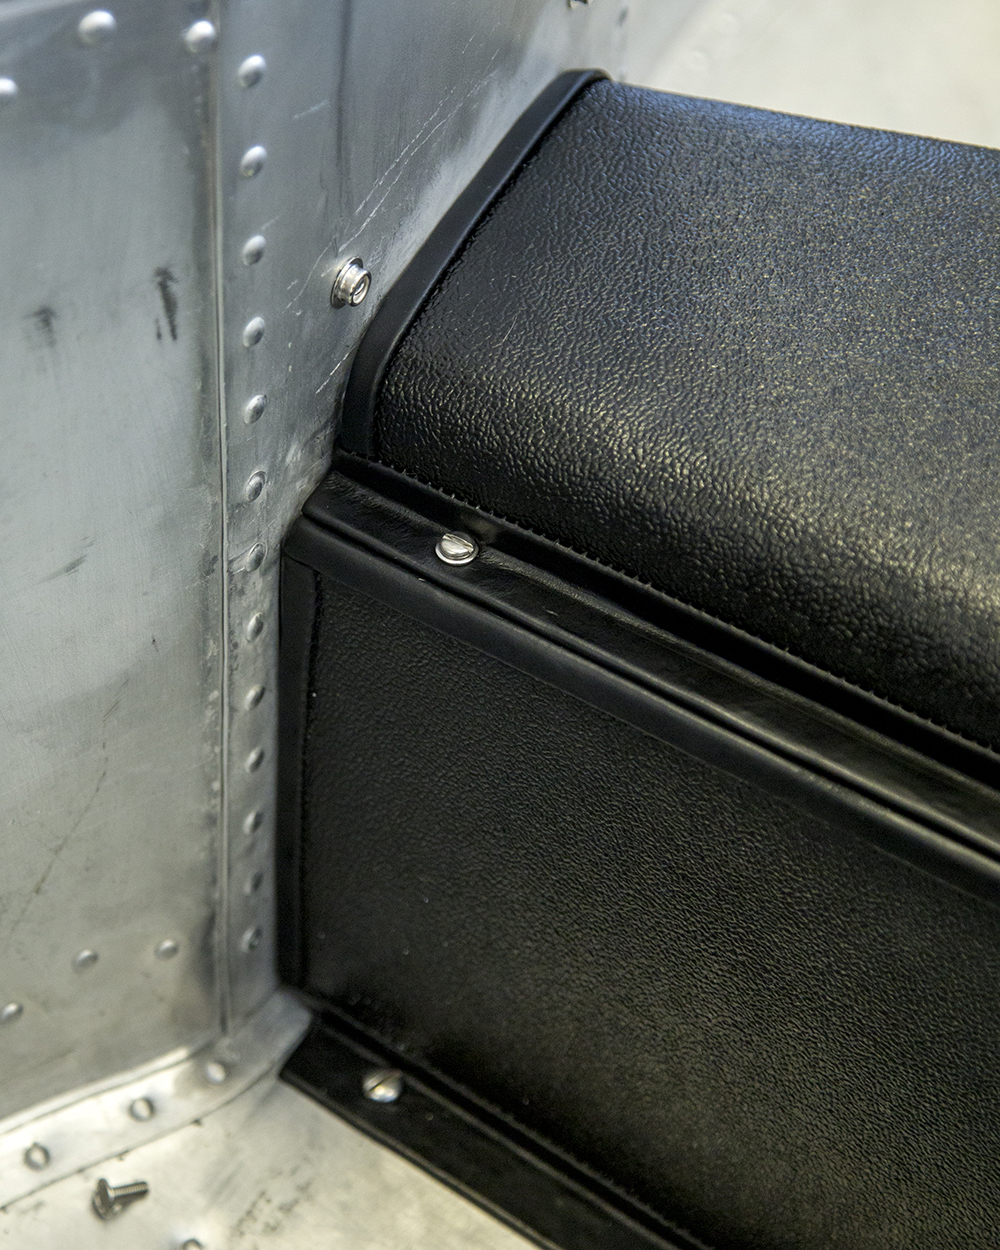
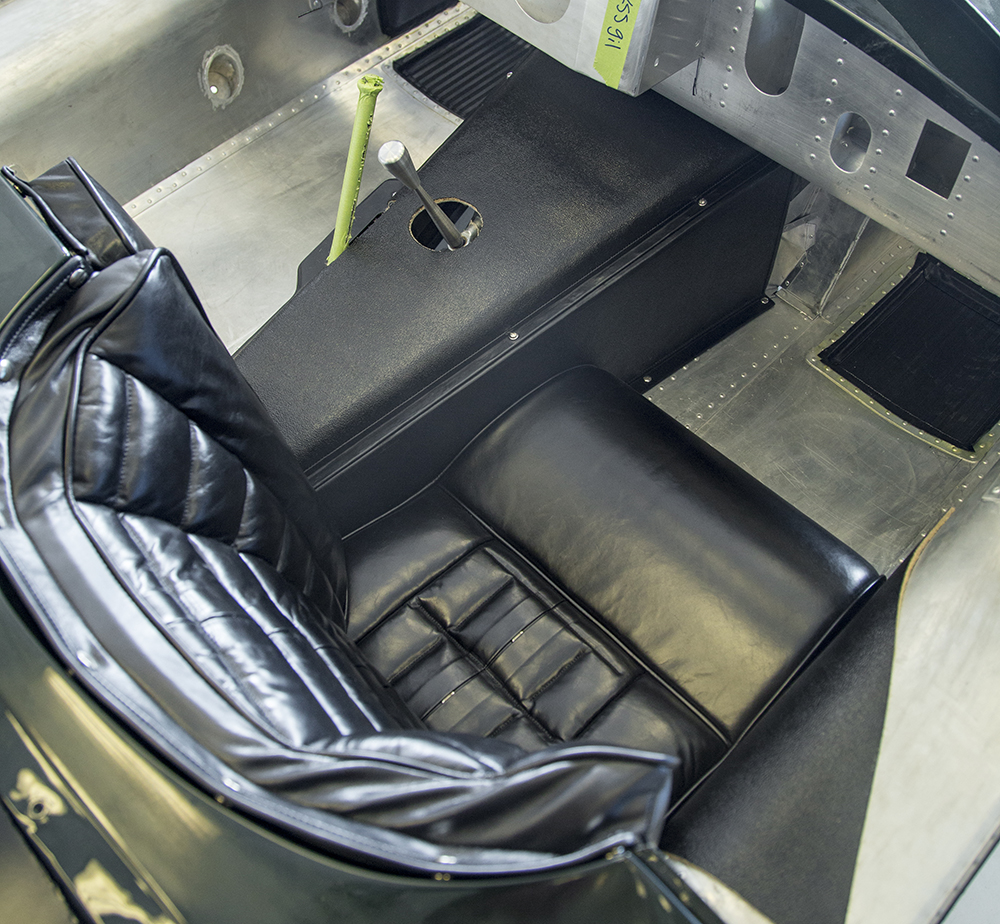
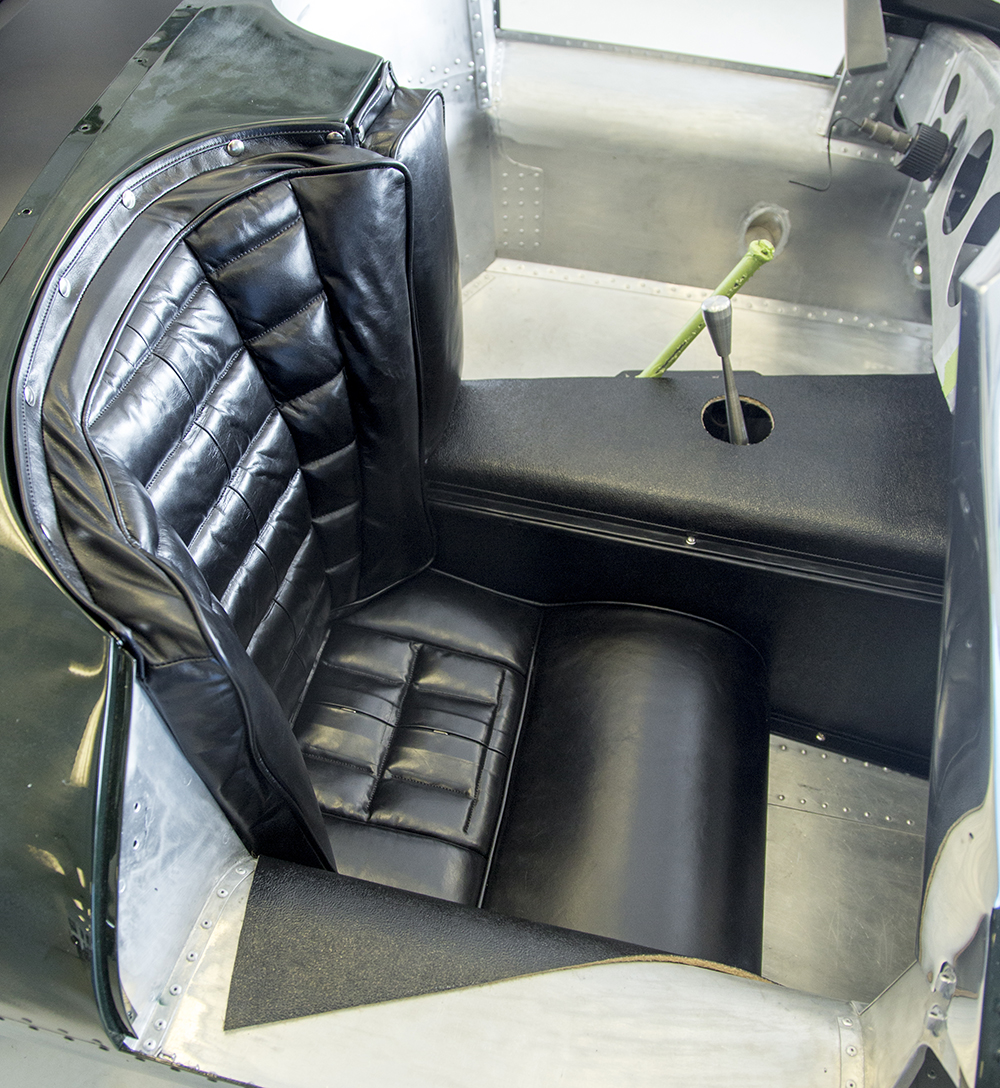
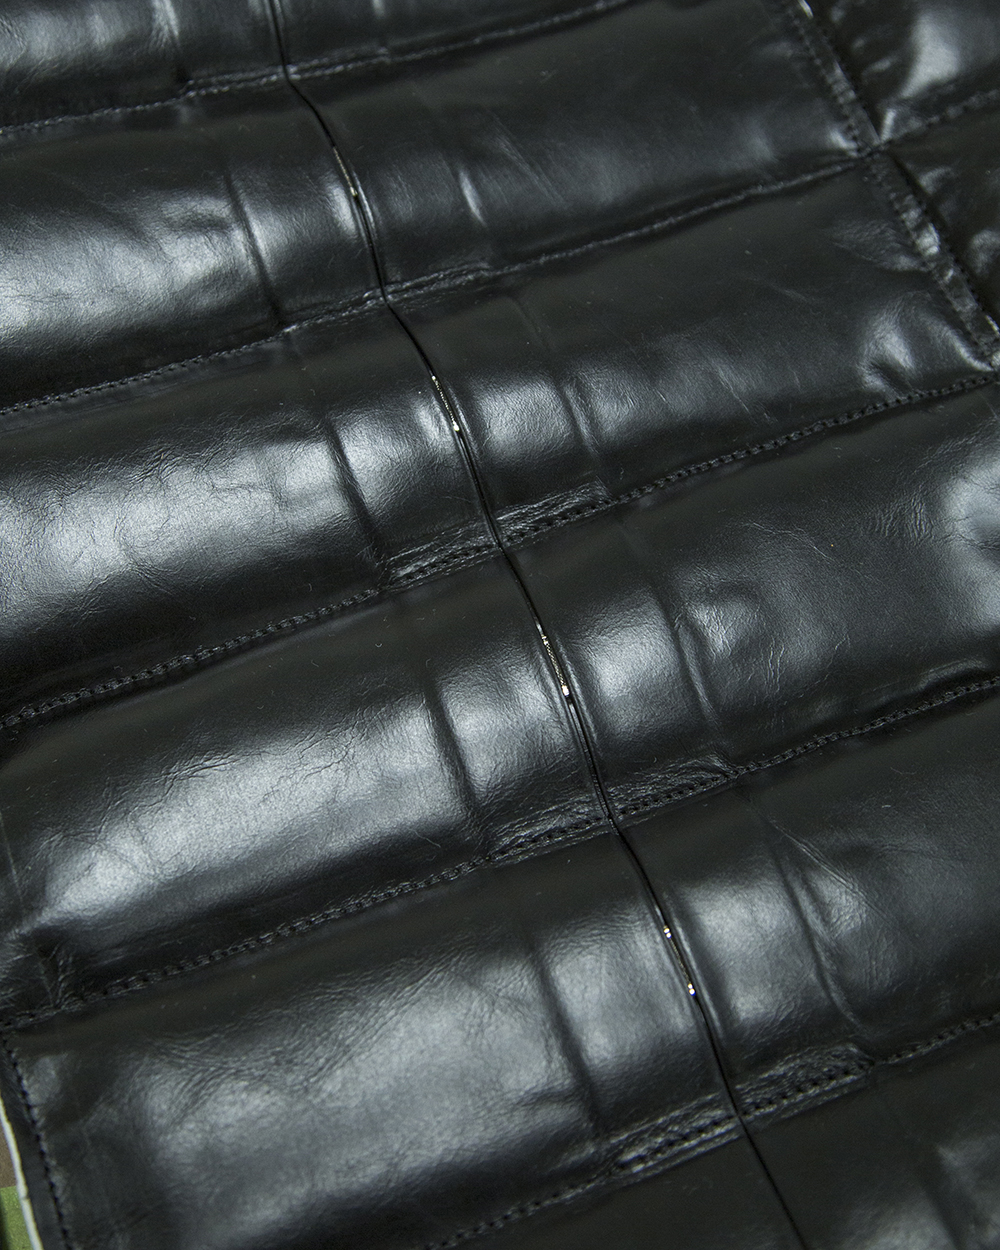
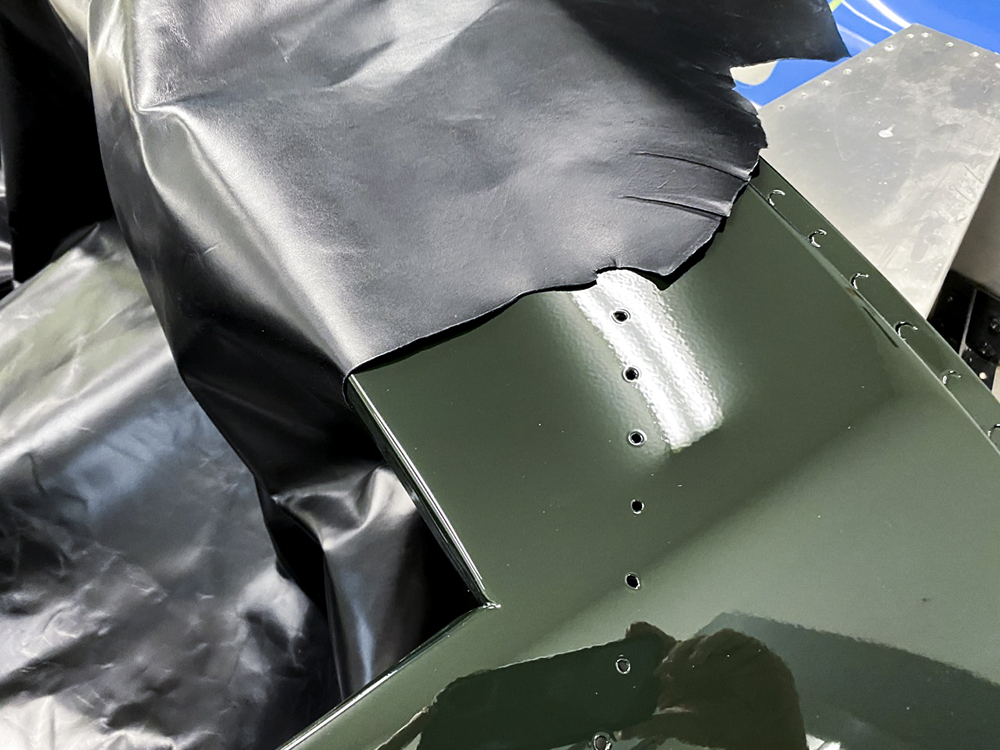
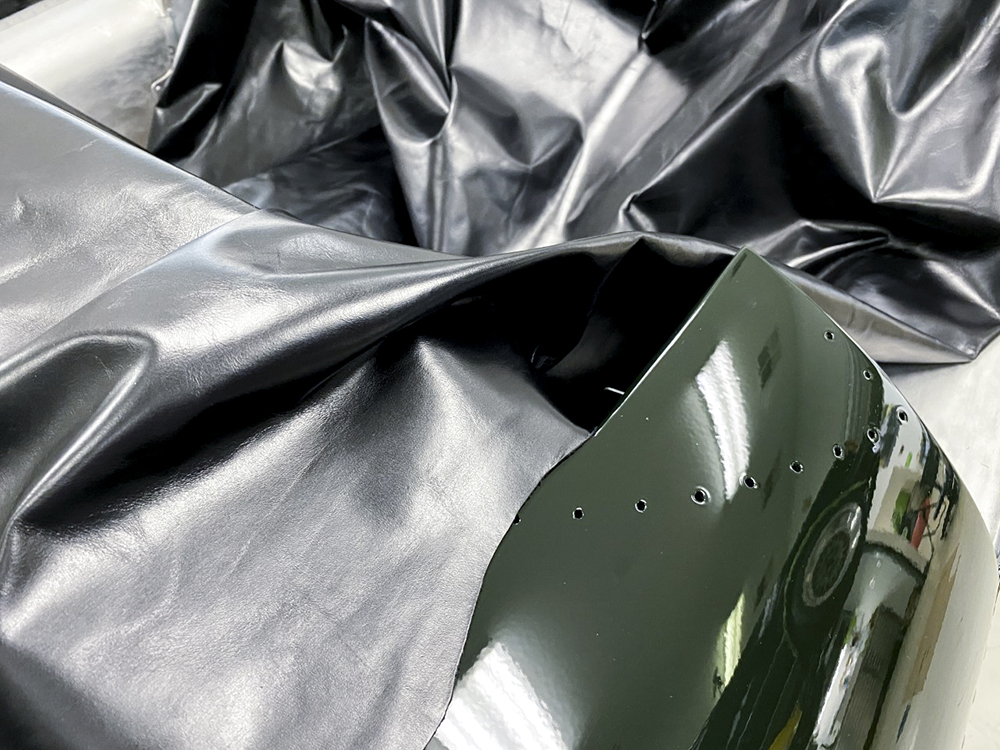
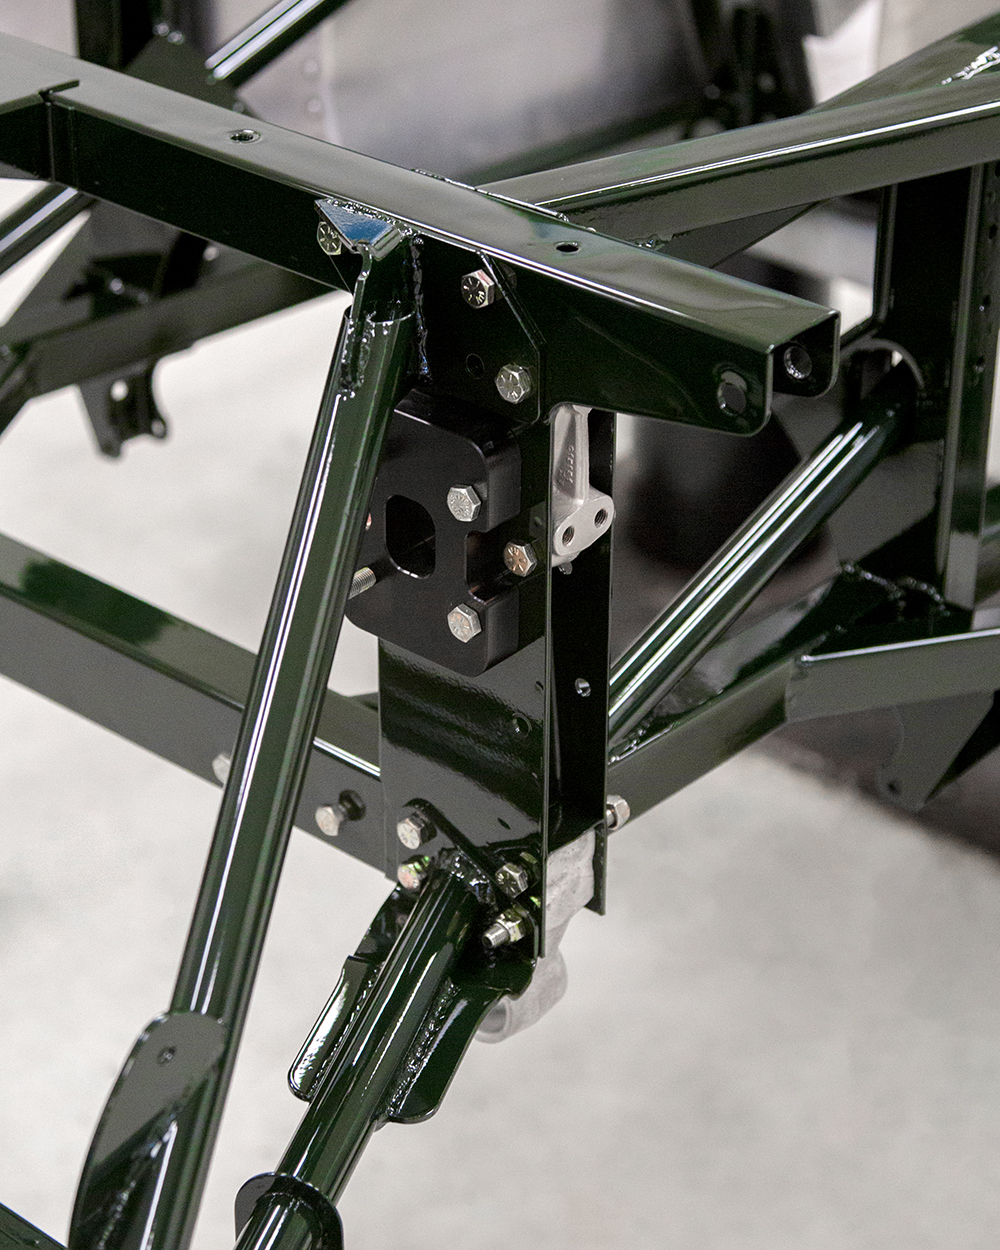
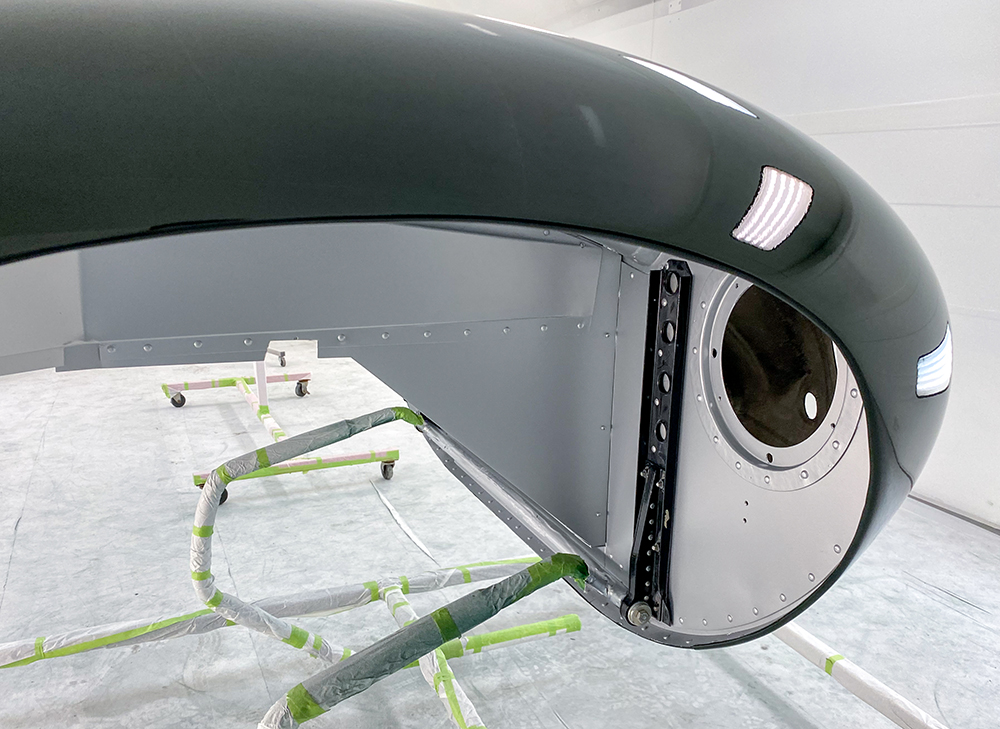
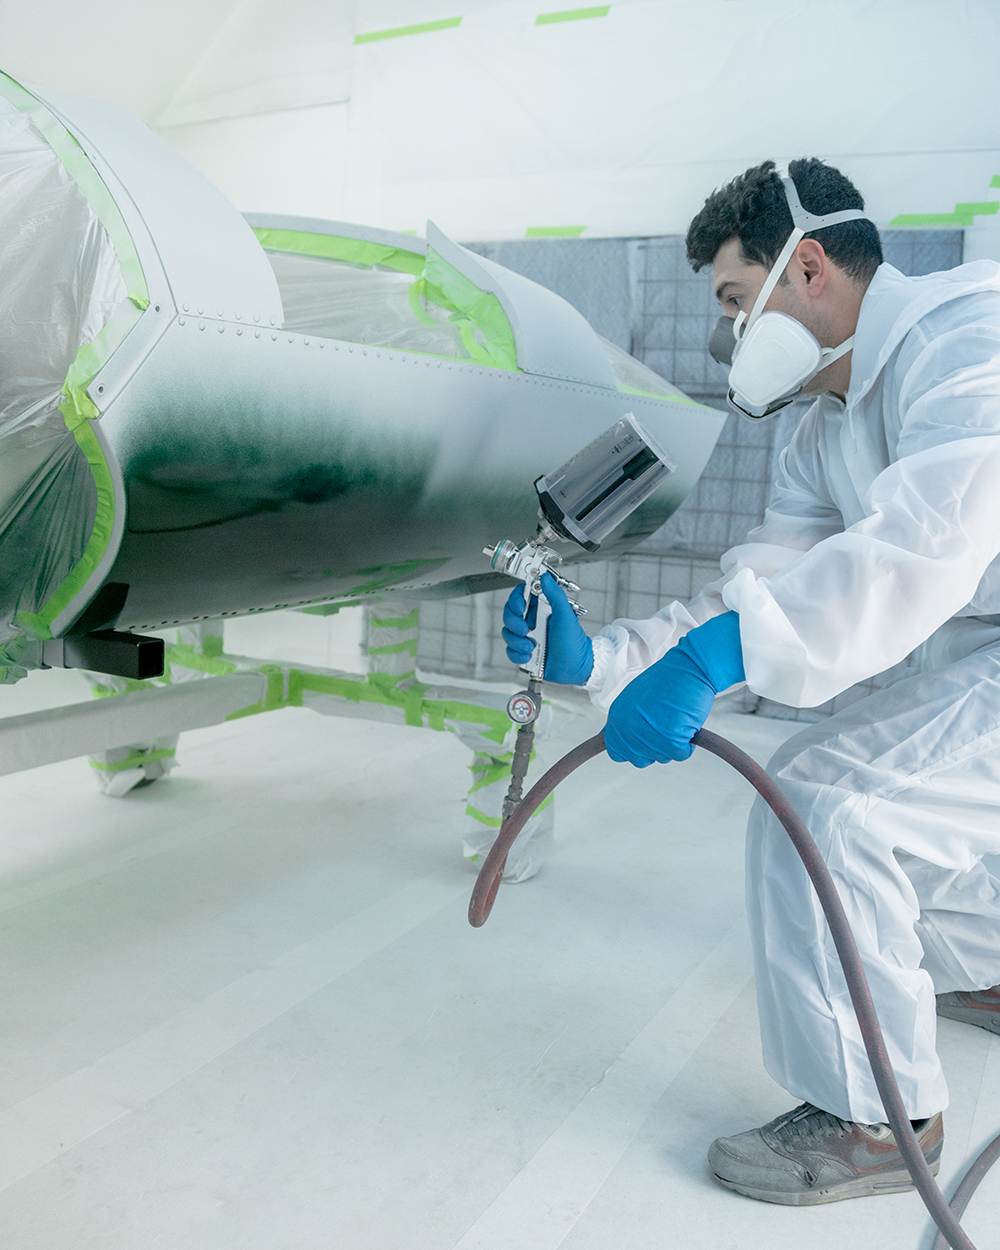
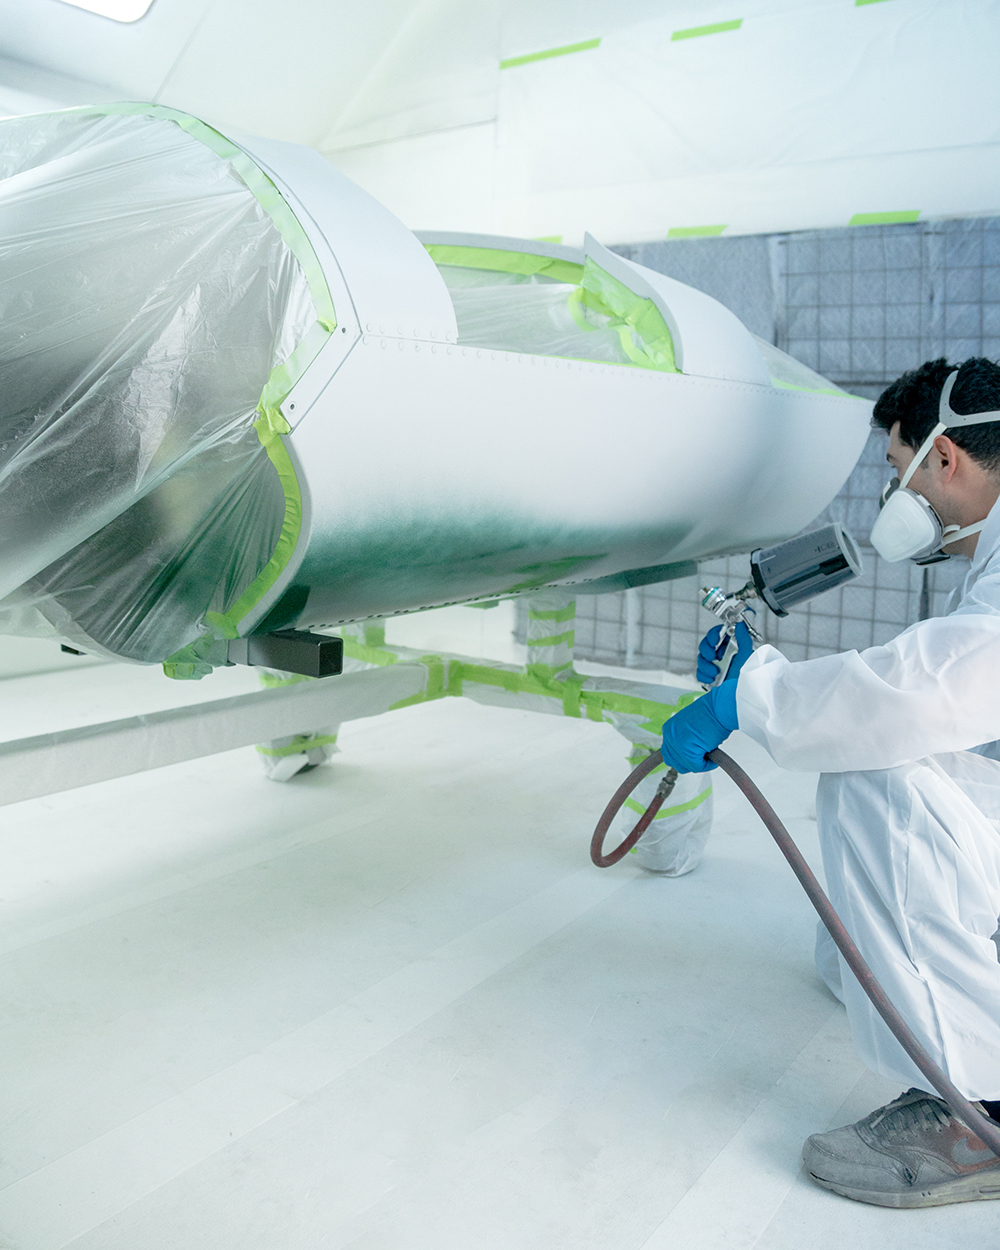
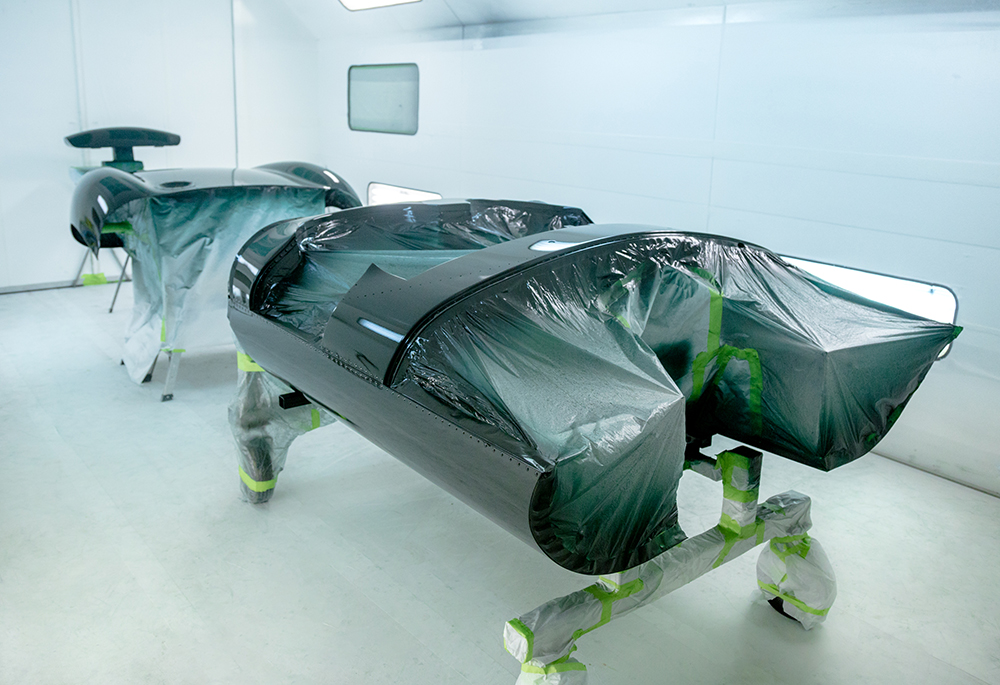
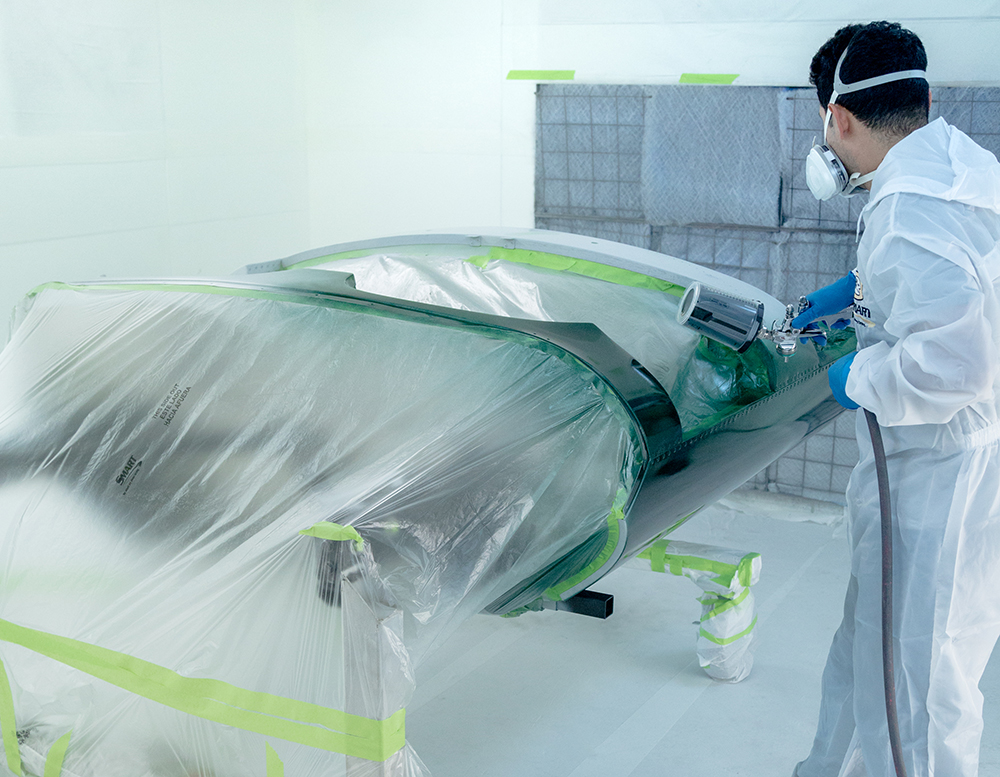
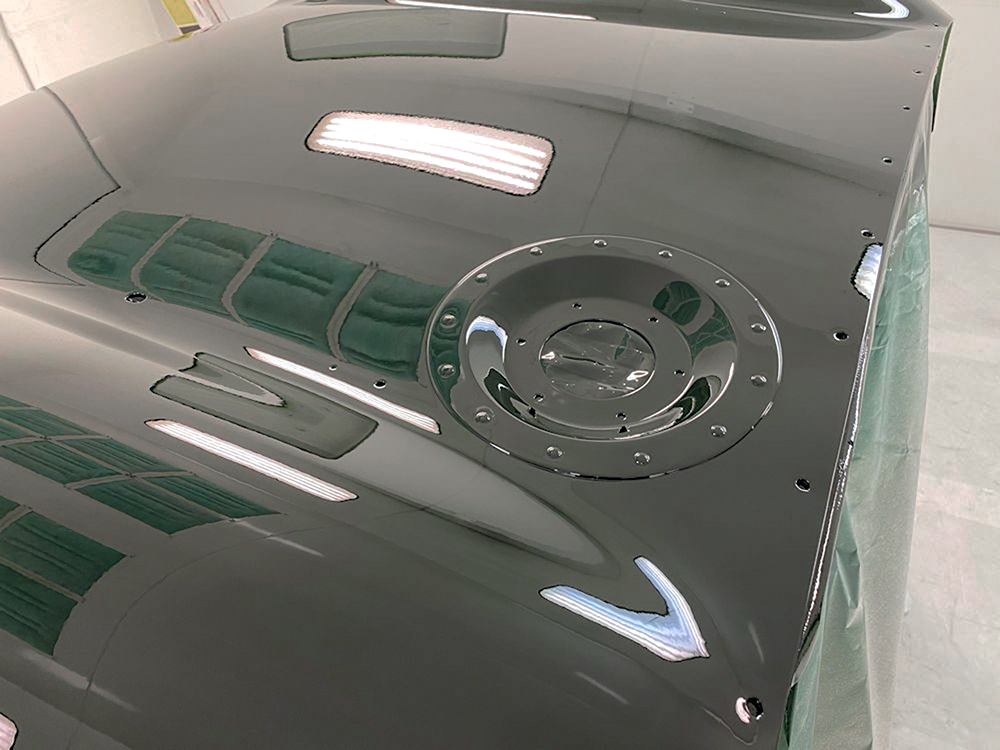
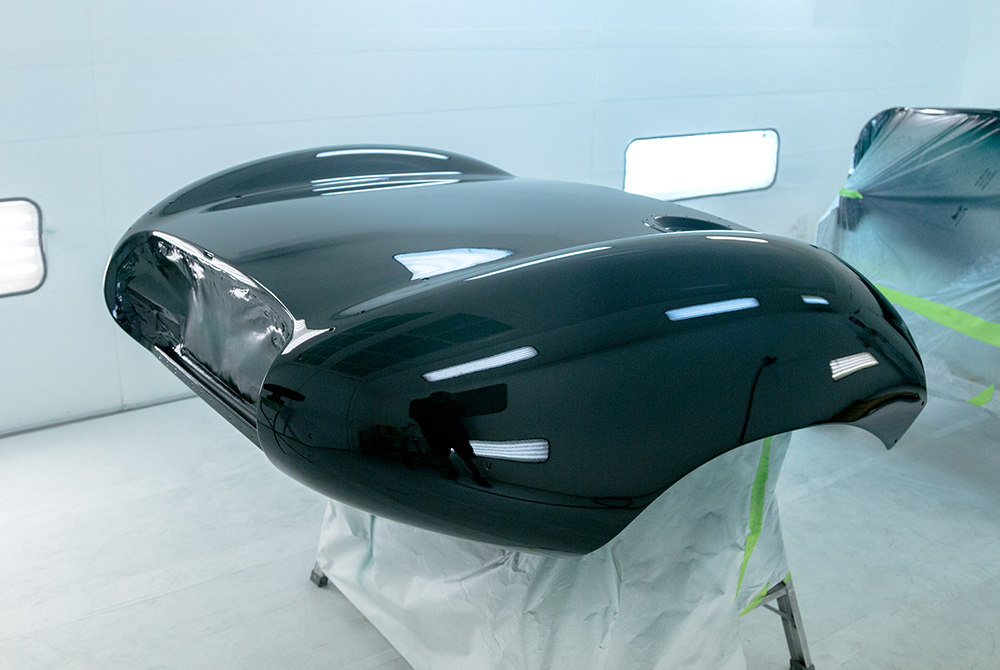
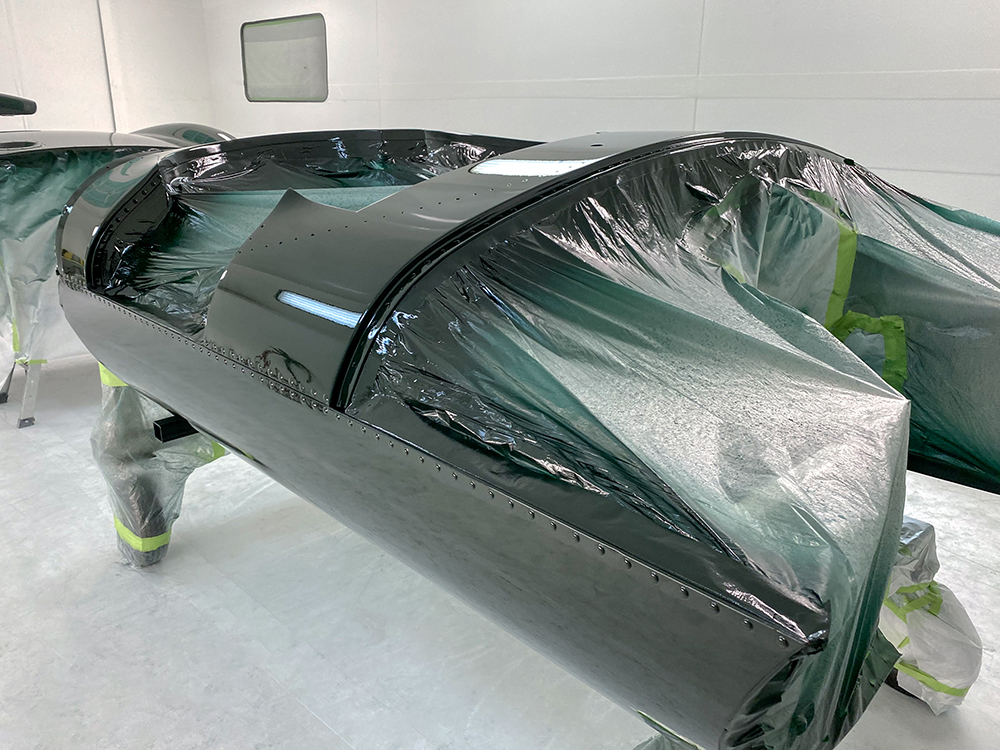
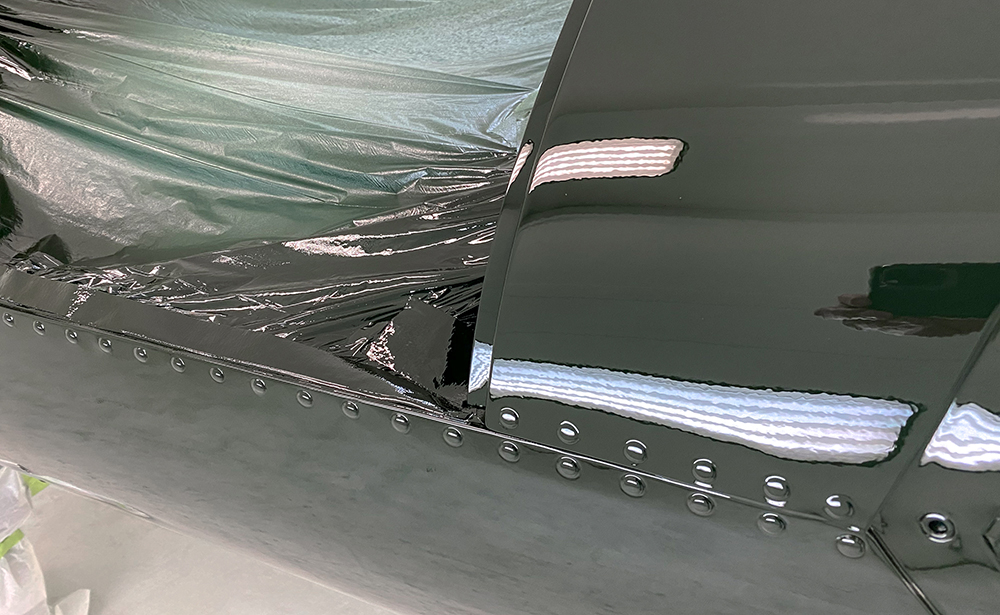
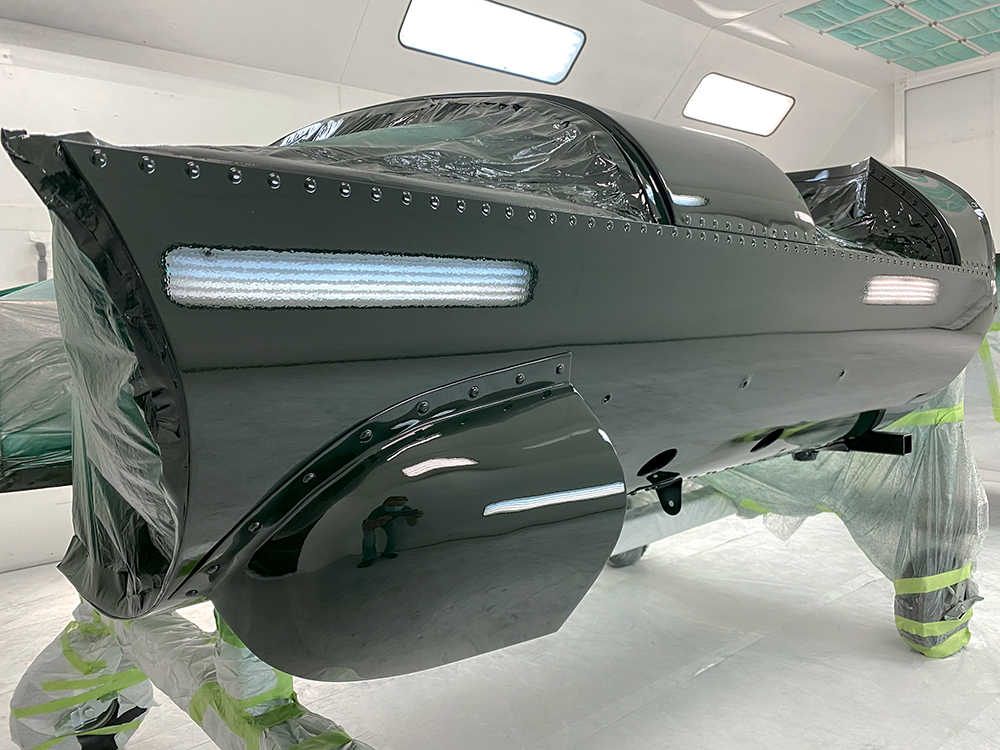
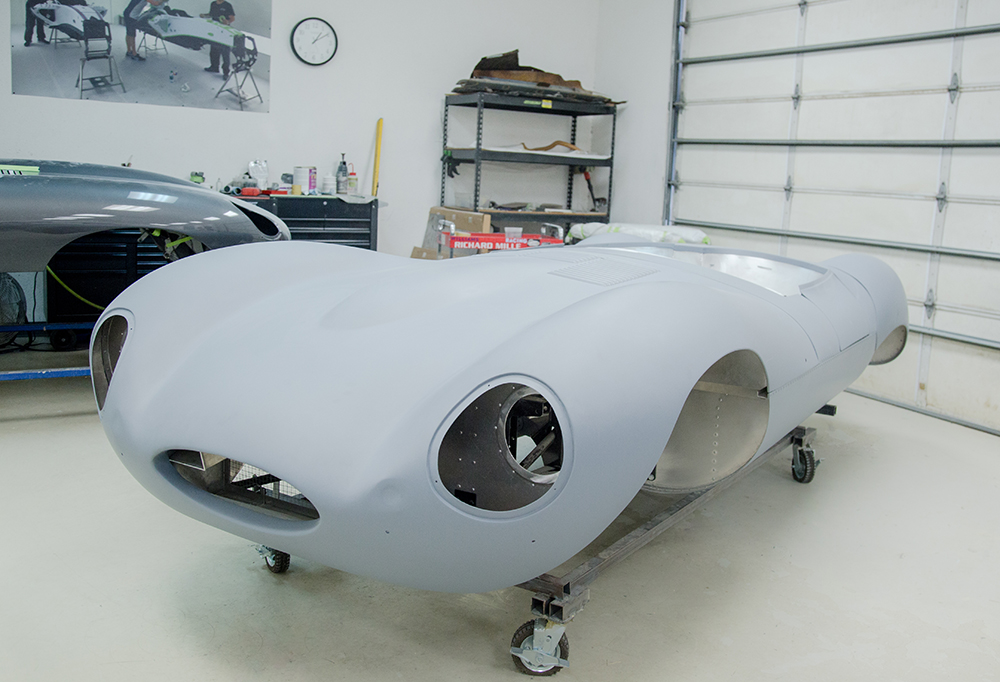
The car will be finished in British Racing Green with black hides.
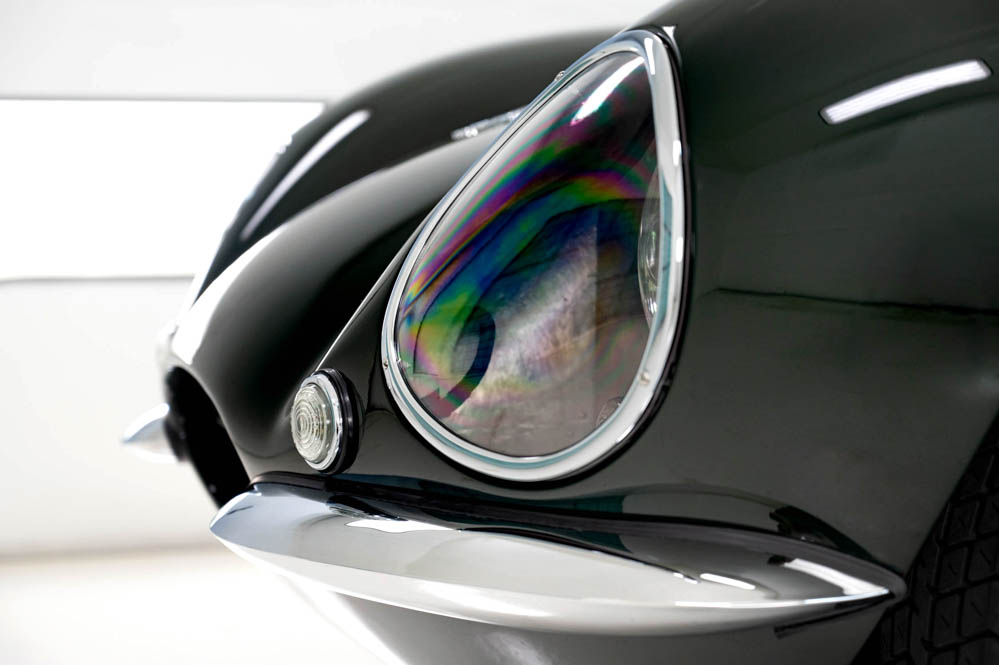
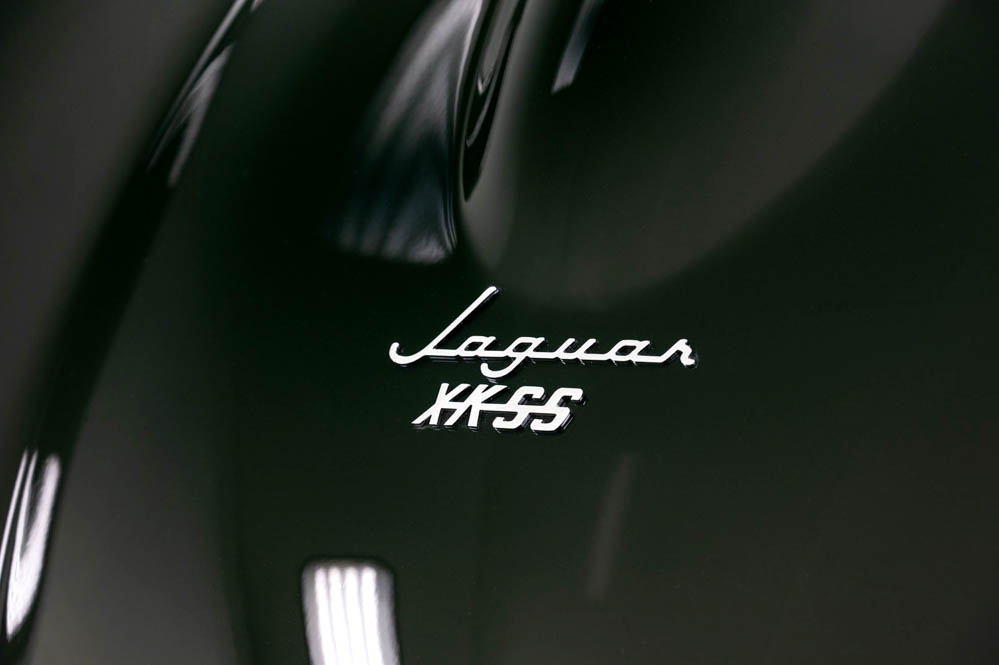
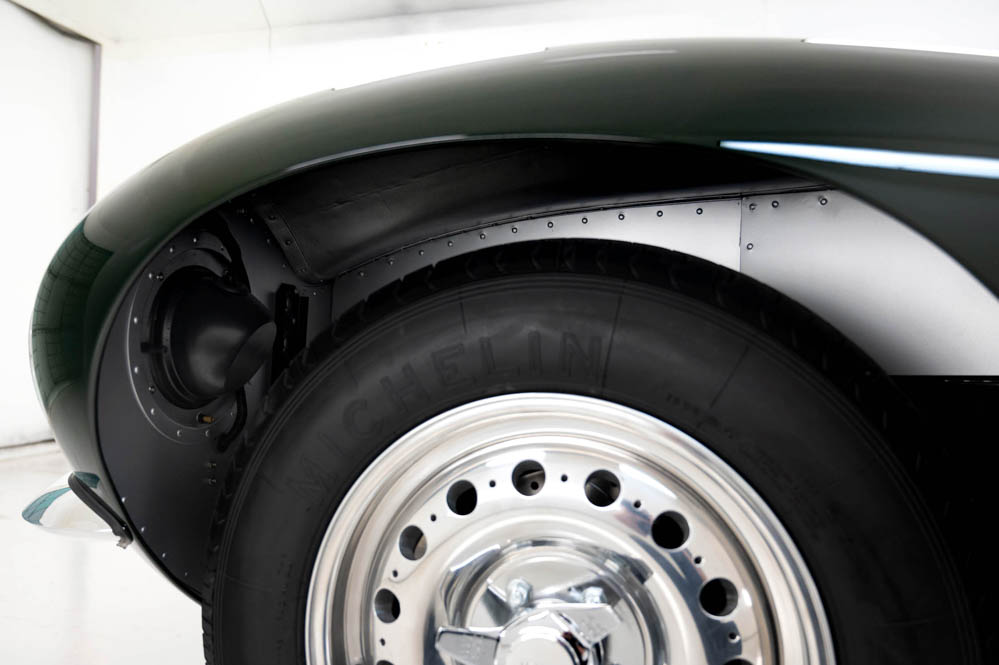
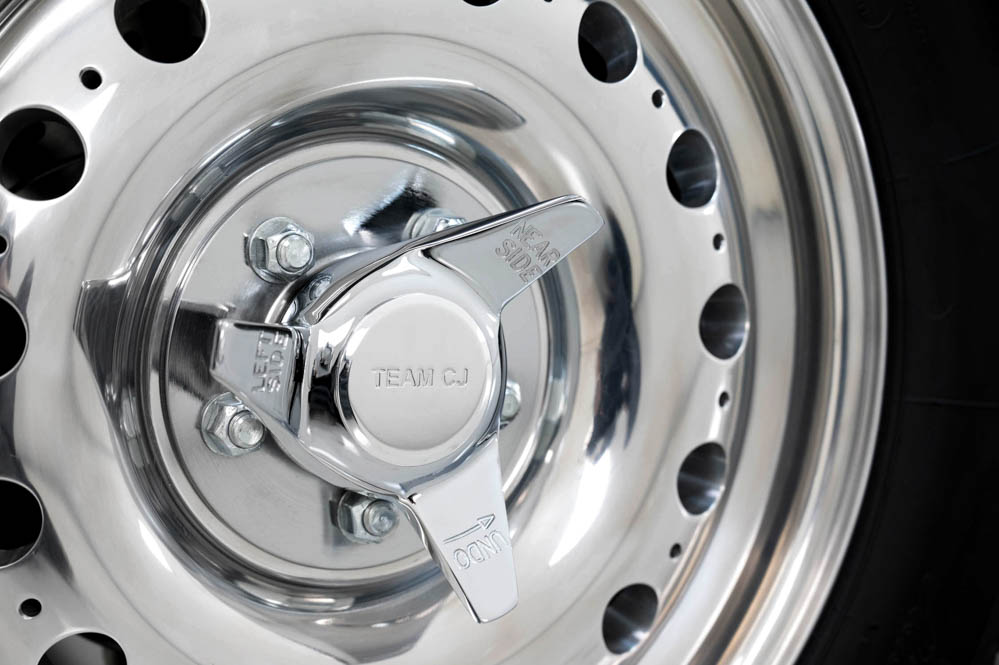
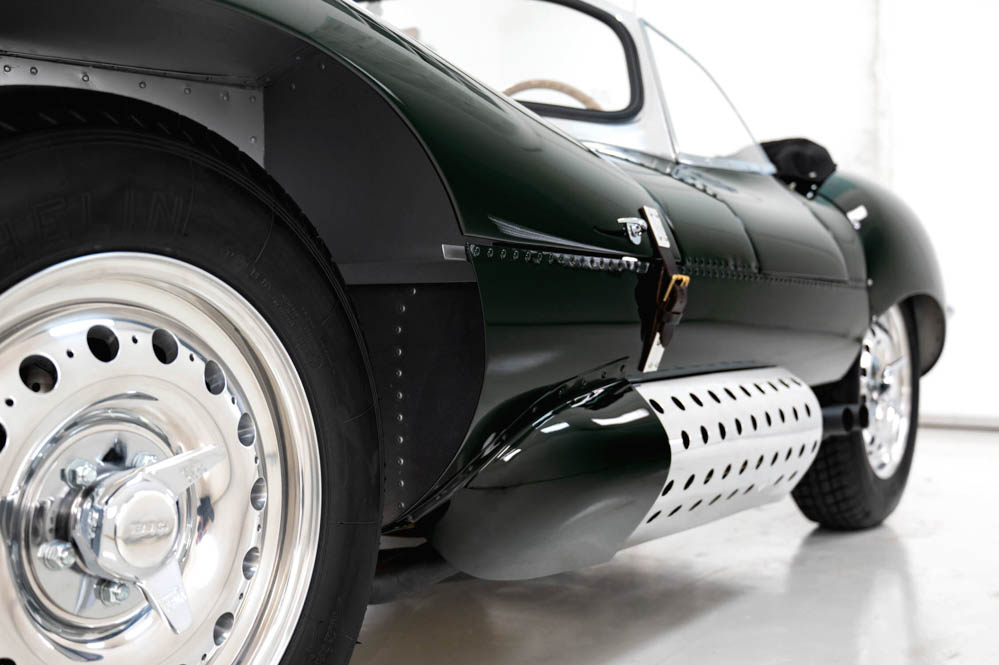
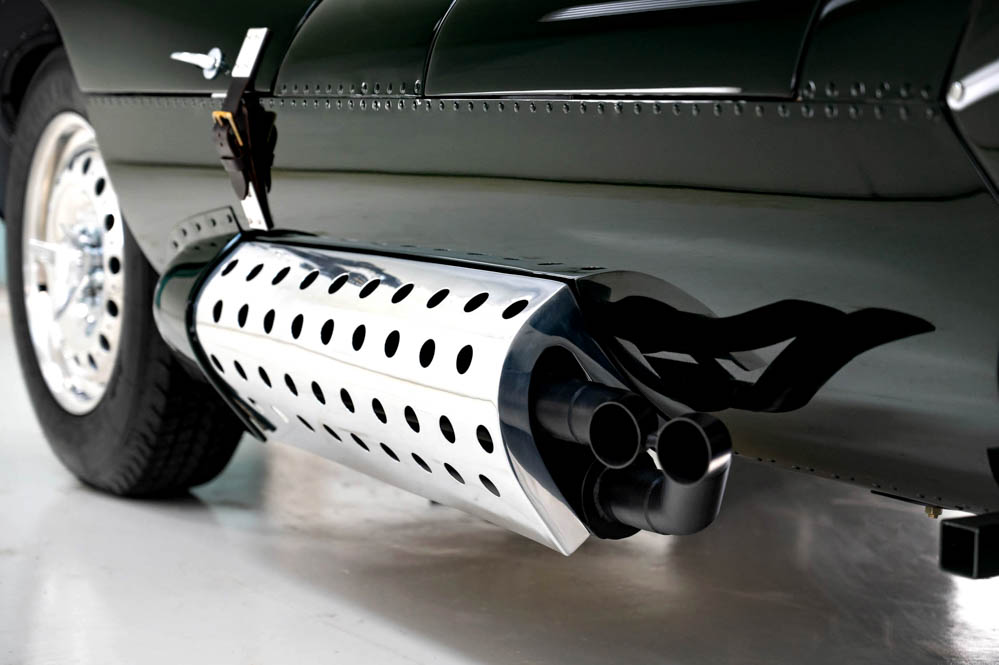
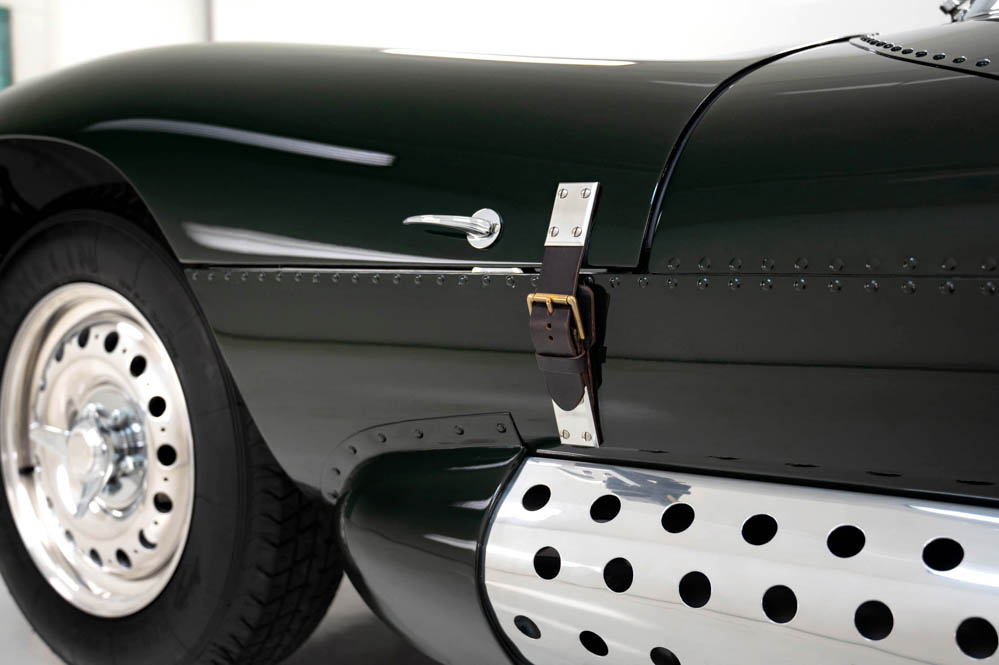
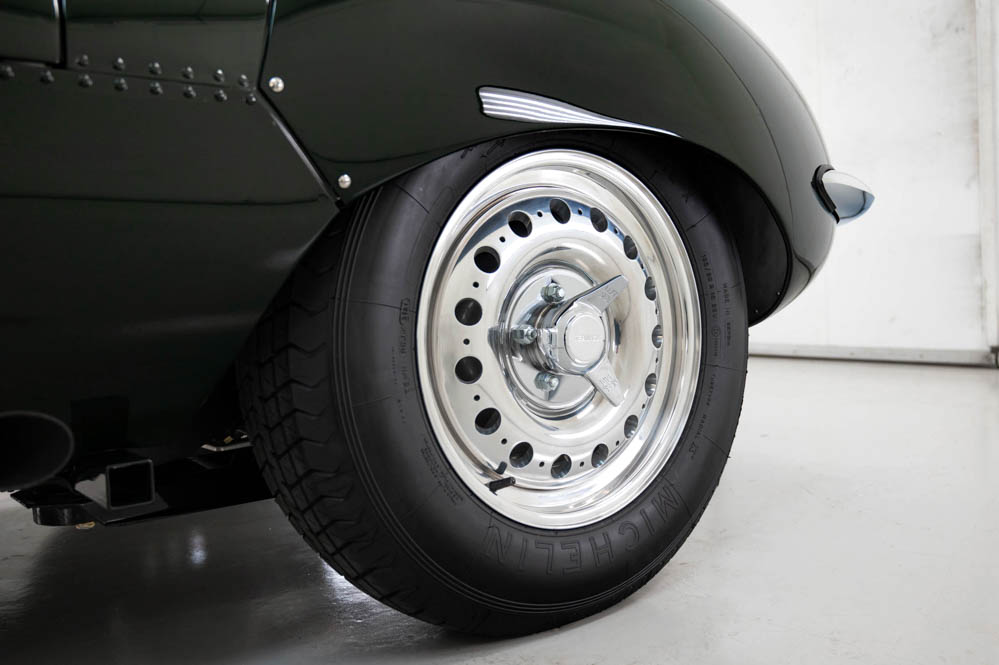
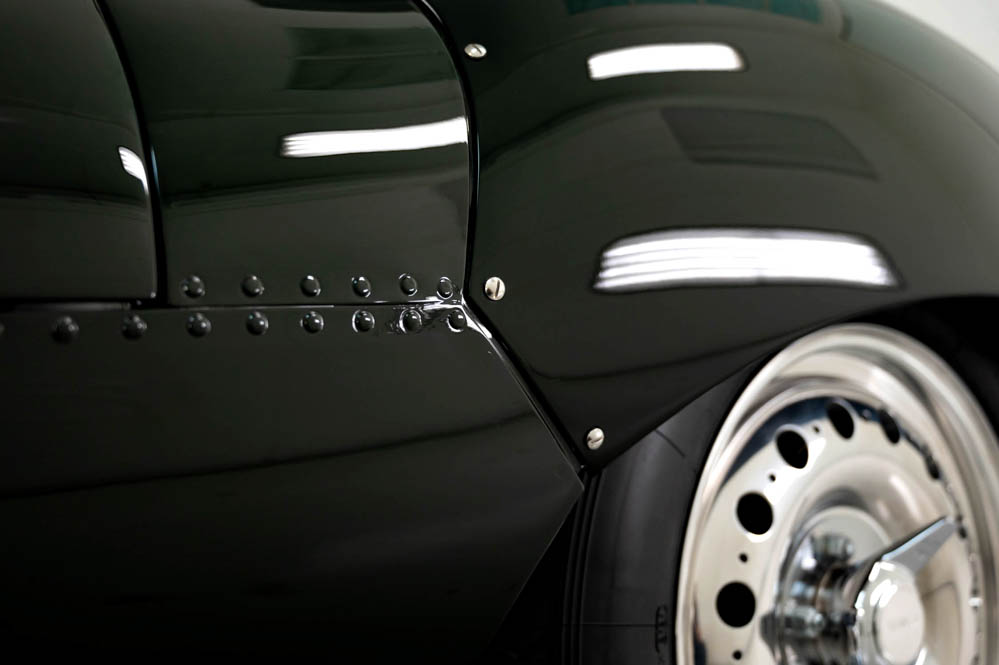
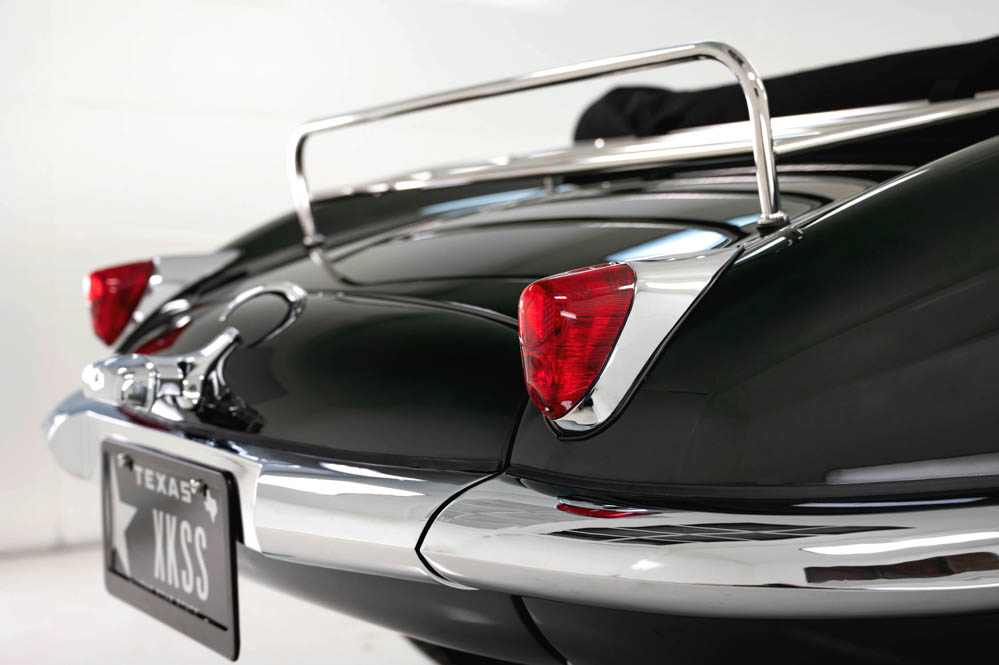
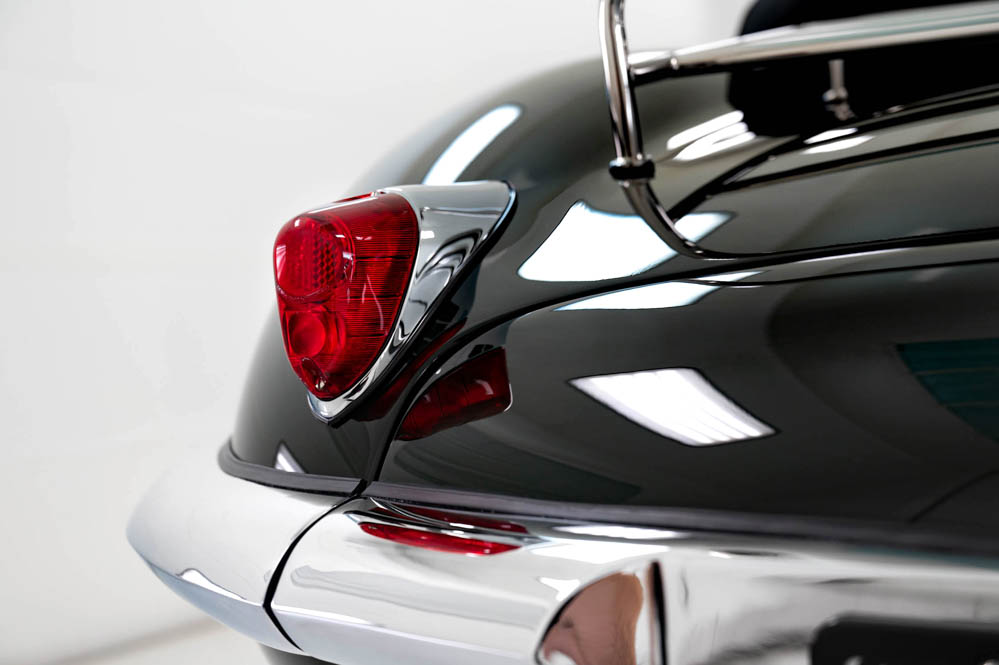
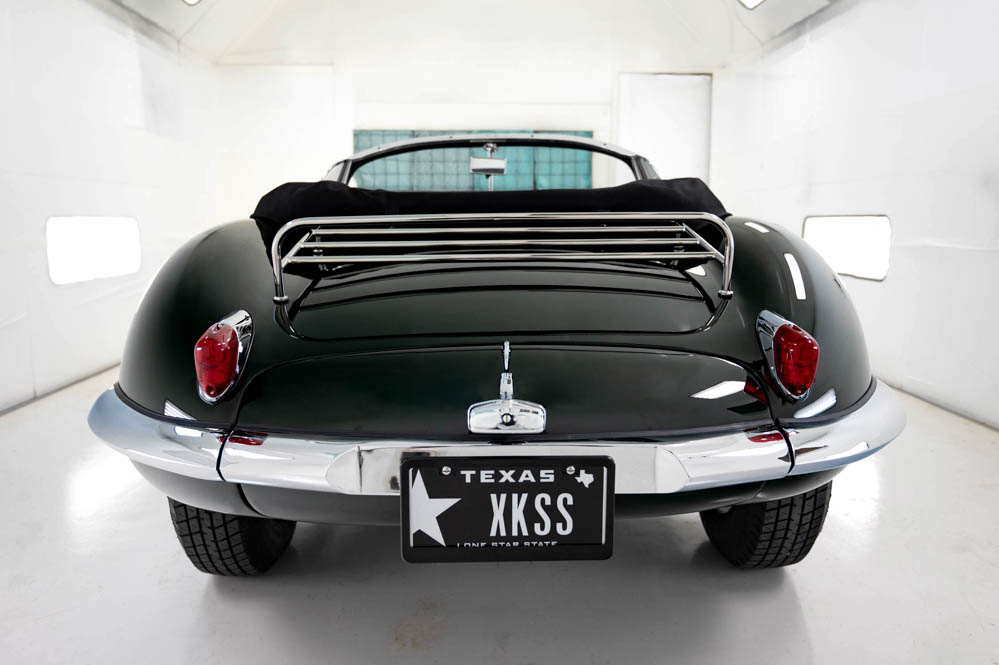
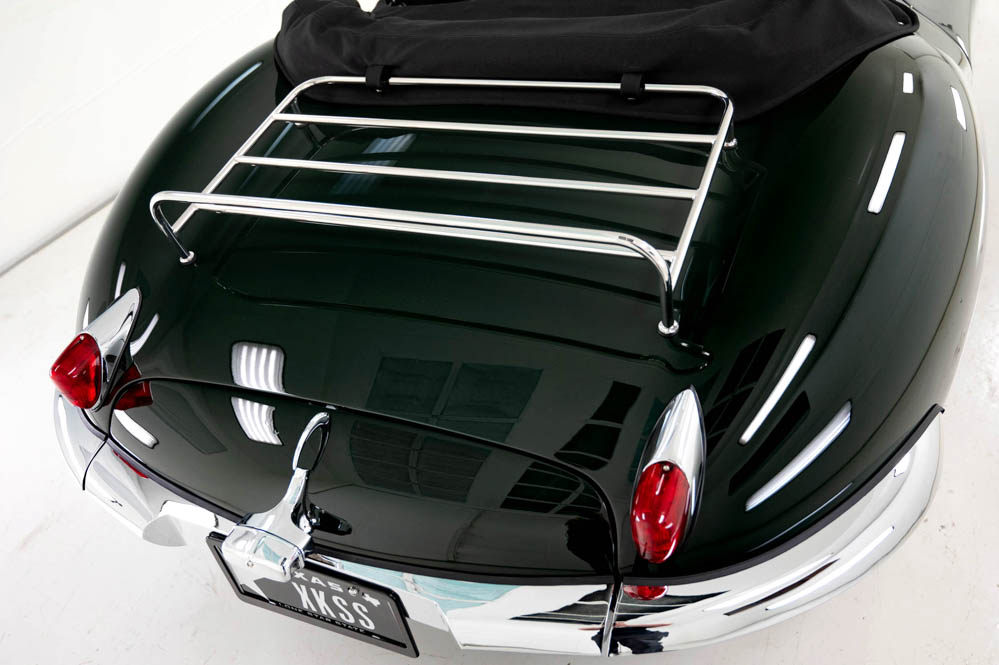
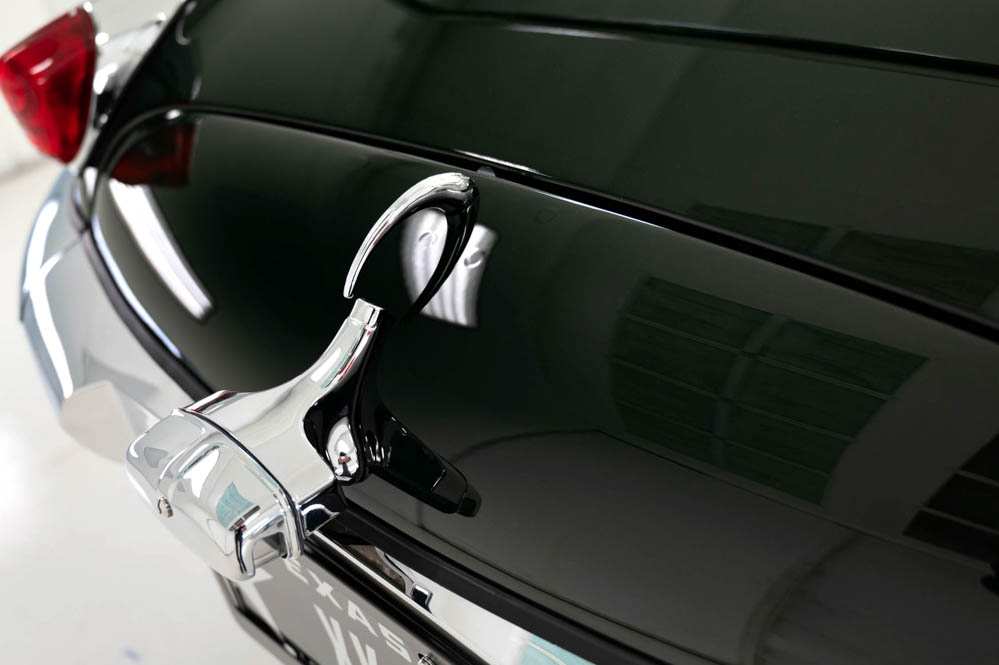
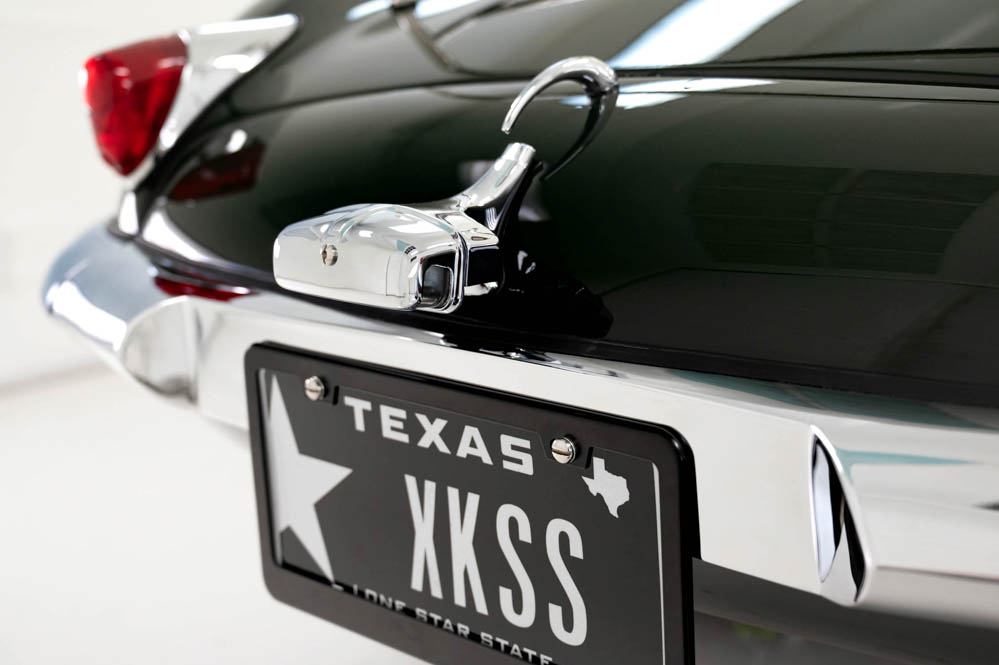
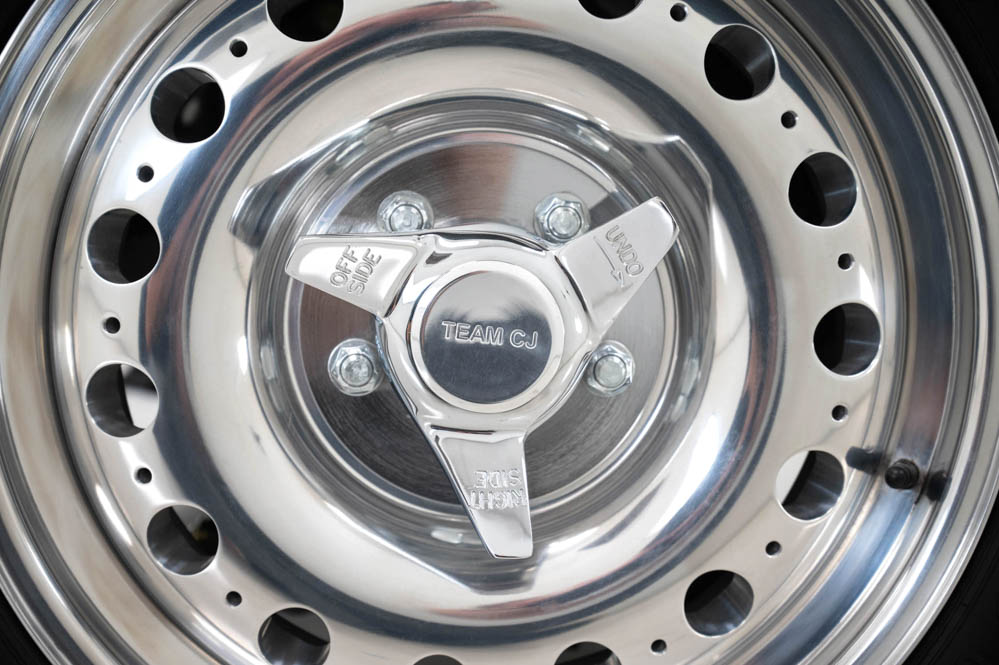
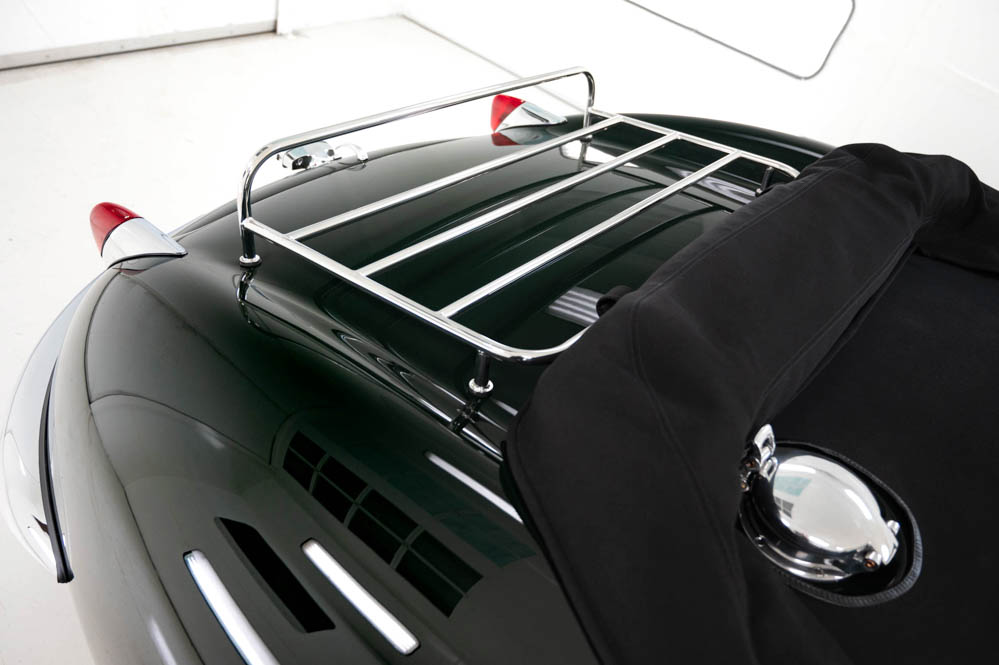
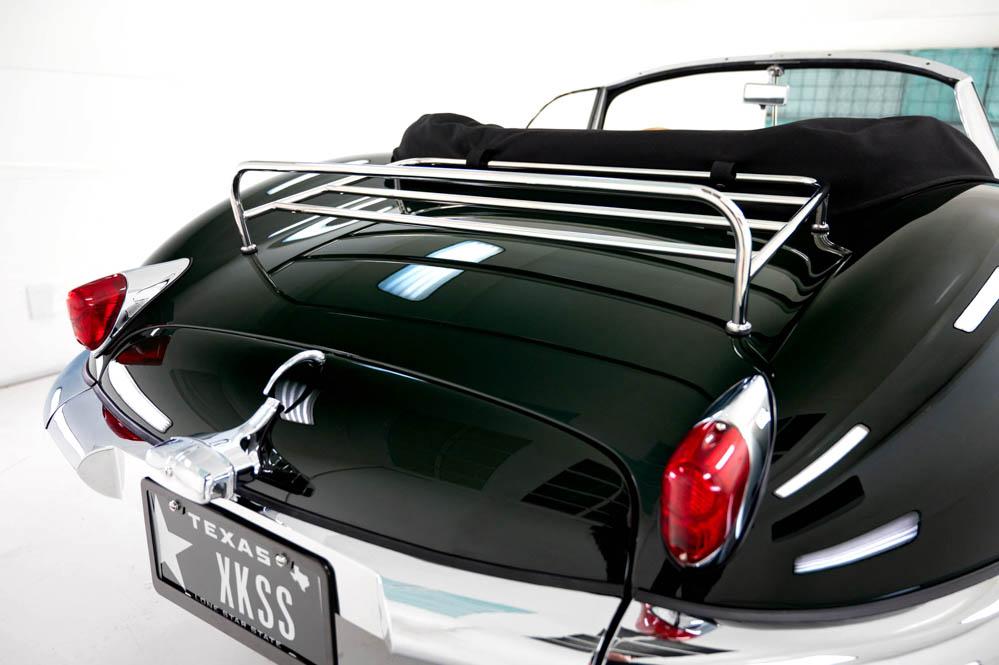
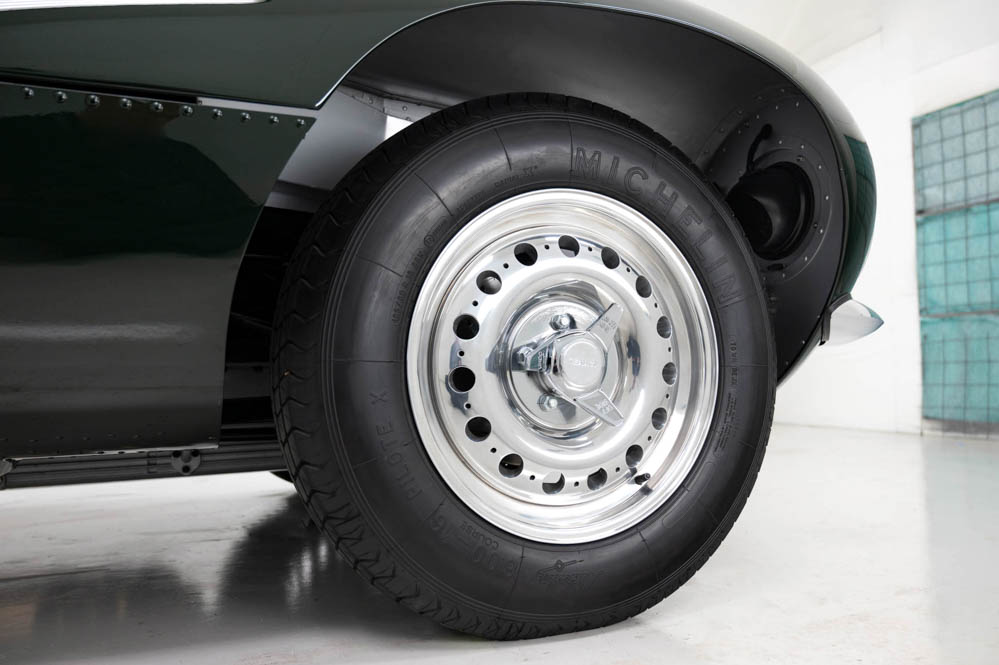
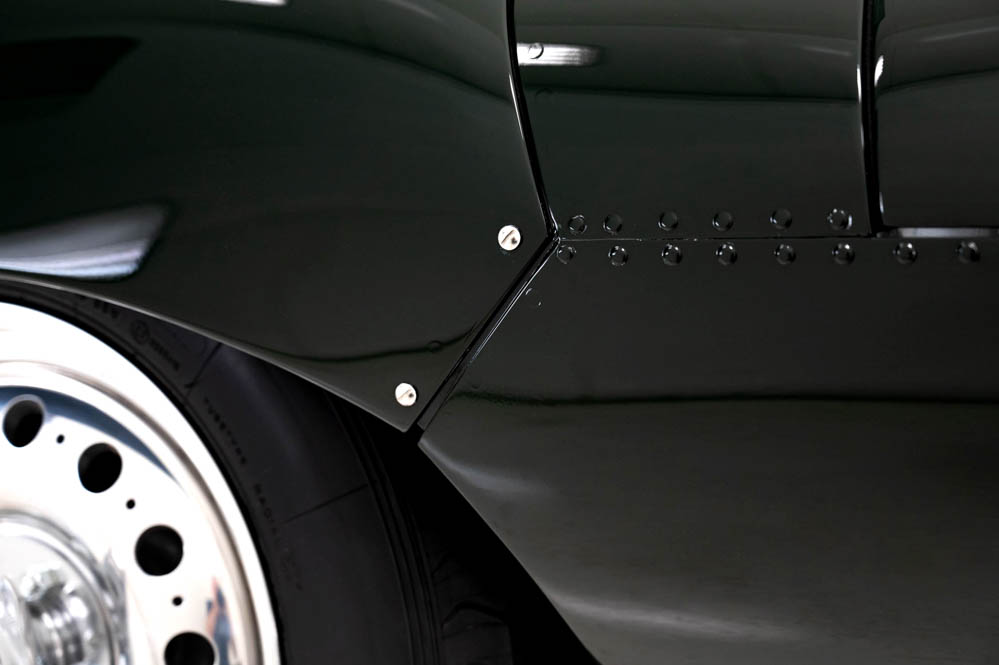
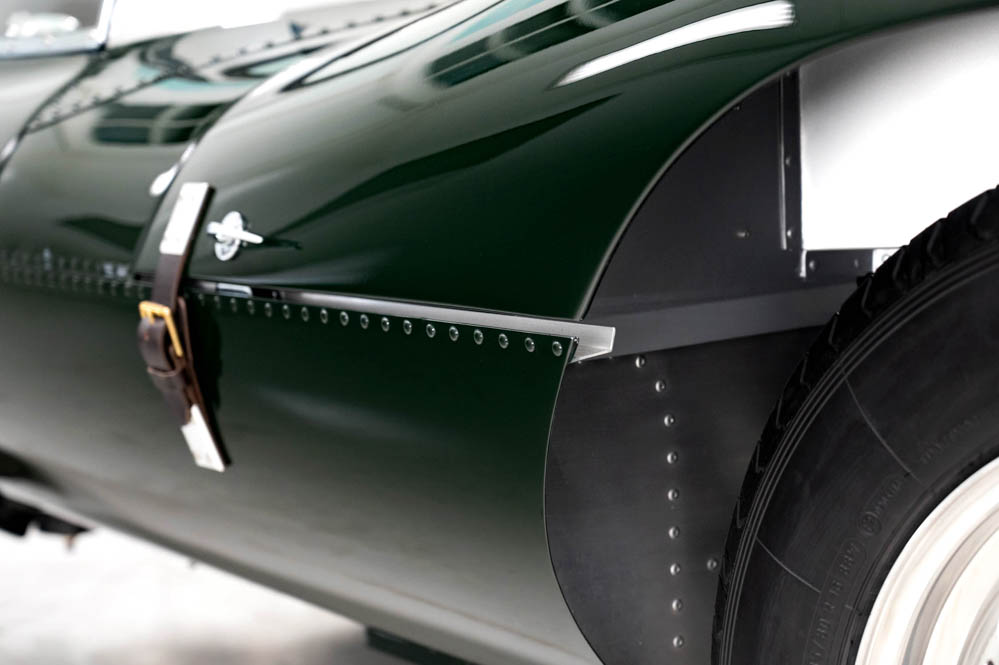
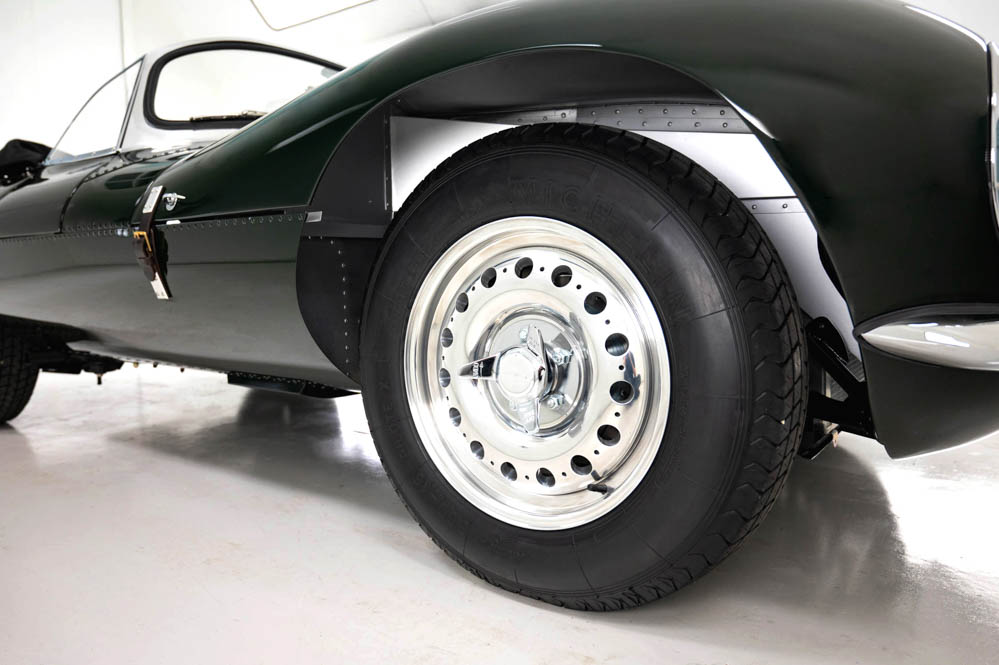
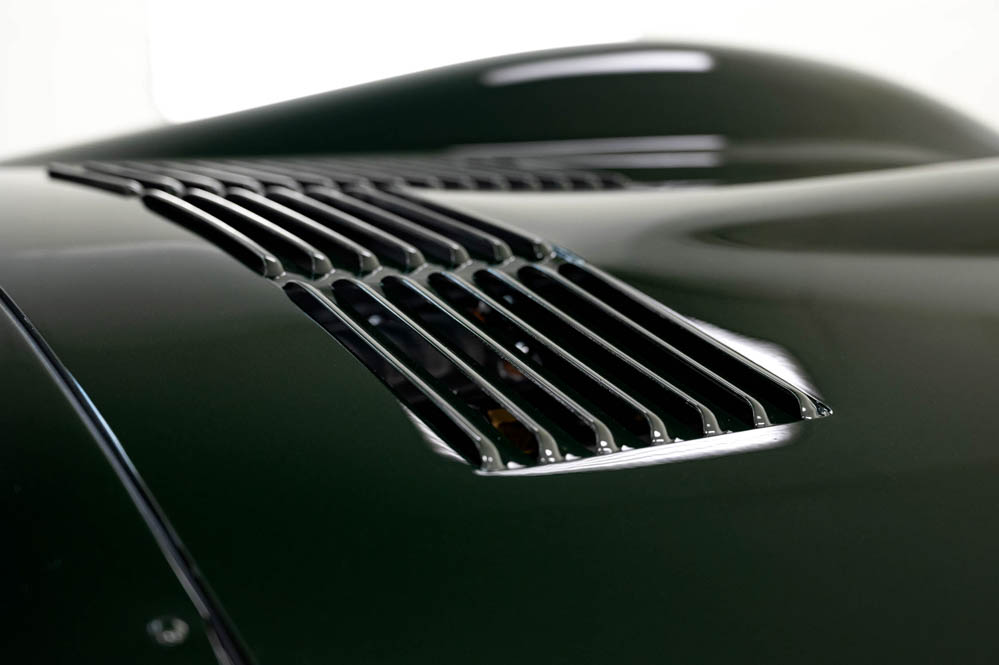
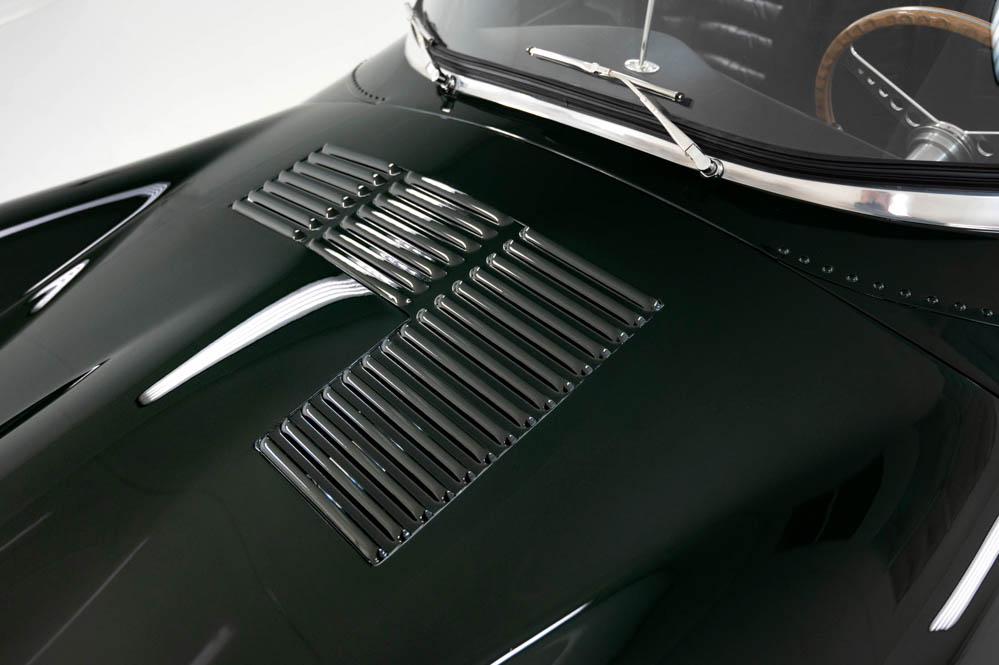
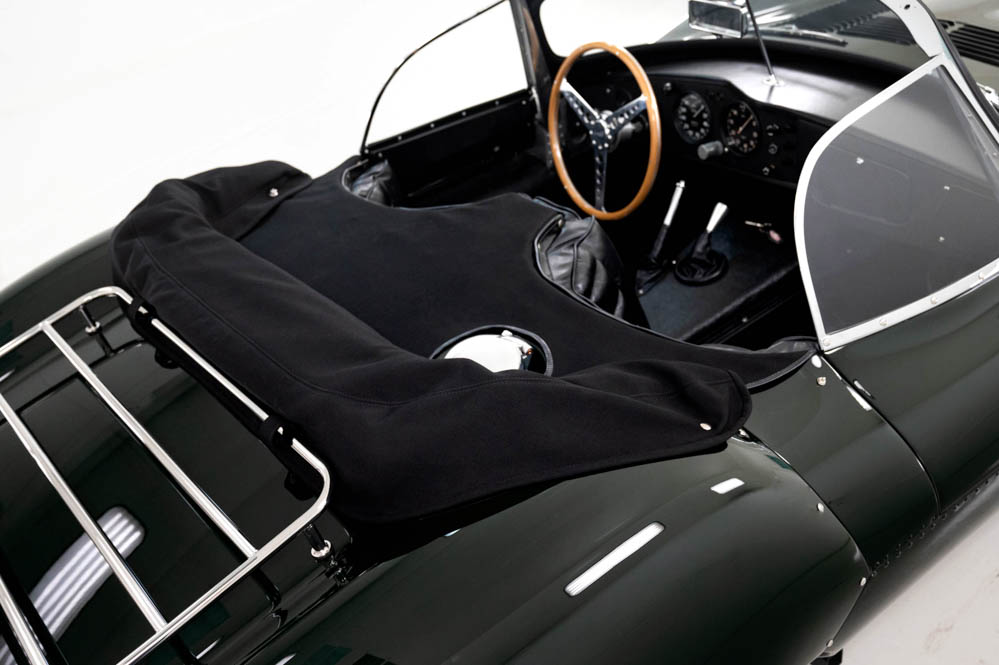
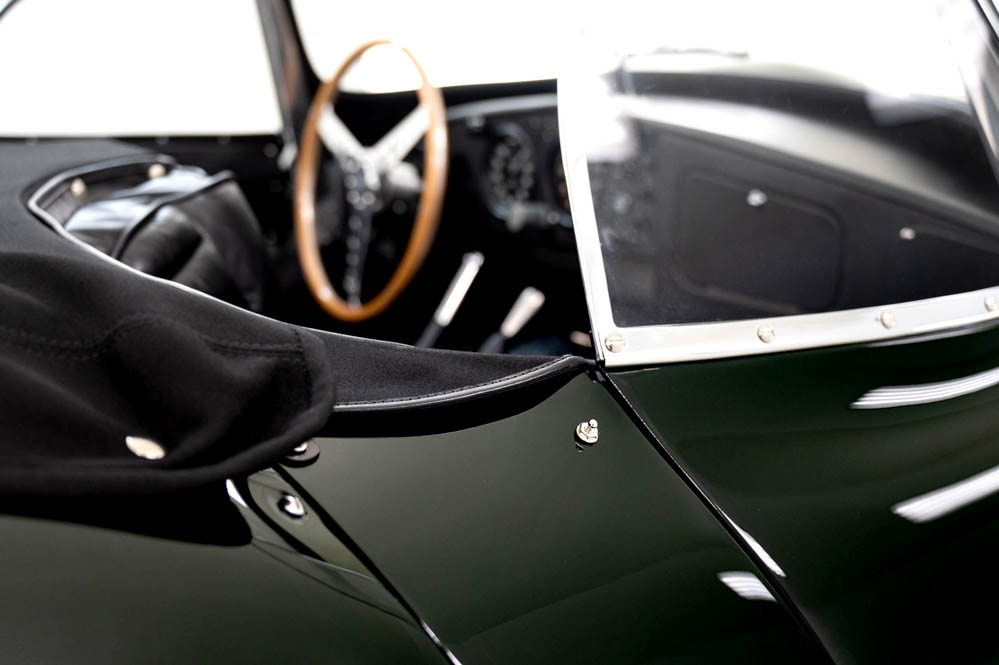
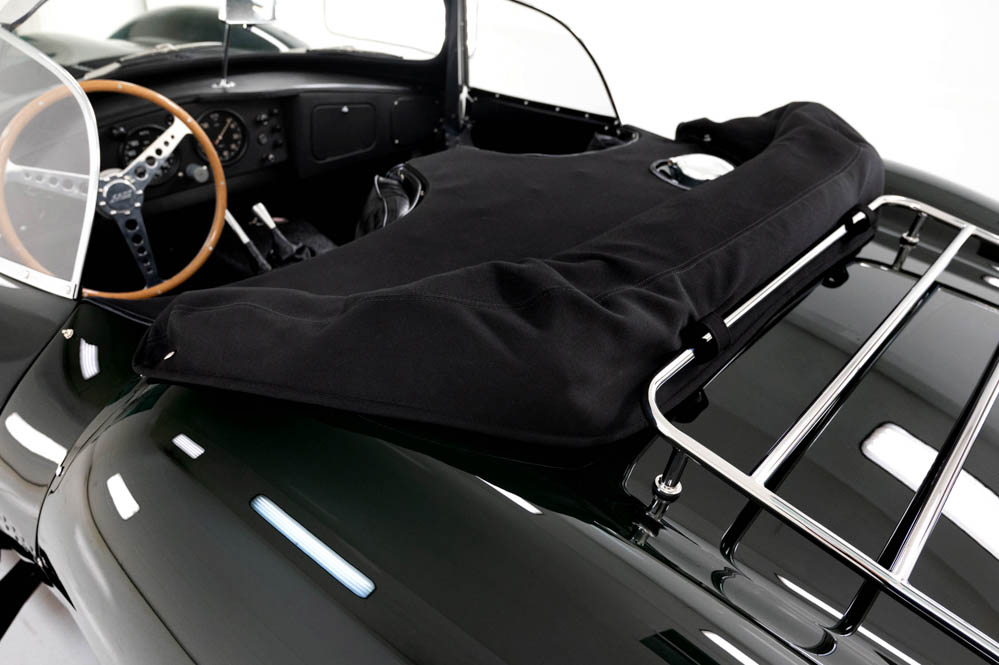
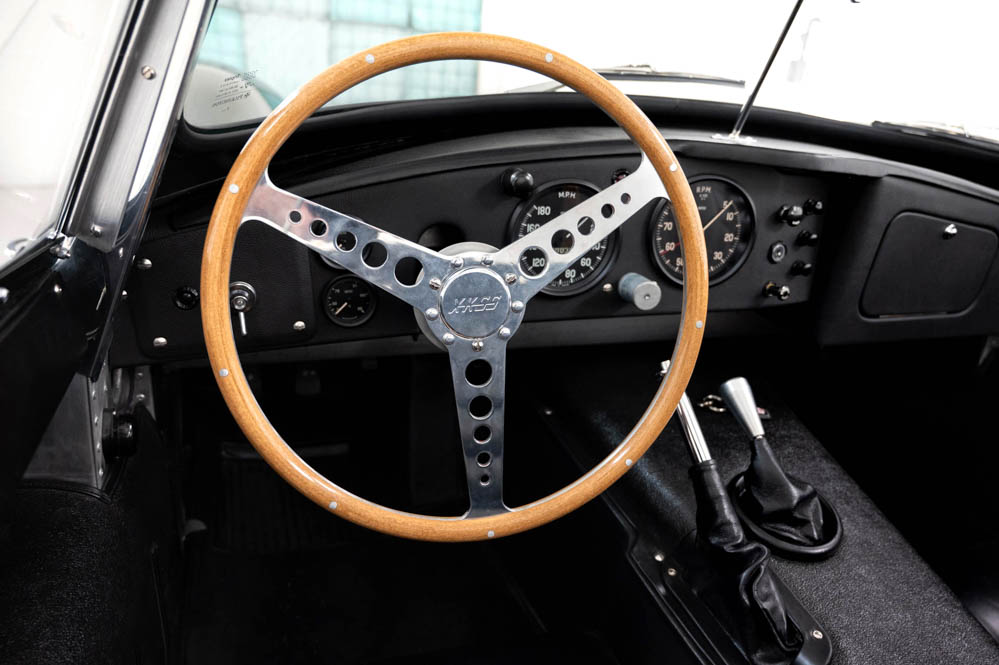
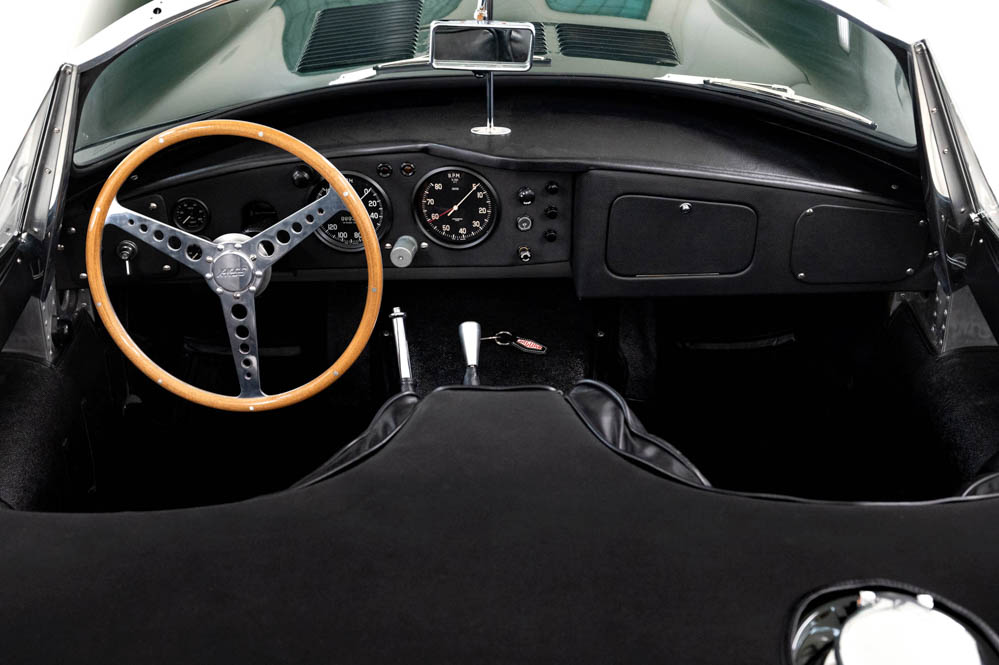
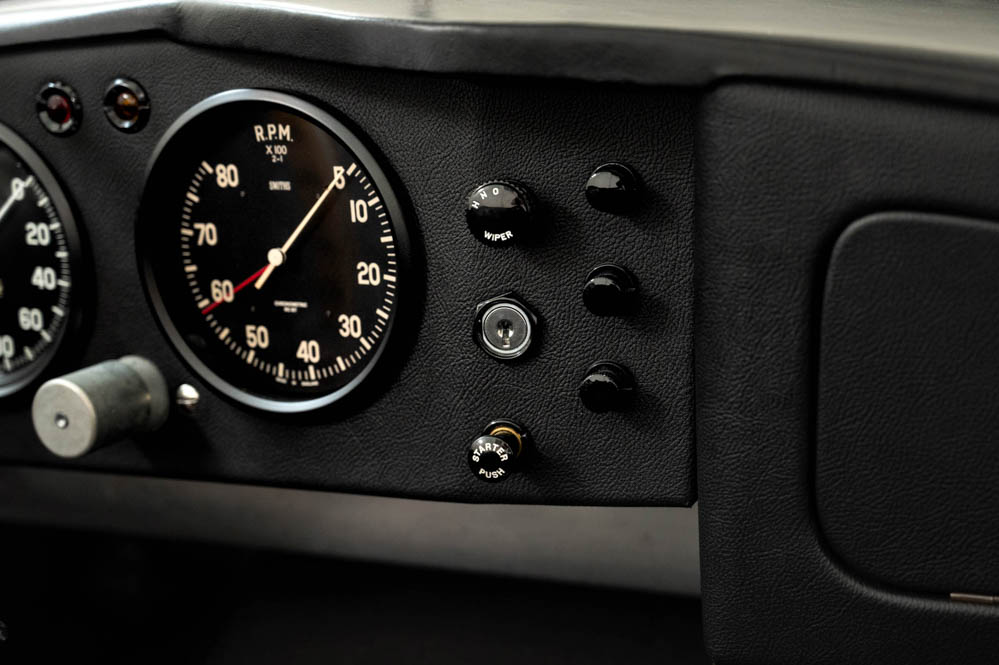
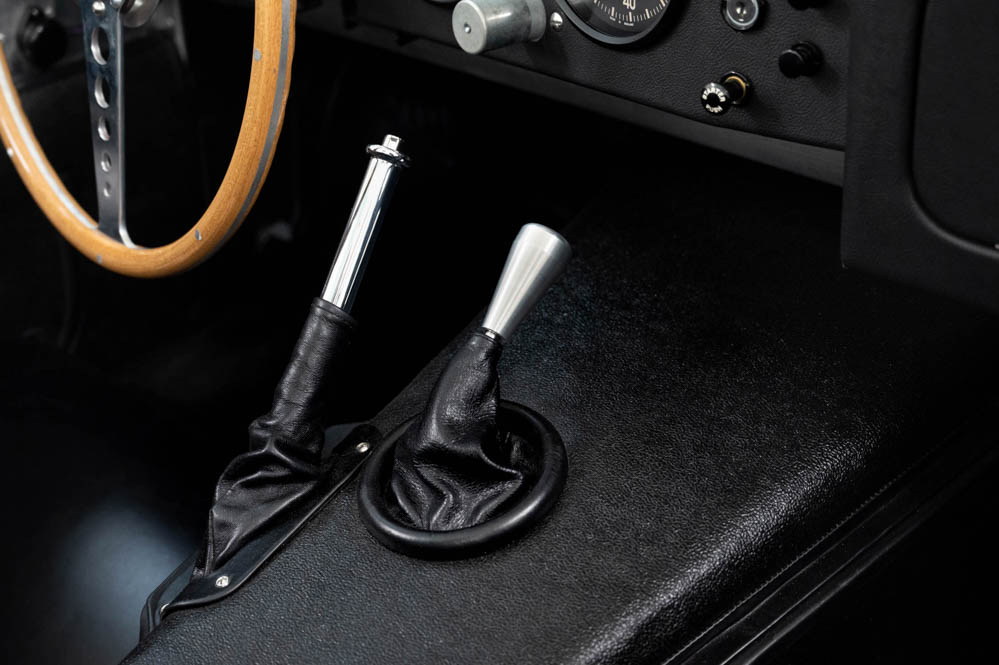
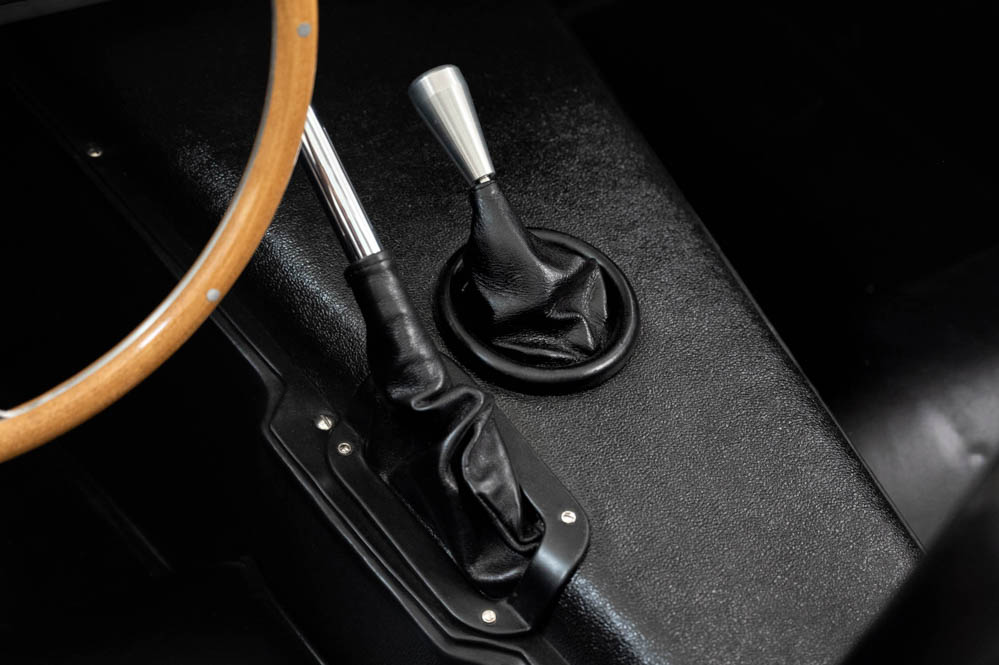
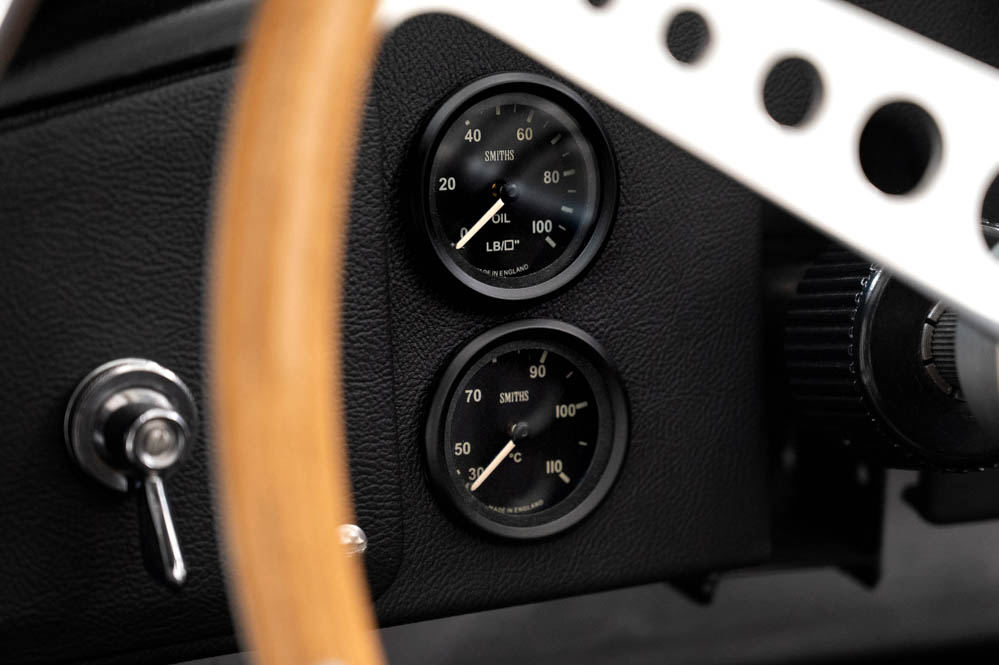
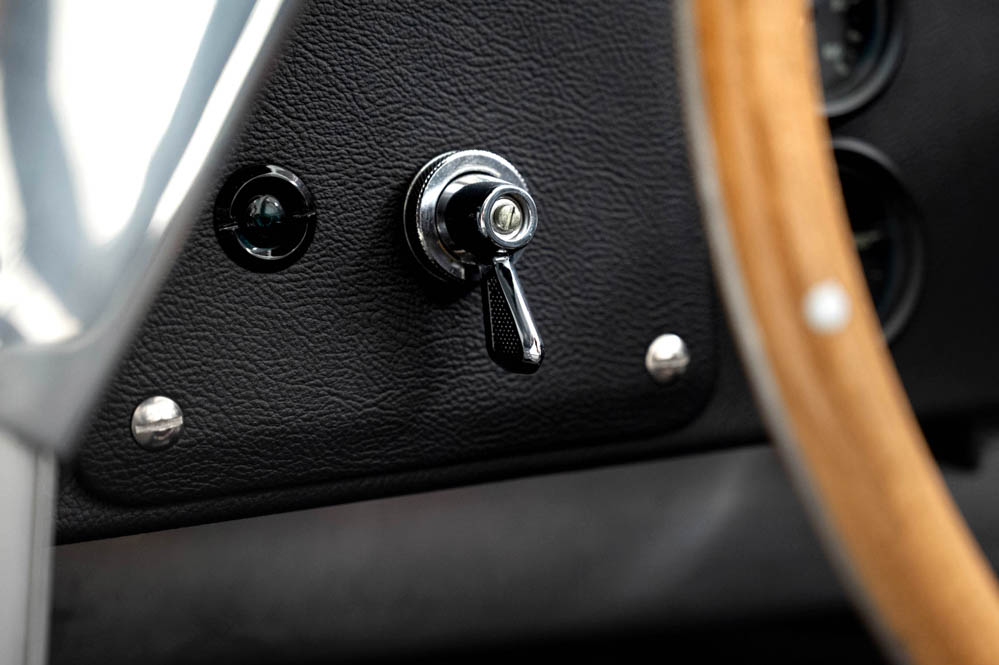
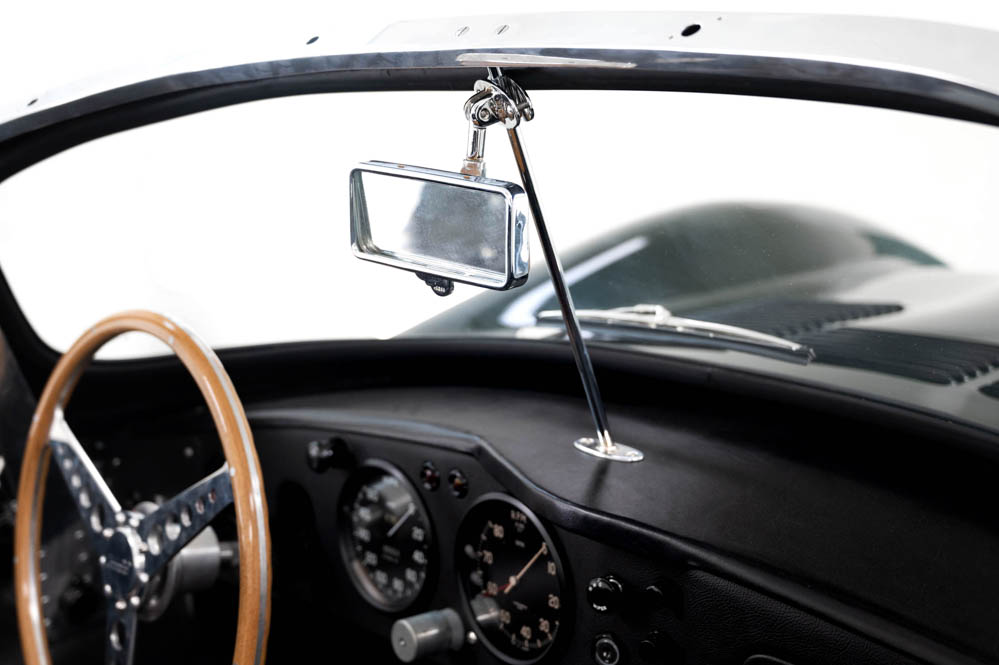
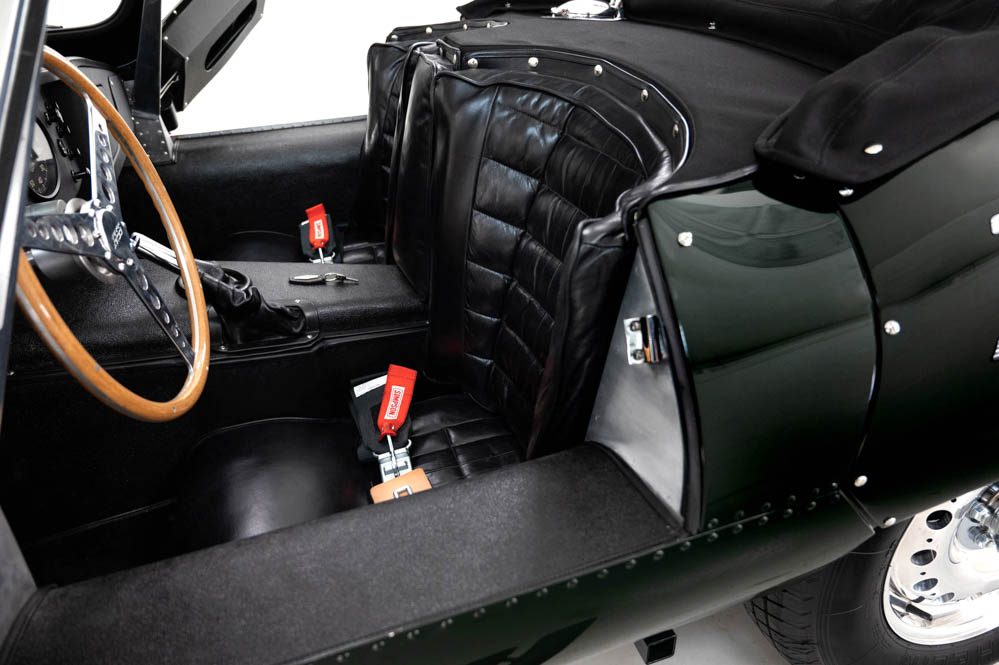
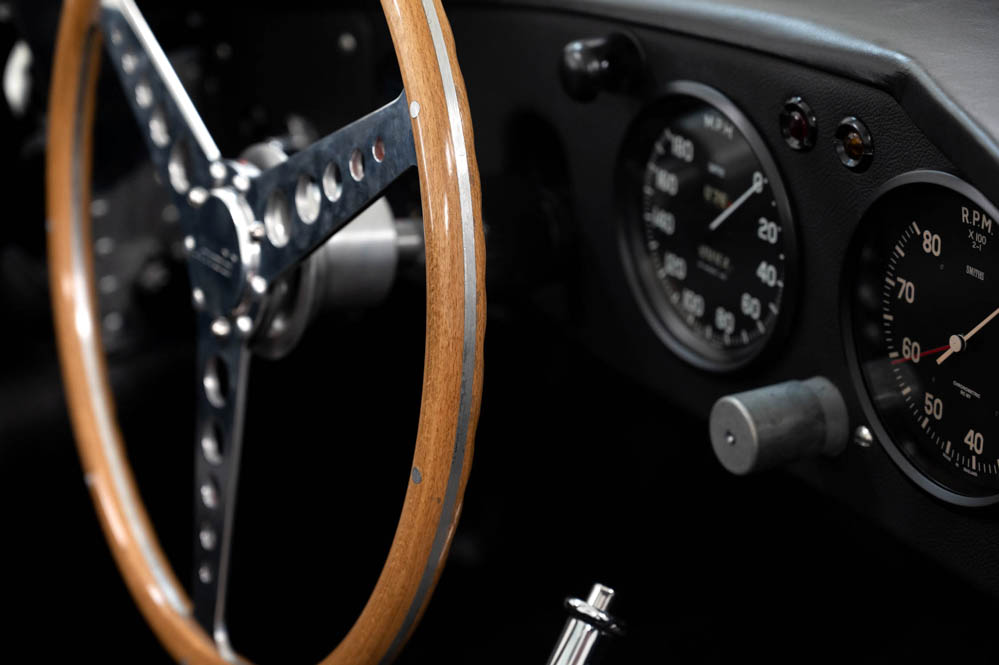
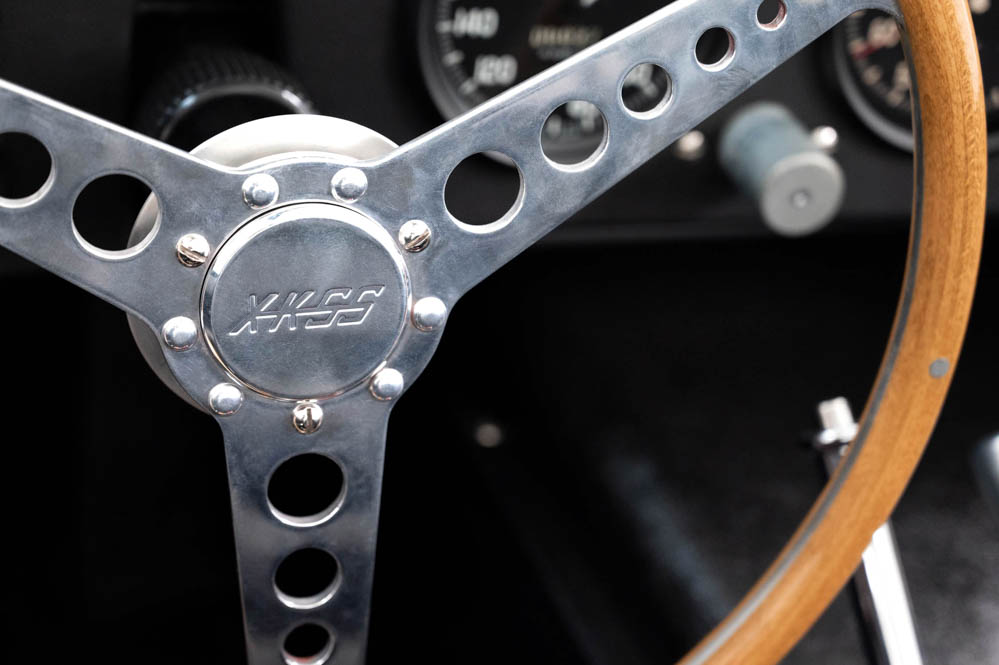
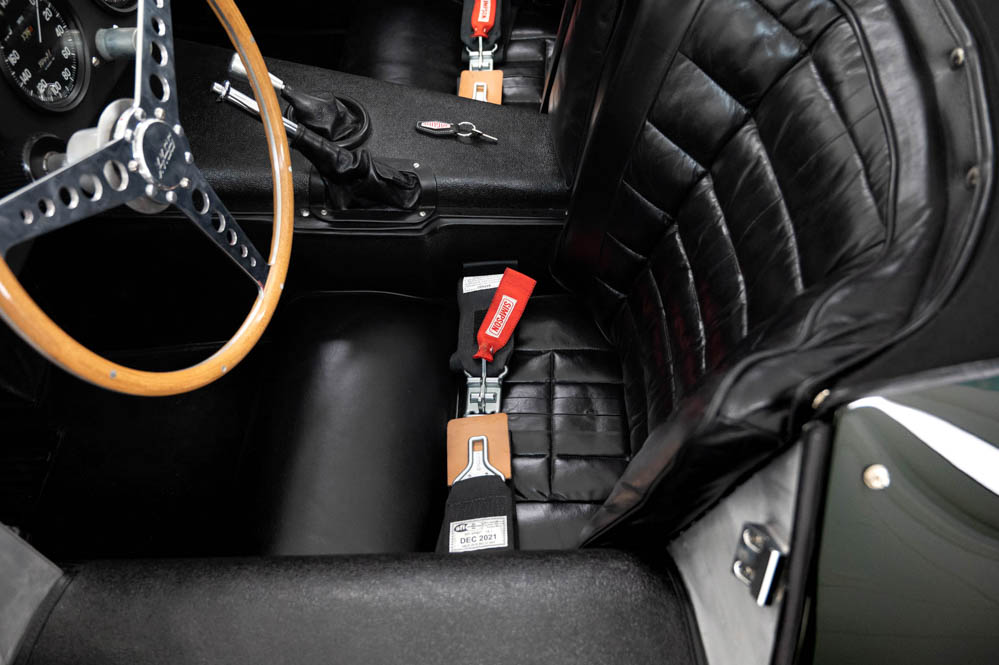
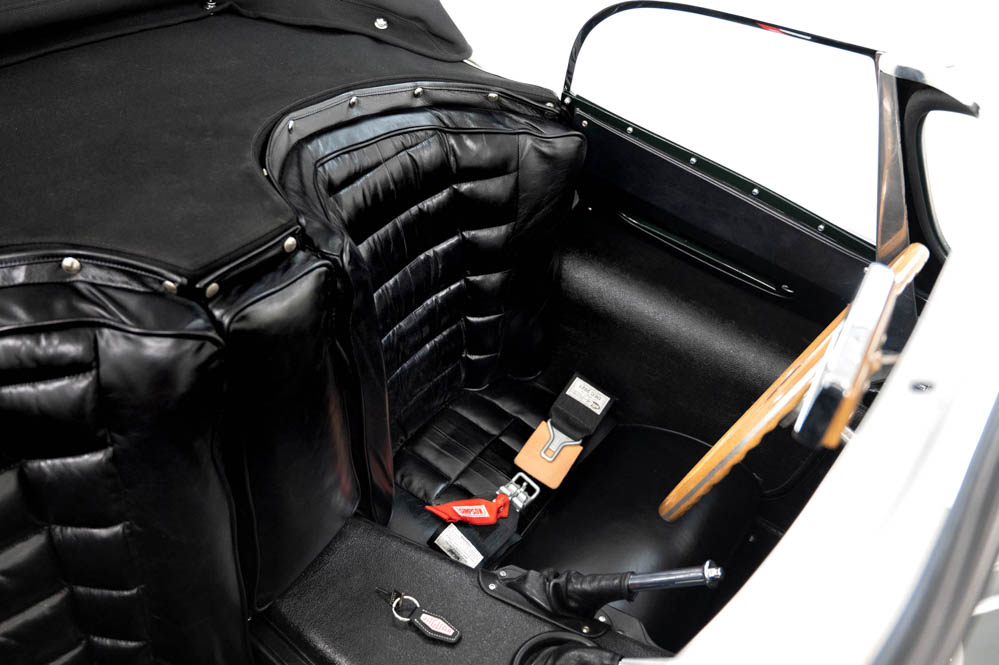
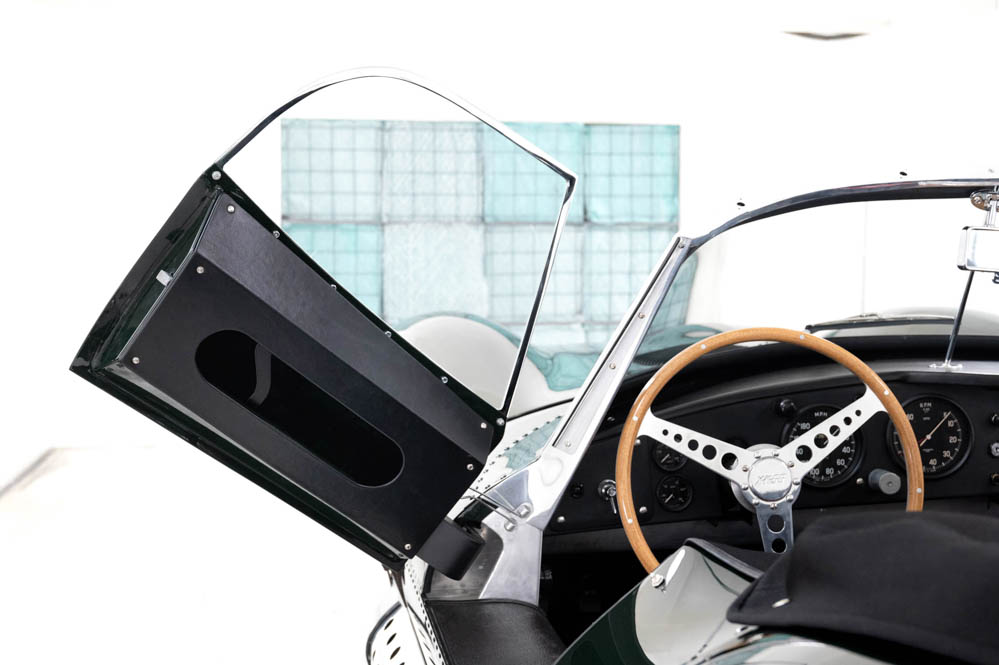
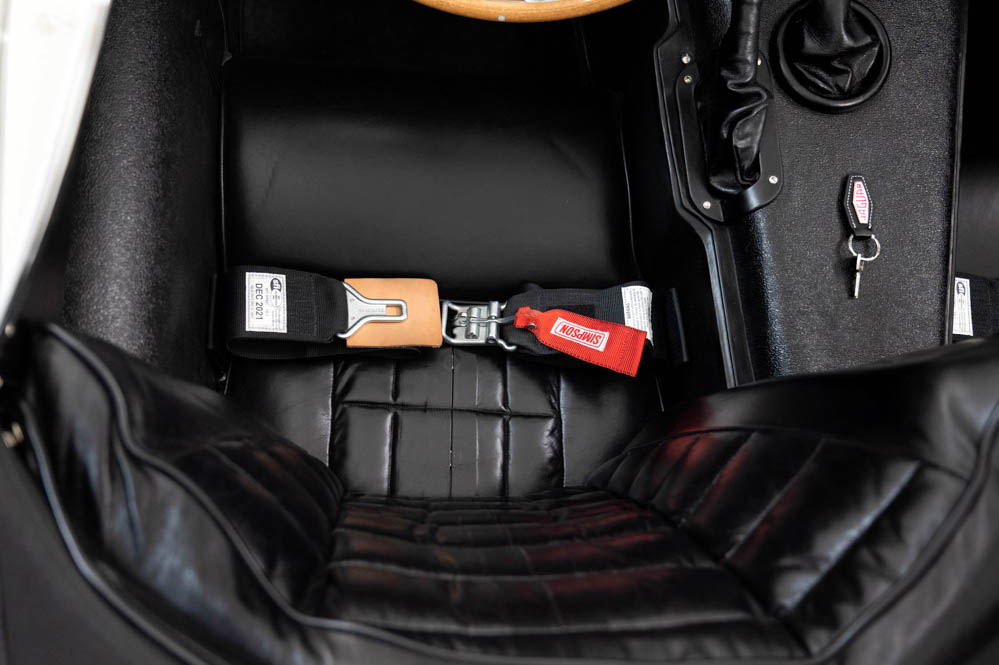
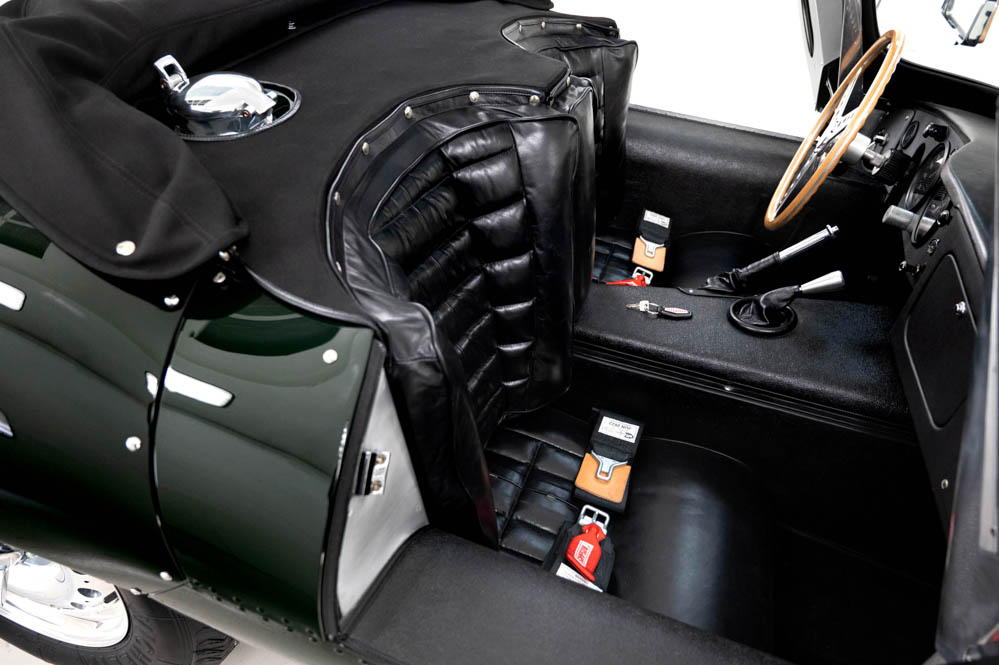
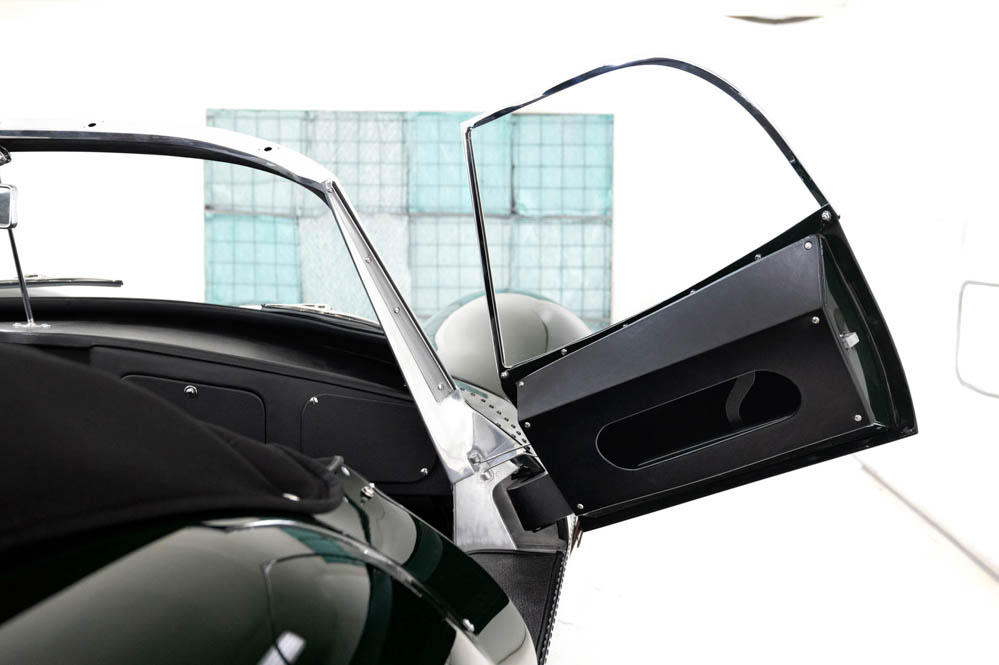
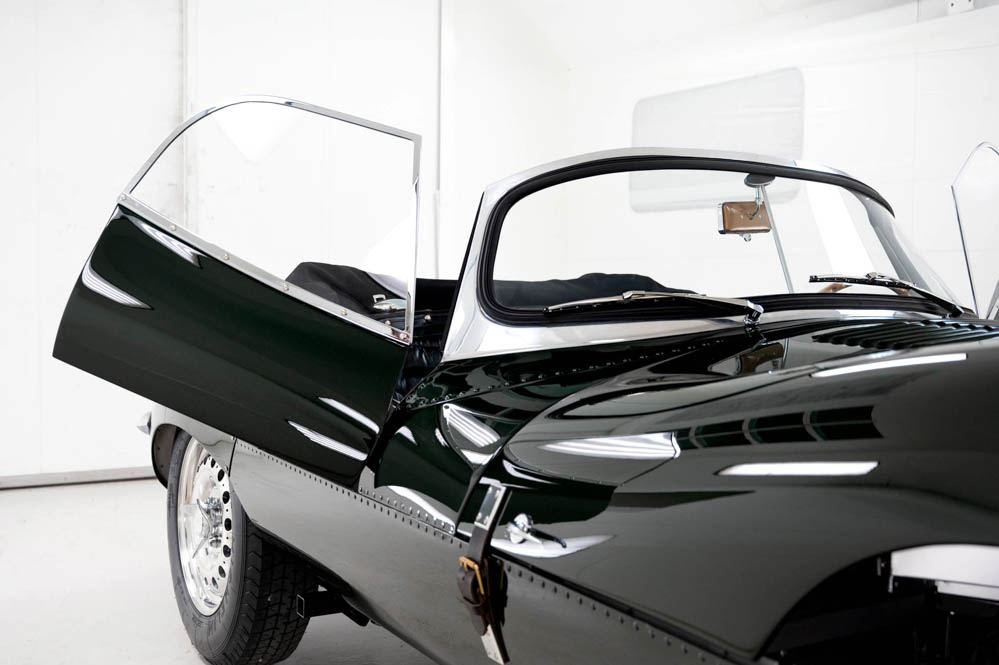
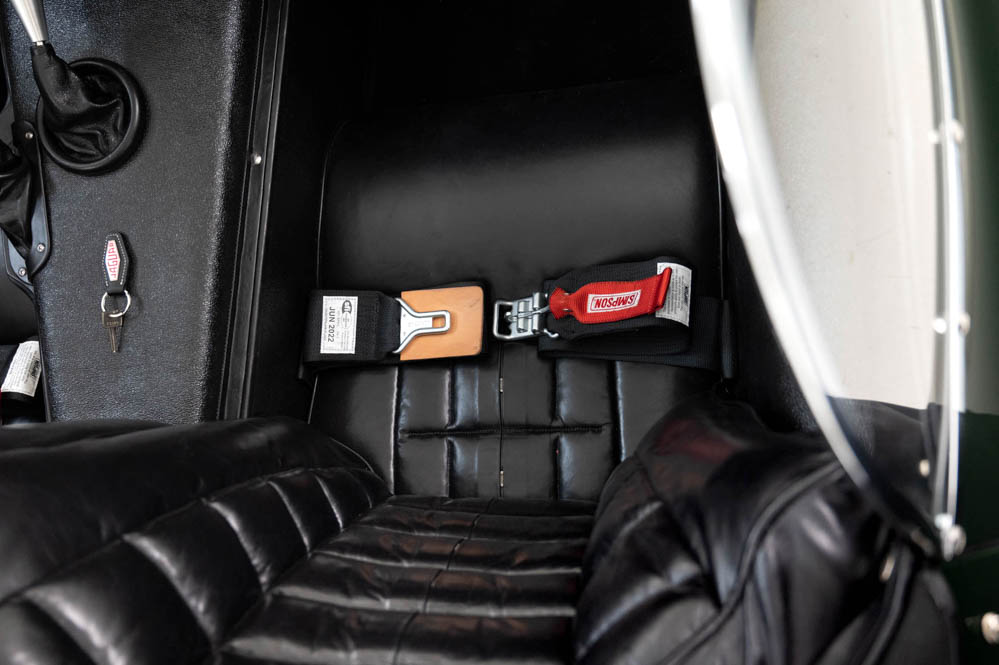
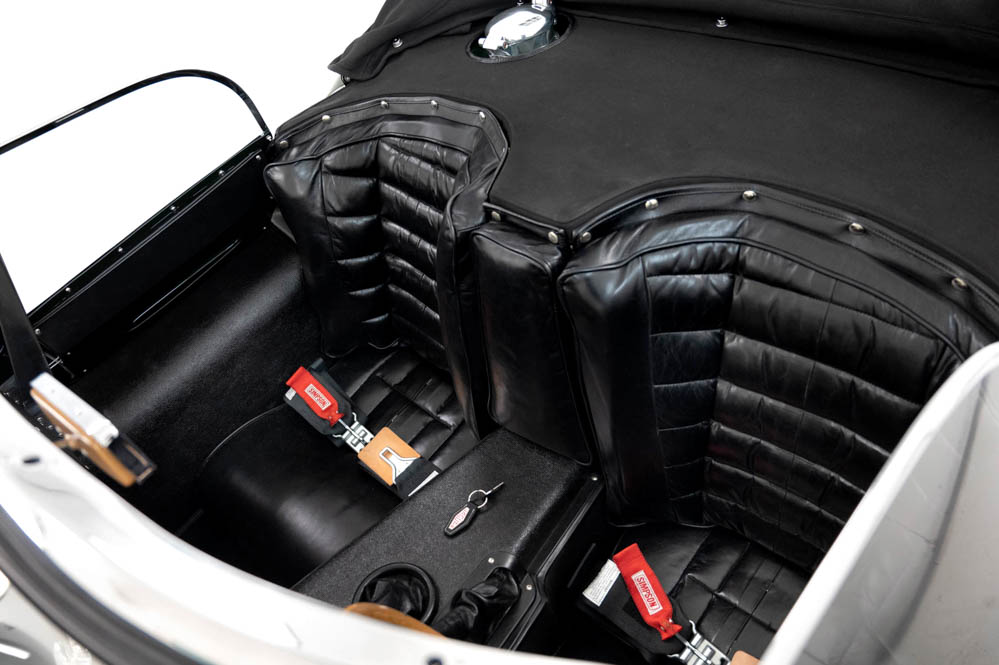
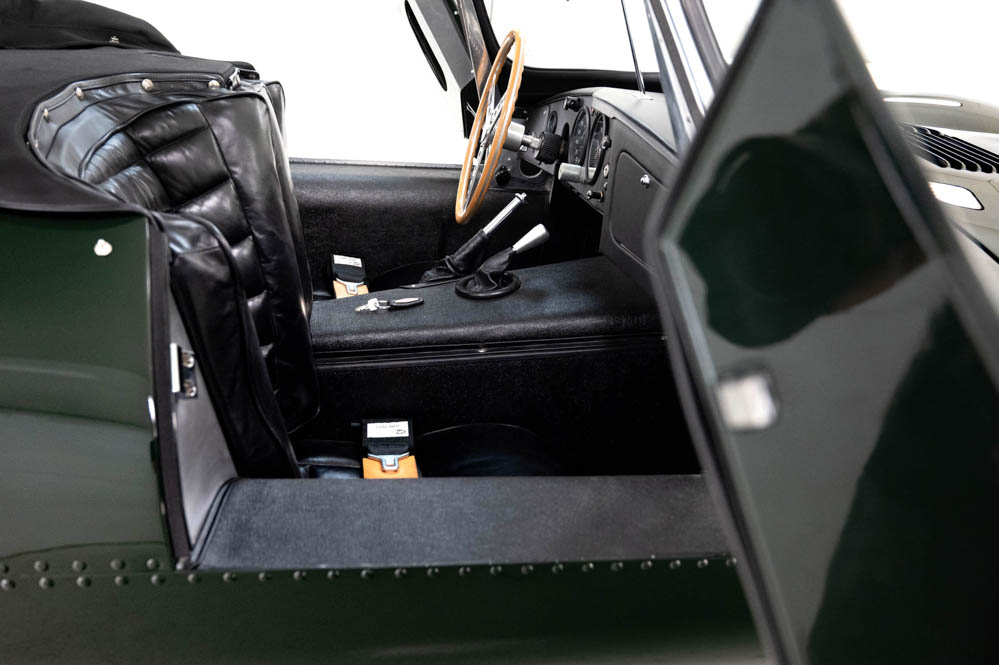
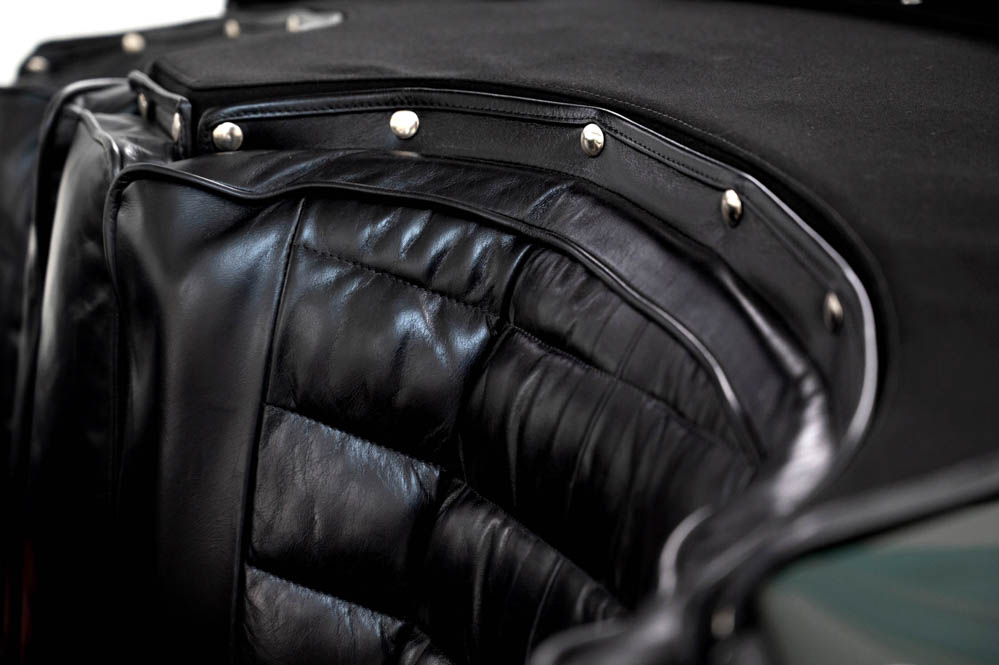
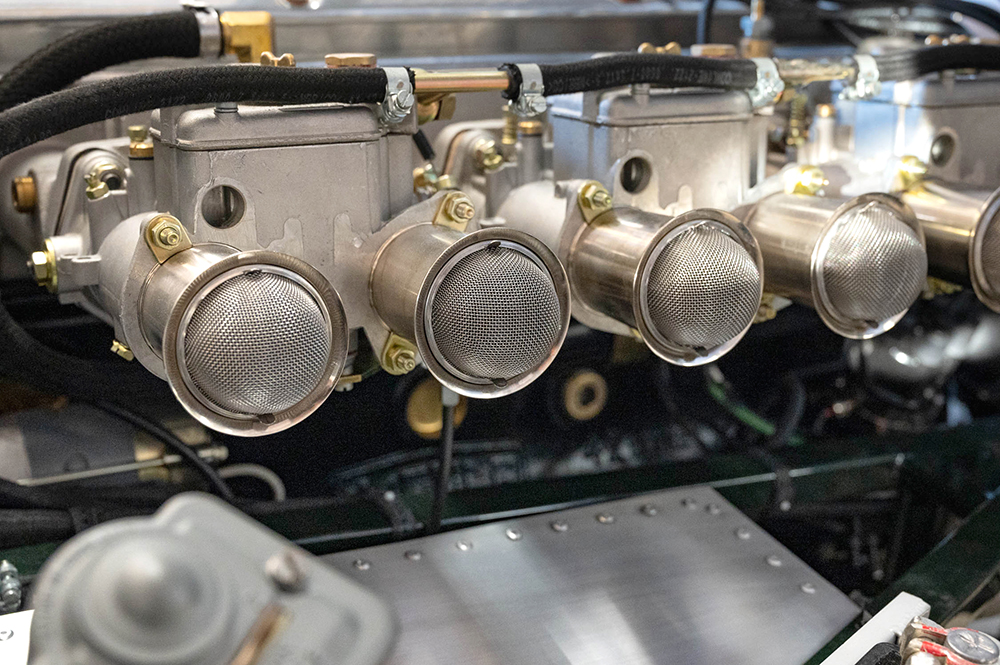
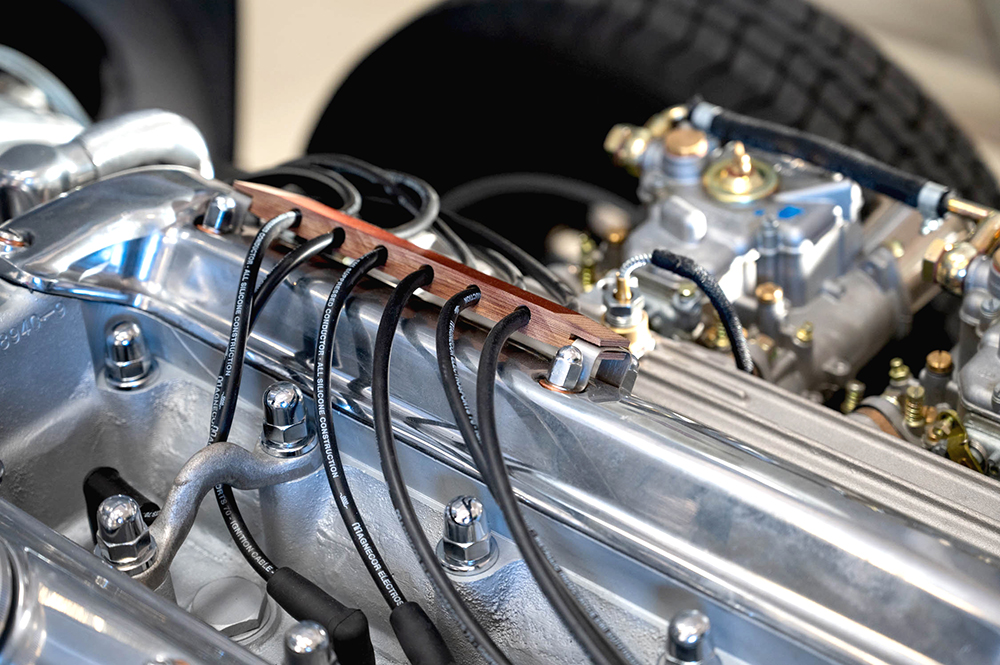
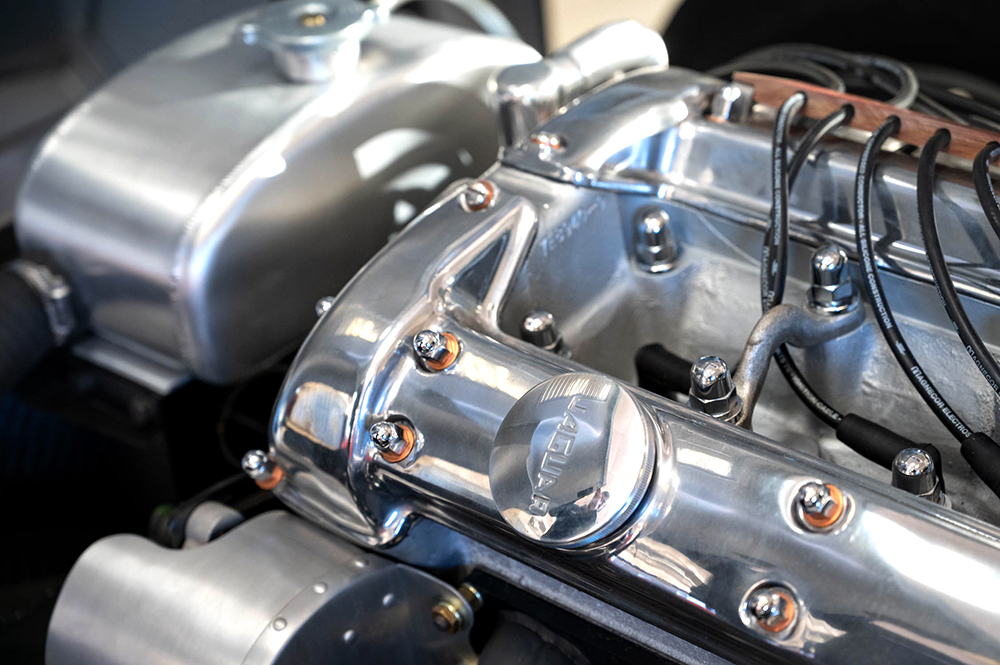
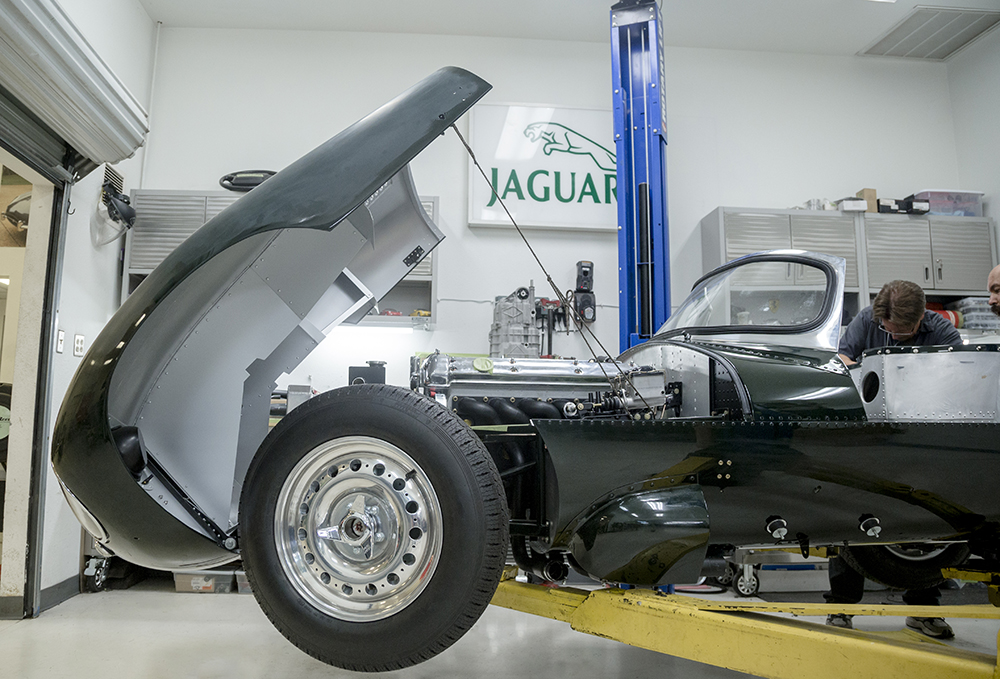
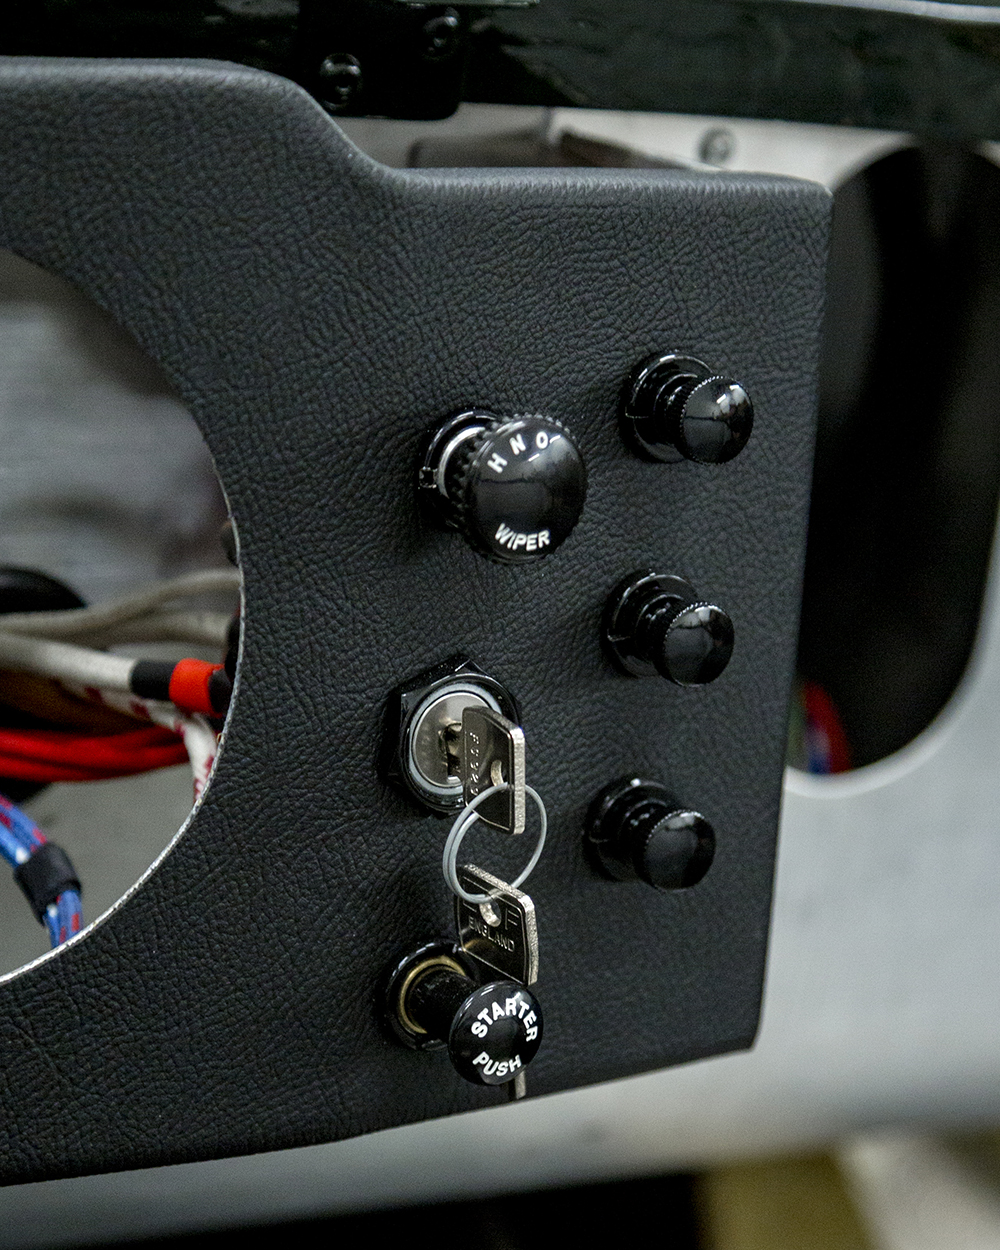
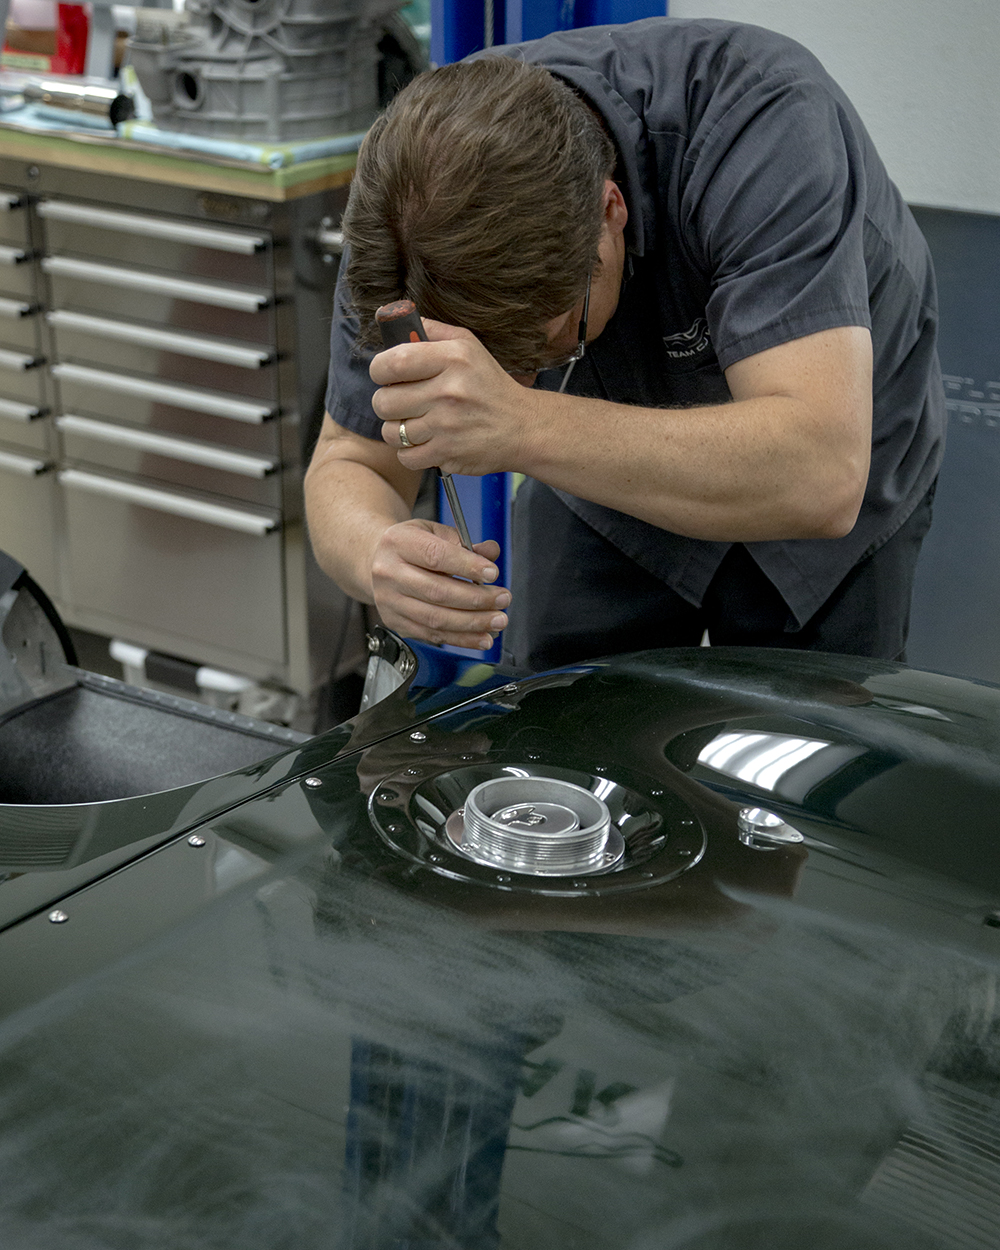
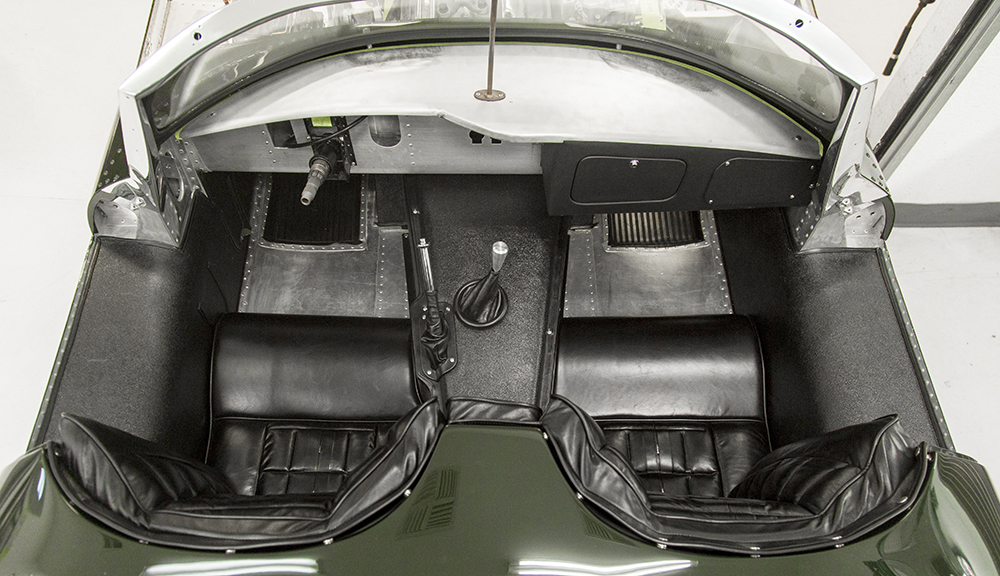
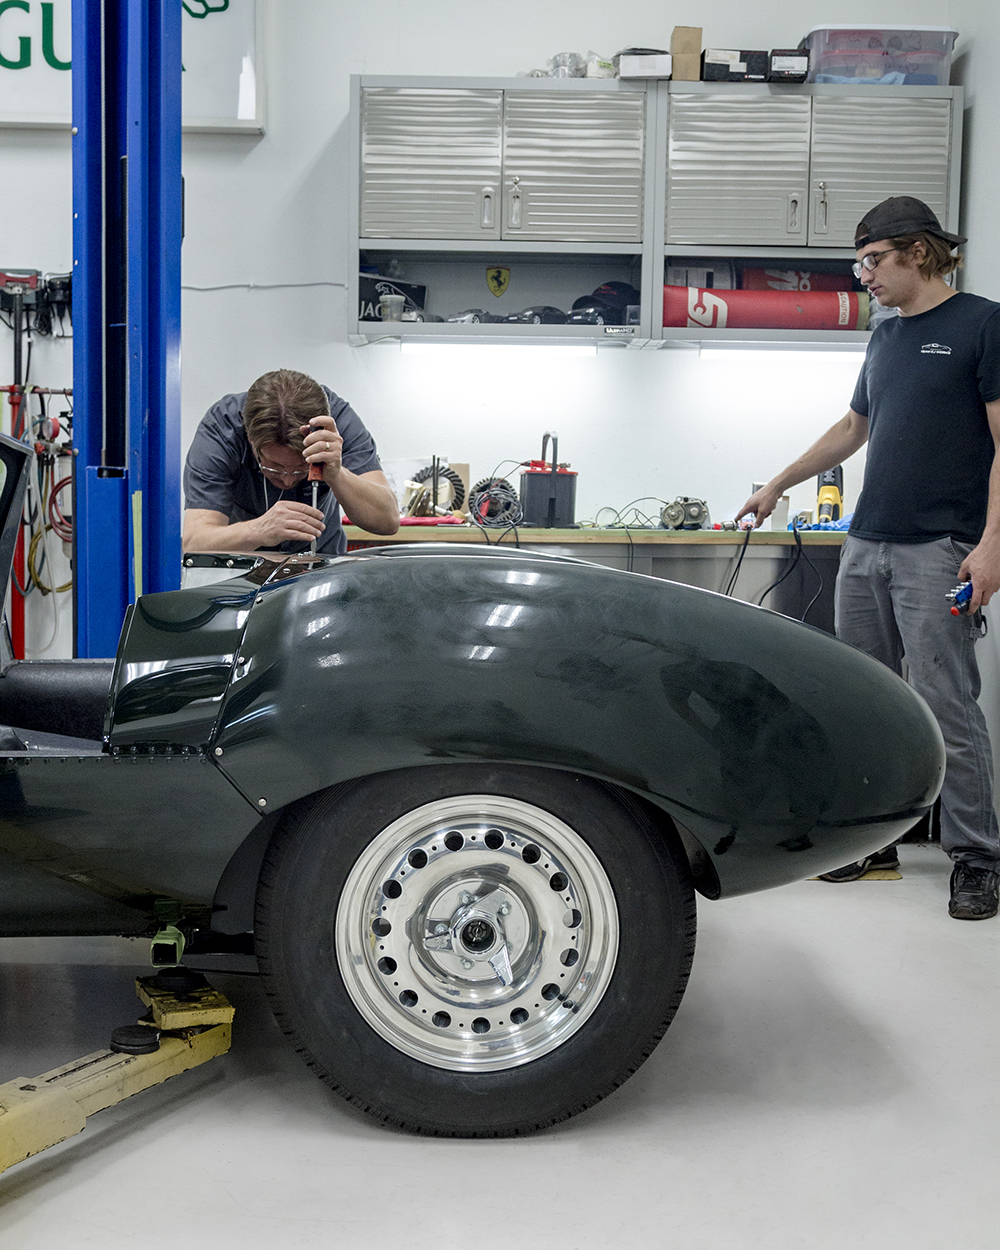
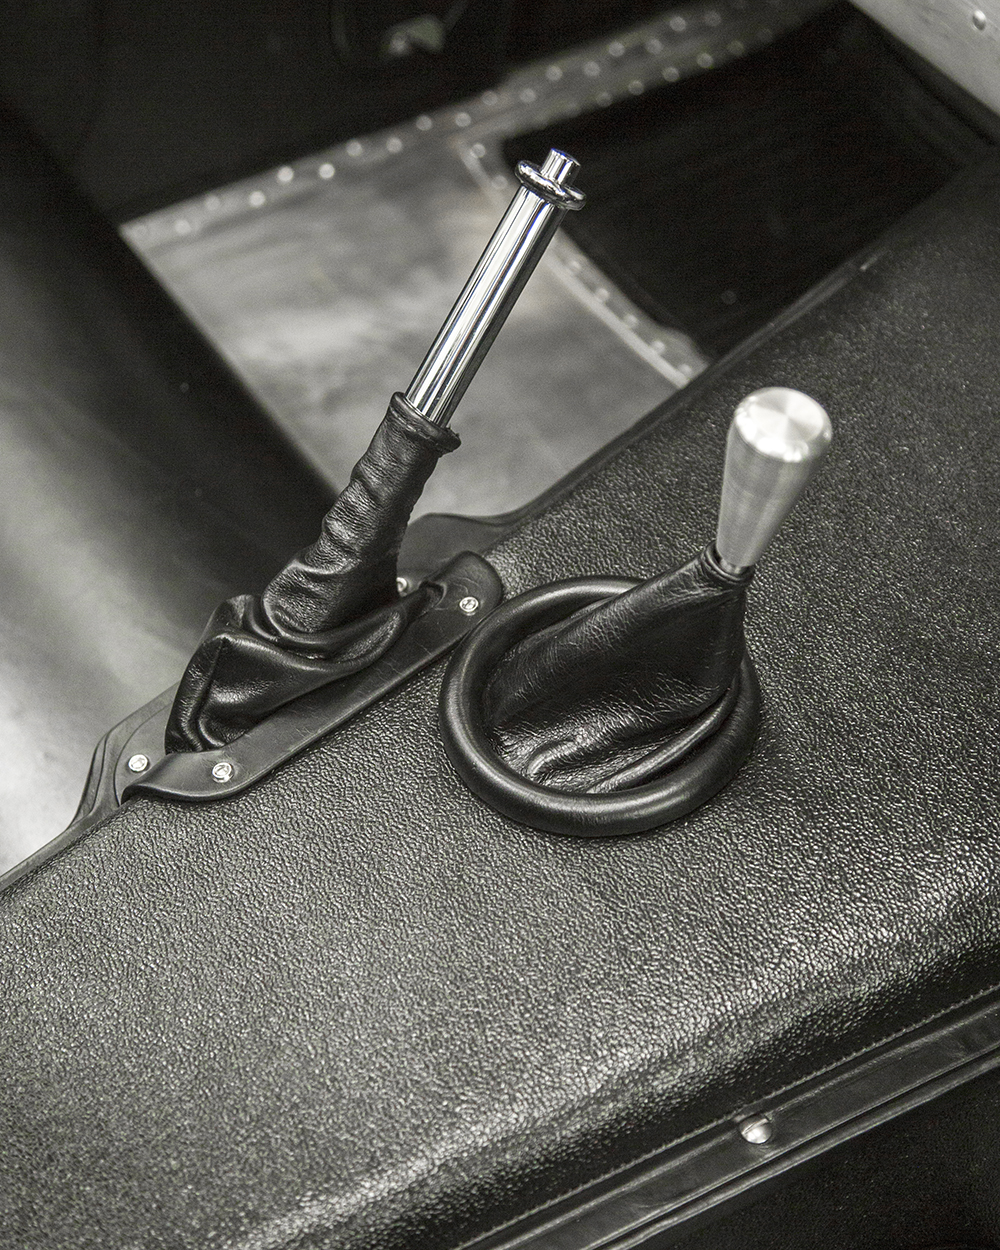
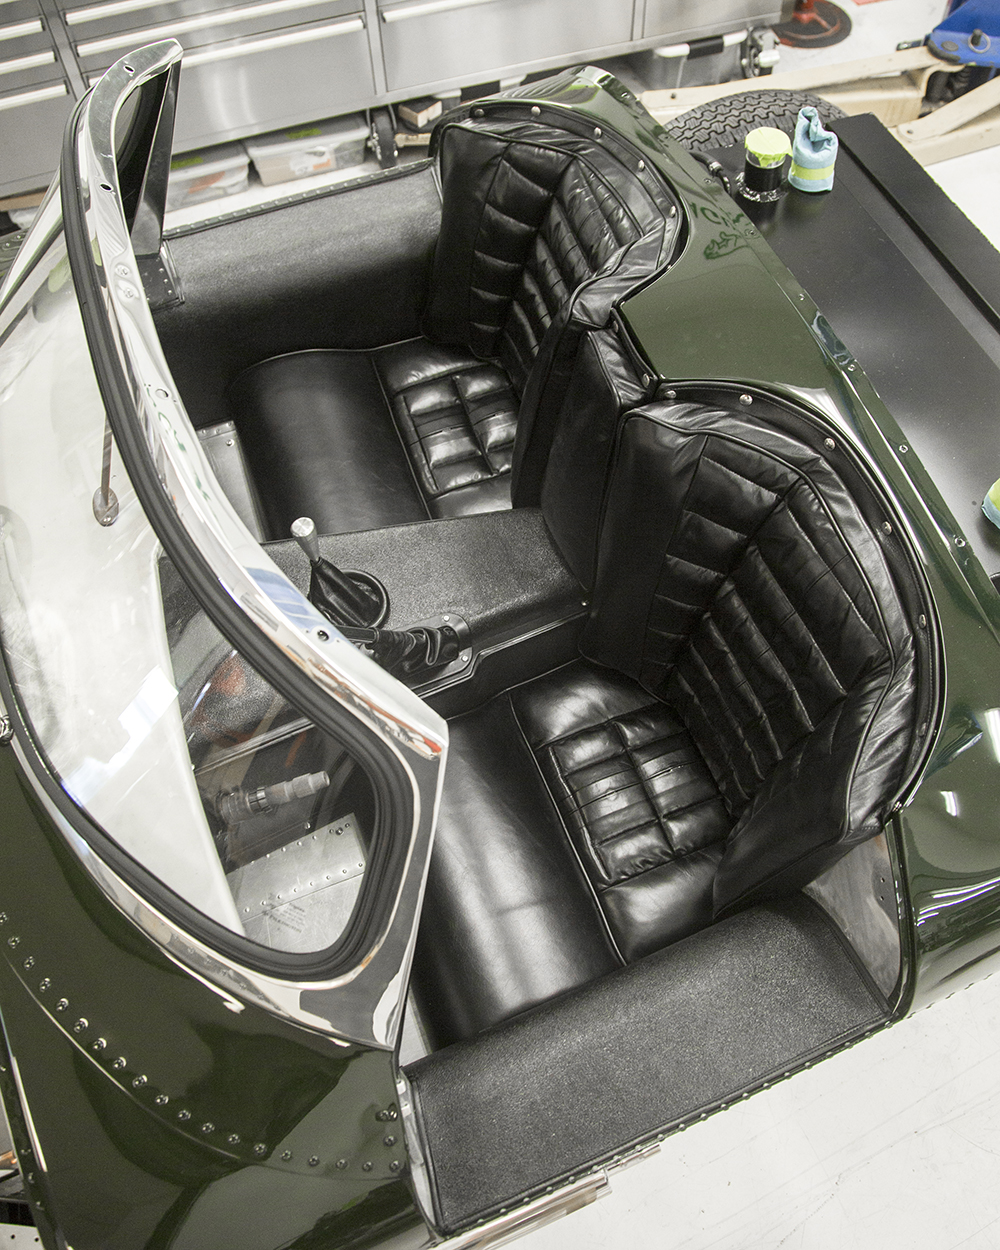
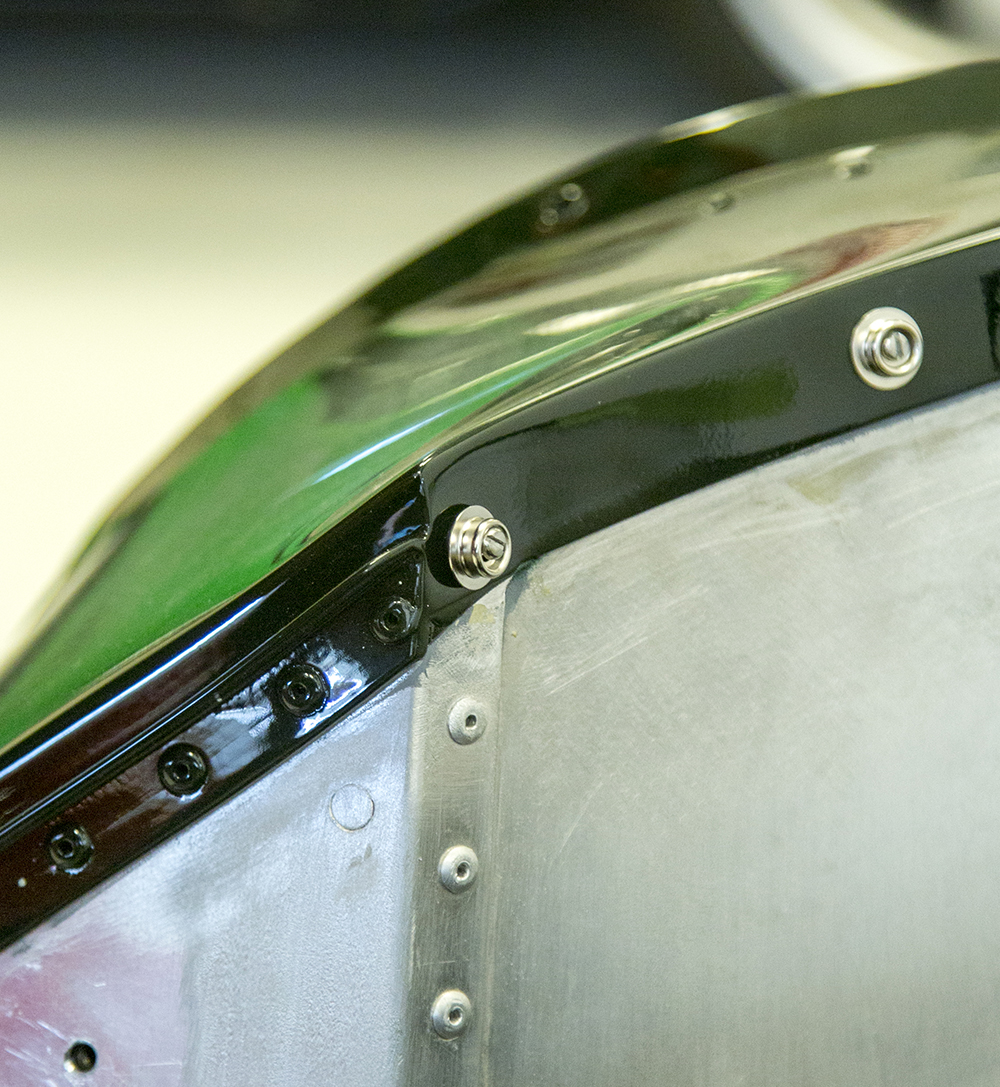
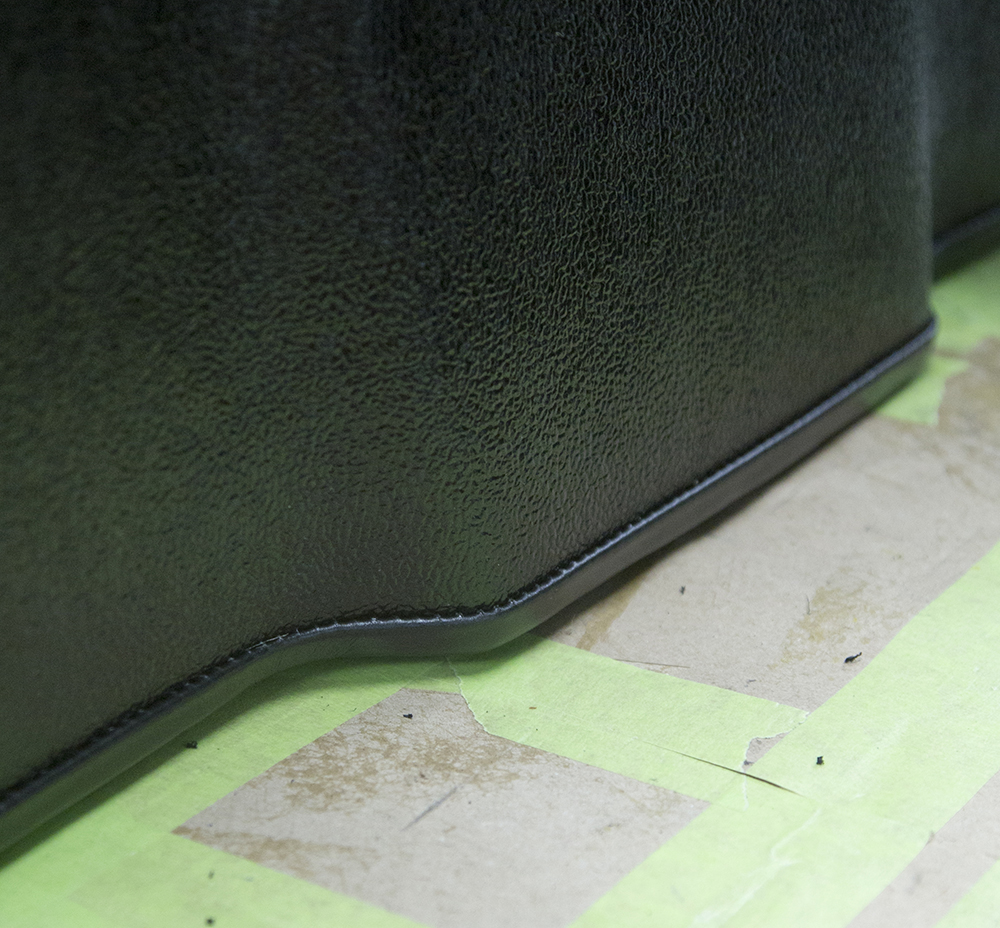
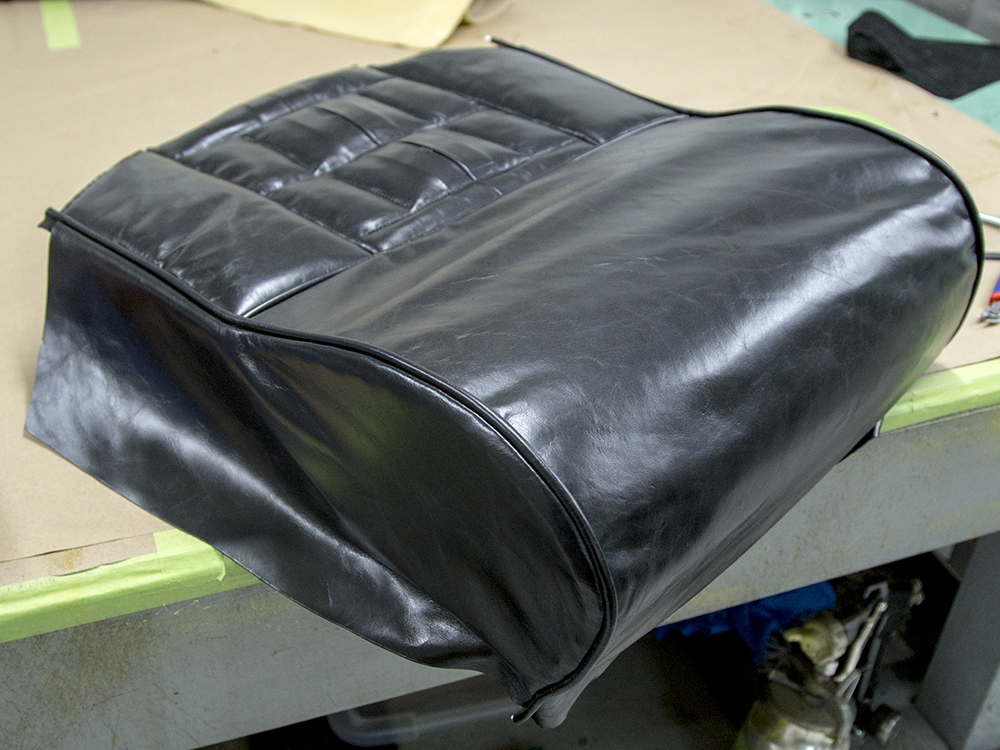
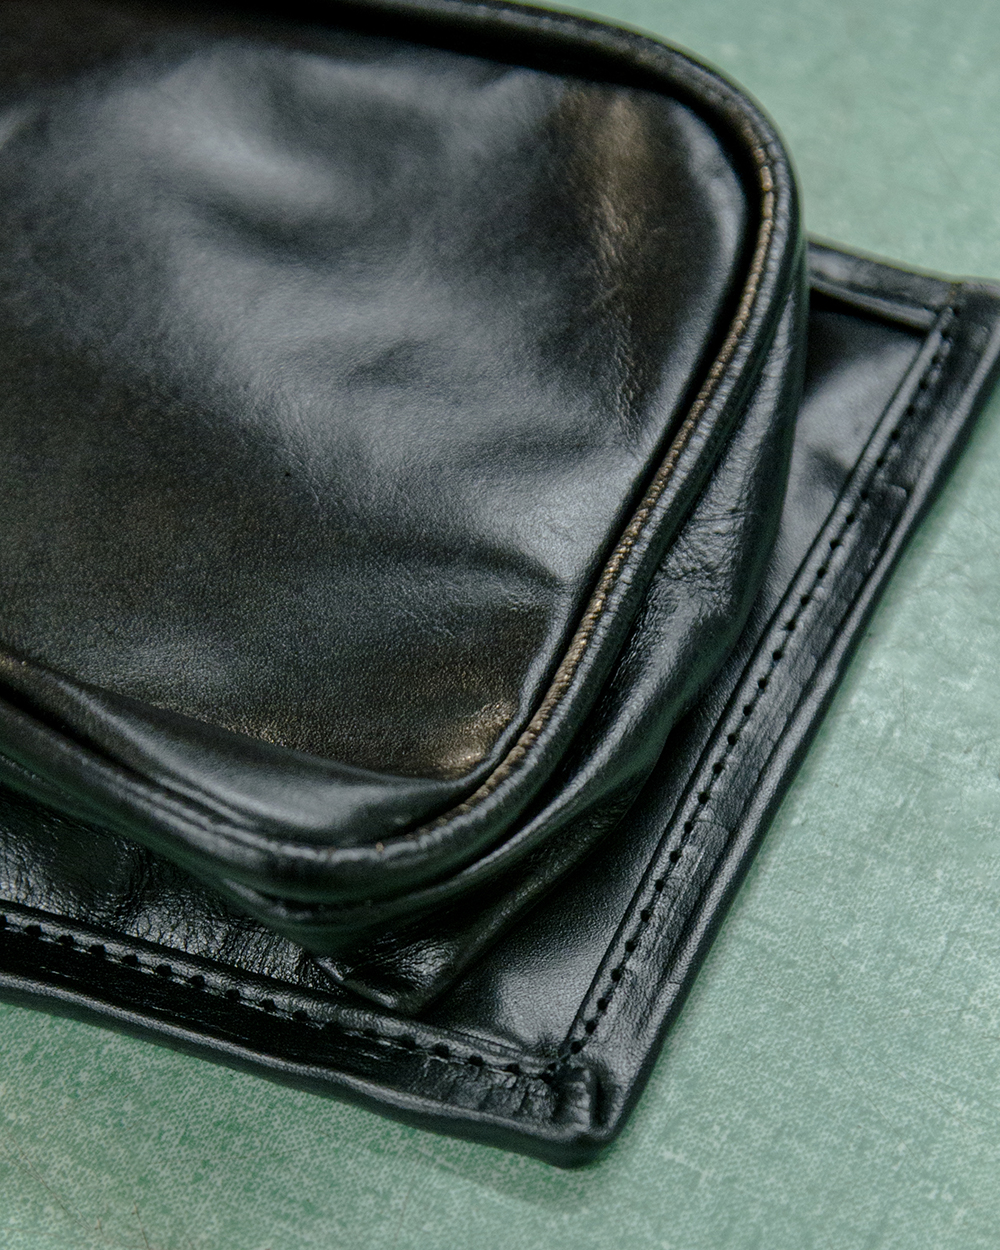
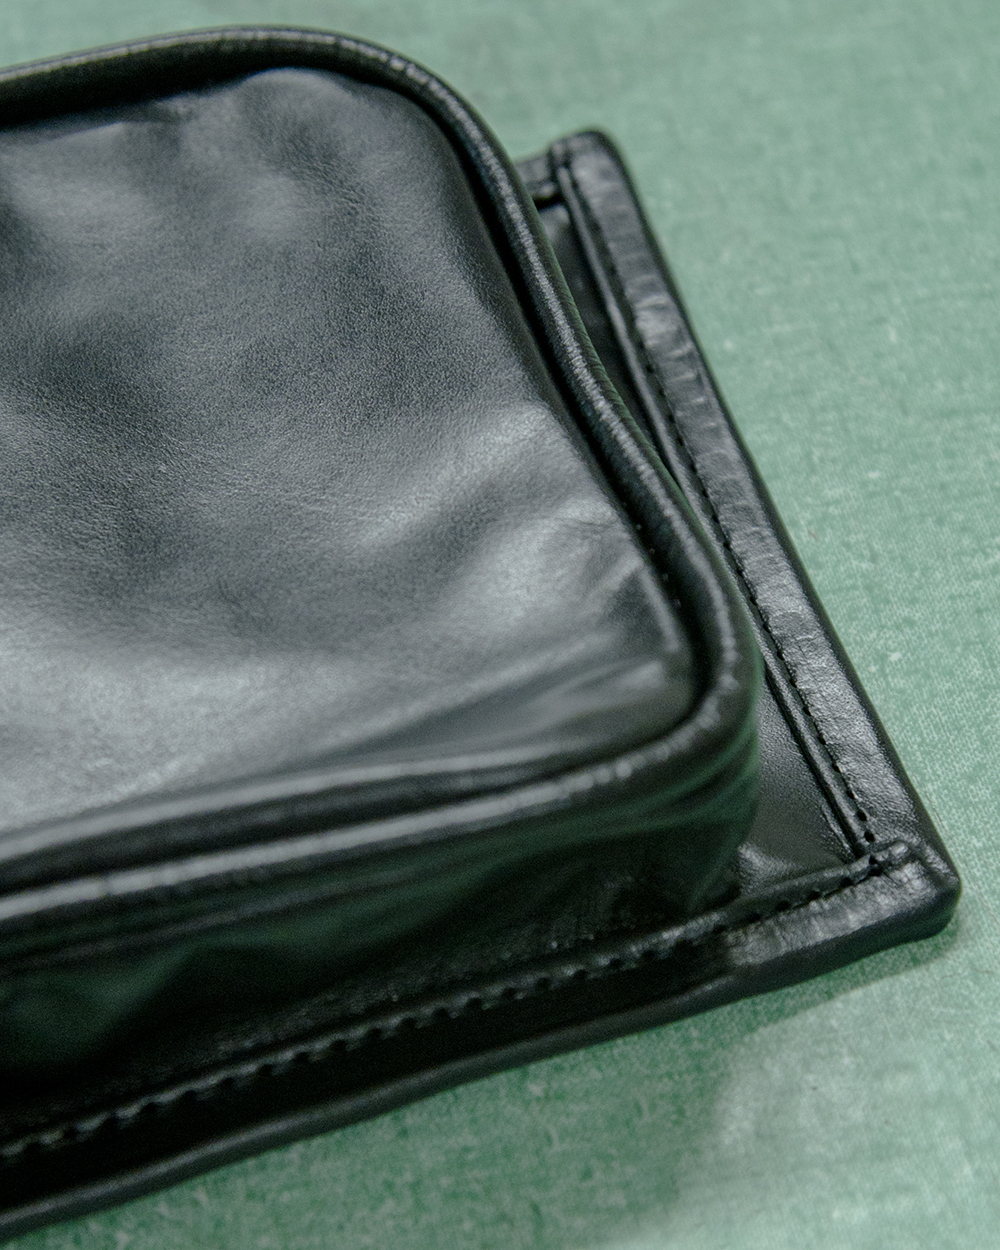
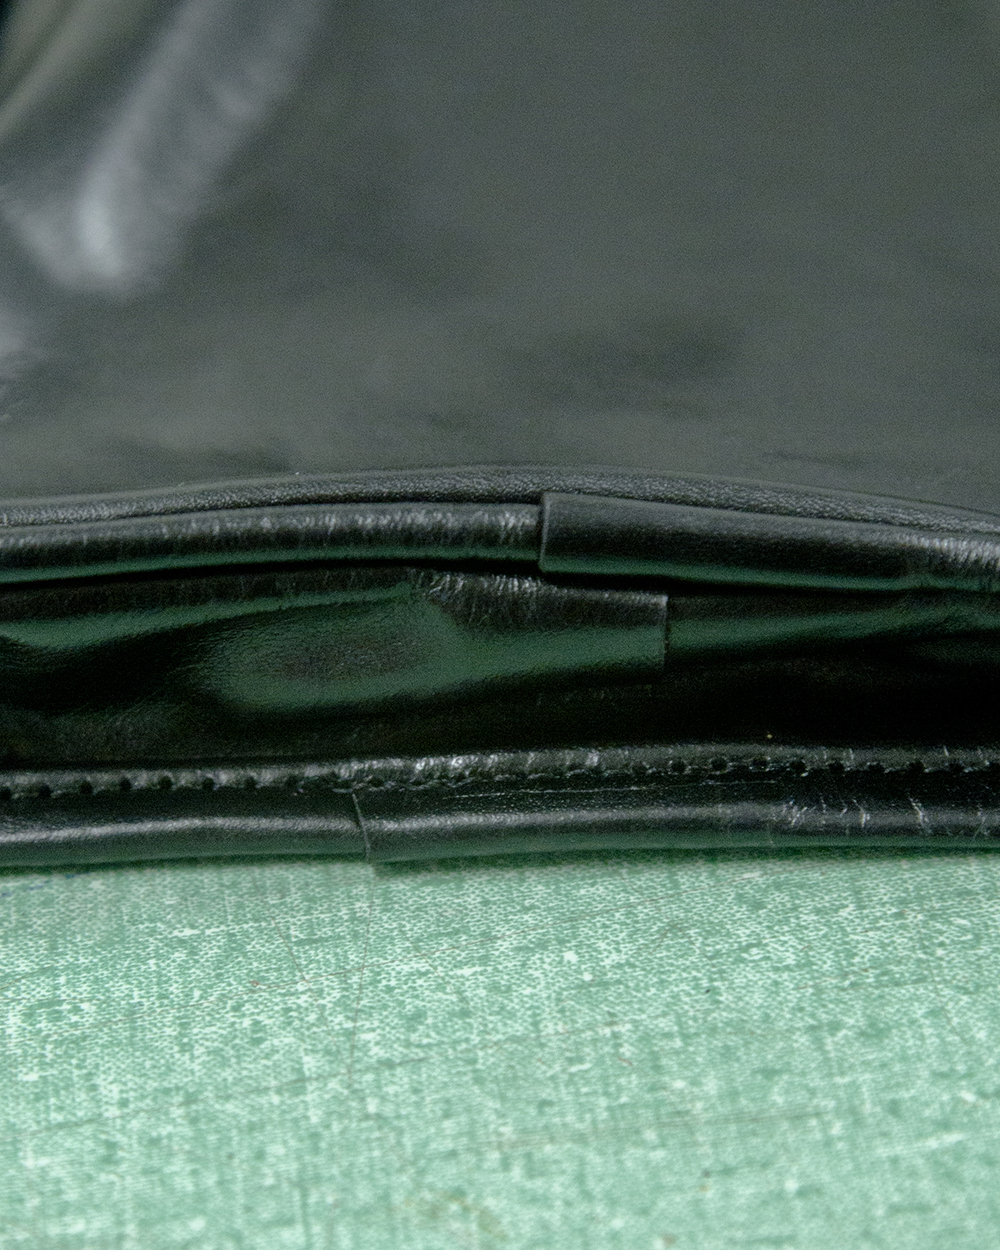
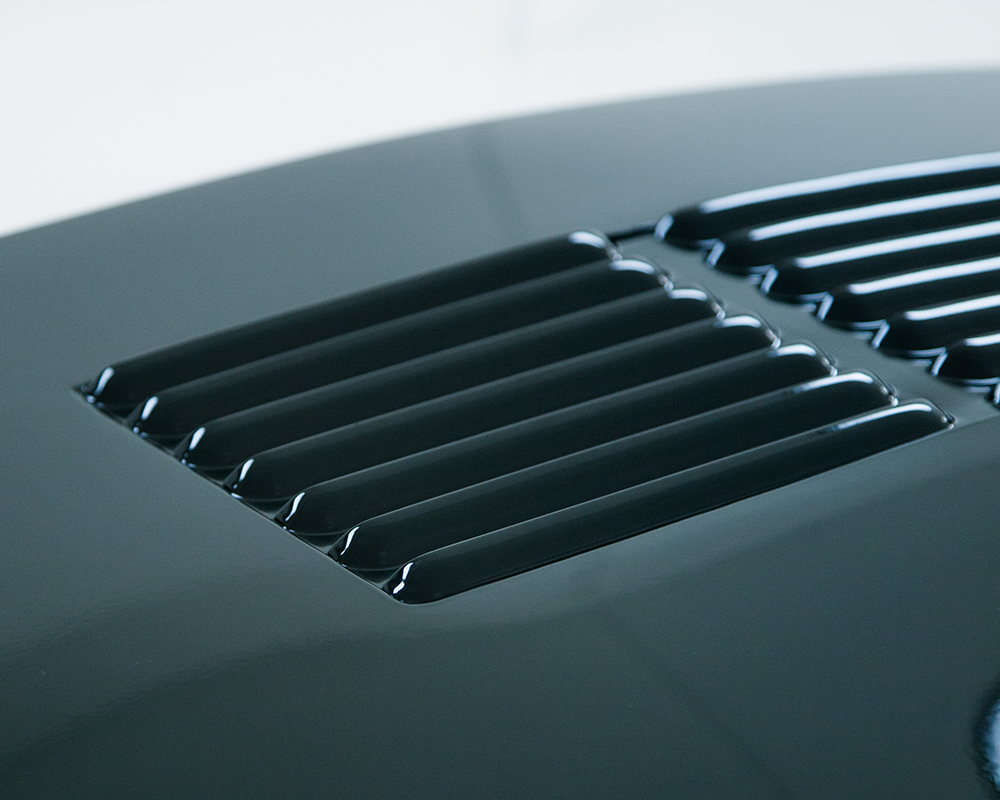
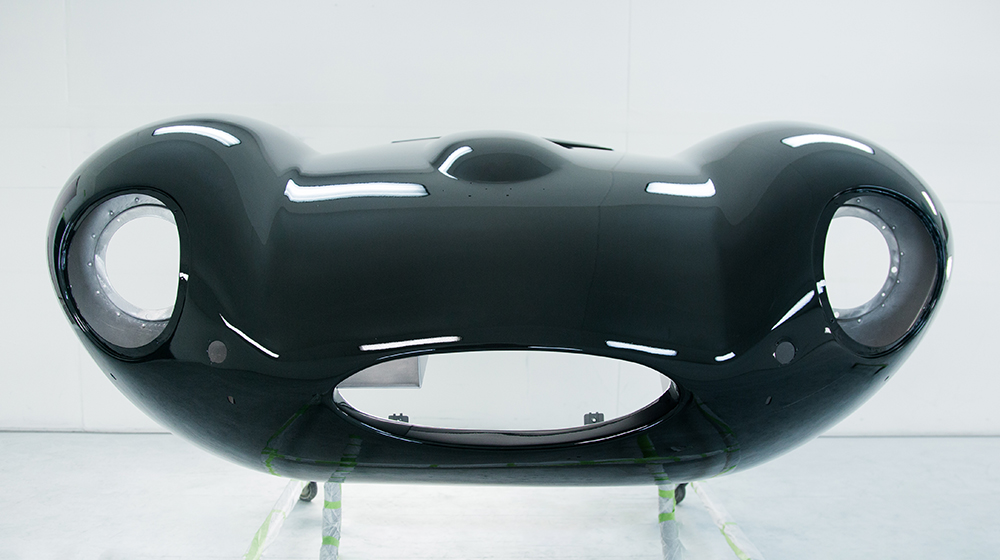
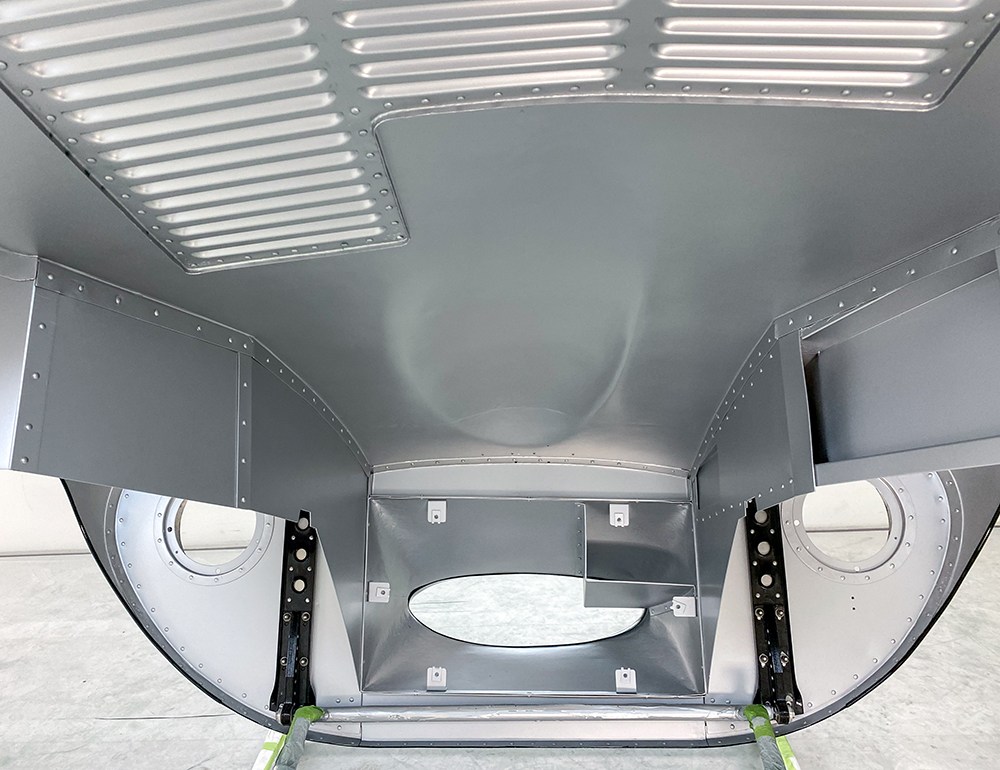
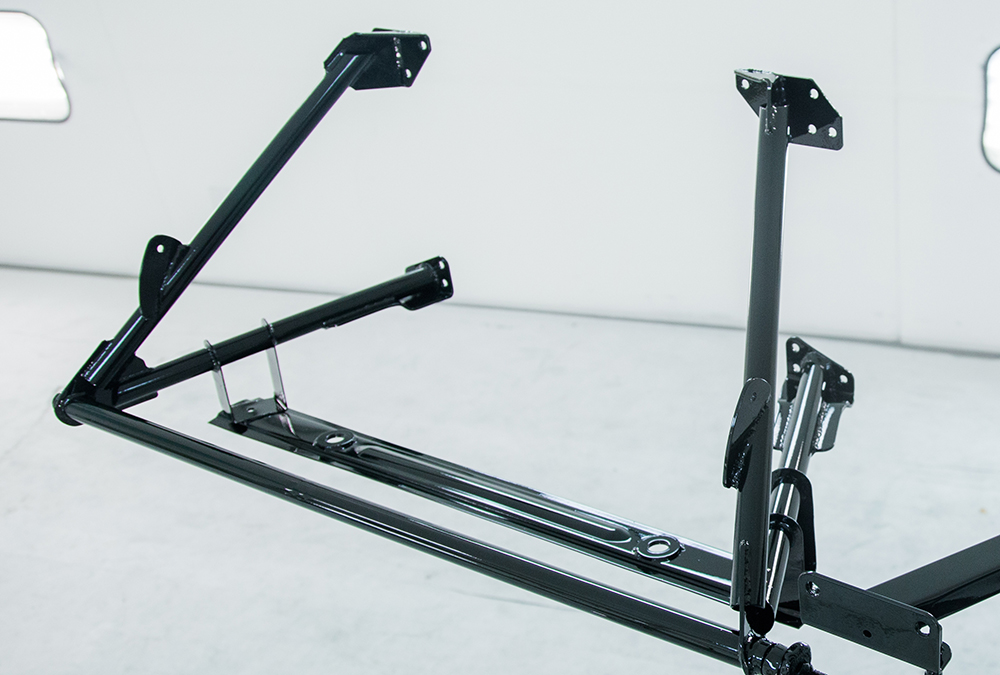
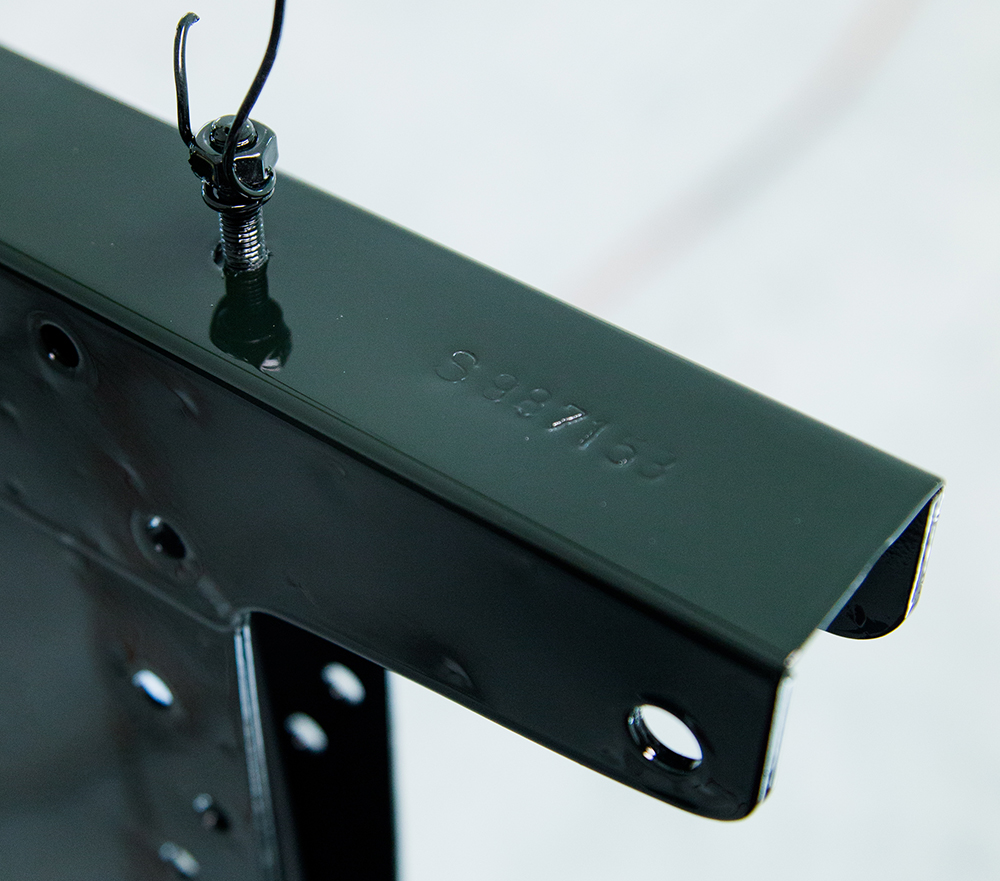
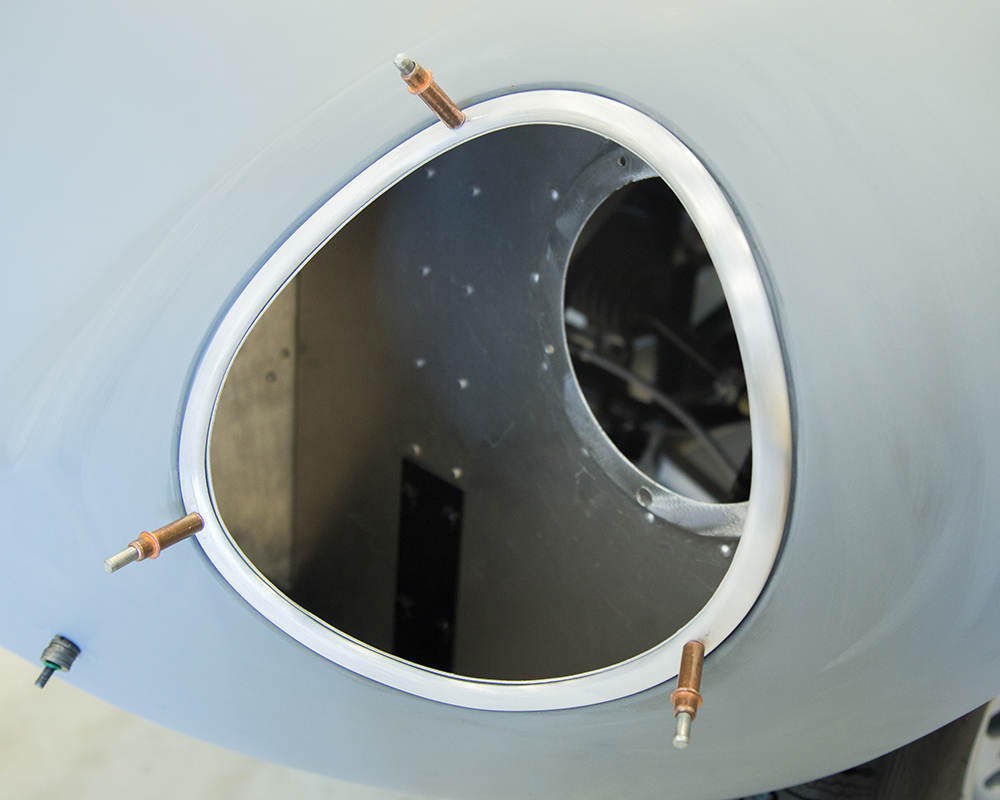
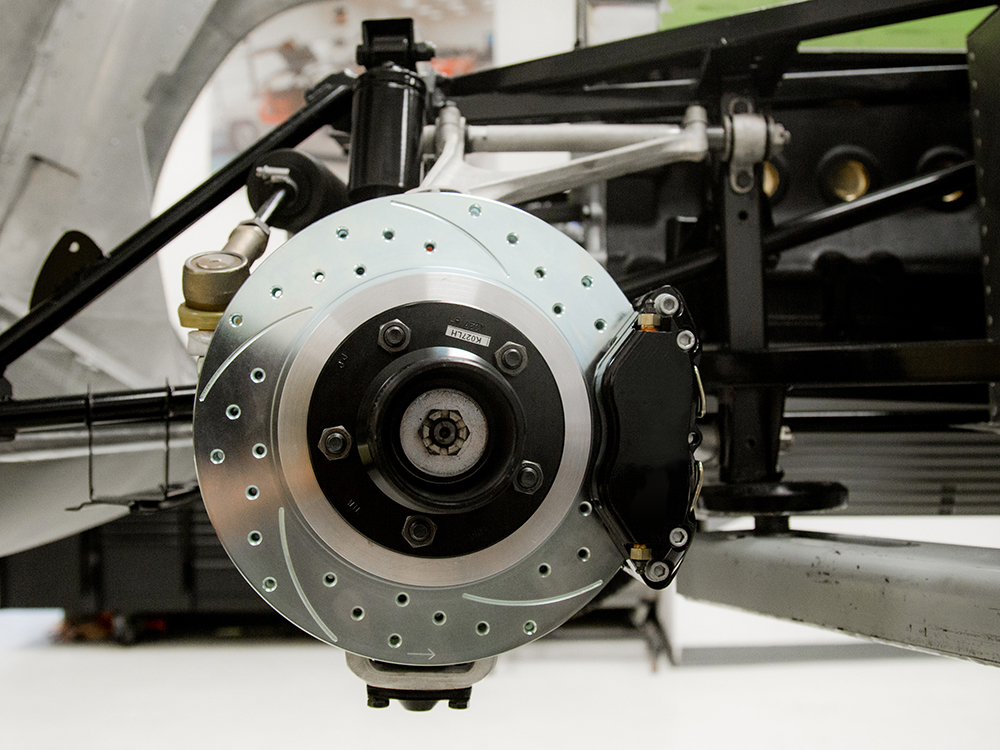
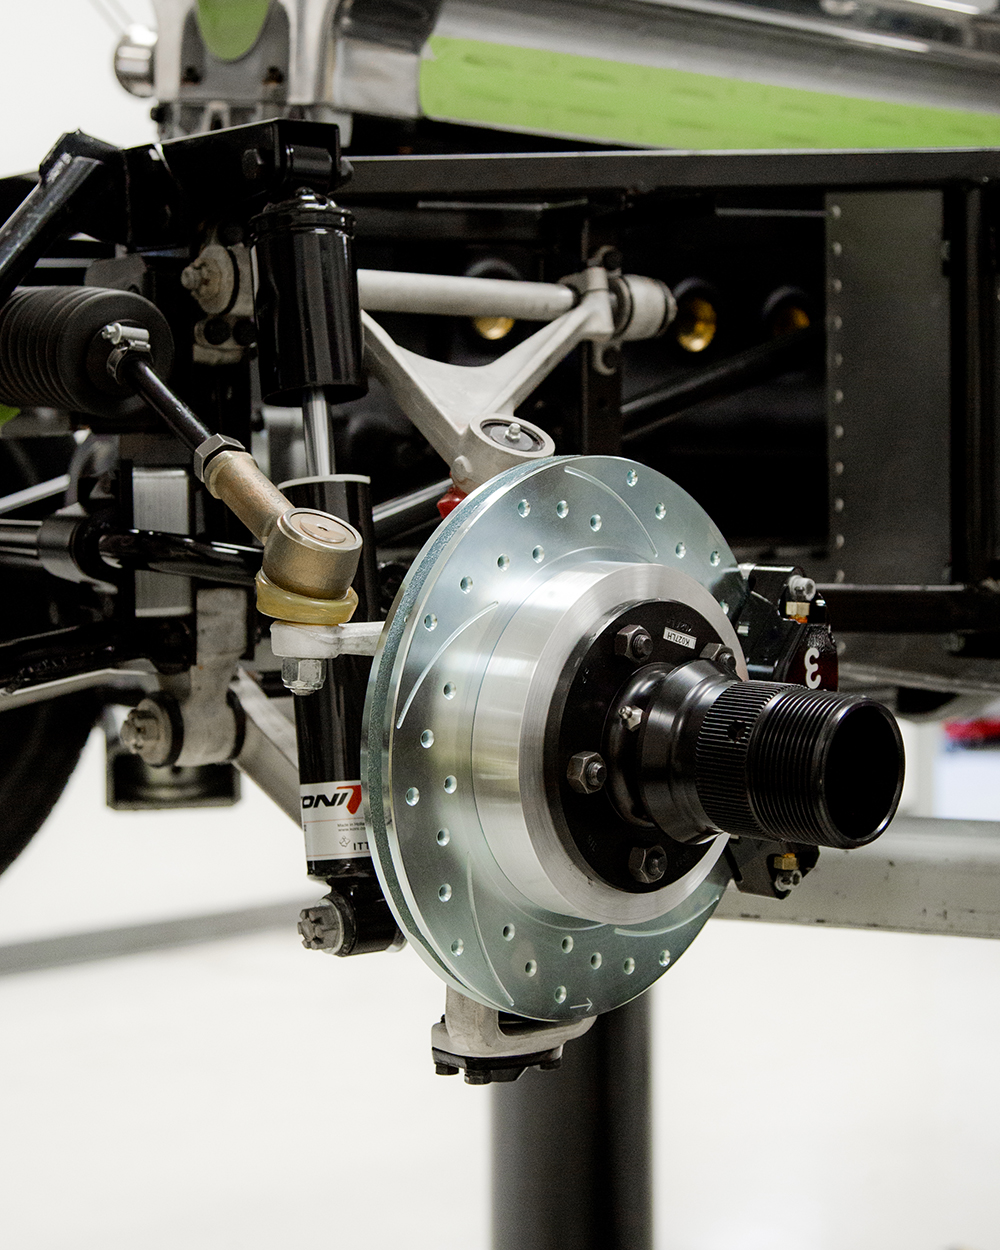
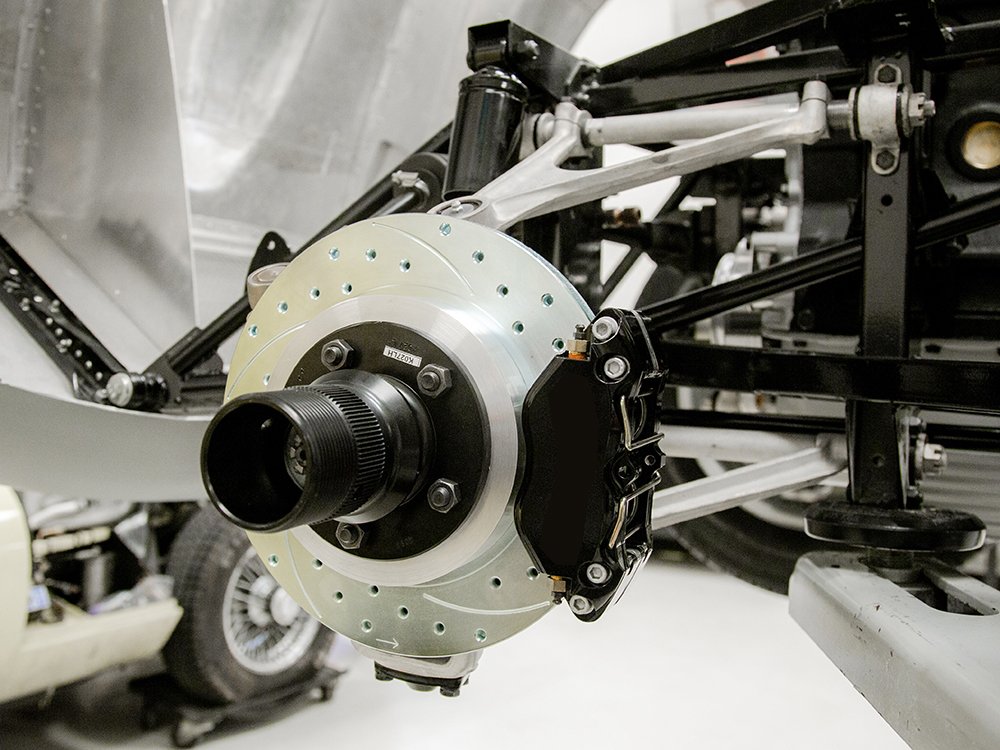
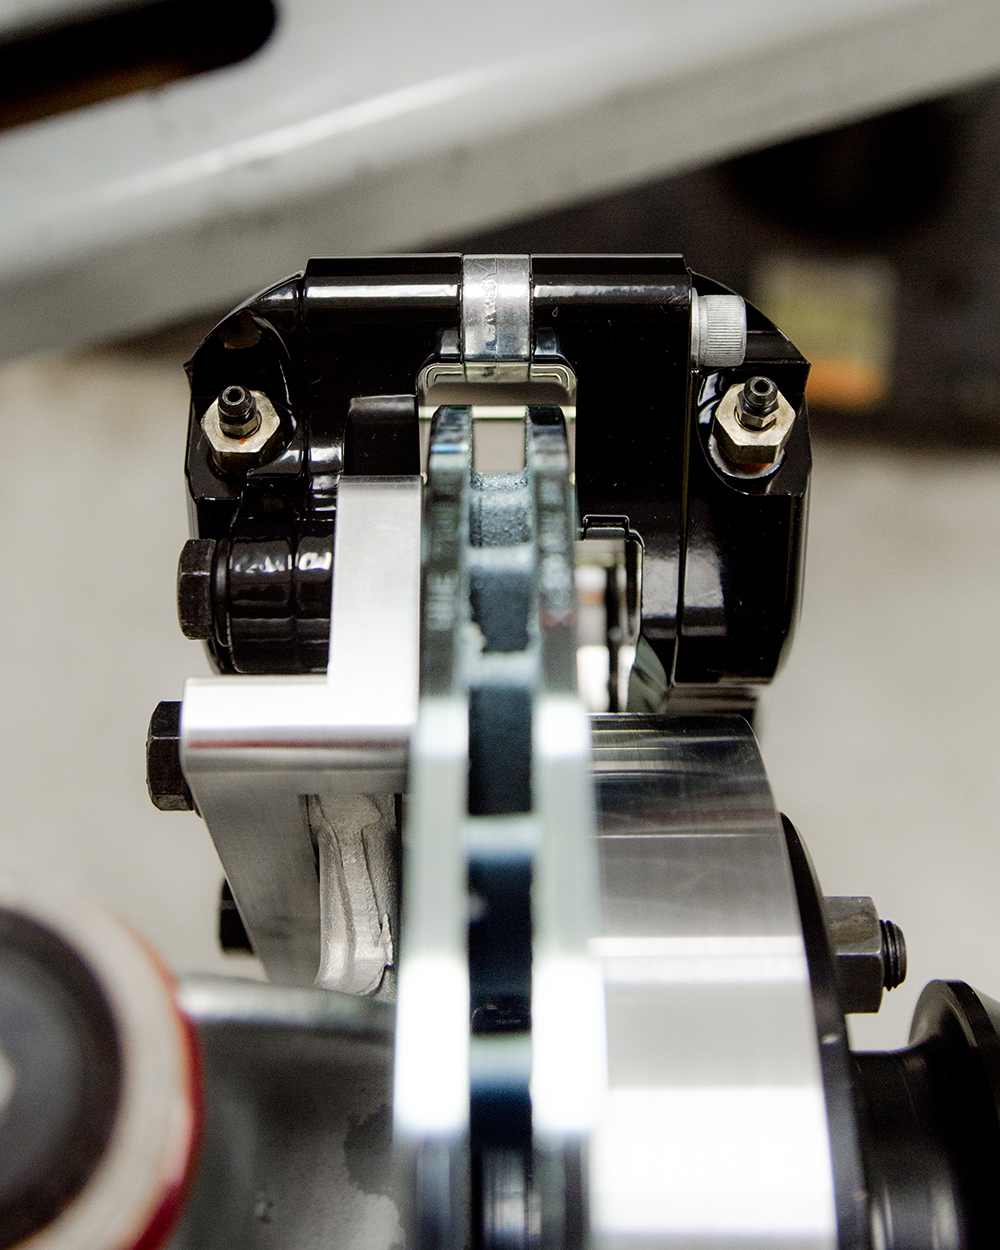
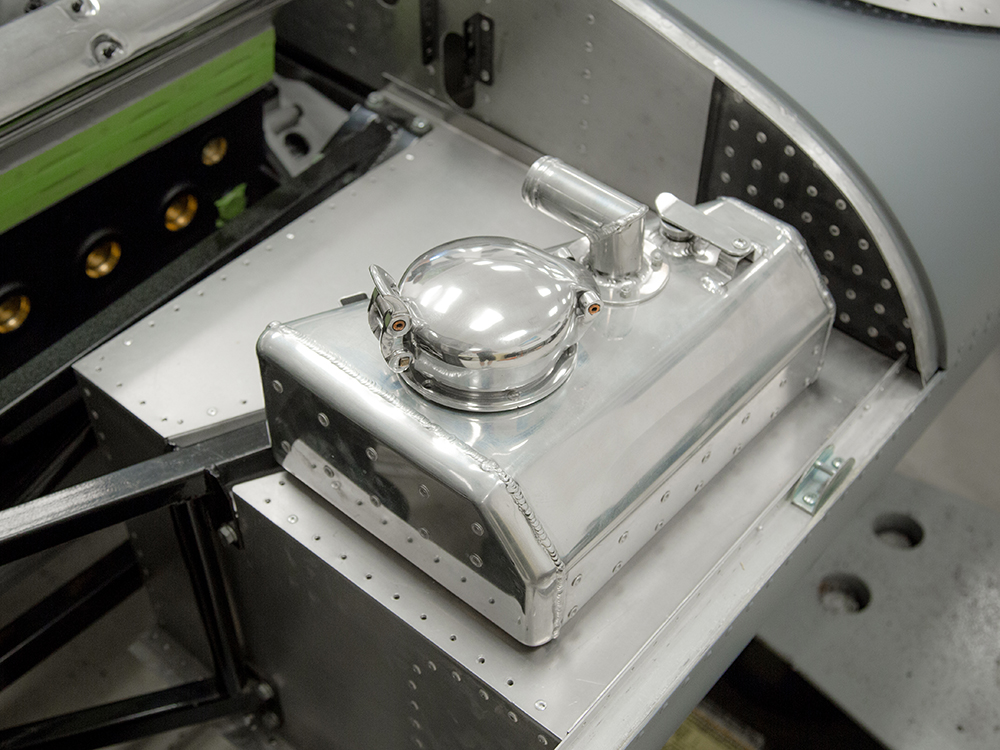
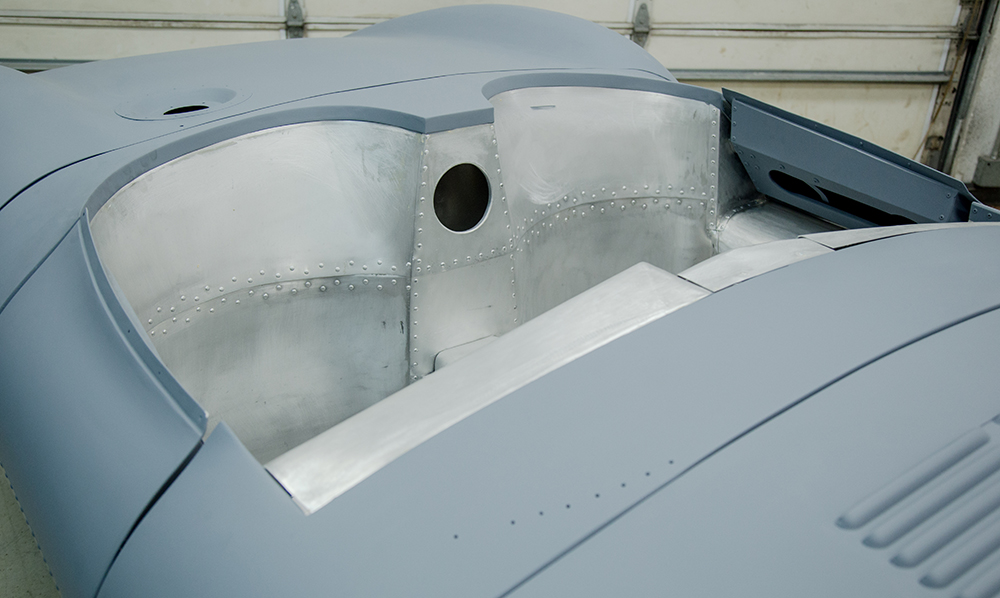
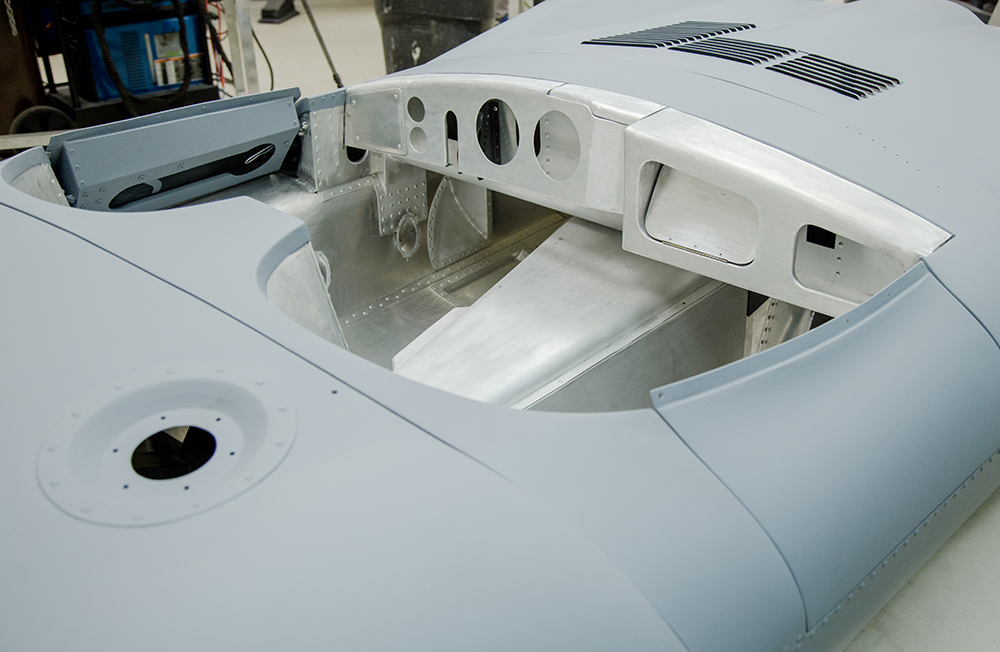
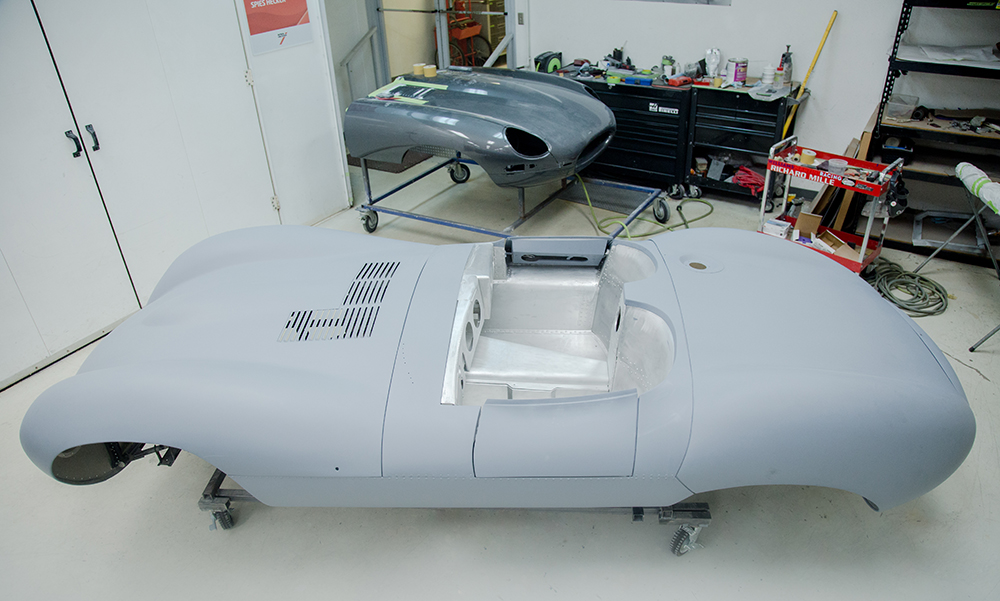
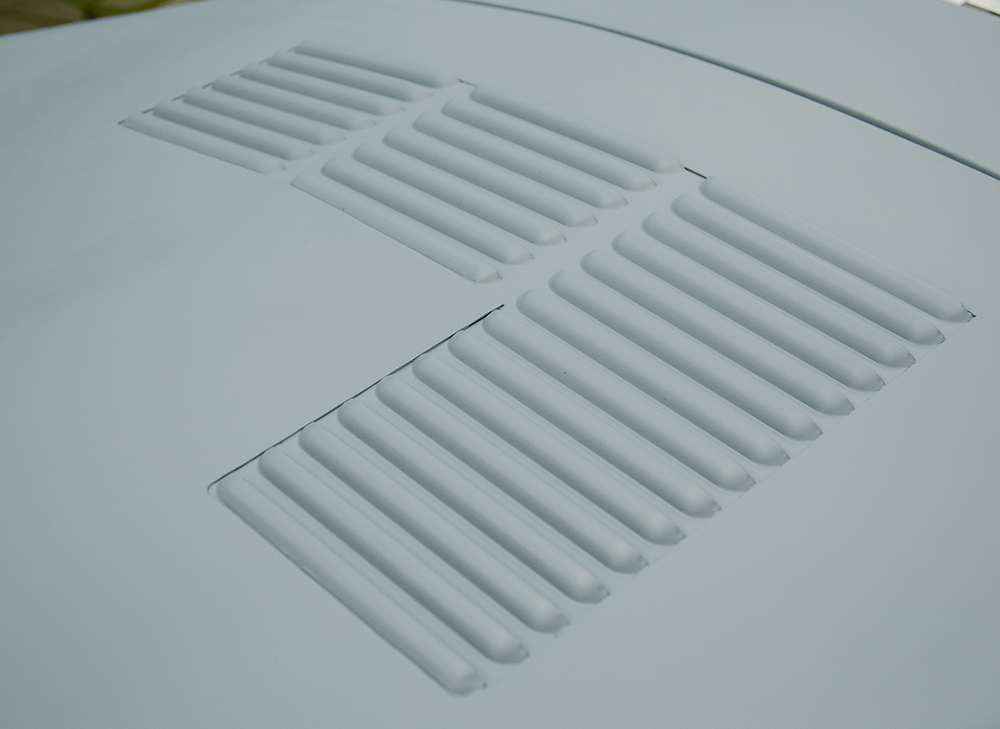
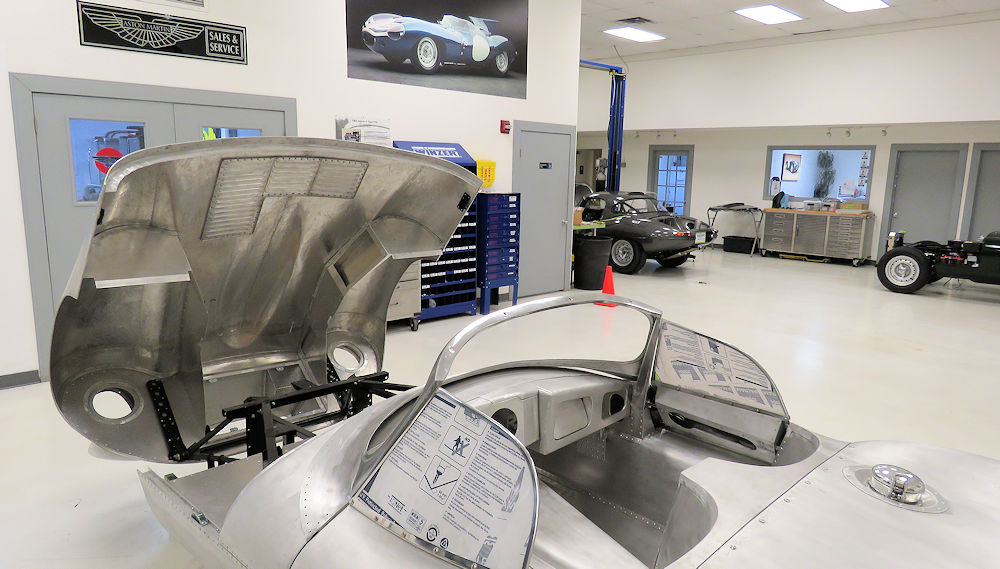
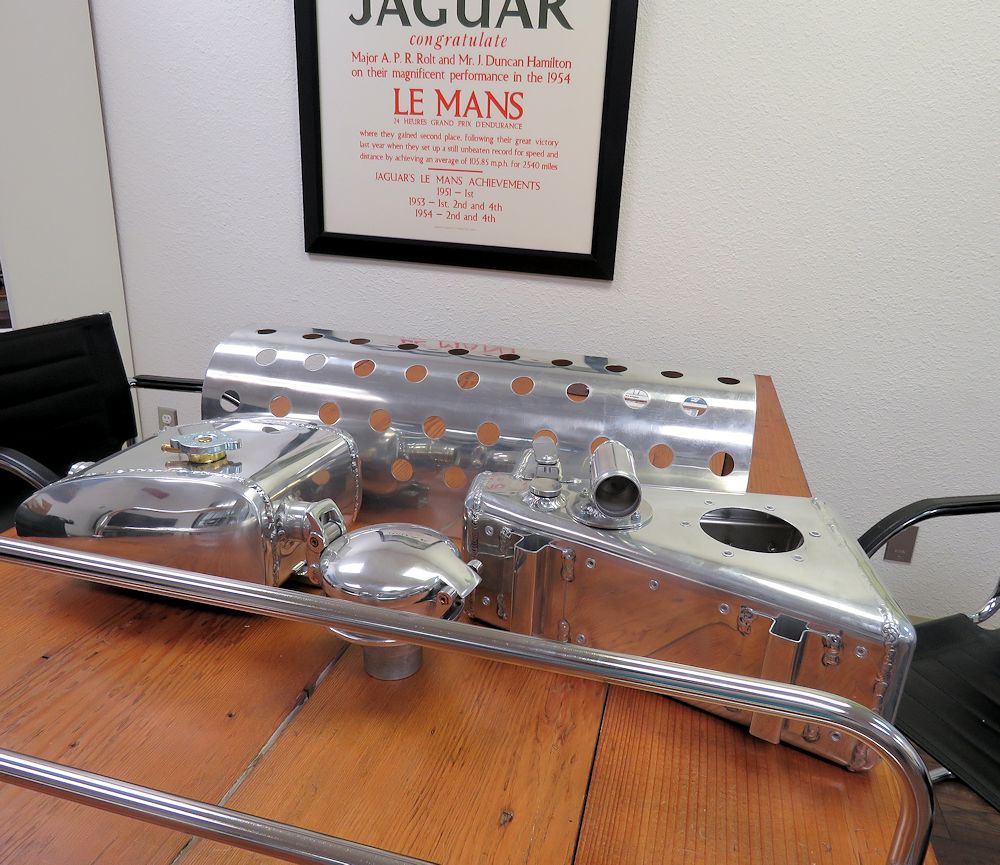
A look at some of the details on the finished XKSS.
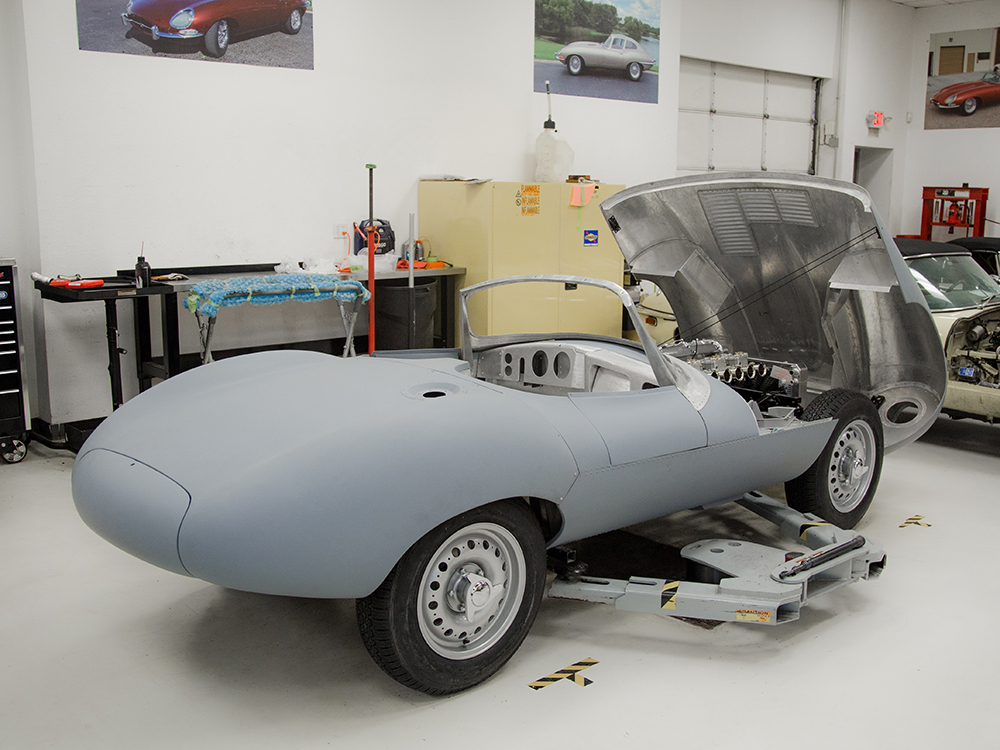
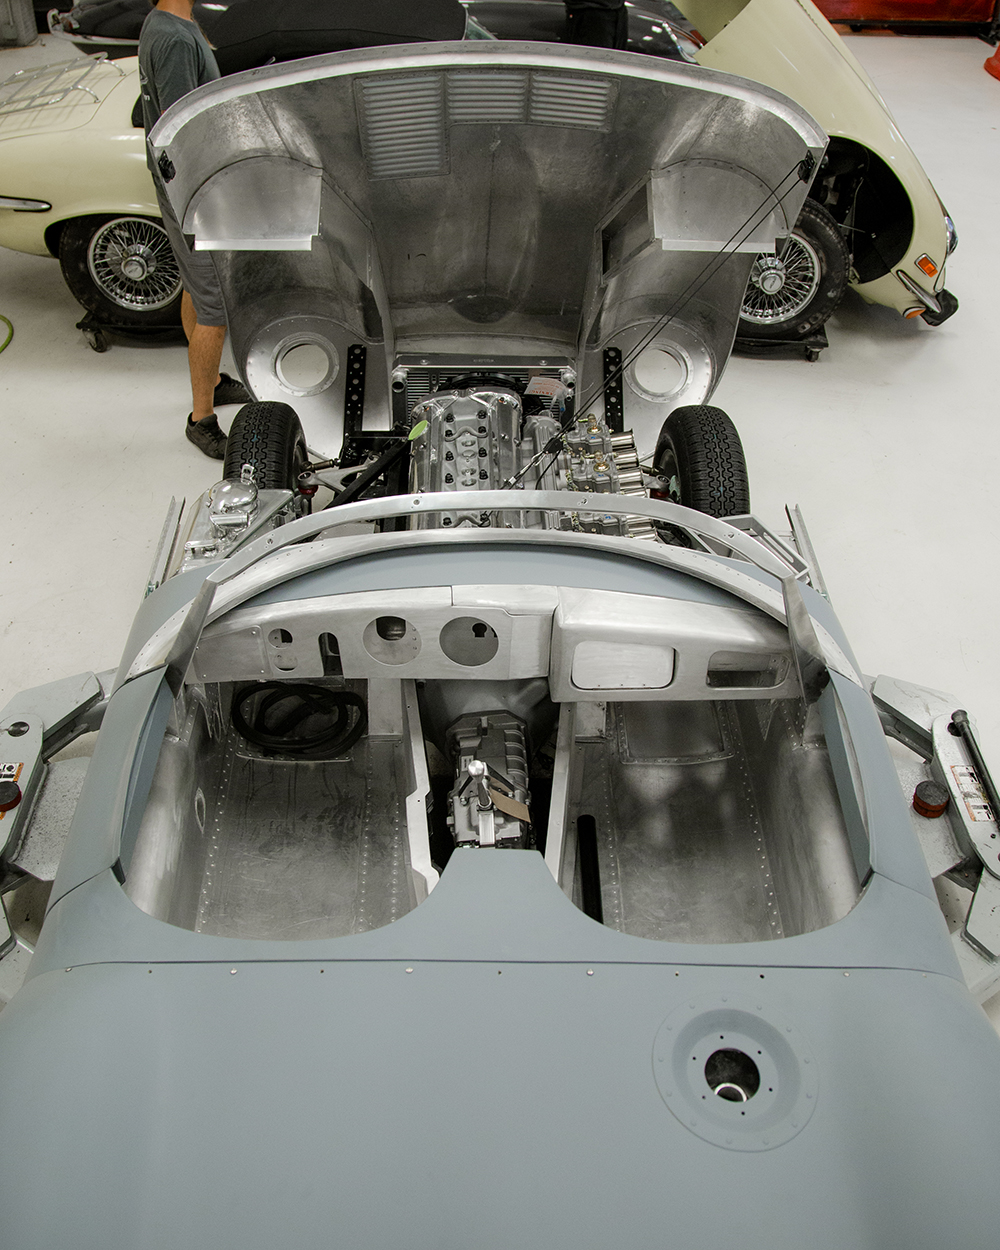
July 7, 2021
July 7, 2021
July 7, 2021
July 7, 2021
July 7, 2021
July 7, 2021
July 7, 2021
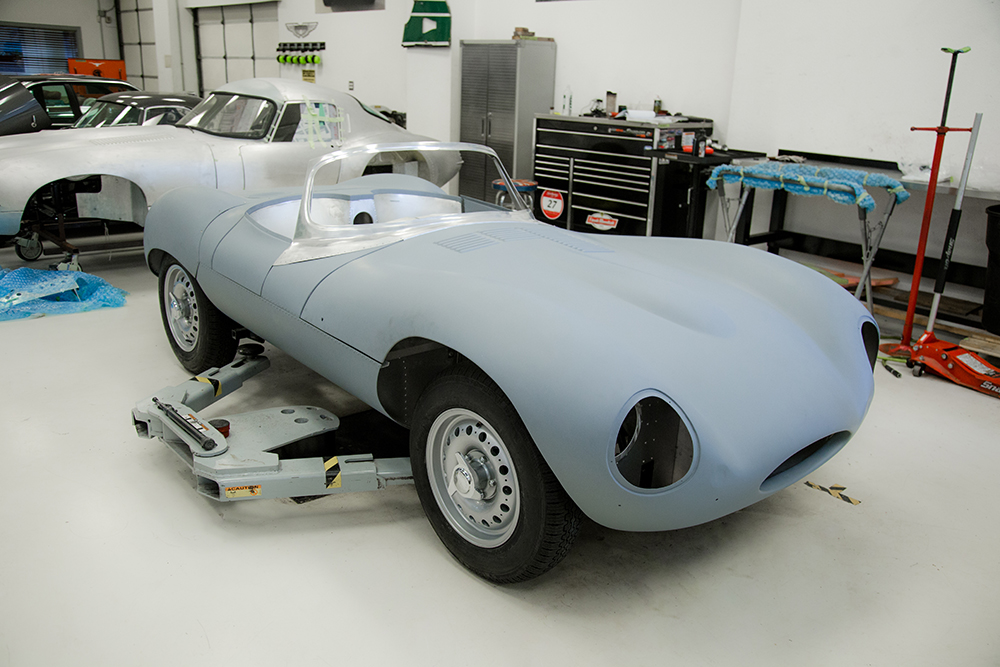
May 10, 2021
May 10, 2021
July 7, 2021
May 10, 2021
May 10, 2021
May 10, 2021
May 10, 2021
May 10, 2021
May 10, 2021
May 10, 2021
May 10, 2021
May 10, 2021
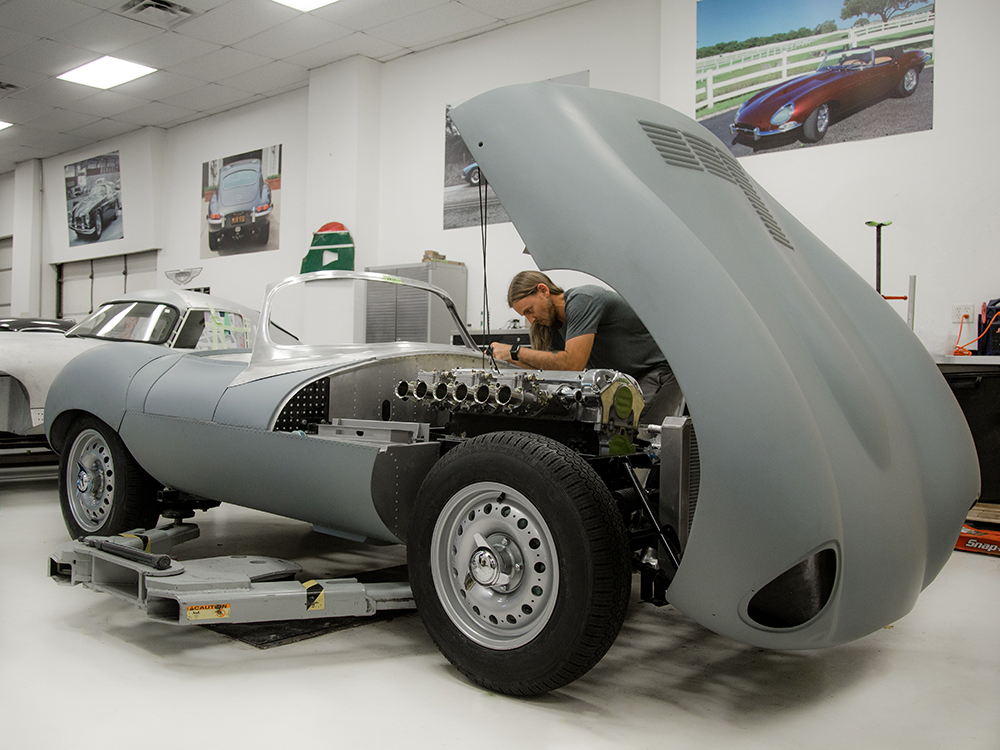
February 24, 2021
May 10, 2021
February 24, 2021
February 24, 2021
February 24, 2021
February 24, 2021
February 24, 2021
February 24, 2021
February 24, 2021
February 24, 2021
February 24, 2021
February 24, 2021
February 24, 2021
February 24, 2021
February 24, 2021
February 24, 2021
February 24, 2021
February 24, 2021
February 24, 2021
February 24, 2021
February 24, 2021
February 24, 2021
February 24, 2021
February 24, 2021
February 24, 2021
February 24, 2021
February 24, 2021
February 24, 2021
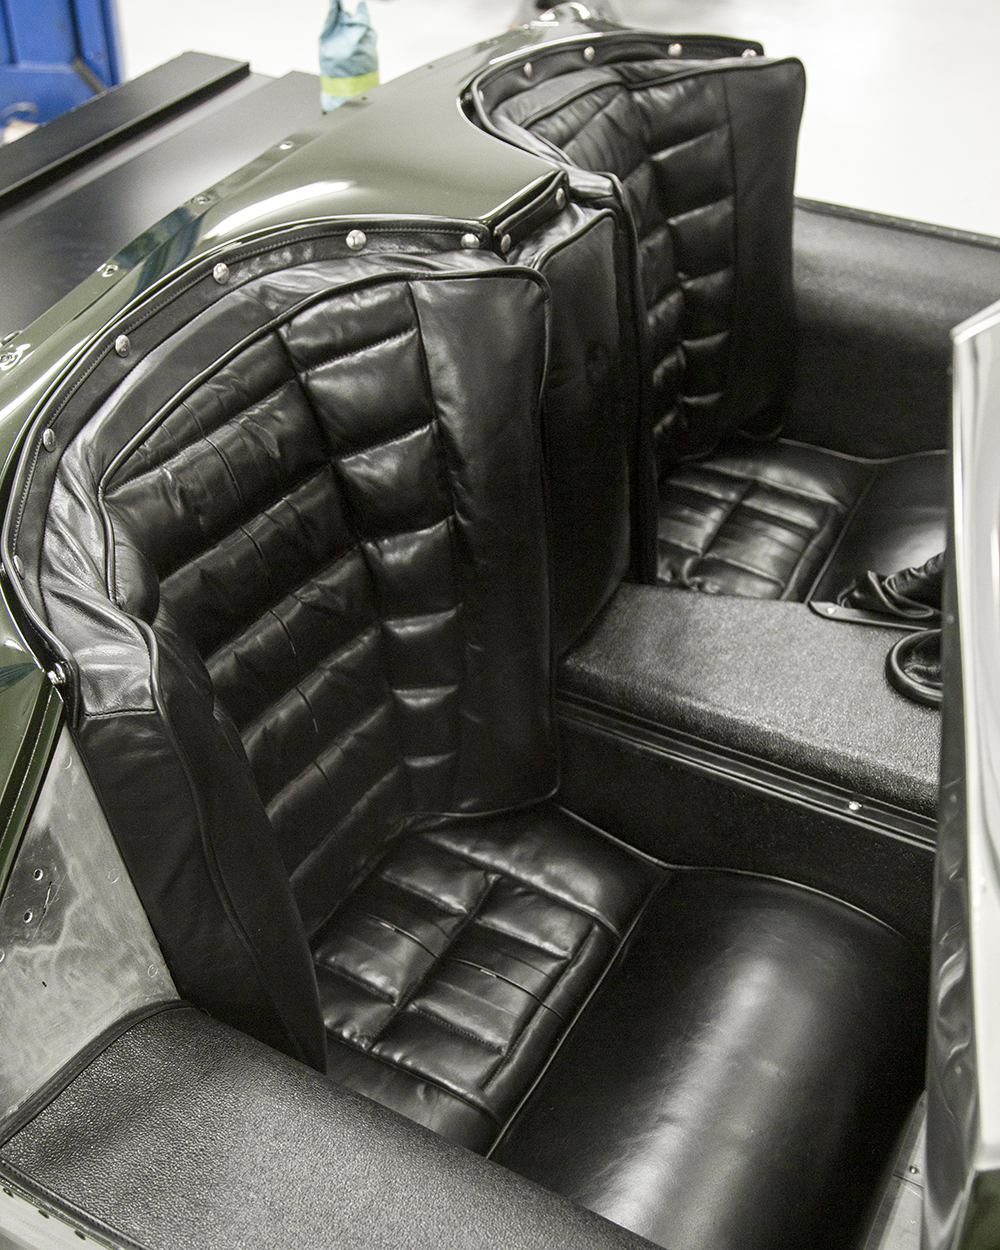
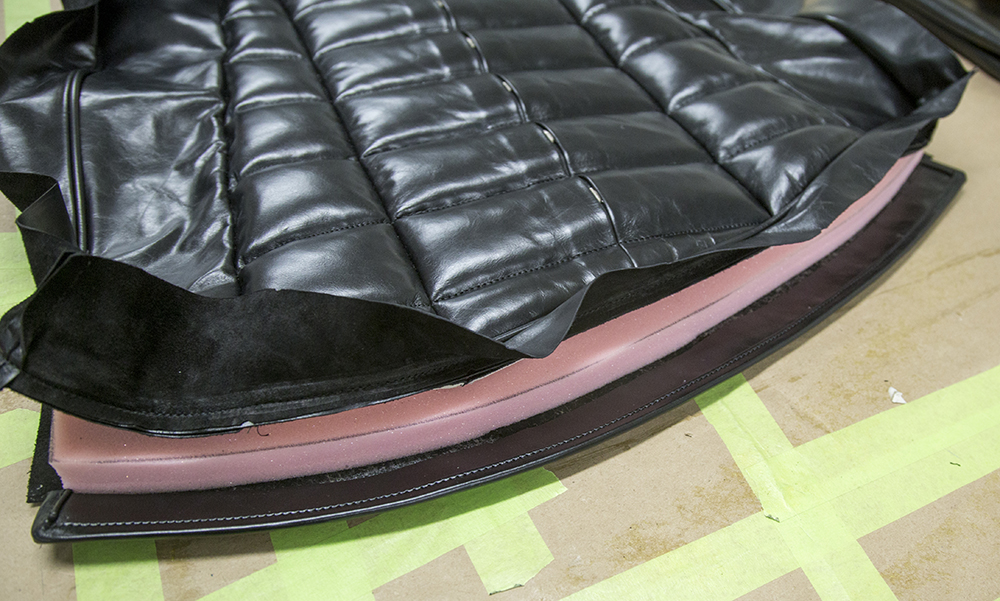
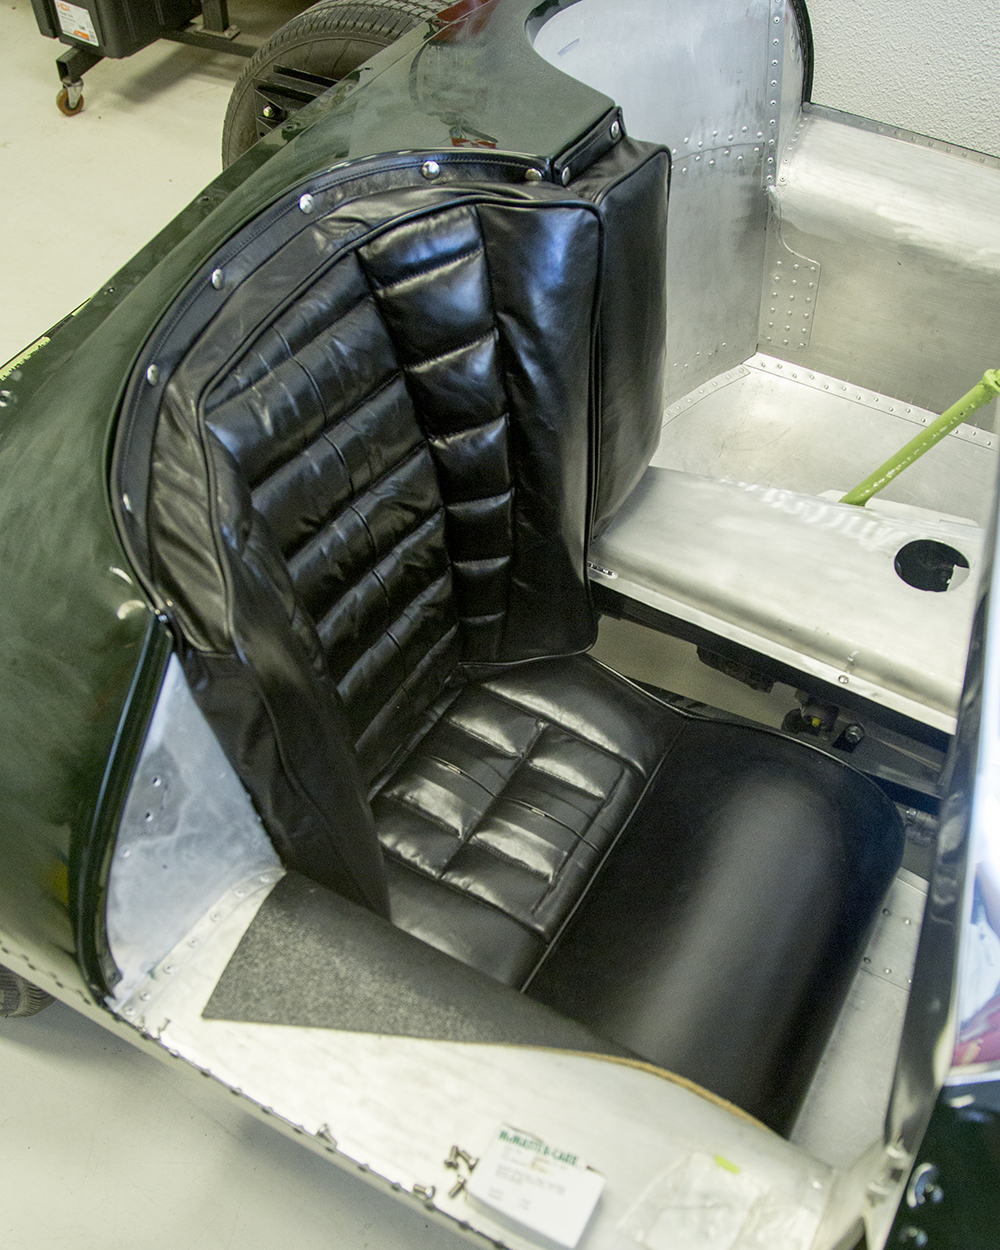
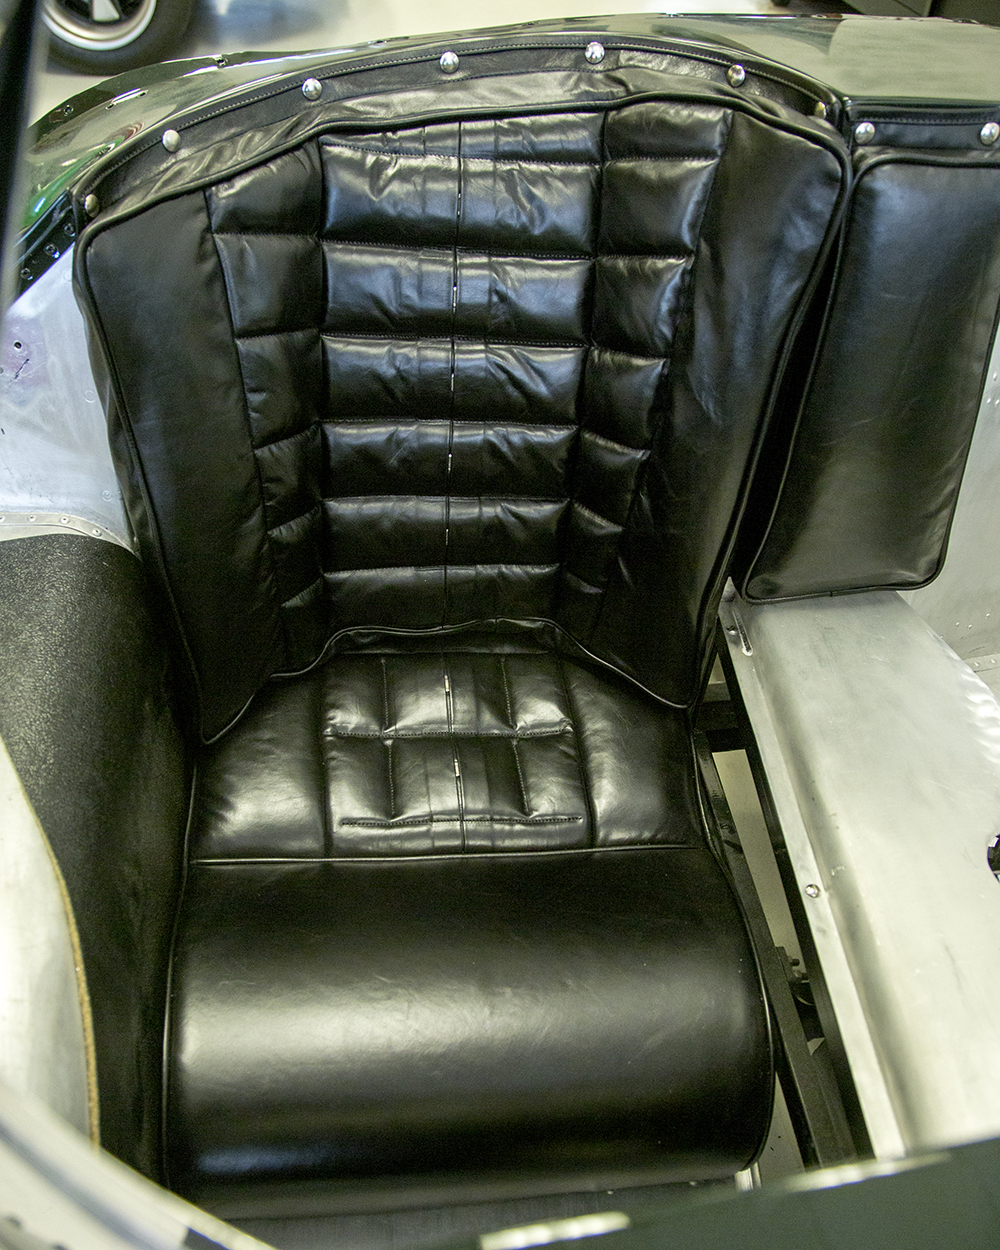
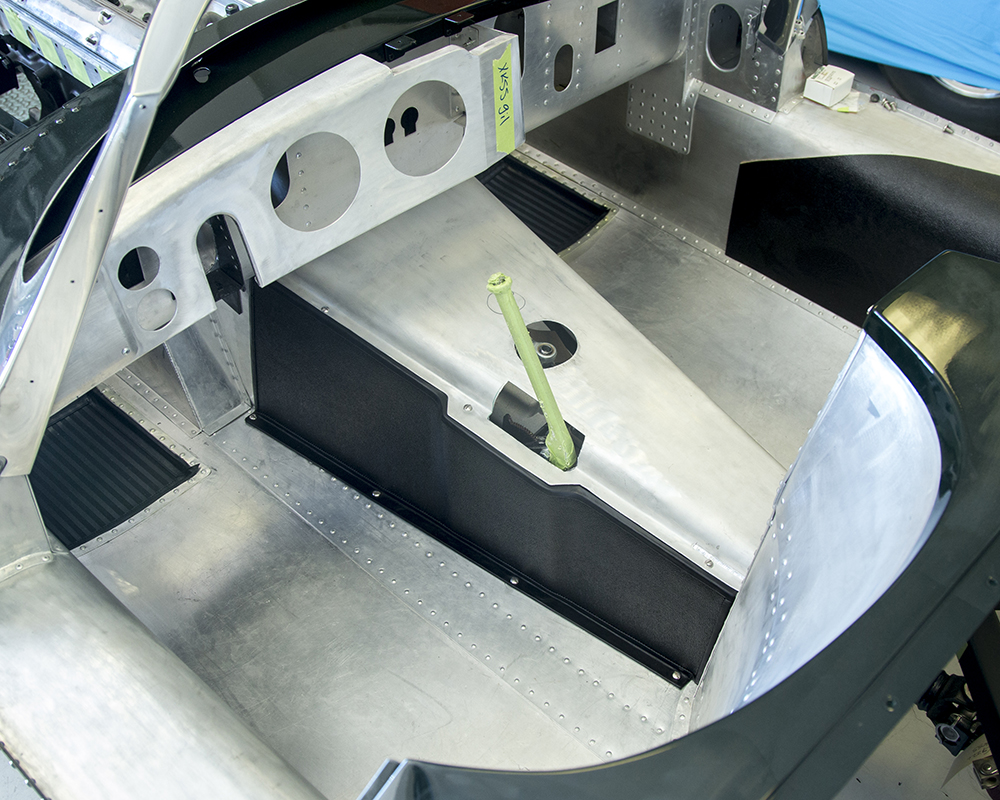
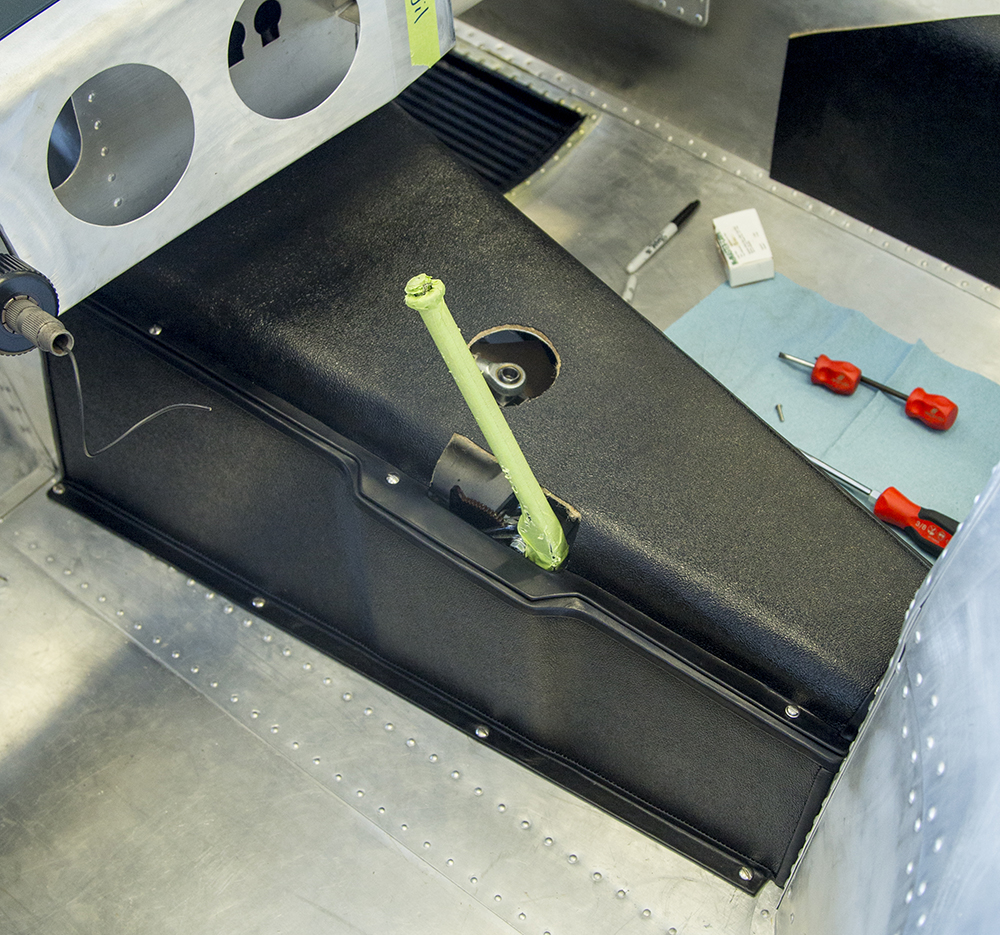
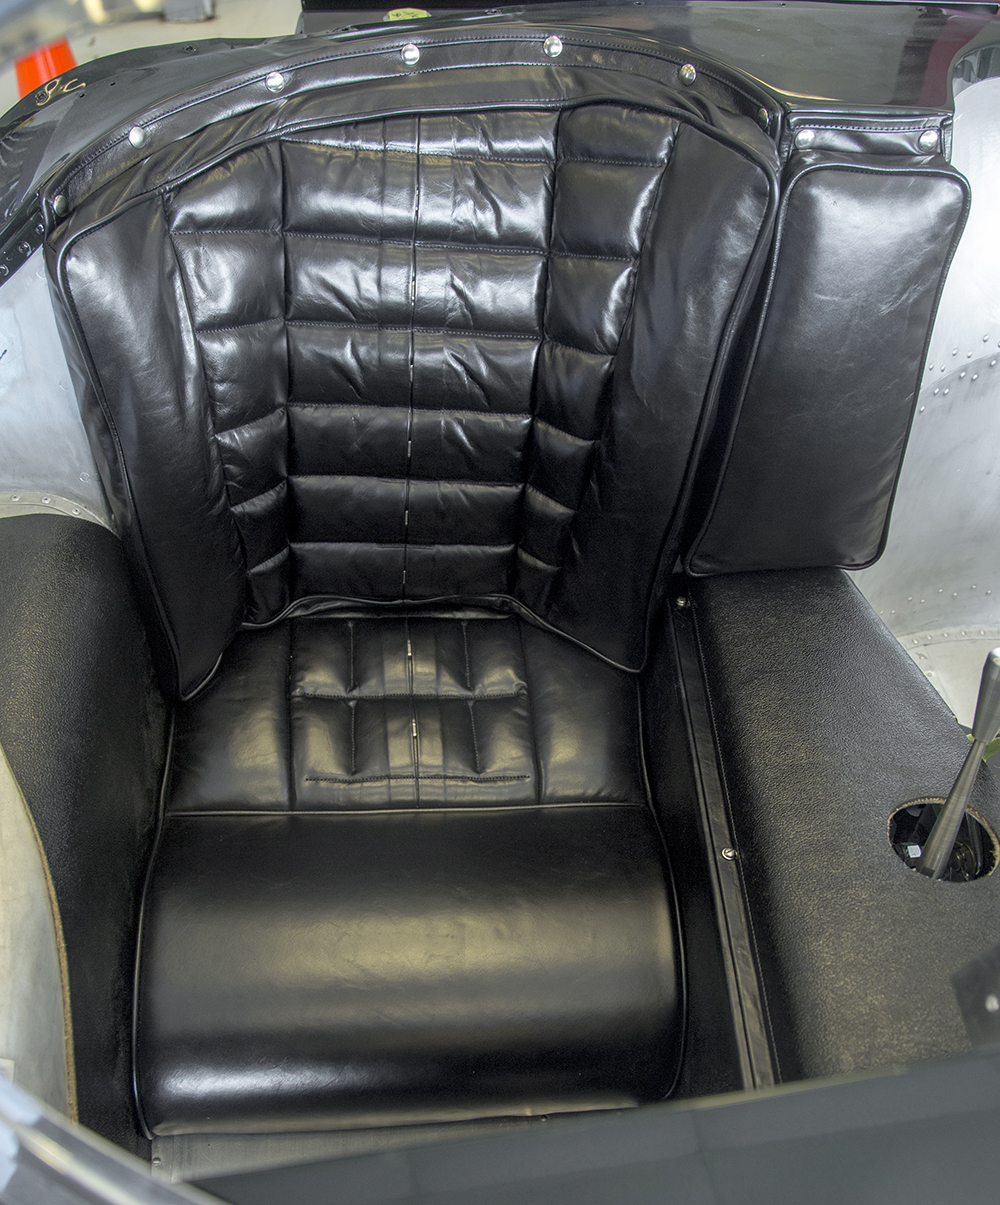
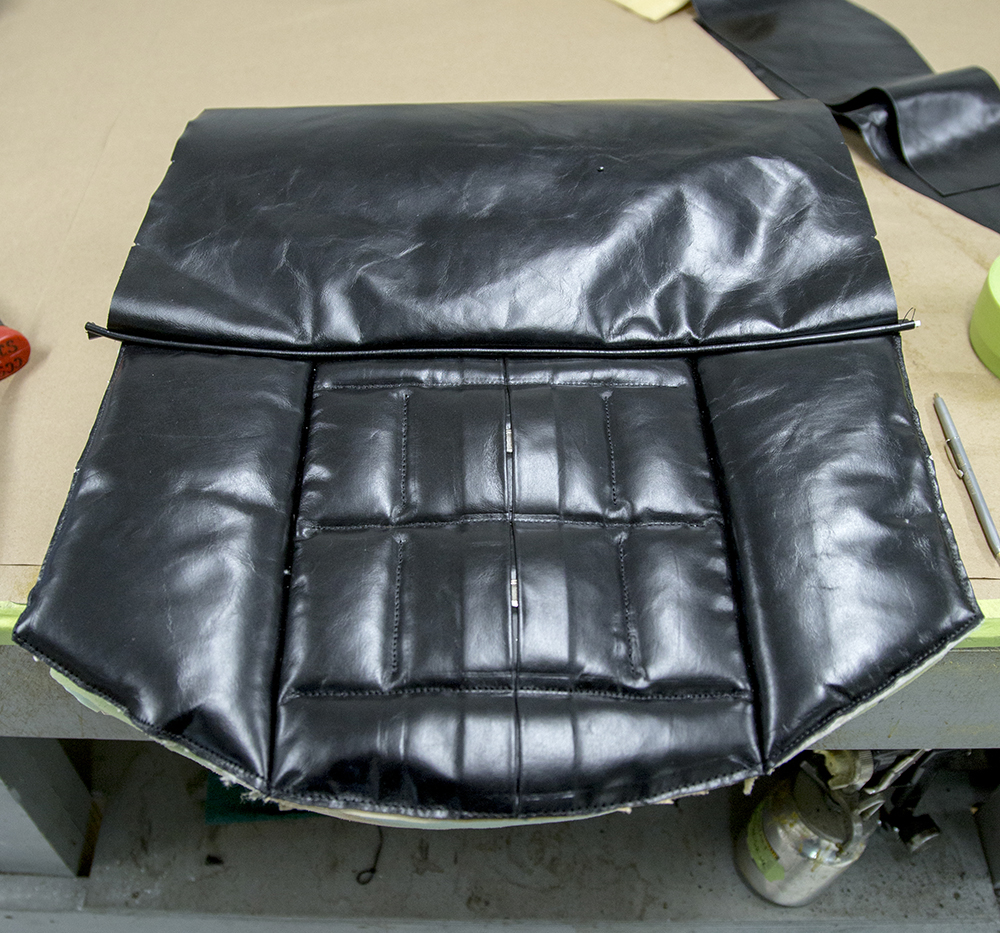
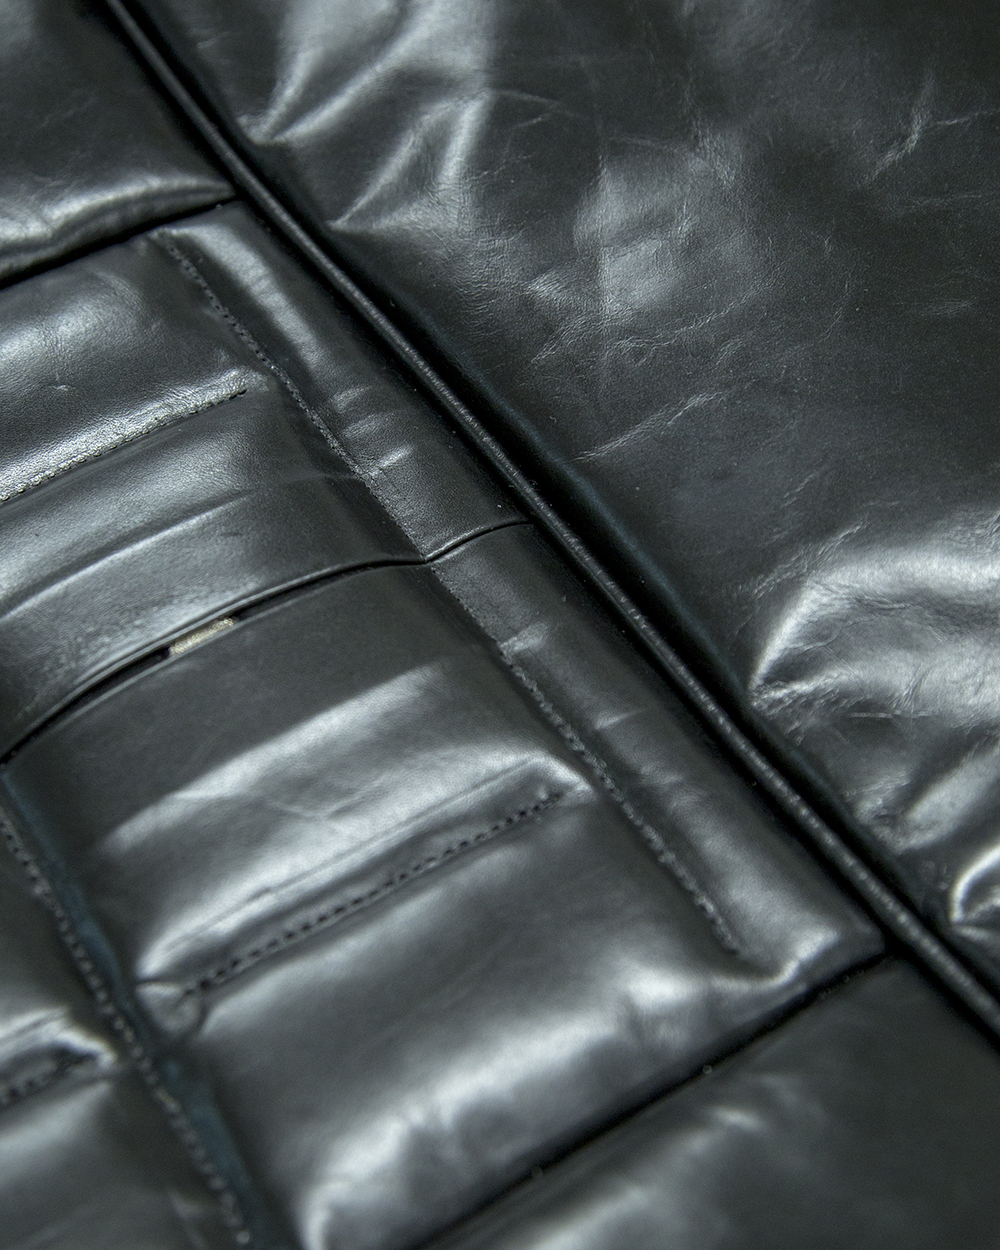
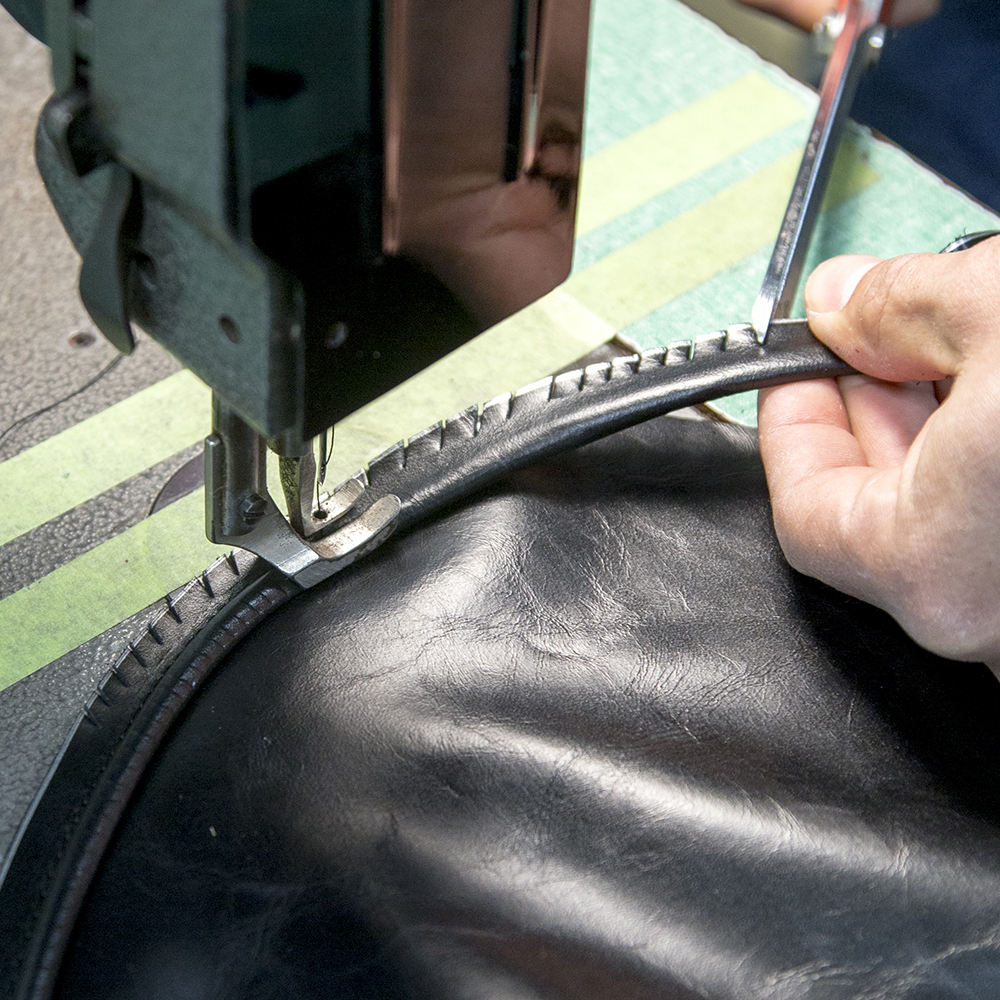
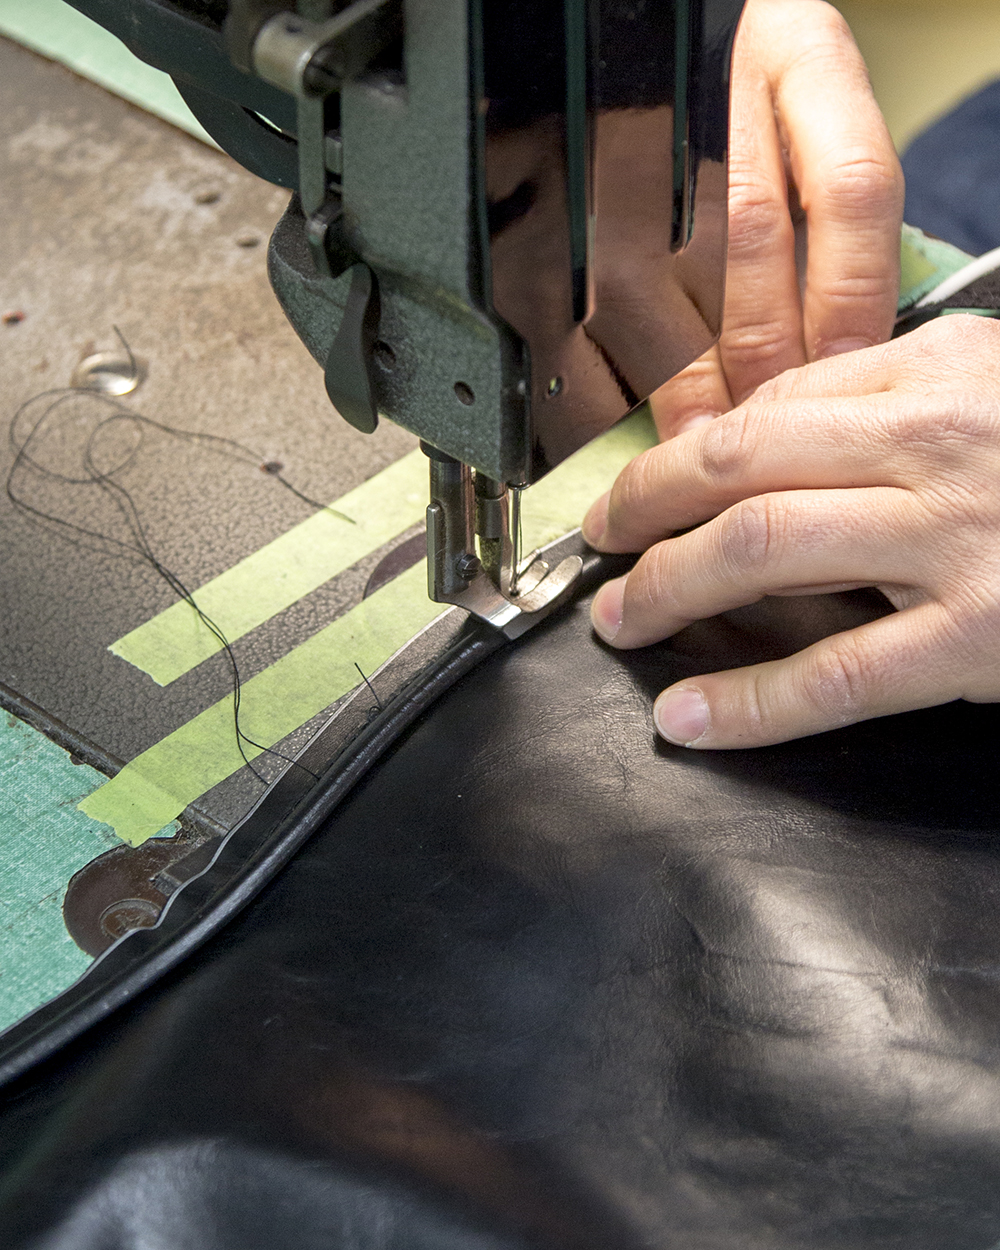
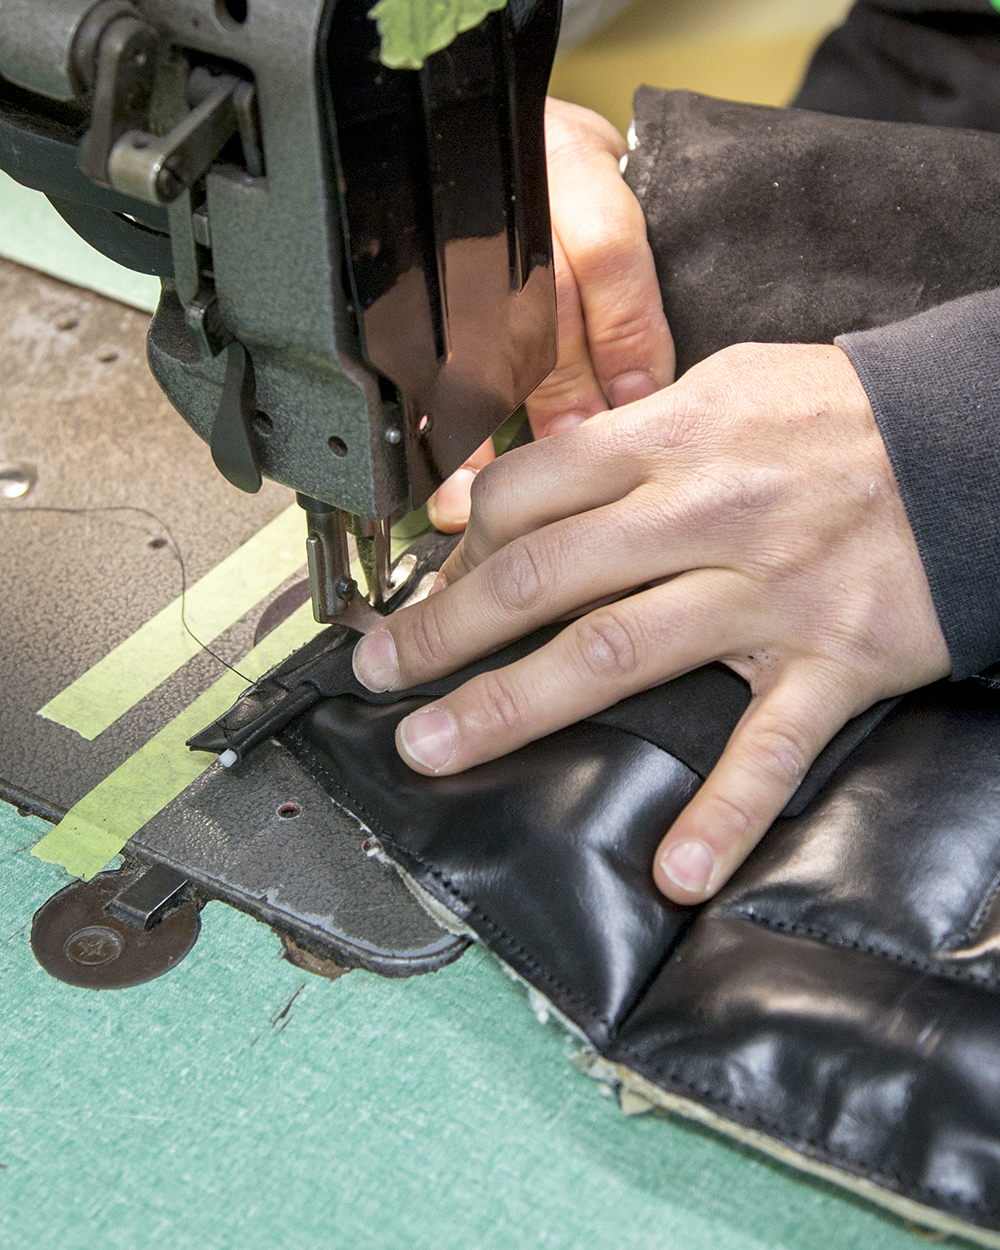
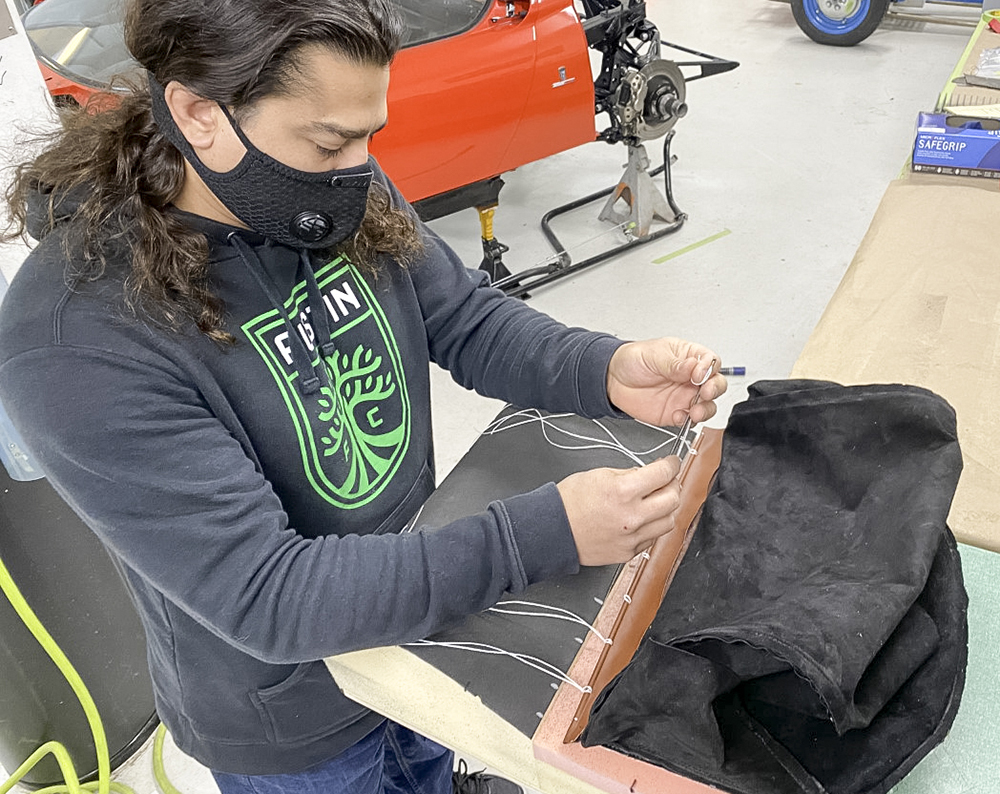
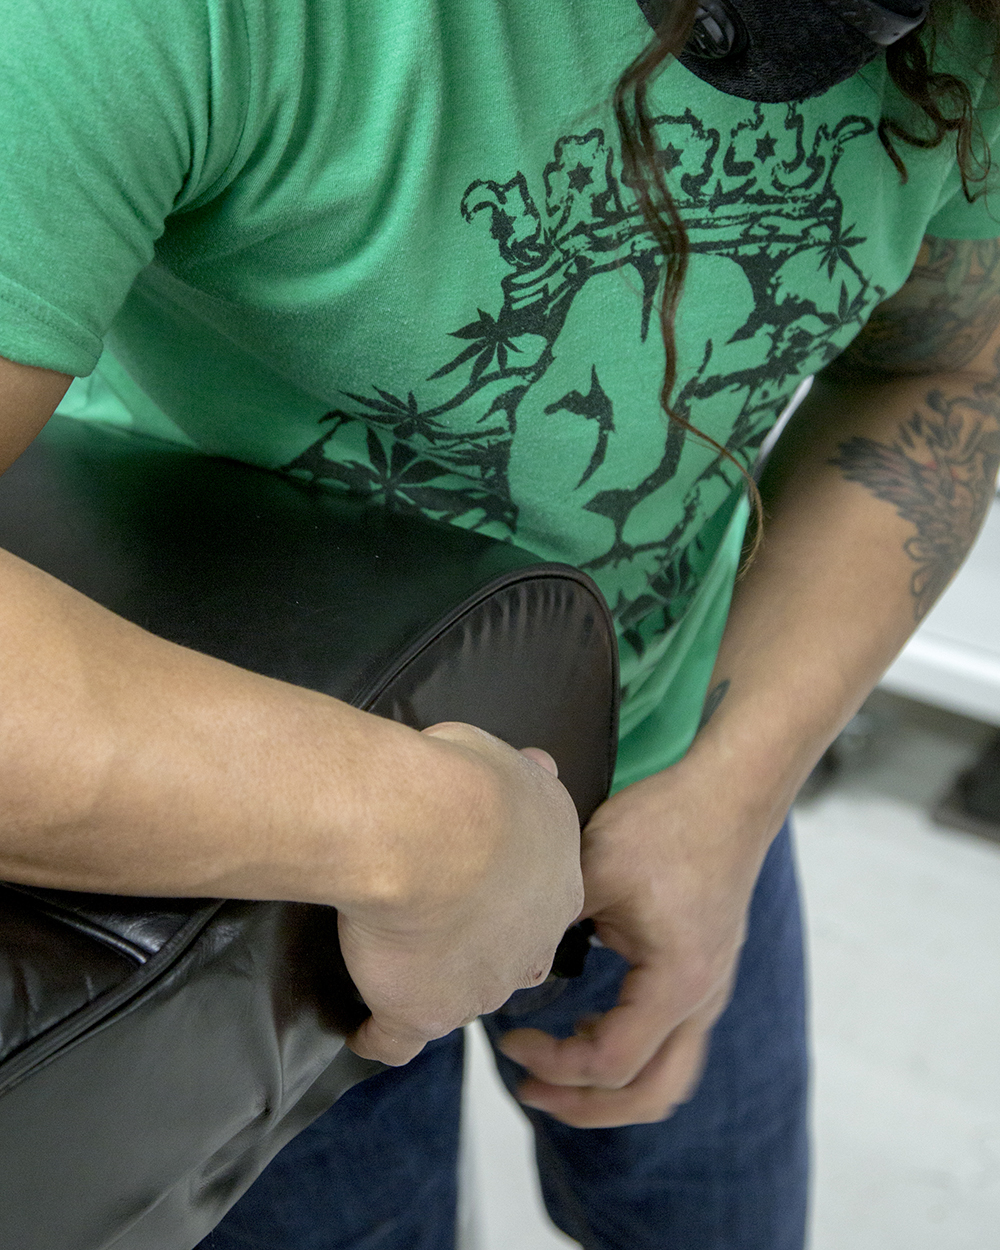
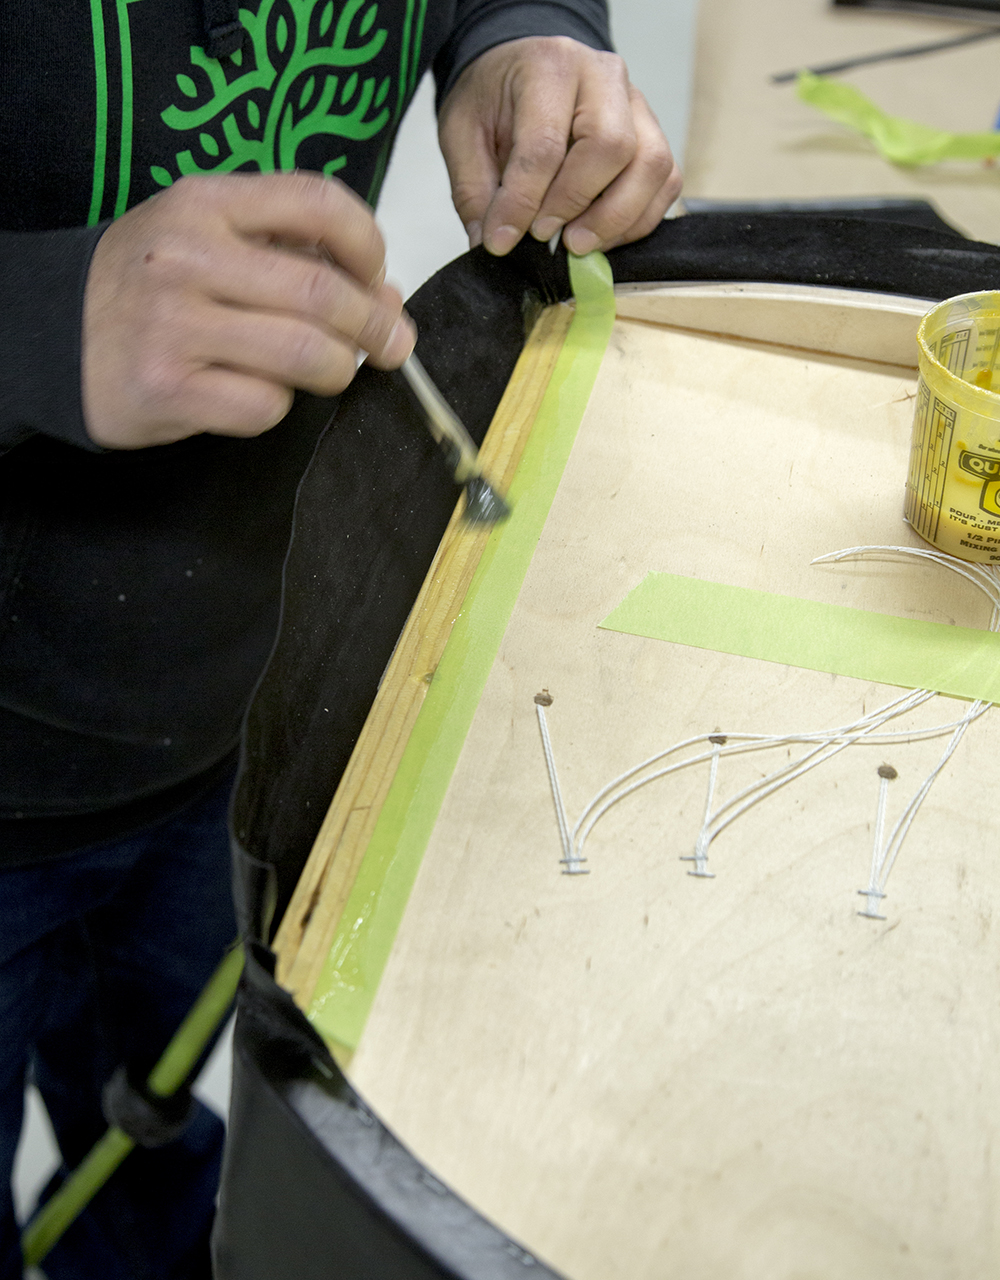
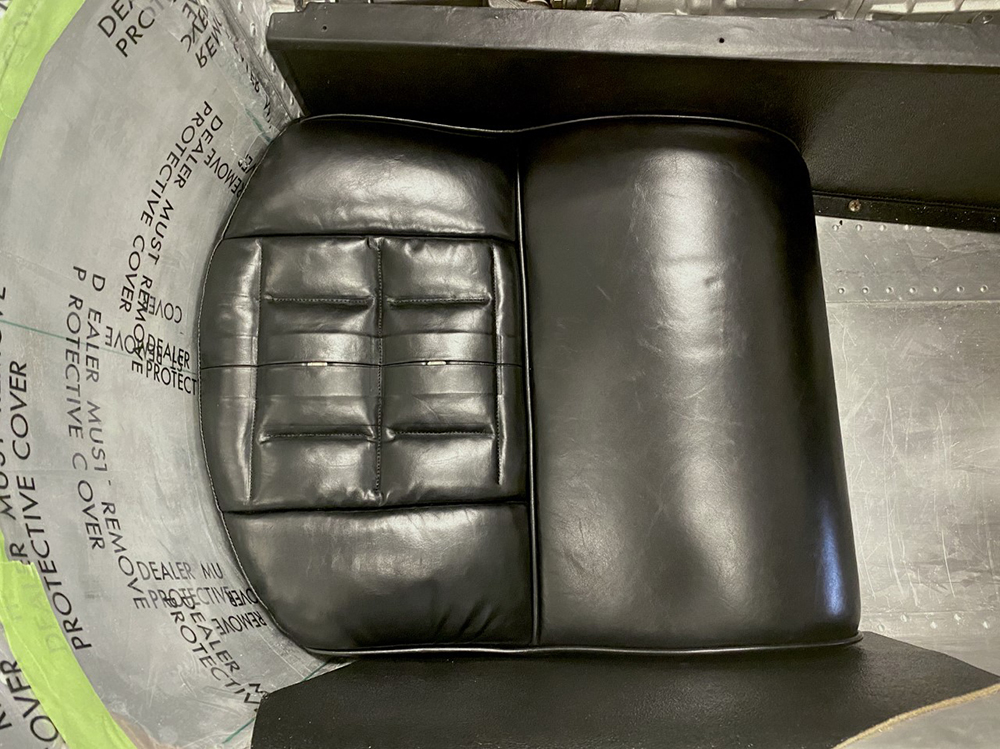
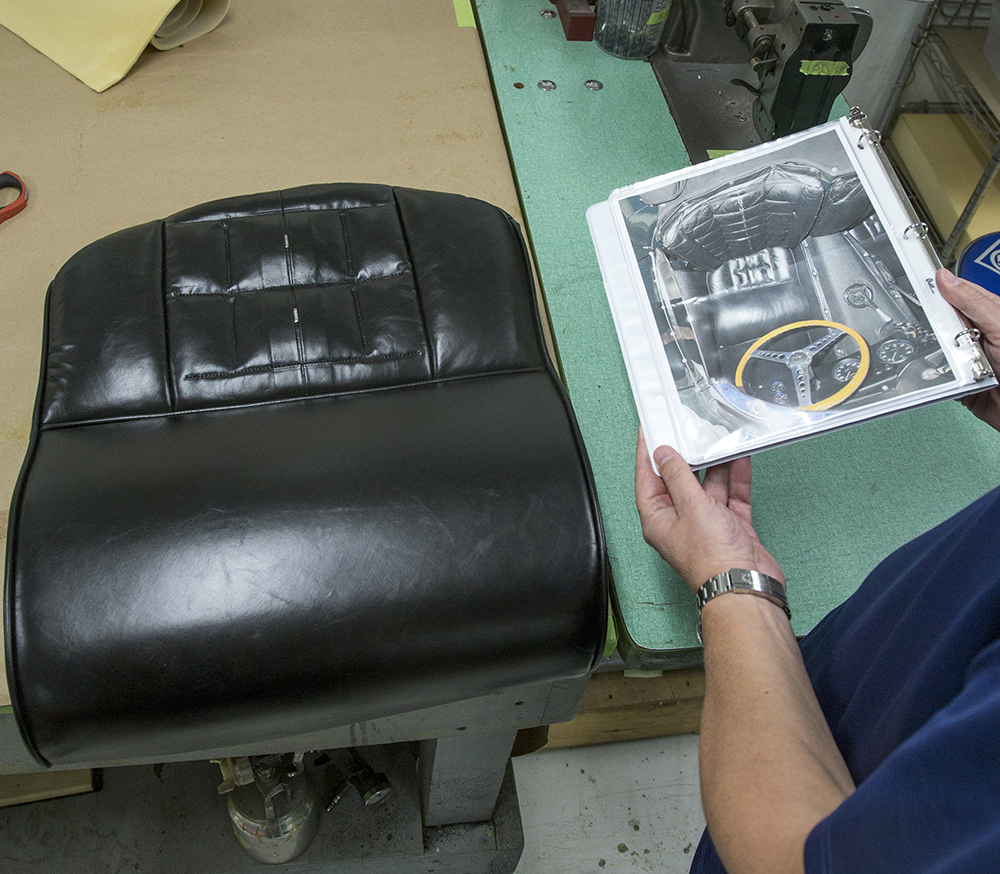
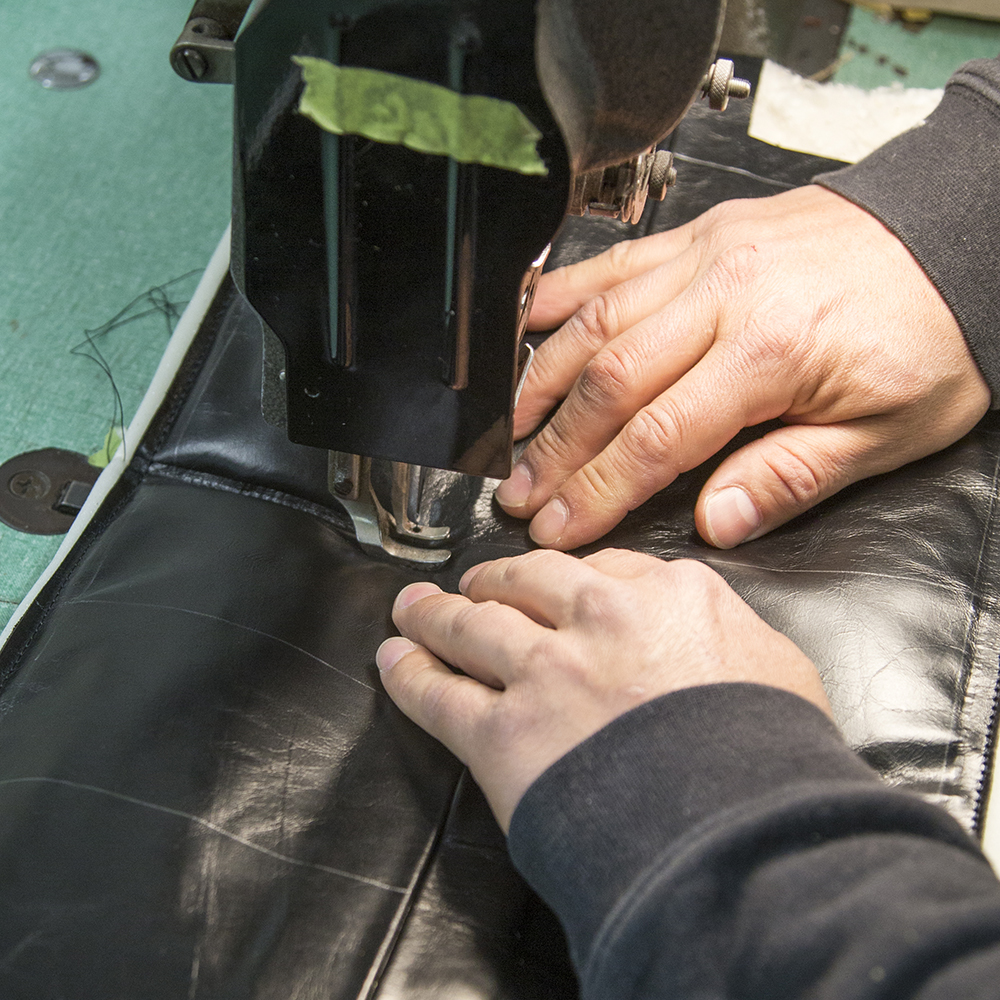
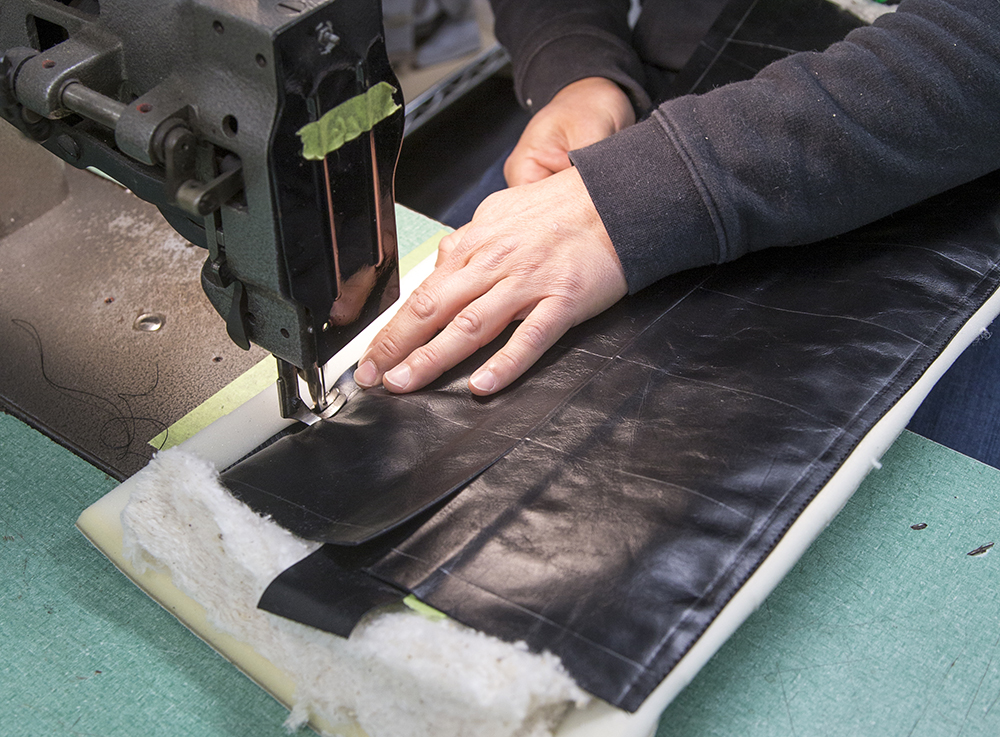
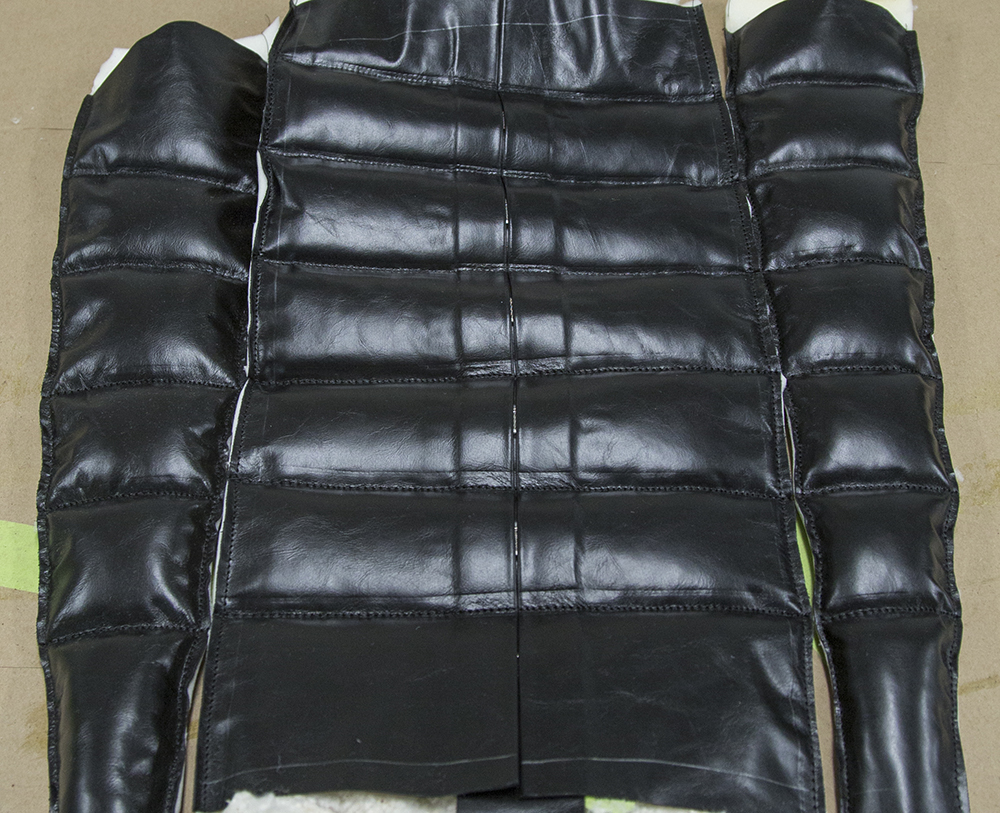
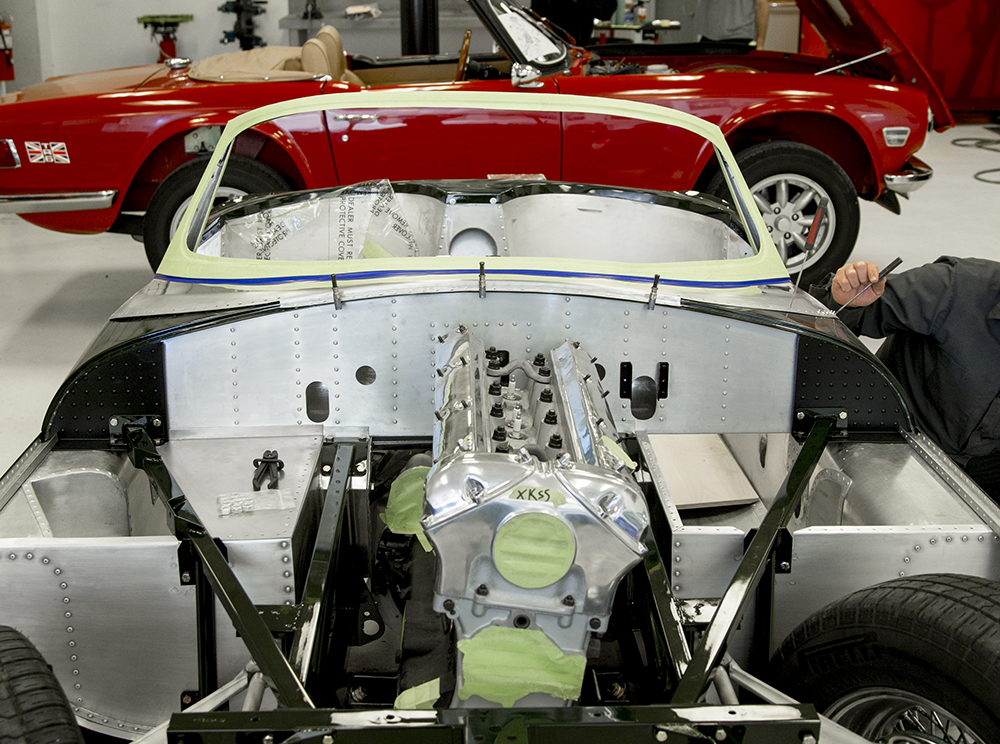
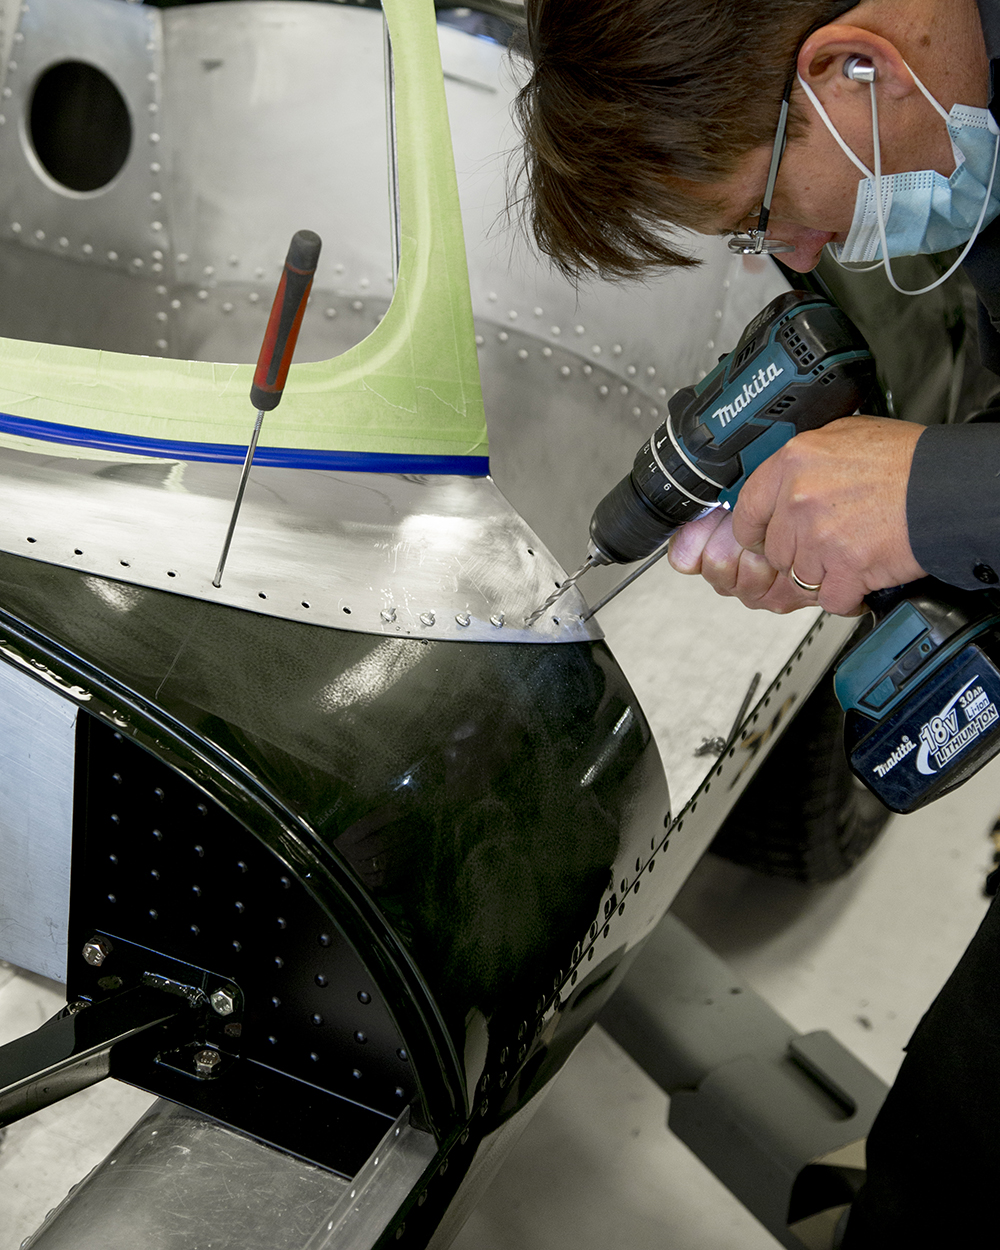
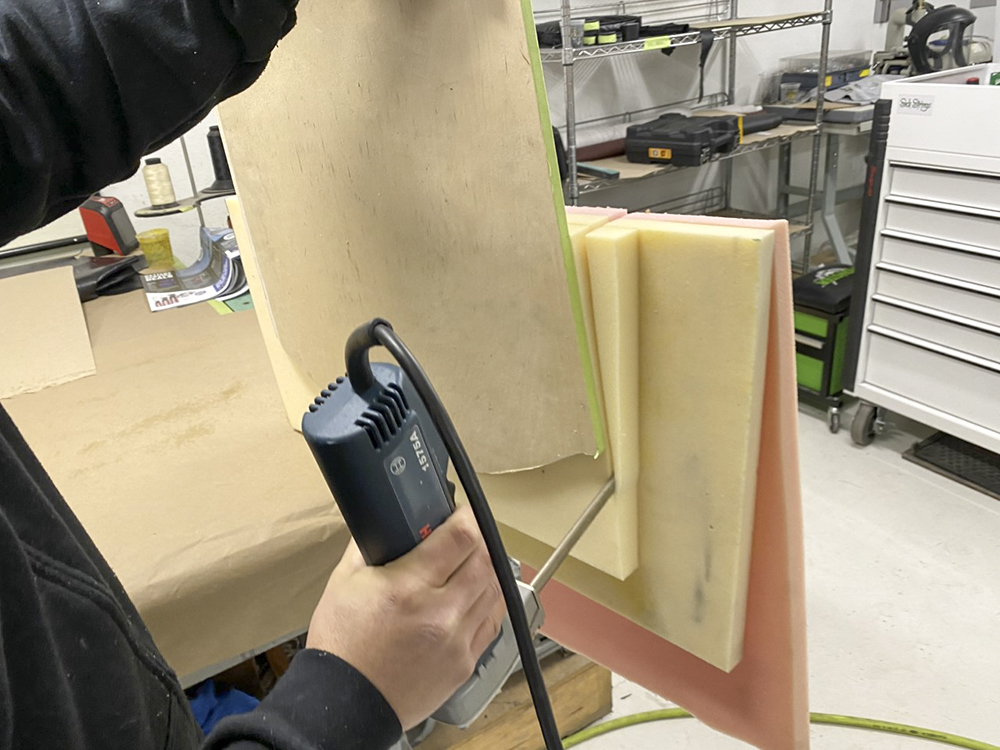
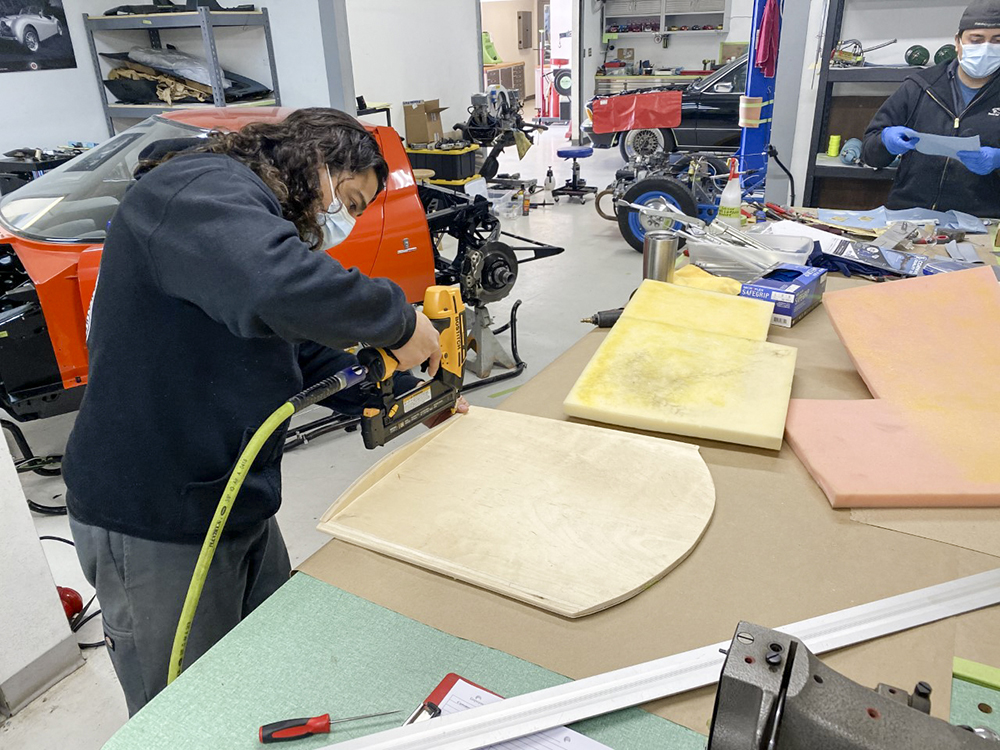
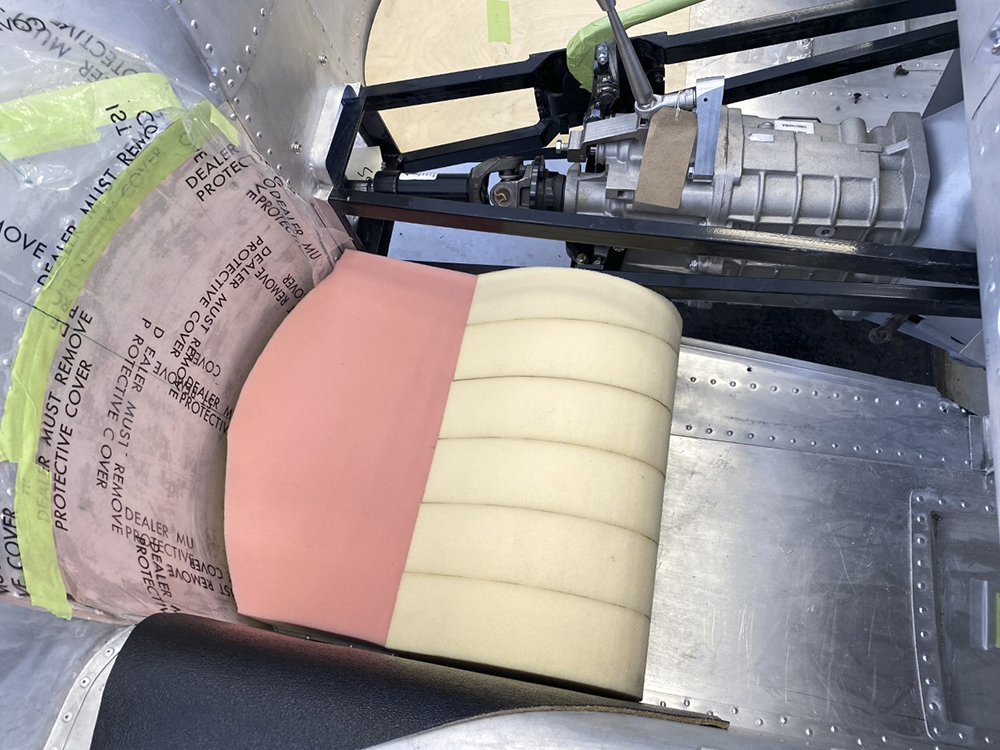
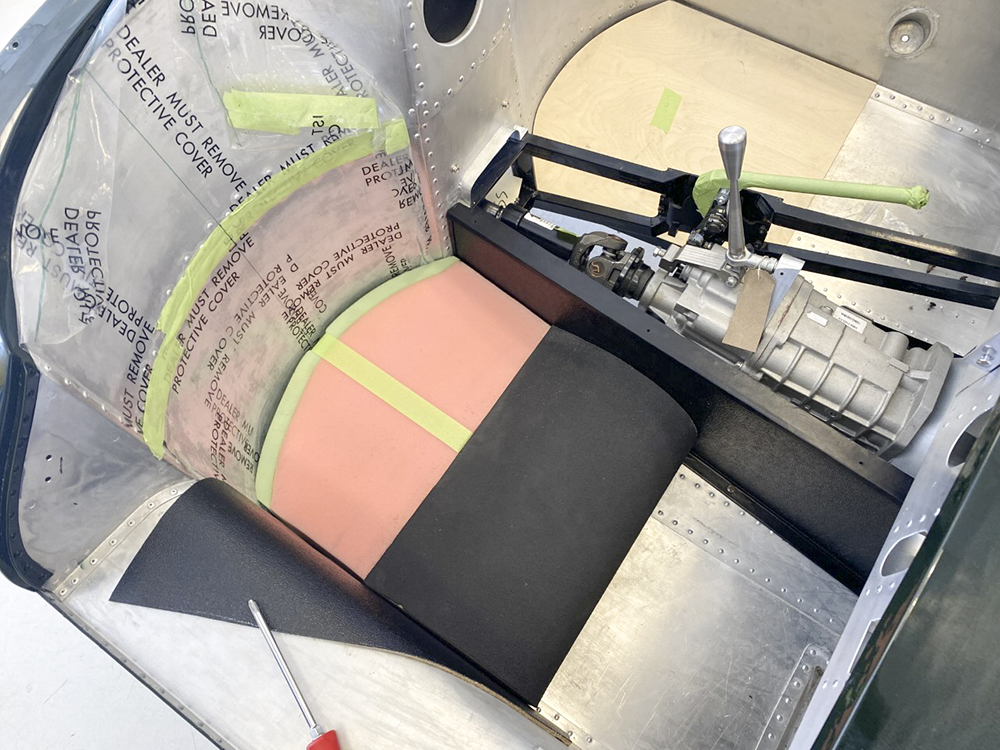
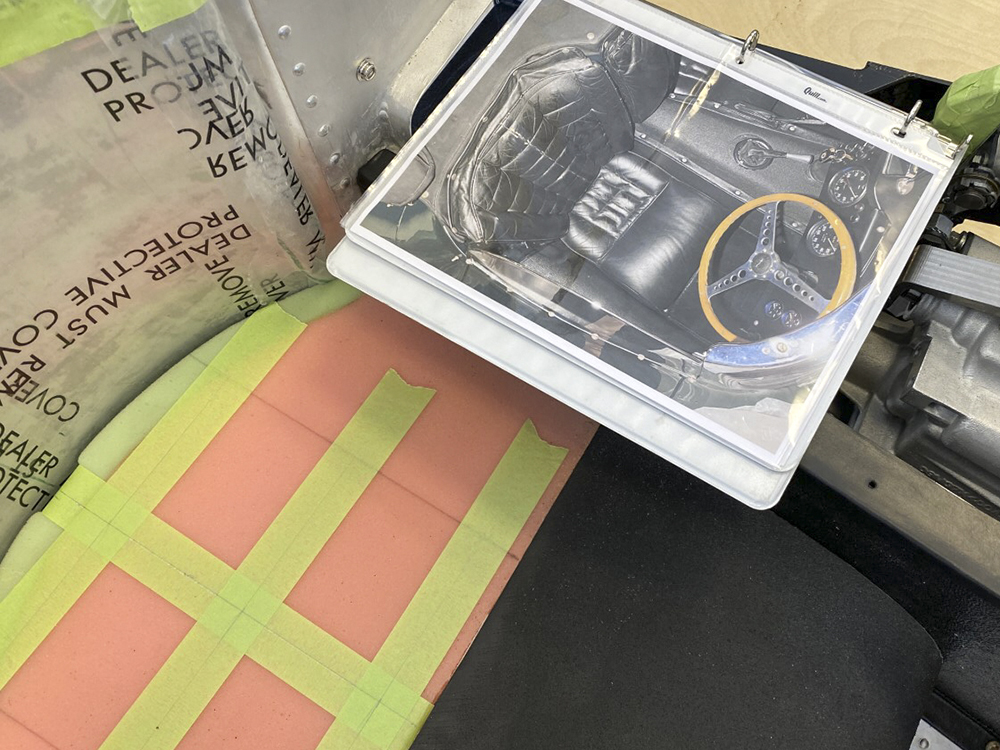
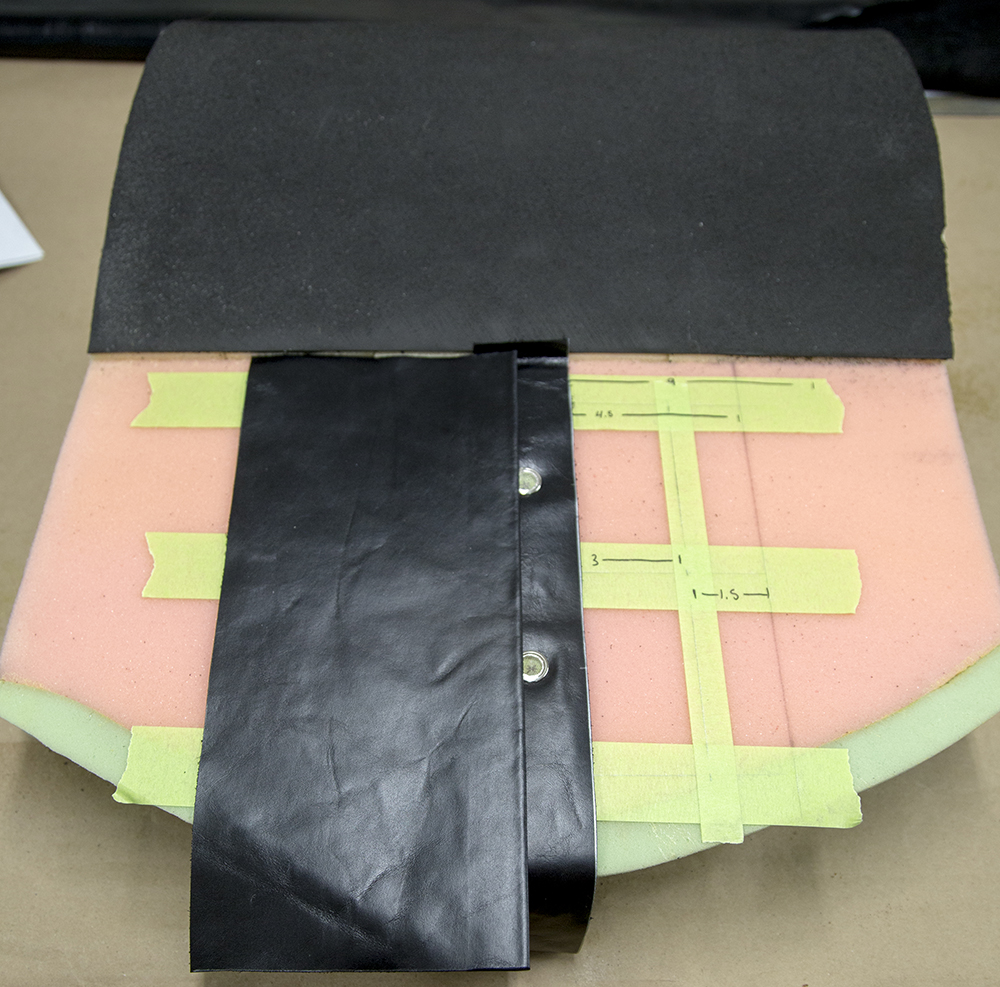
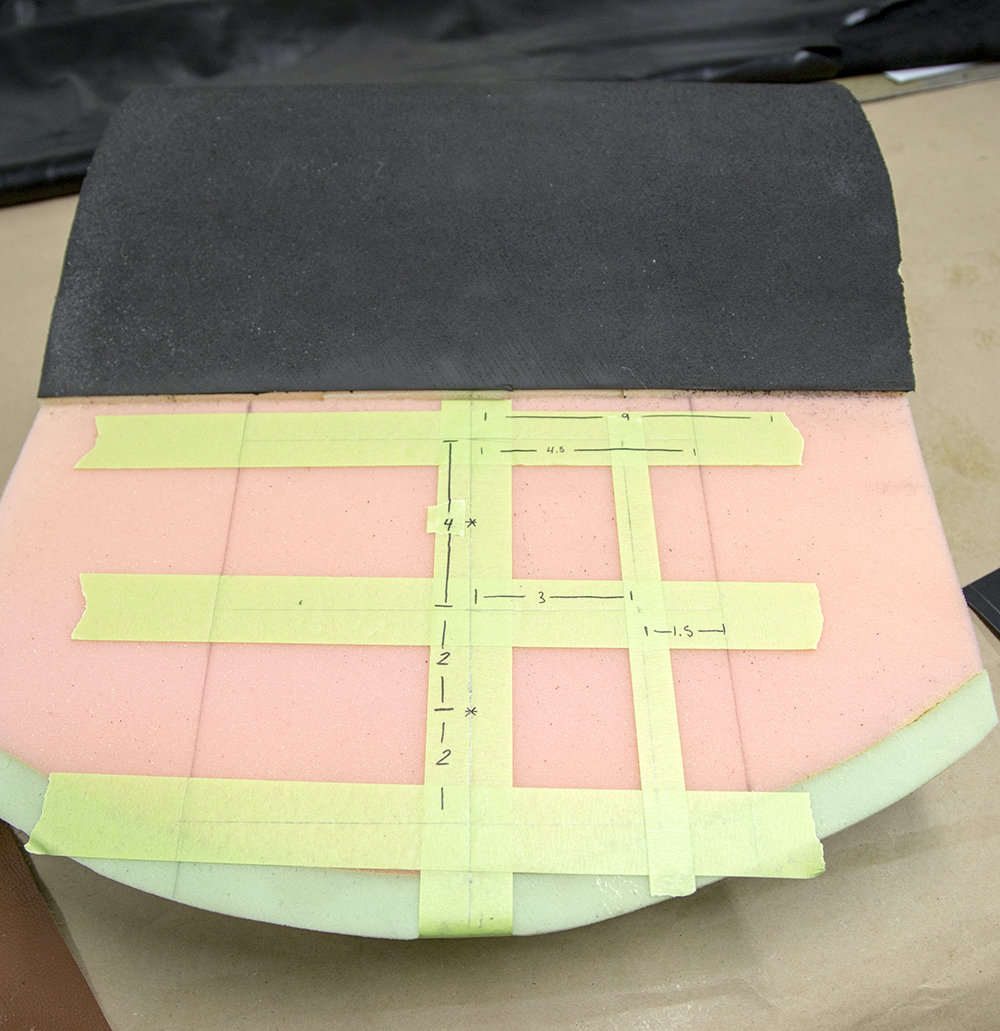
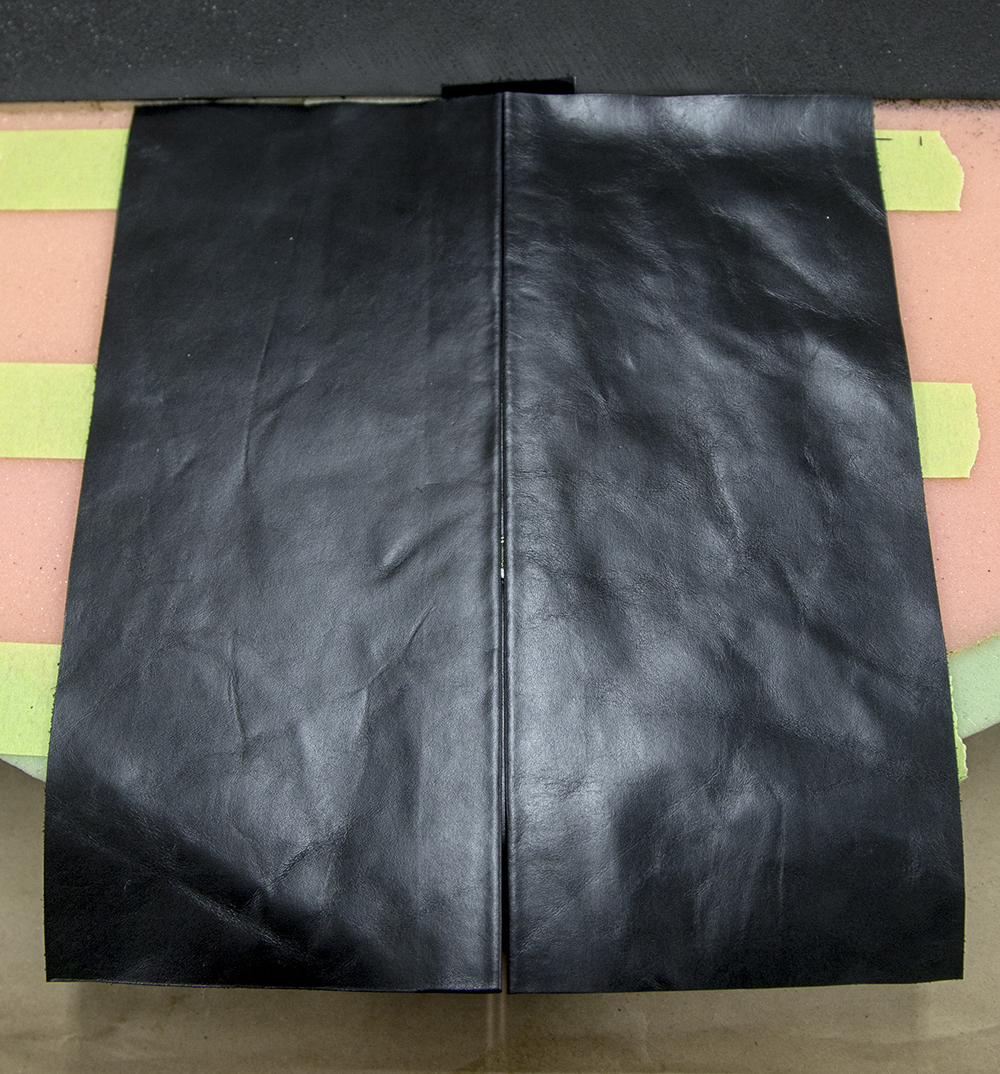
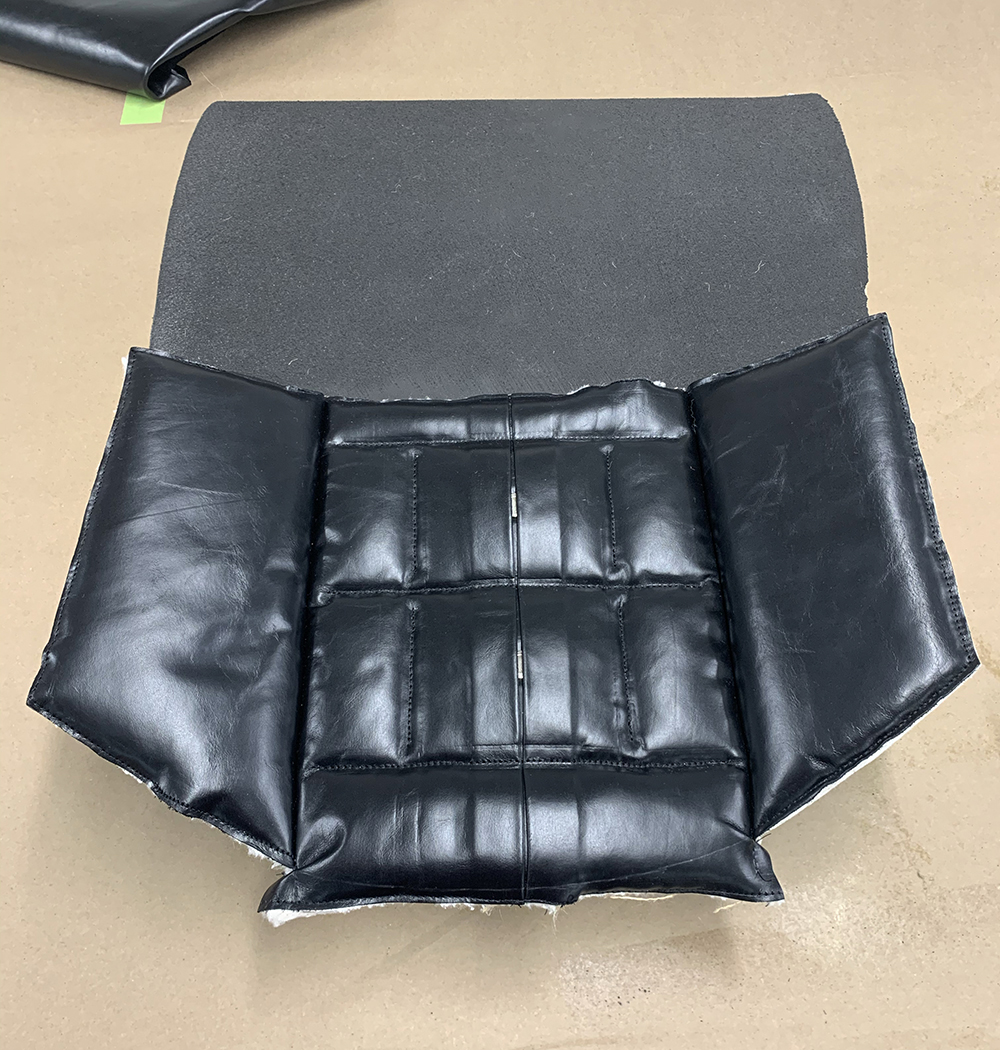
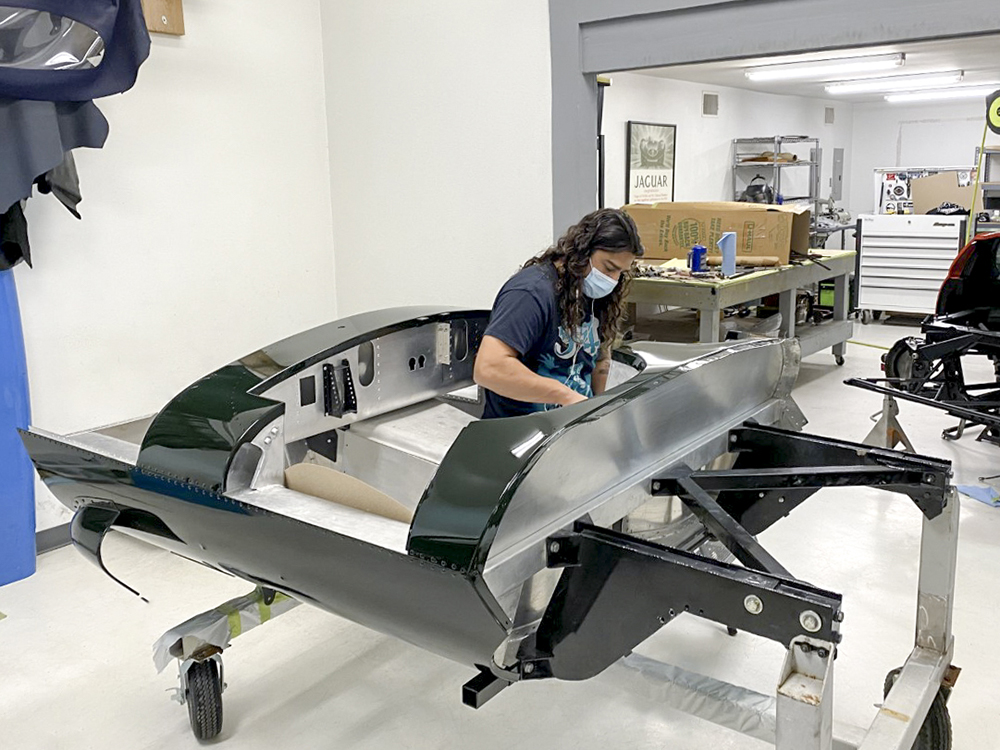
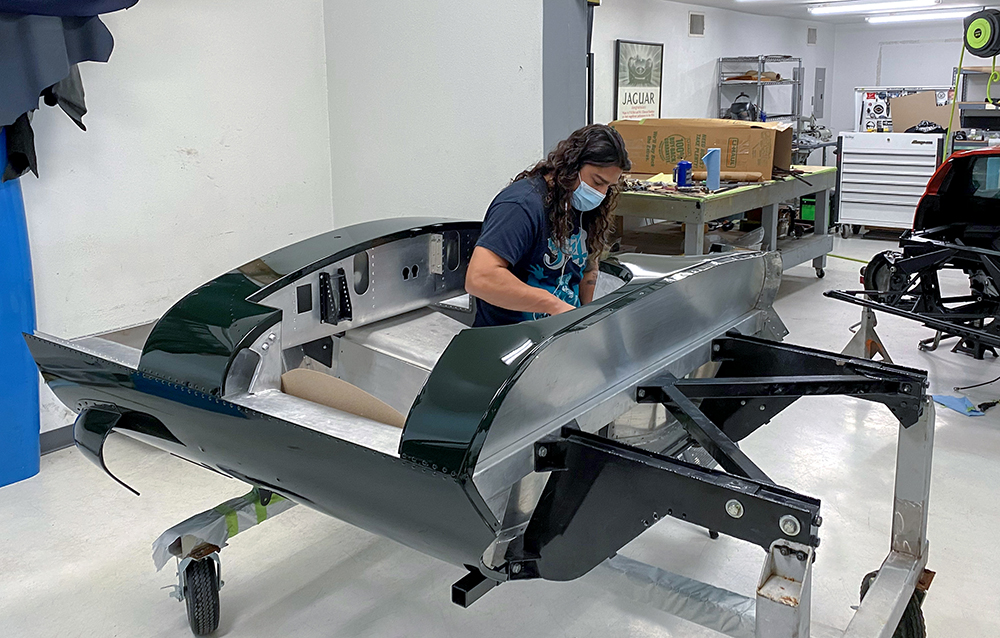
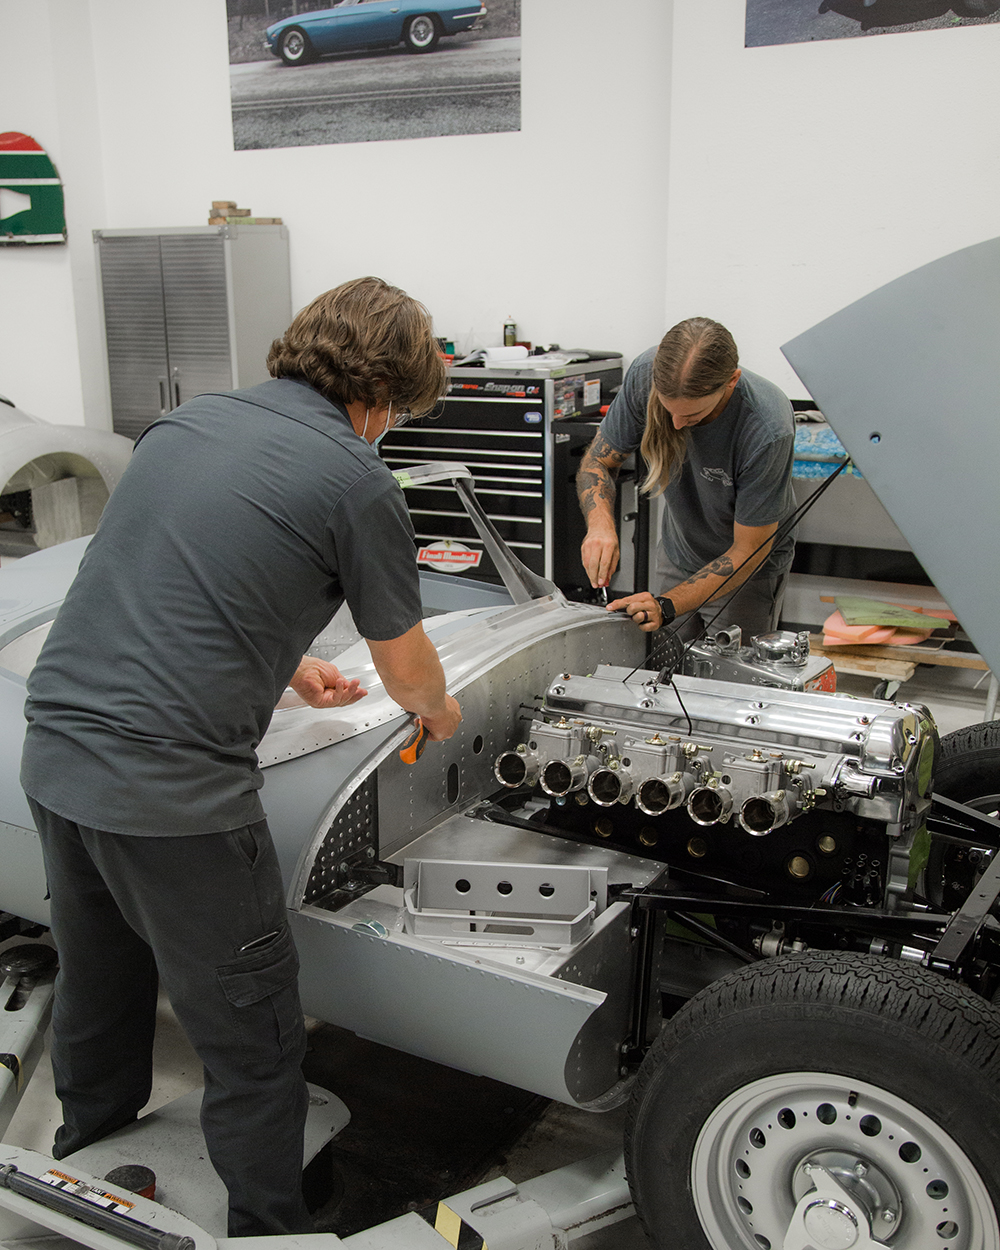
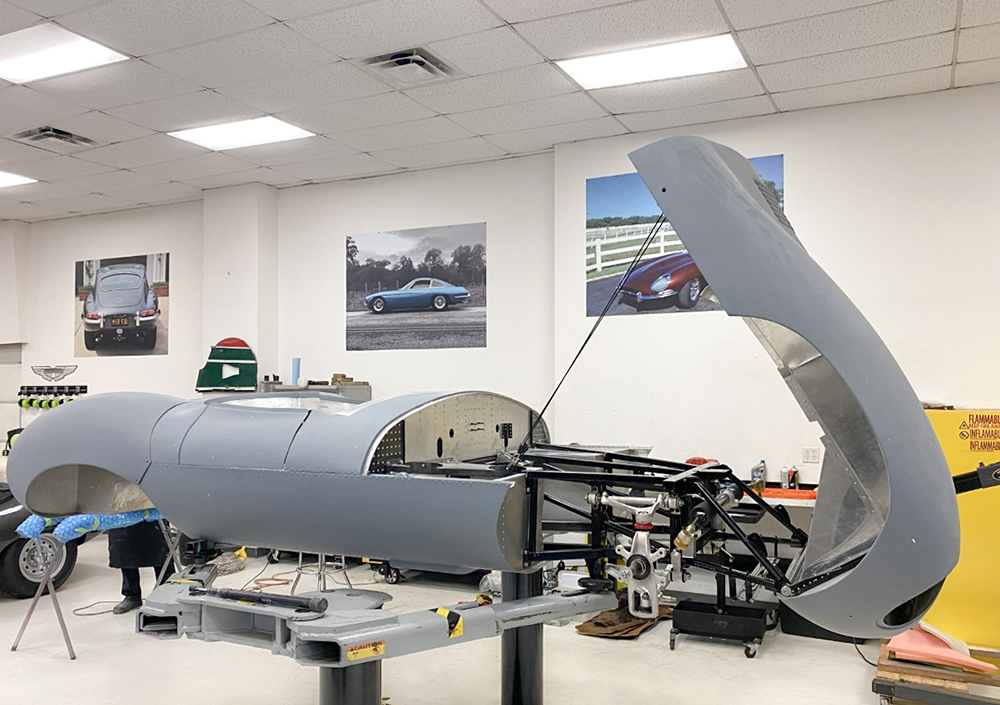
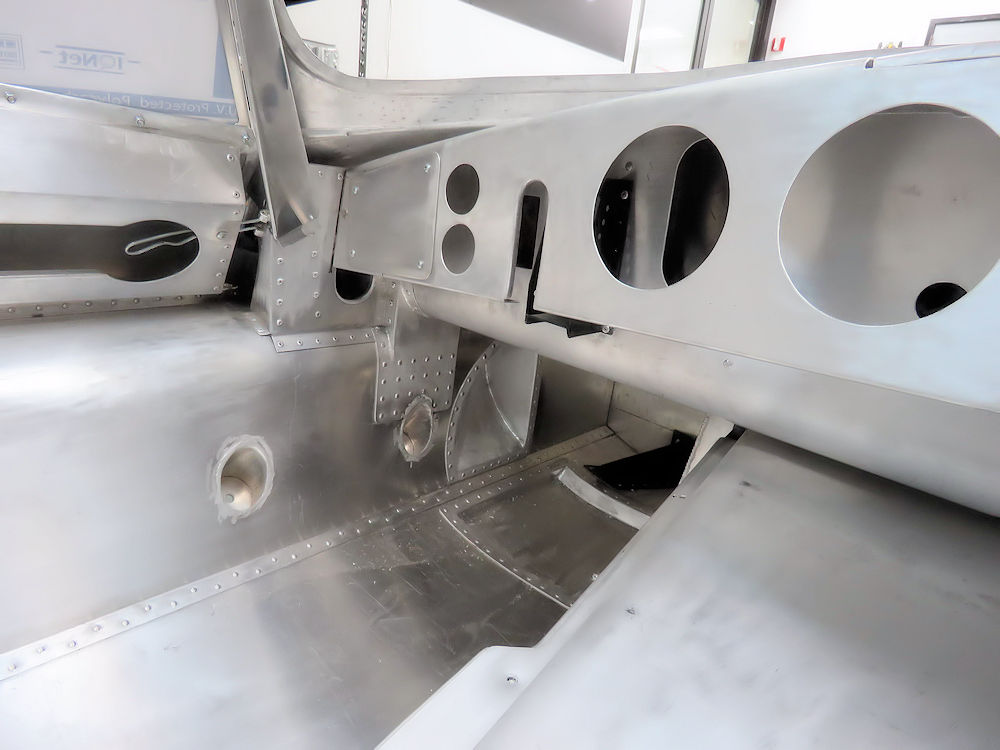
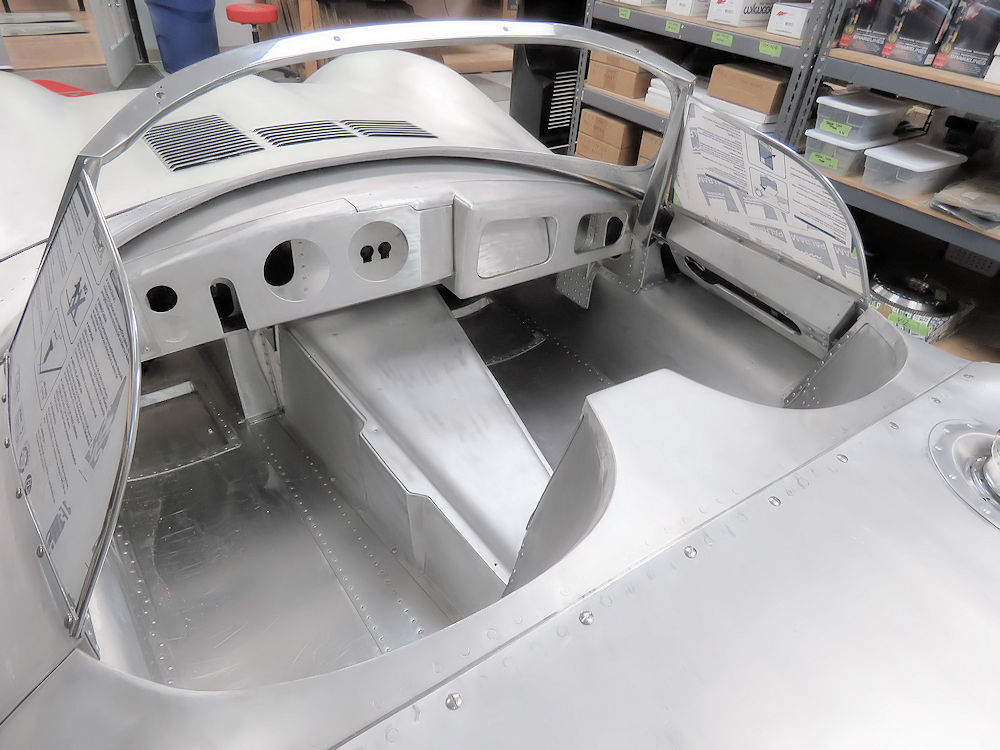
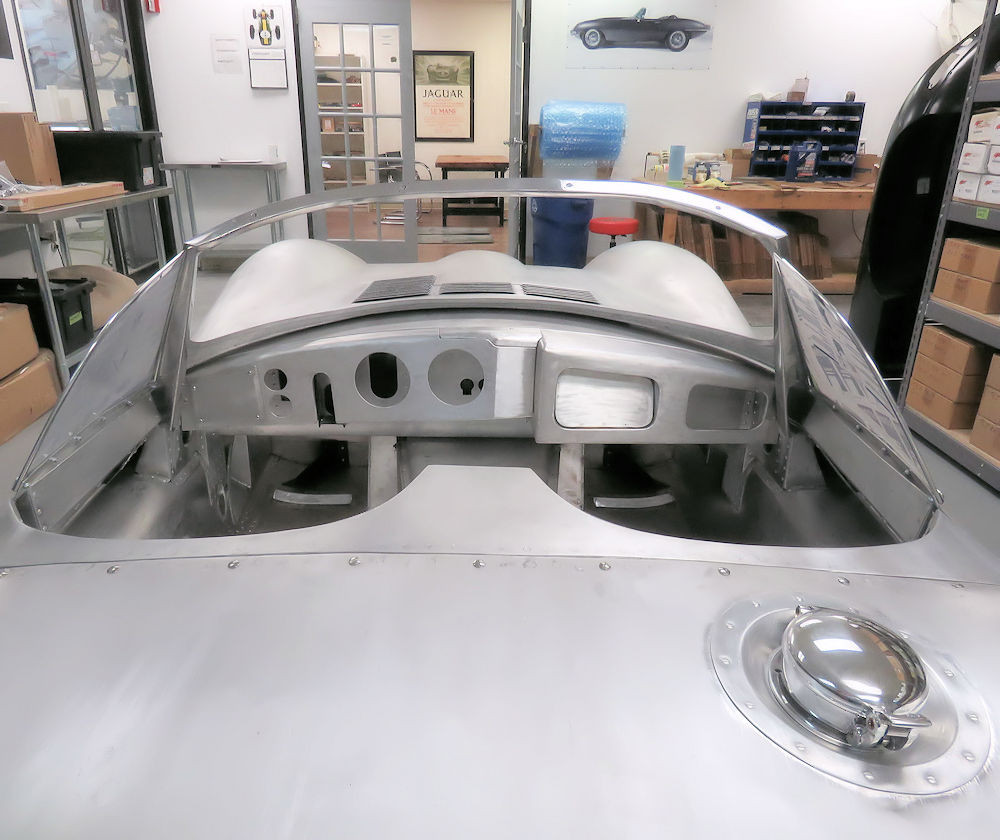
The following photographs show Carlos recreating the interior that was custom made for Steve McQueen by his hot rodding friend, Tony Nancy. Fortunately we have lots of photographs to work from, and Carlos is doing a fantastic job of copying Tony Nancy's work. The last photos in the sequence show Jake riveting the screen to the front cowl. The XKSS is starting to look more like a car every day!
February 24, 2021
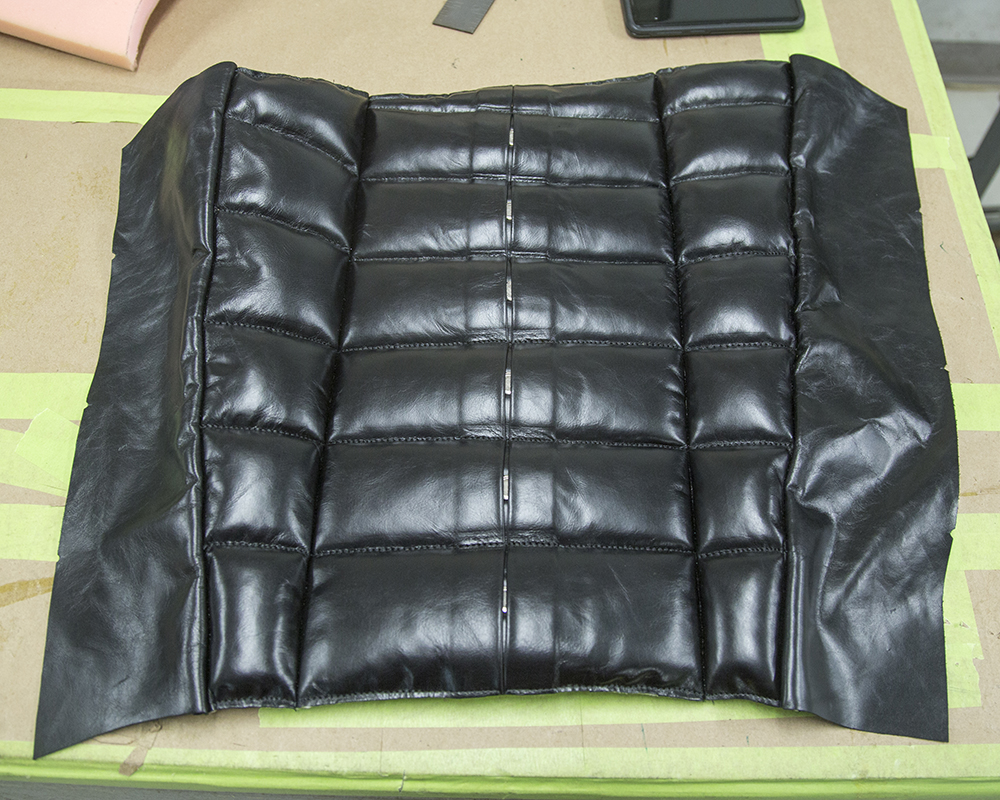
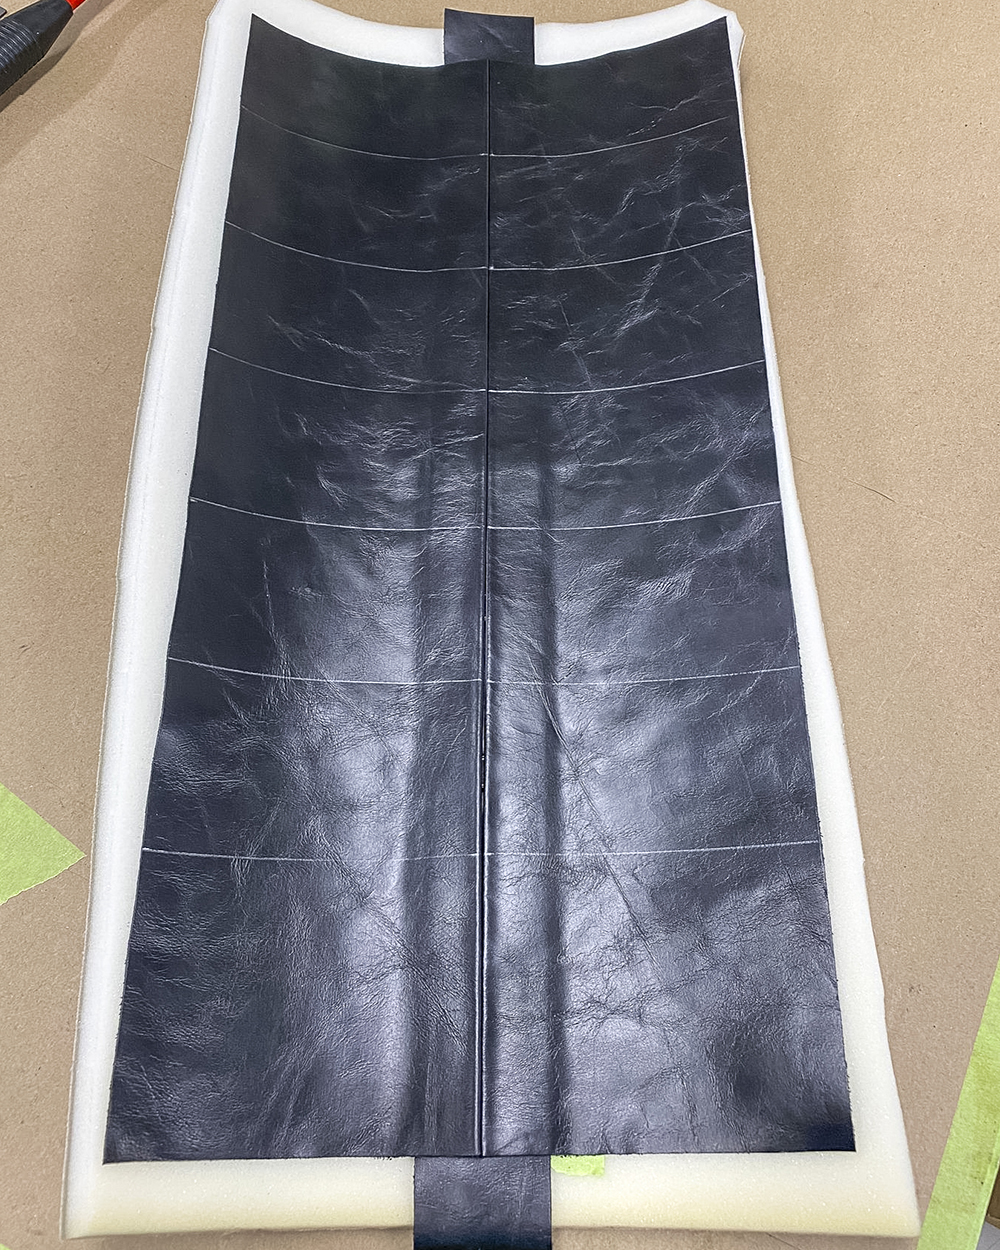
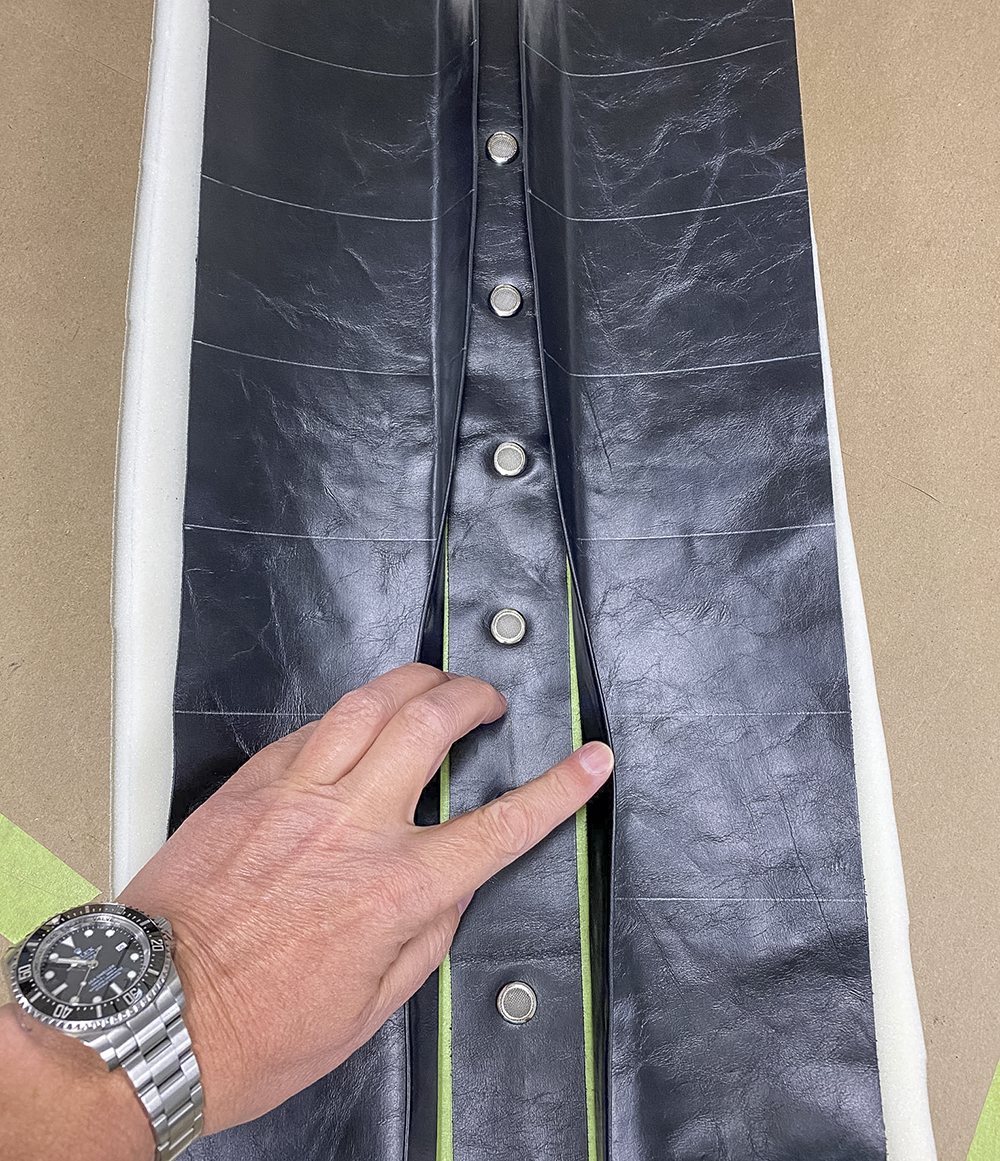
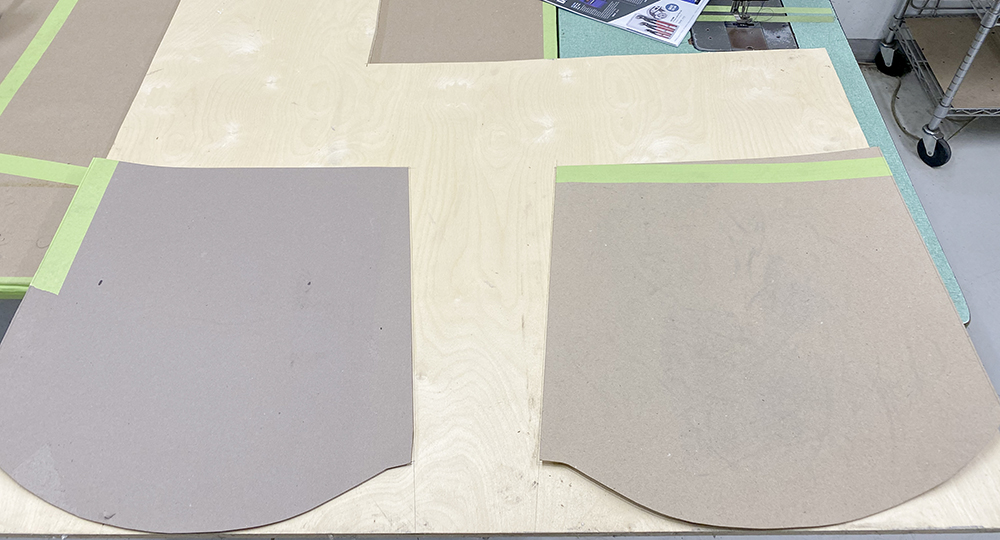
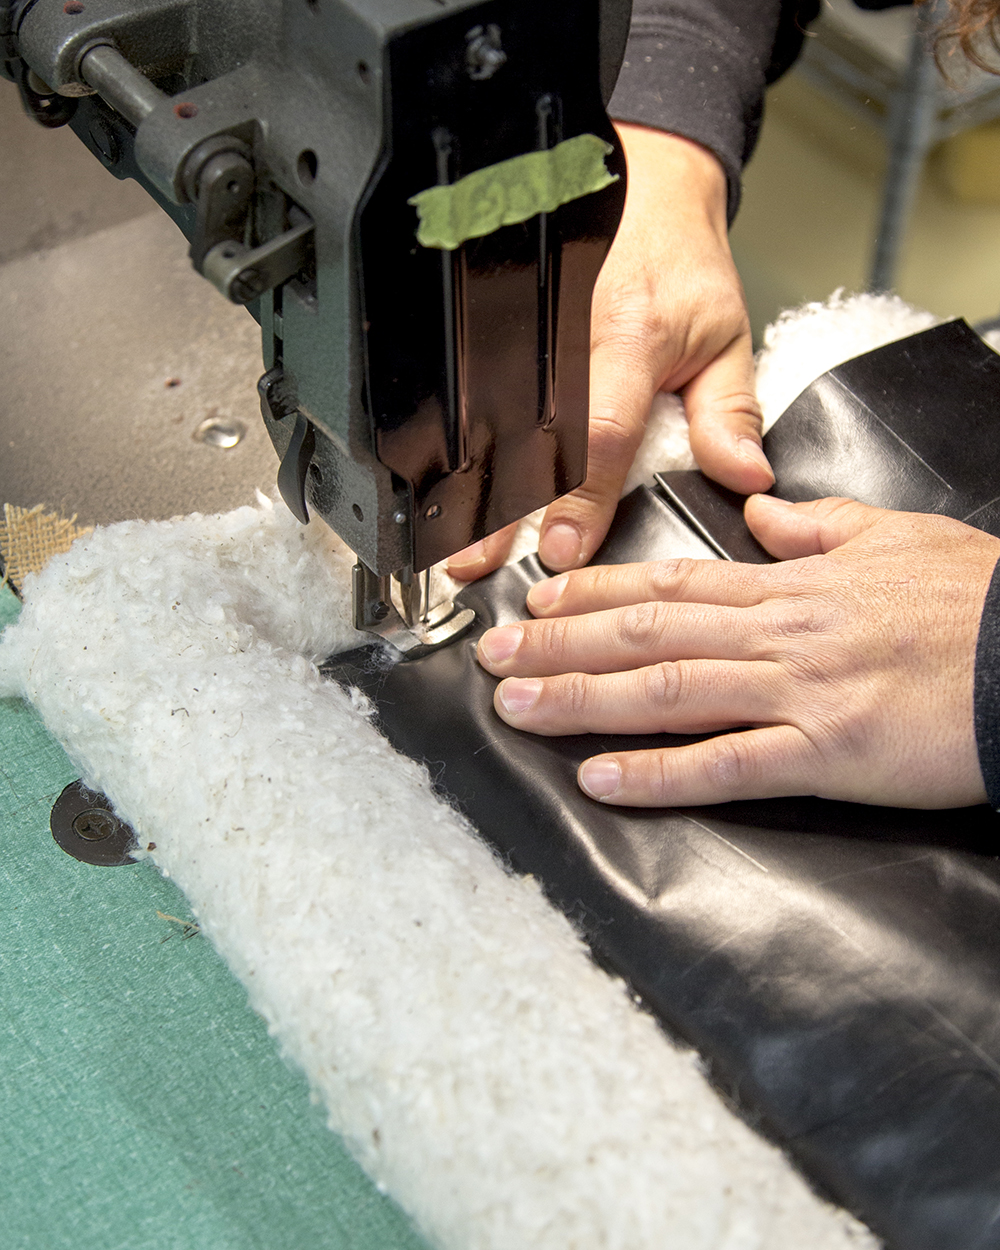
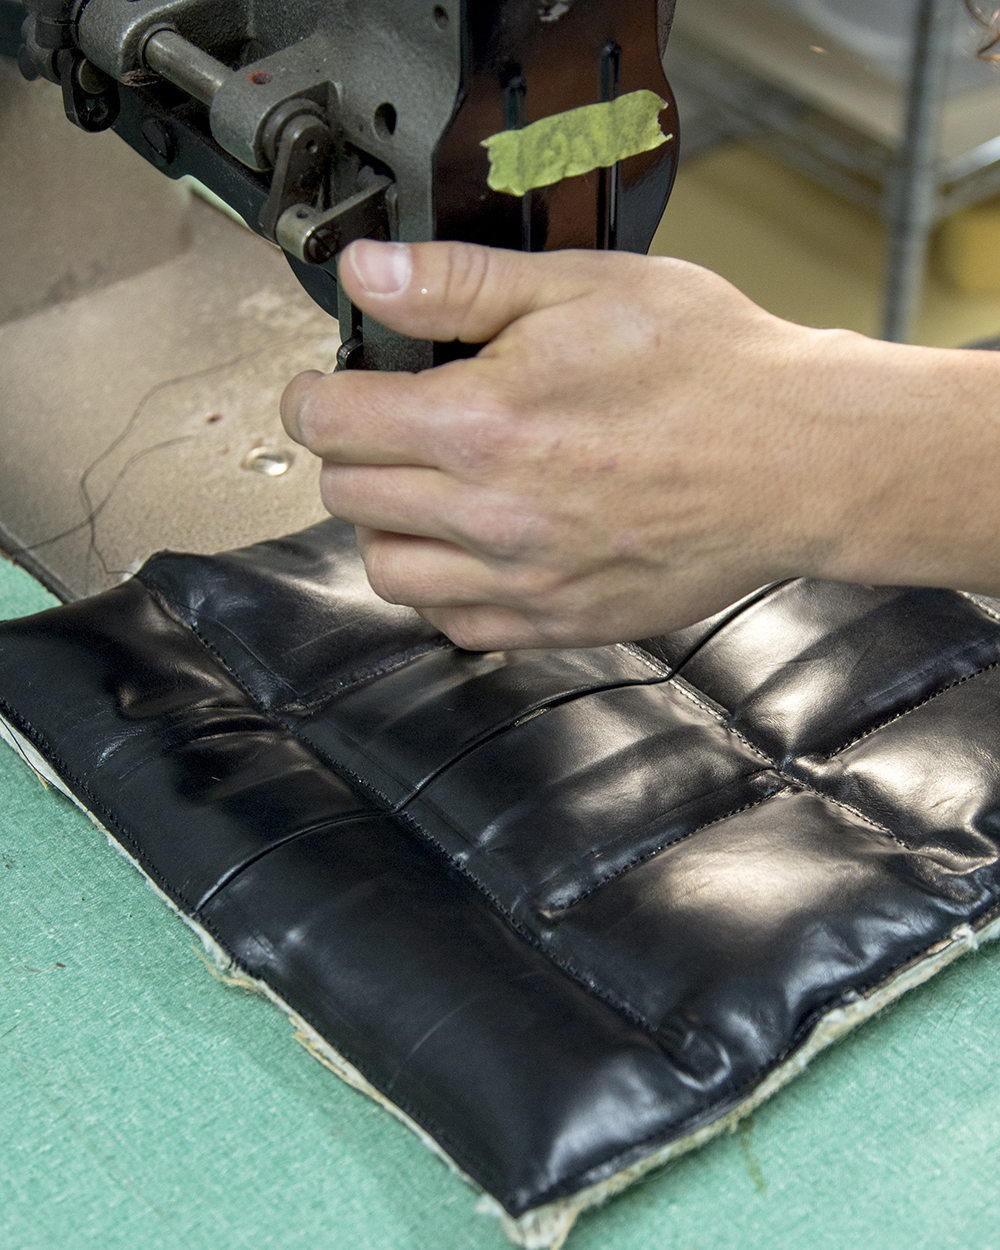
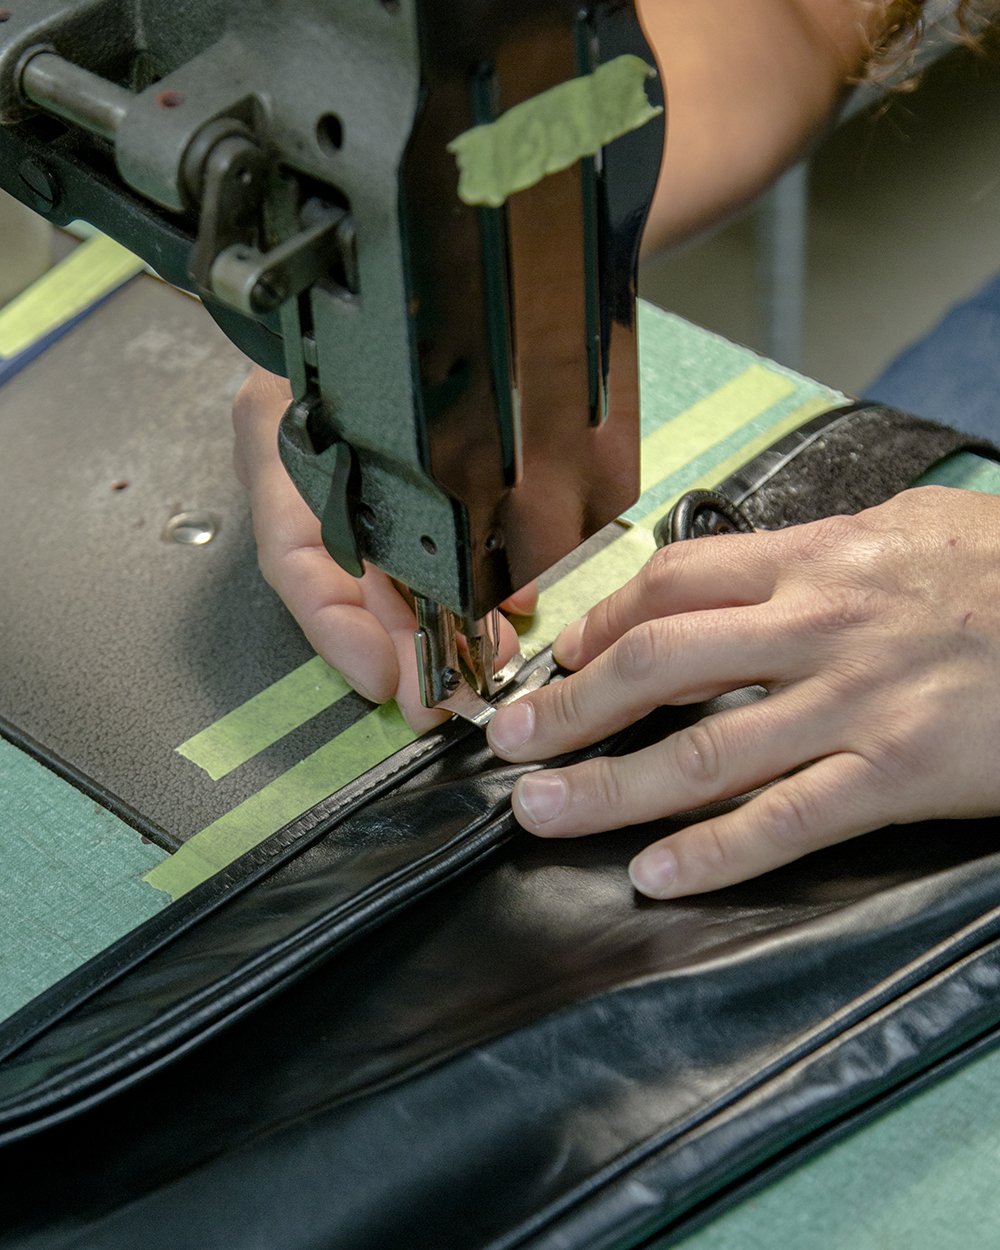
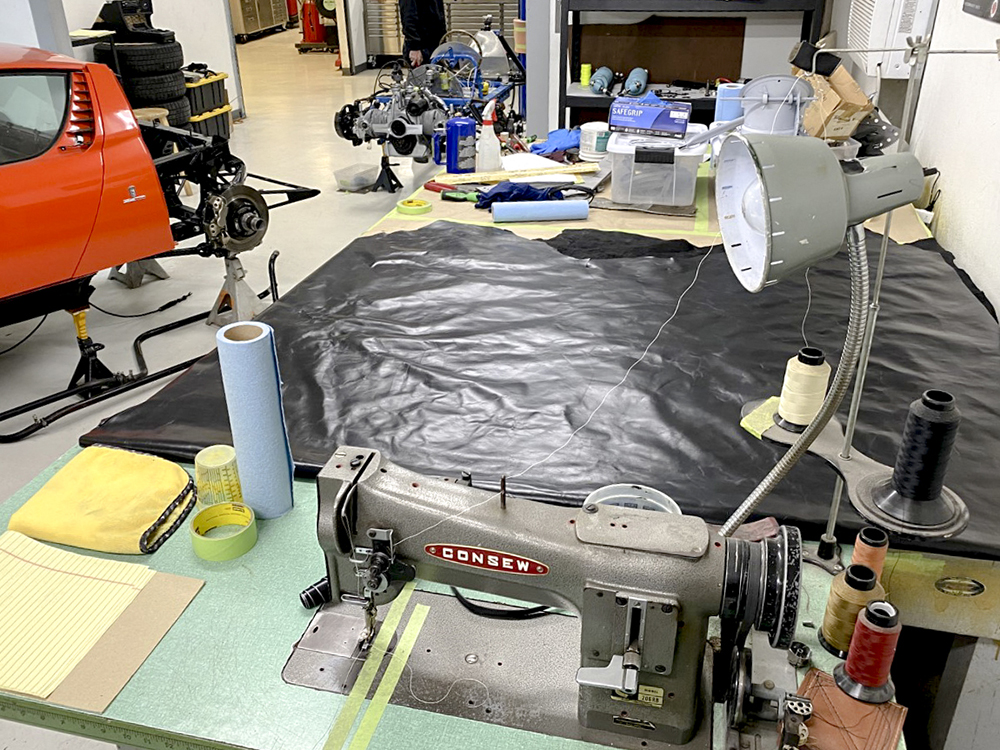
Sewing the seat base panels together
February 2, 2021
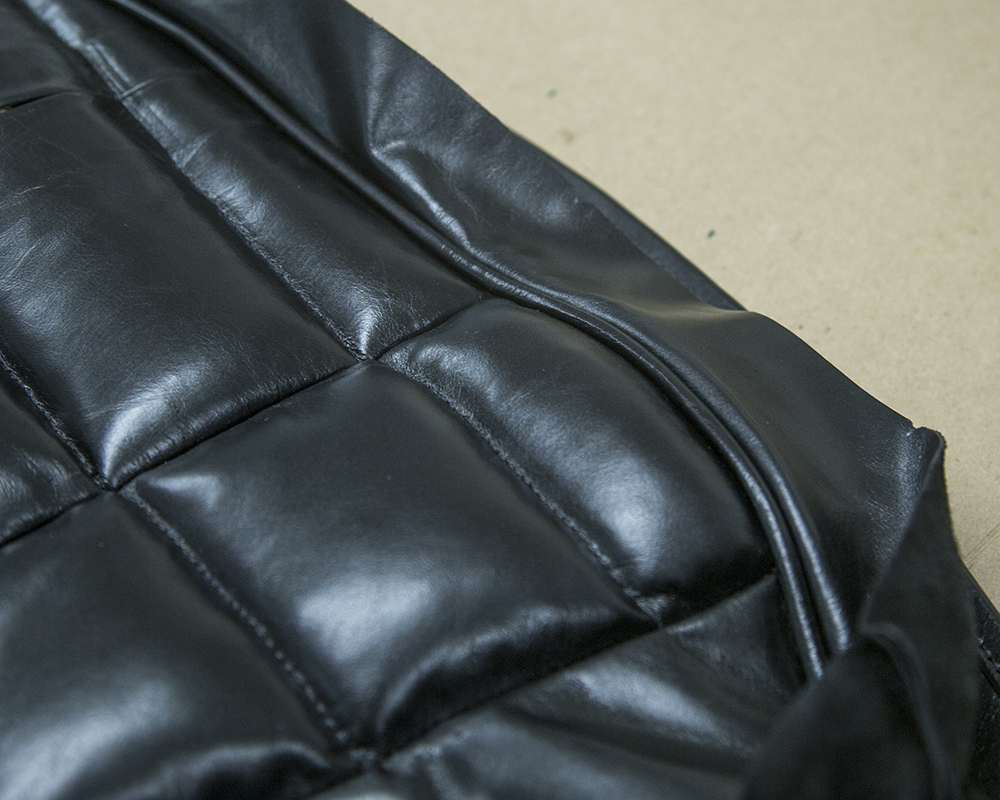
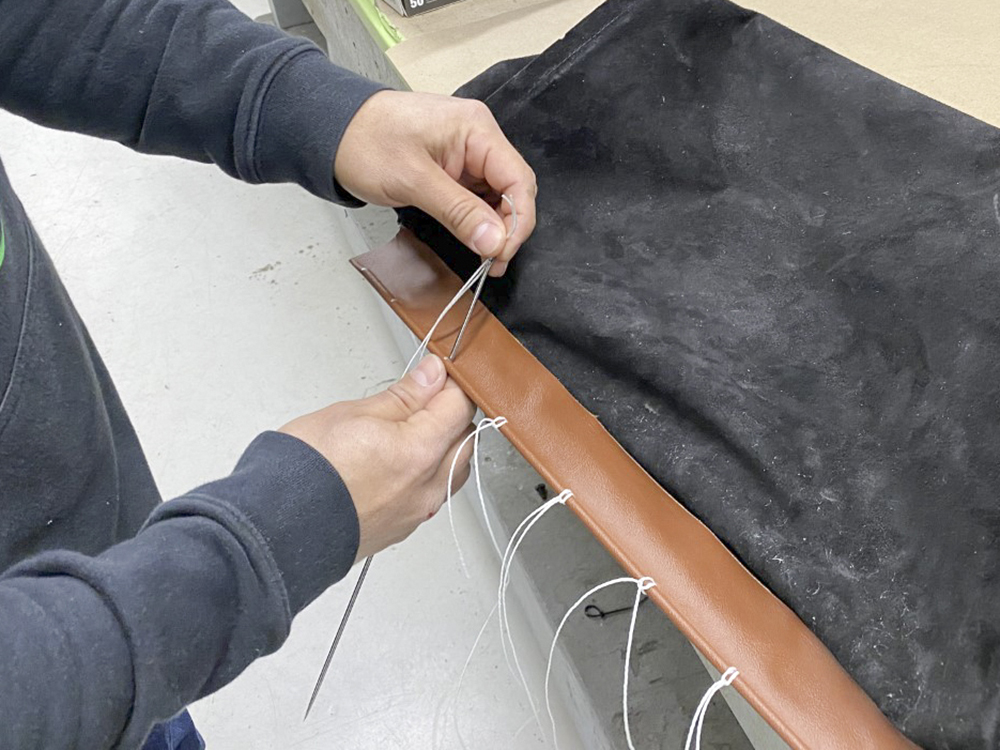
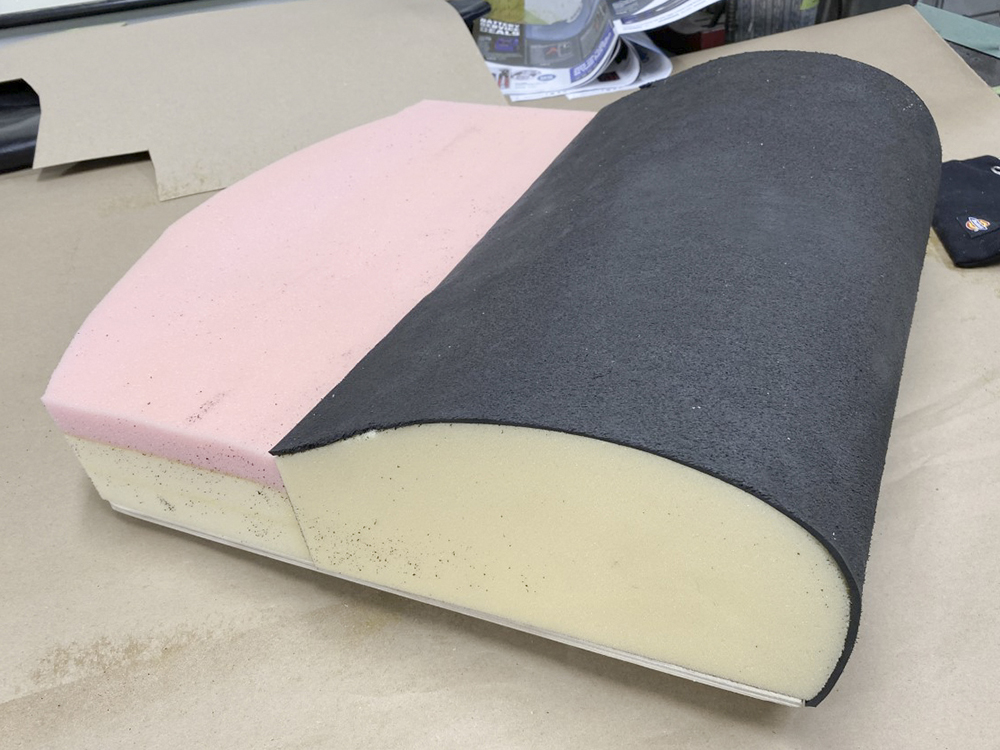
Creating leather beading for the seats
February 2, 2021
February 2, 2021
February 2, 2021
February 2, 2021
February 2, 2021
February 2, 2021
February 2, 2021
February 2, 2021
February 2, 2021
February 2, 2021
February 2, 2021
February 2, 2021
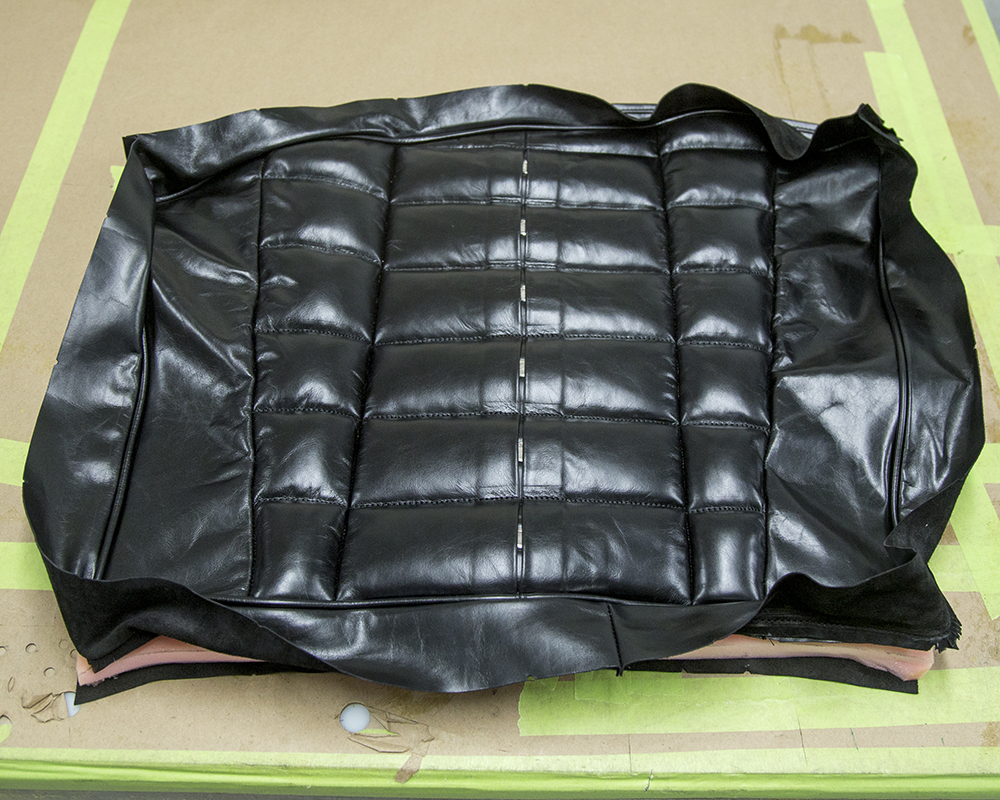
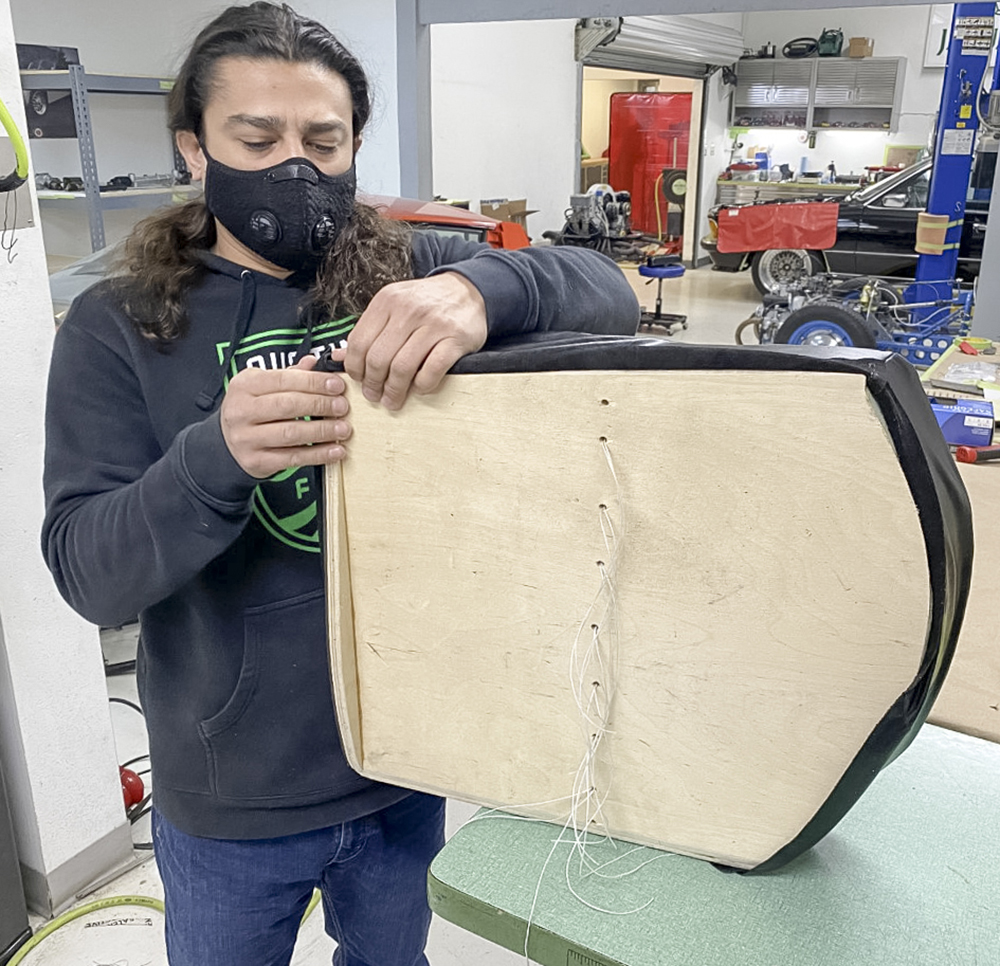
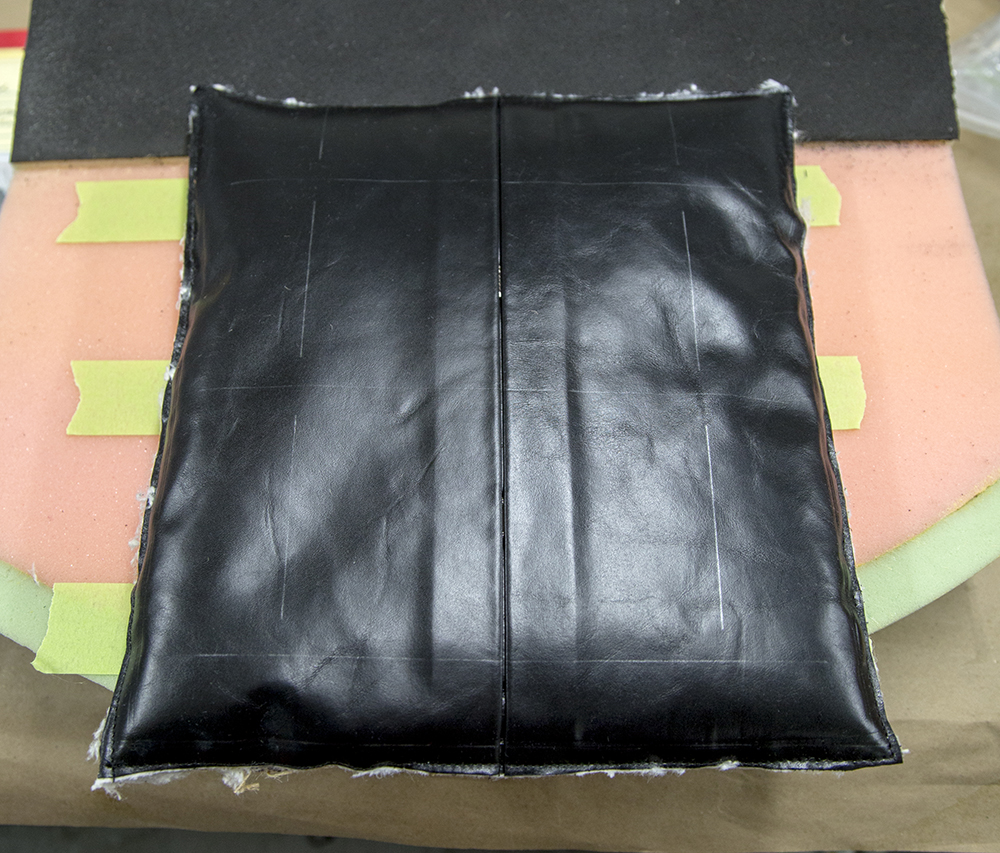
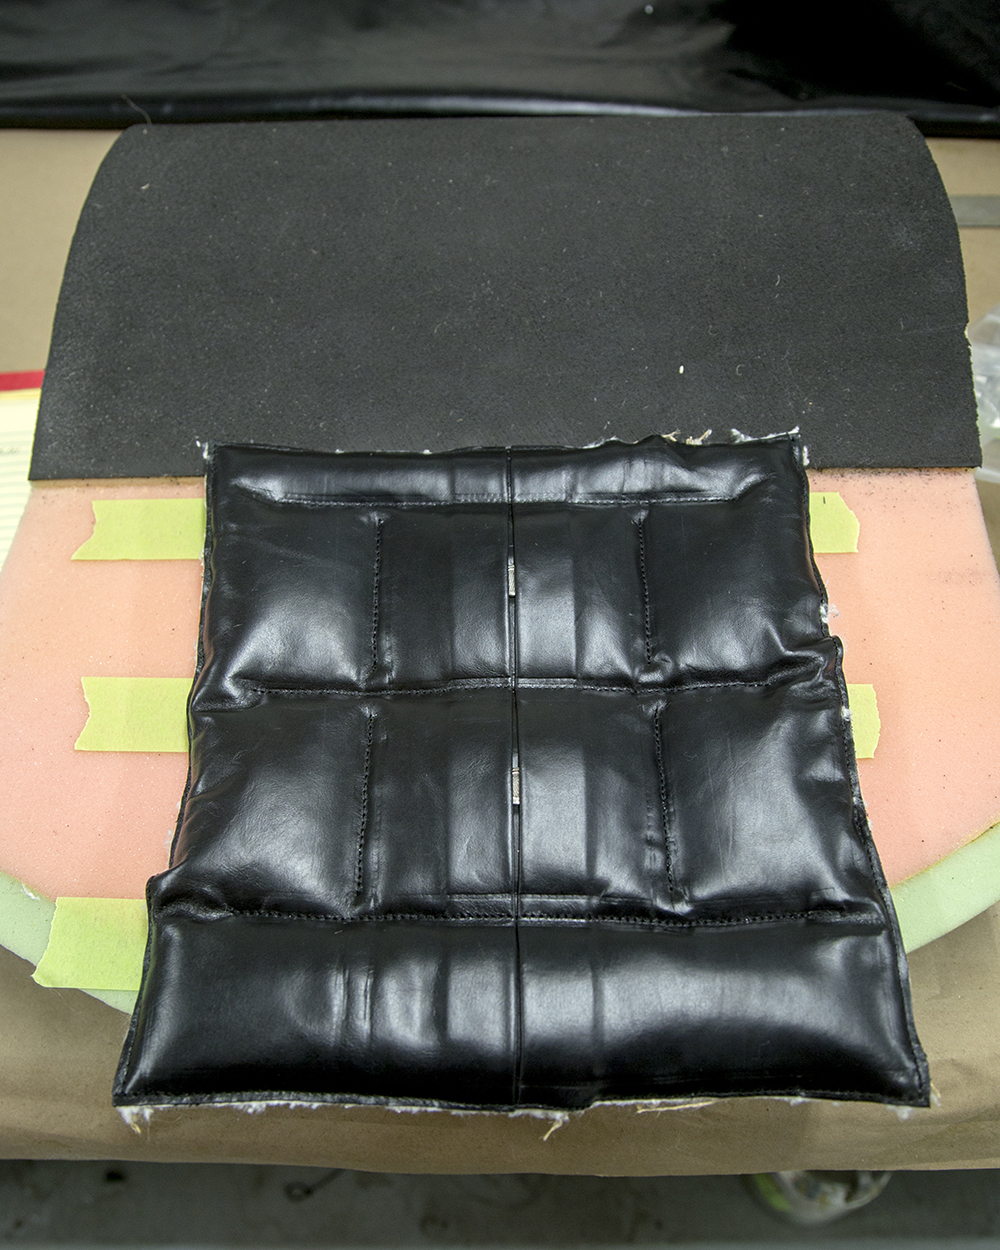
Comparing the first seat base to photos of the
original Tony Nancy seats
Starting to create the seat back
February 2, 2021
Air vents installed in the center spine of
the seat back
February 2, 2021
February 2, 2021
Seat back panels starting to take shape
February 2, 2021
February 2, 2021
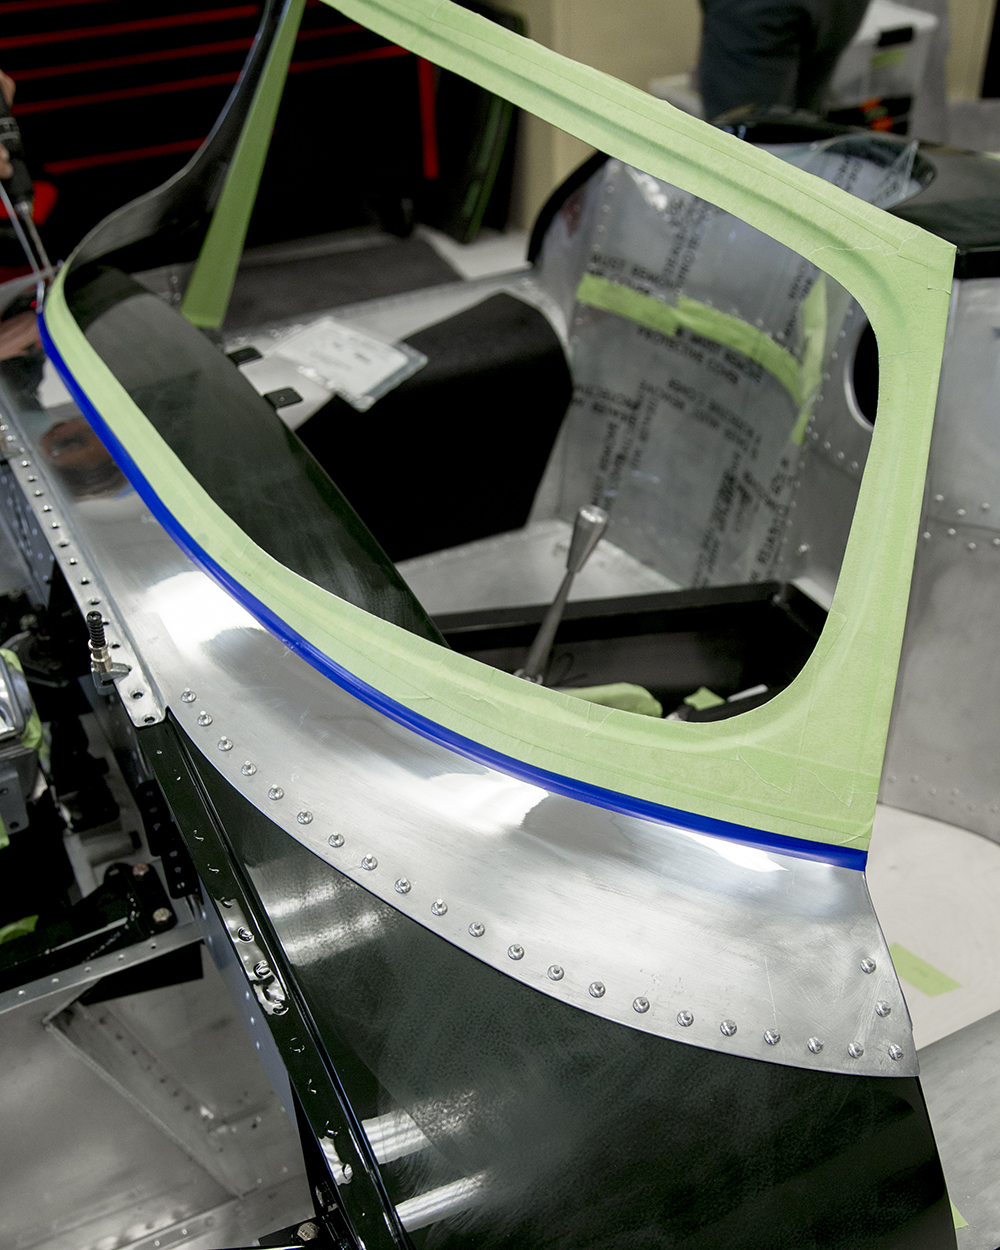
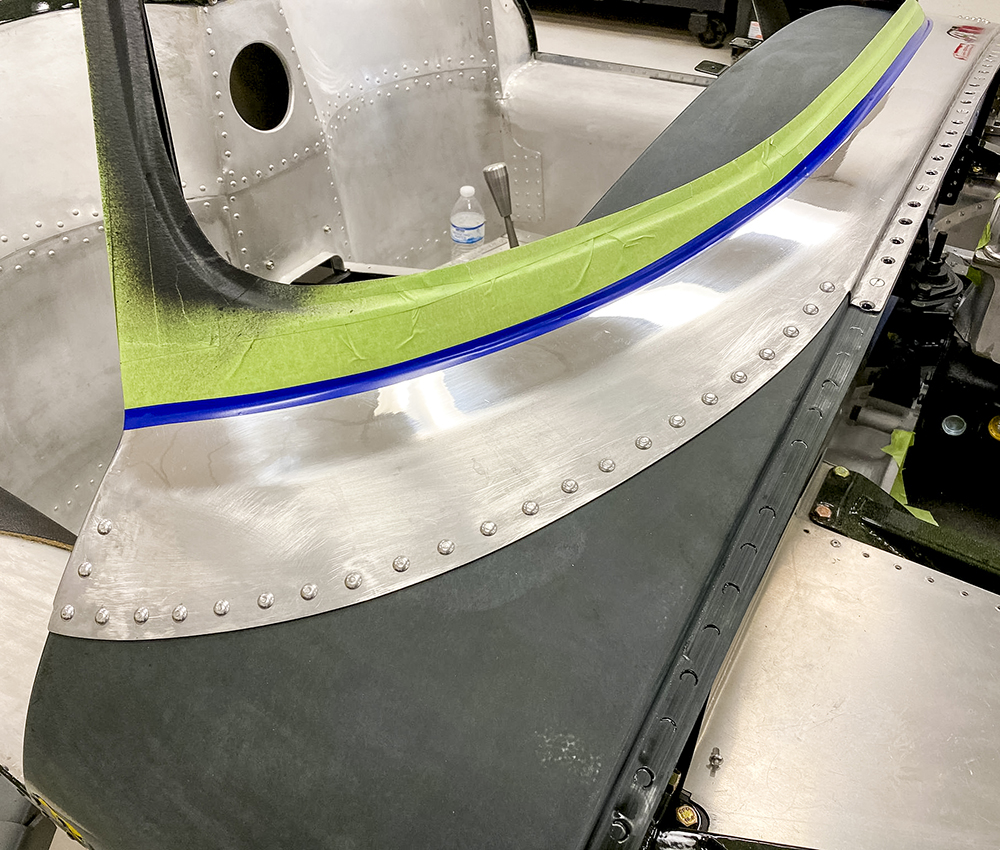
Jake riveting the screen to the front cowl
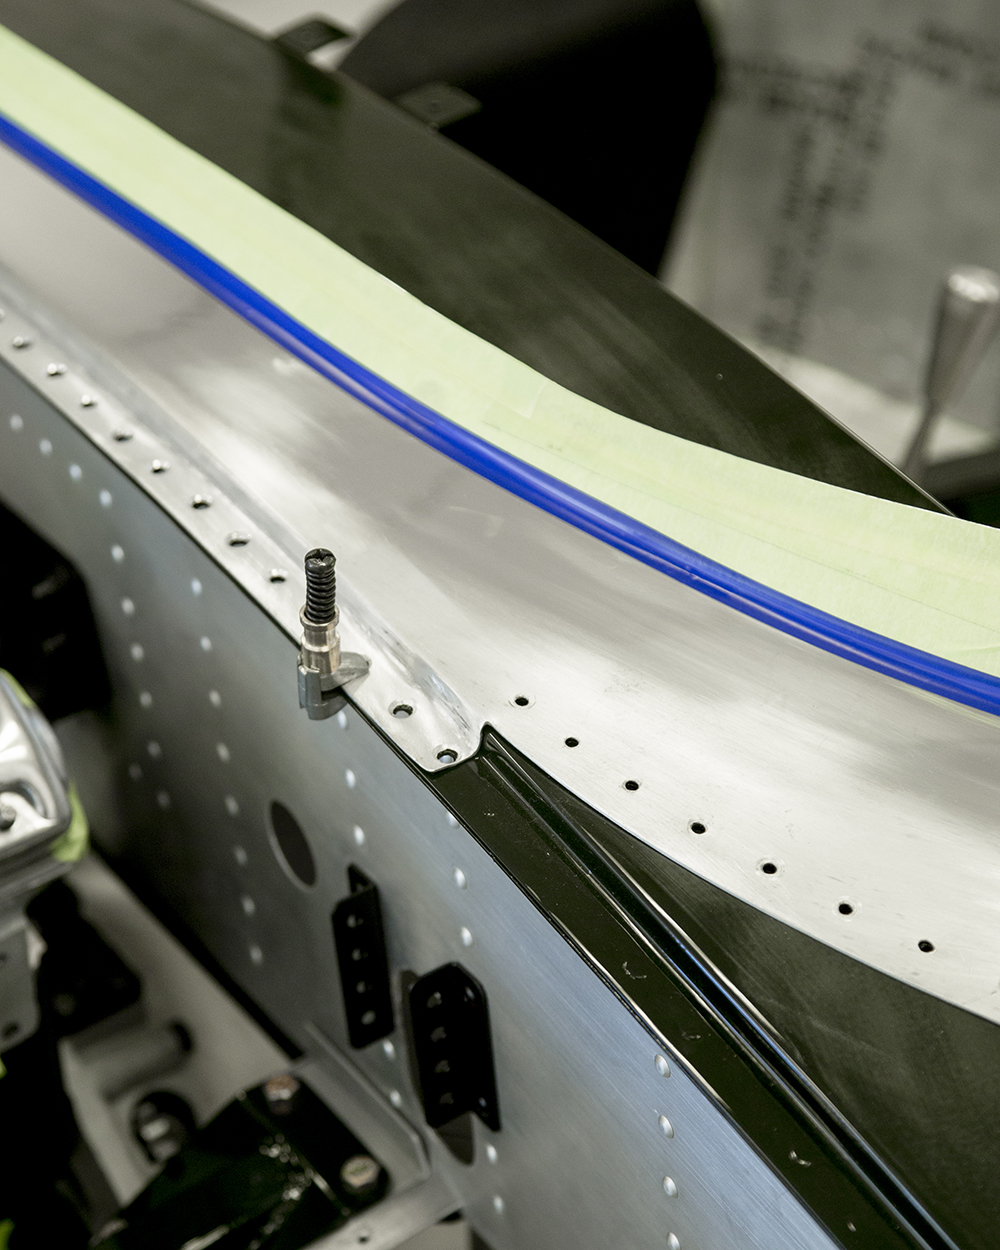
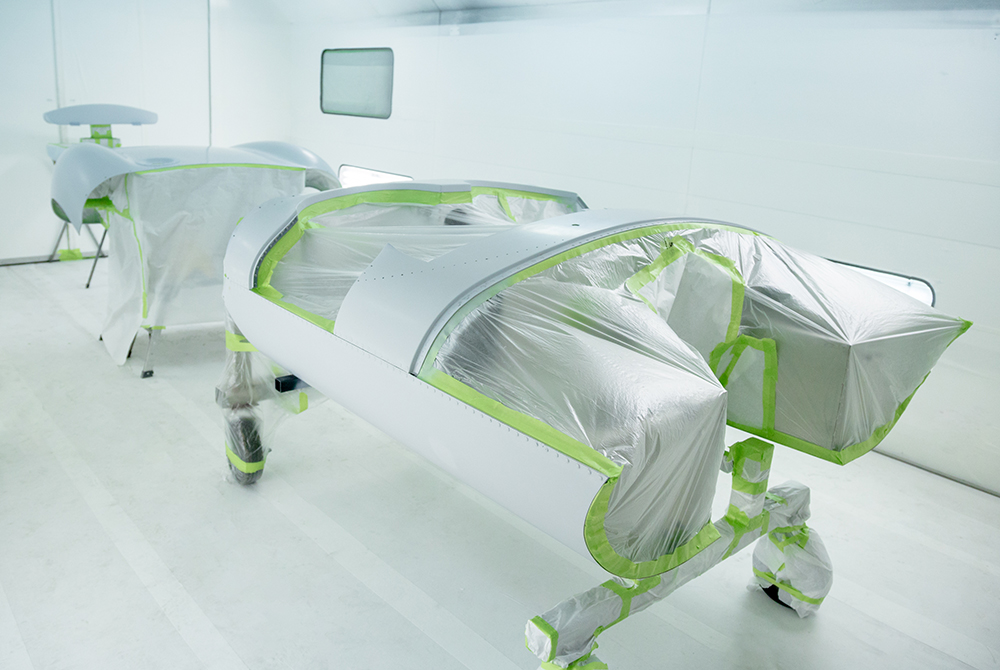
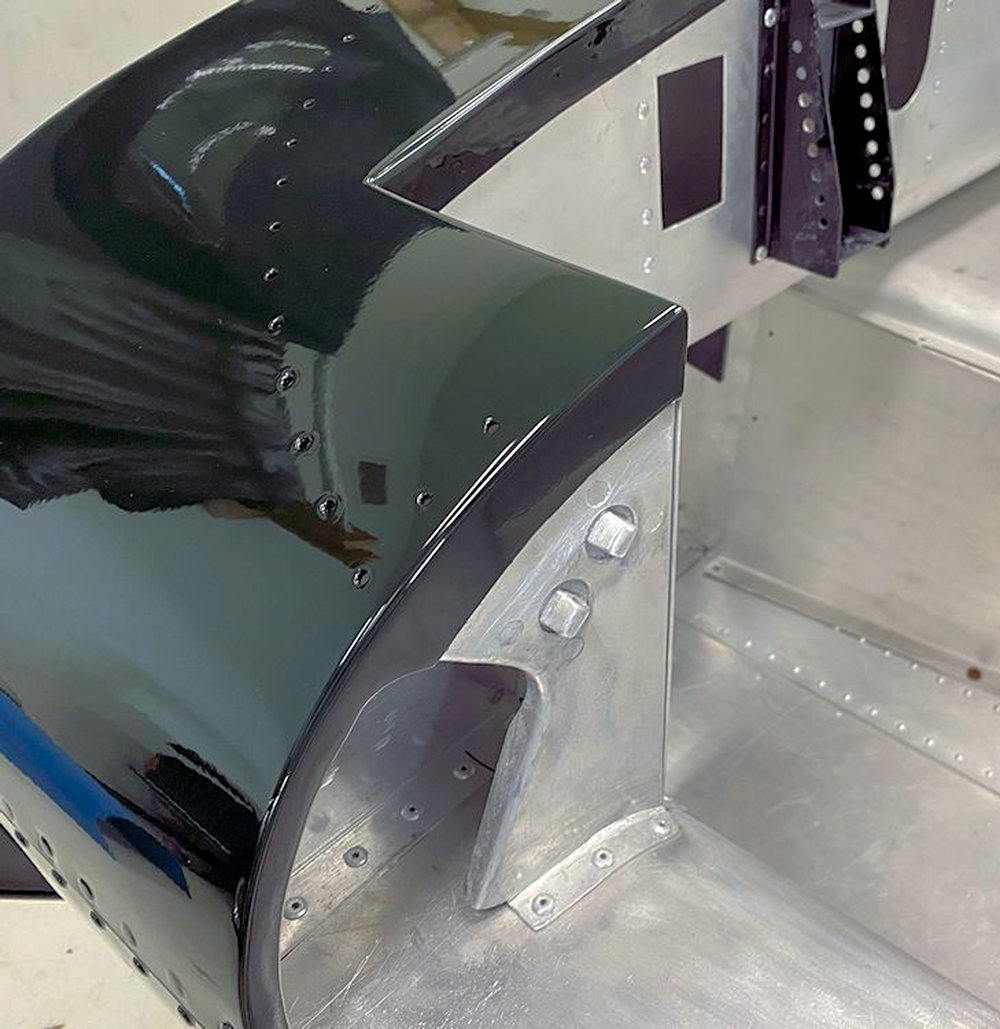
The exposed aluminum beneath the blue masking
tape will be painted British Racing Green
February 2, 2021
February 2, 2021
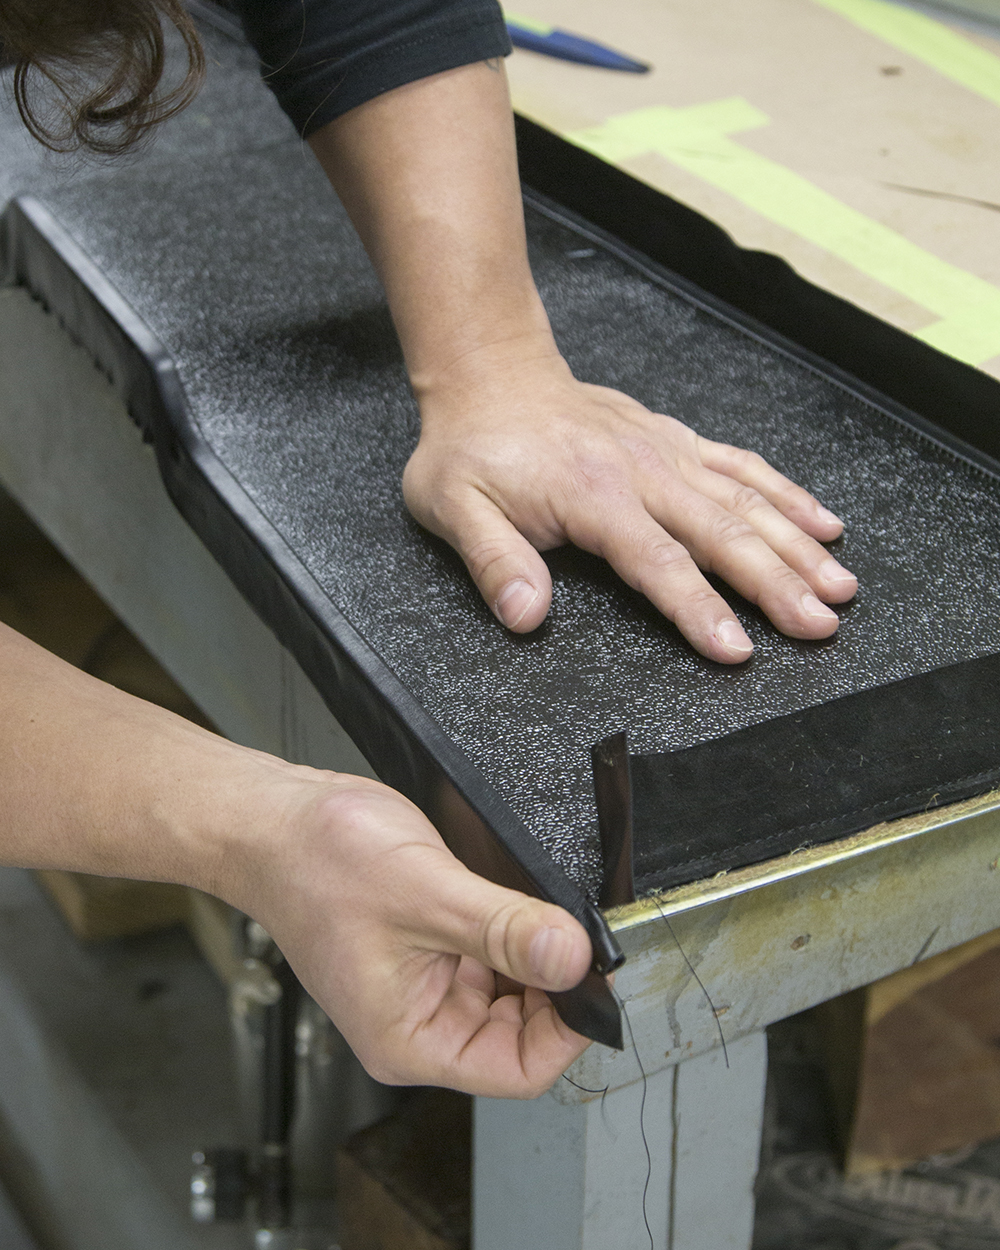
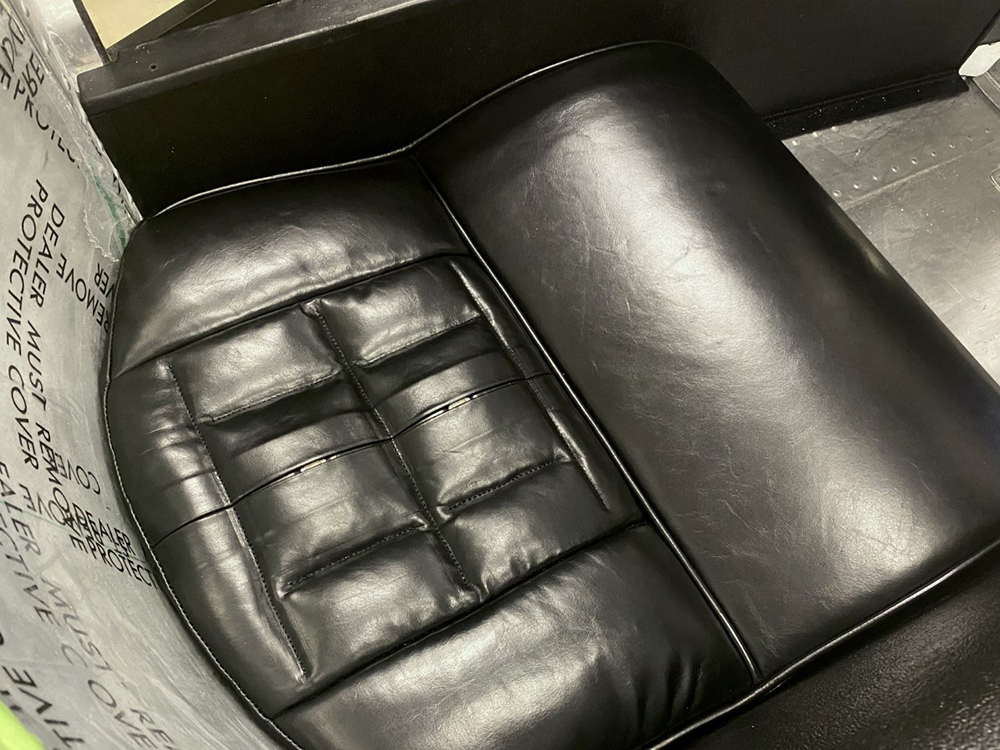
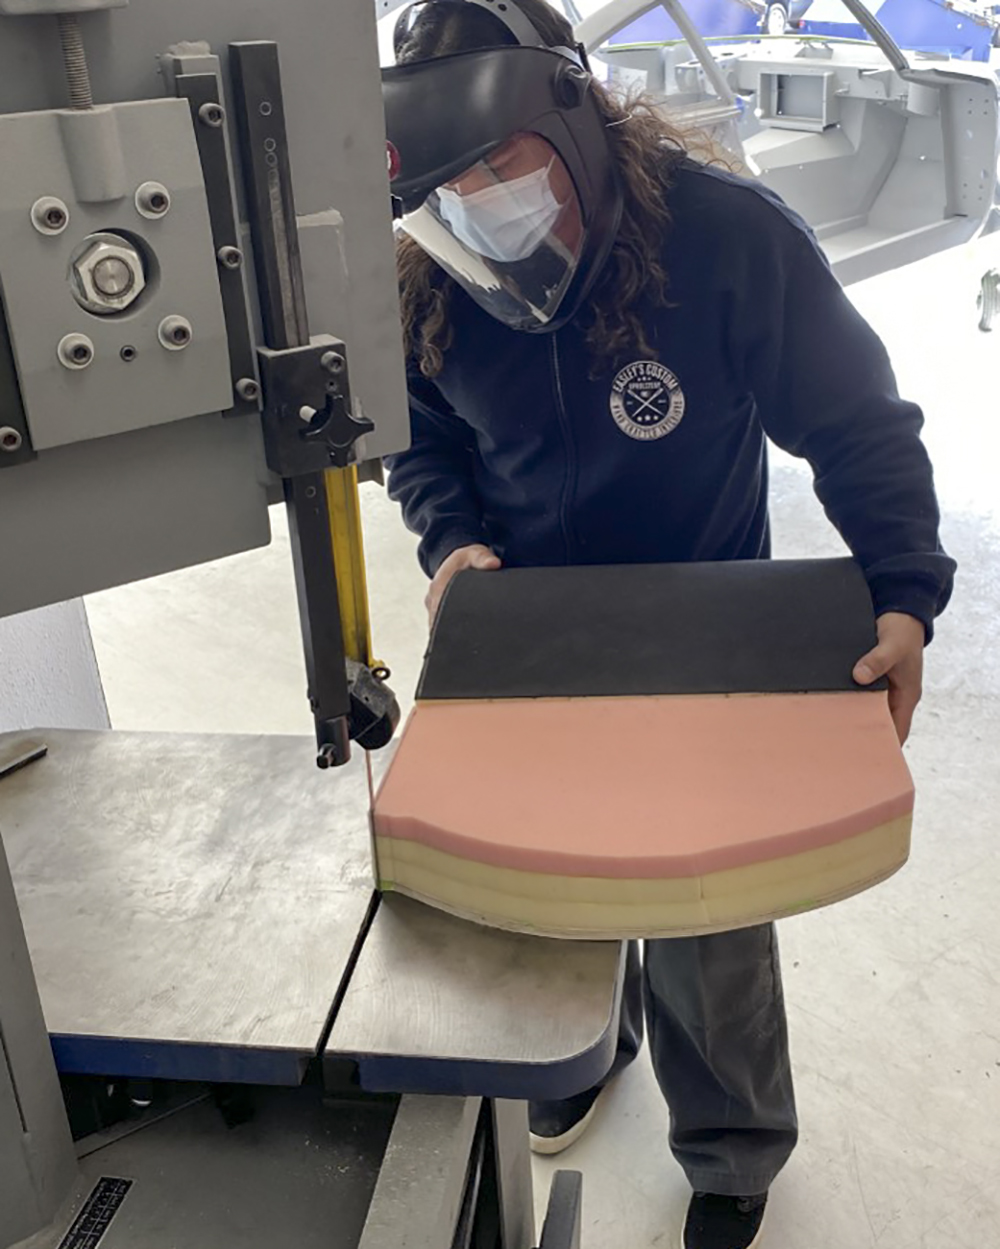
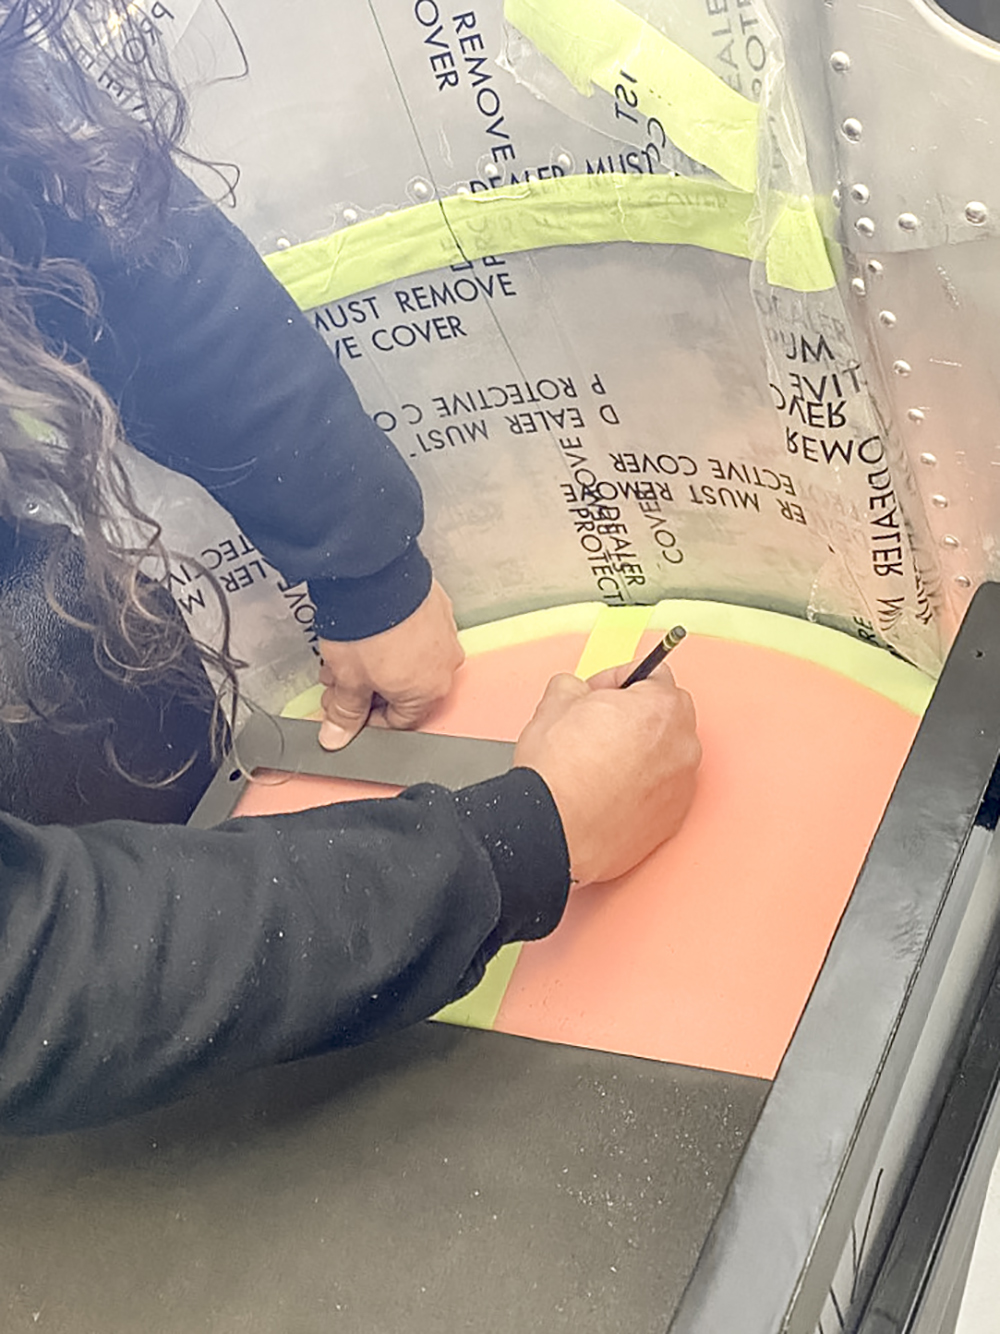
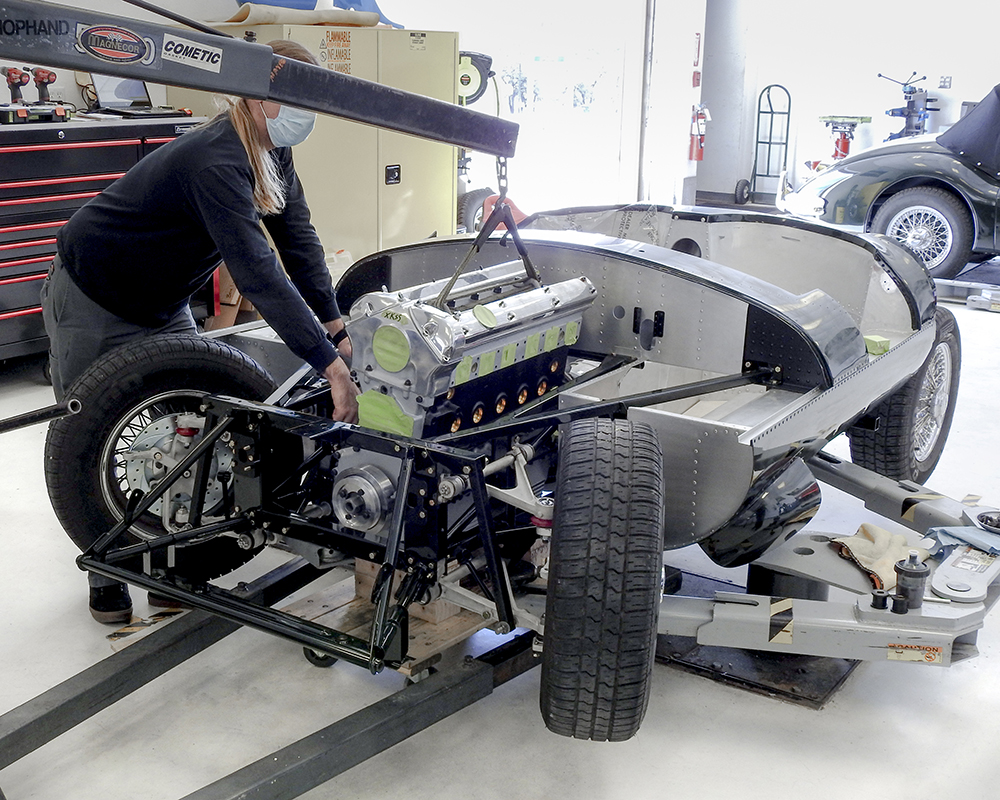
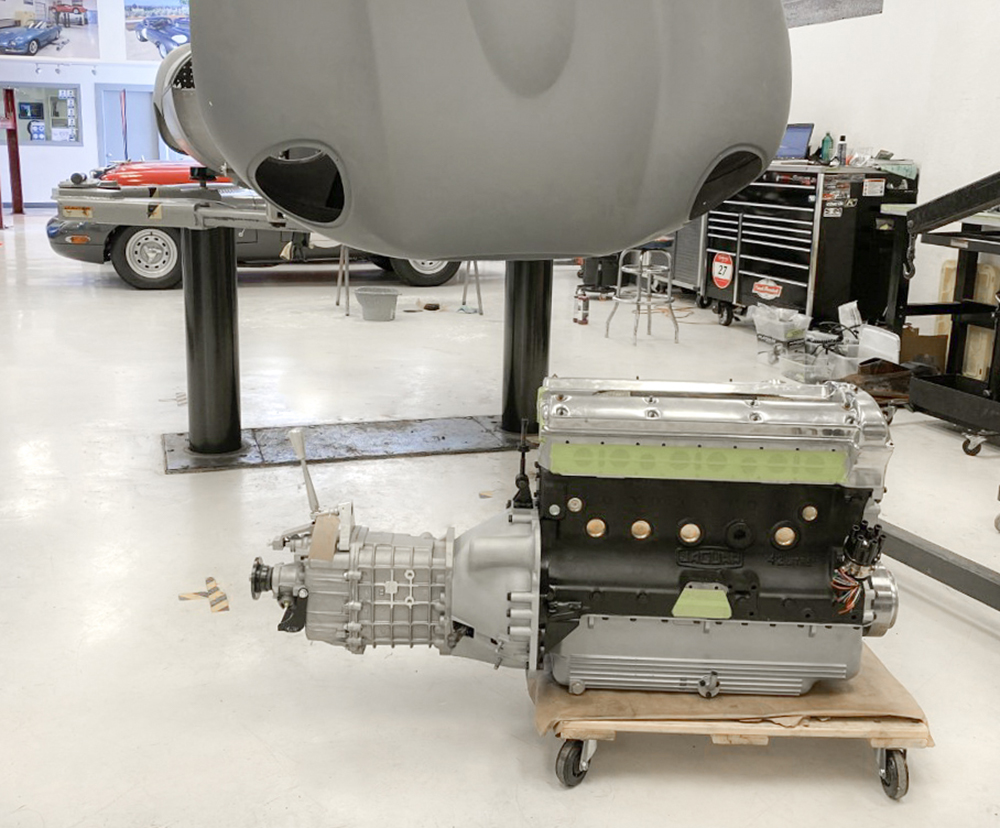
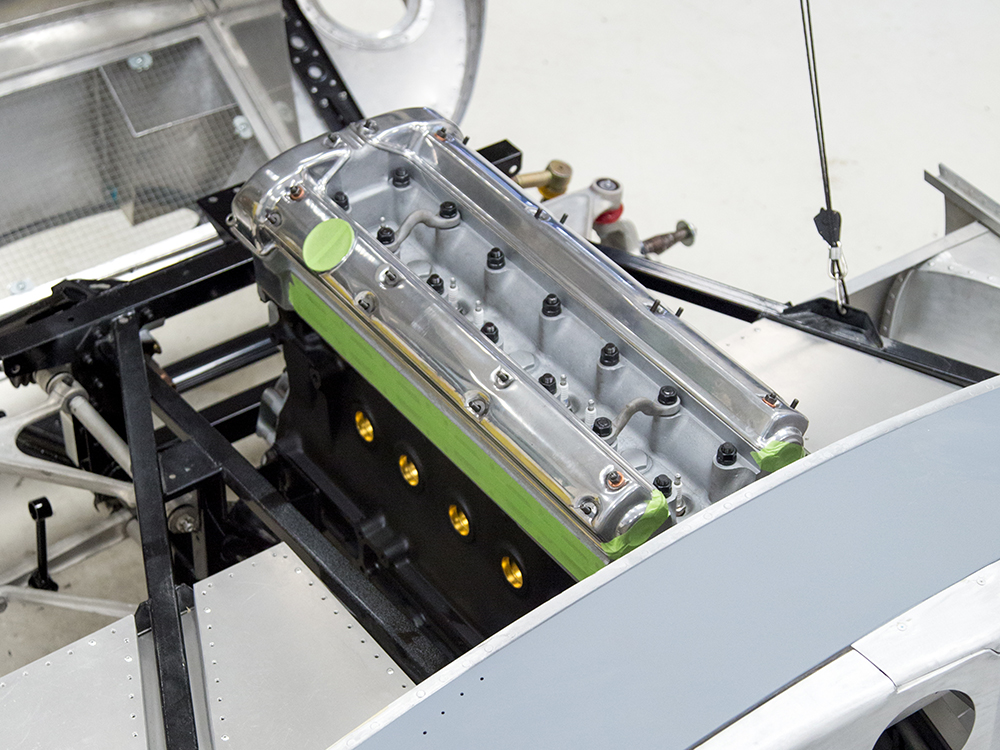
The following sequence of photos show Carlos creating the new hide seats and Chris installing the engine and transmission.
February 2, 2021
January 29, 2021
January 29, 2021
January 29, 2021
January 29, 2021
January 29, 2021
January 29, 2021
January 29, 2021
January 29, 2021
January 29, 2021
January 29, 2021
January 29, 2021
January 29, 2021
January 29, 2021
January 29, 2021
January 29, 2021
January 29, 2021
January 29, 2021
January 29, 2021
January 29, 2021
January 29, 2021
January 29, 2021
January 22, 2021
January 22, 2021
January 22, 2021
January 22, 2021
January 22, 2021
January 22, 2021
January 22, 2021
January 22, 2021
January 22, 2021
January 22, 2021
January 22, 2021
January 22, 2021
January 22, 2021
January 21, 2021
January 22, 2021
January 21, 2021
January 21, 2021
January 21, 2021
January 21, 2021
January 21, 2021
January 21, 2021
January 21, 2021
January 21, 2021
January 21, 2021
January 5, 2021
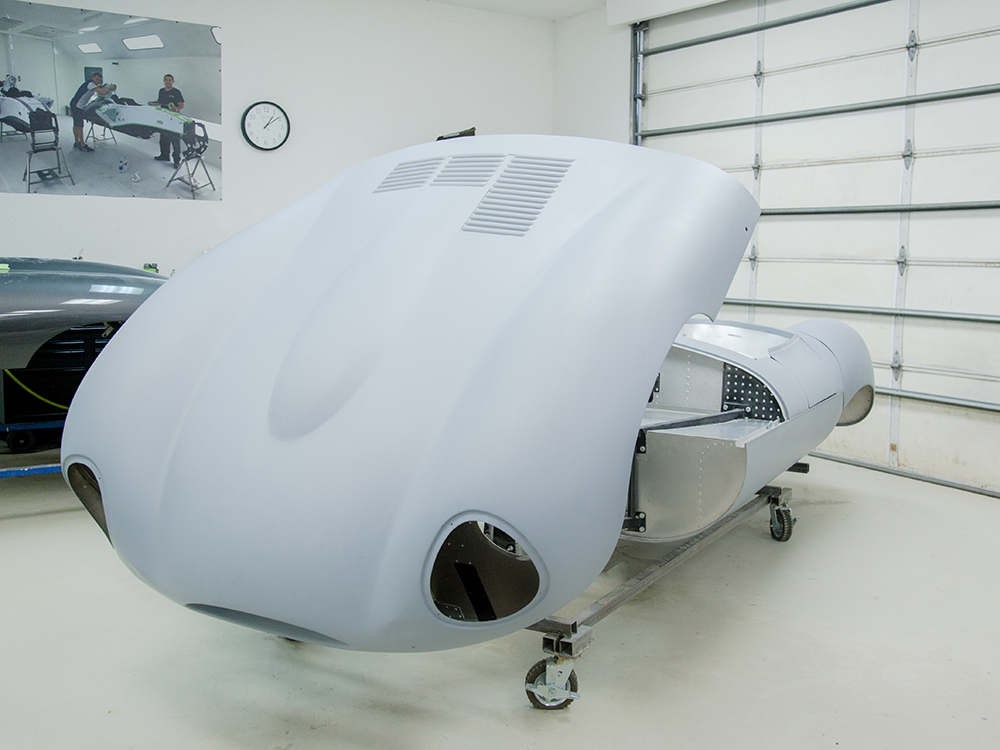
Painting the bonnet and engine subframes.
January 5, 2021
January 5, 2021
January 5, 2021
January 5, 2021
January 5, 2021
Painting in progress!
January 5, 2021
December 30, 2020
December 30, 2020
December 30, 2020
December 30, 2020
December 30, 2020
December 30, 2020
December 30, 2020
December 30, 2020
December 30, 2020
December 30, 2020
December 30, 2020
December 30, 2020
December 30, 2020
December 30, 2020
December 30, 2020
December 30, 2020
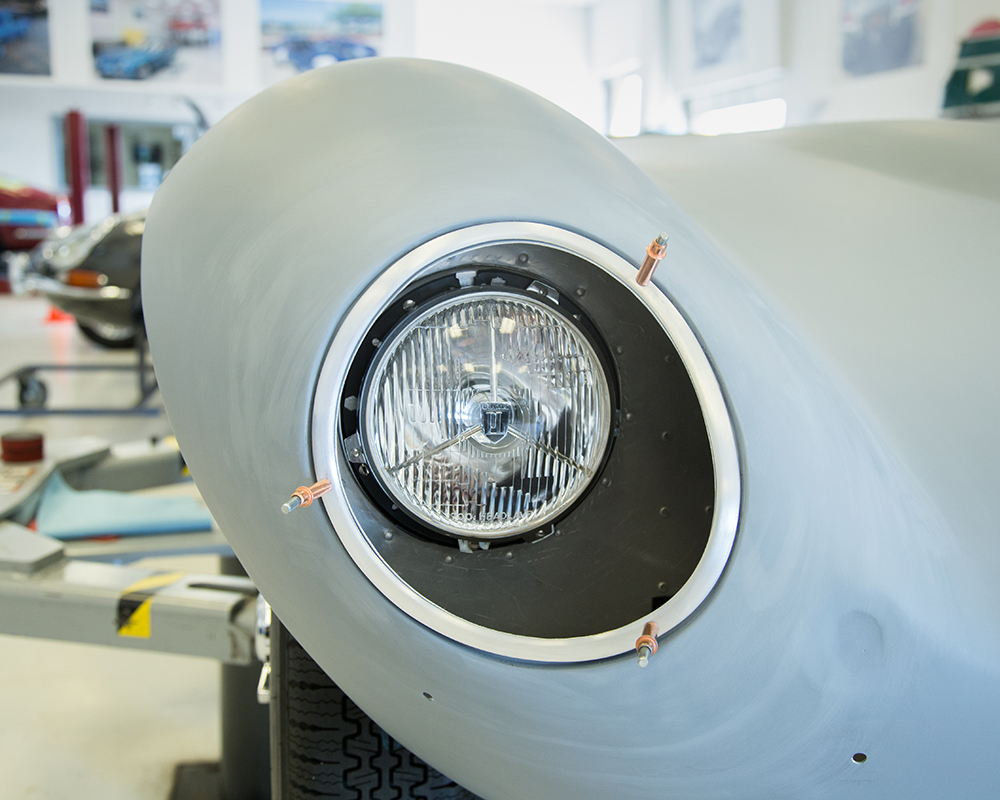
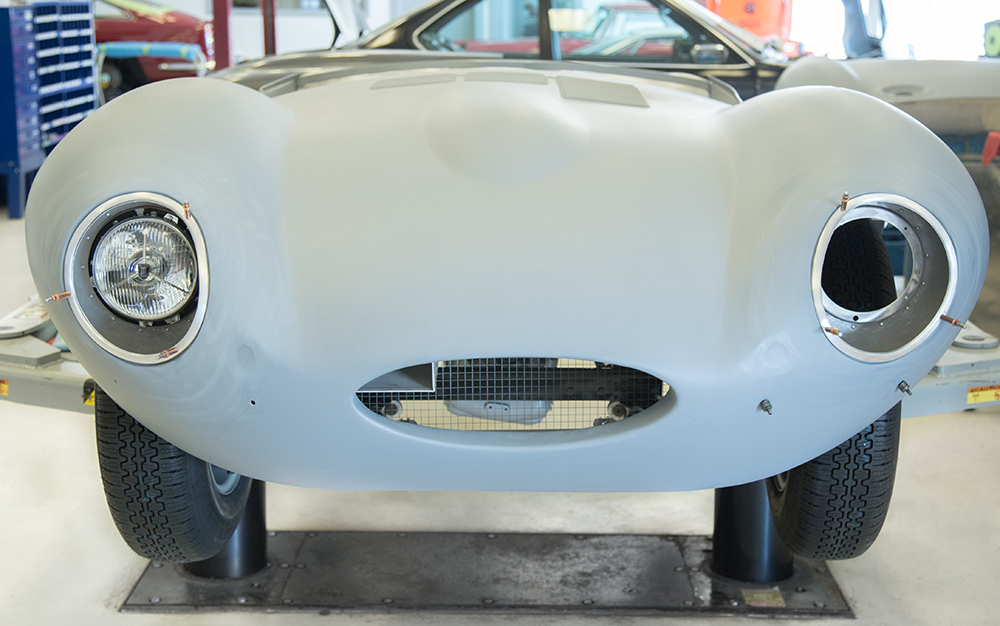
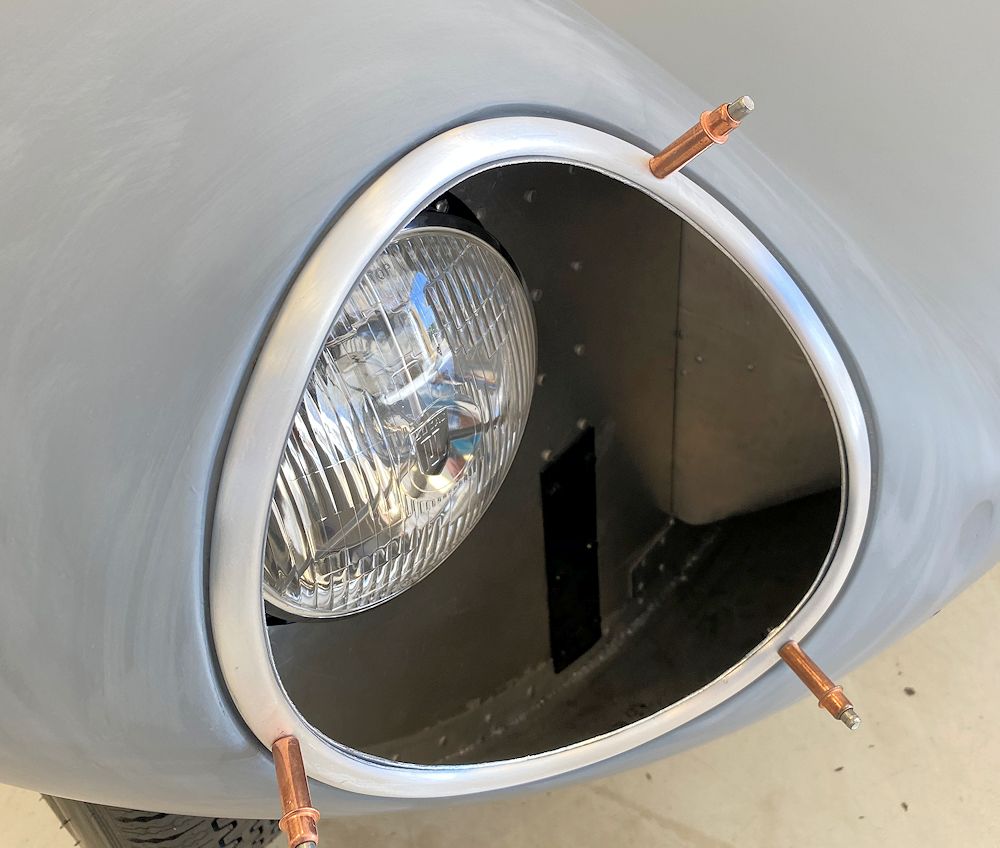
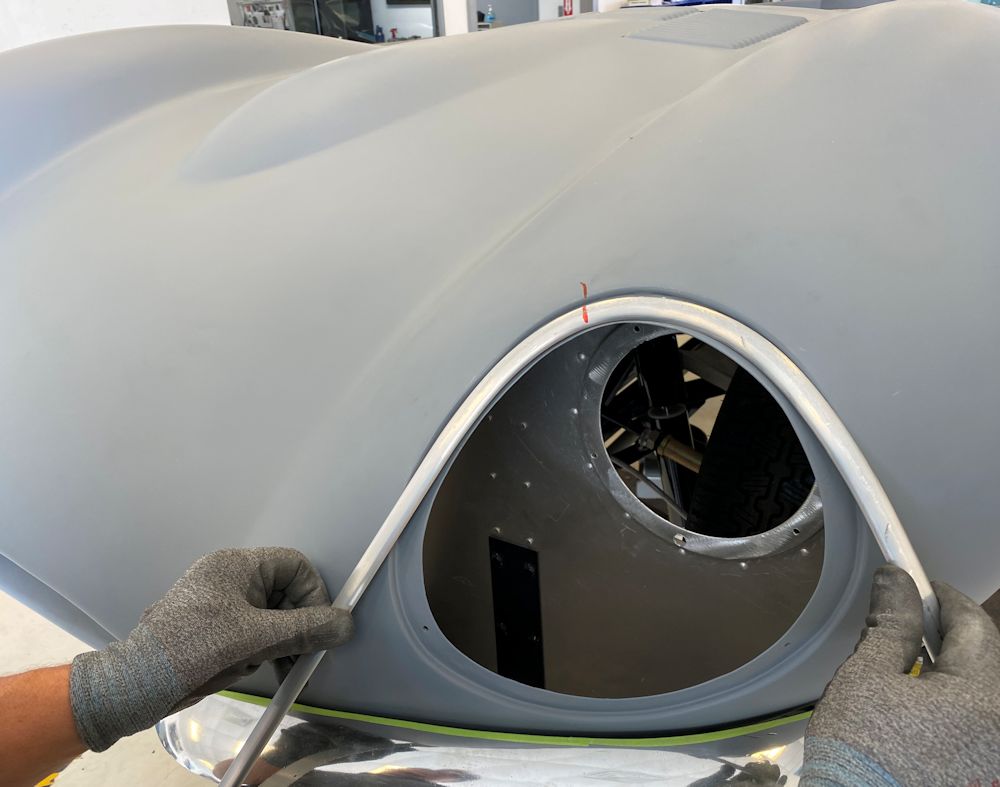
Jake has now completed the fabrication of the
headlamp trim
December 30, 2020
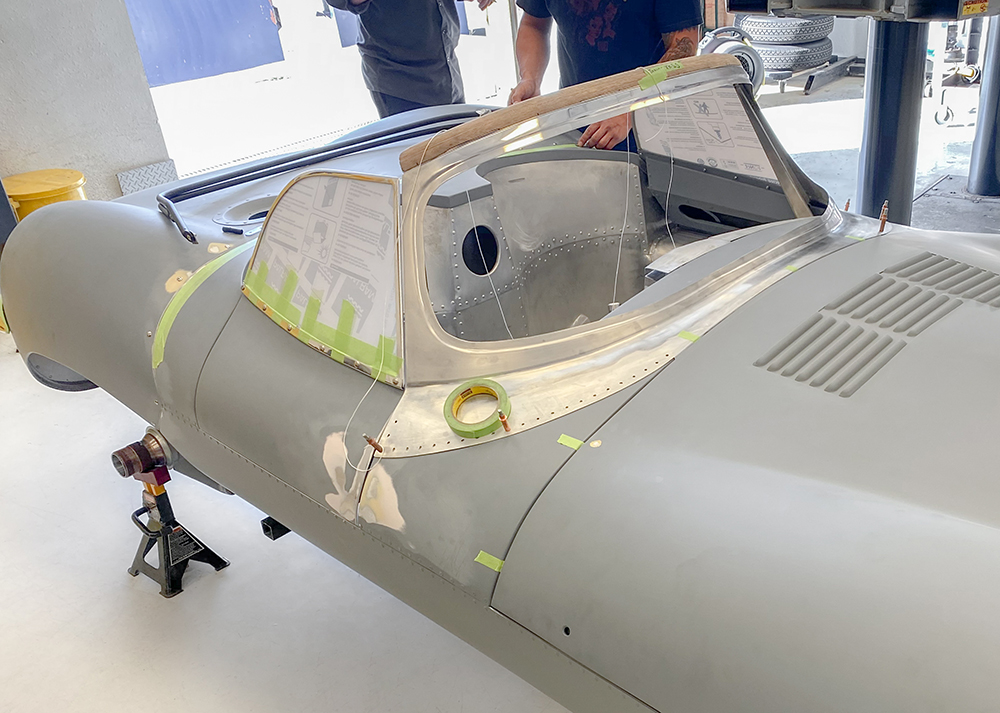
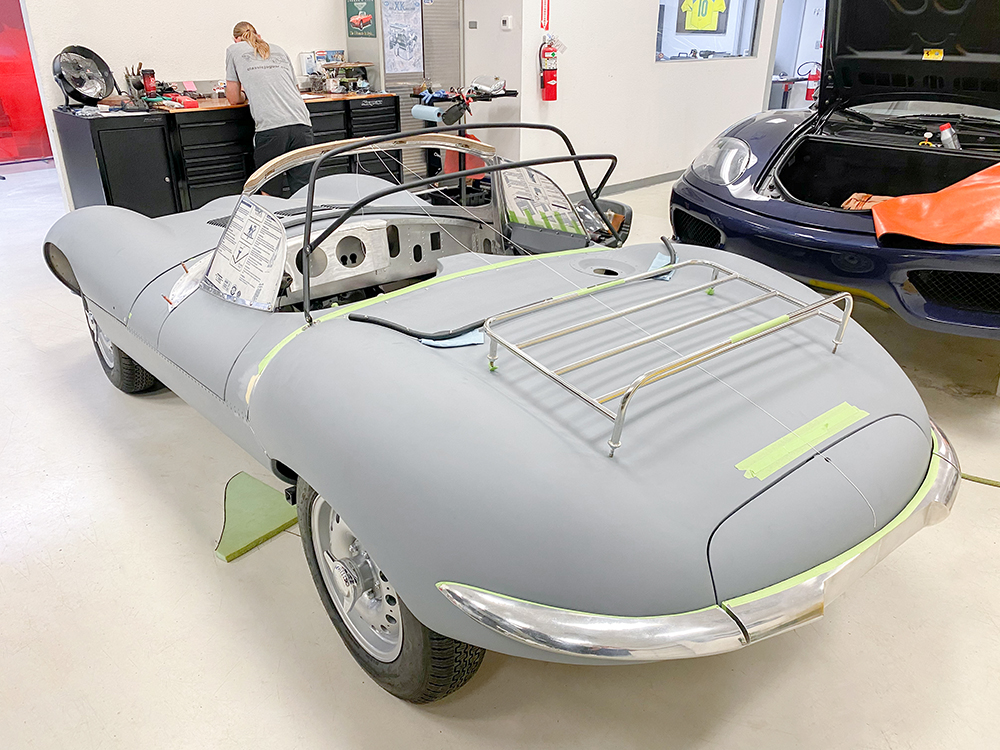
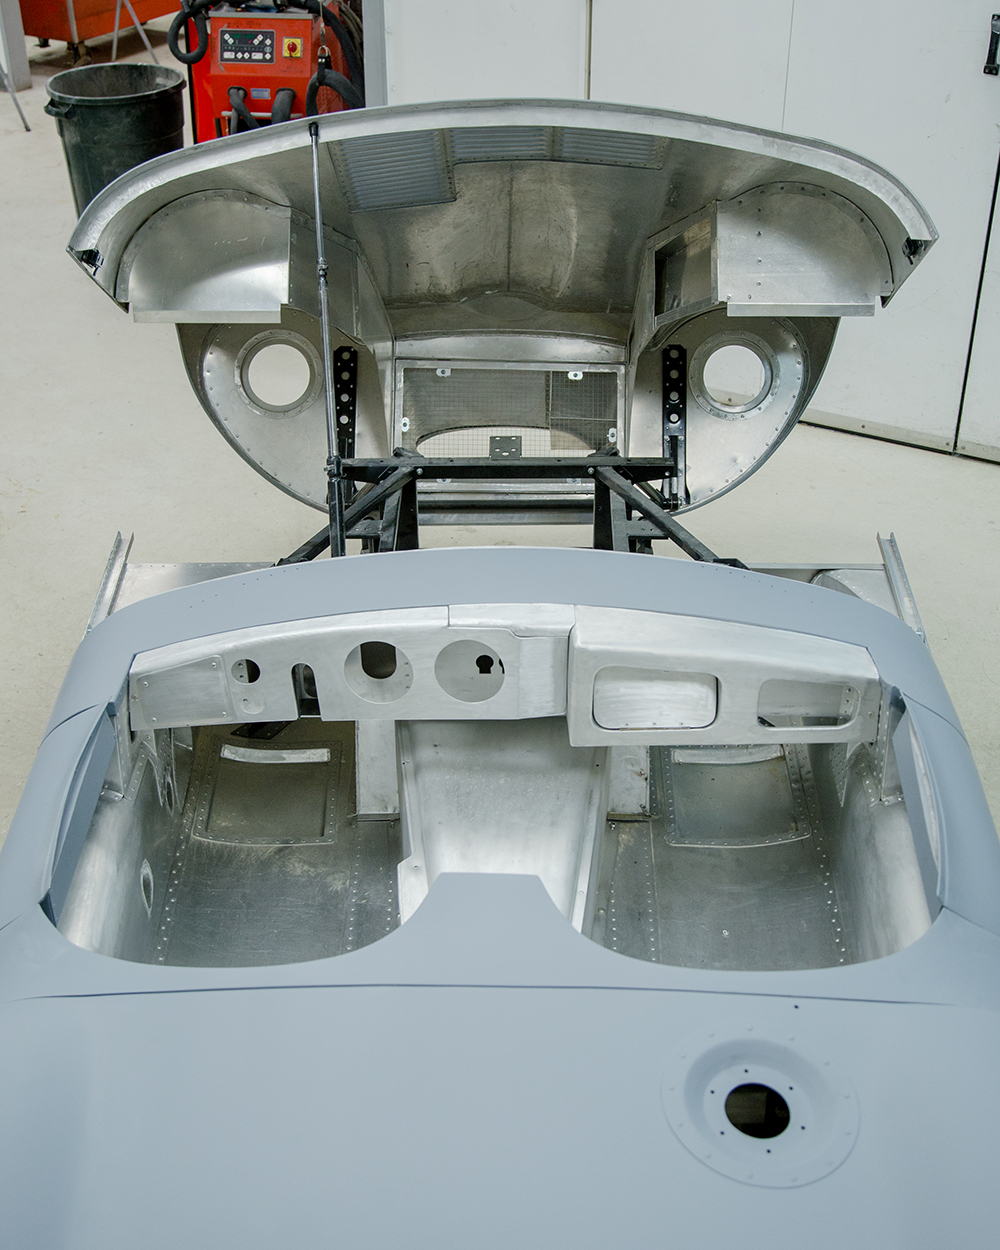
Trial fitting and adjusting the front screen frame
and side windows
October 14, 2020
October 14, 2020
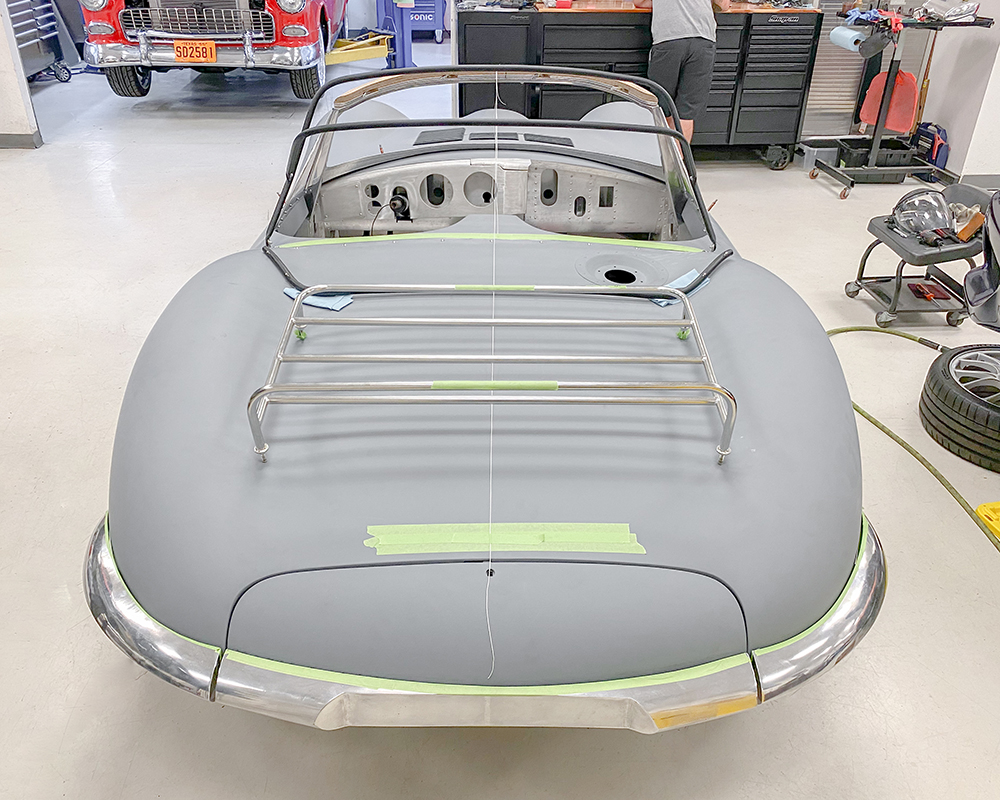
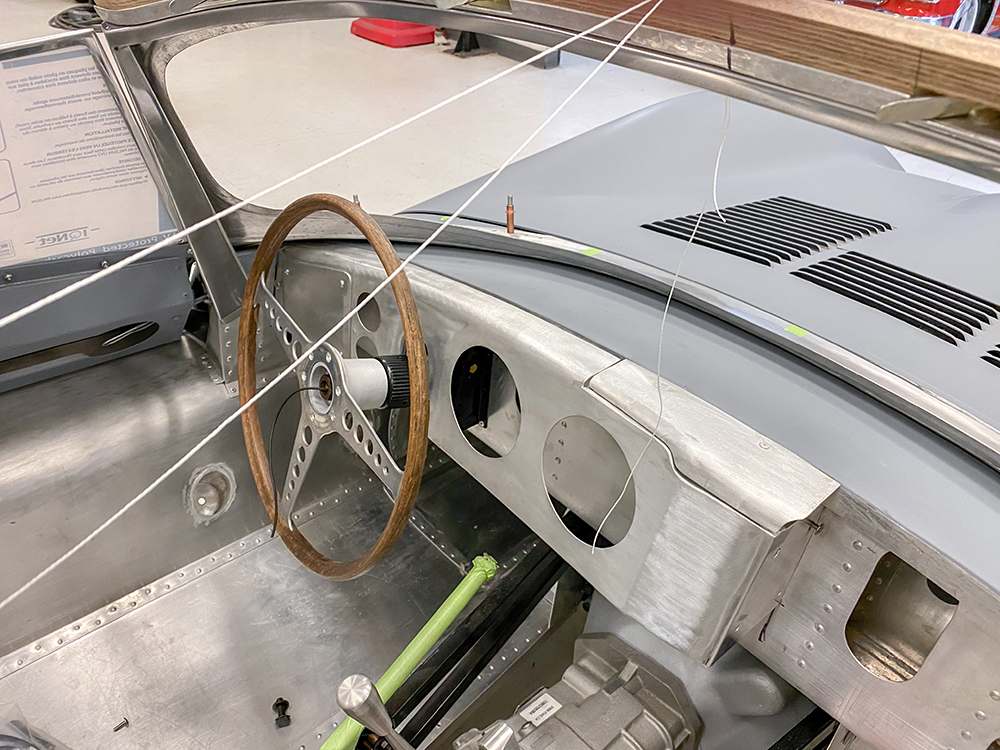
Plotting the center line of the car so we can position
the conv top frame and luggage rack perfectly
October 14, 2020
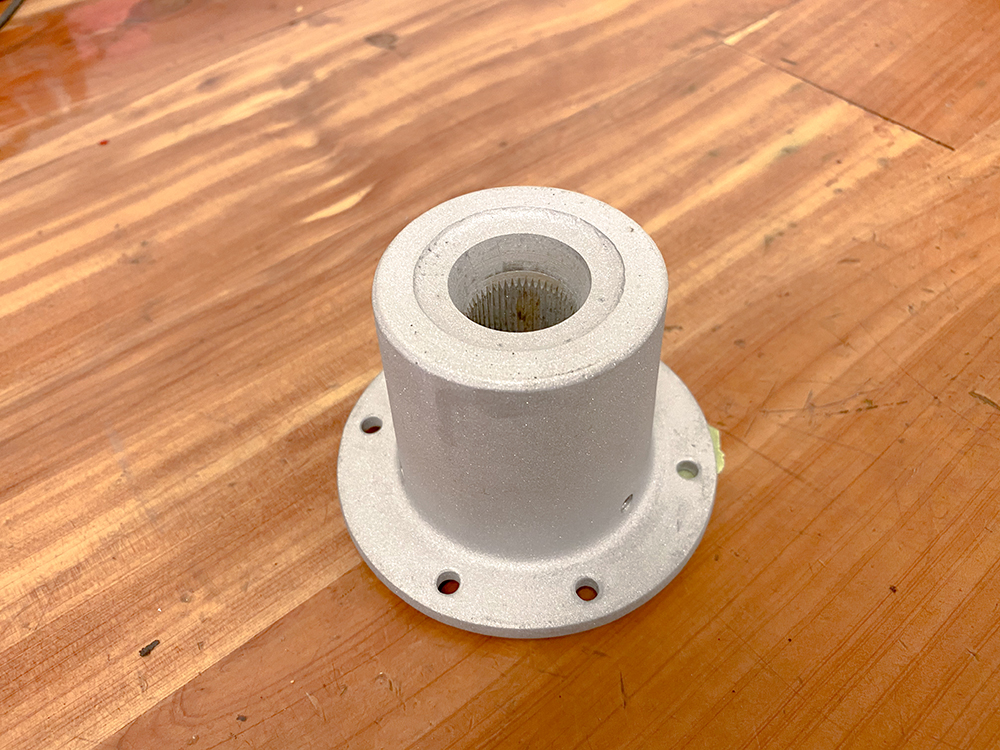
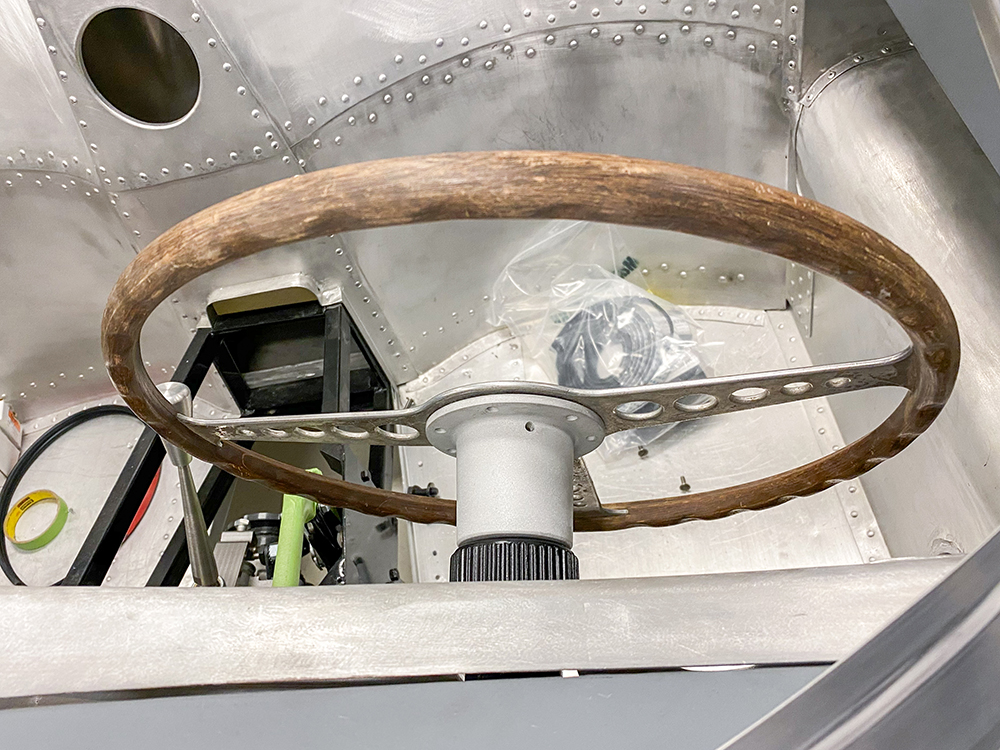
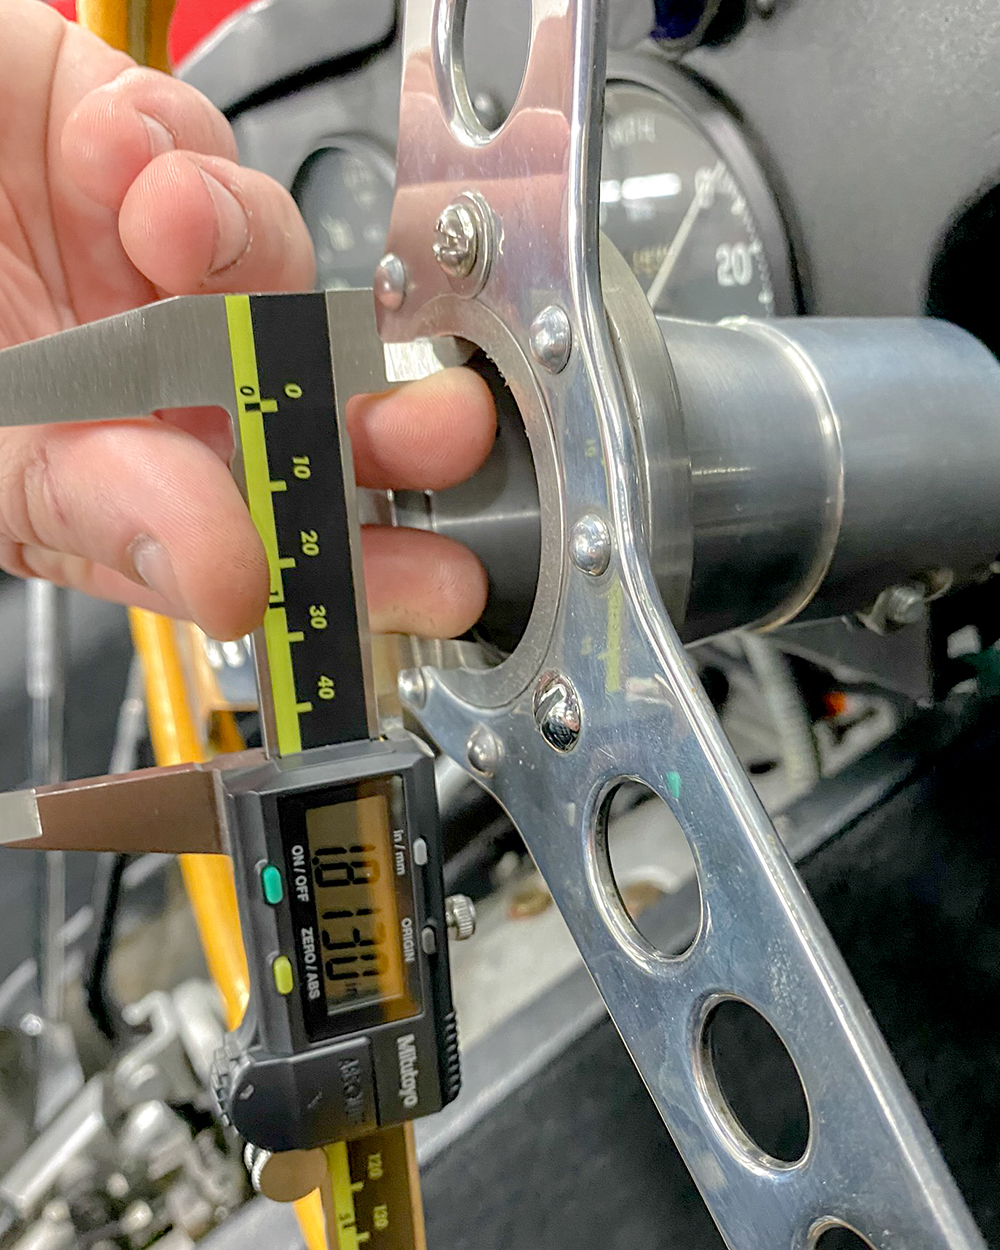
We fabricated a steering hub for the XKSS
October 14, 2020
E Type wheel used for test fit purposes as the new
D Type wheel is not yet completed
Trial fitting the hub to the custom upper column
Half oval aluminum stock
The headlamp trim is made entirely by hand
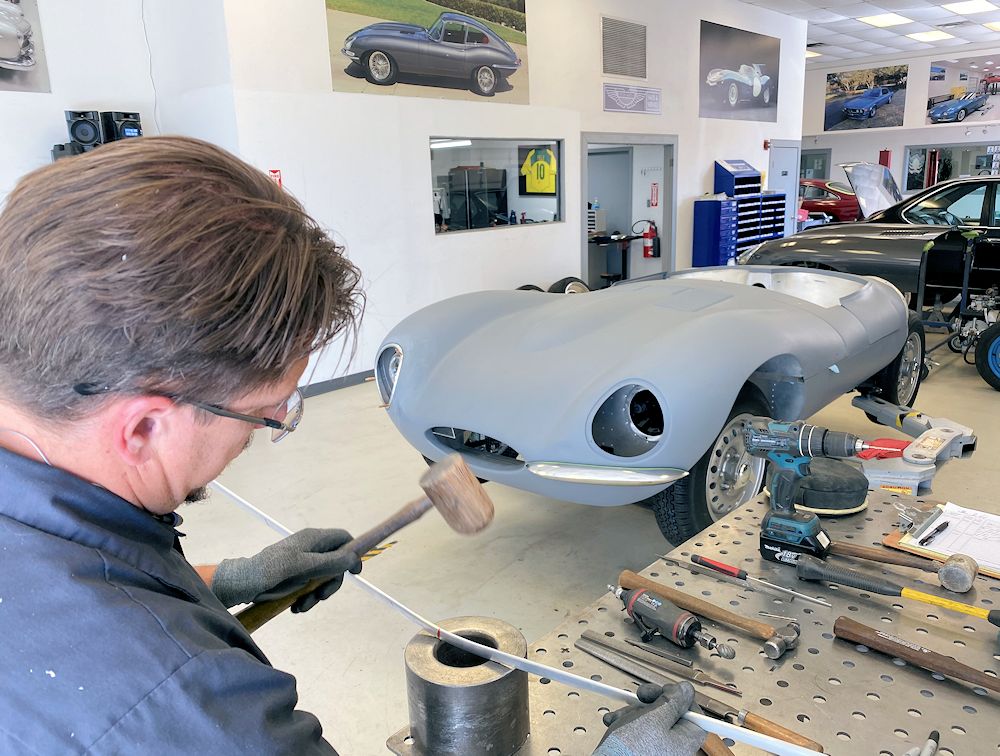
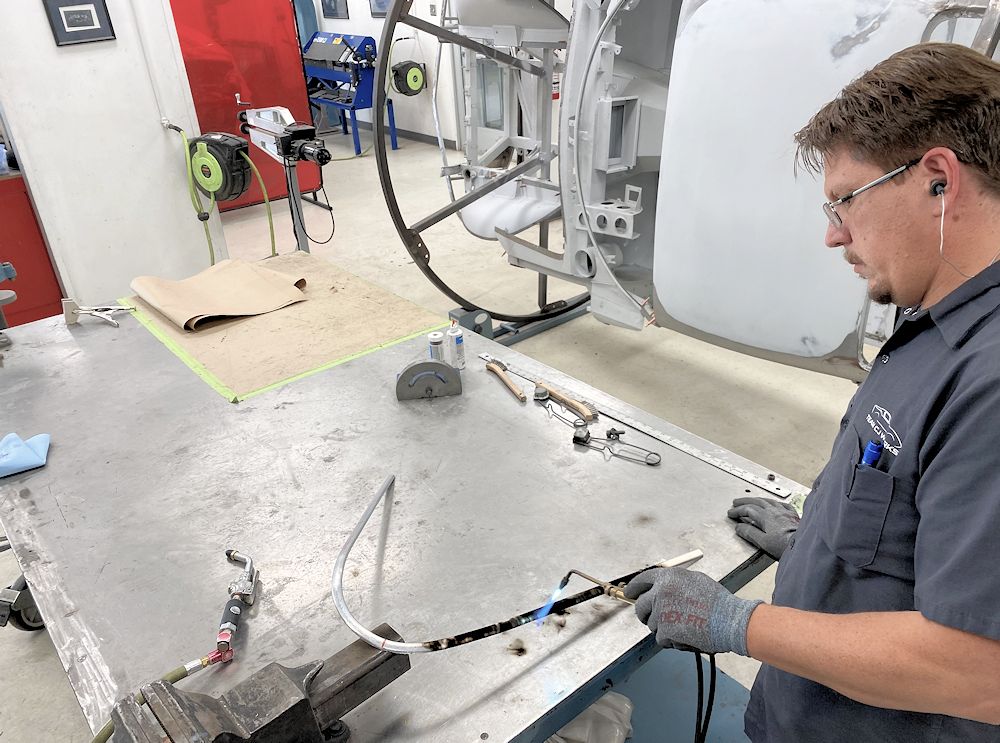
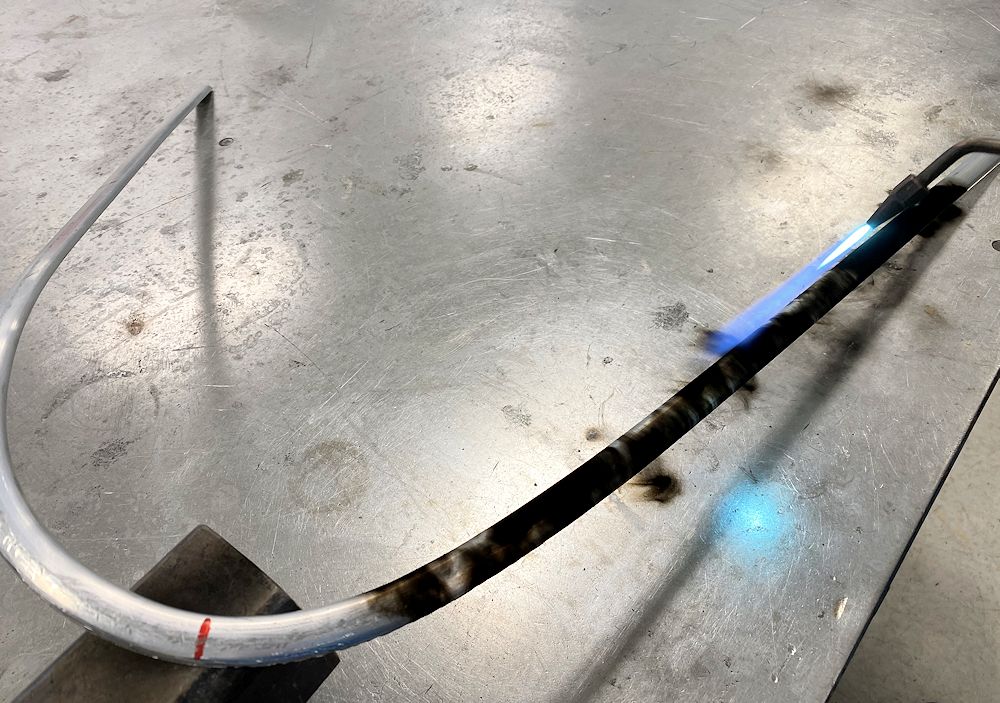
The following sequence of photographs show Jake fabricating head lamp trim rings from straight sections of 'half oval' aluminum stock.
Annealing the aluminum to make it more pliable
Trim is constantly trial fitted
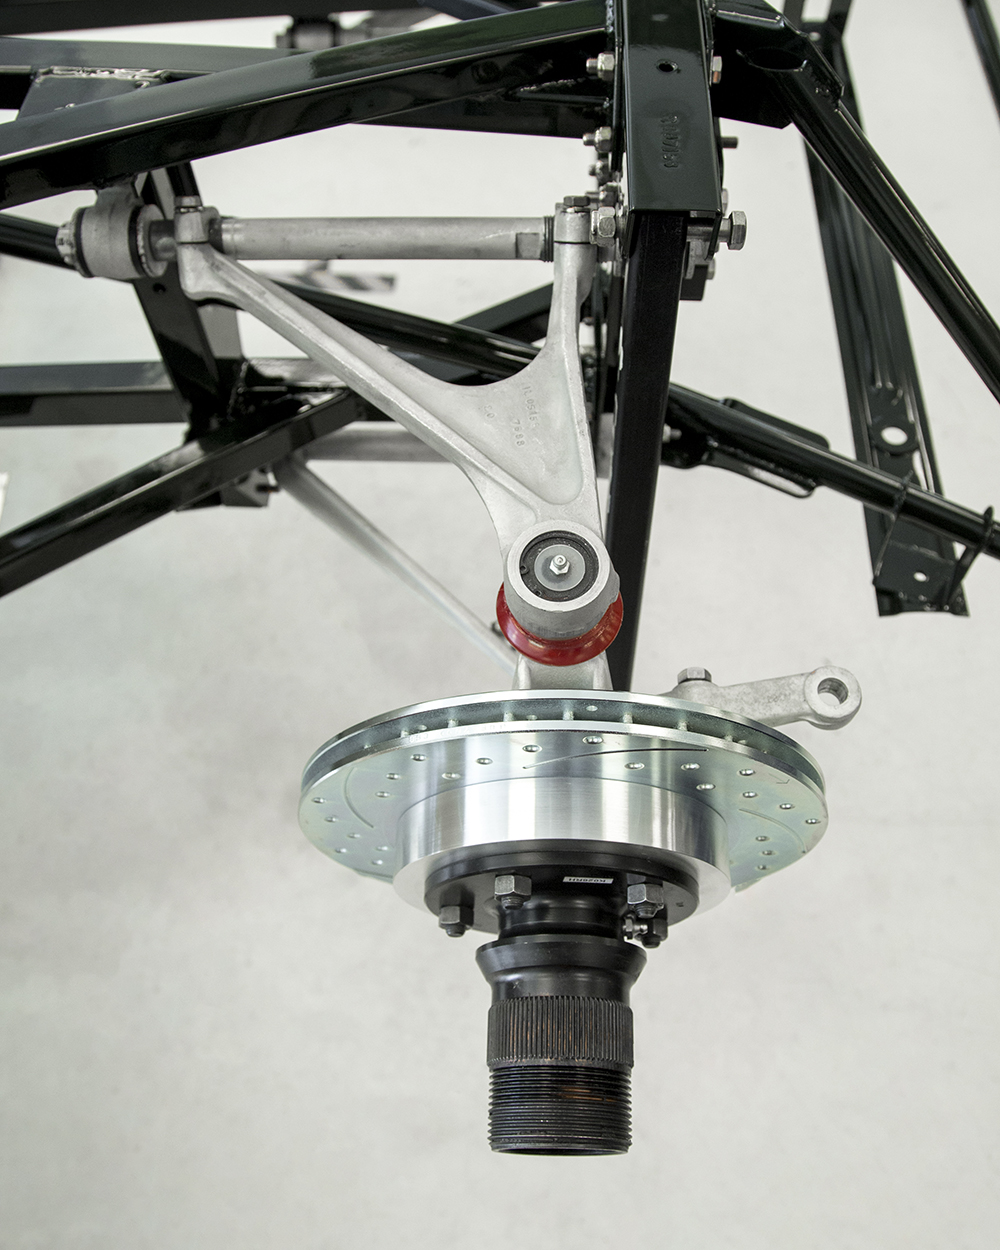
Trial fitting front brakes
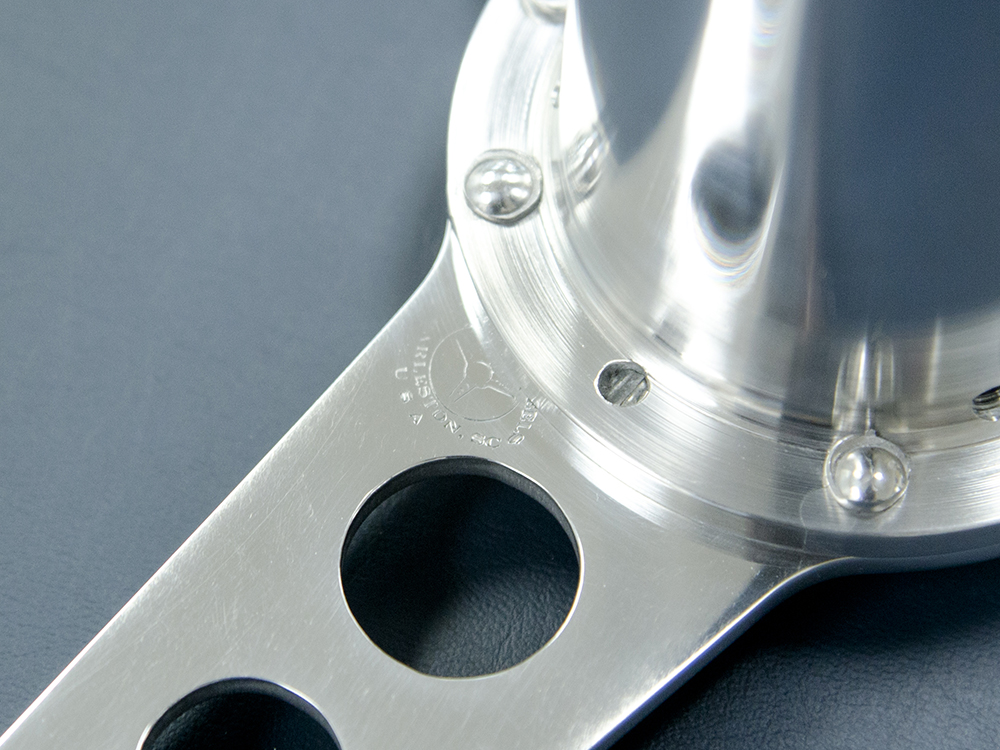
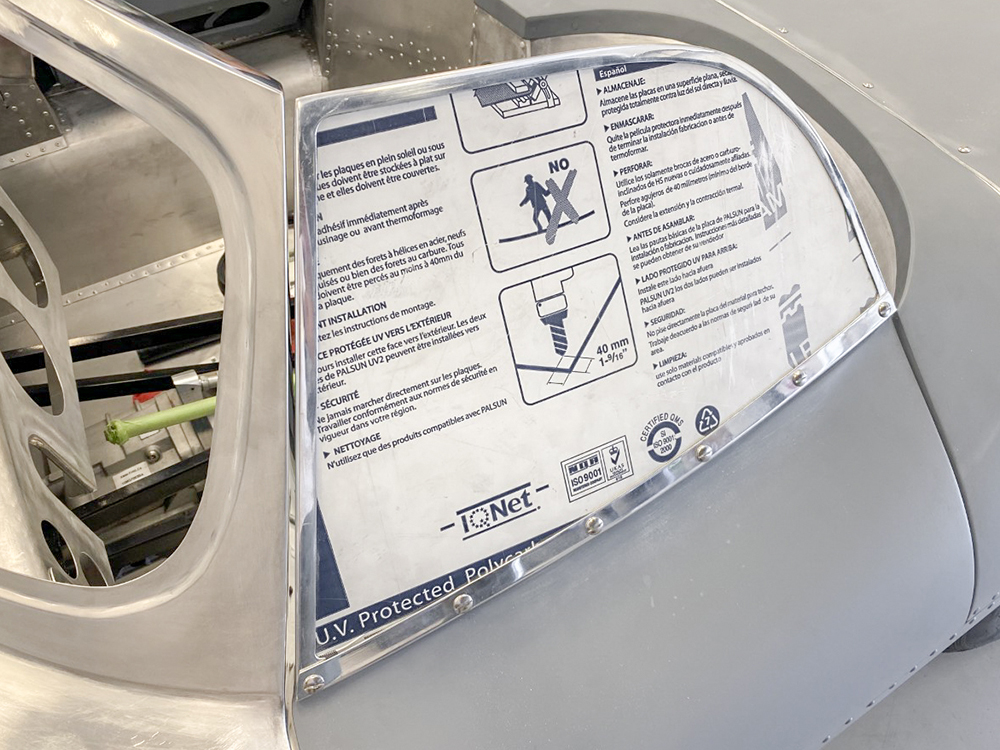
New data plate
Aluminum is heated almost to melting point during
the annealing process
So far everything is lining up perfectly
September 2, 2020
September 2, 2020
September 2, 2020
September 2, 2020
September 2, 2020
September 2, 2020
September 2, 2020
September 2, 2020
September 2, 2020
September 2, 2020
September 2, 2020
Looking more like a car every day!
September 2, 2020
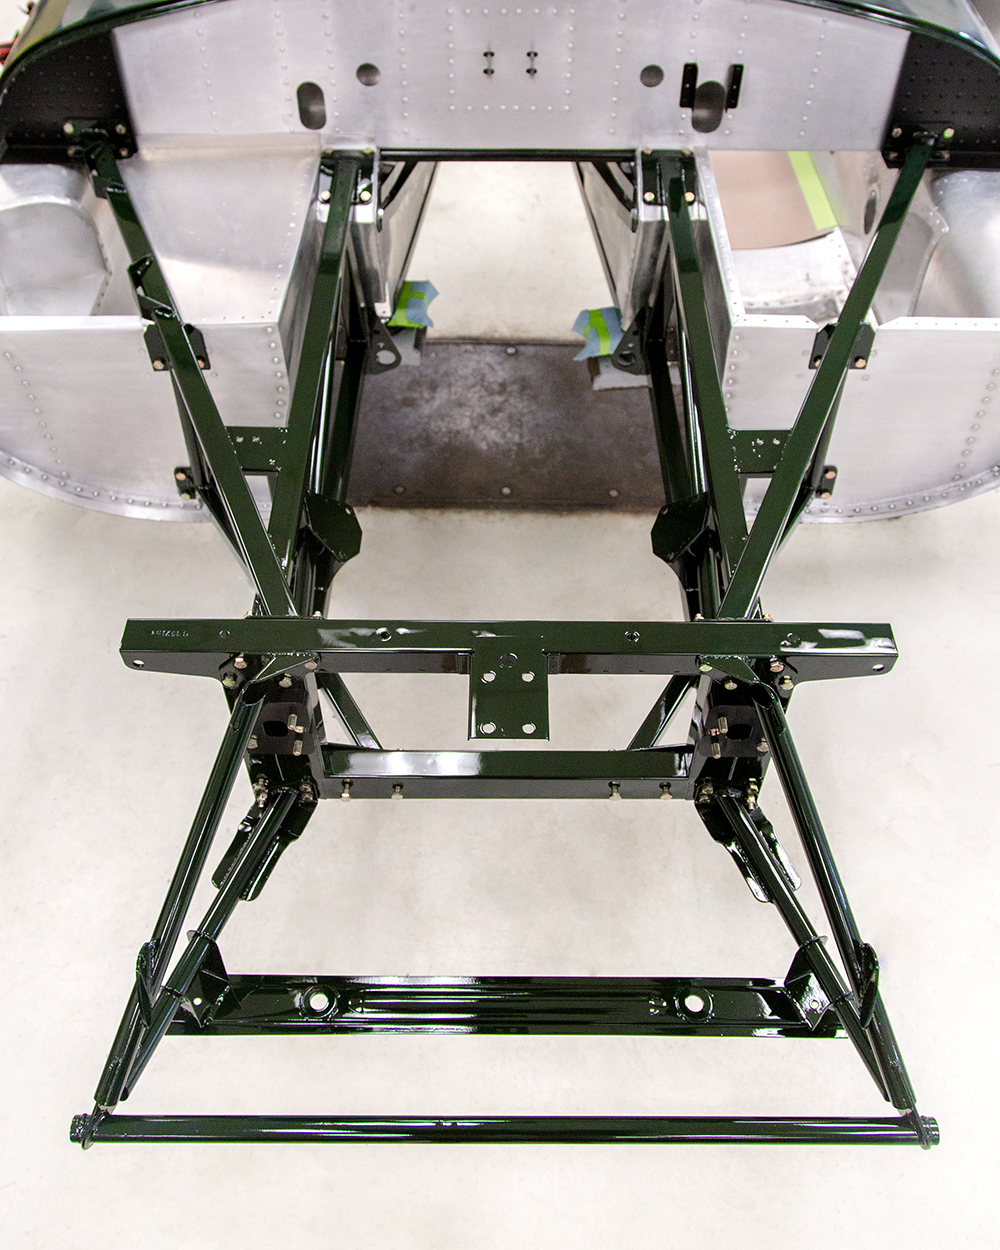
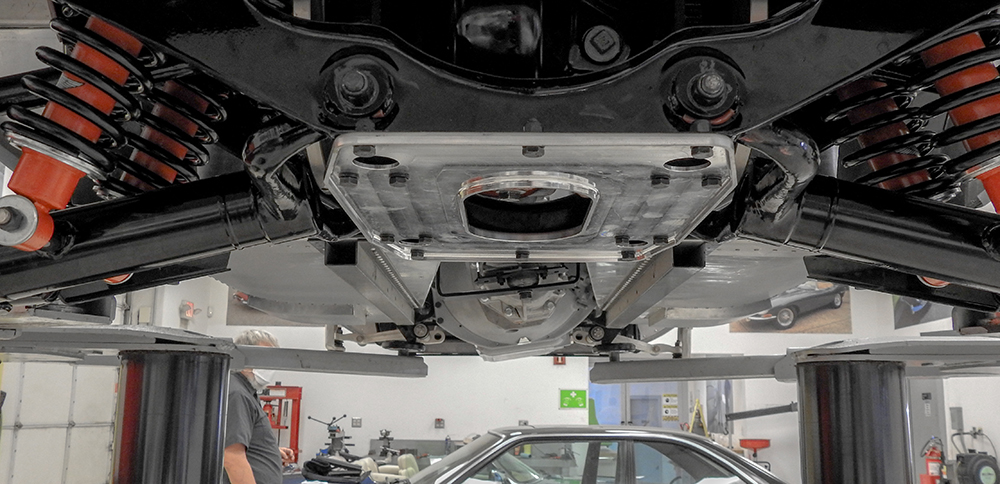
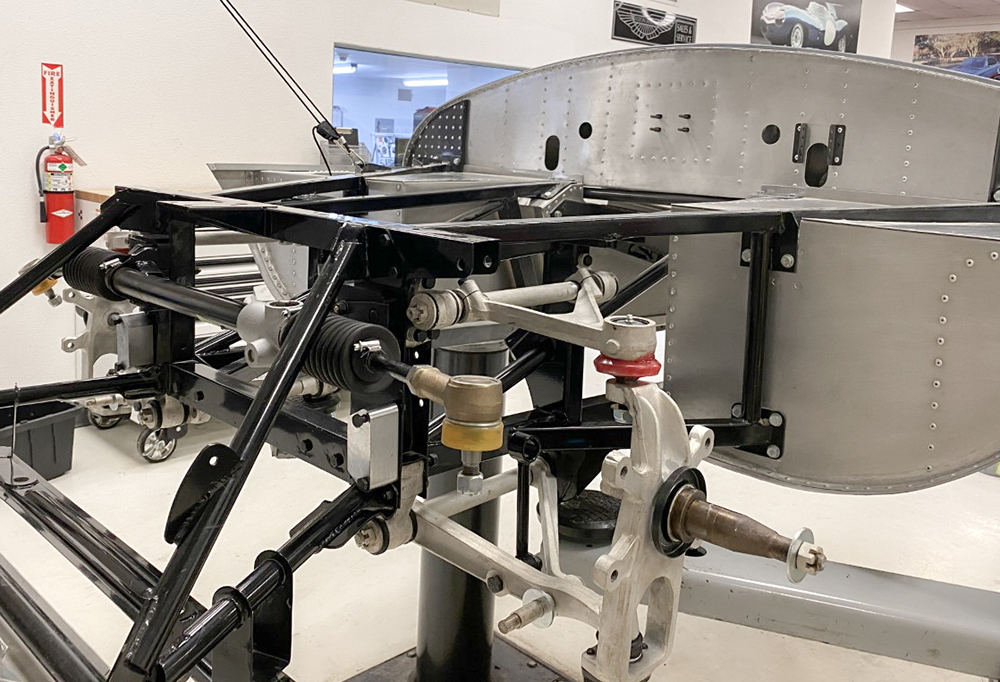
IRS now mounted on 4 metalastic cage mounts
Chris welding custom IRS mounting brackets to
the steel subframe
August 27, 2020
August 27, 2020
August 27, 2020
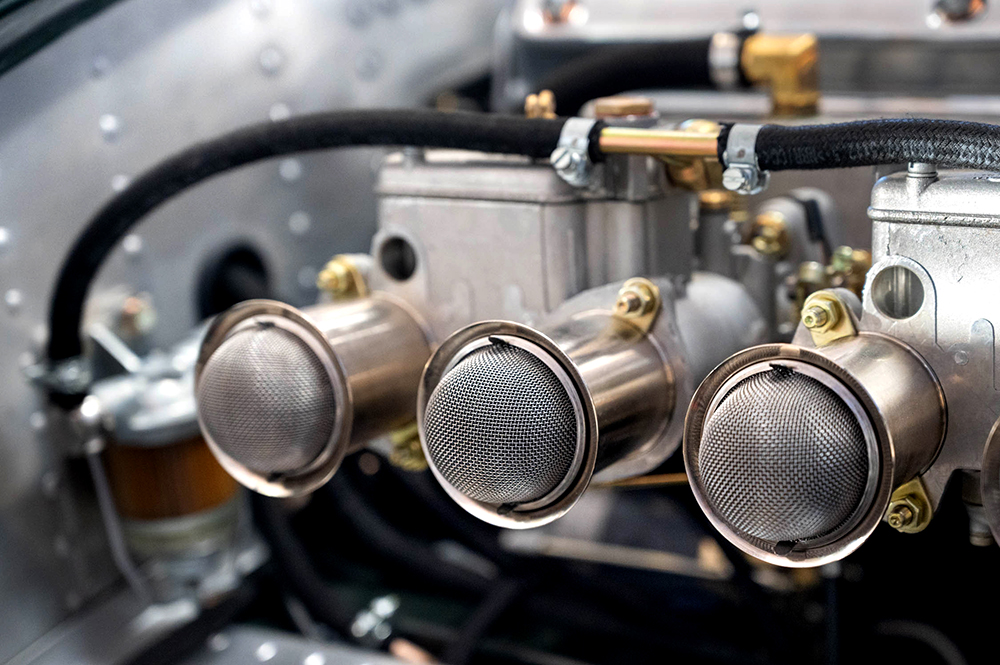
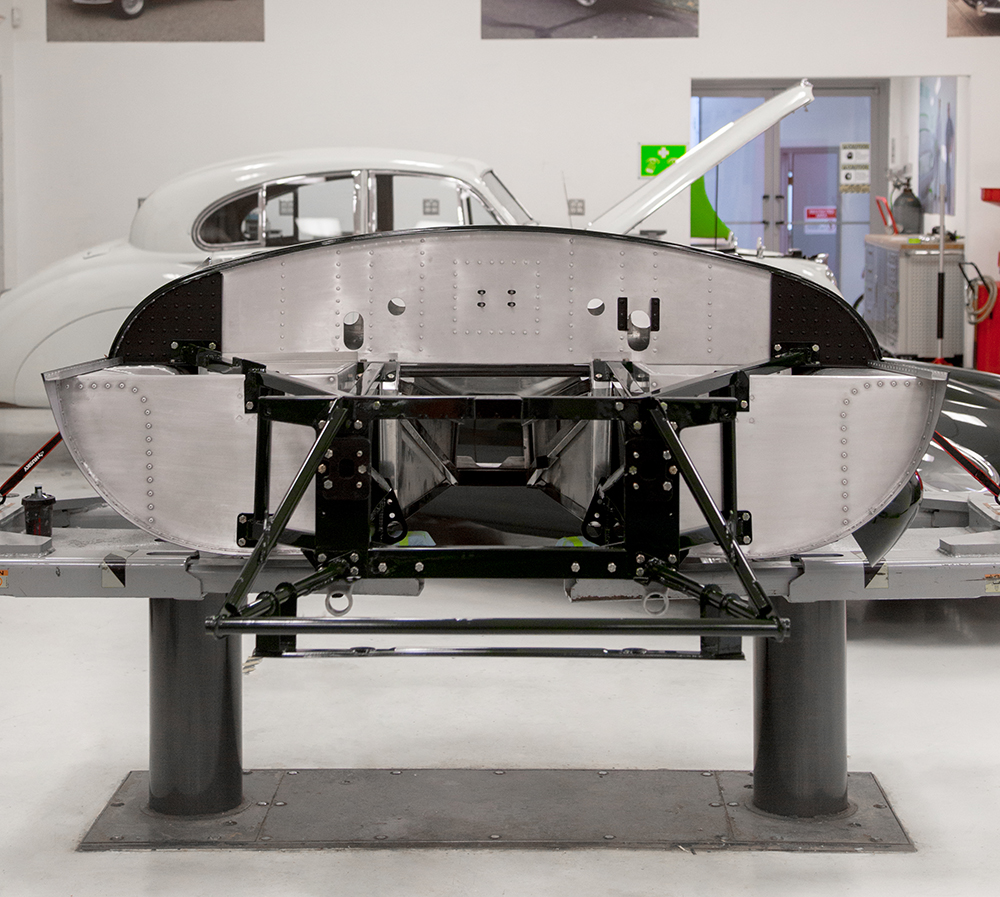
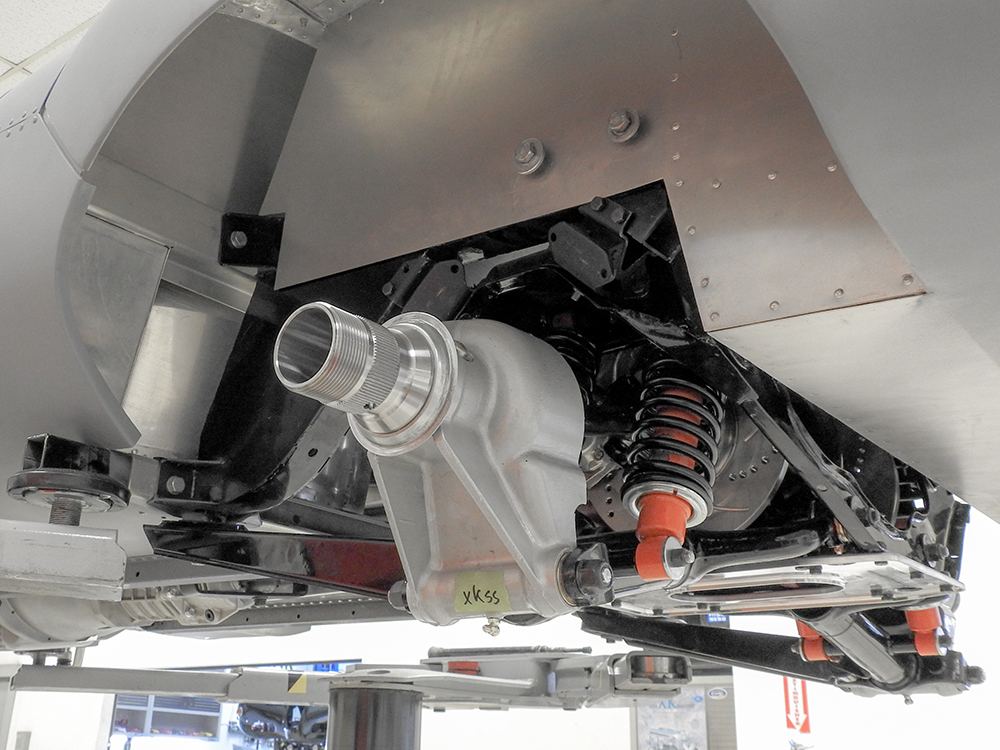
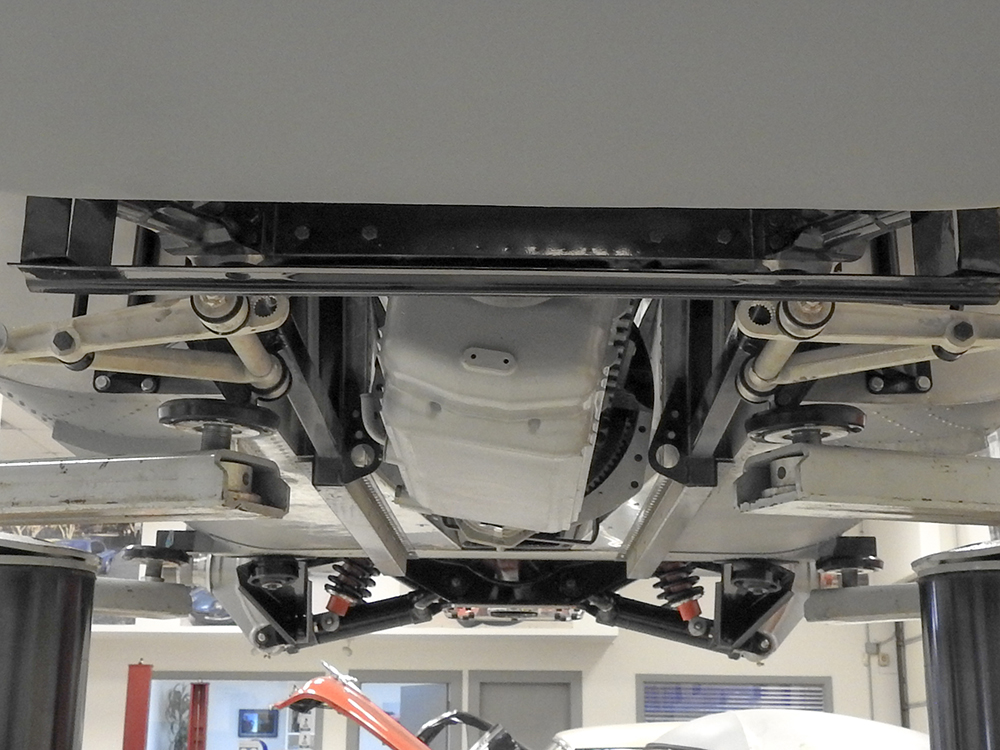
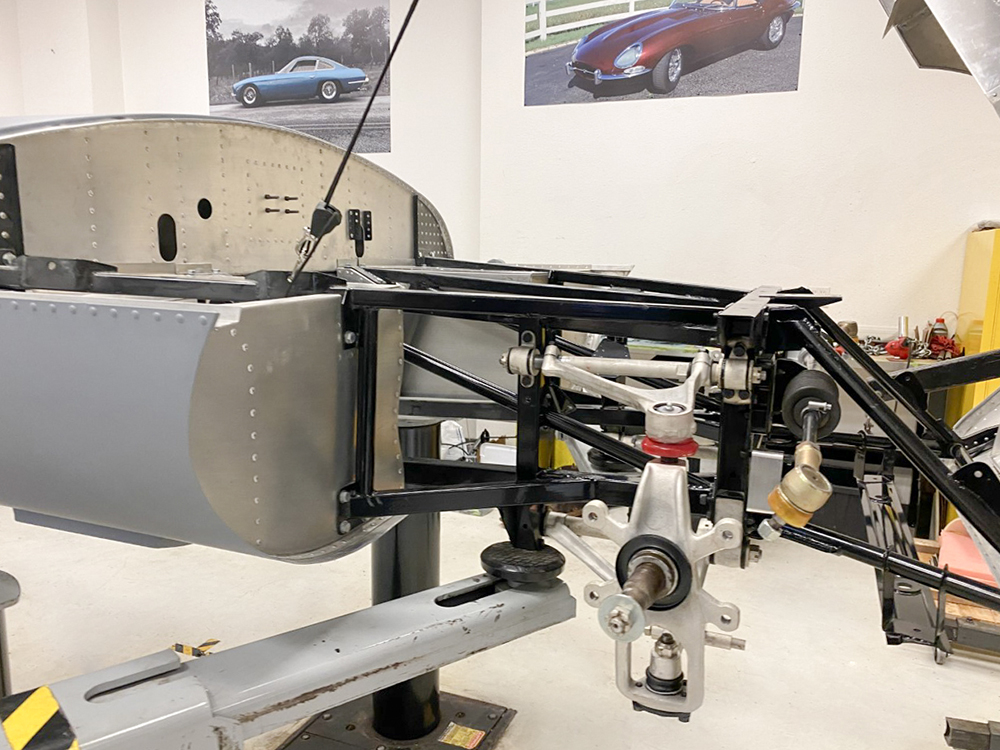
Making sure we have adequate clearance for the
engine and Weber carbs
August 27, 2020
August 27, 2020
August 27, 2020
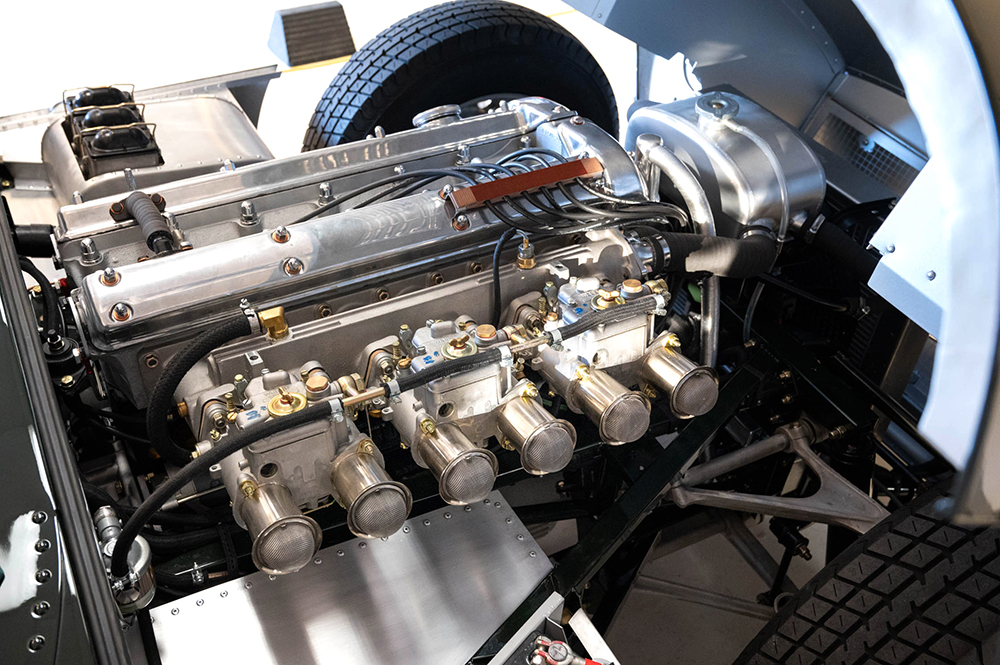
Note the angle of the oil pan
This shot demonstrates how the engine is tilted over
to the left
Time to design and spec the driveshaft
August 27, 2020
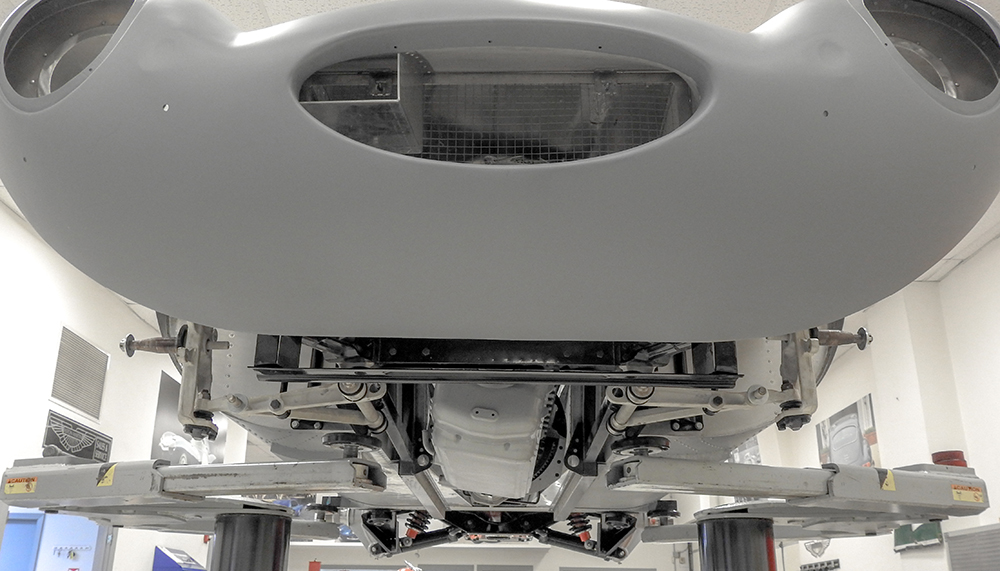
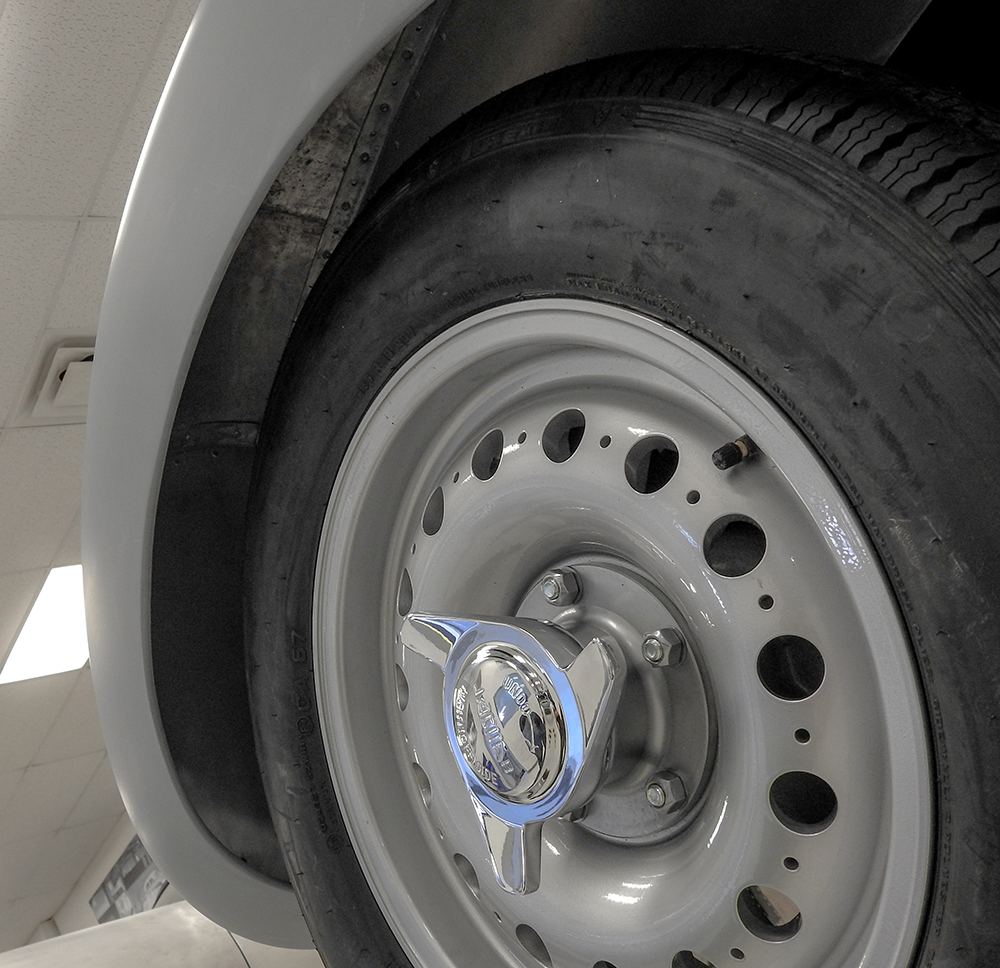
Trial fitting wheels
Crucial to get the angles right between the engine
and the pinion
August 27, 2020
Plenty of clearance!
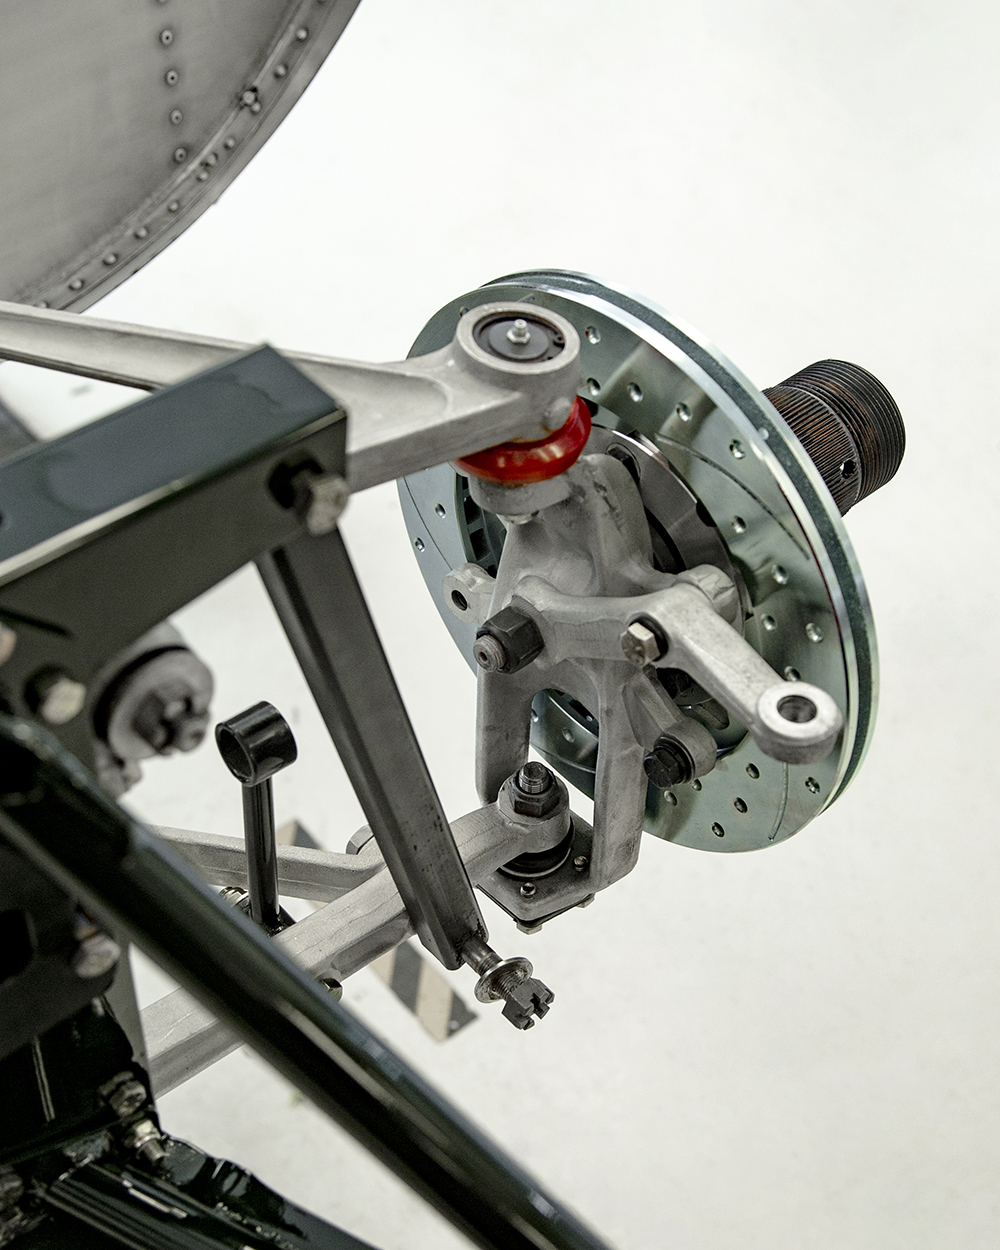
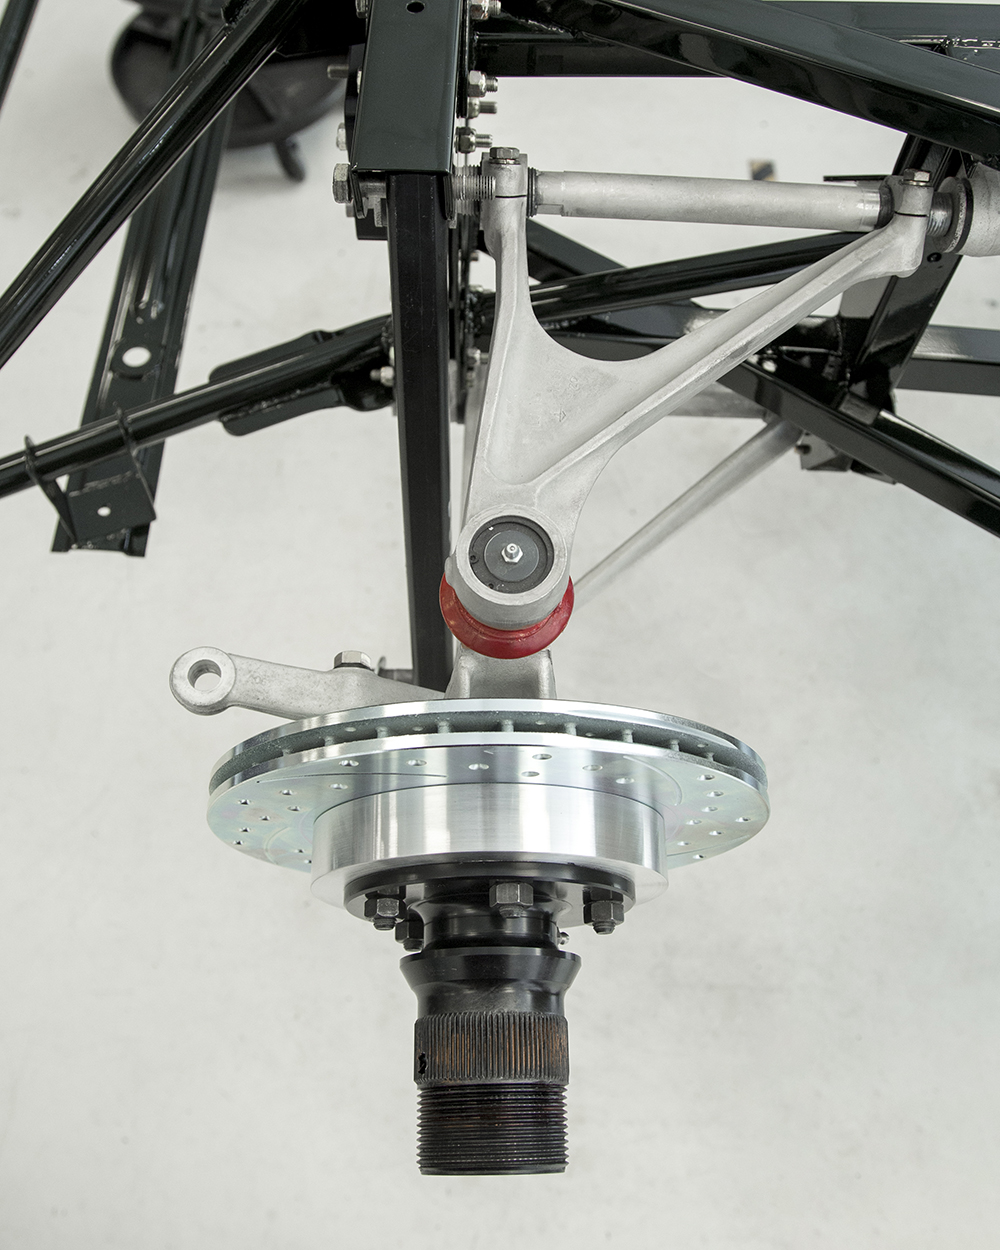
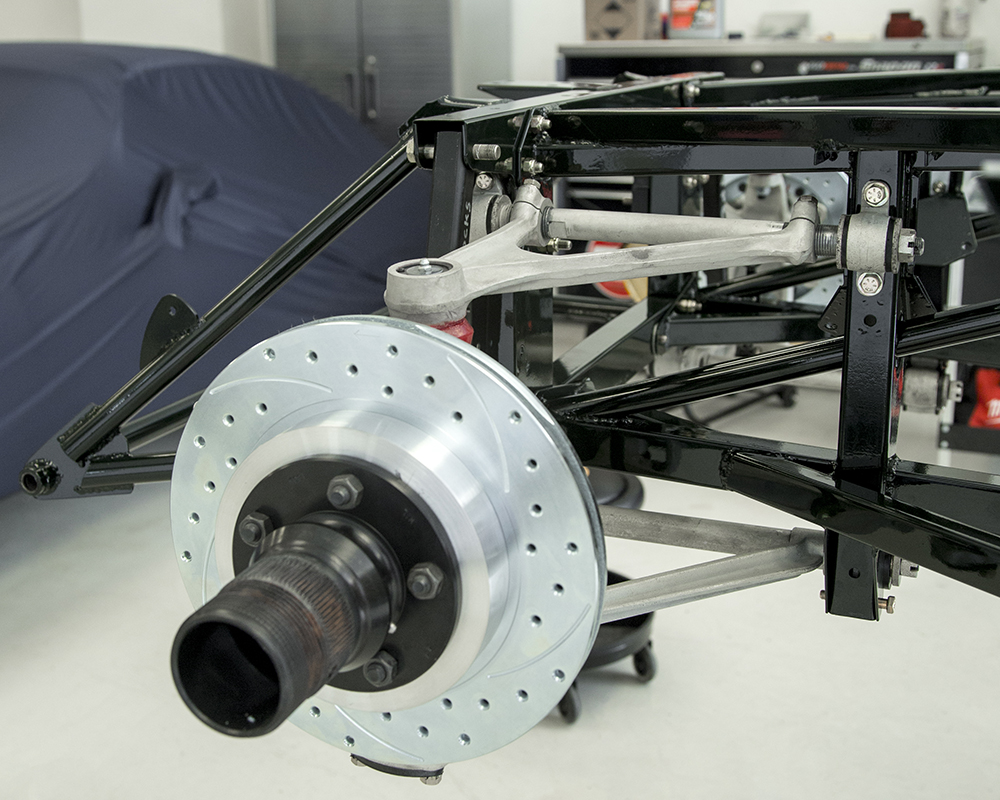
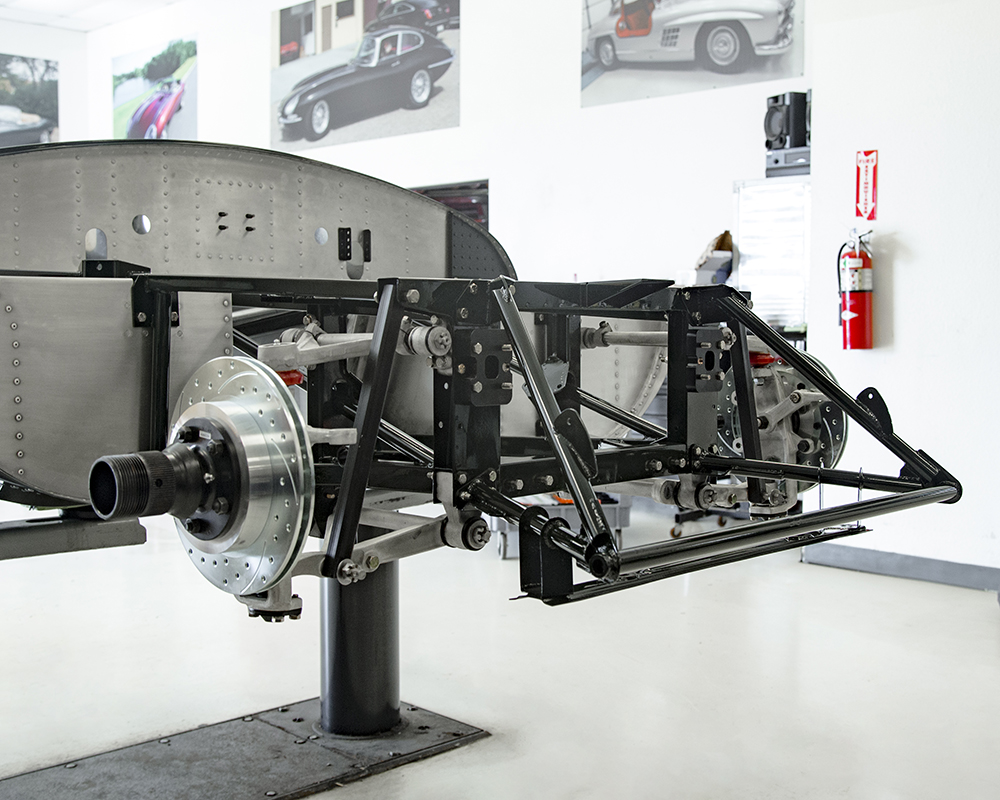
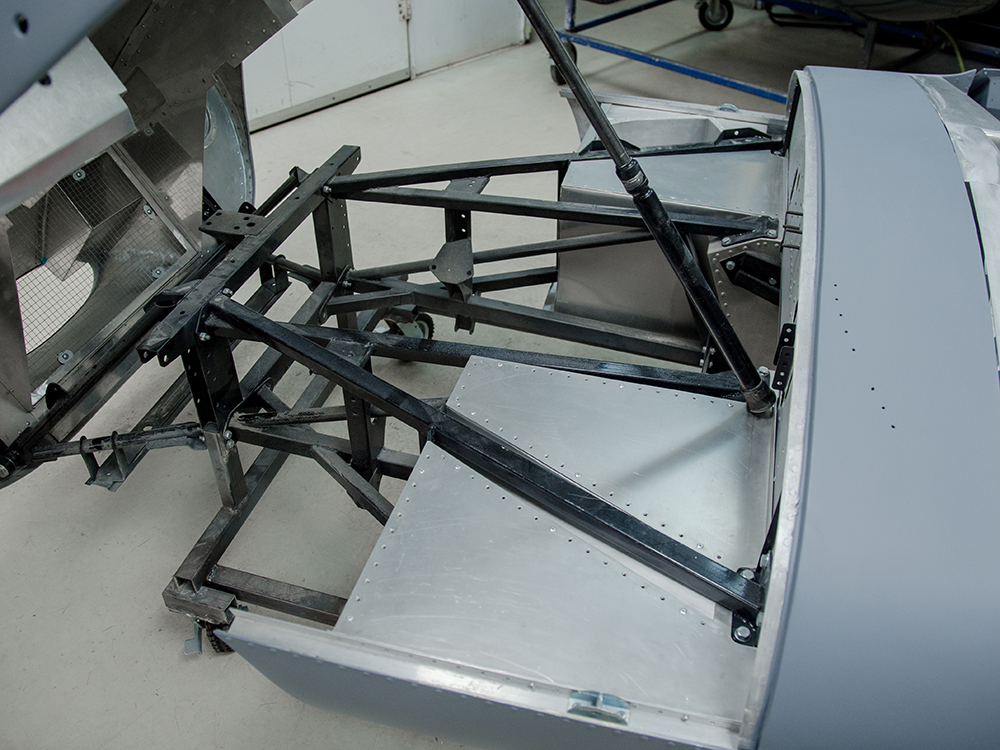
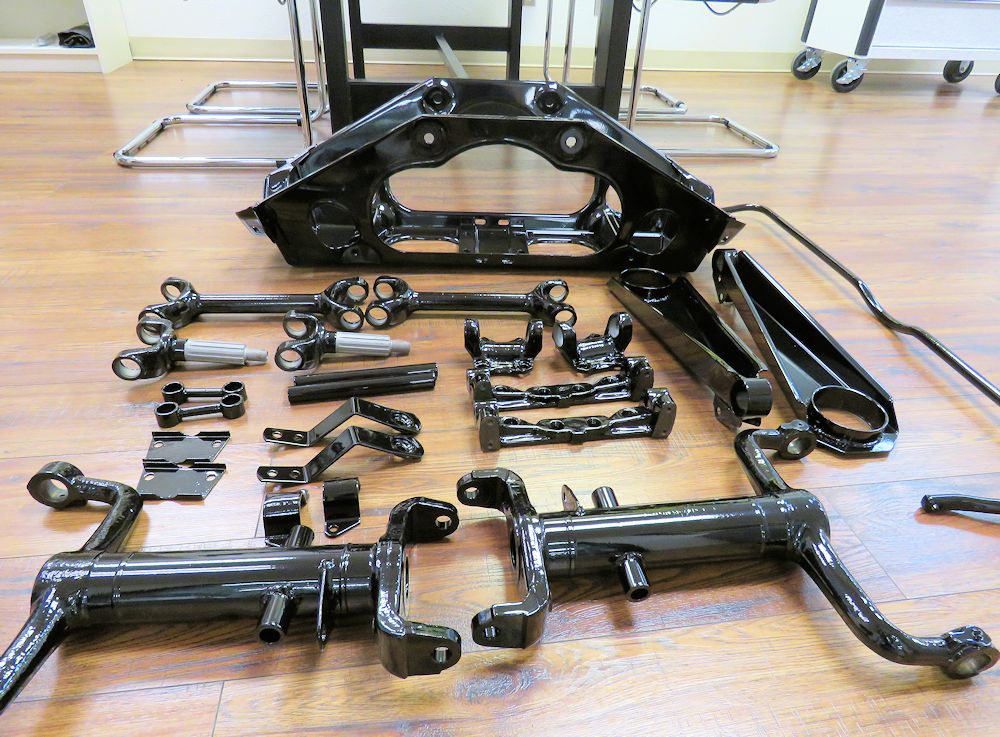
Trial fitting the suspension and and major drive train components.
August 27, 2020
August 19, 2020
August 19, 2020
August 19, 2020
August 19, 2020
August 19, 2020
August 19, 2020
August 19, 2020
August 19, 2020
June 19, 2020
August 19, 2020
June 19, 2020
June 19, 2020
June 19, 2020
June 19, 2020
June 19, 2020
June 19, 2020
June 19, 2020
June 19, 2020
June 19, 2020
June 19, 2020
June 19, 2020
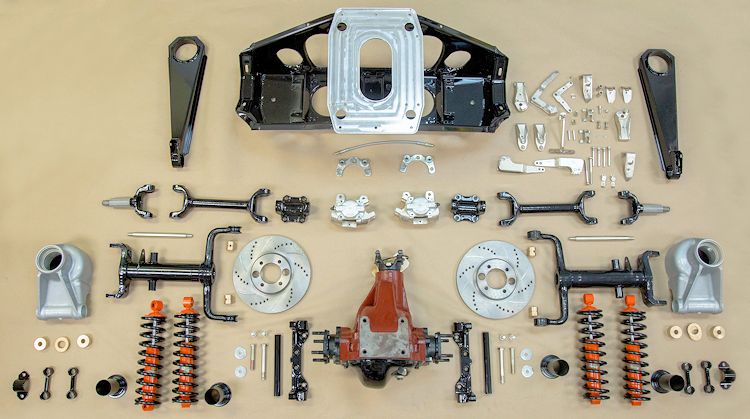
IRS, brakes and differential in kit form
June 19, 2020
June 19, 2020
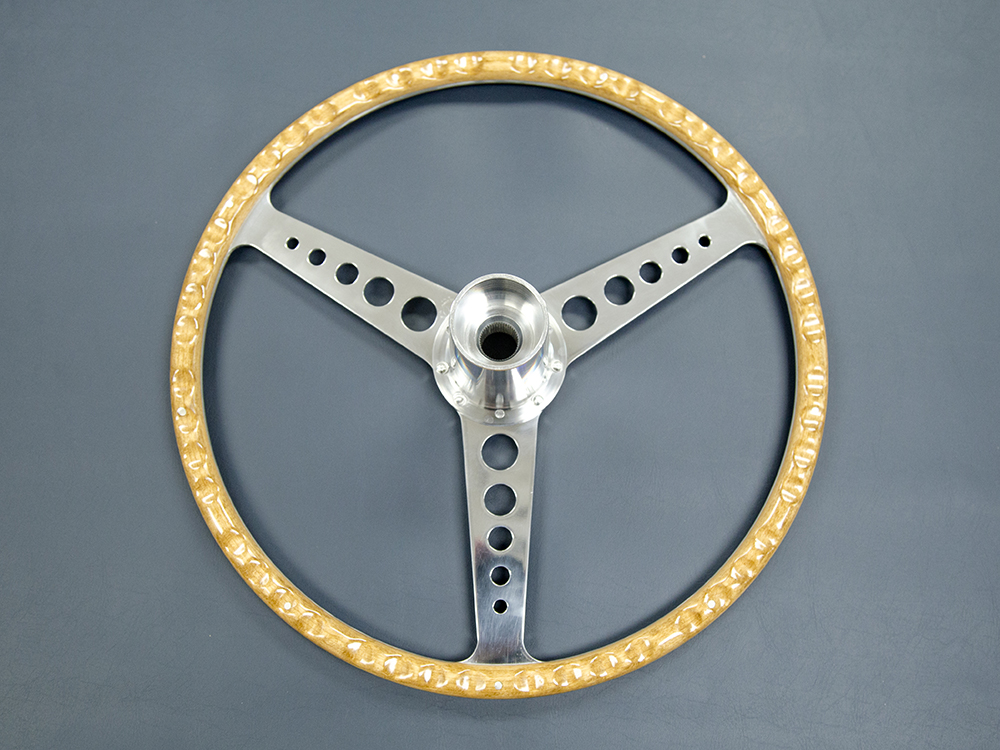
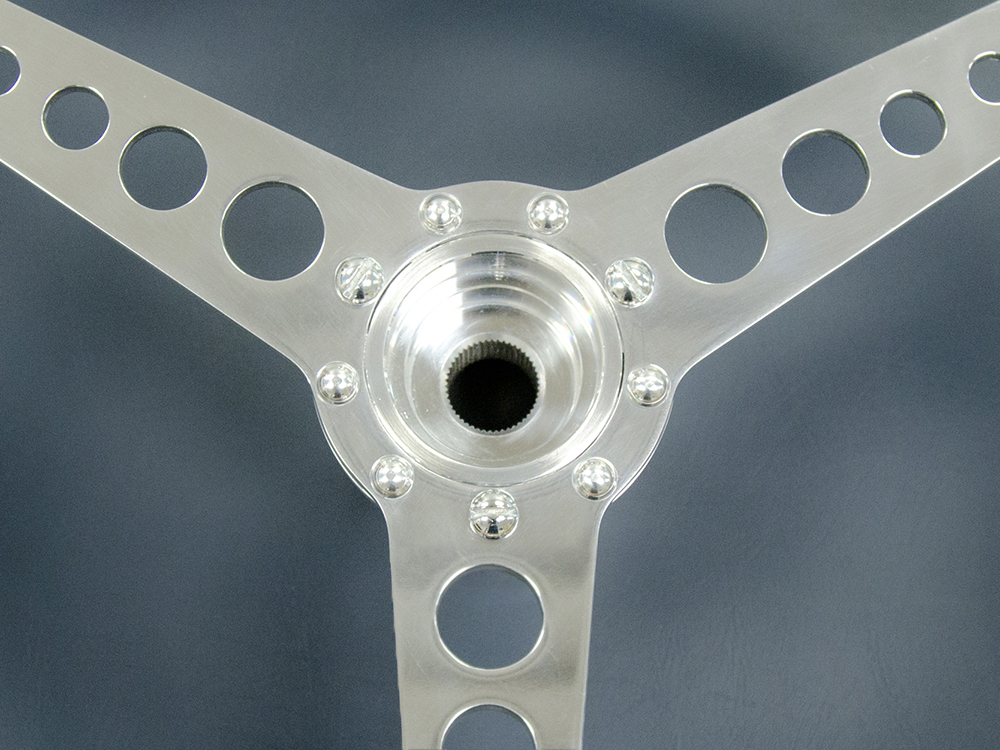
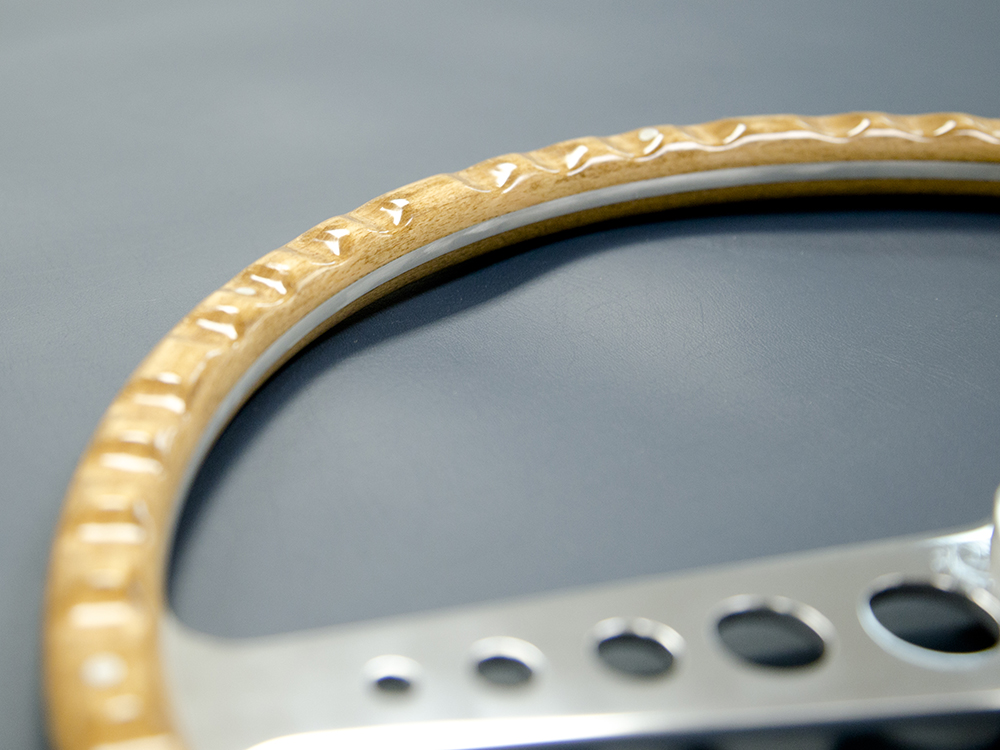
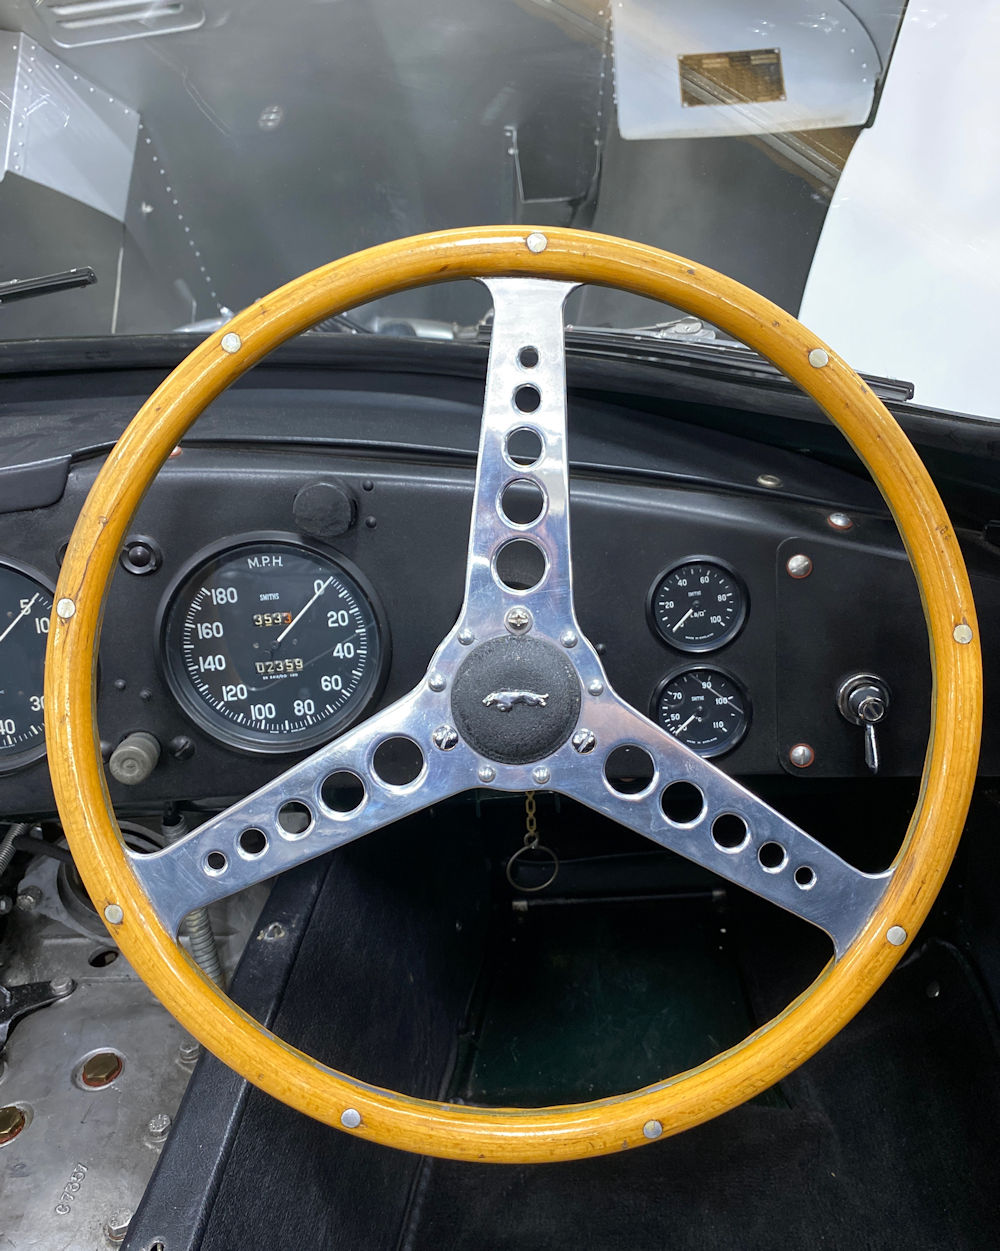
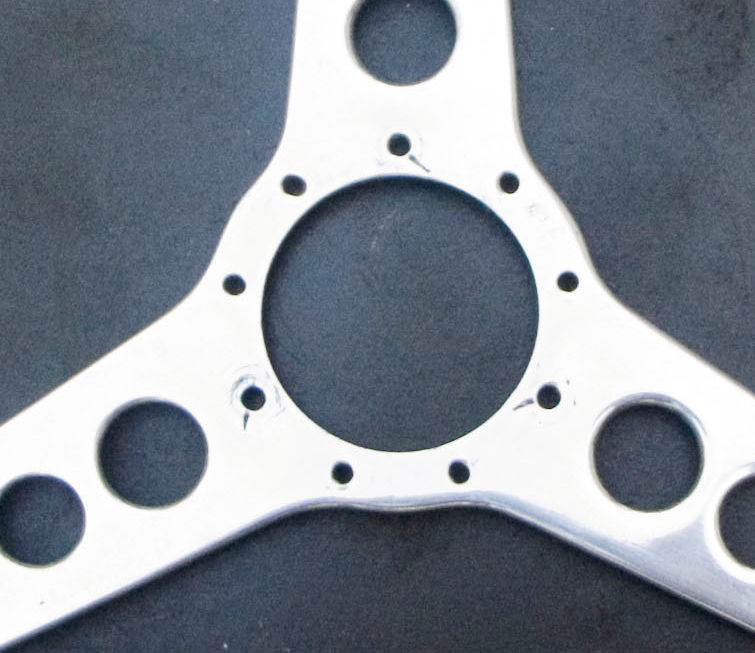
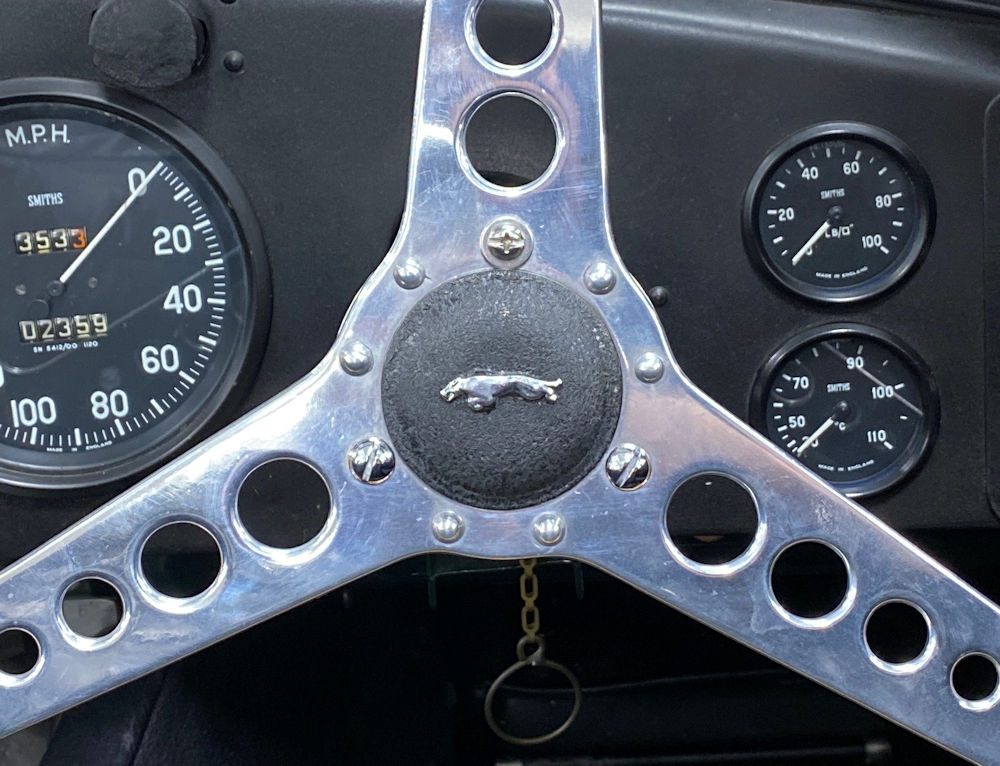
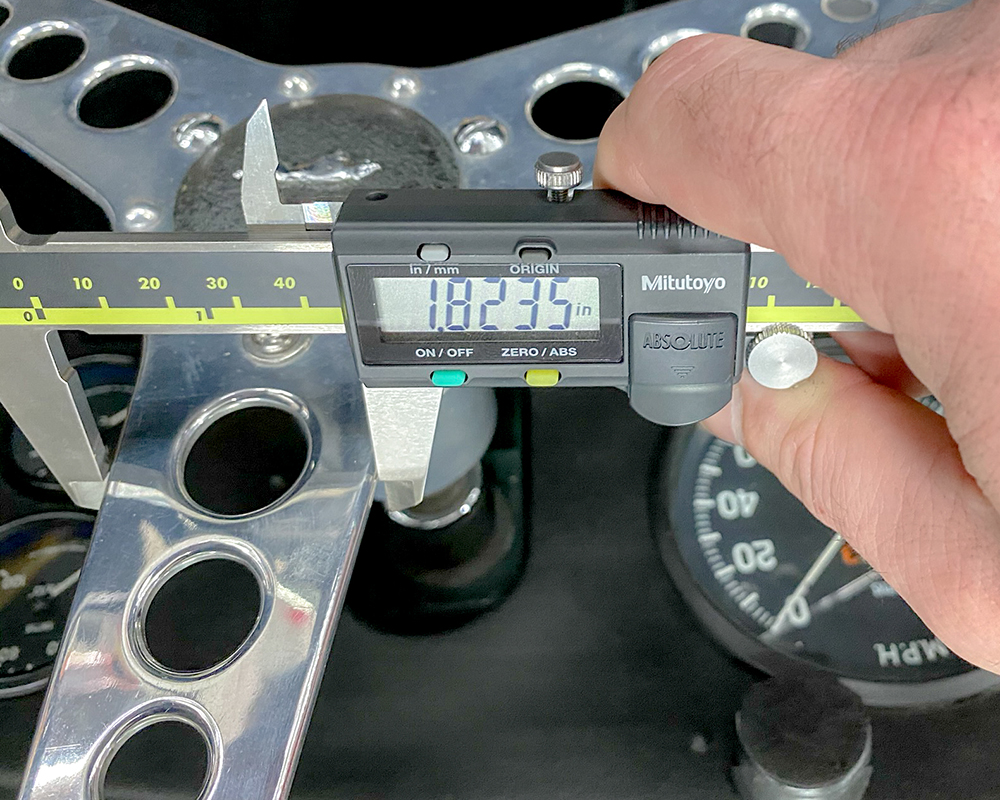
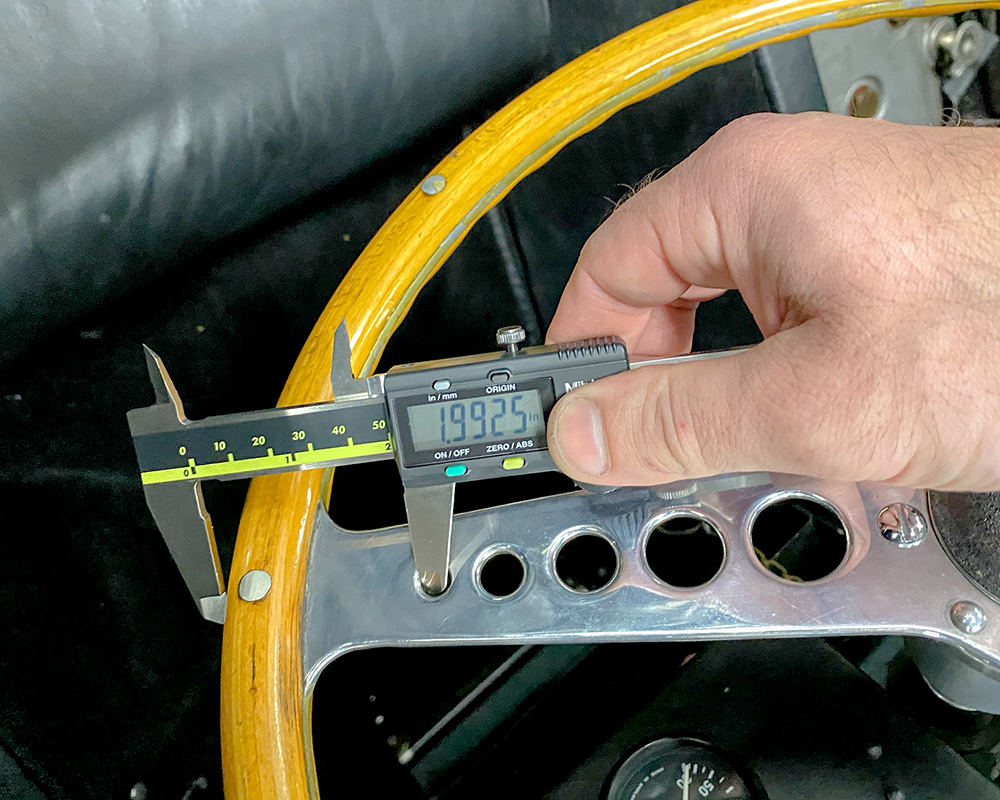
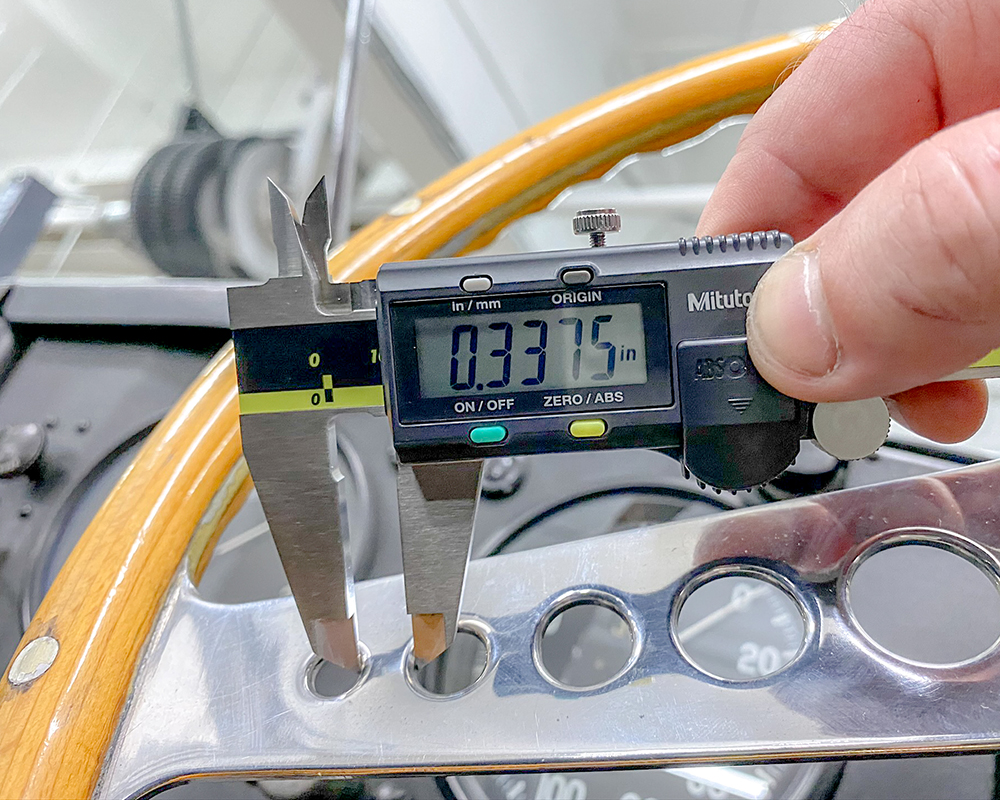
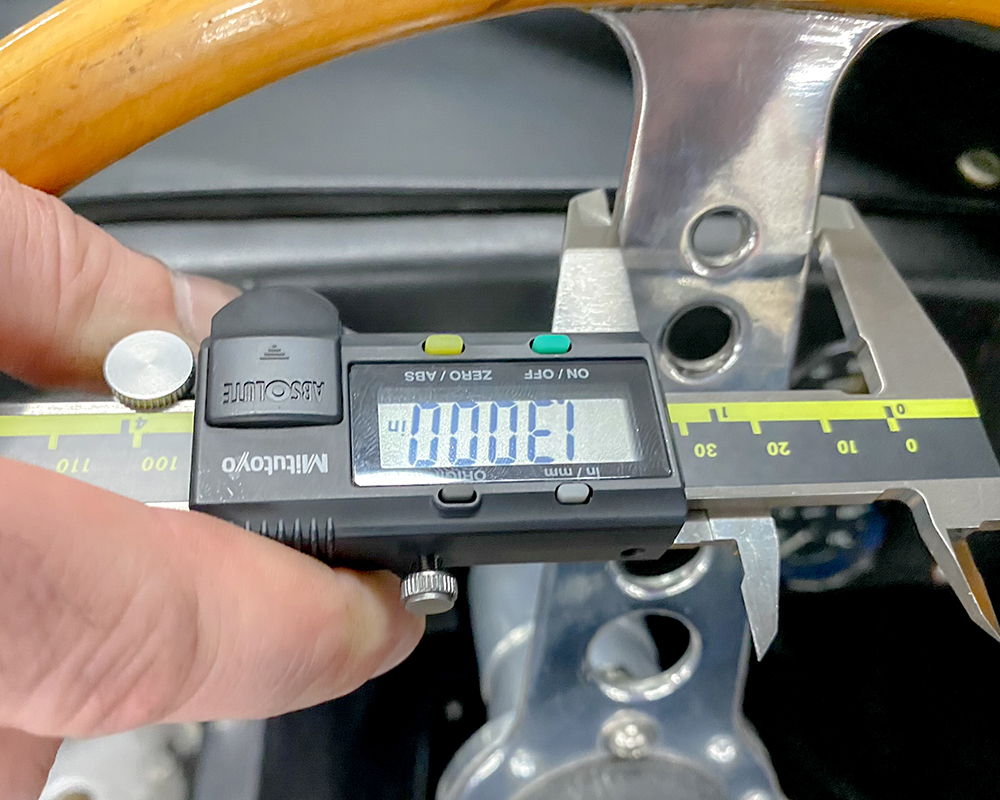
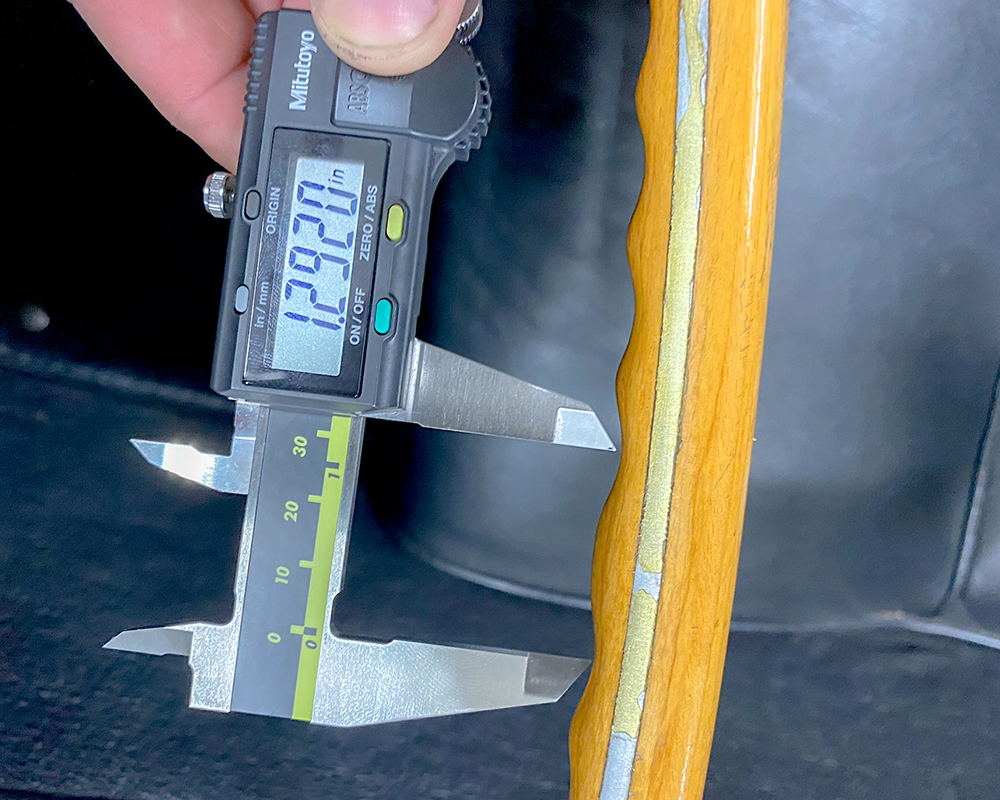
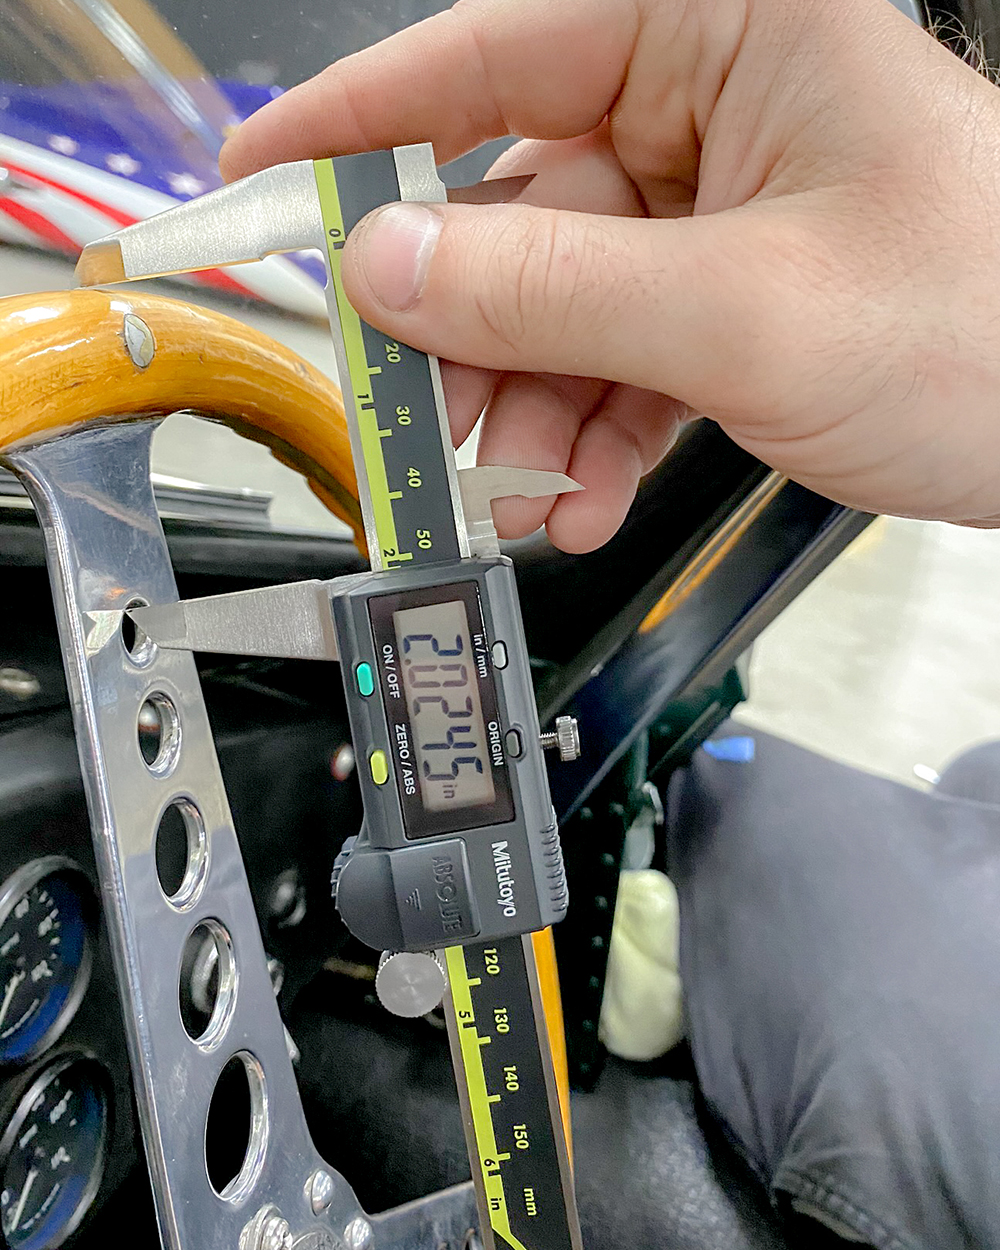
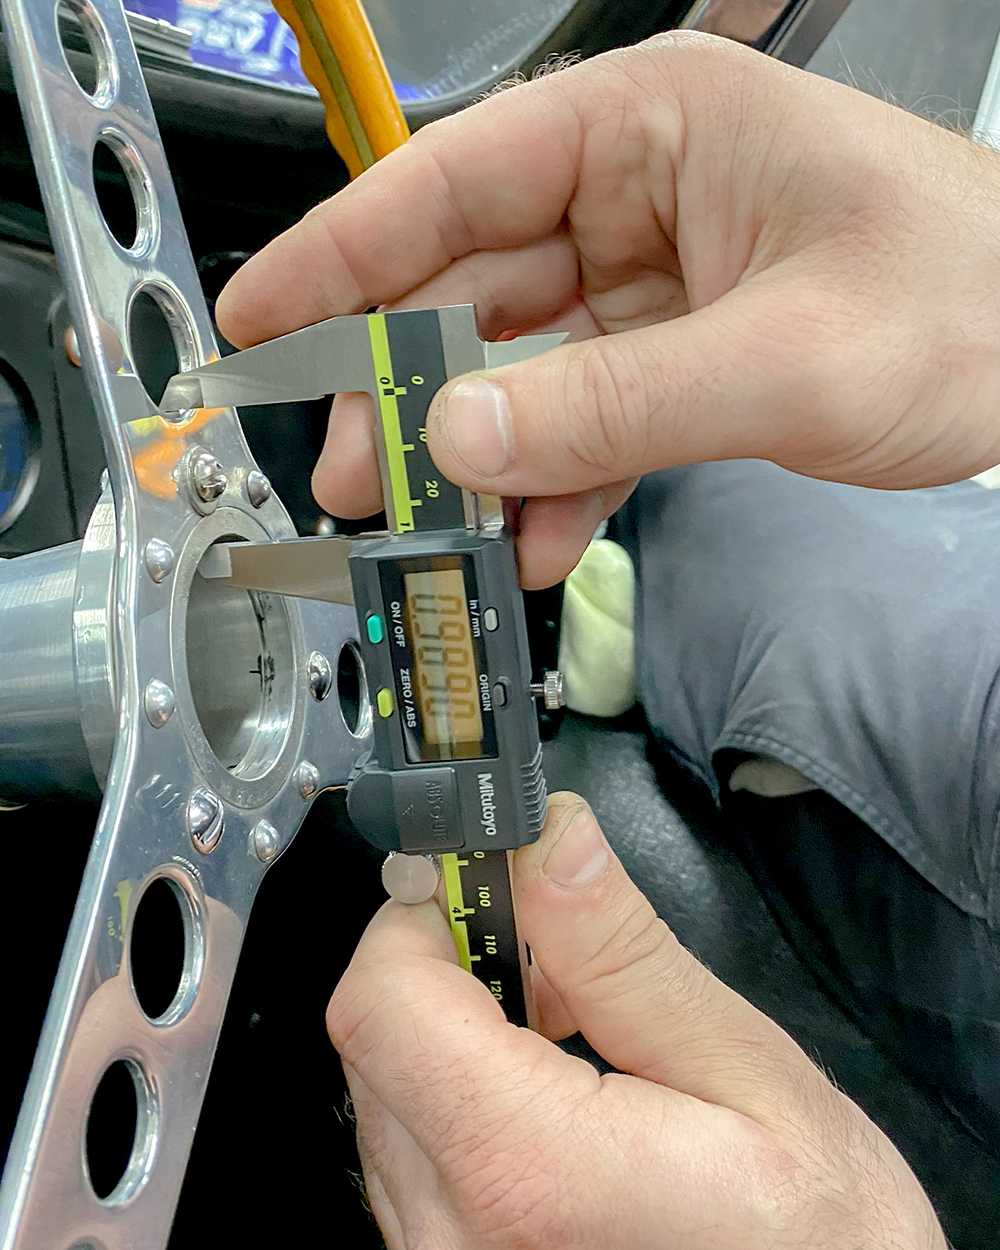
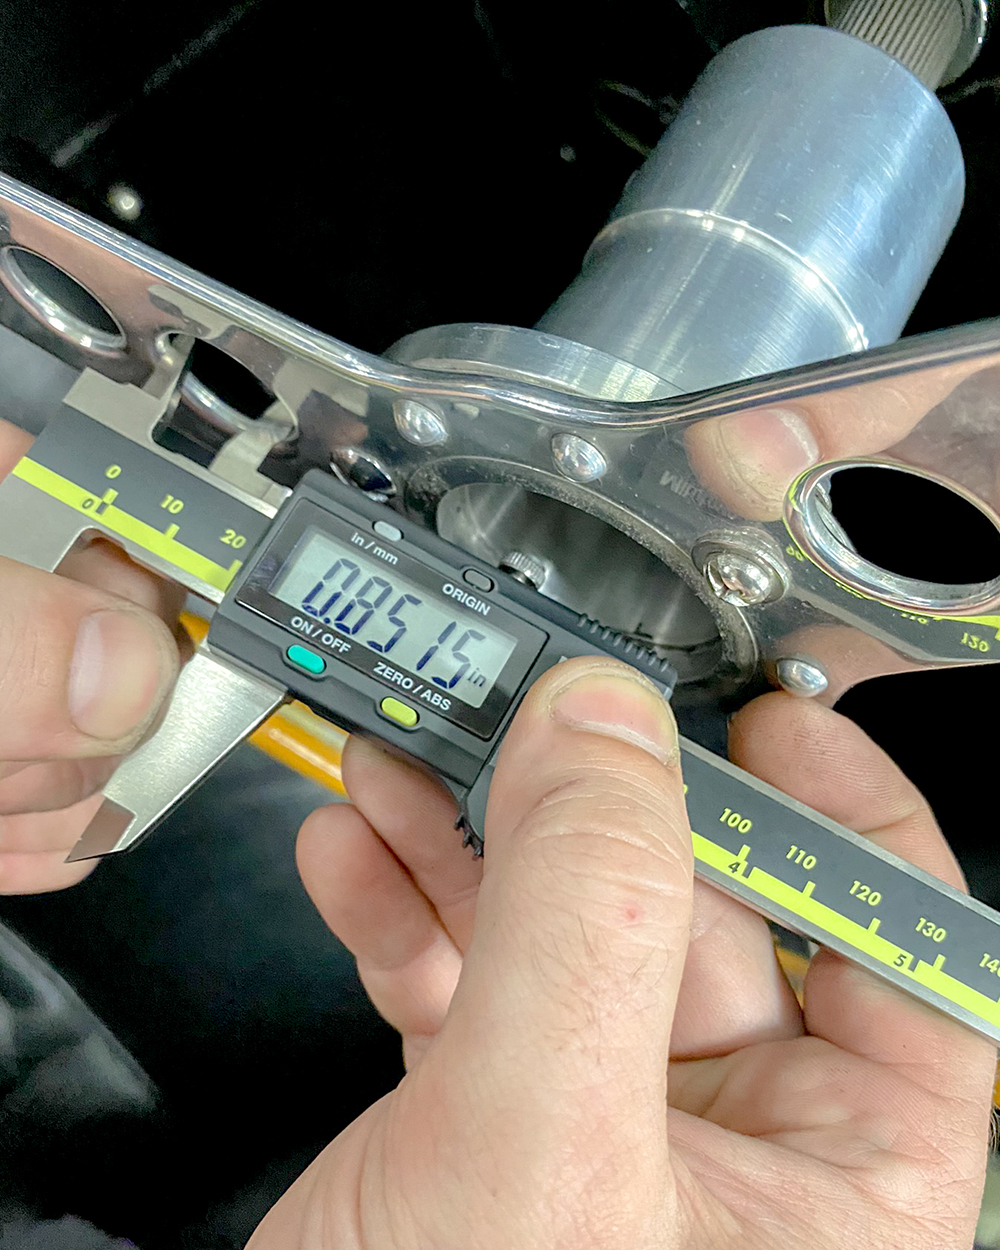
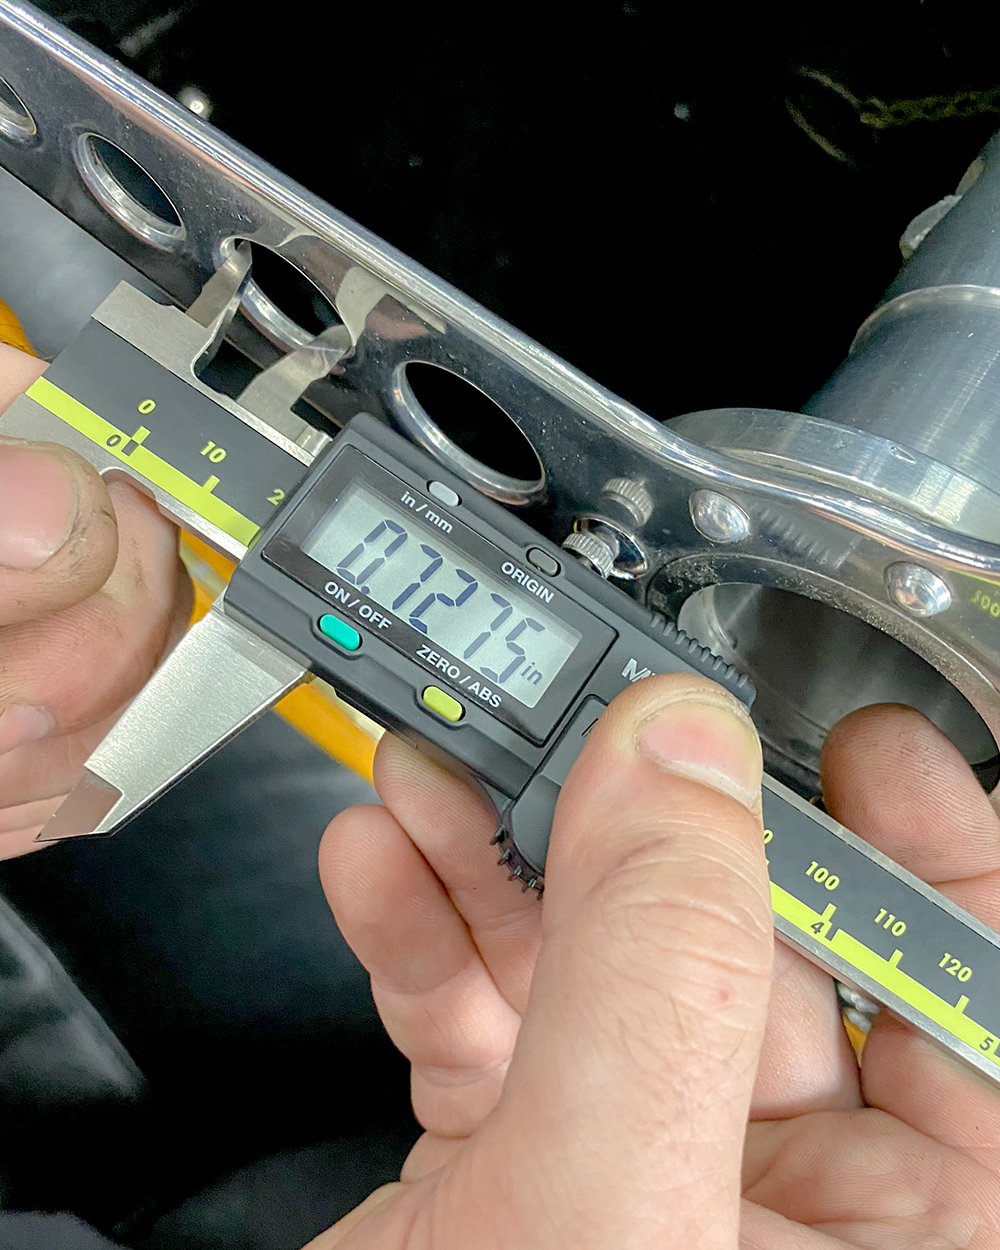
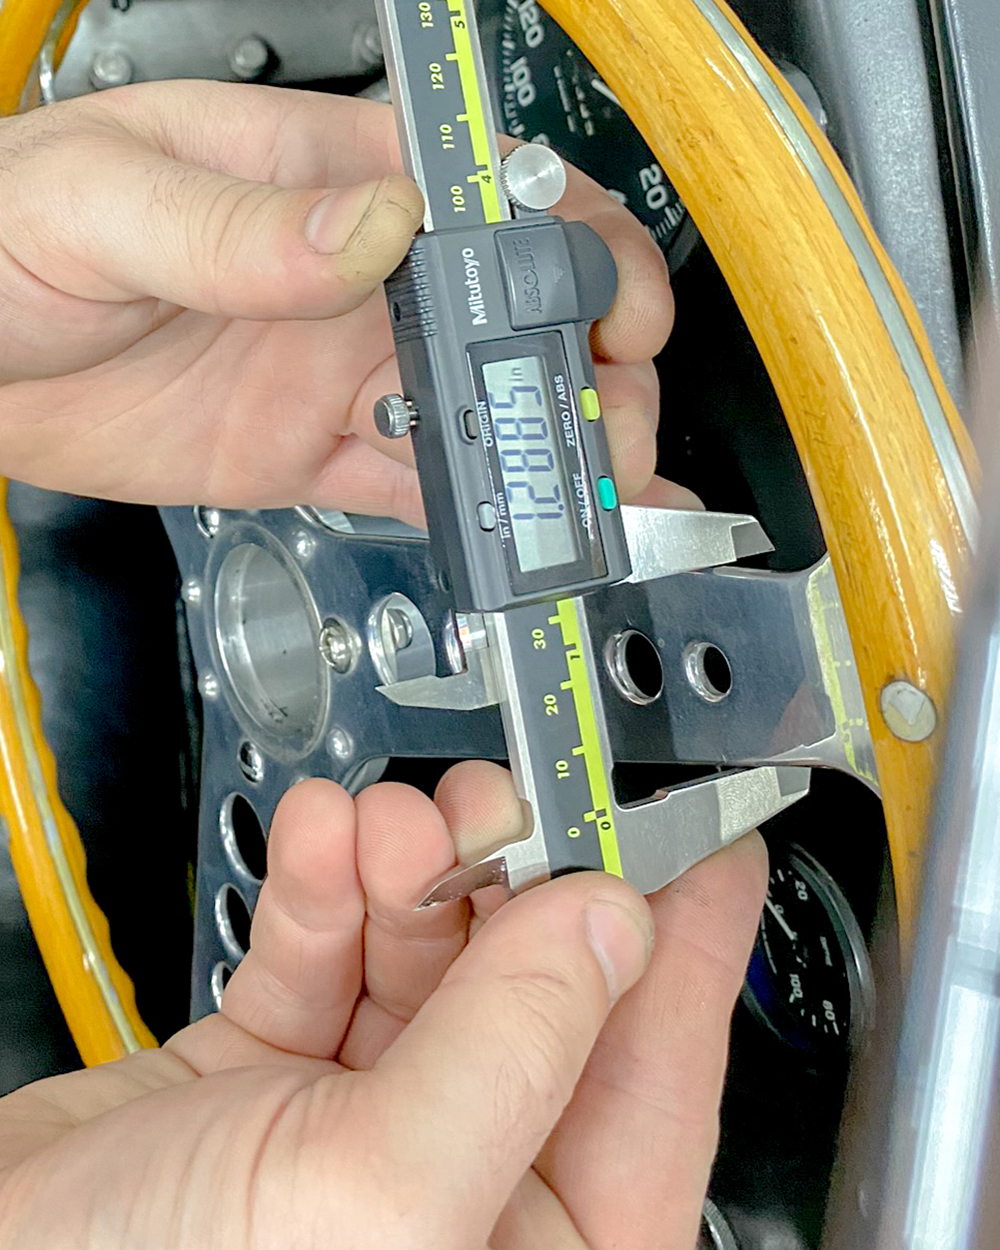
My favorite steering wheel in the world!
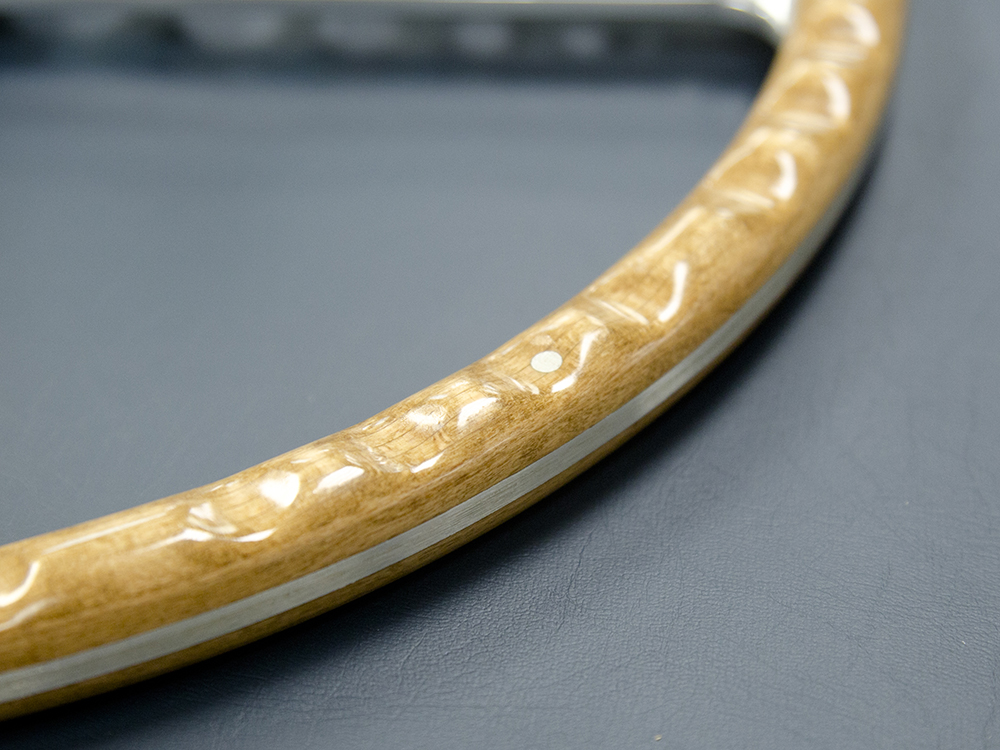
Look carefully and you can see evidence of 3 lock
washers at 12, 4 and 8 o'clock
Note the beautiful coffee hue of an aged, unrestored
D Type wheel
Note screw at 12 o'clock has been changed and a
washer added
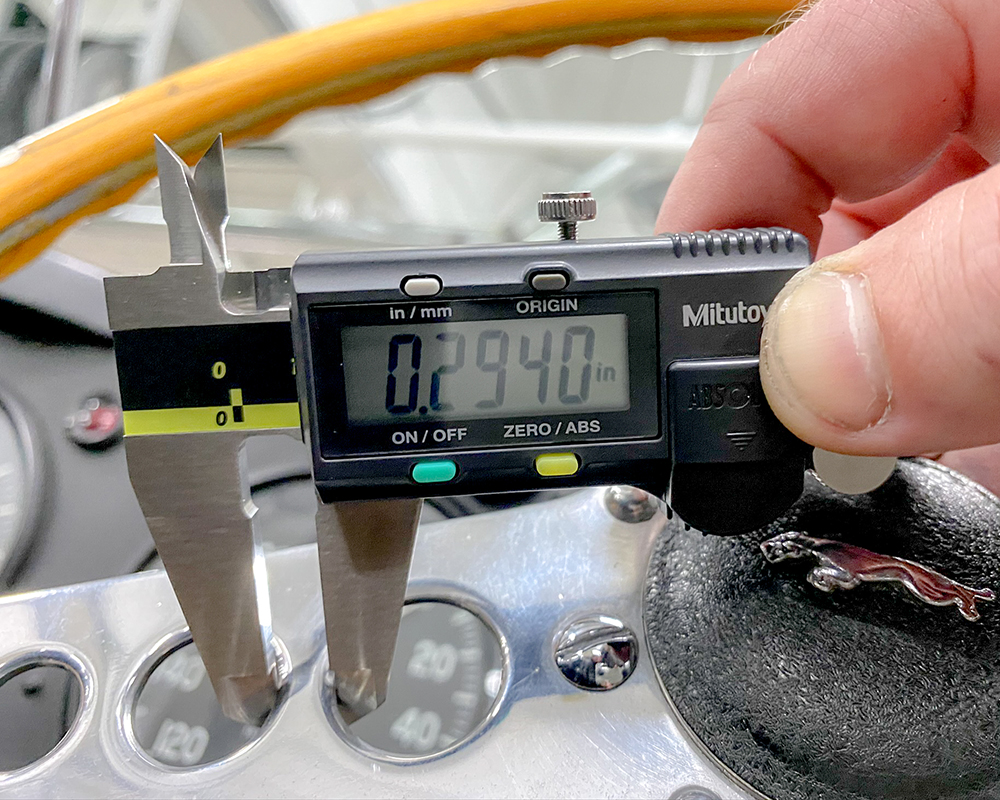
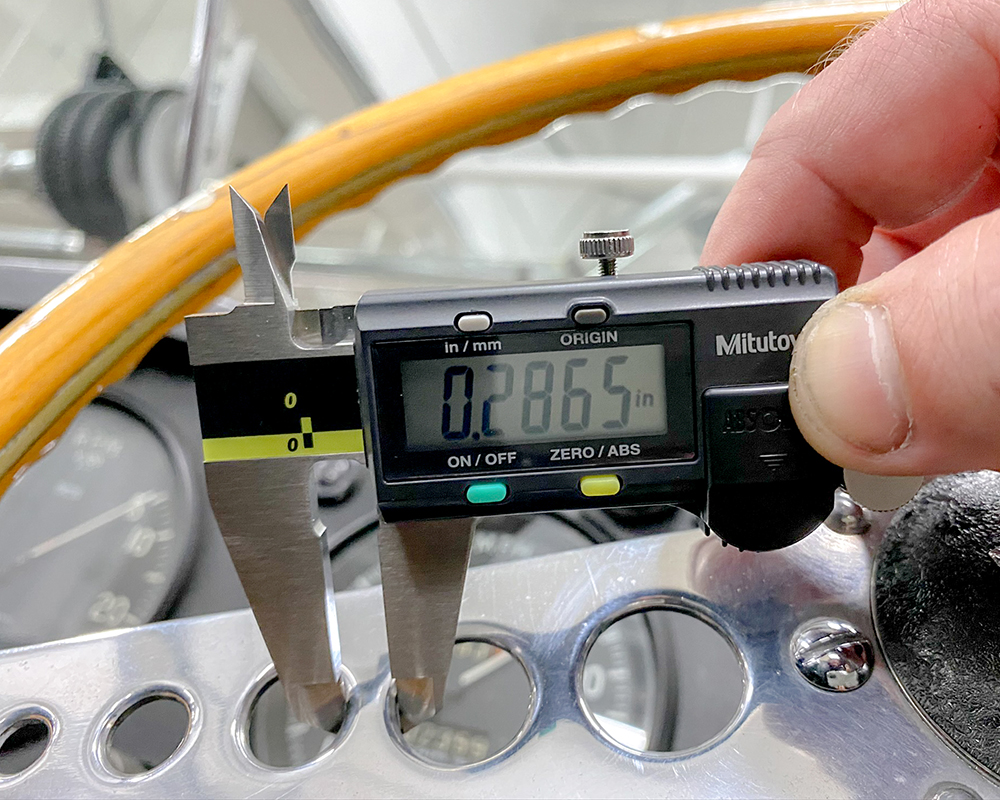
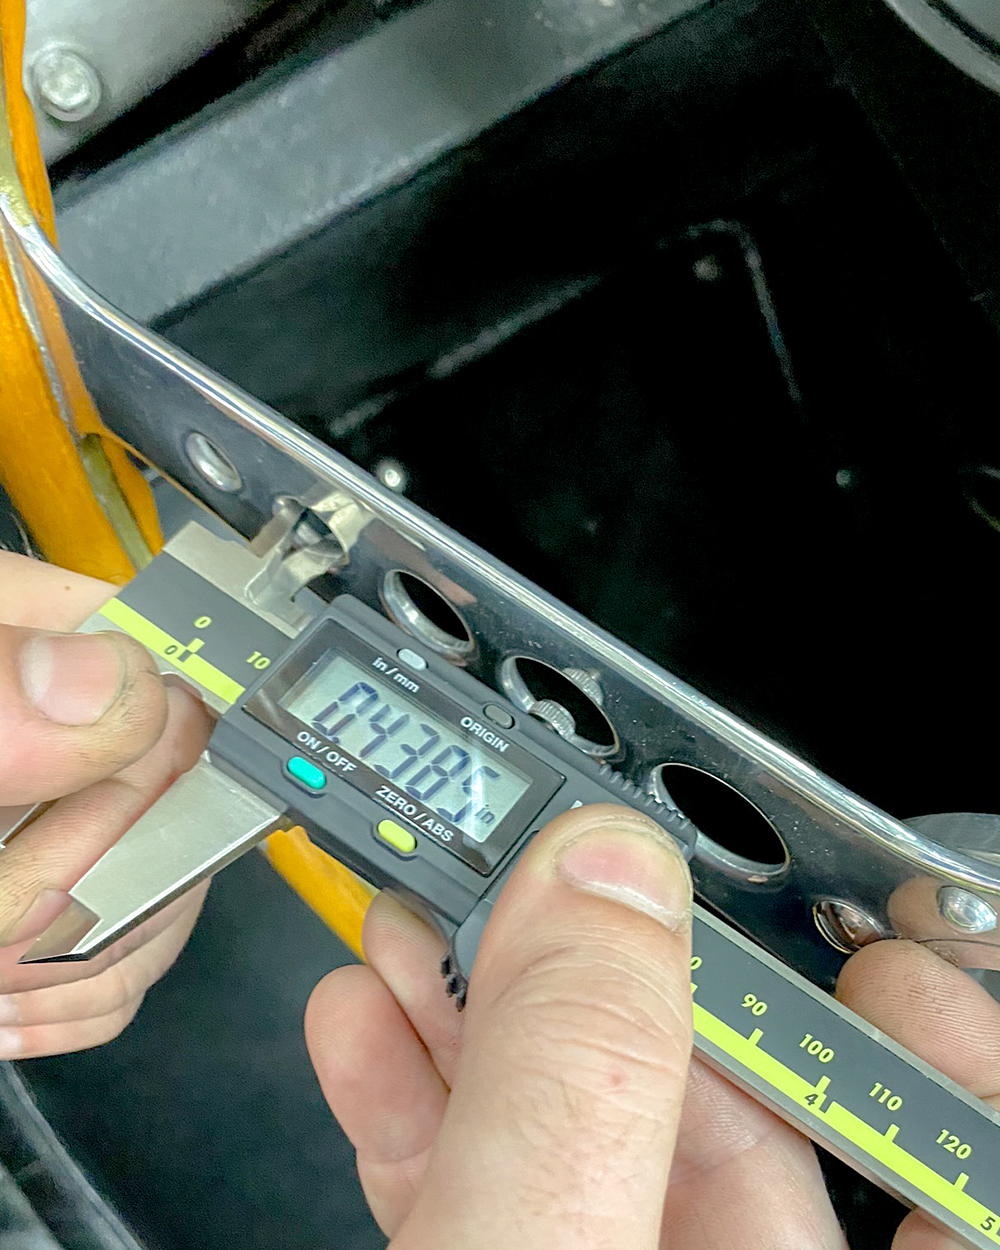
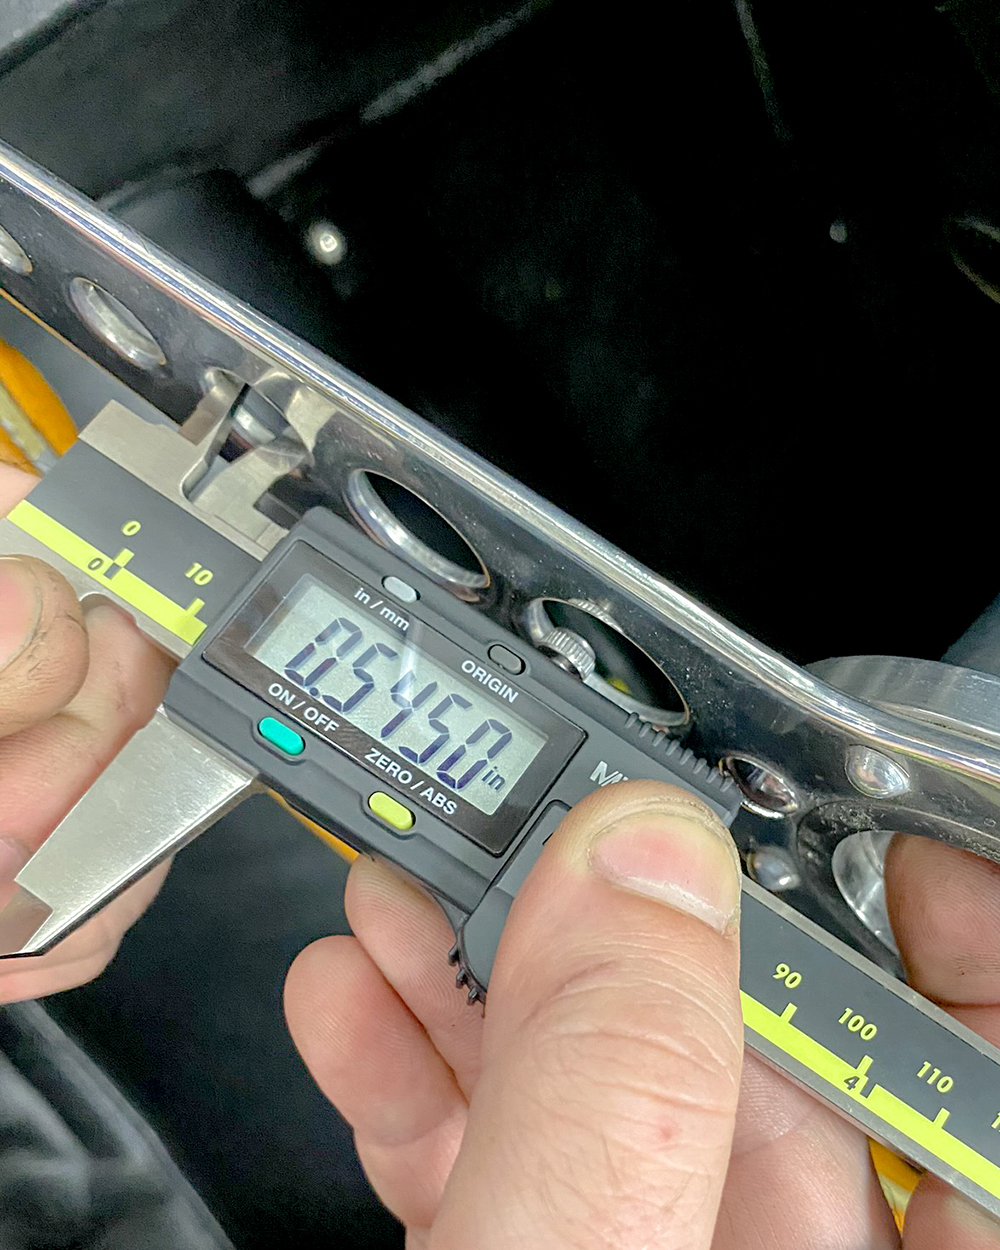
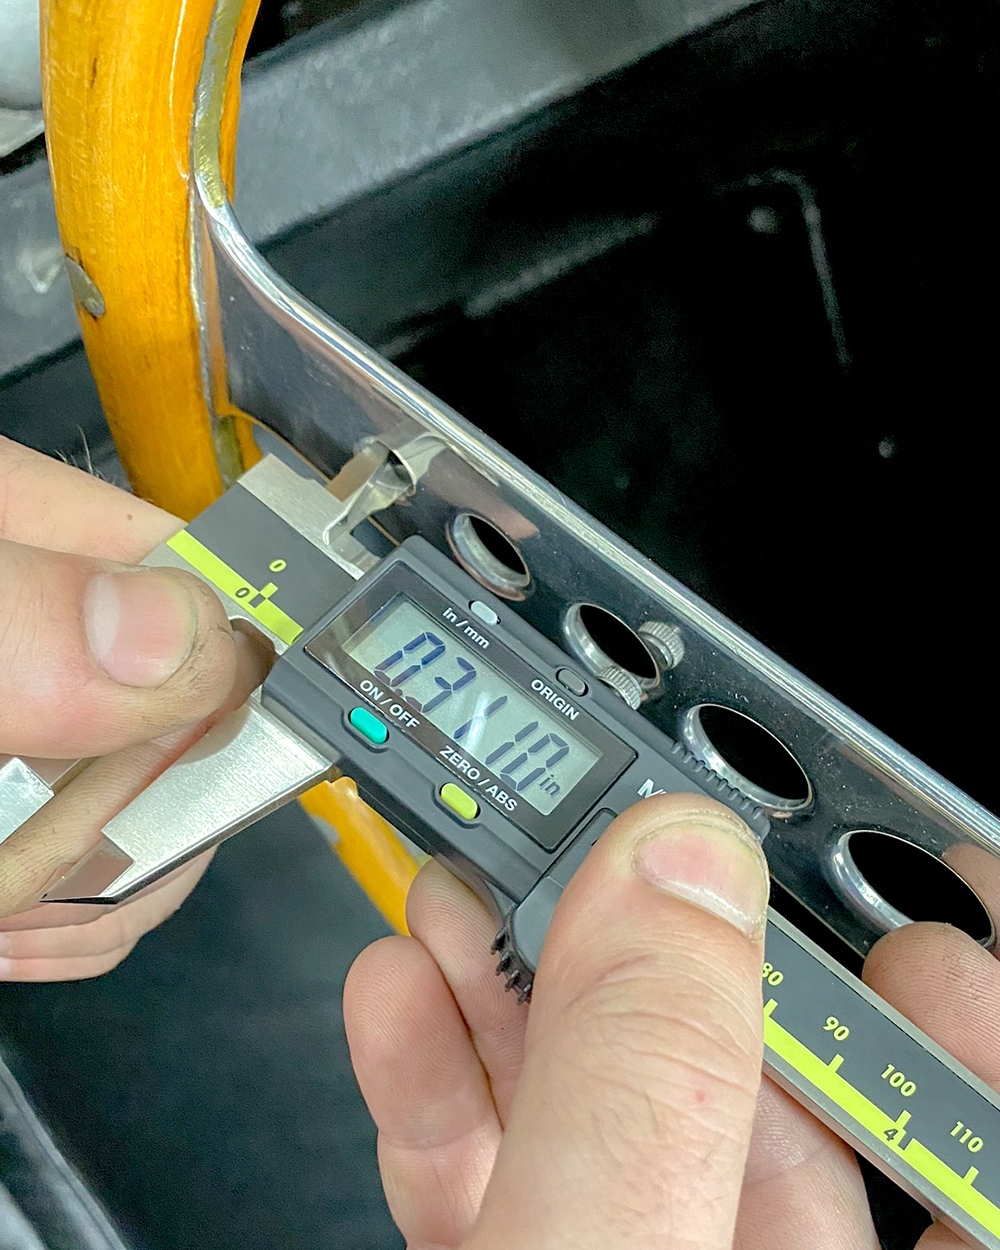
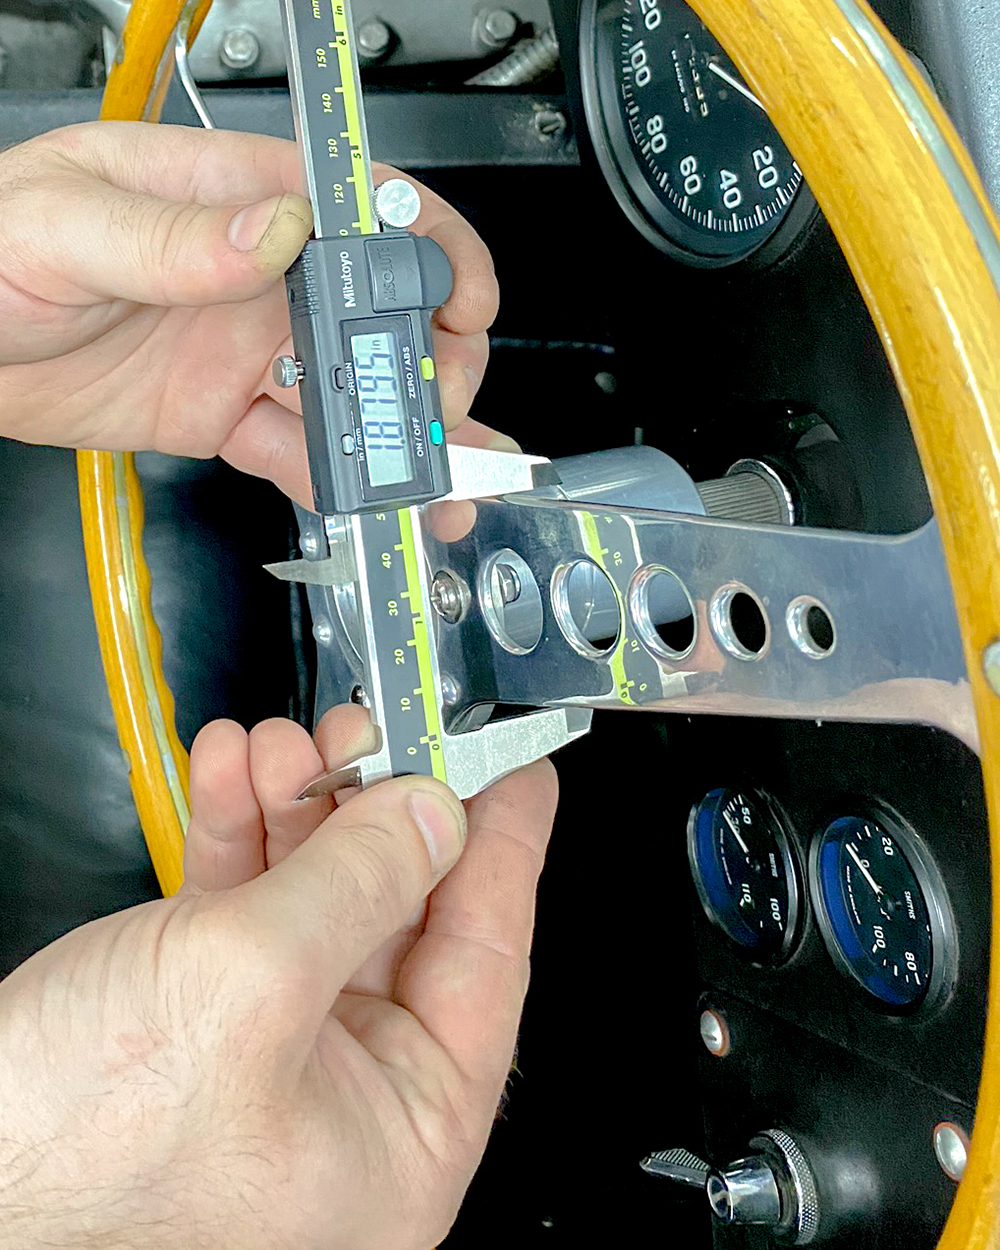
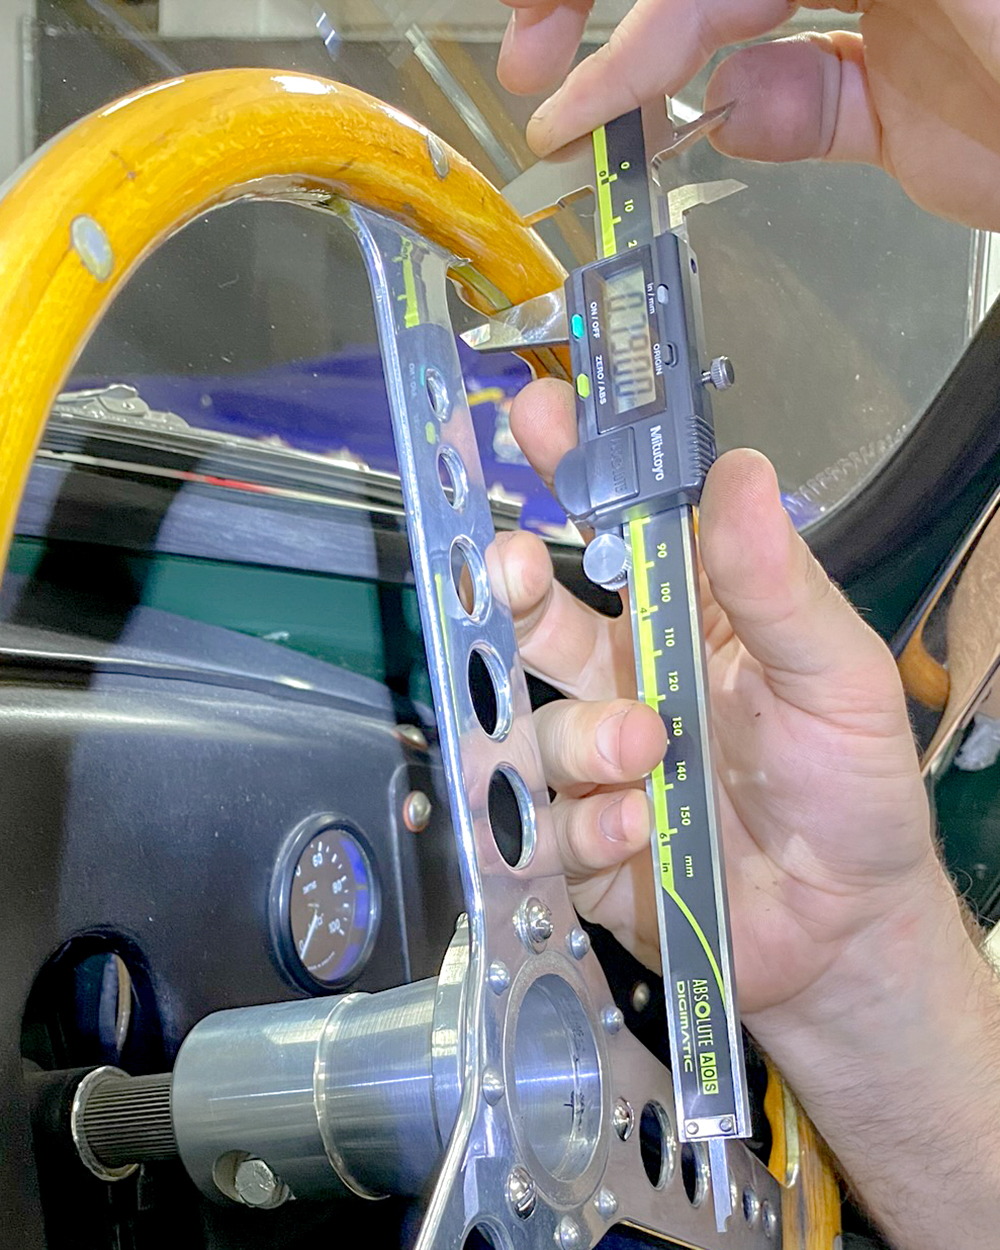
Bruce Baciu (ace mechanic in the Petersen workshop)
measuring the radius at the end of the spokes
June 19, 2020
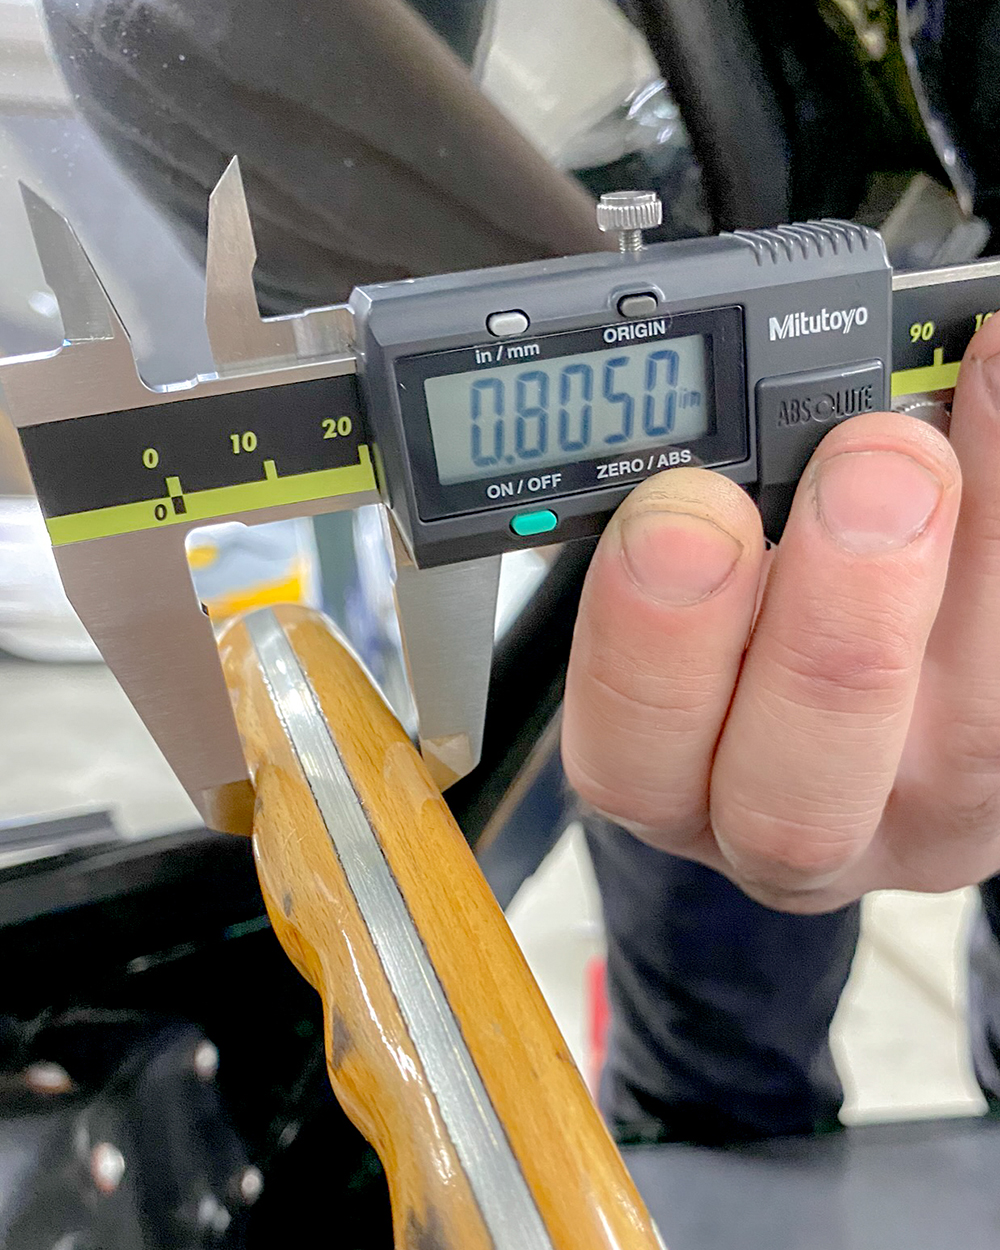
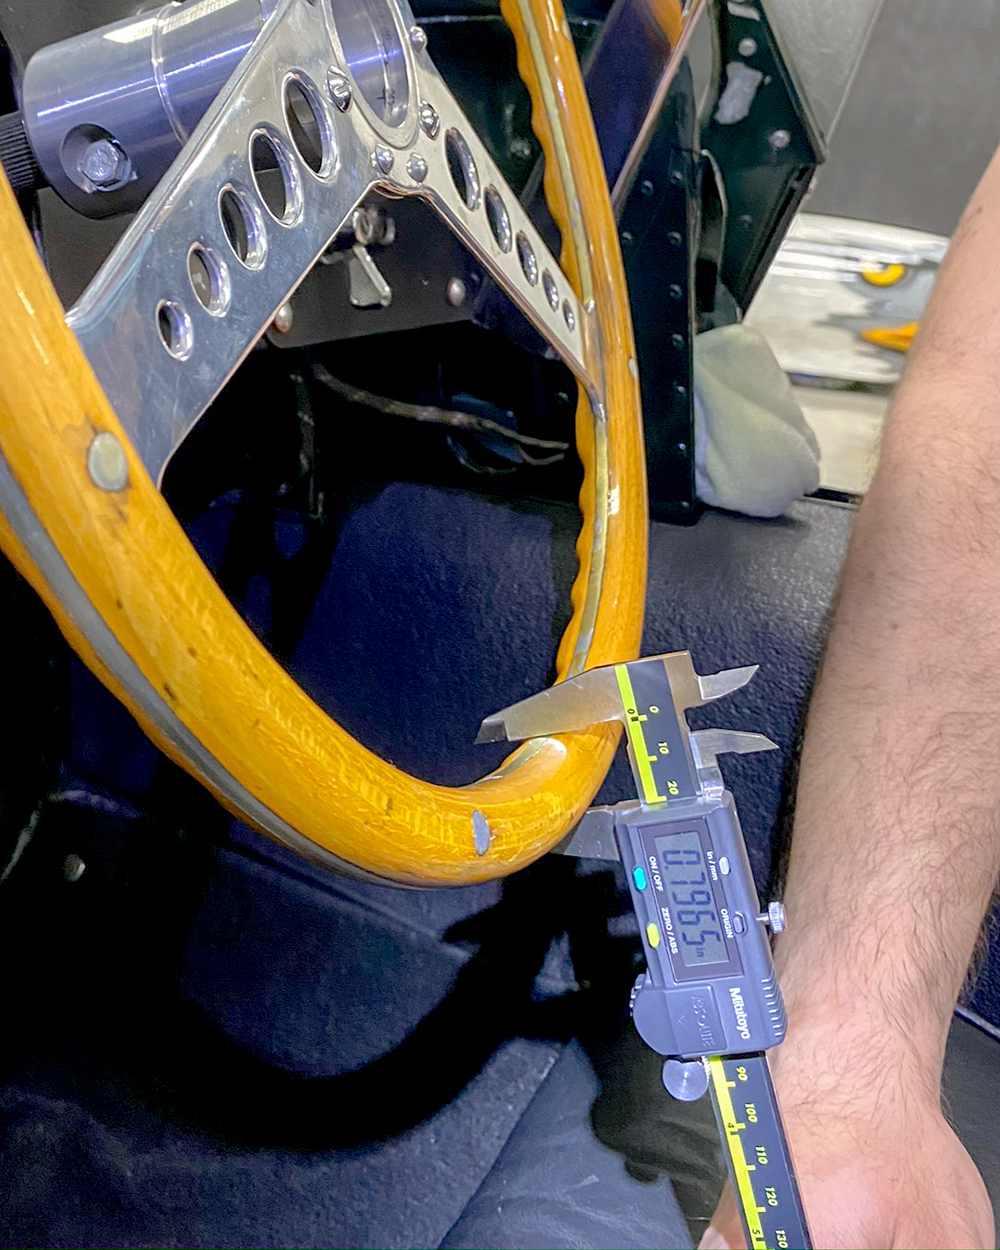
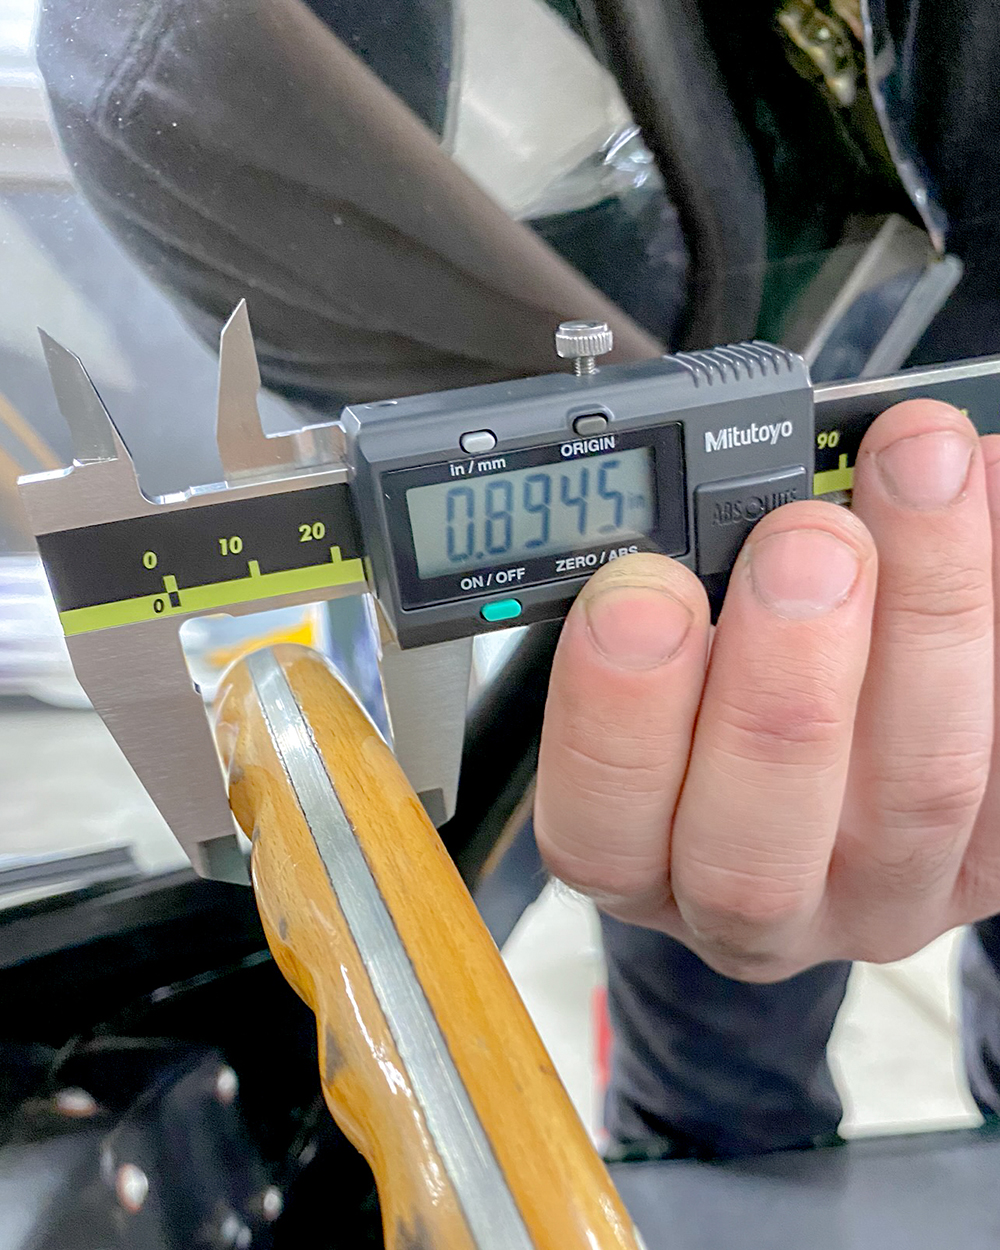
Rim thickness varies significantly around the wheel,
which is typical of handmade CTB wheels
June 19, 2020
June 19, 2020
June 19, 2020
June 19, 2020
June 19, 2020
June 19, 2020
June 19, 2020
June 19, 2020
June 19, 2020
June 19, 2020
June 19, 2020
June 19, 2020
June 19, 2020
June 19, 2020
June 19, 2020
June 19, 2020
June 19, 2020
June 19, 2020
June 19, 2020
June 19, 2020
June 19, 2020
June 19, 2020
June 19, 2020
June 19, 2020
June 19, 2020
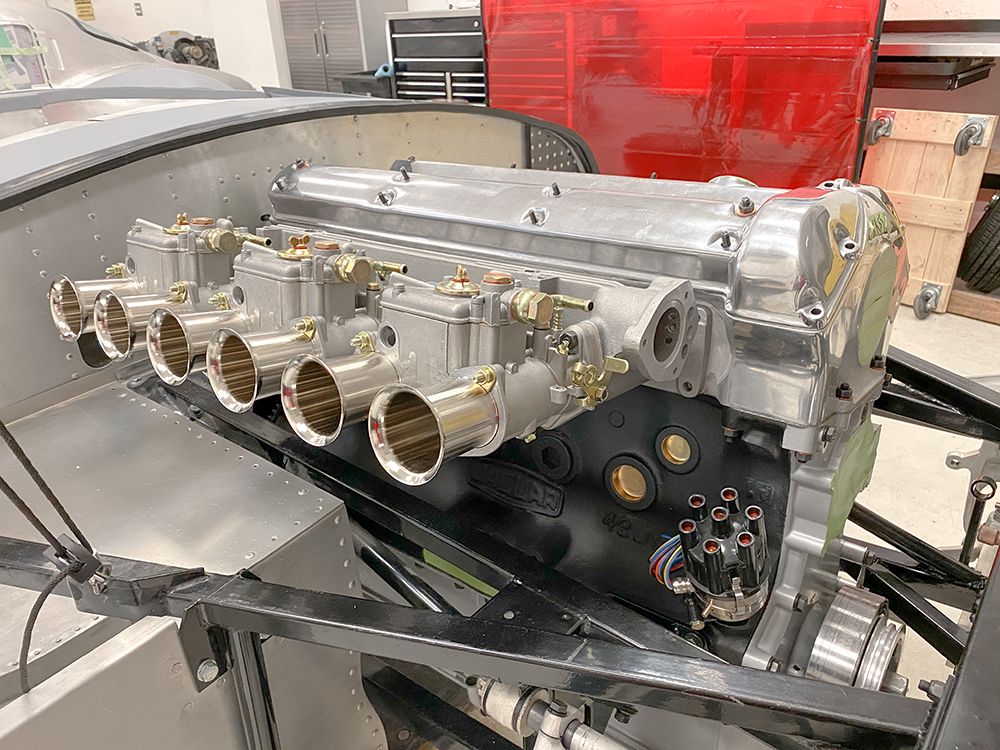
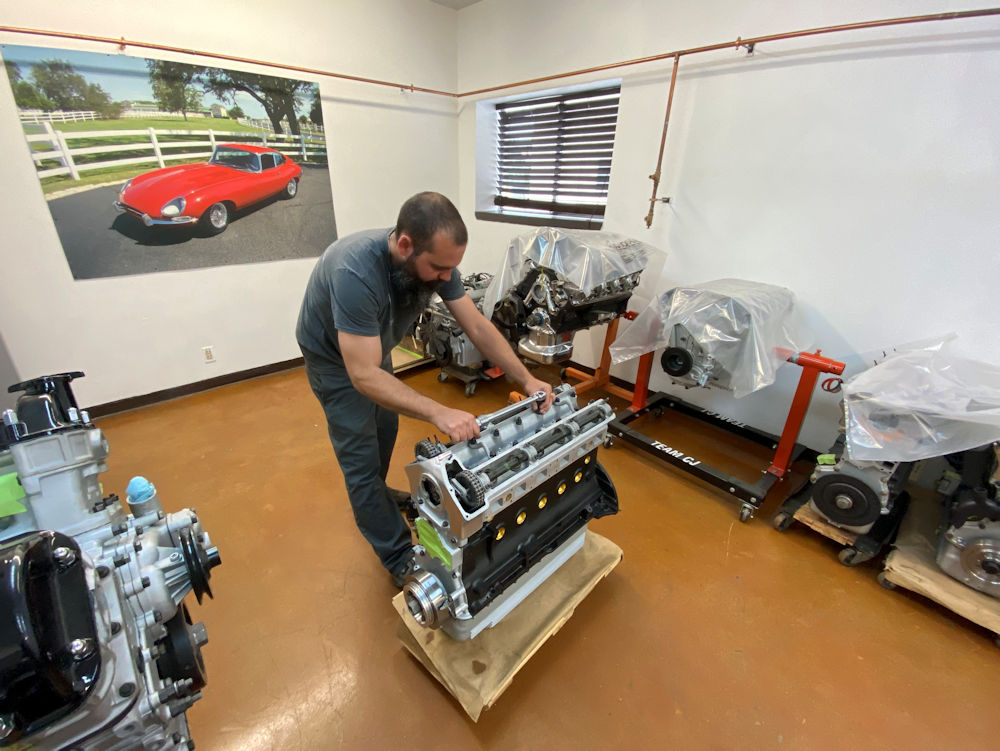
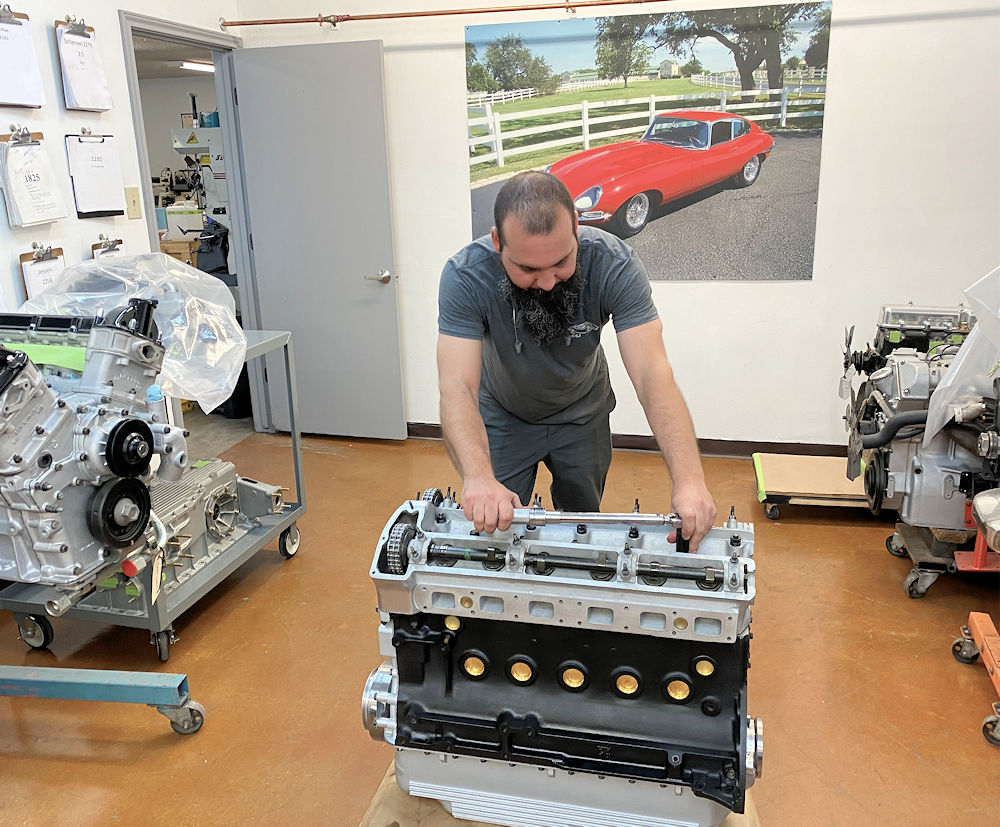
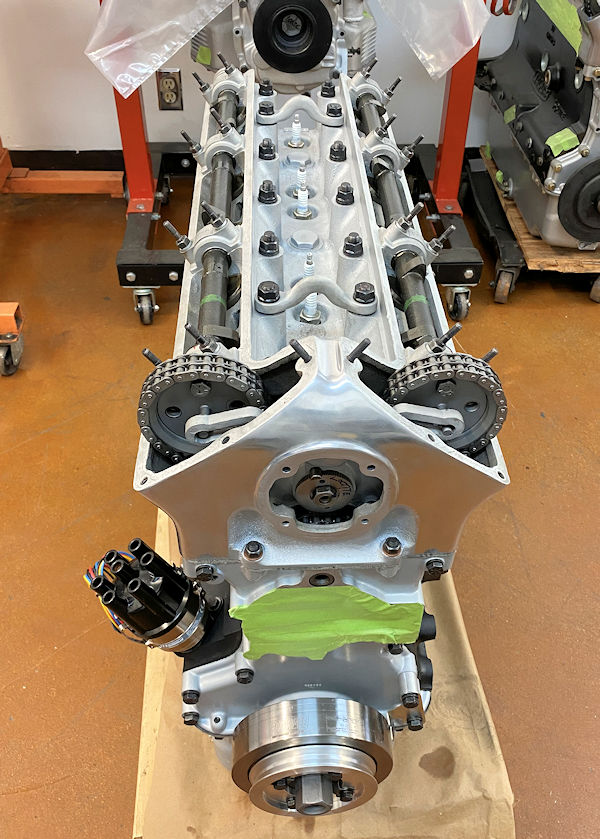
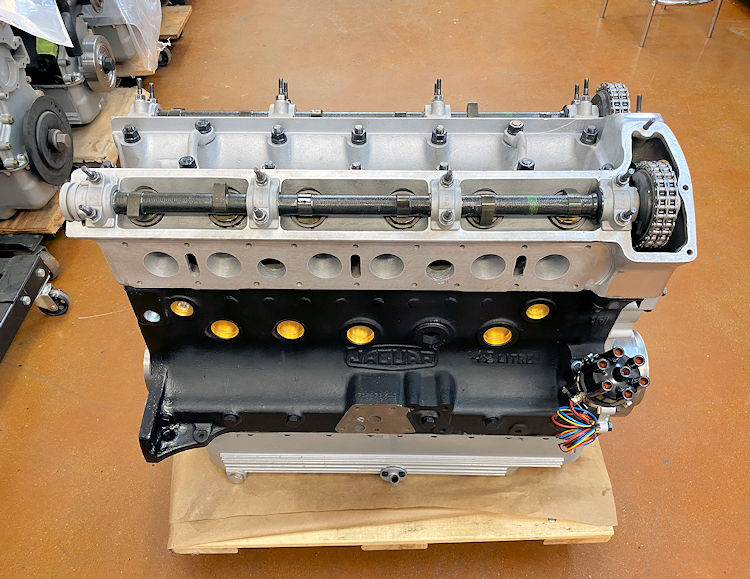
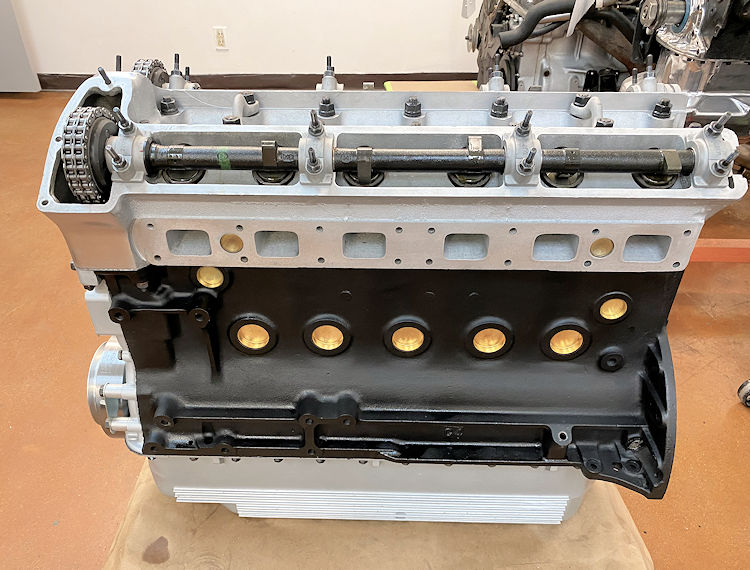
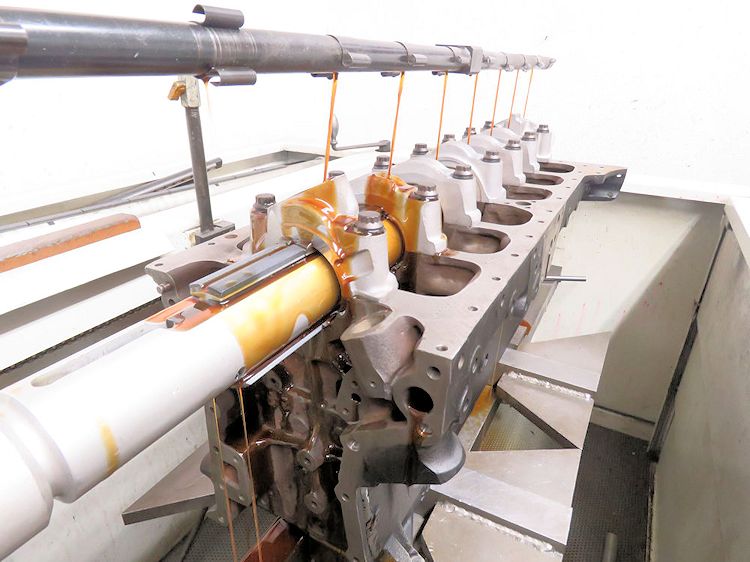
Corey torquing the cylinder head
Your engine is now fully assembled!
May 5, 2020
May 5, 2020
May 5, 2020
May 5, 2020
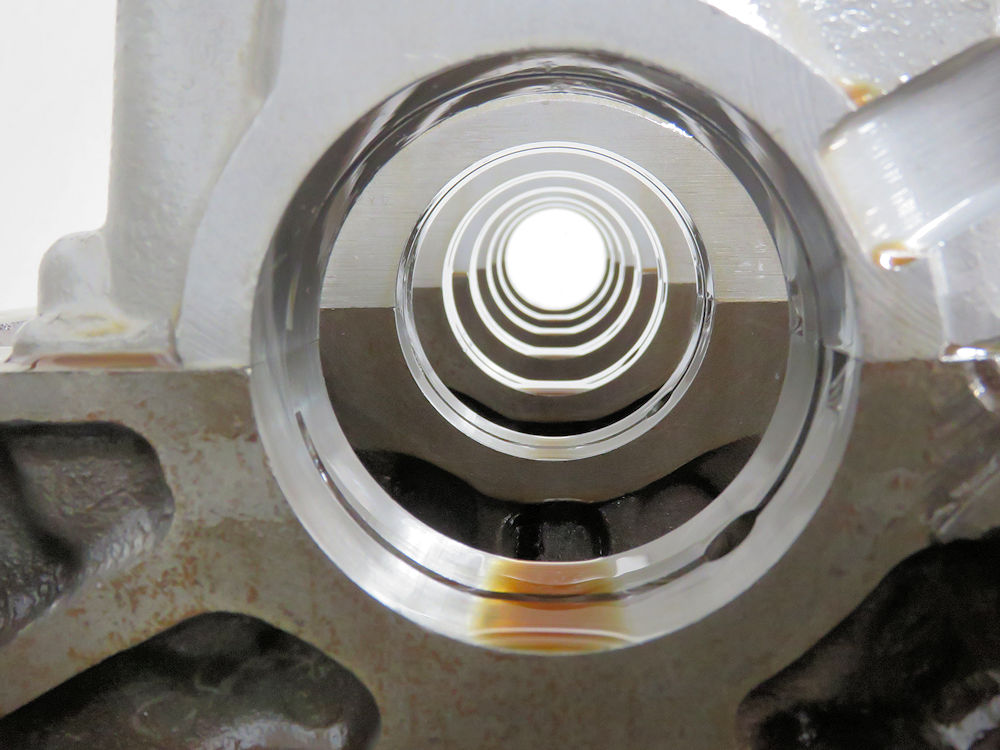
A view down the main cap housings after align
honing has been completed
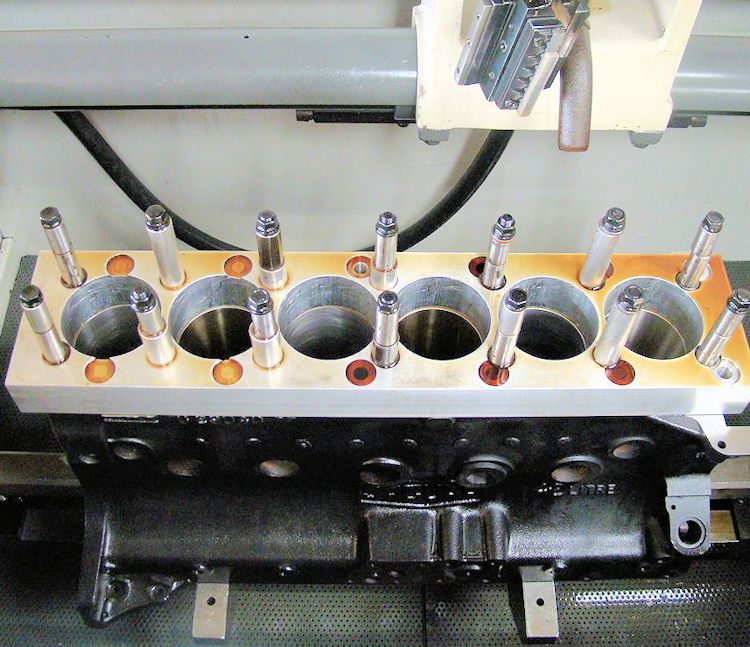
Precision align honing is a vital part of one of
our Stage Two builds
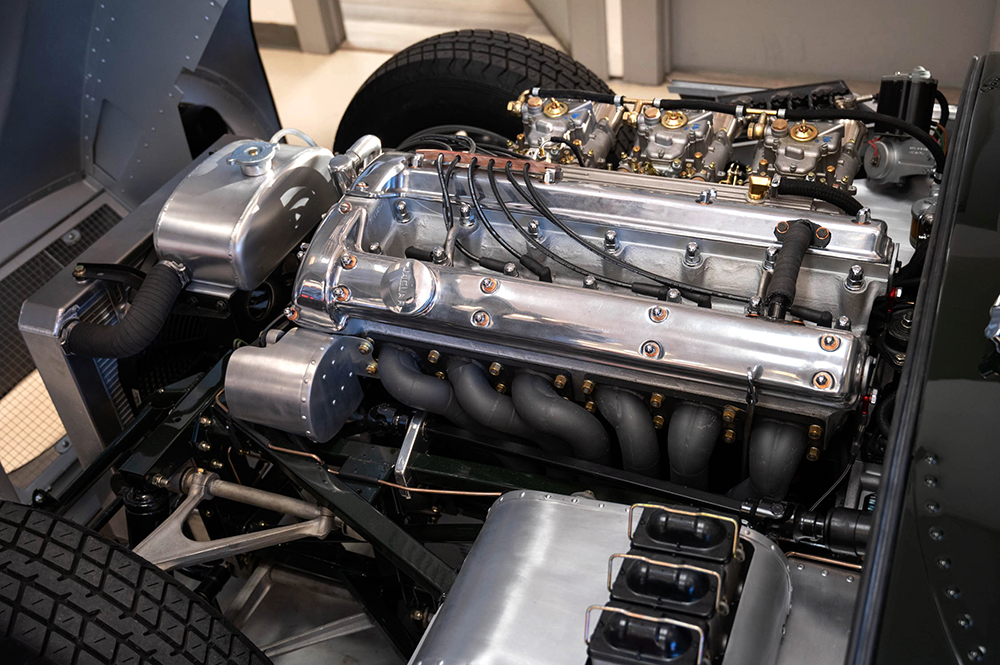
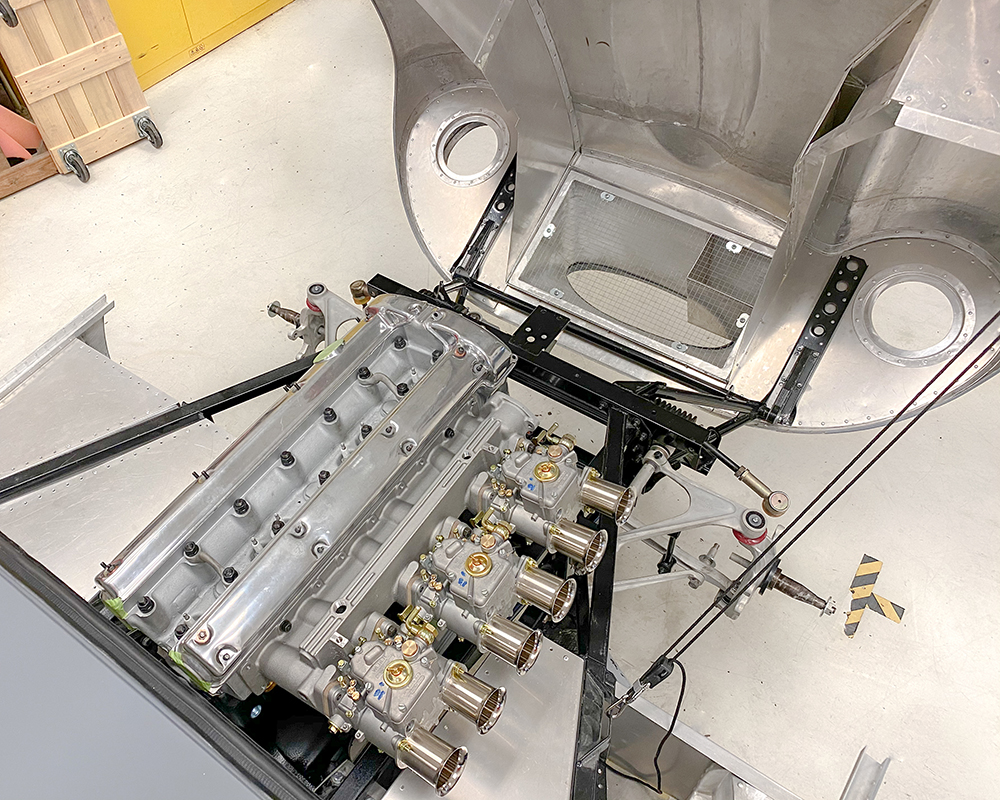
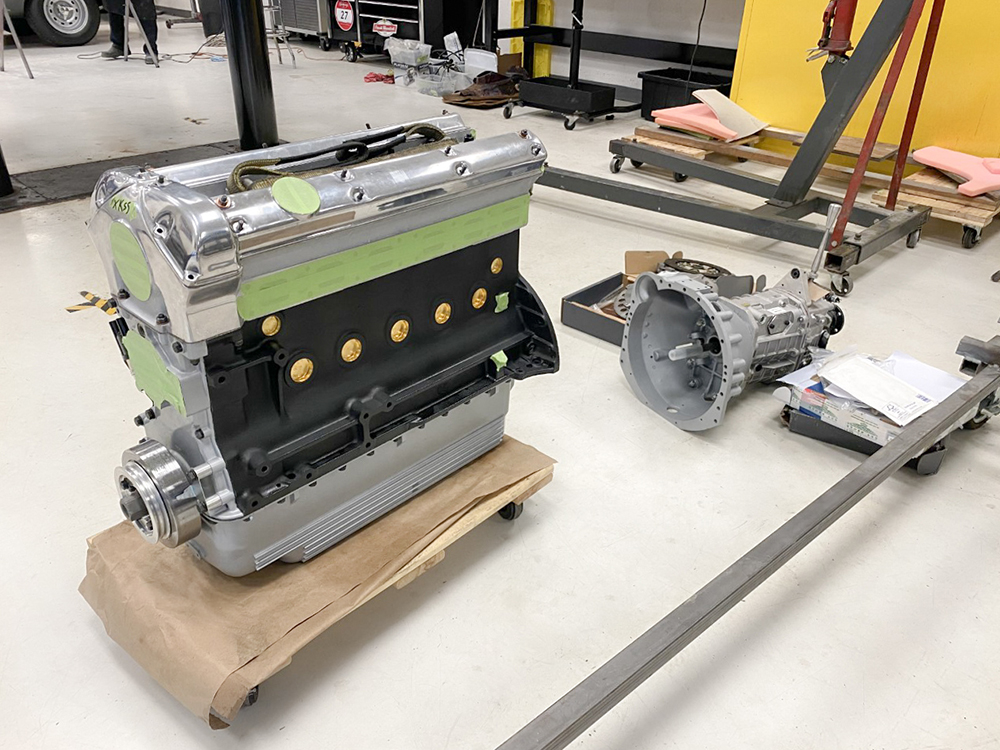
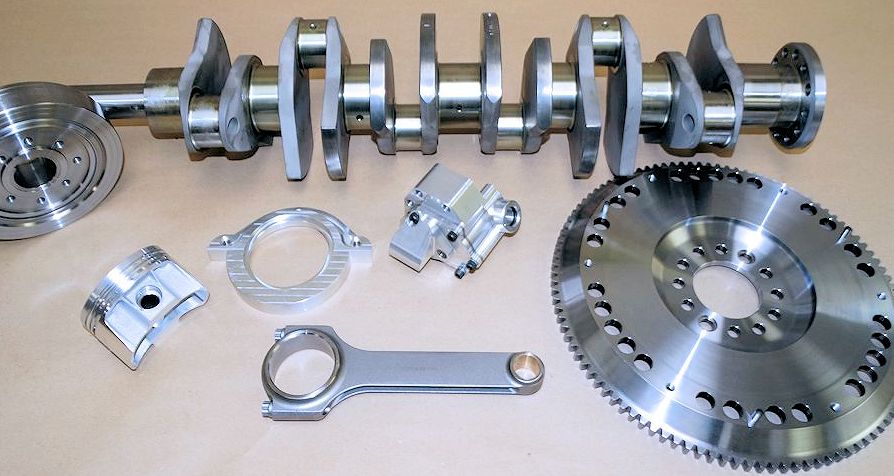
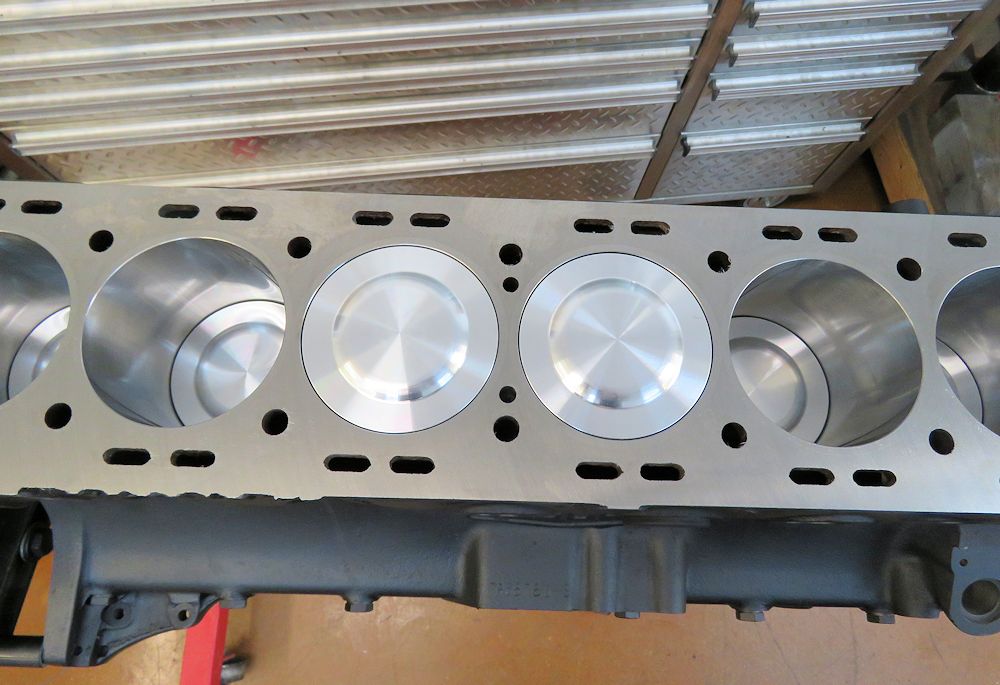
Team CJ 4.7L Stage Two engine rebuild in progress.
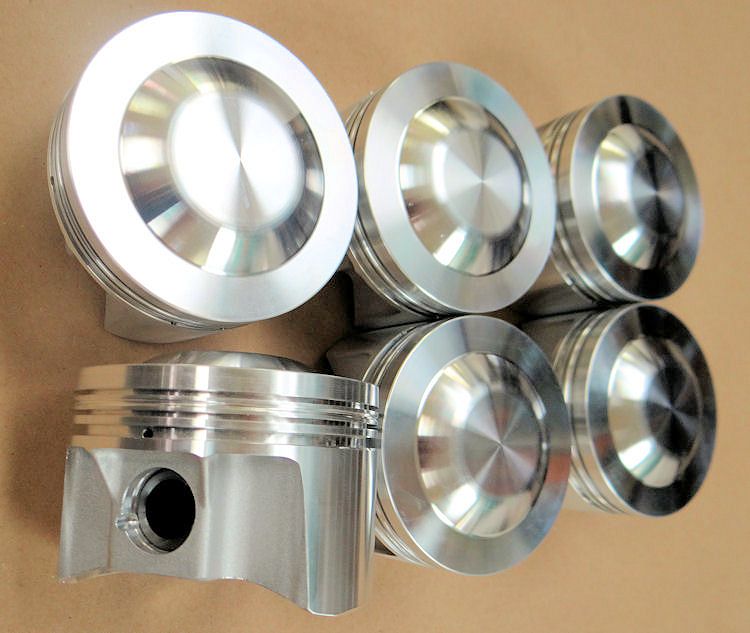
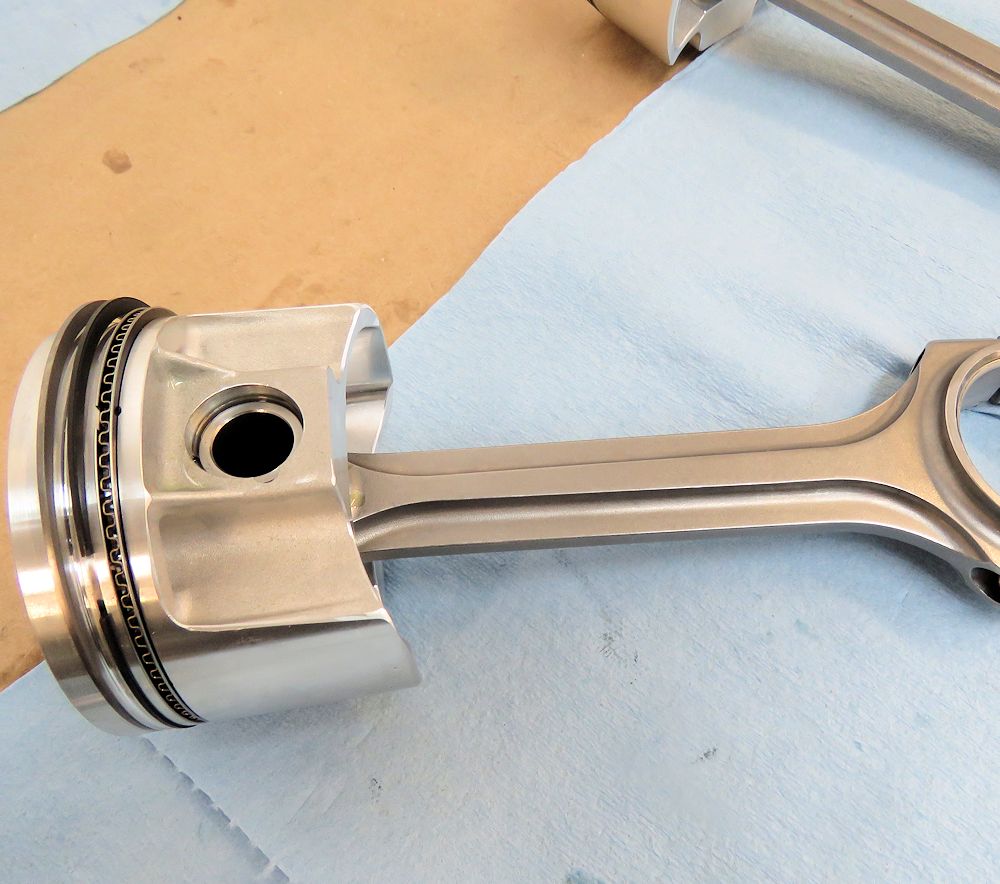
Team CJ forged stroker pistons
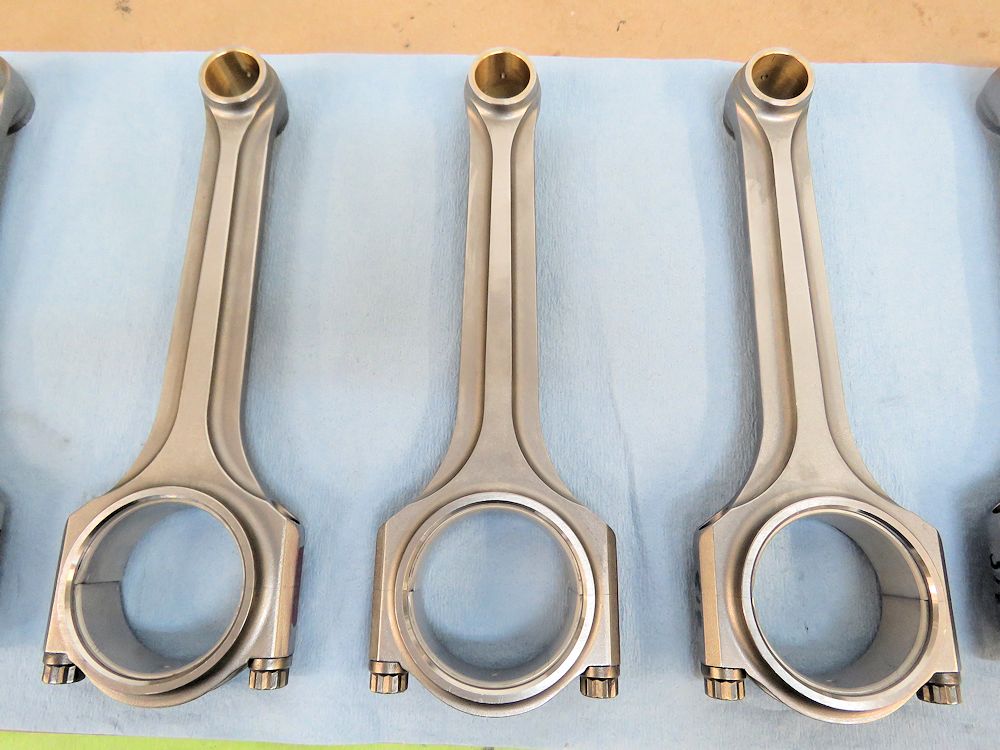
Forged steel connecting rods shave 600g from
the rotating assembly
Torque plate cylinder hone in progress
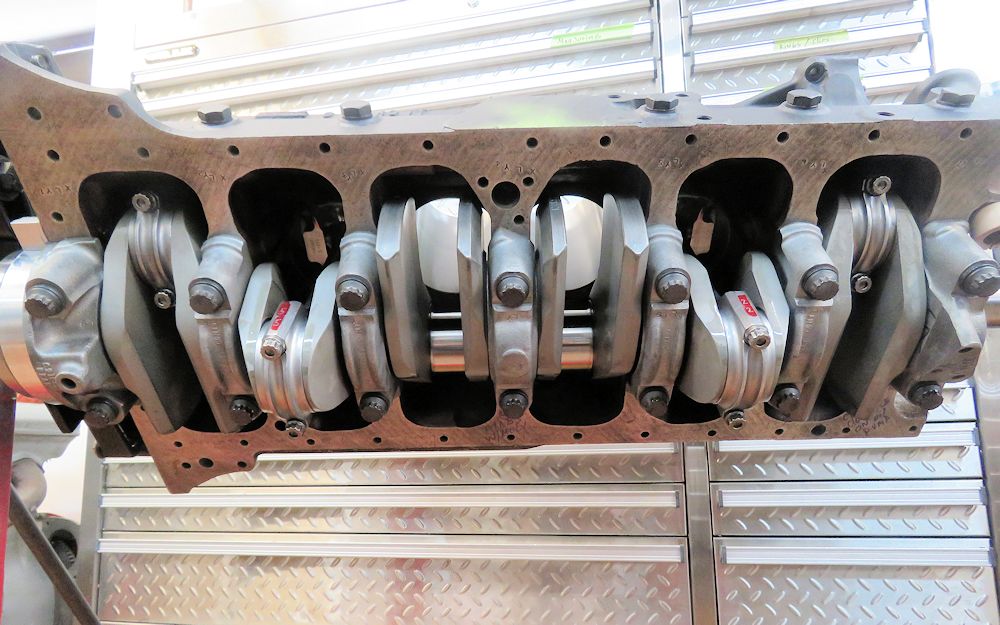
Installing rods and pistons
Hanging rods on pistons
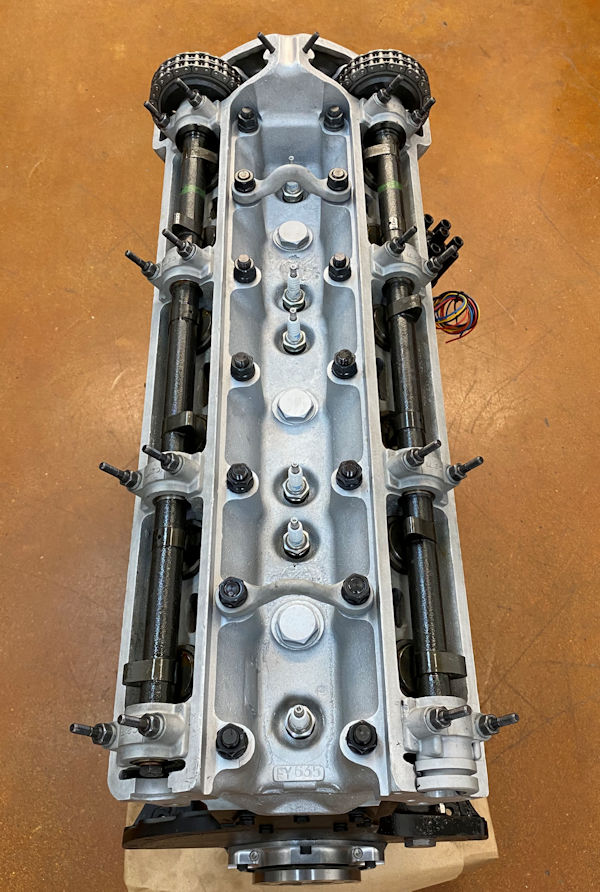
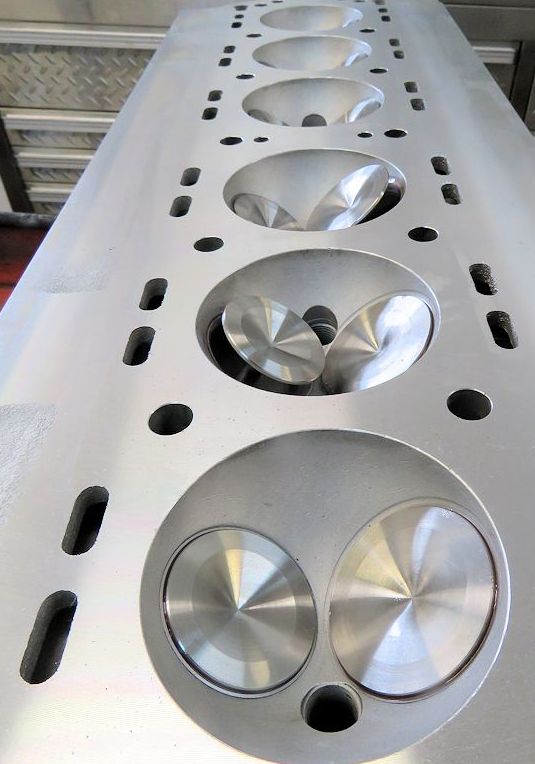
Head now fully machined and
assembled
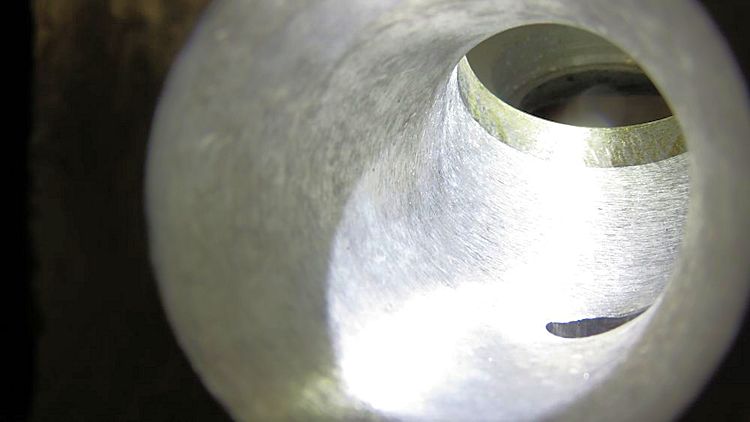
View along intake runner to valve seat
Forged pistons now installed in block
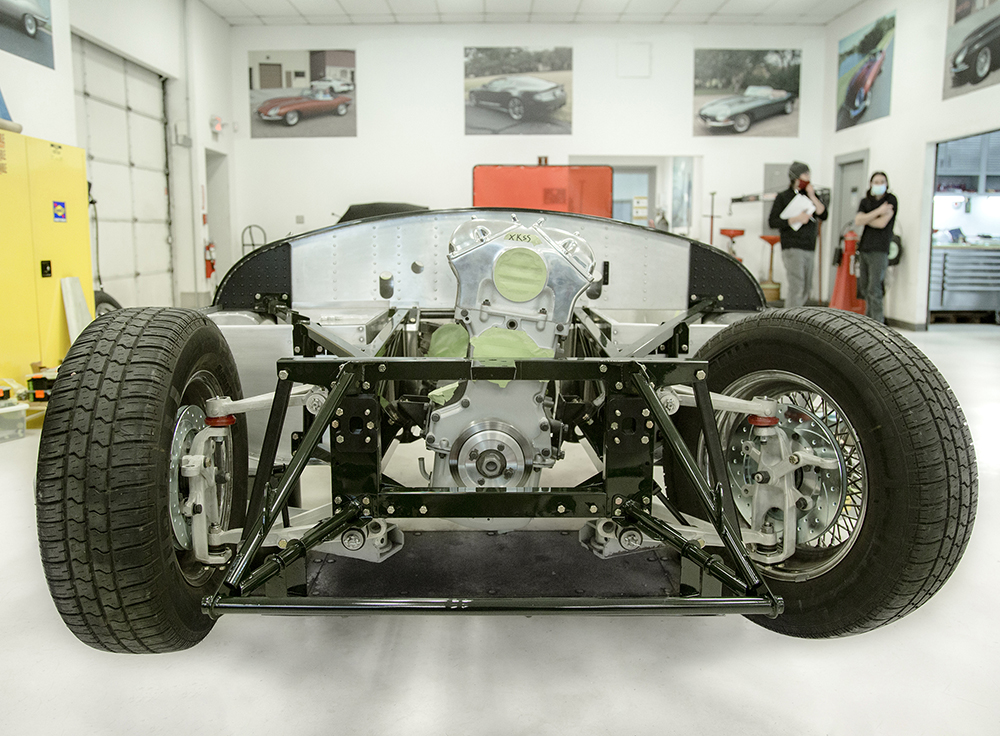
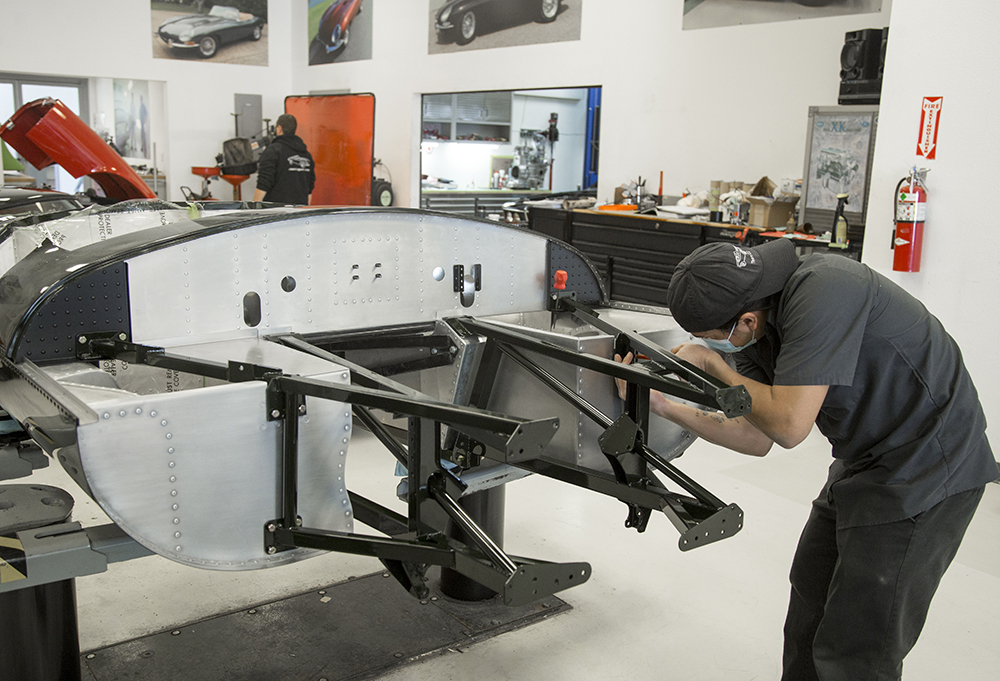
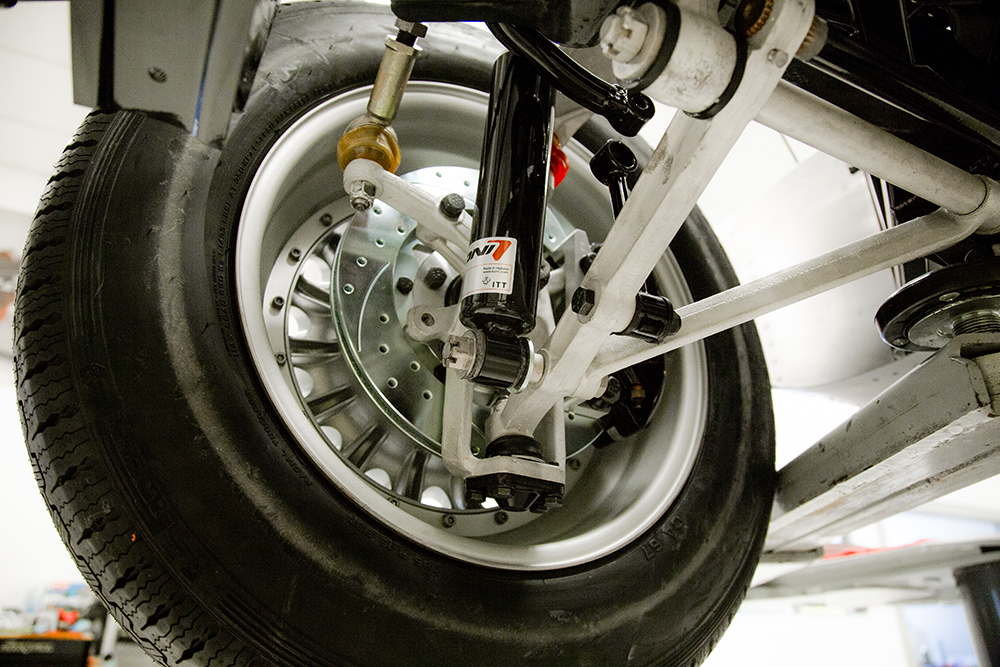
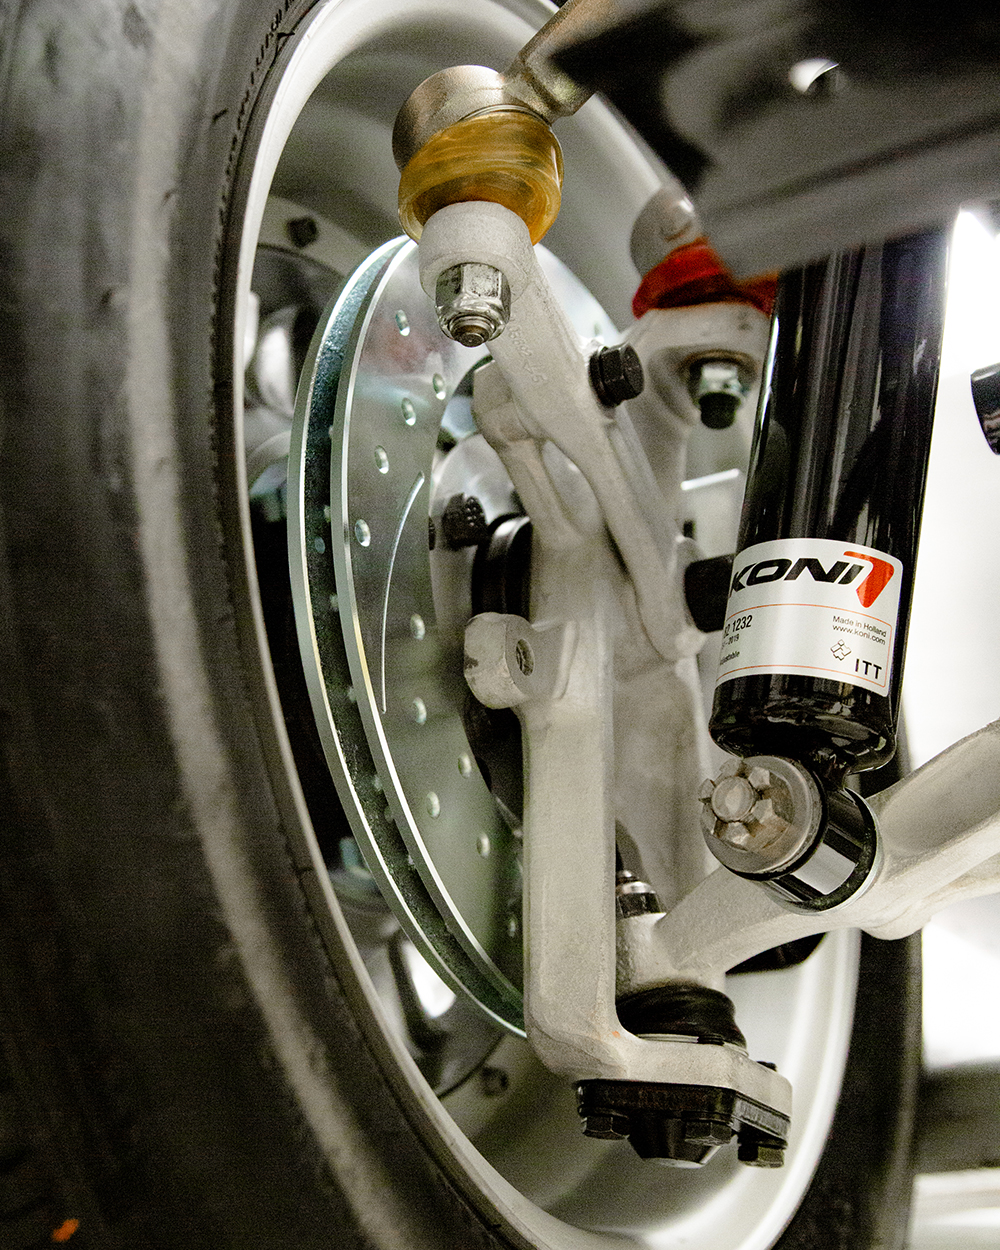
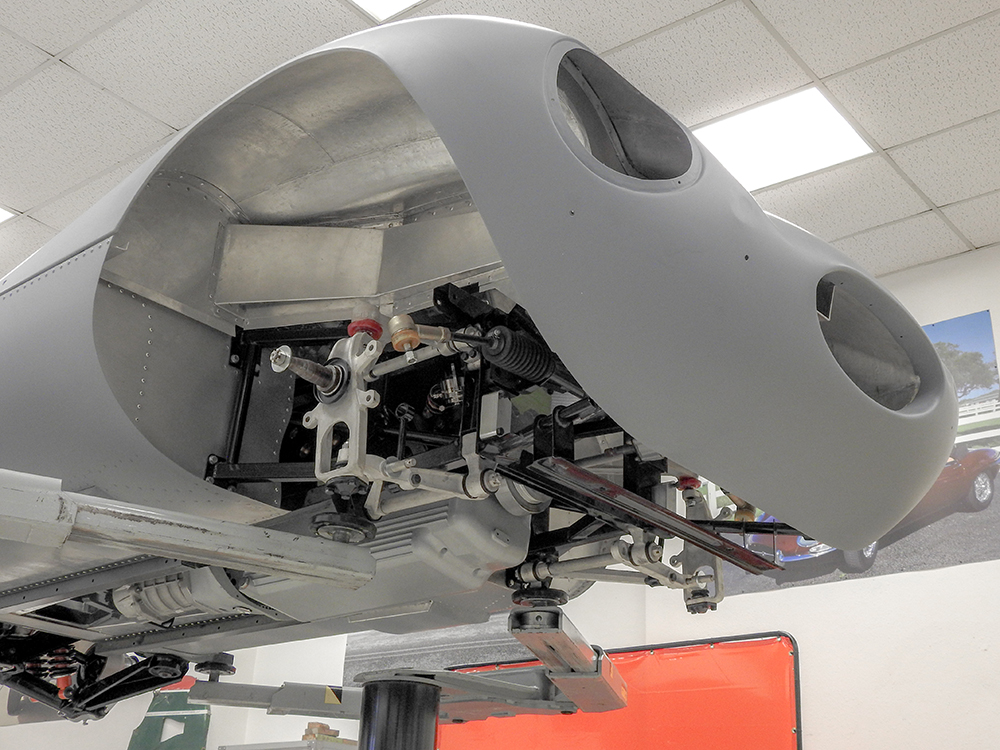
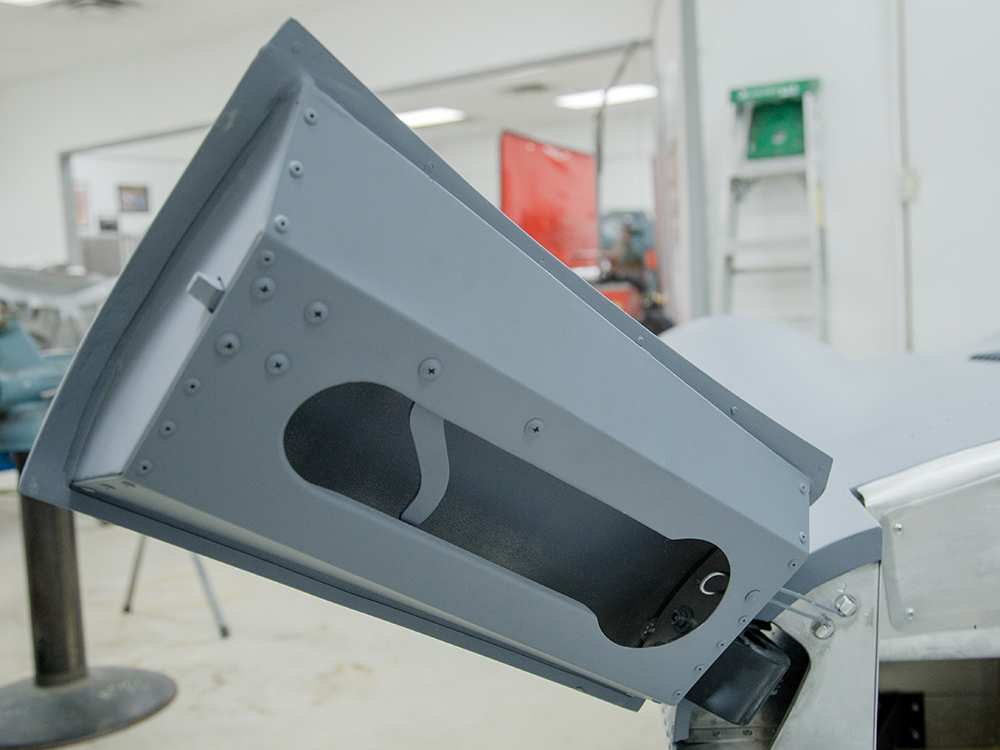
Preparing to trial fit the rebuilt front and rear suspension in the CJ Workshop.
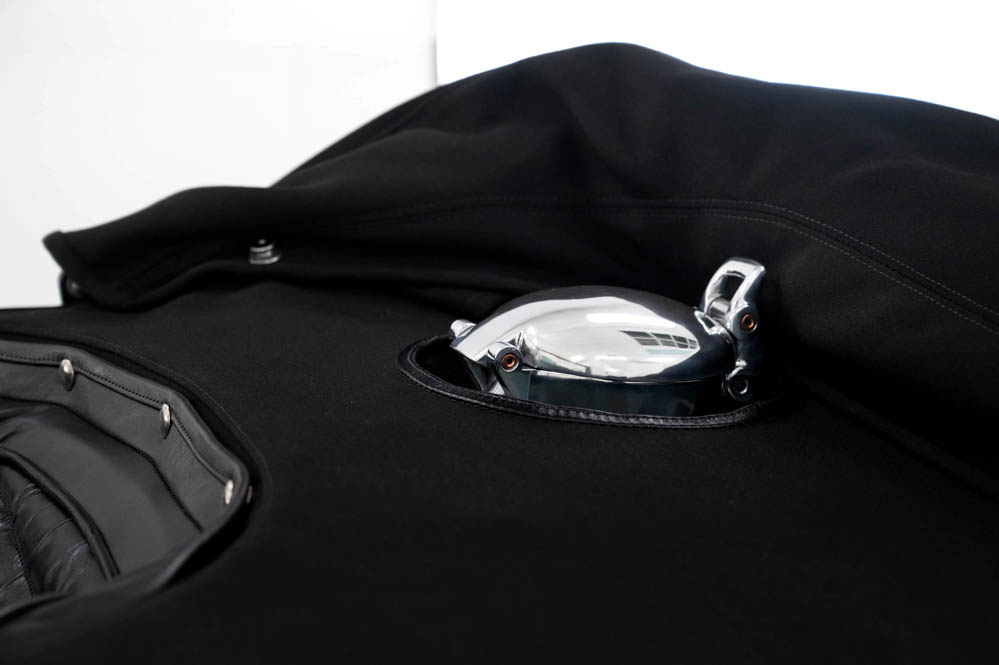
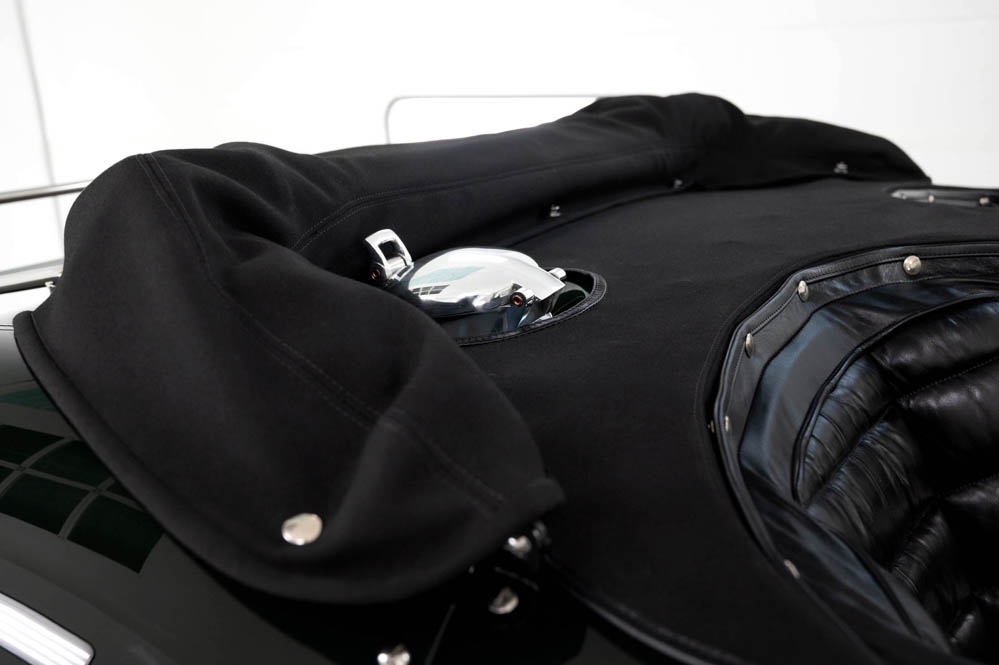
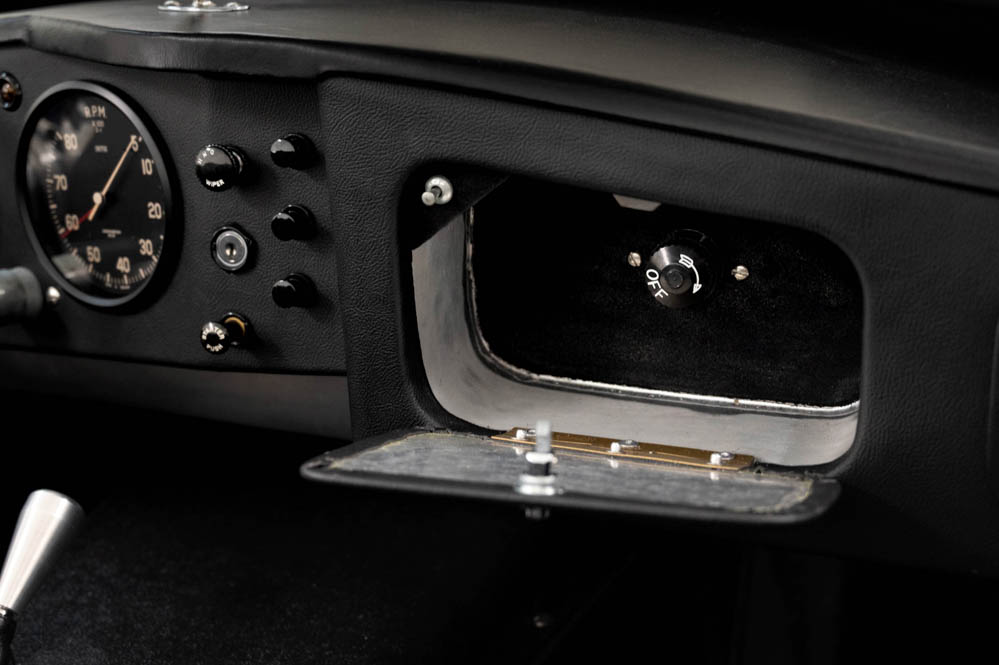
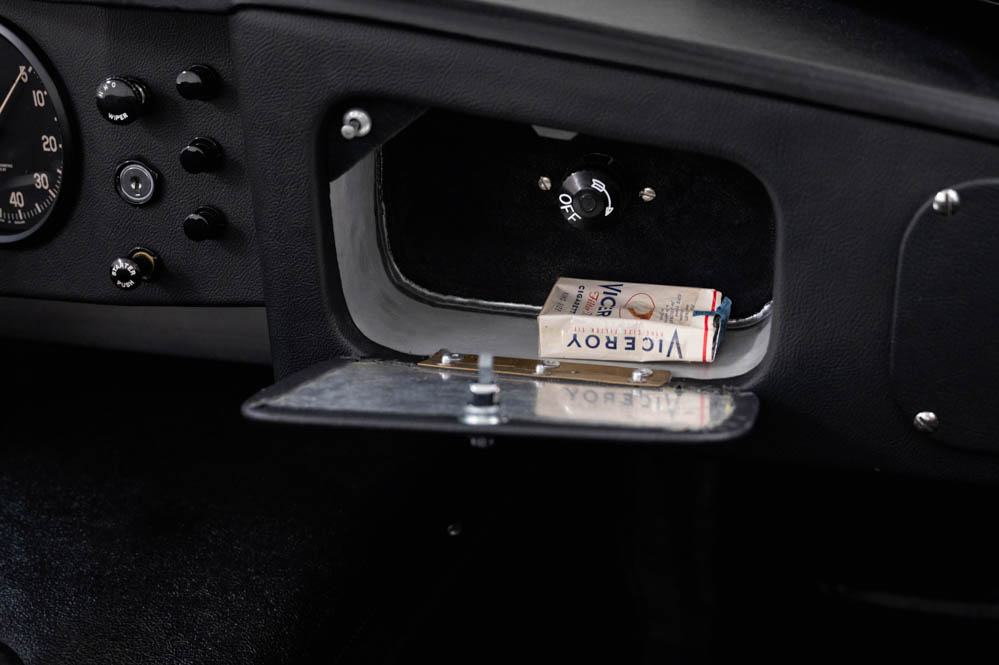
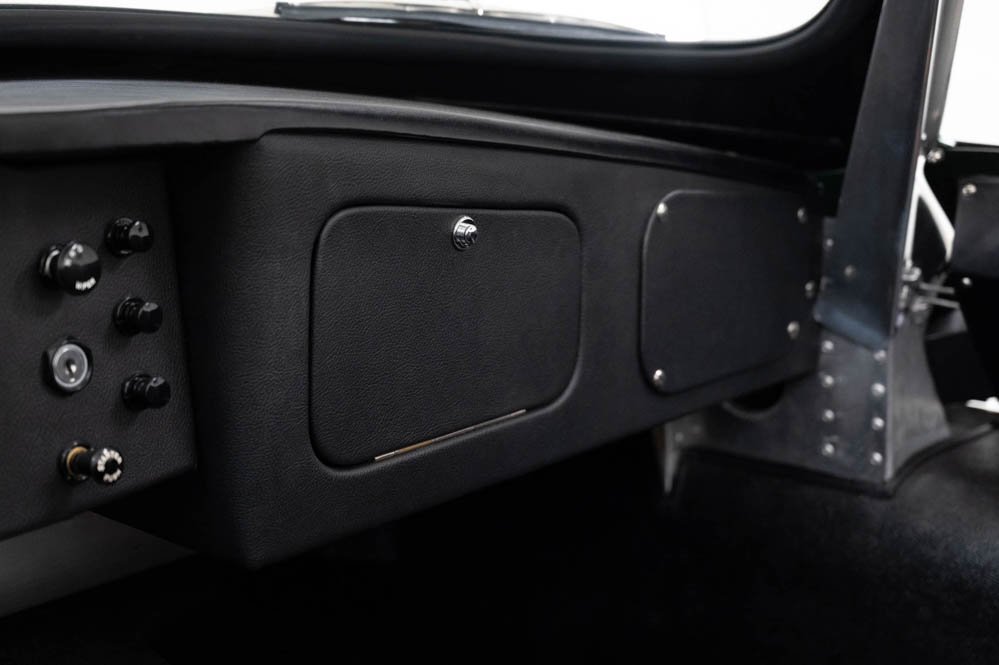
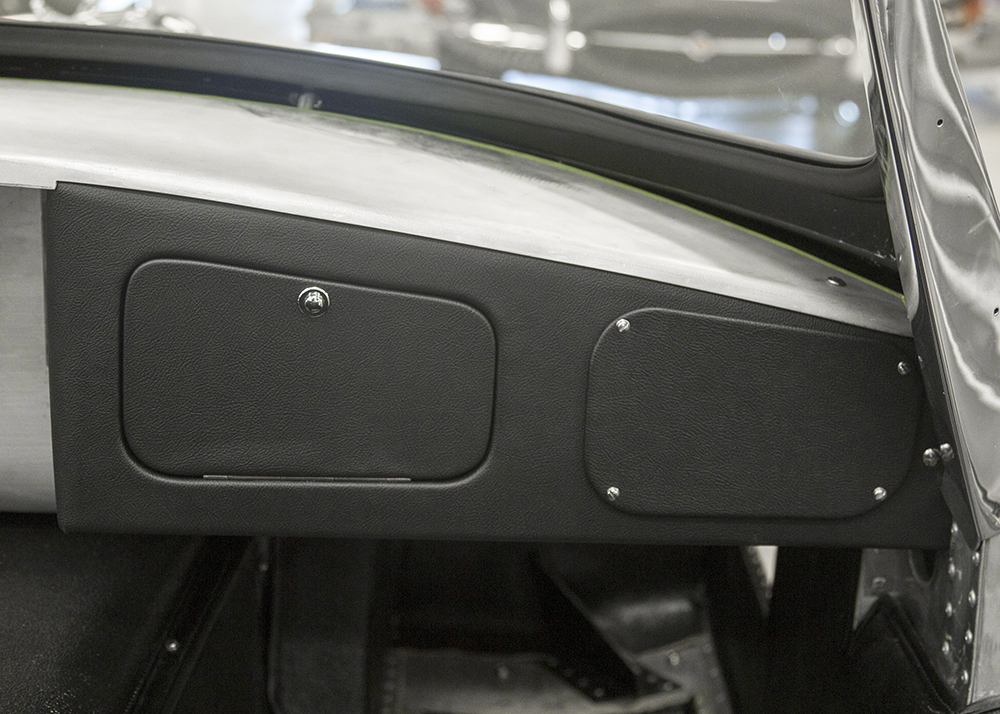
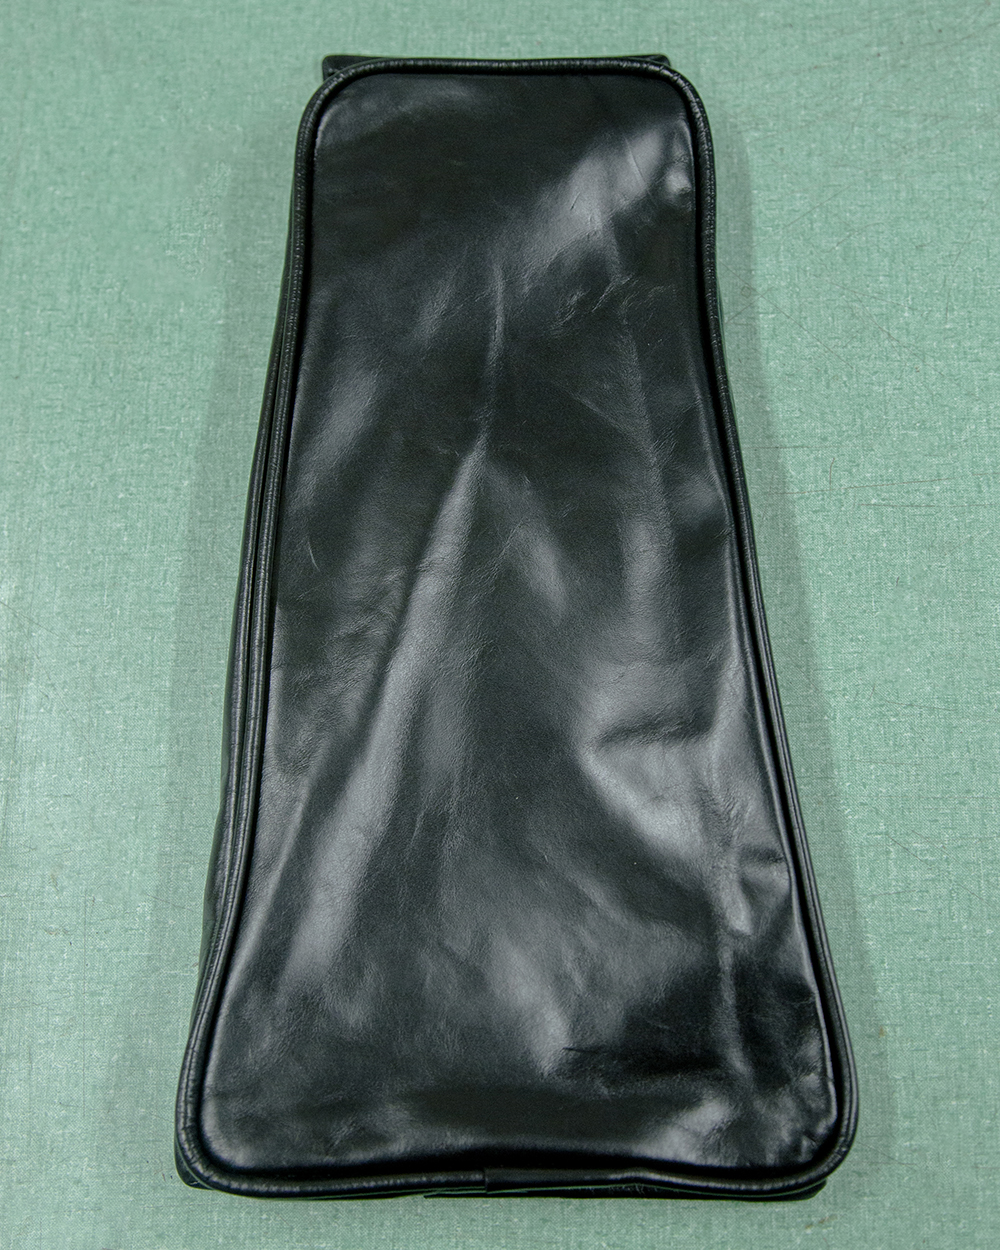
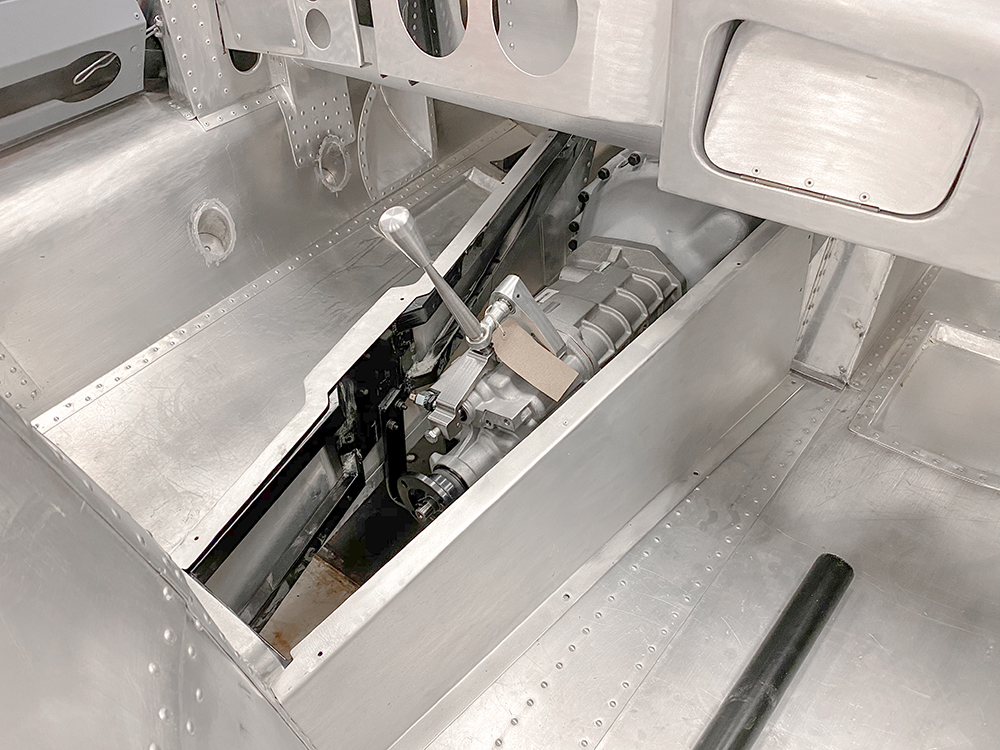
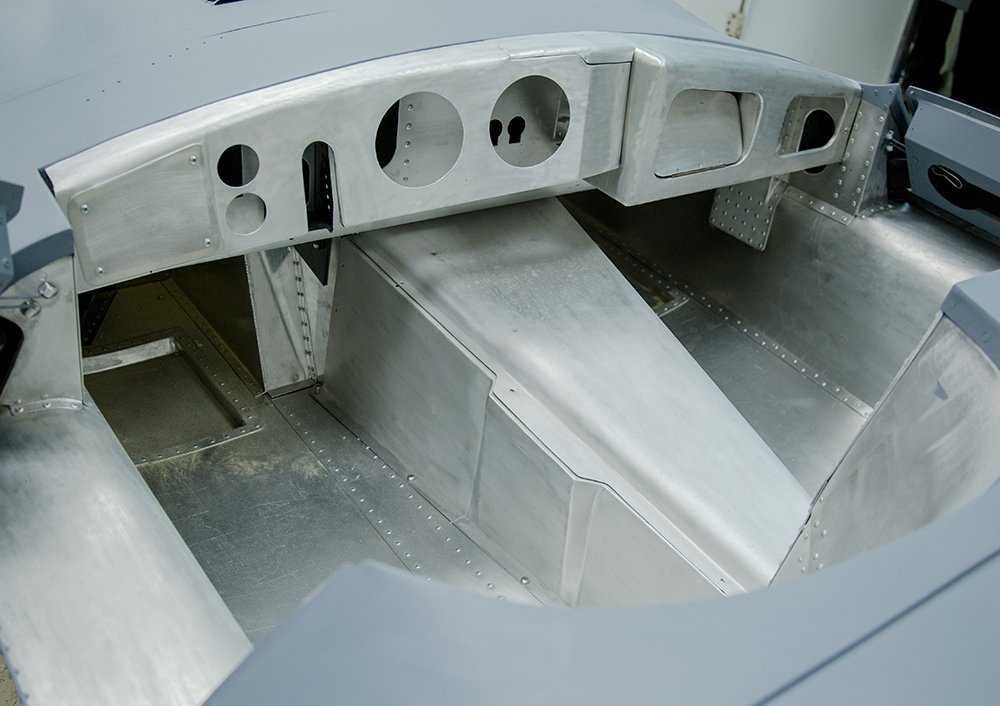
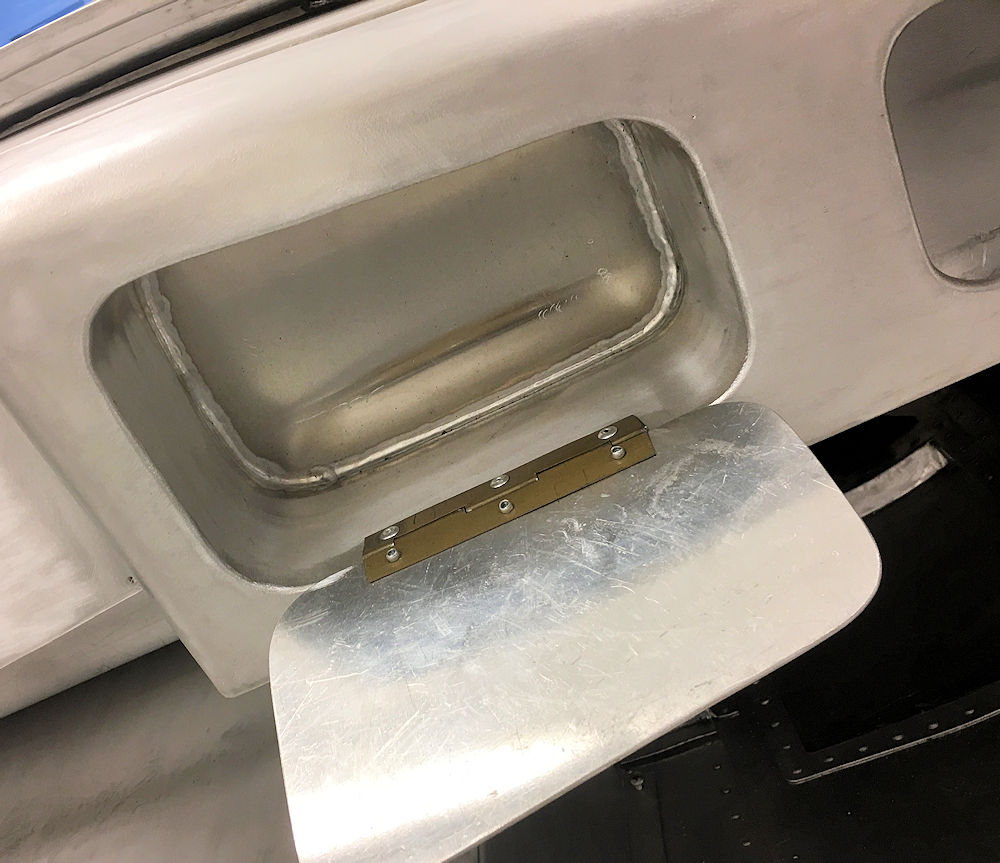
Storage for McQueen's Marlboros and Persol shades
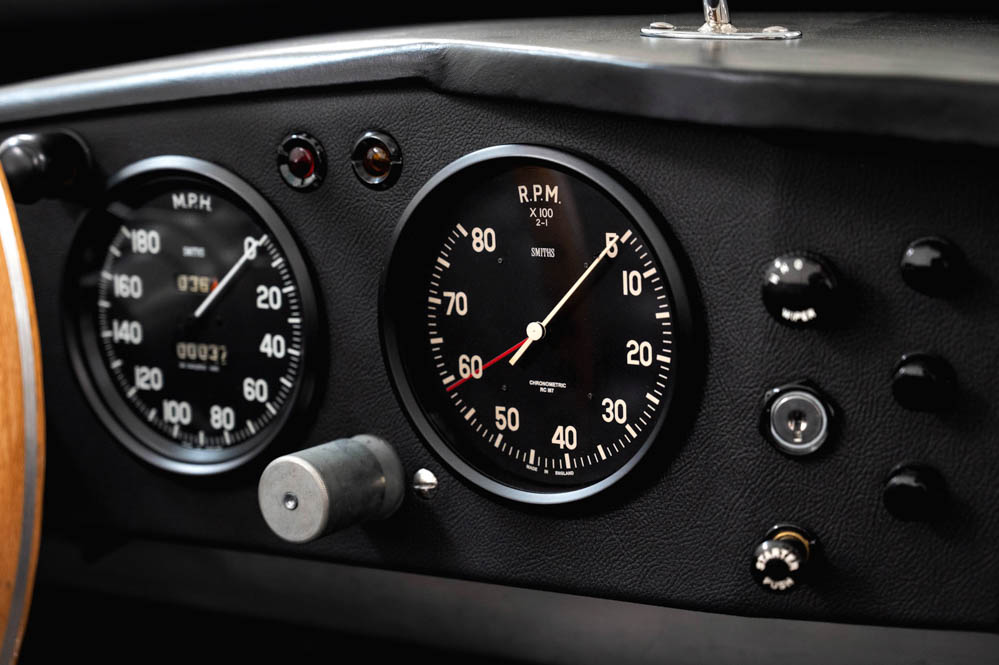
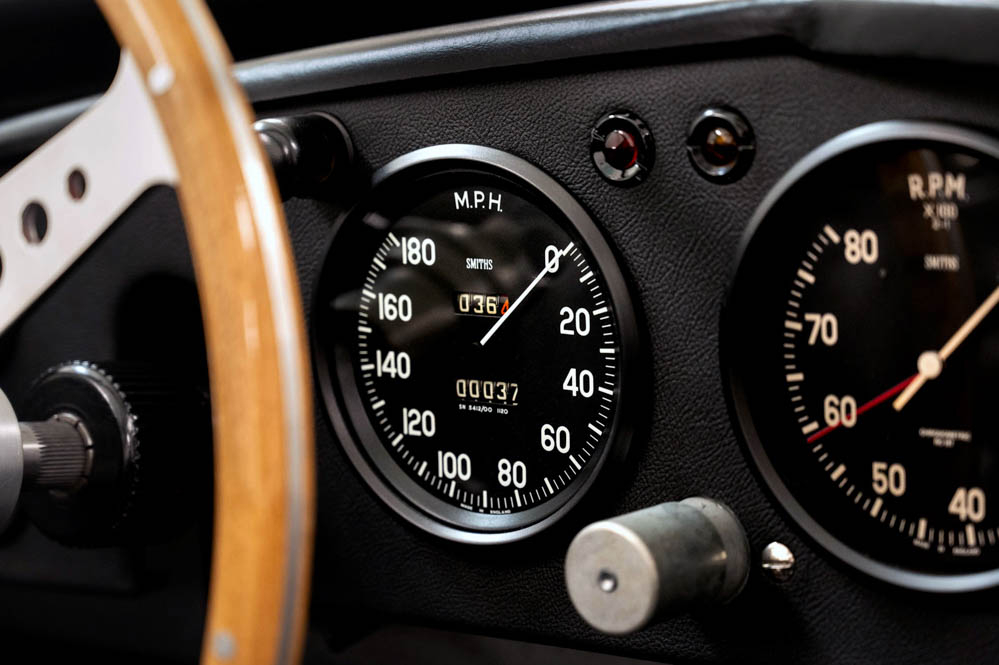
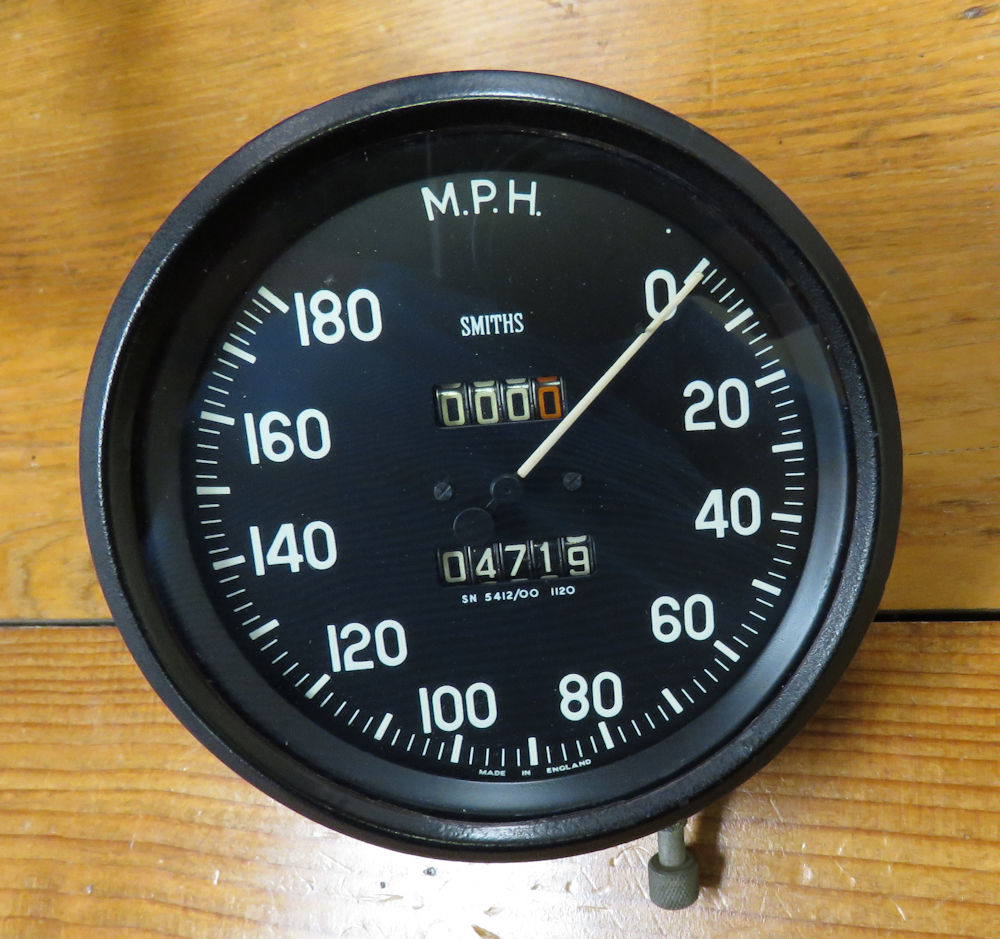
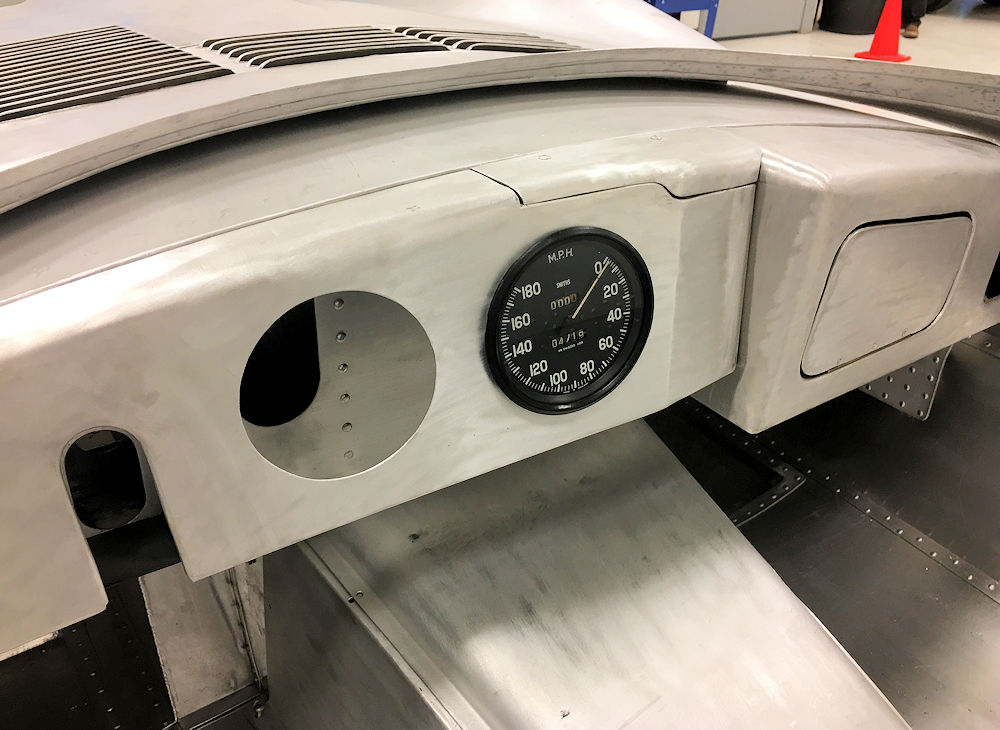
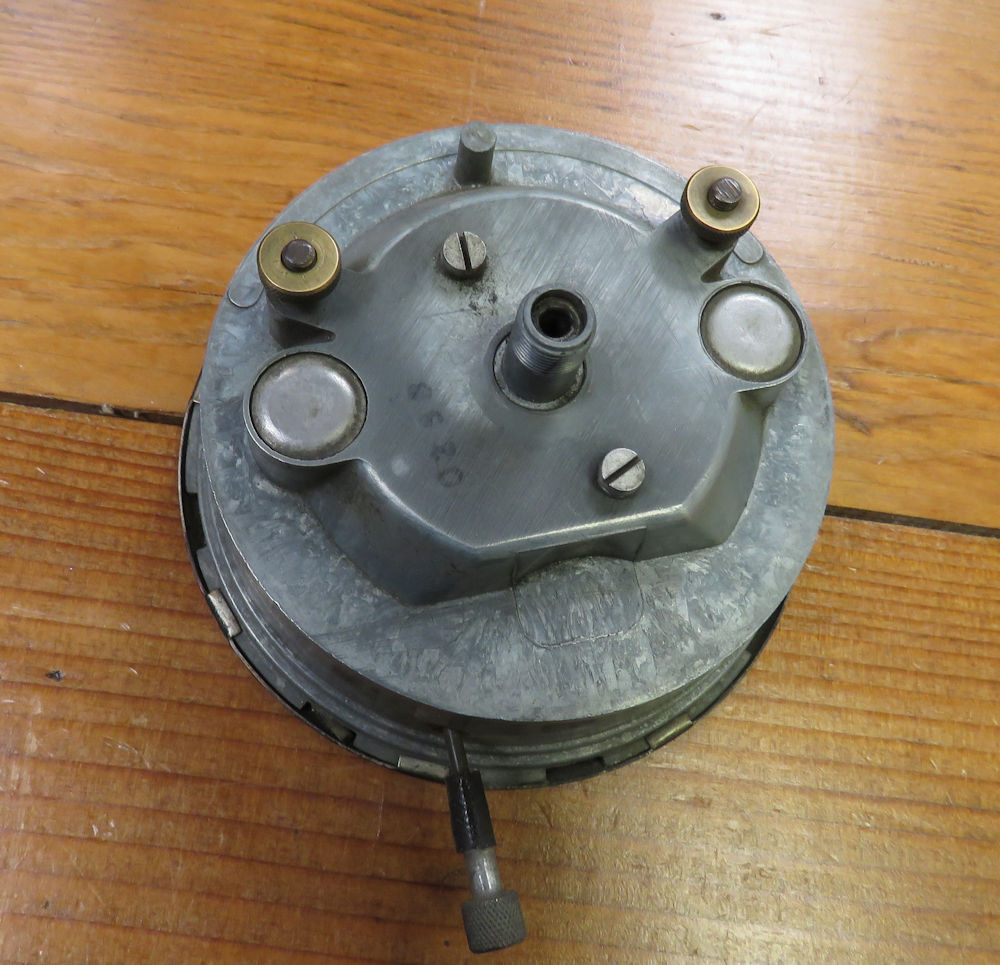
We are excited to have sourced a genuine, original, unrestored D Type/XKSS speedometer for our XKSS project.
Genuine XKSS speedo is a fantastic accessory
for this car
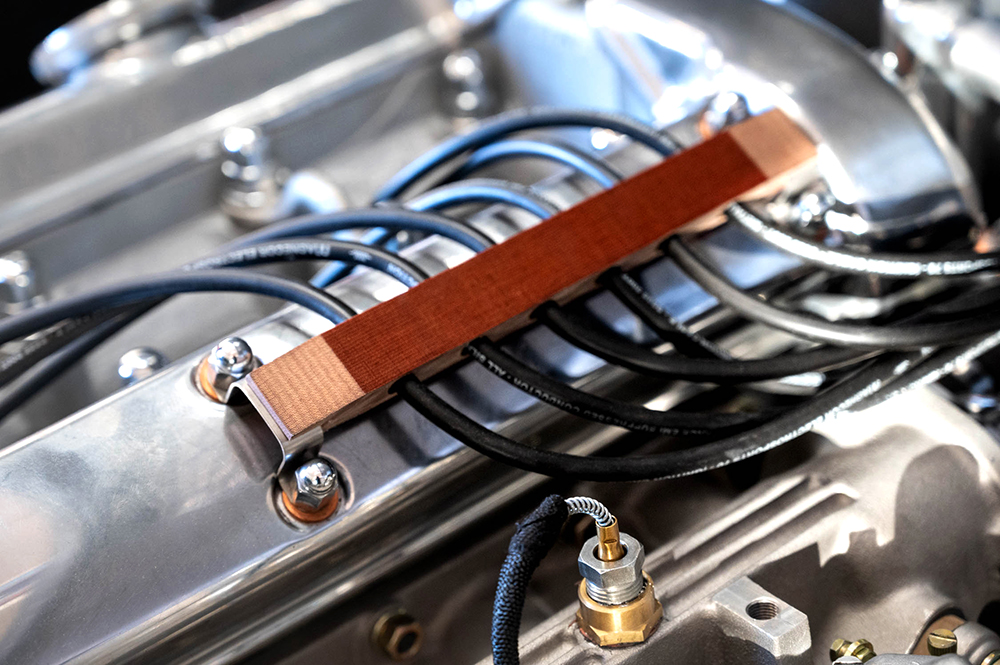
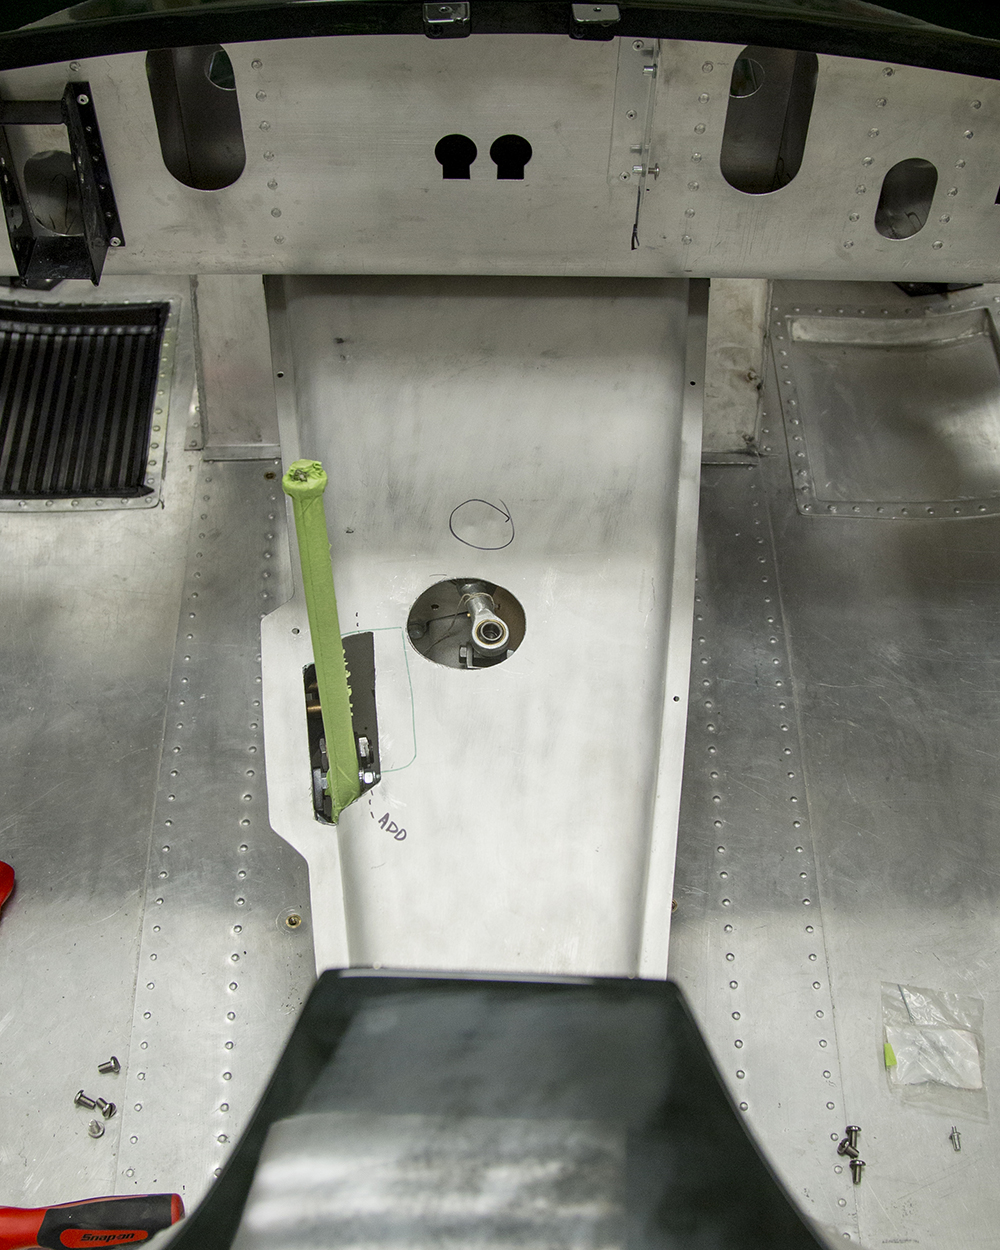
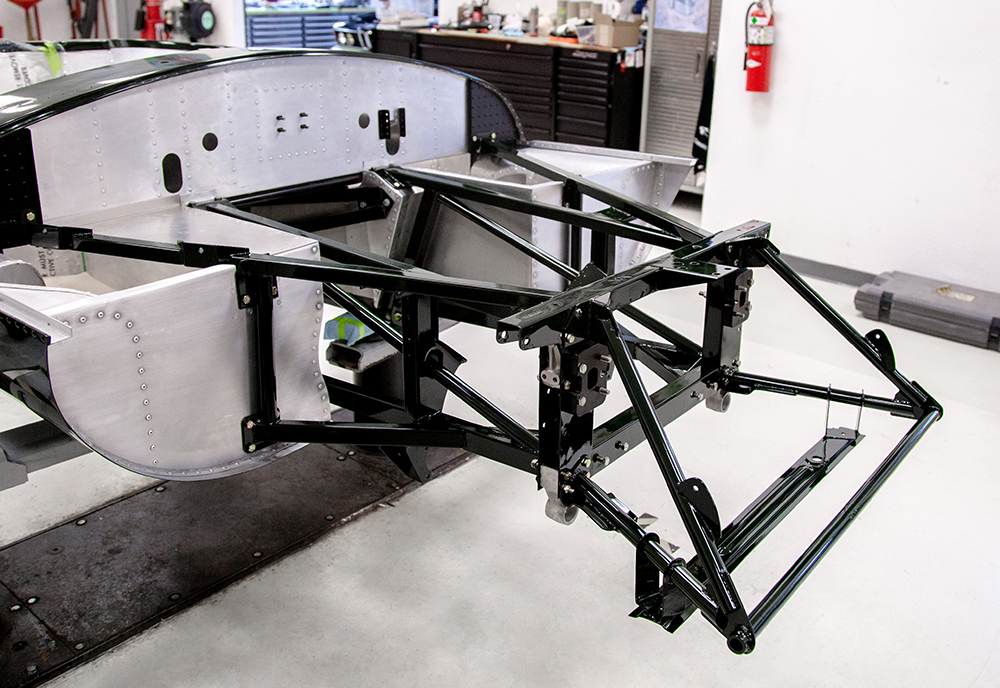
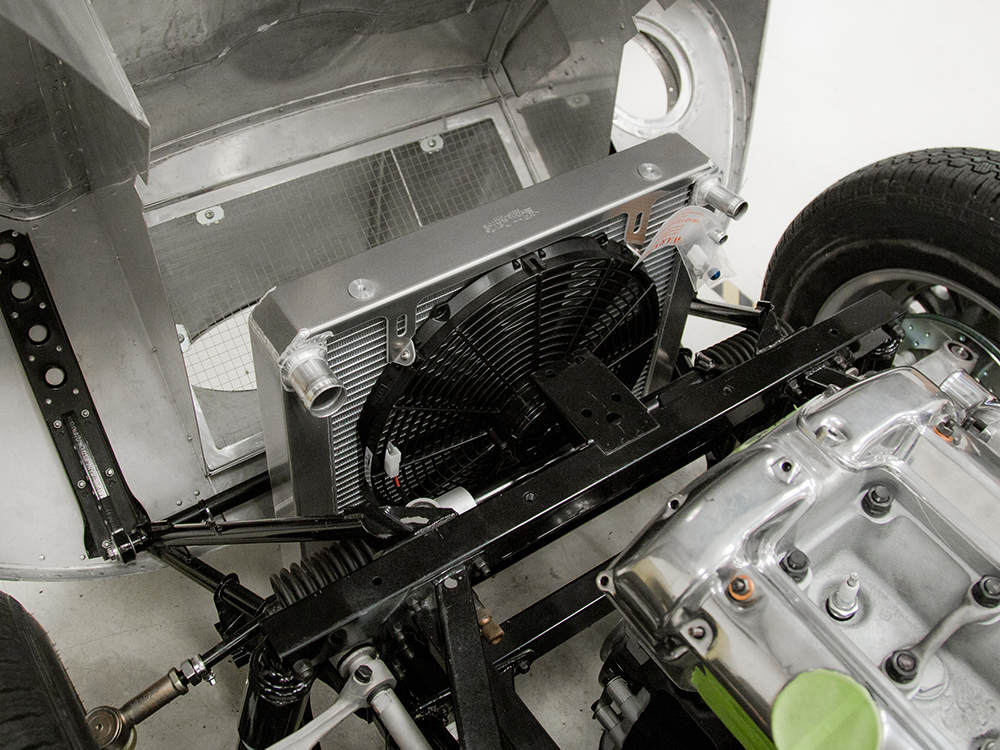
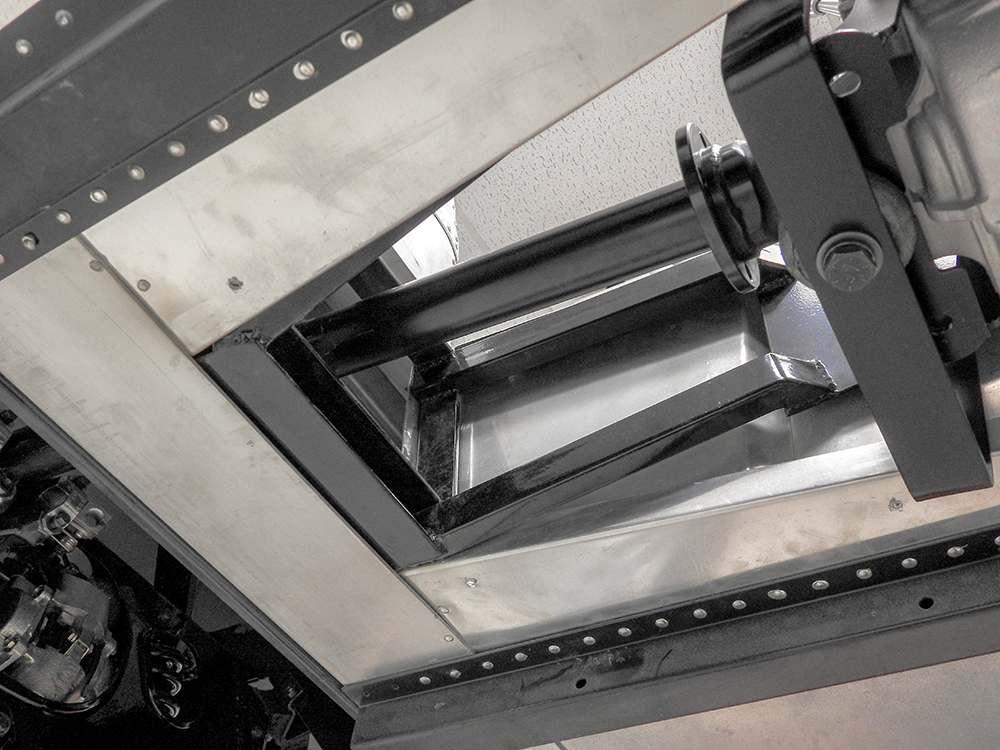
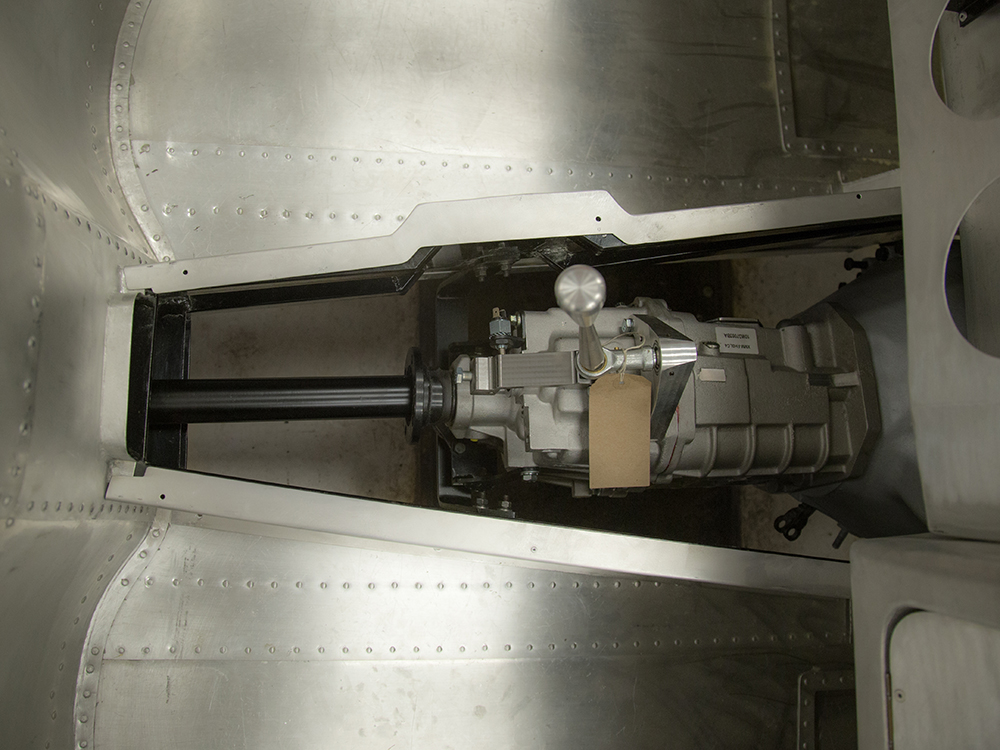
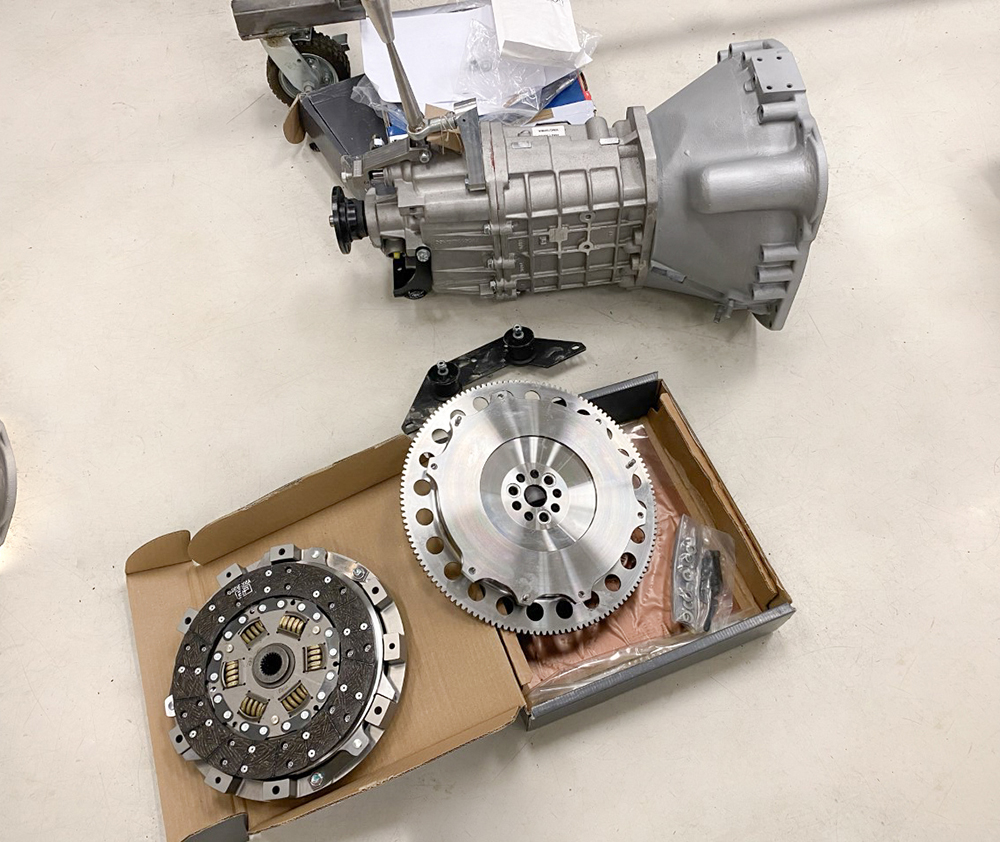
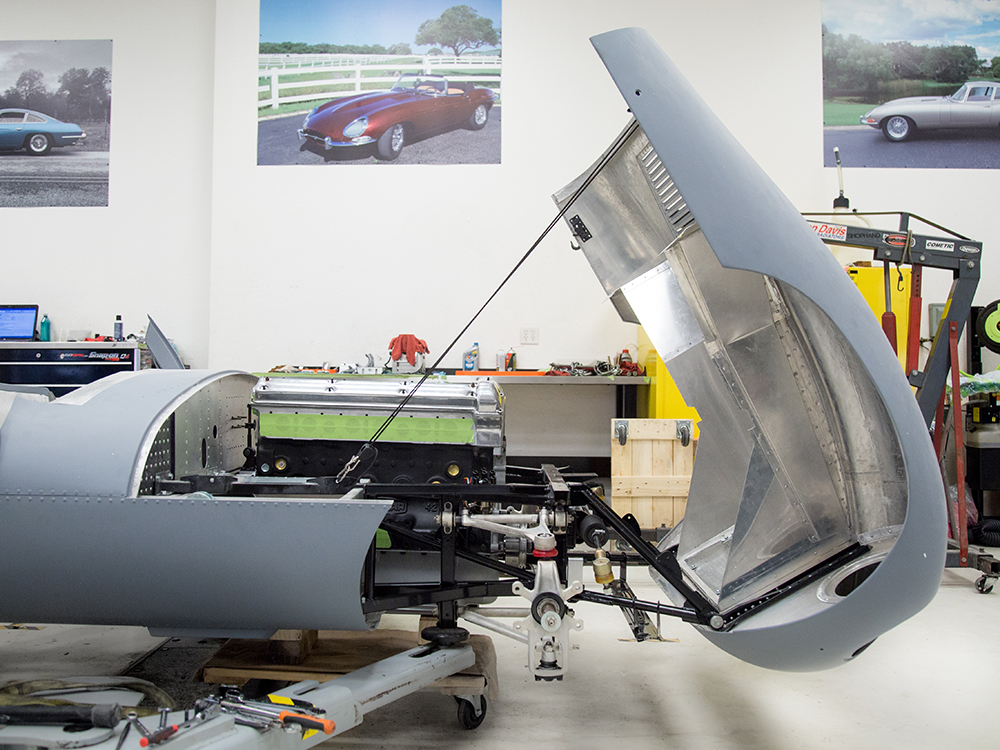
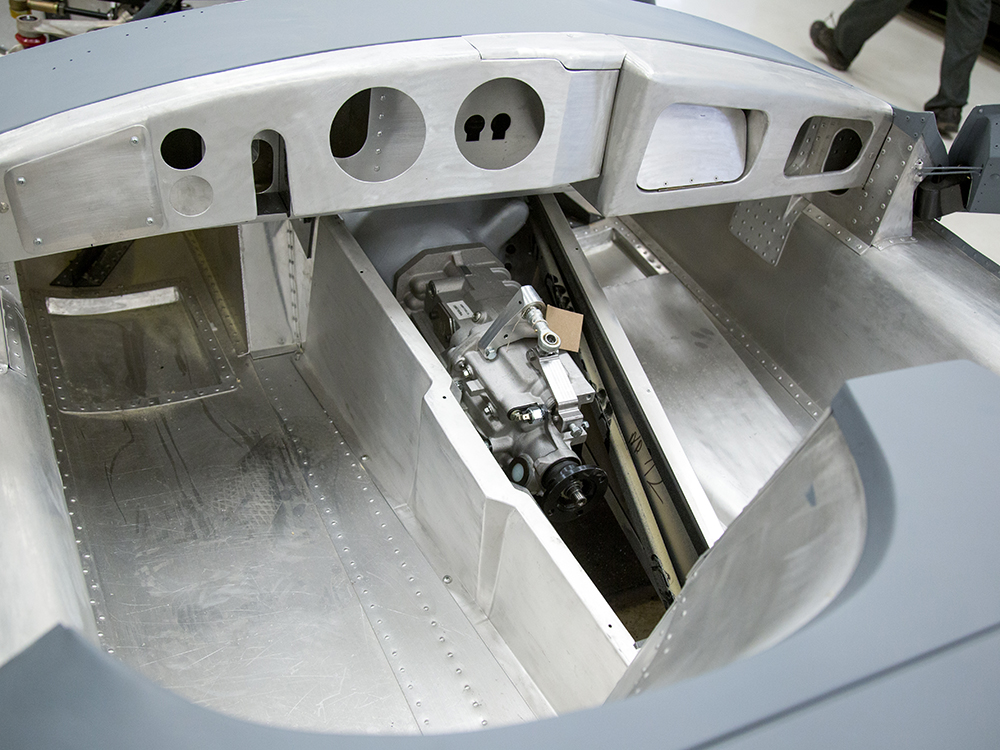
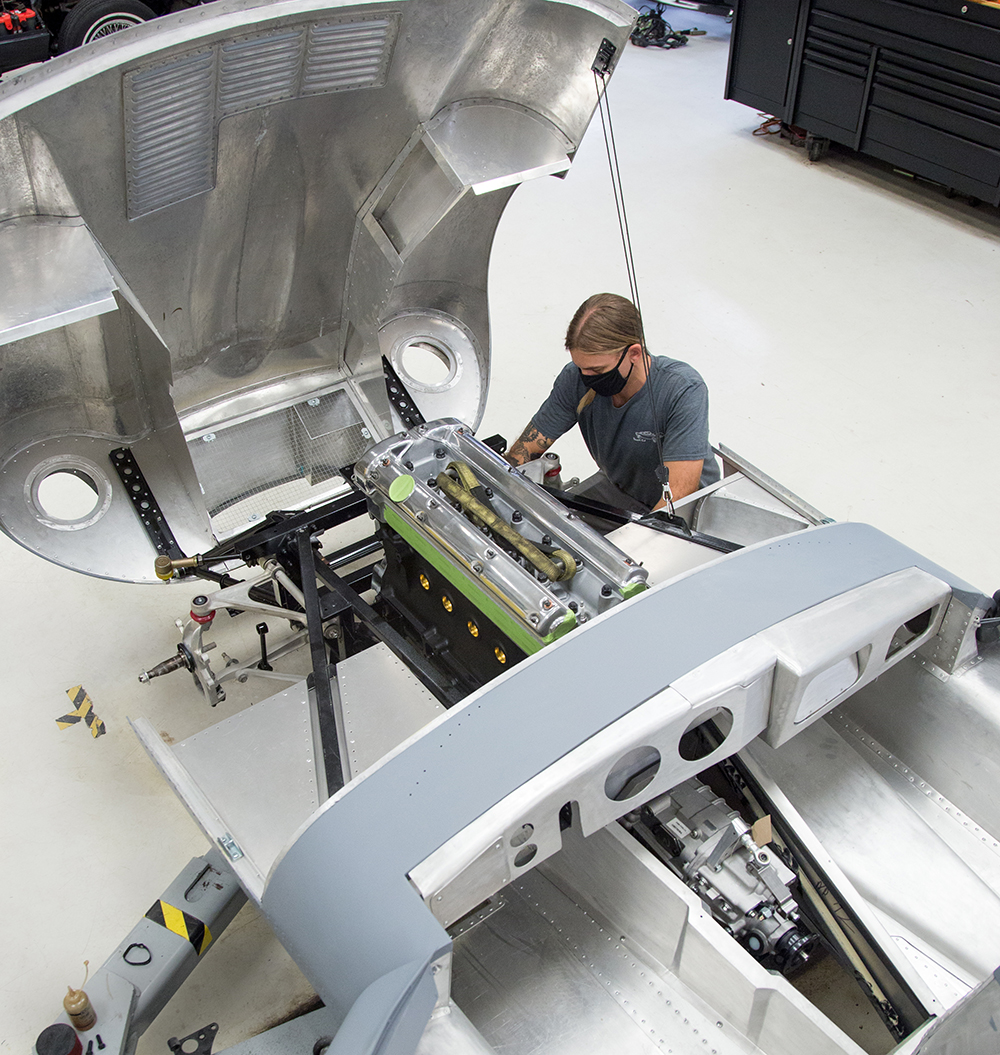
It is now time to start building the drive train for this exciting project.
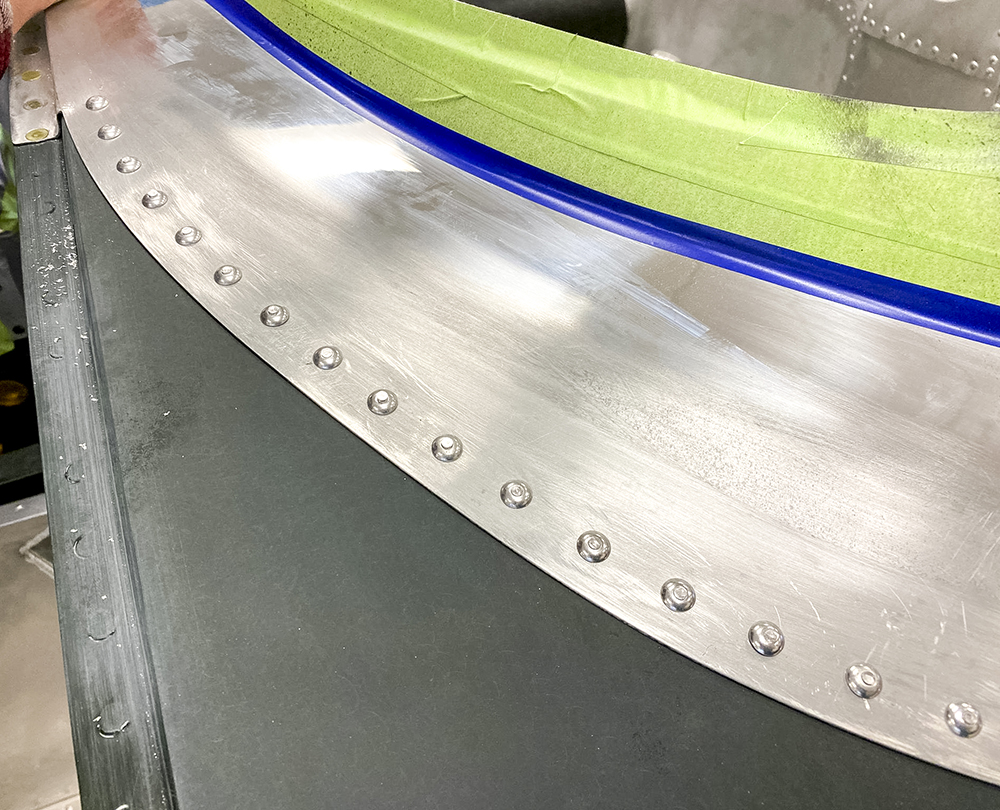
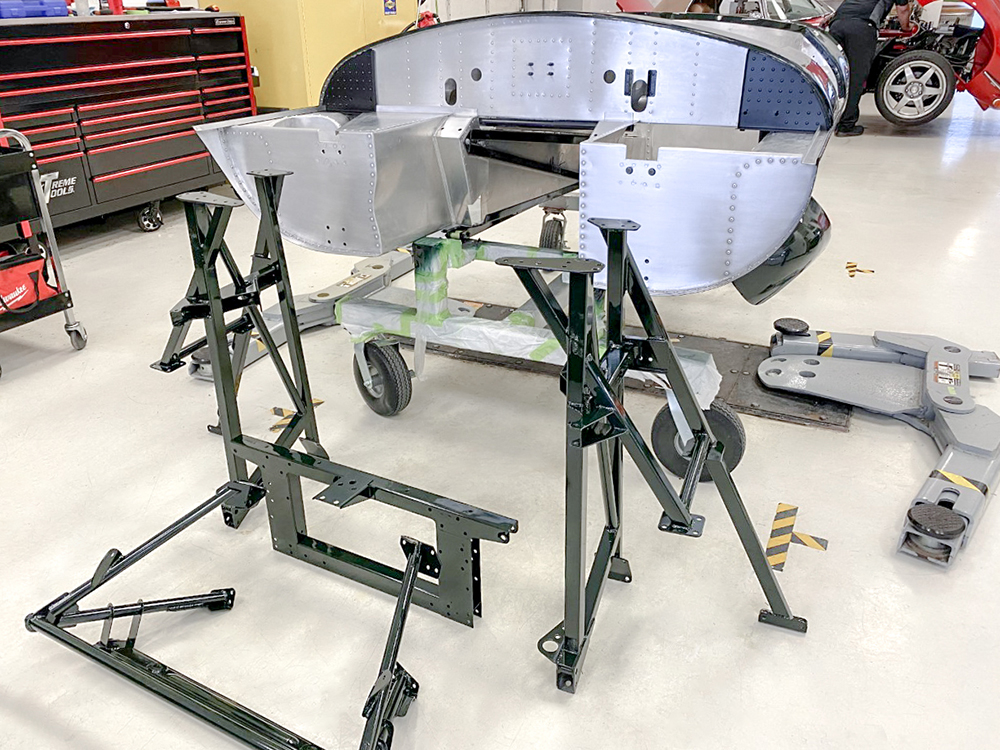
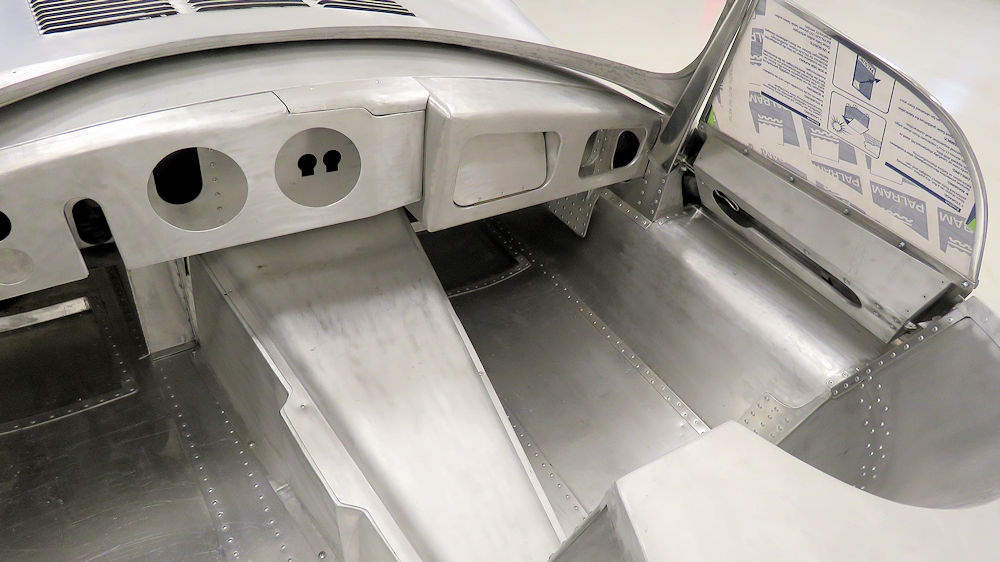
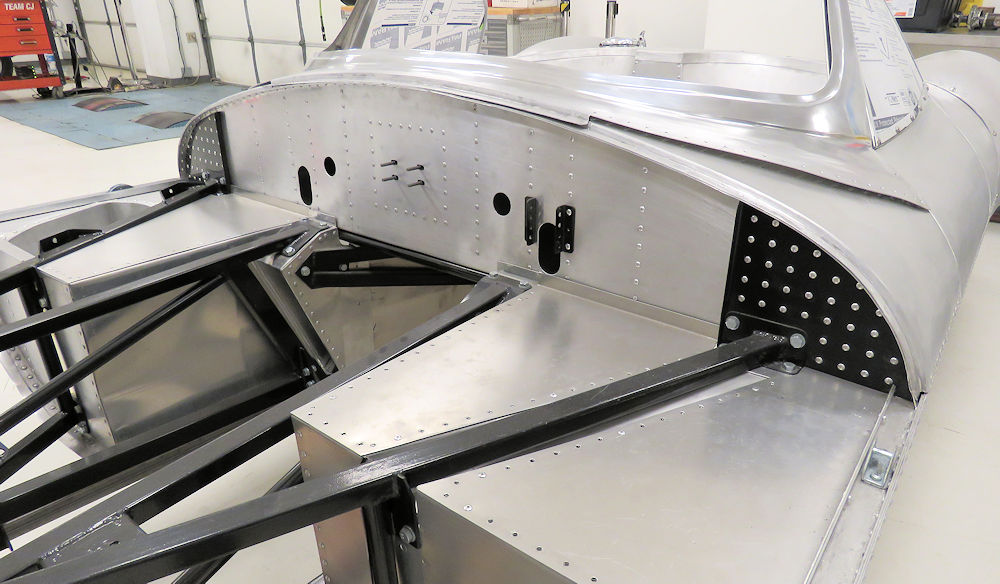
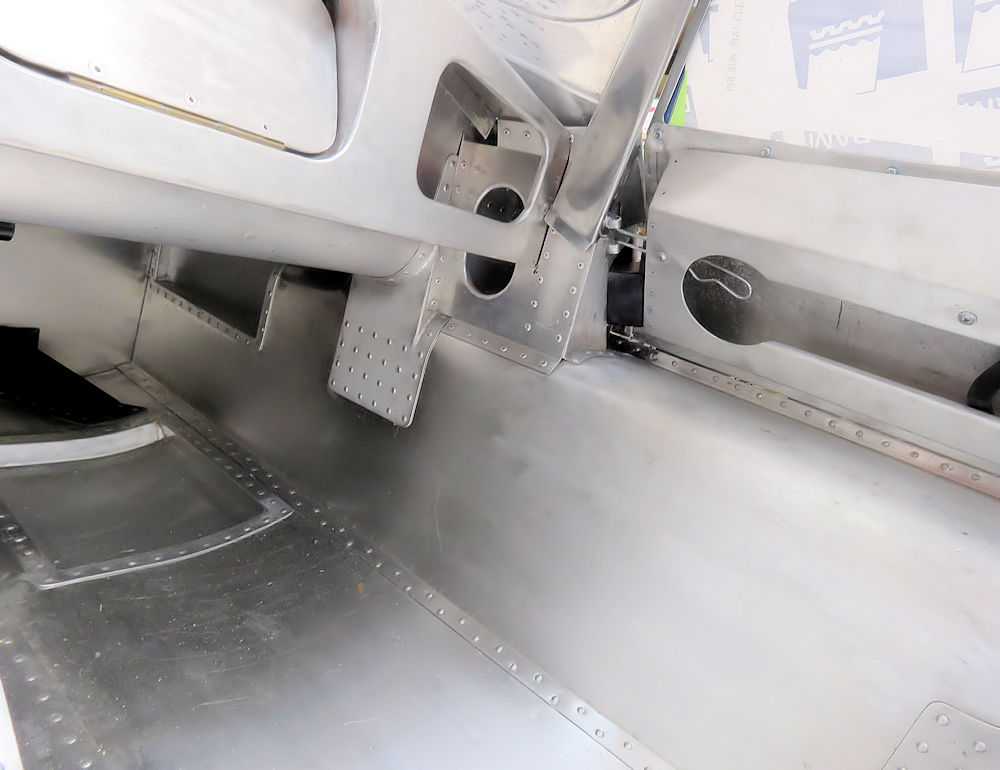
Construction closely follows the original, with most
panels riveted or TIG welded
This particular Team CJ XKSS will be LHD
Actual spinner from the legendary McQueen XKSS
IRS rebuild already underway
The famous Steve McQueen XKSS